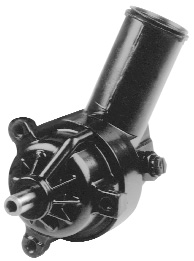
I replaced the Ford OEM power steering pump with a Saginaw PS pump in my 1993 Aerostar:
As of Feb-2008, I've driven this setup about 4,000 miles. Comments on how well it works are near the bottom.
=========================================================
[
Warning: long, long post alert!]
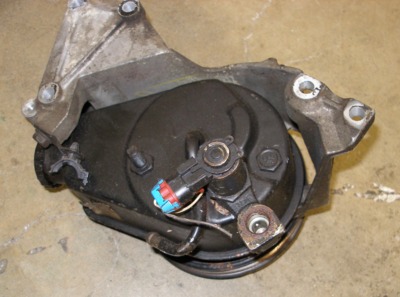
Whining . . . that's the noise for which the later Ford plastic-reservoir power steering pumps are infamous.
When I acquired my 1989 Aero, it whined terribly. Thinking I had a bad pump, I bought a reman: nearly as noisy. Changed fluids, used additives, tried various flushing and bleeding procedures, but nothing cured it. I replaced the pump again. And again. Finally, I found a quiet pump on a late F150 that was leaking, put a reman on the truck and a seal kit in the quiet one and then installed it on the '89, where it remains to this day. I'd been thinking that the solution would be a
new pump, but as of 2000, Ford would only sell me a reman, not new. Four "rebuilt" PS pumps in my '89, finally settling for one that moaned and whined less than the others . . . long about 1994 I was seriously considering retrofitting a quieter (non-Ford) pump, but after that many miles . . . I grew used to the noise.
When I got my '93 Aero -- that also whined -- I decided that I would solve this problem forever, by replacing the pump with a completely different style. After reading
Pablo-UA's account of how he put a Saginaw pump in his Aero, I was encouraged.
In preparation, I had bought a random Saginaw pump at the Portland Auto Swap Meet in Apr-07, on the off-chance I'd be able to use it in future: $10.


Here's the summary version of the process:
[Disclaimer: I am not a machinist. I own tools I barely know which end to hold, or where to find the ON switch. Those of you who are trained to actually know how to use a milling machine will get a good laugh at some of these pics. I bought
an old Jet Mill/Drill last summer, and I have bought tooling along the way, so sometimes the way I depict doing things is due to lack of tooling -- and often it's because I don't know any better. So lay off, already!]
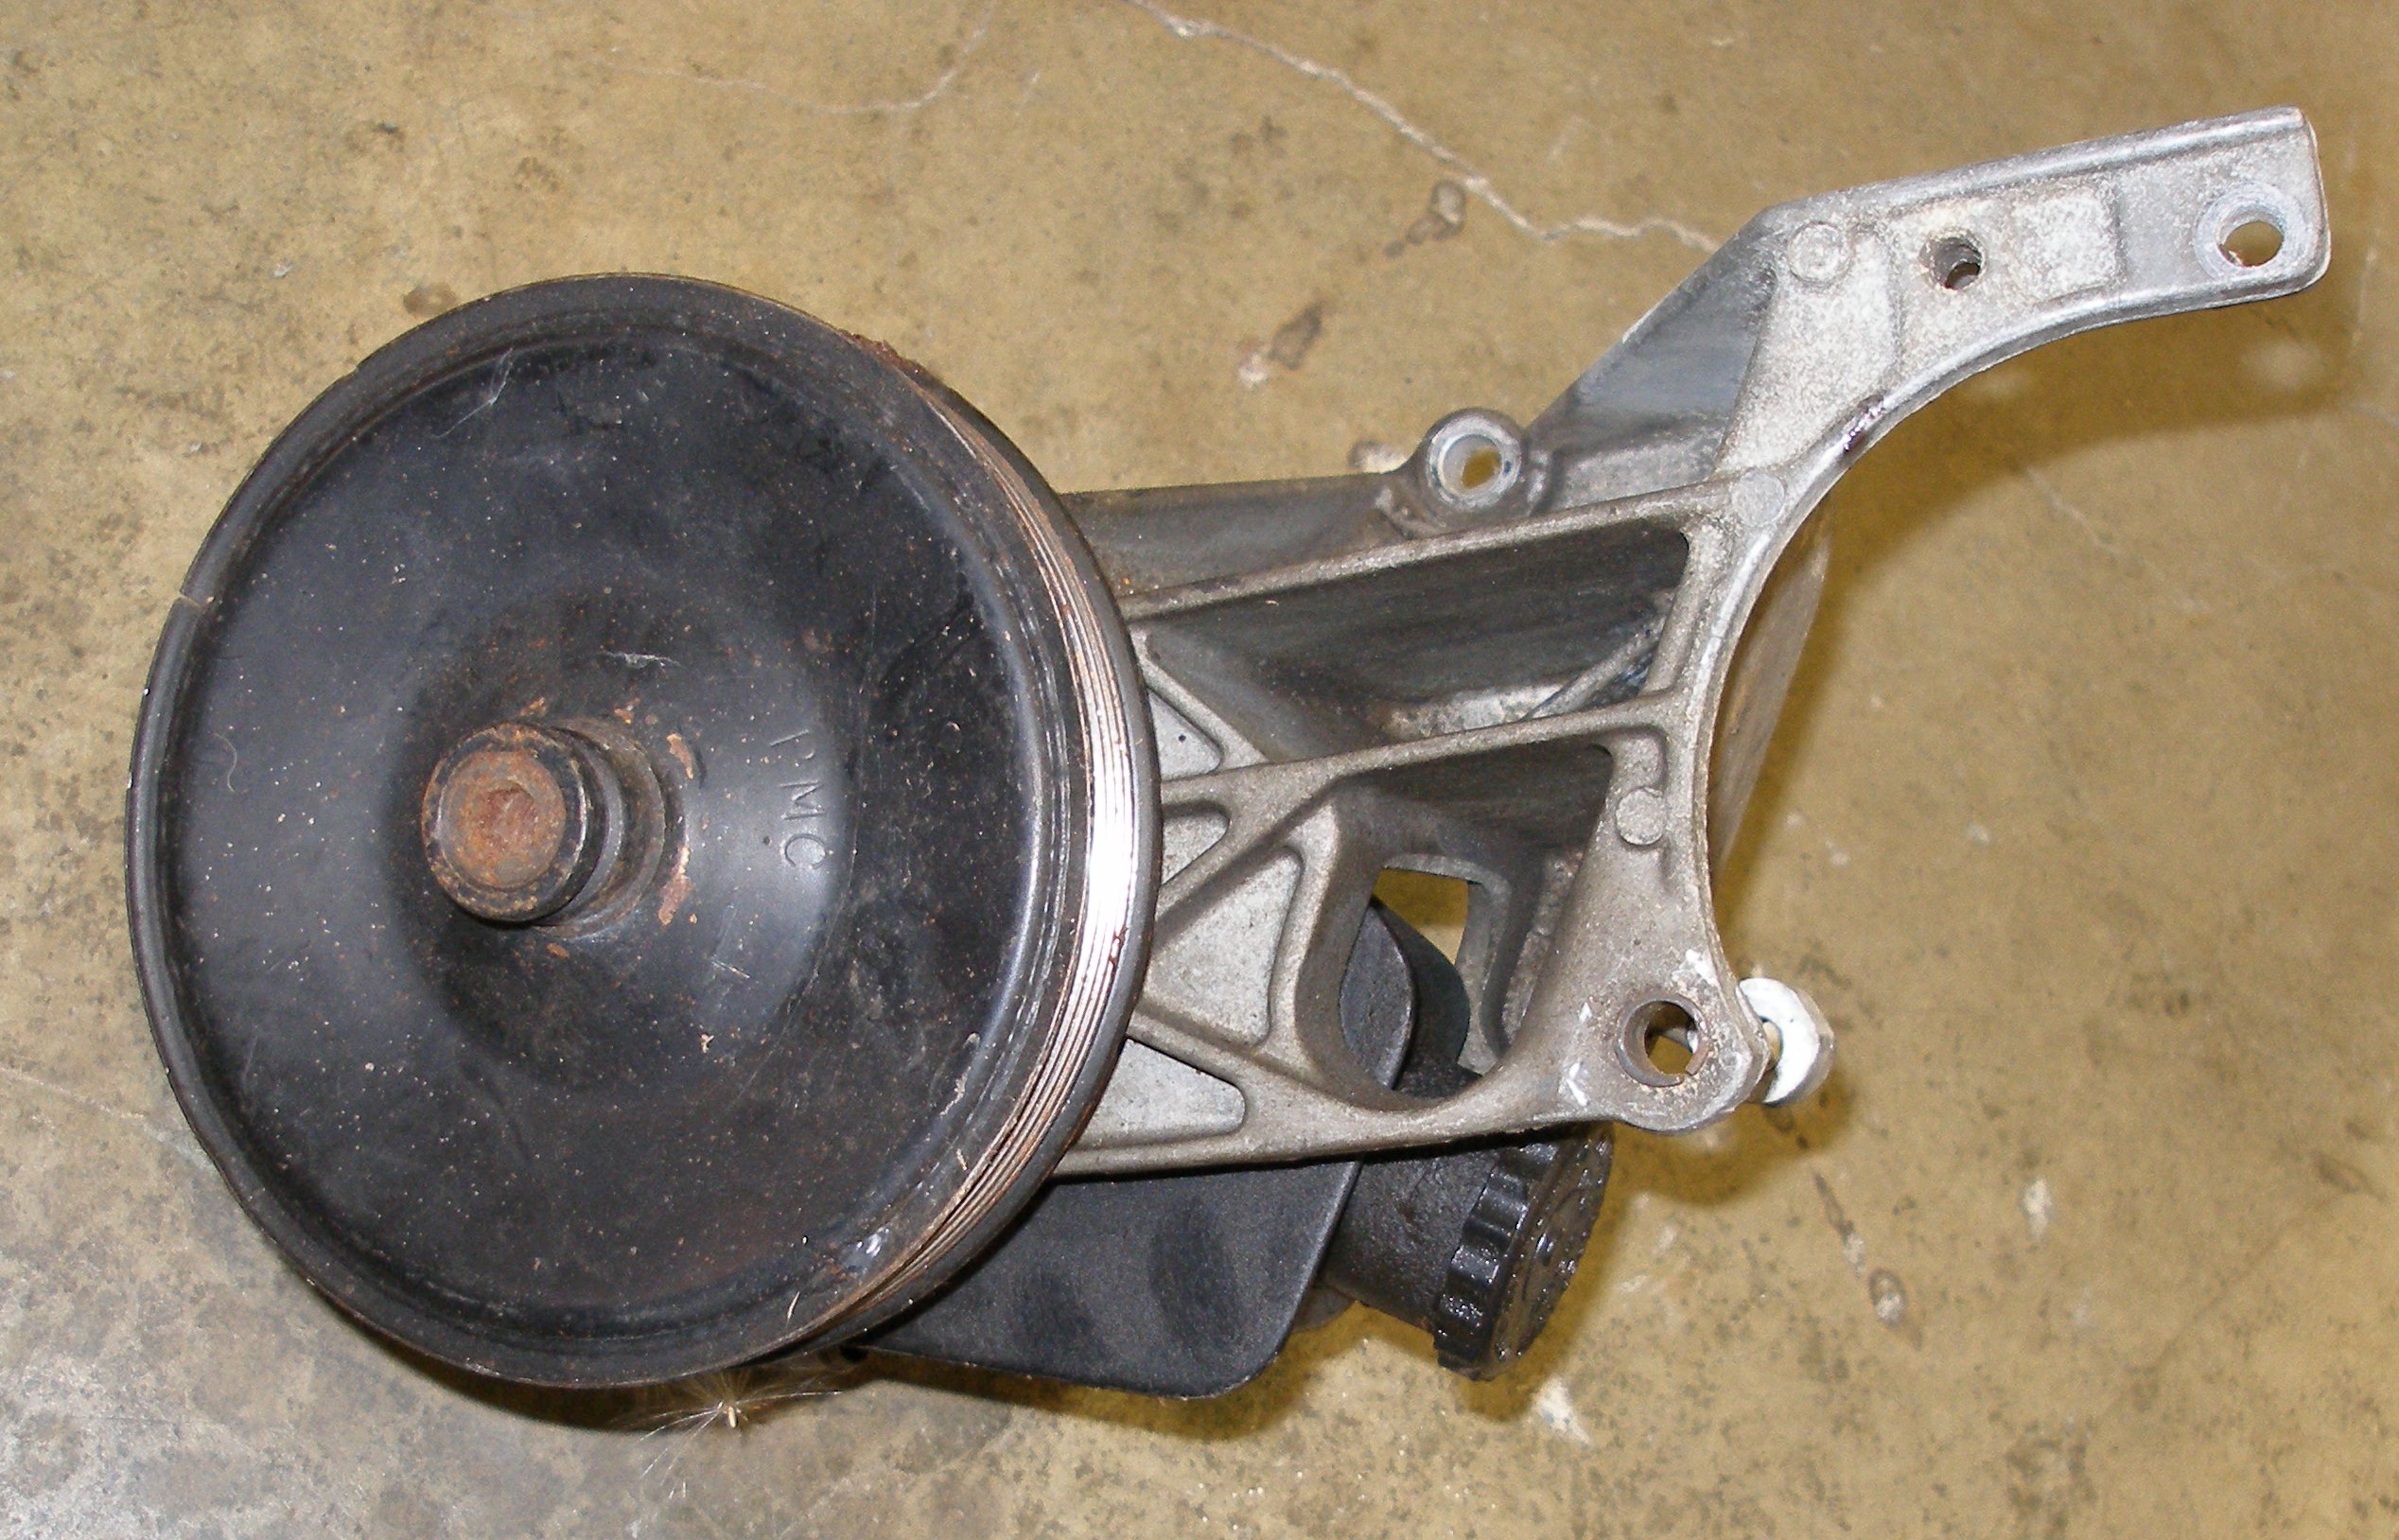
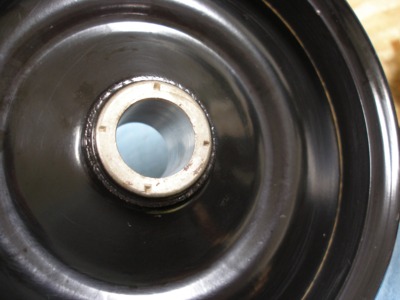
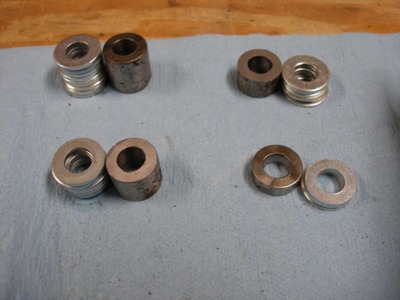
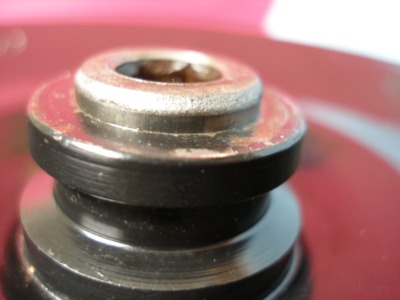
Both the sheave offset and the shaft diameter is different between the two pumps, but the overall size is comparable.
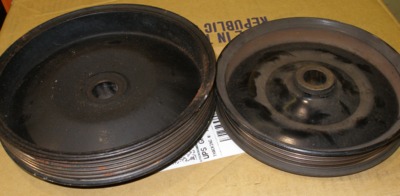
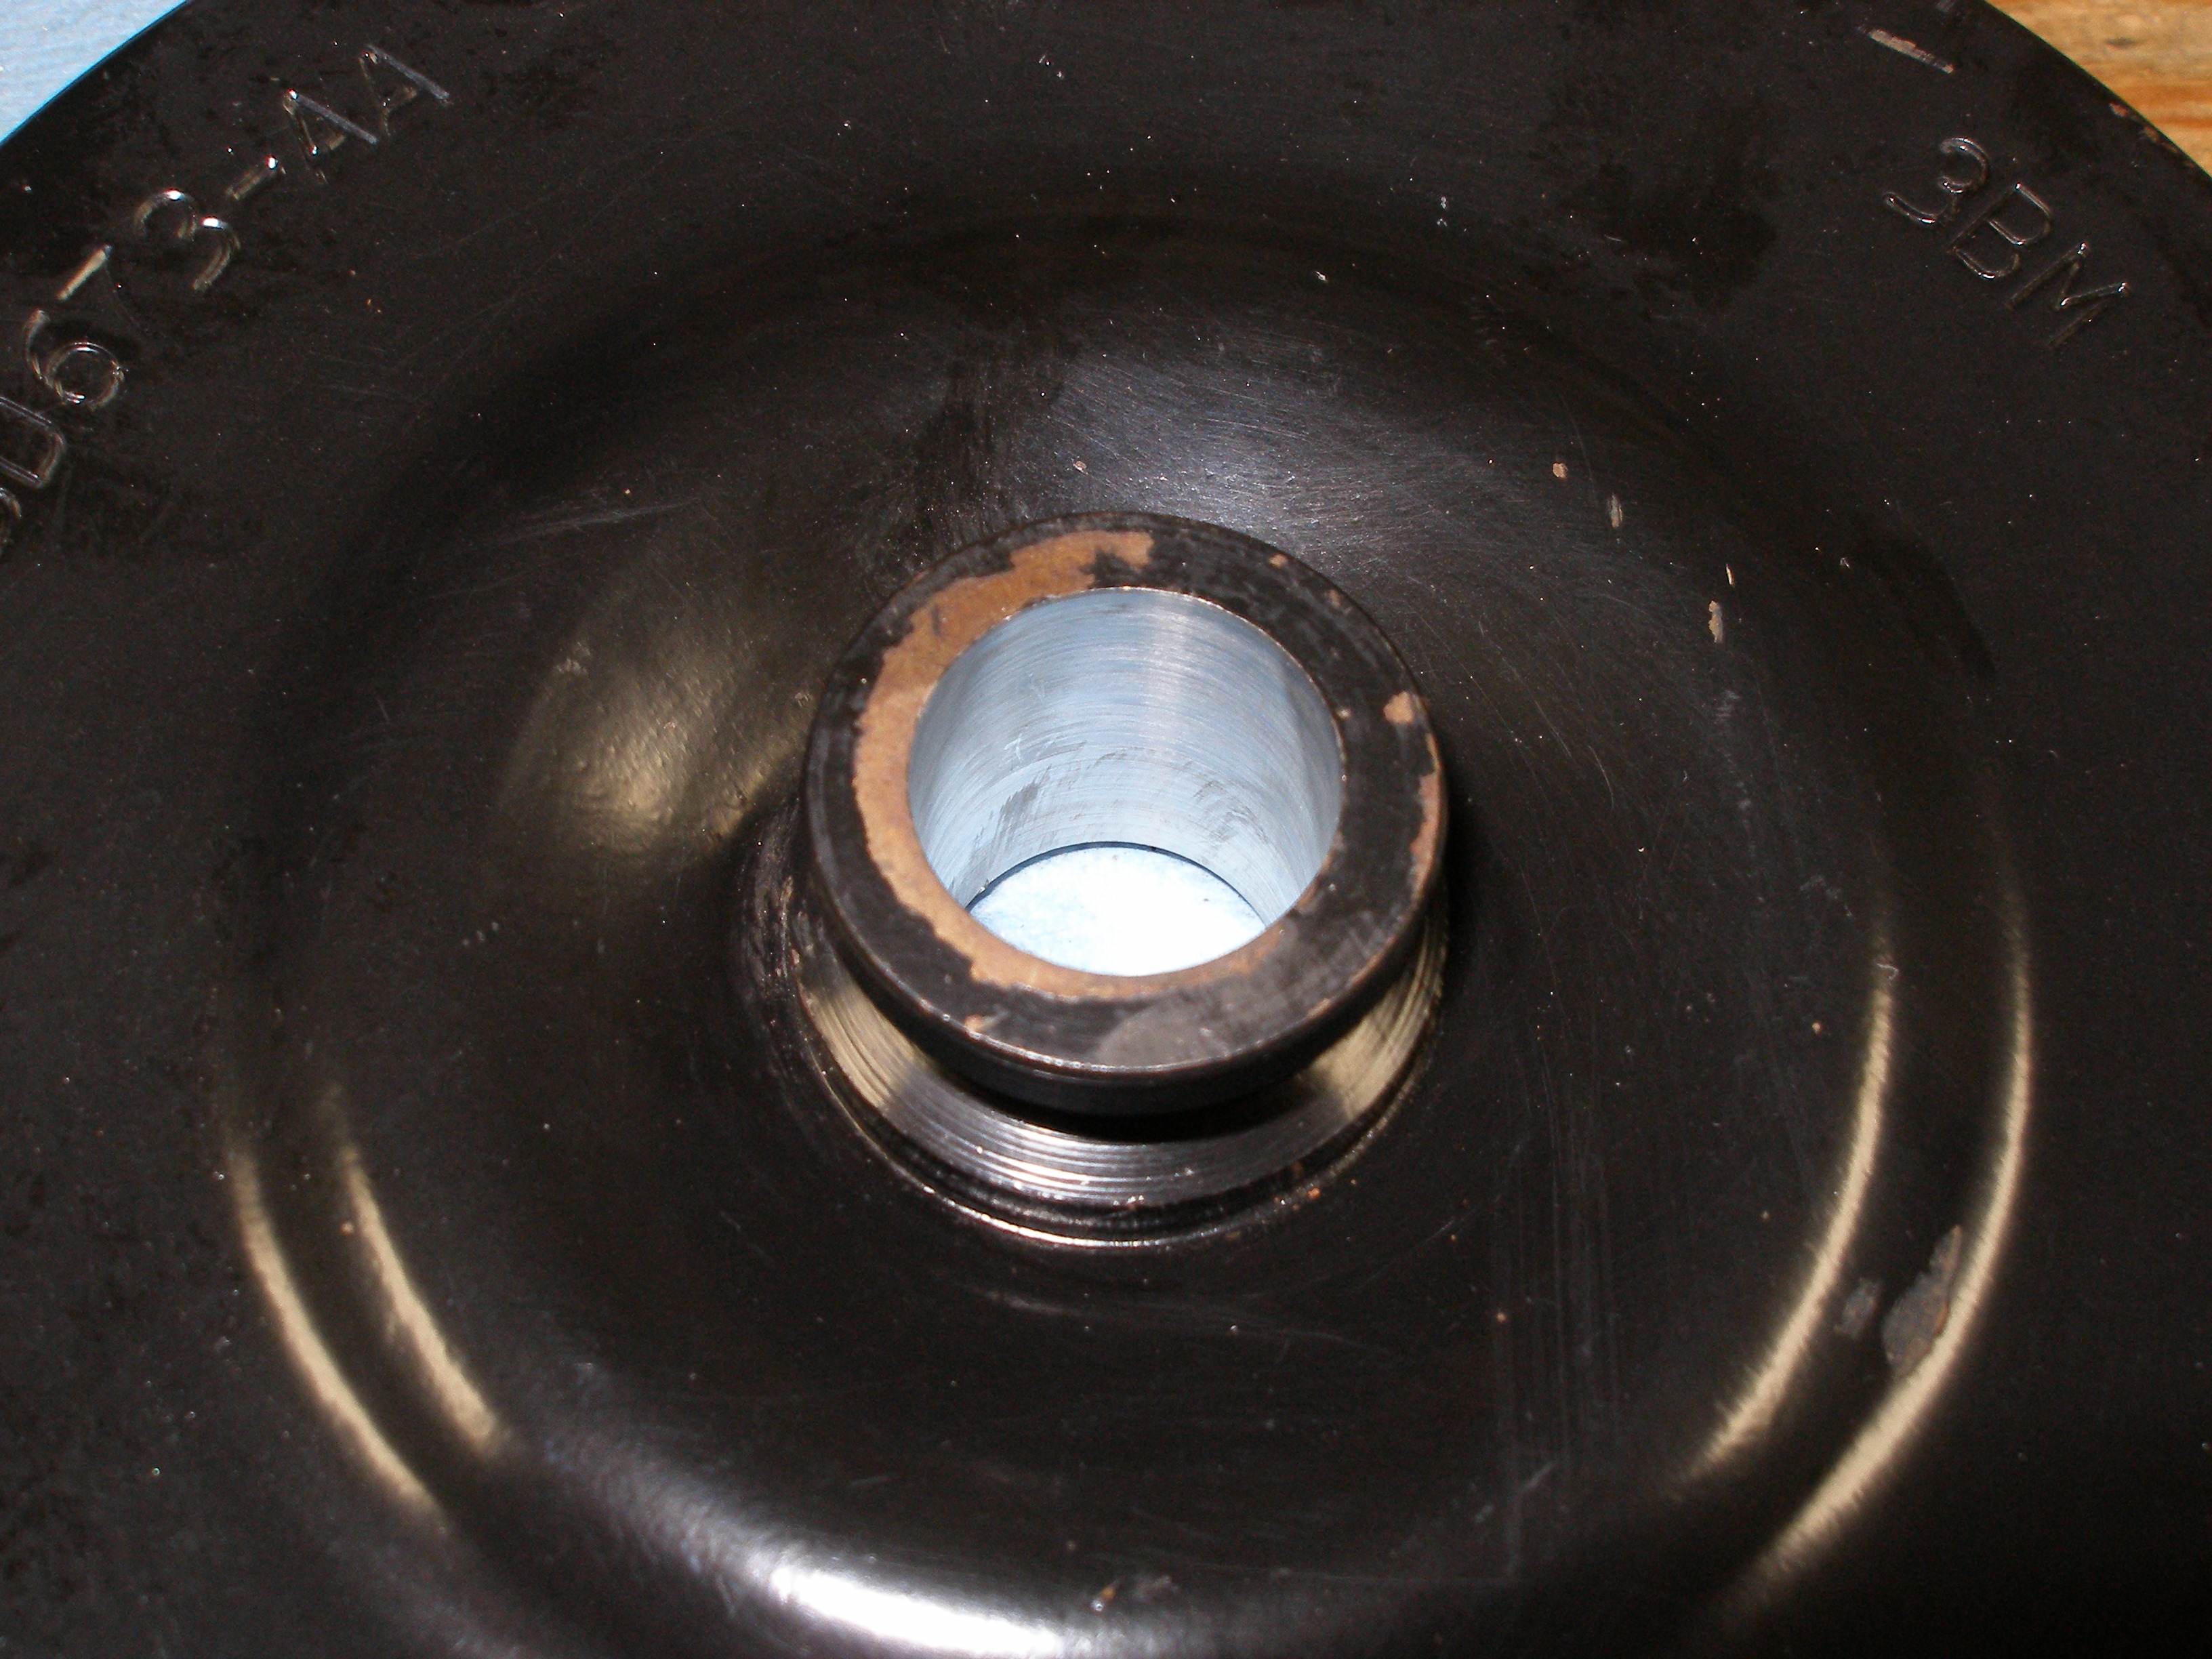
So, I bored the Ford sheave to fit the Saginaw shaft. I bored to about .7485 (ie about 1.5 thou interference fit at room temp).

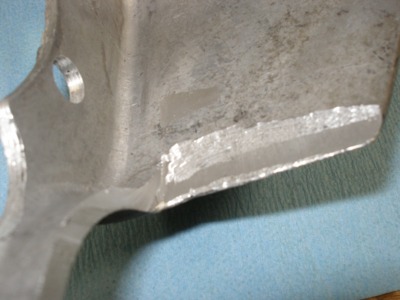
Later, I found that I had to remove some material off the backside to get correct belt alignment.
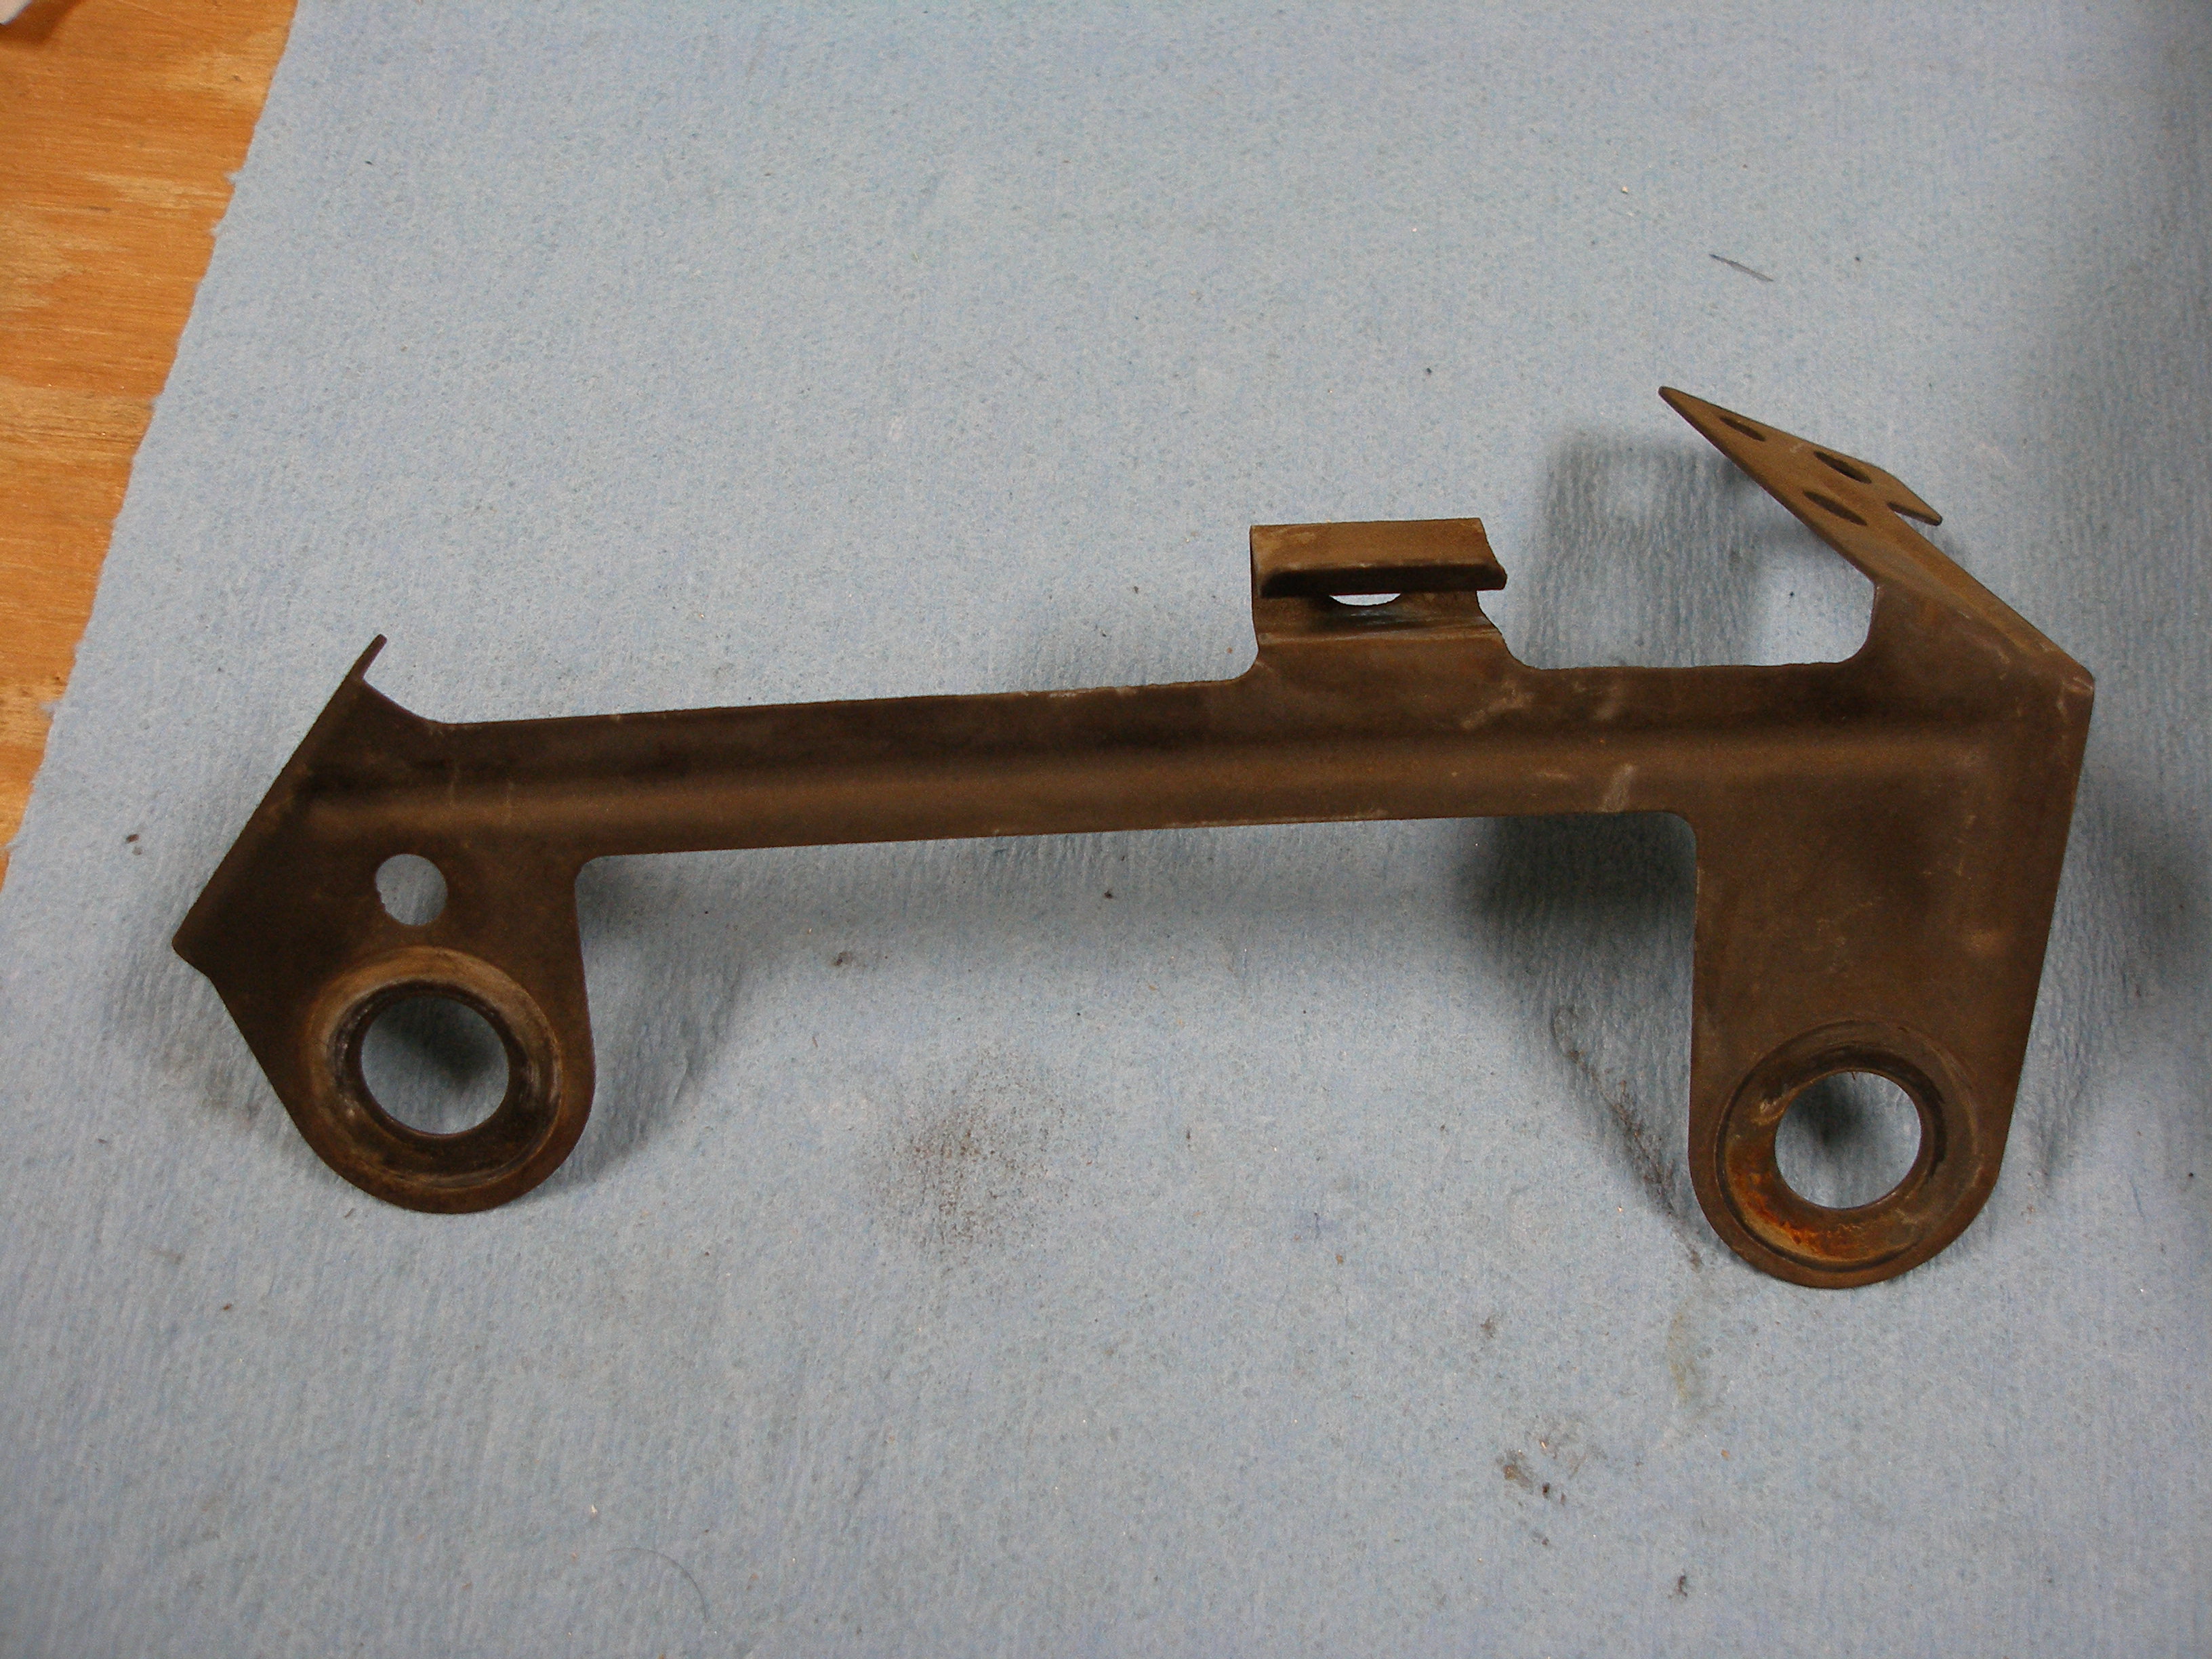
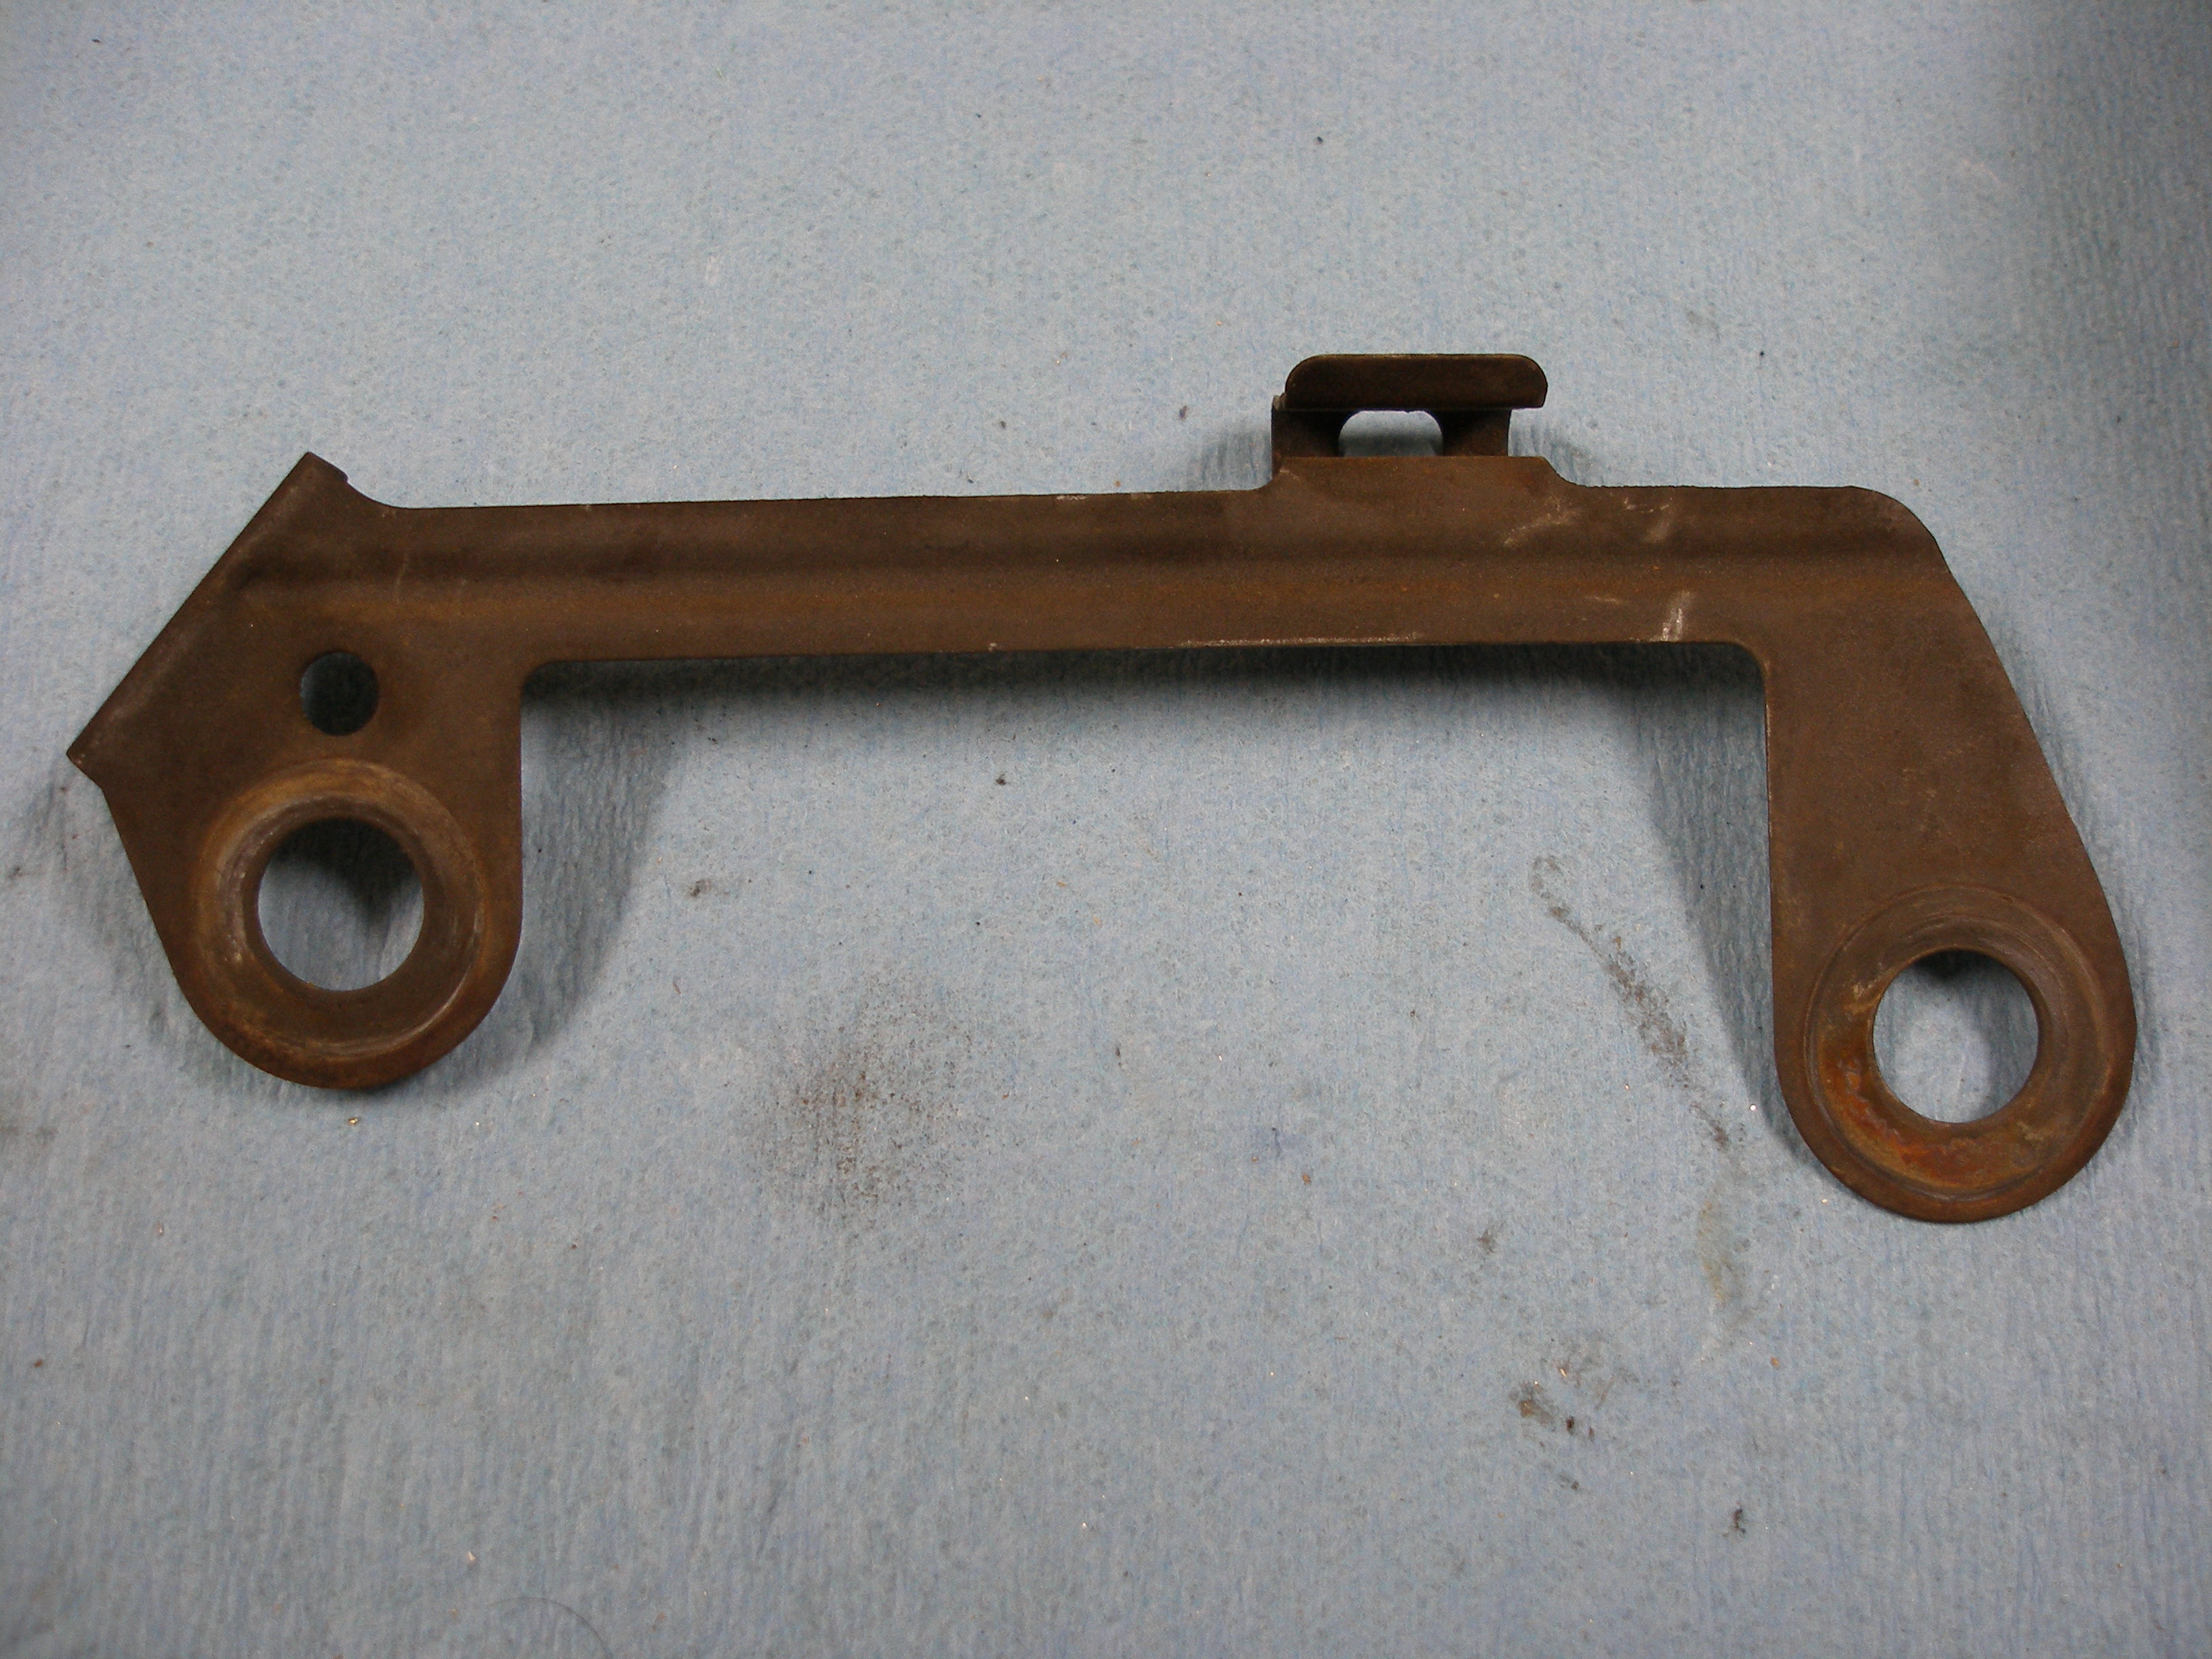
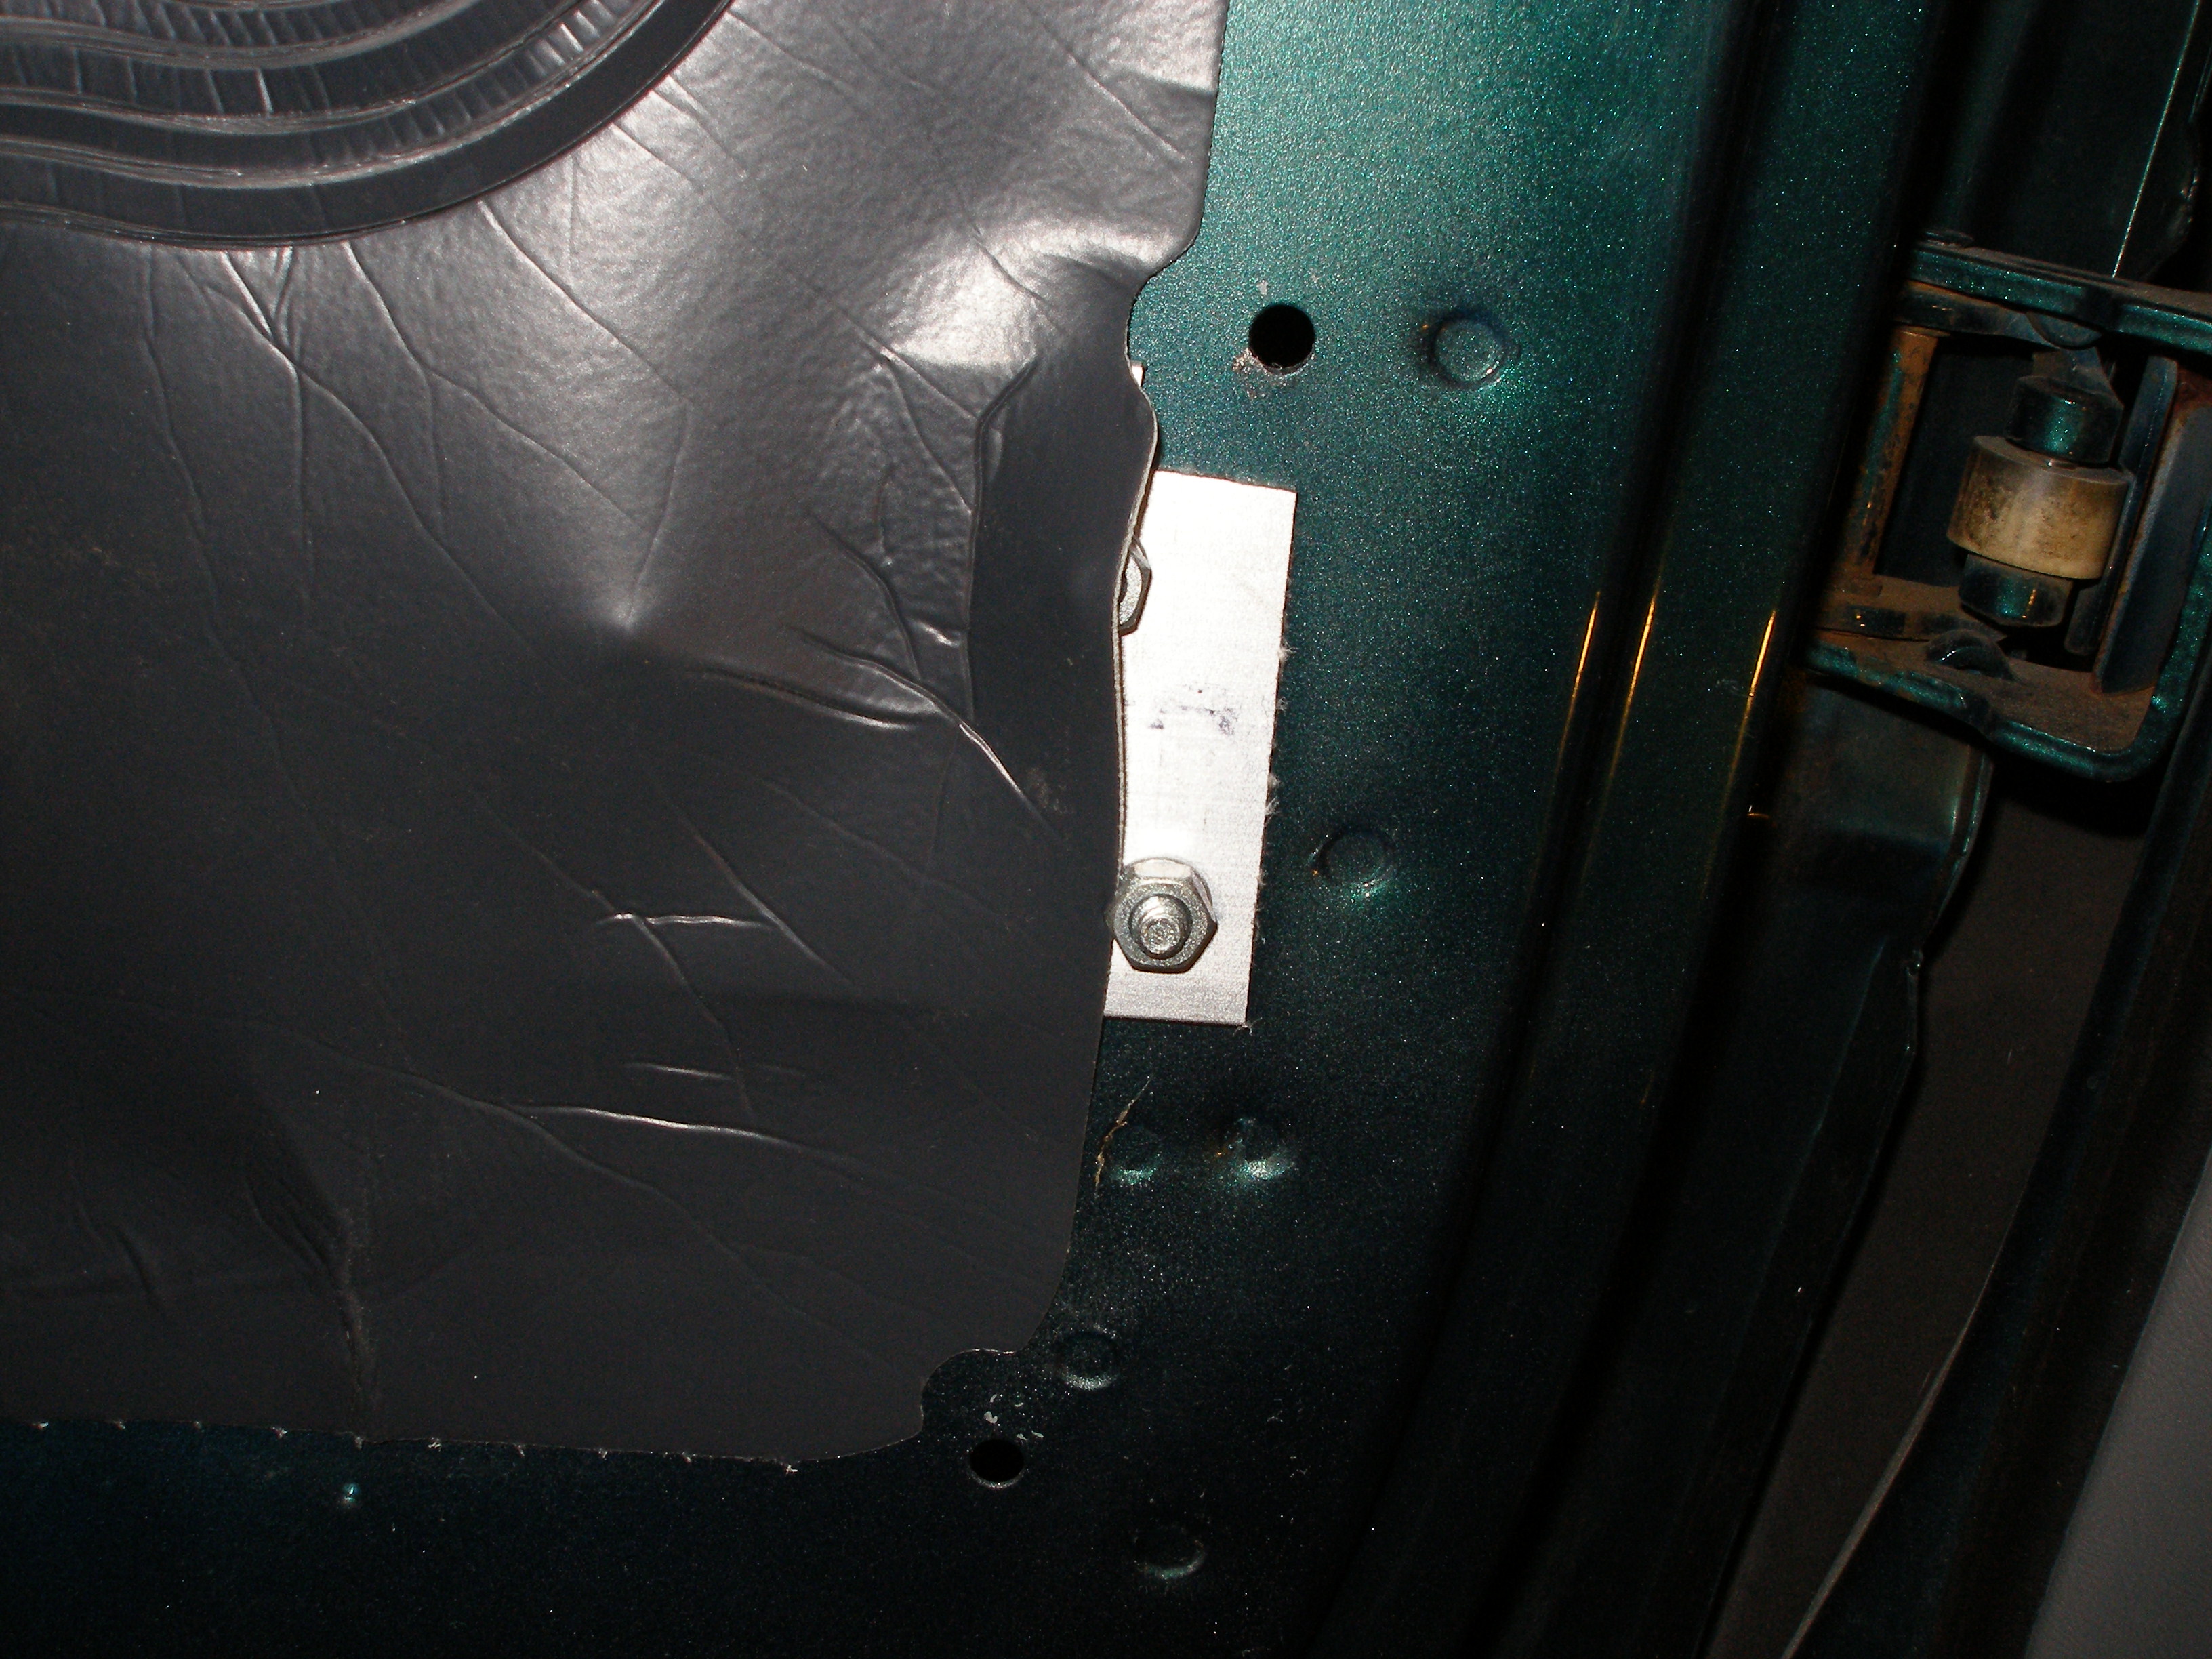
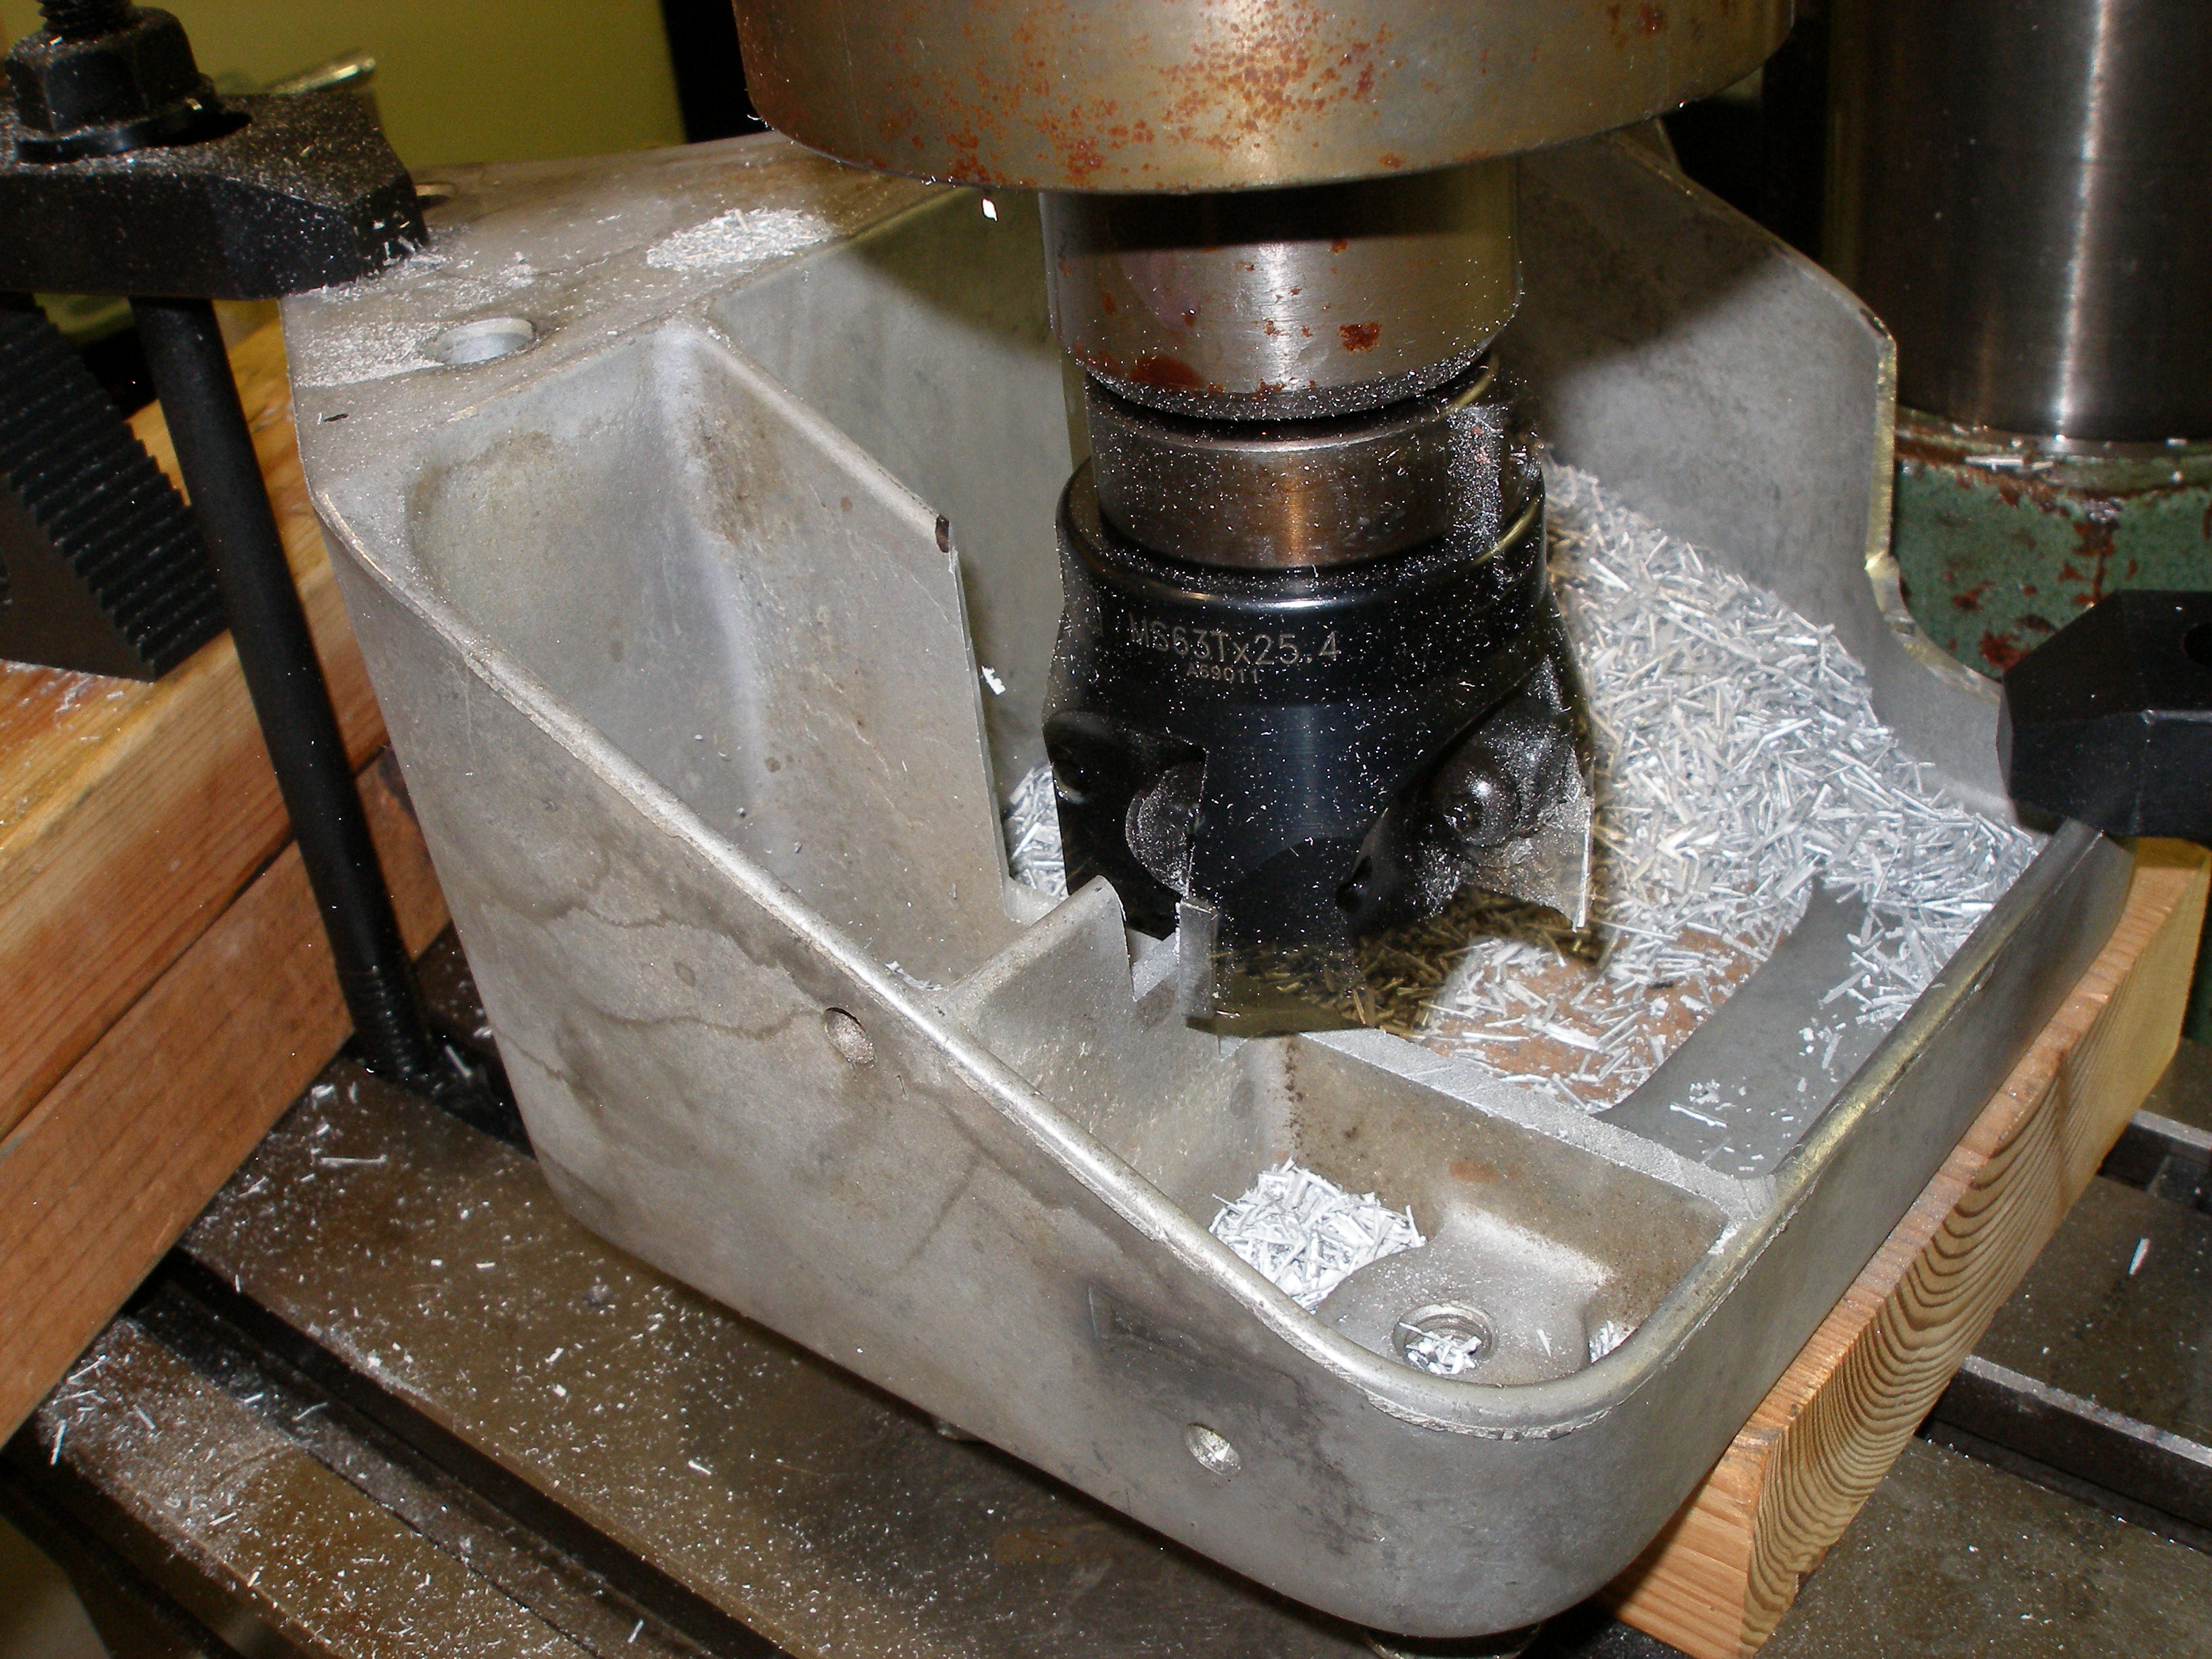
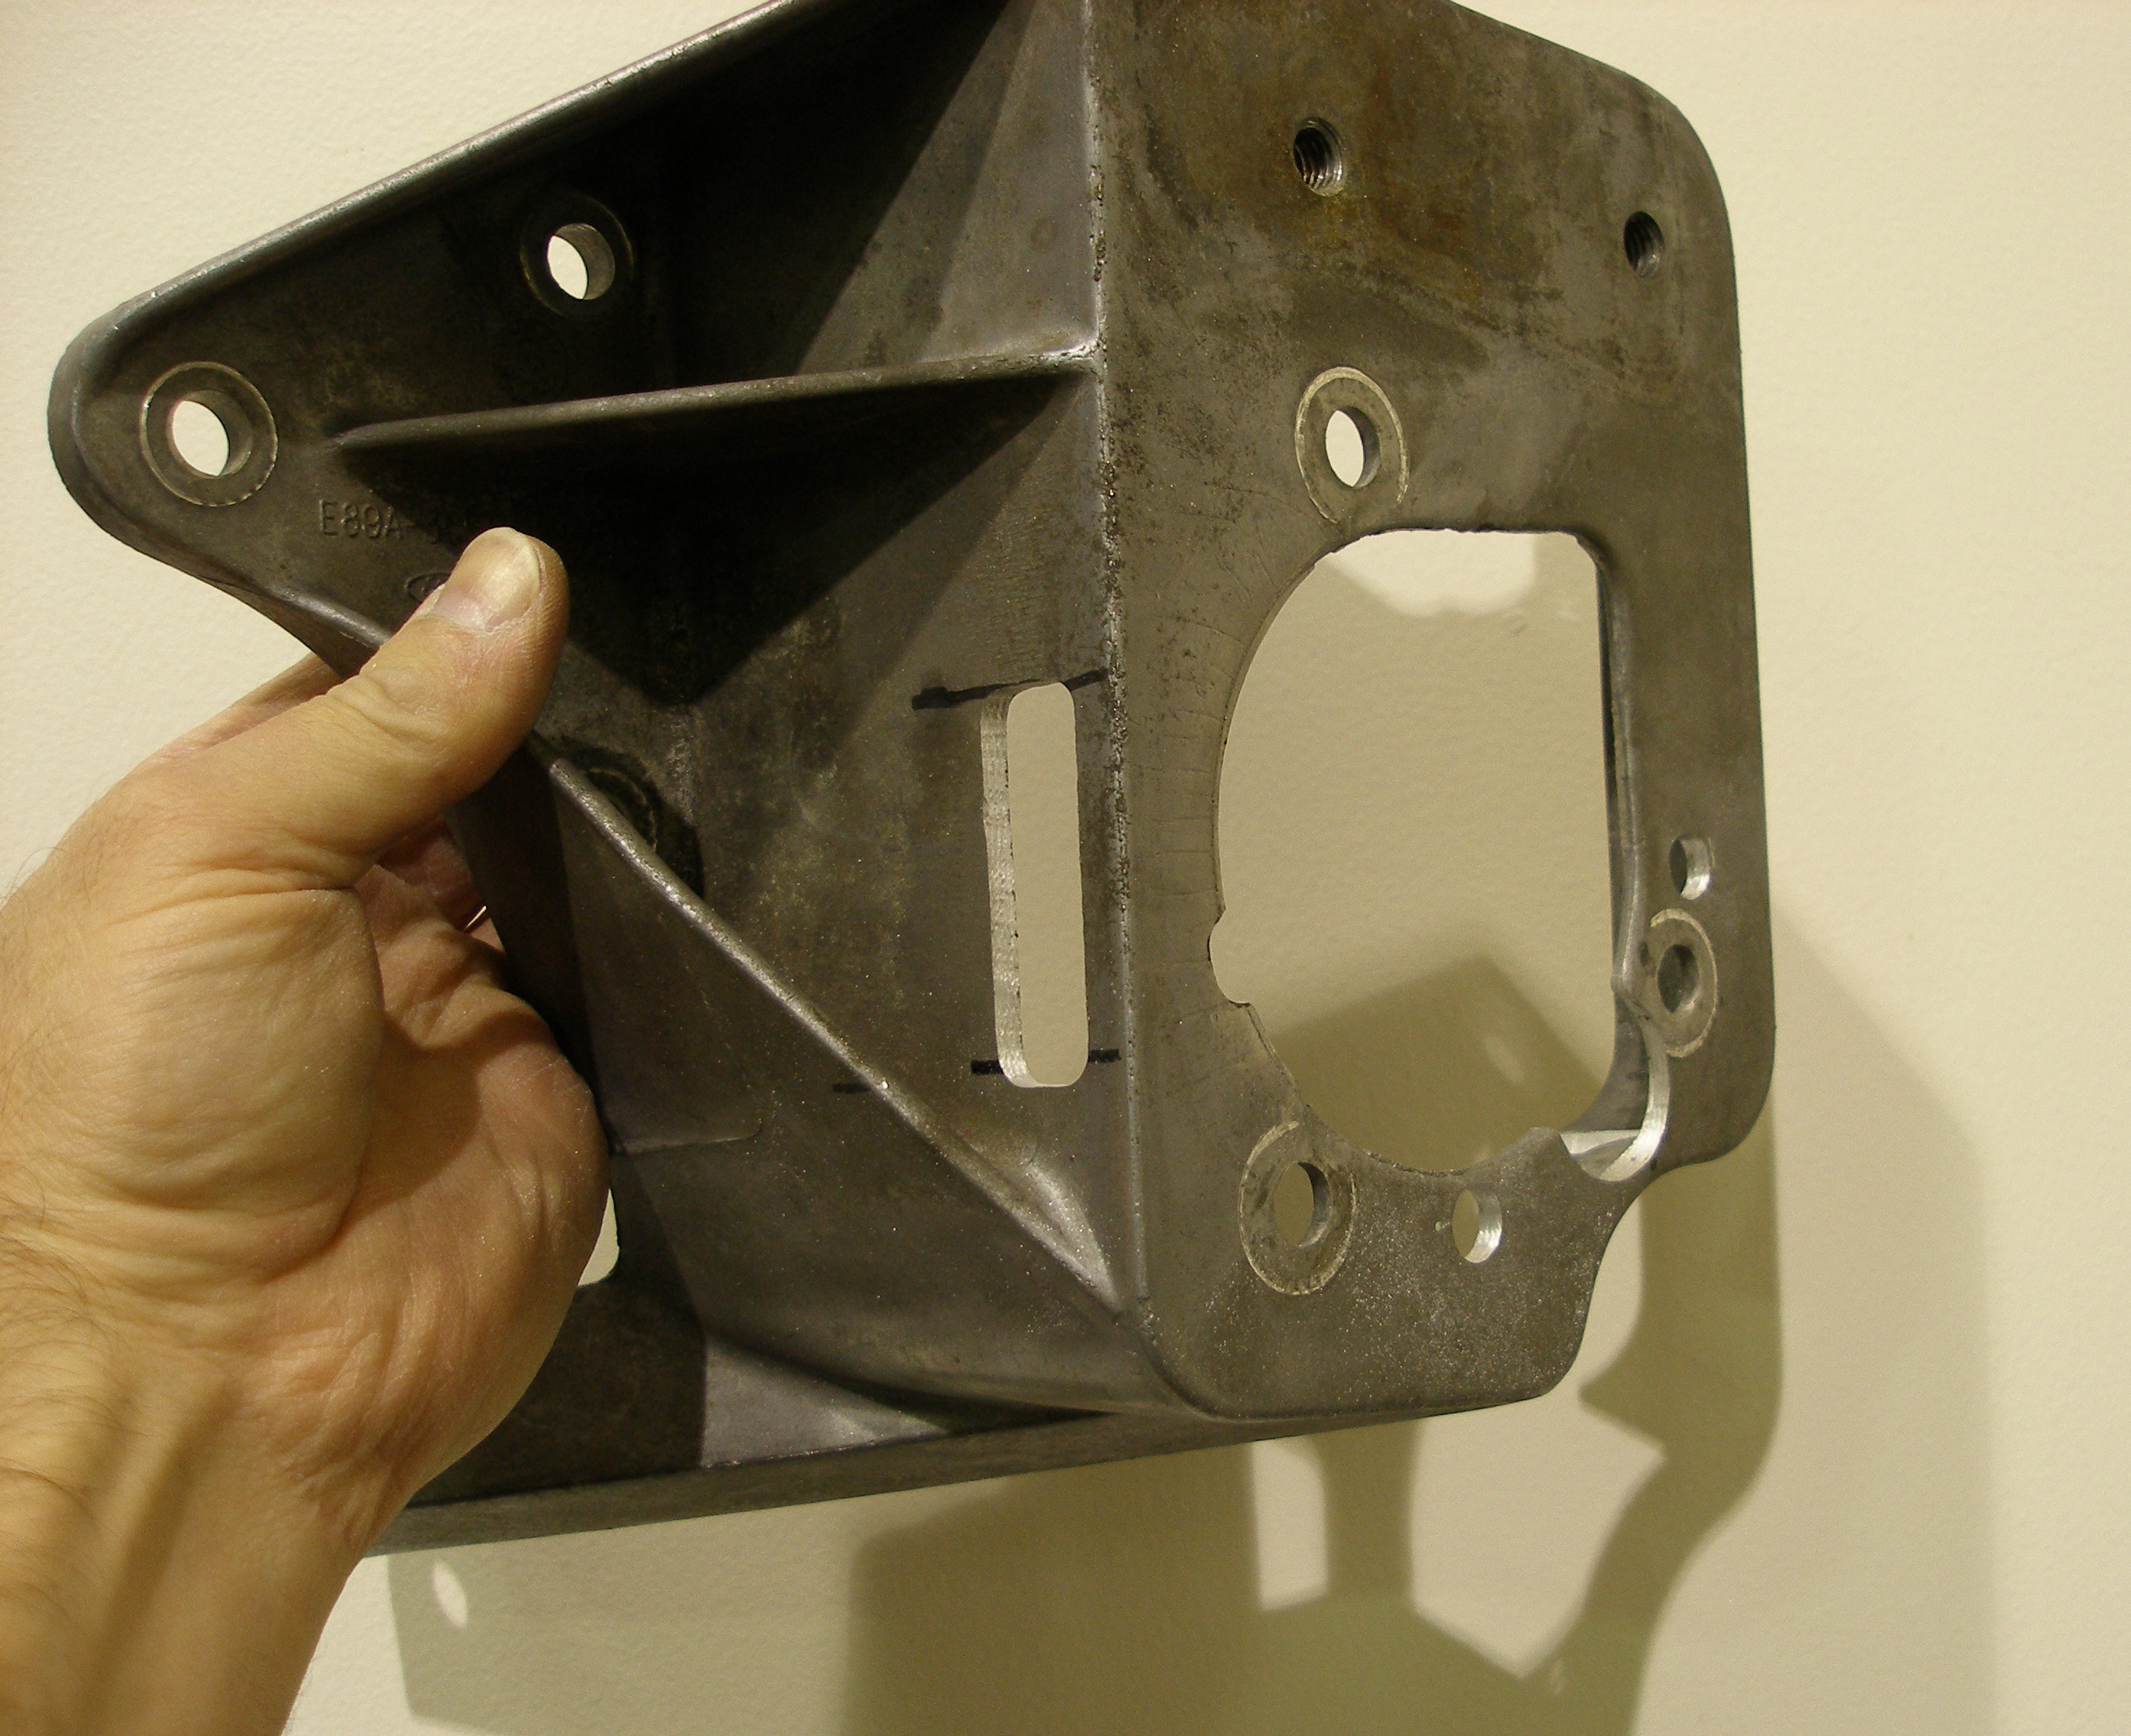
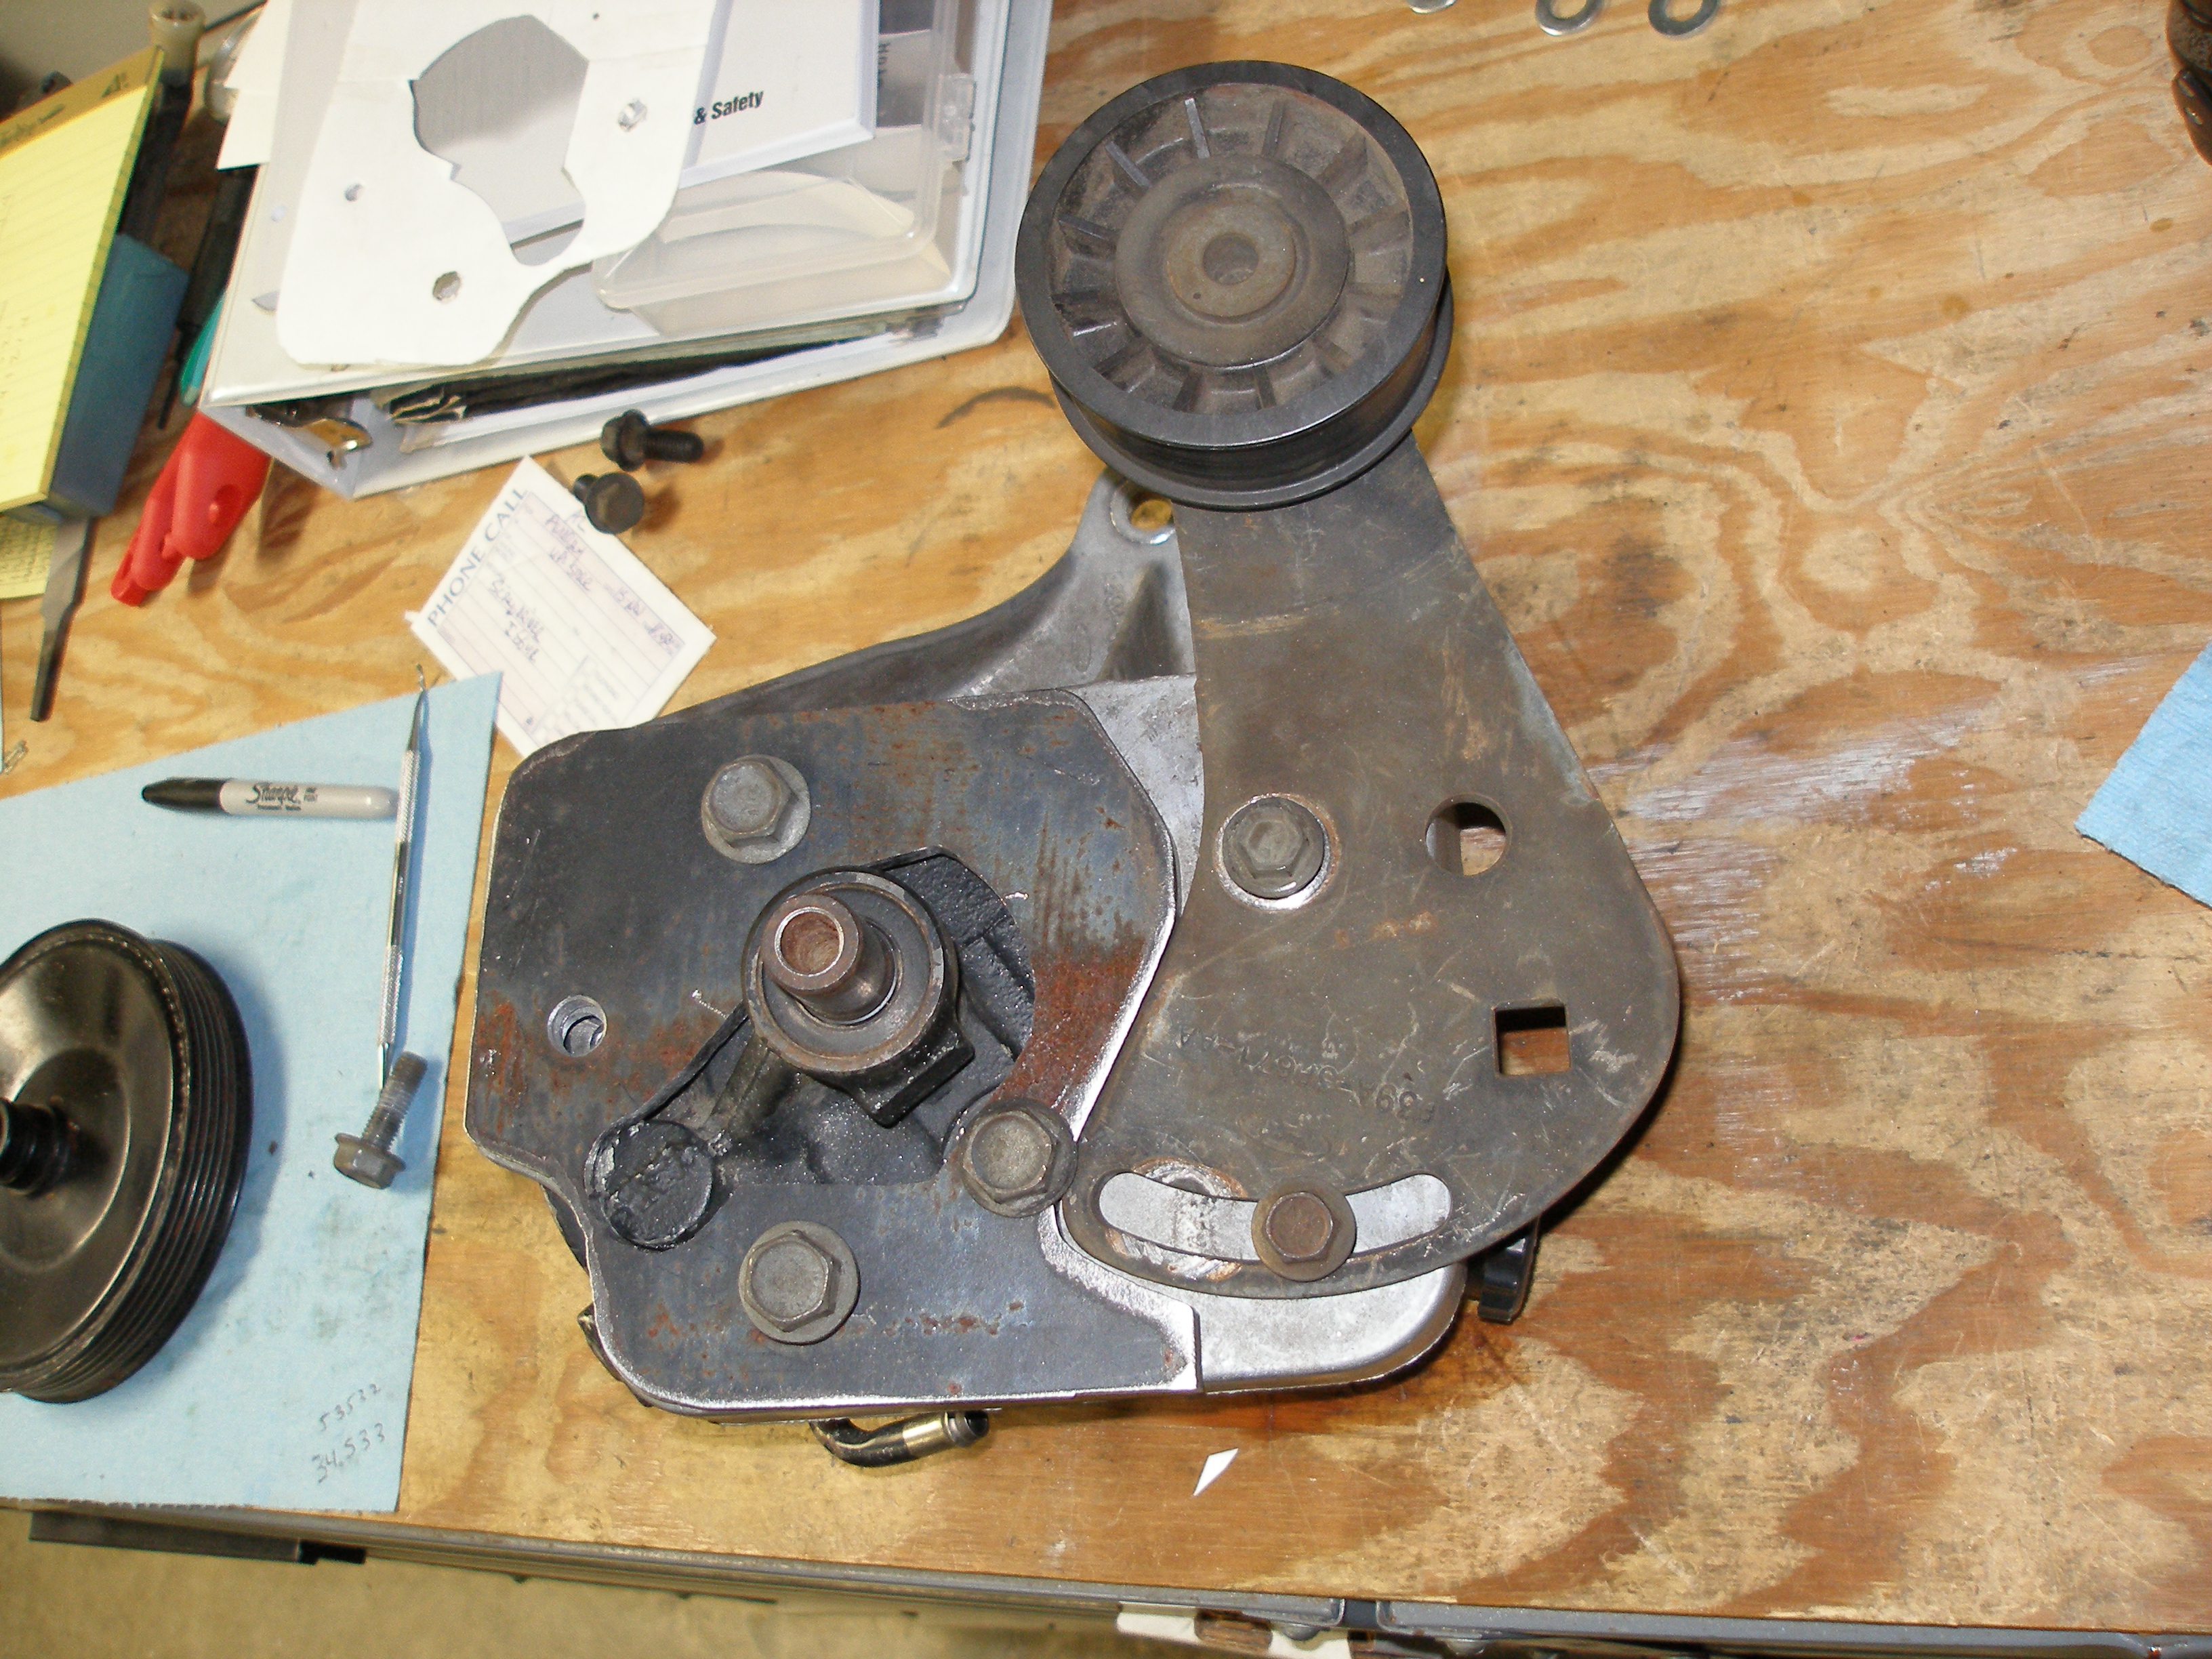
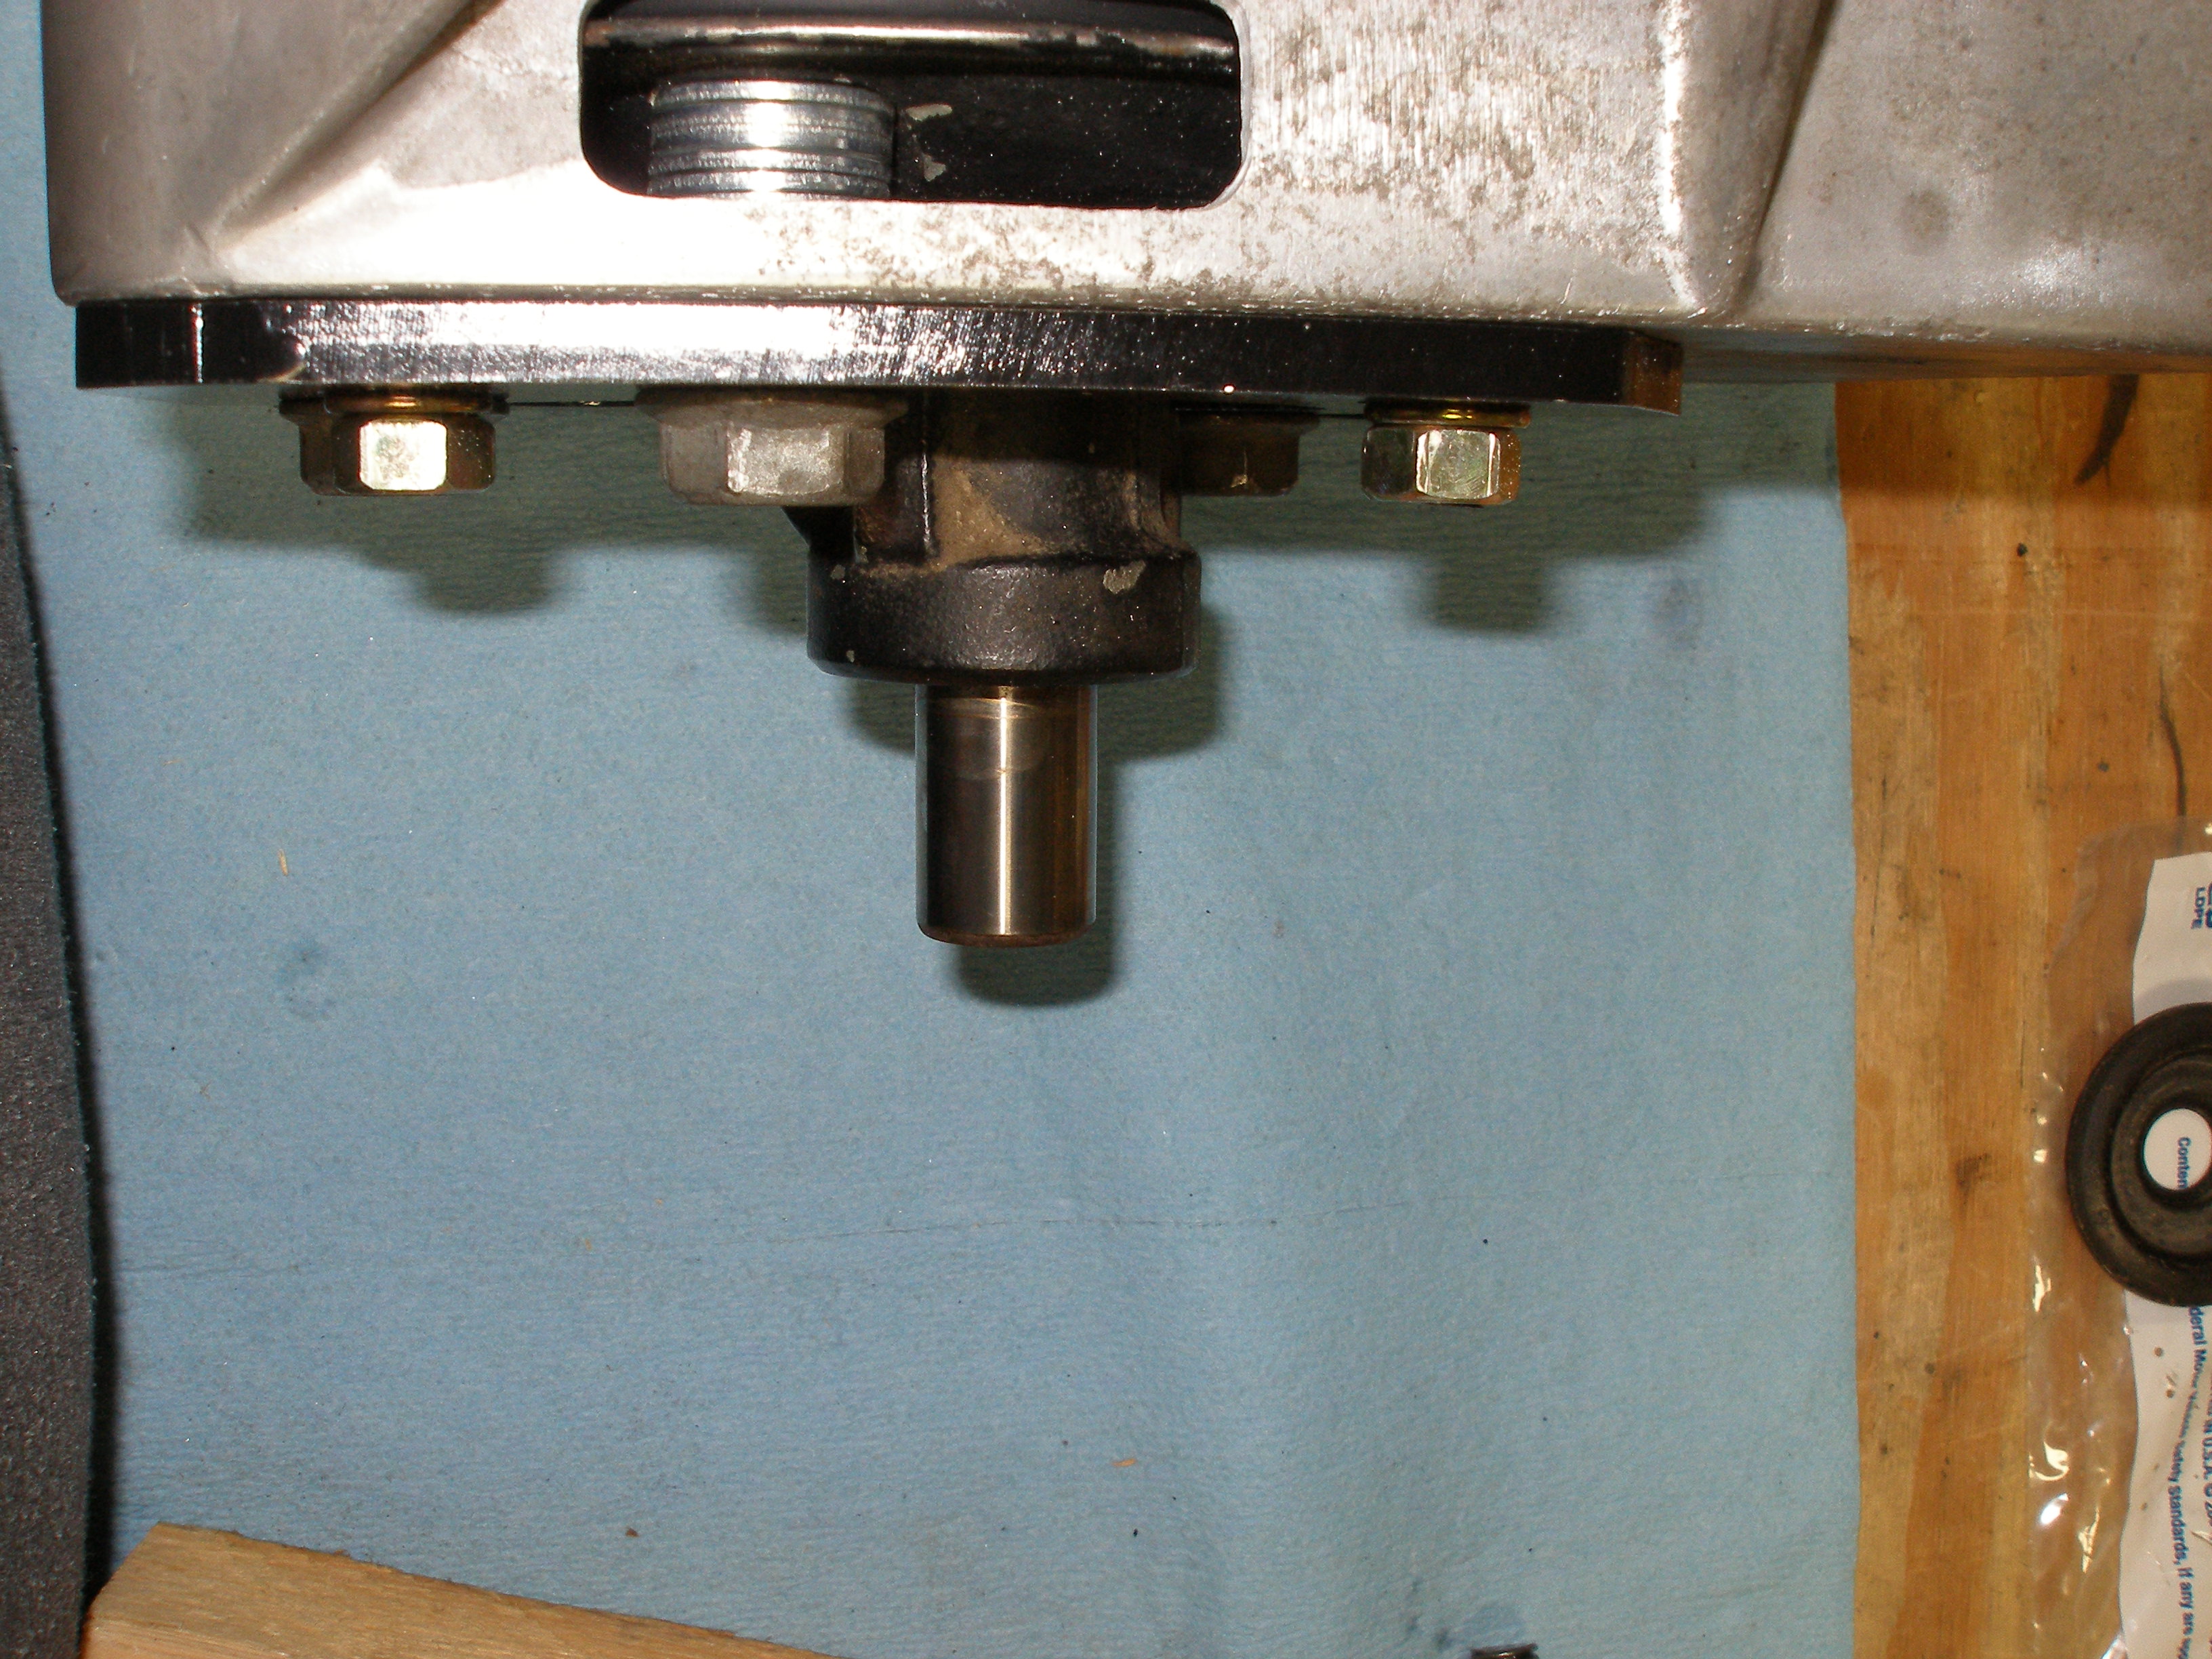
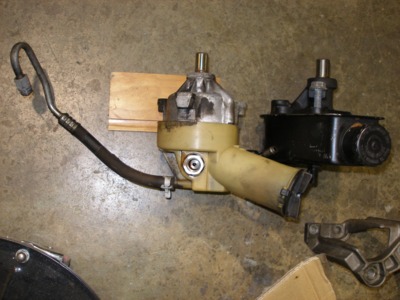
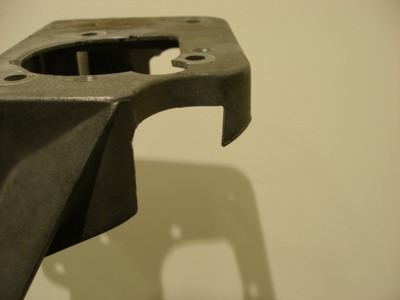
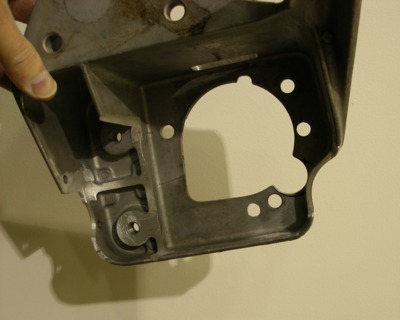
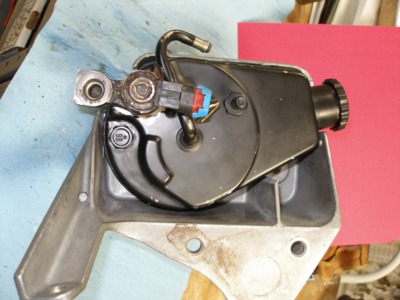
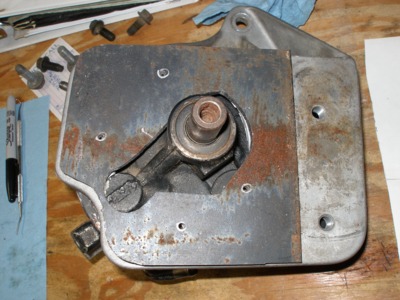
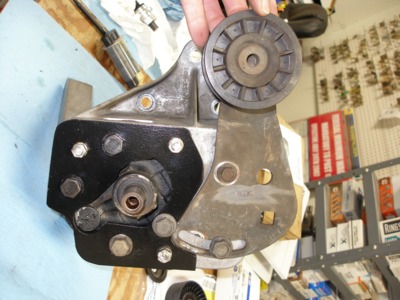
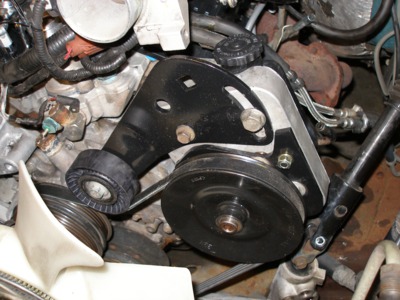
I heavily modified the OEM PS mount to fit the Saginaw pump entirely within the OEM footprint. This was more work than I originally anticipated.
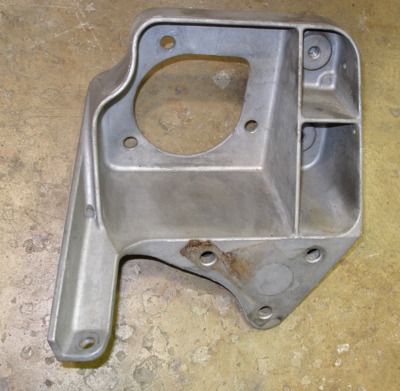


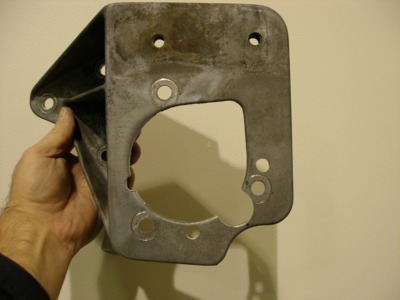

Now the pump will fit within the OEM mount's footprint:
But I've removed so much internal bracing etc. that I'm afeared there may not be enough for long-term durability (ie it might crack).

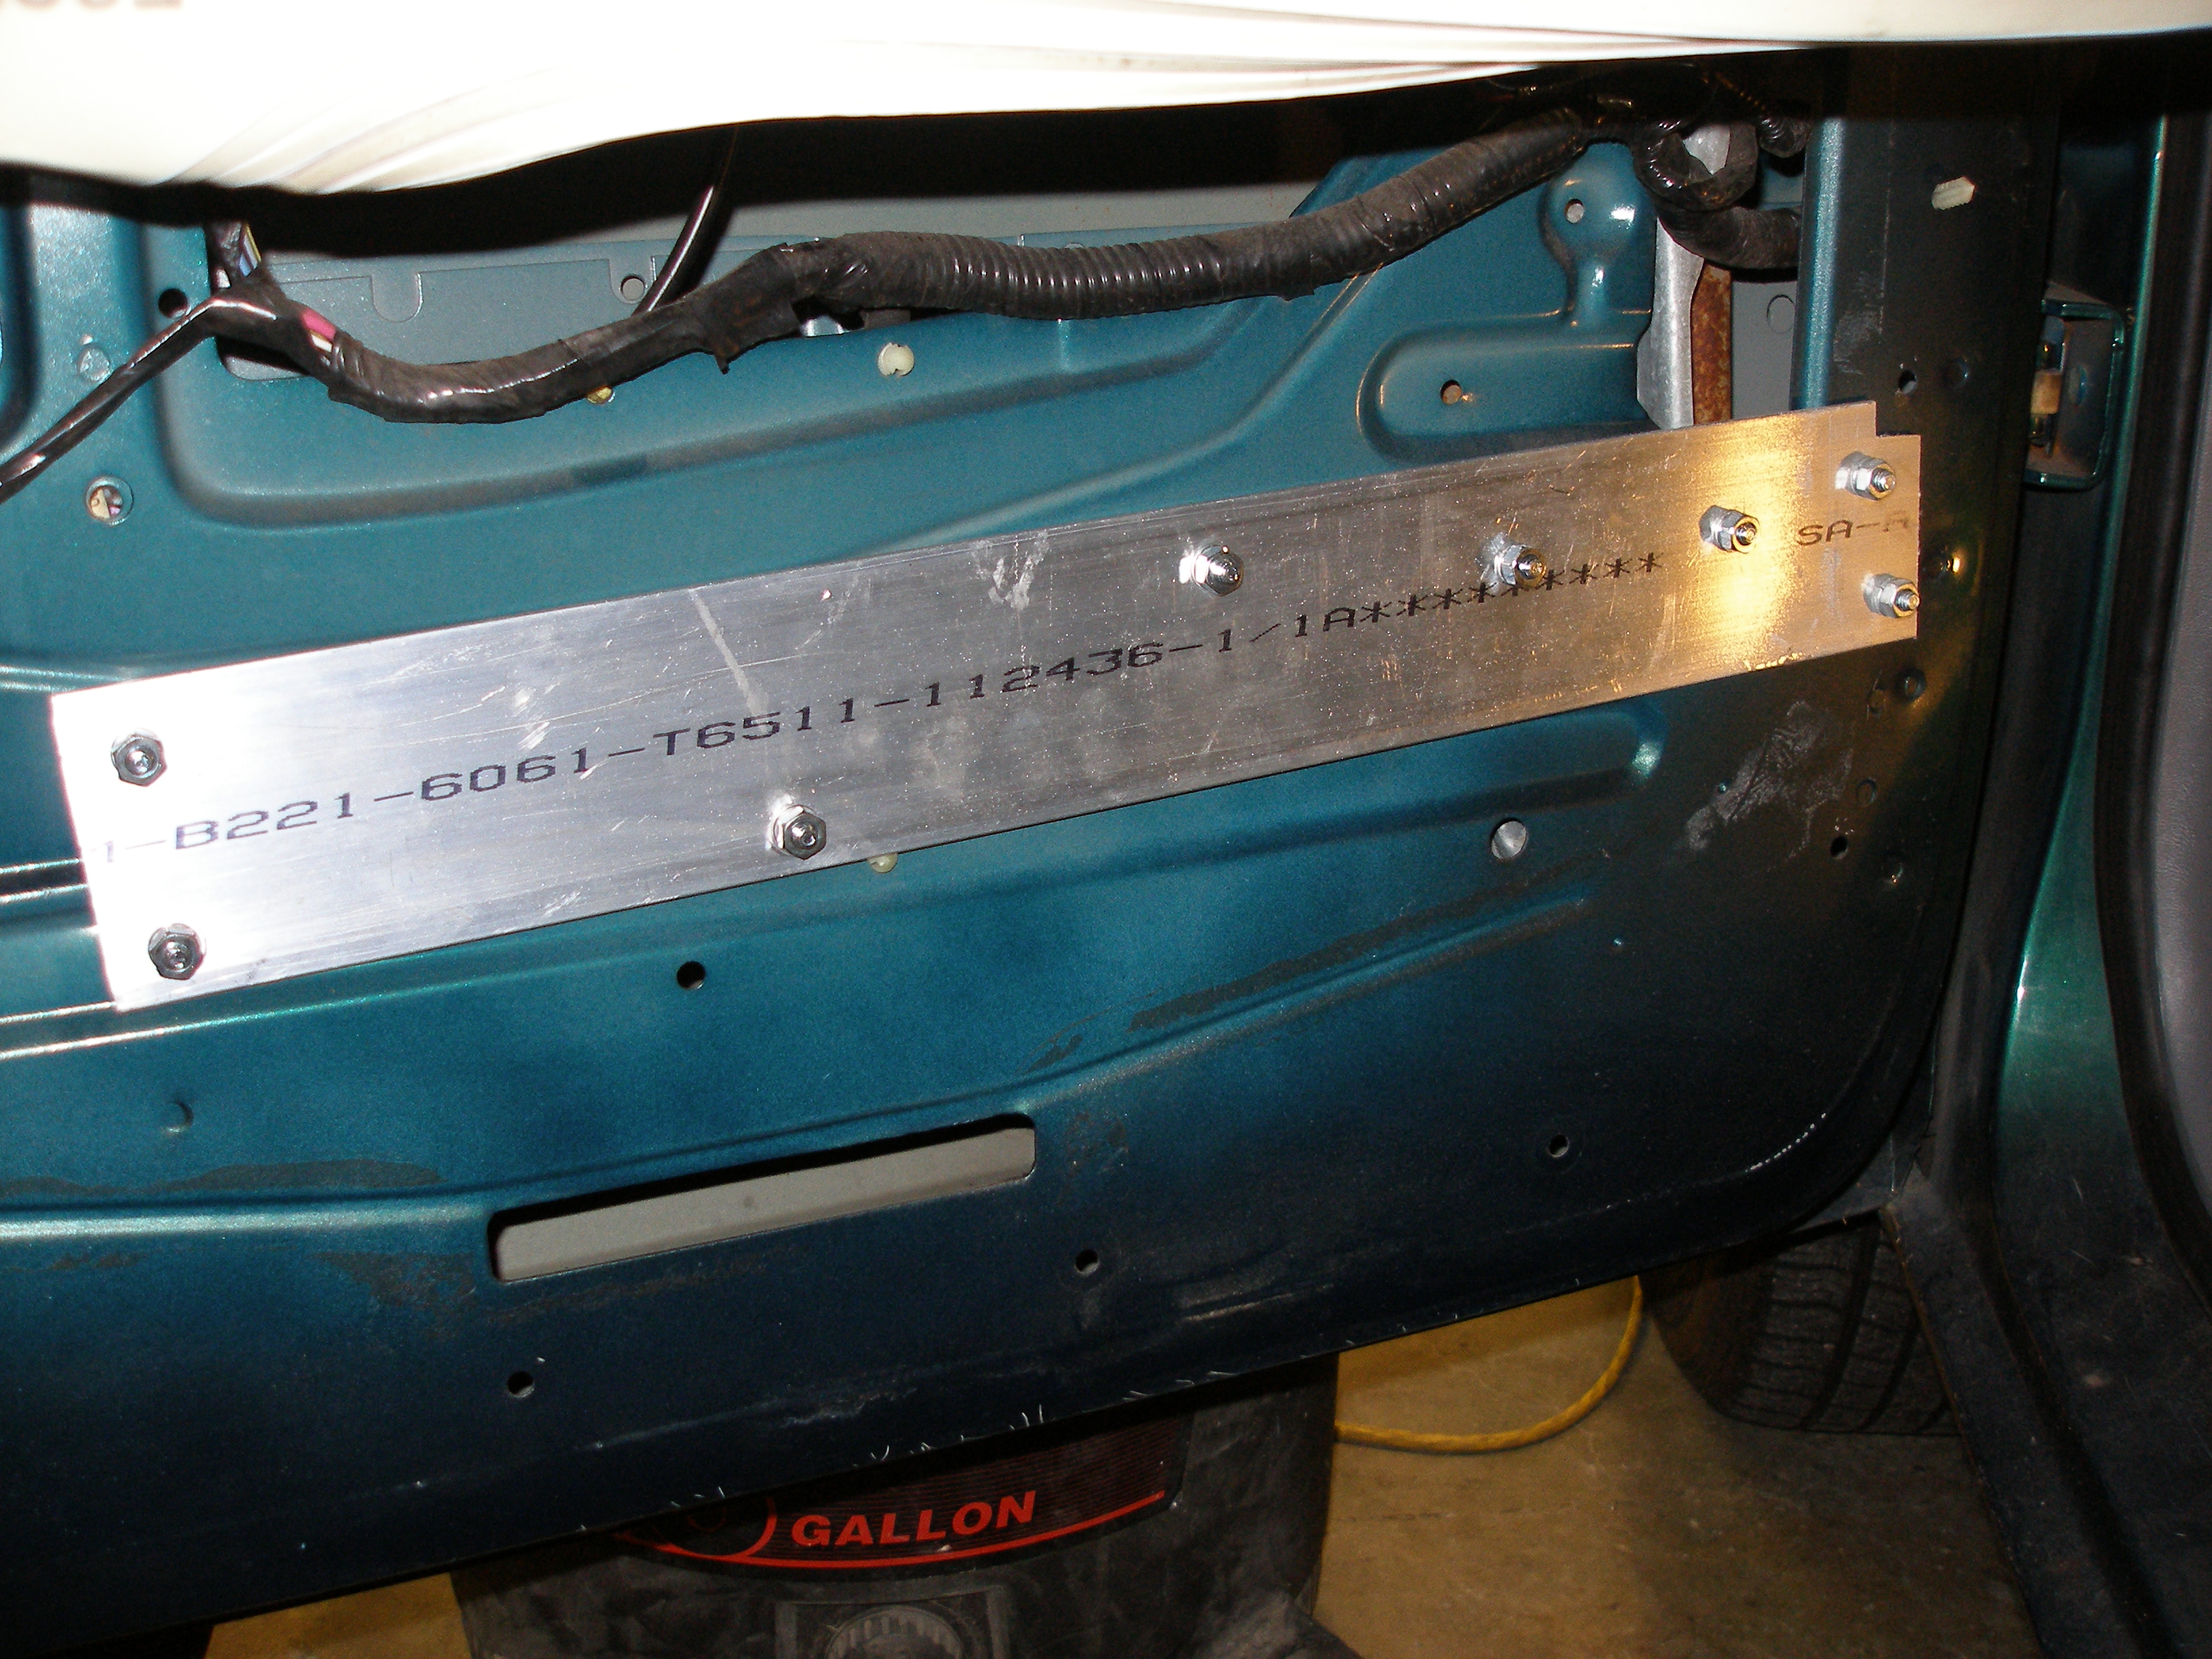
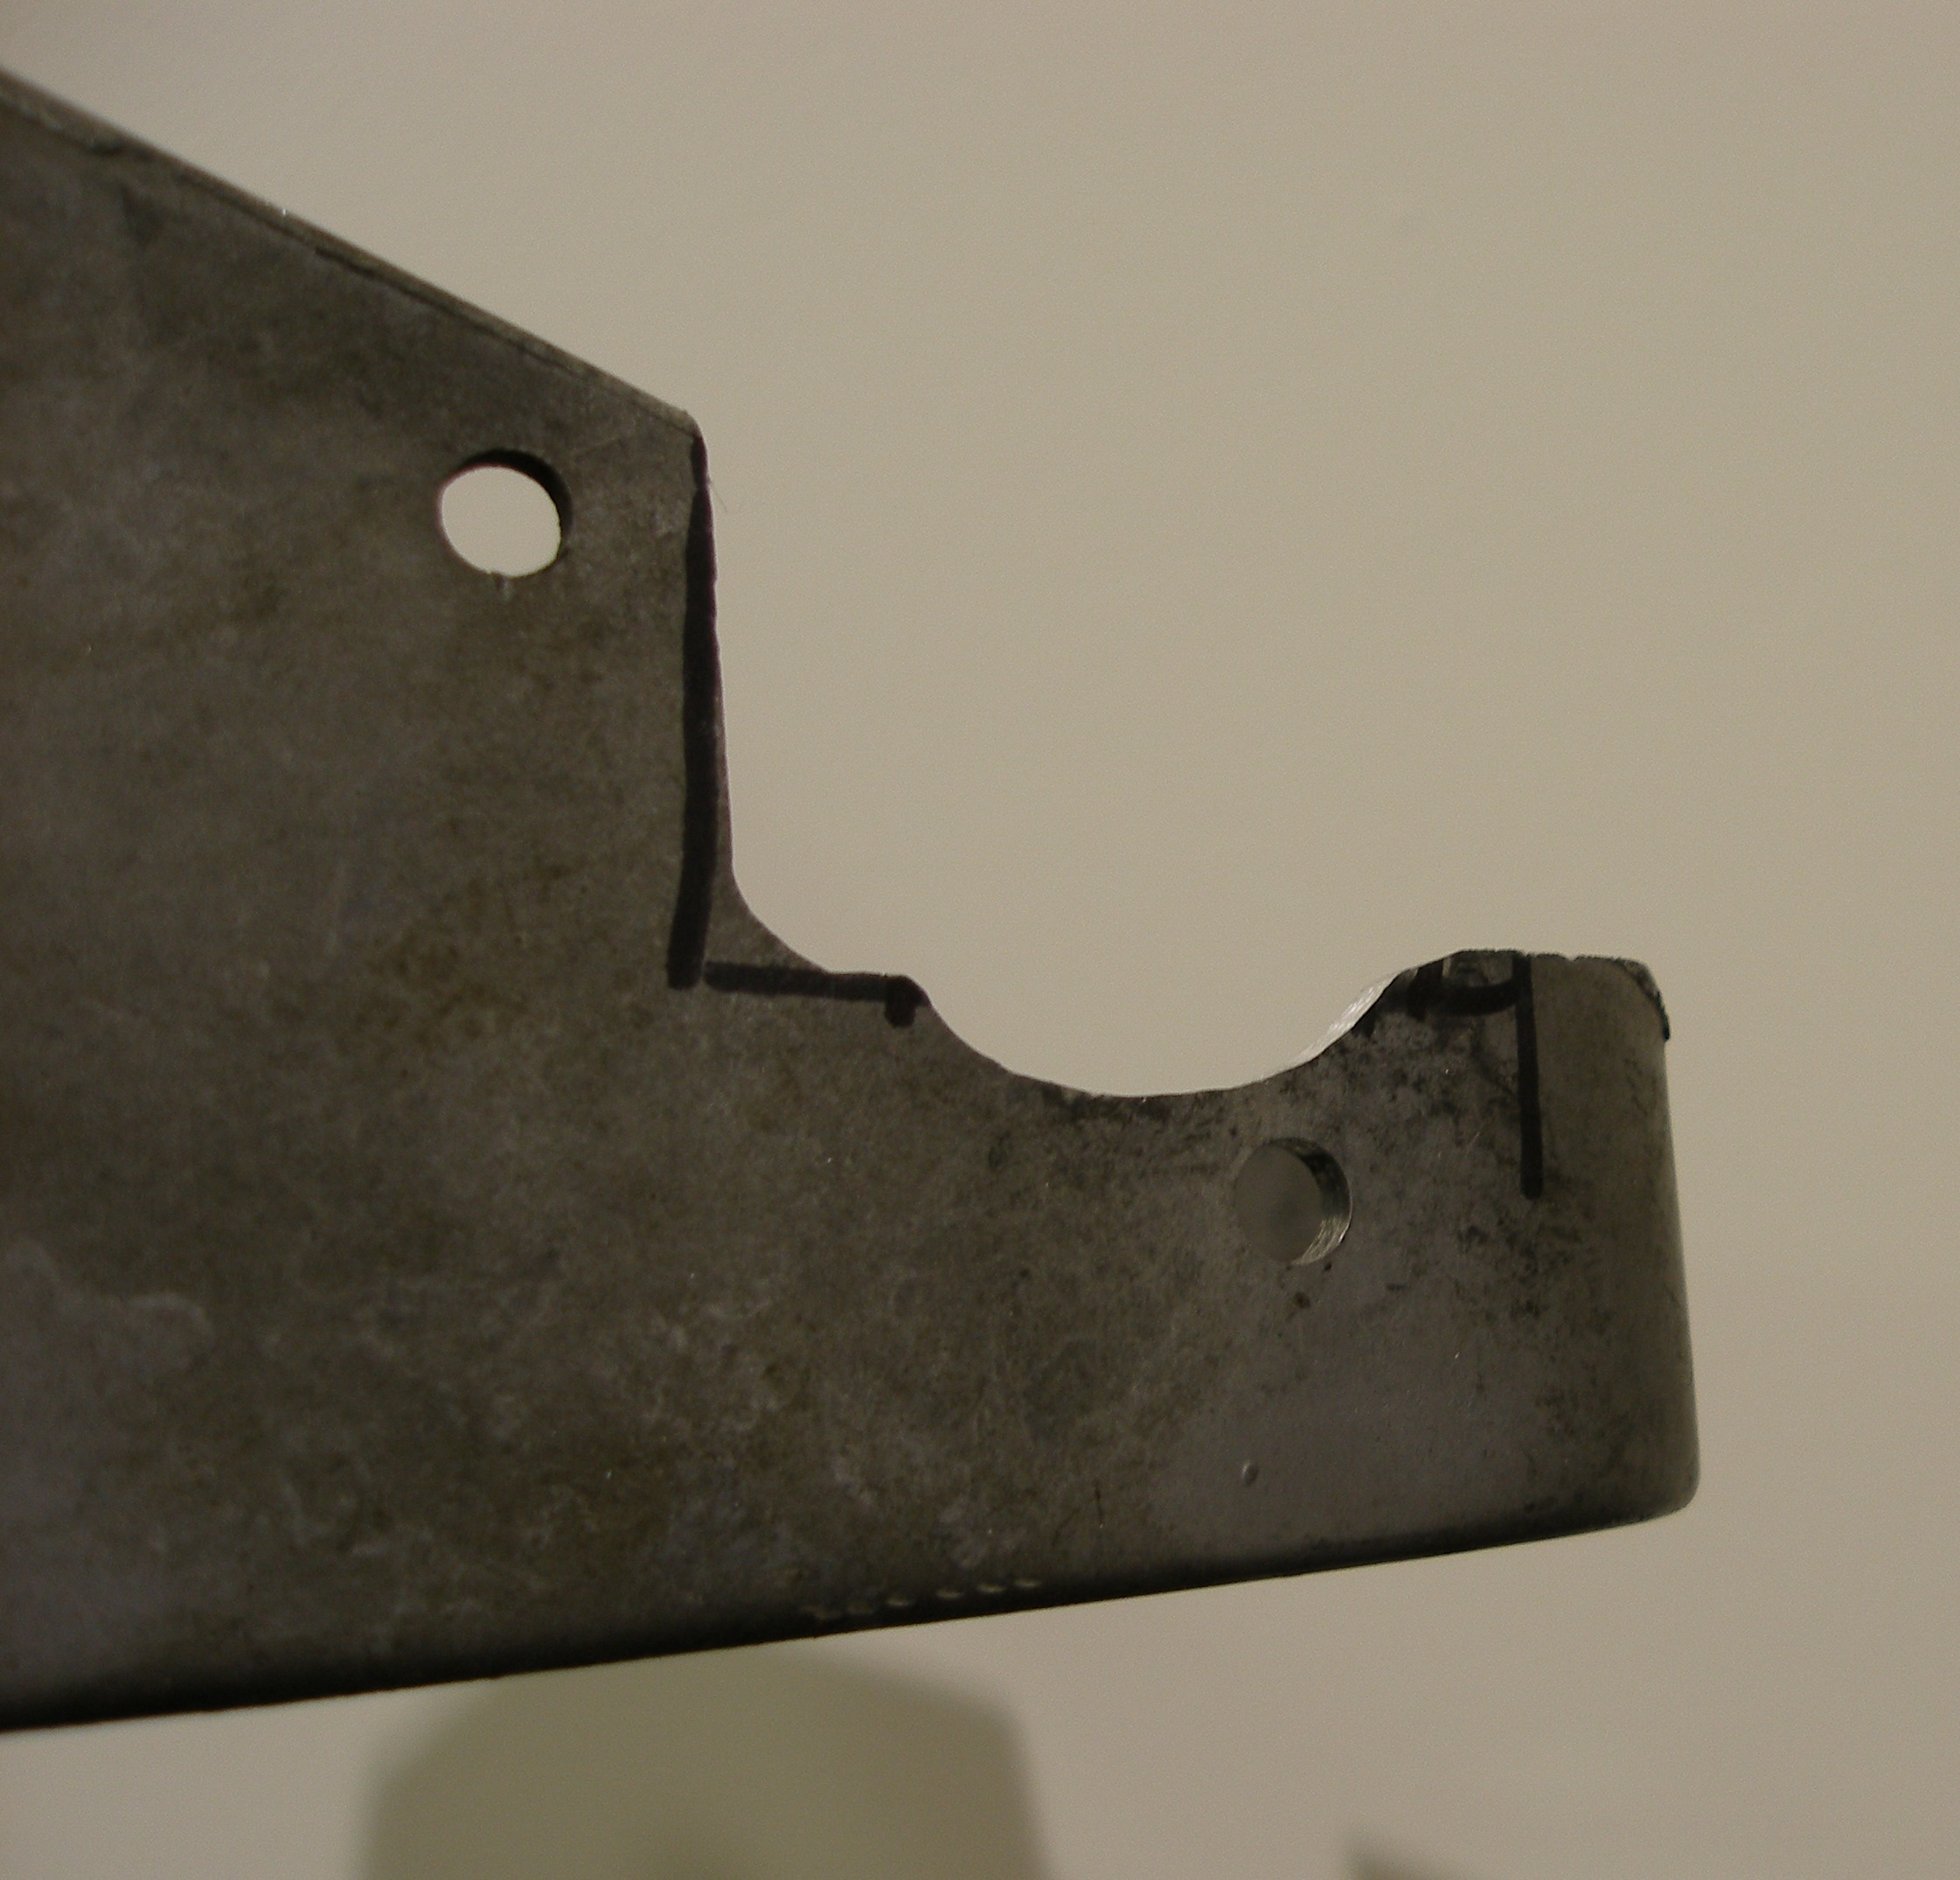
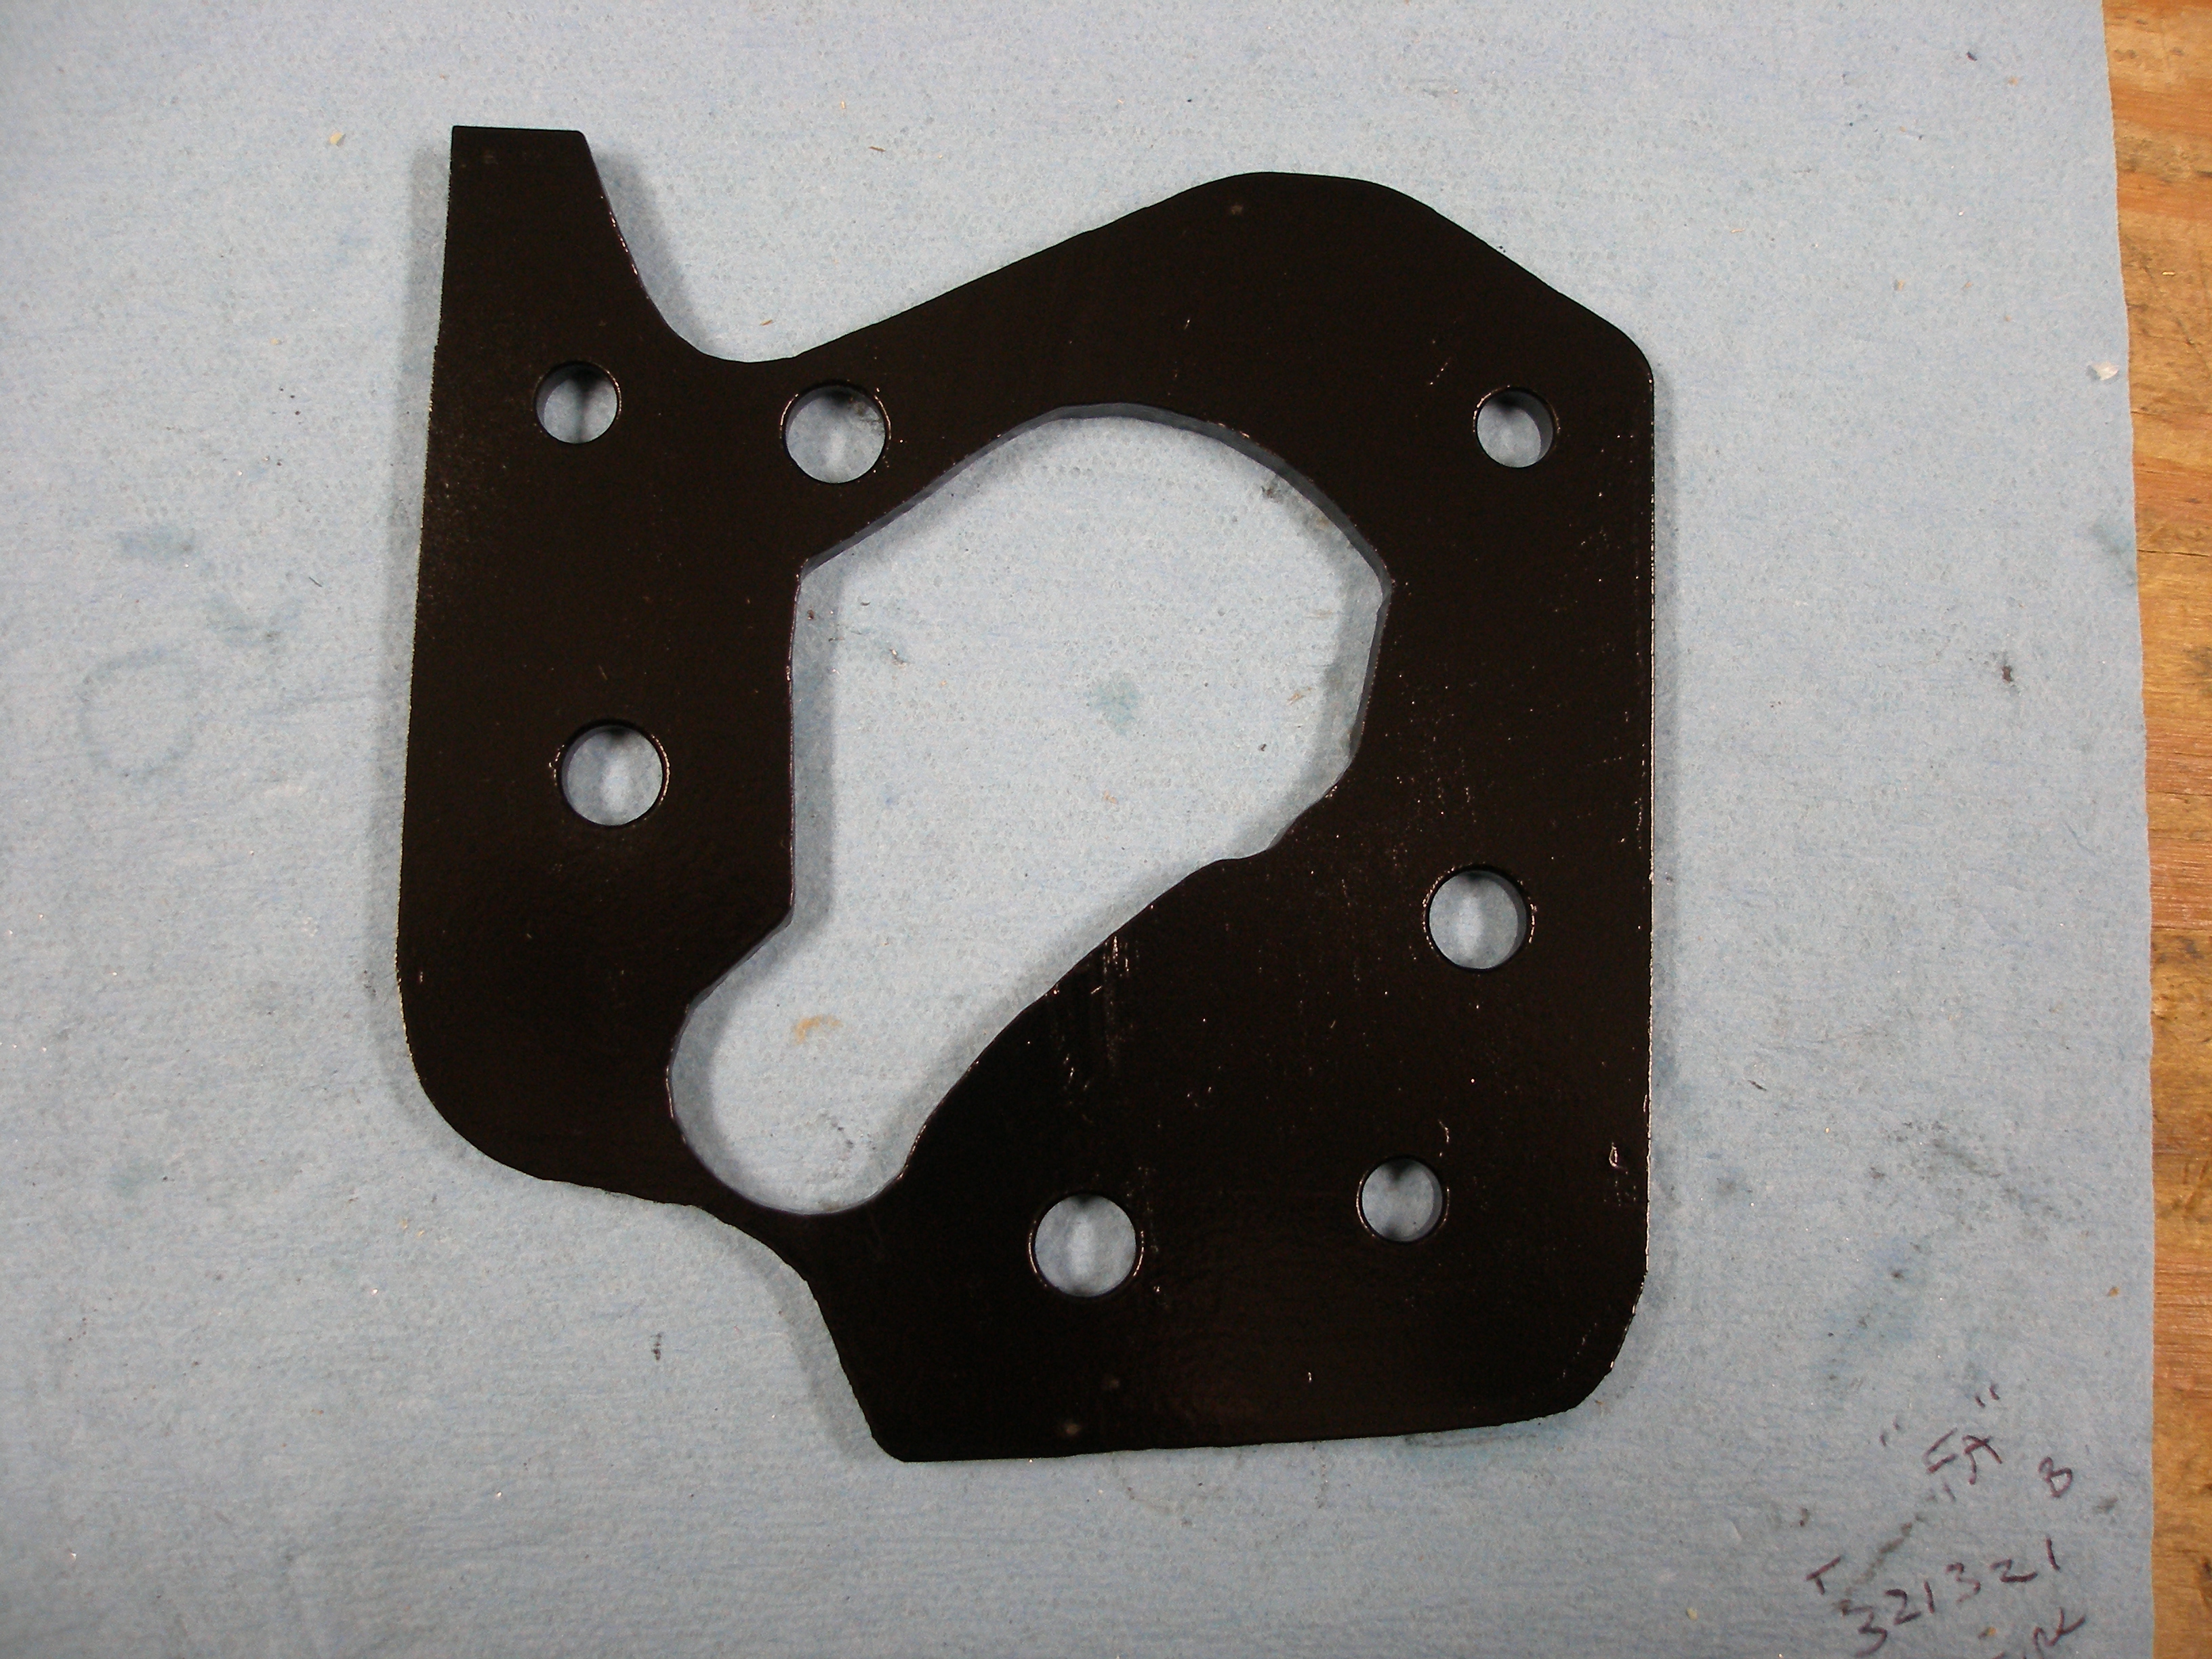
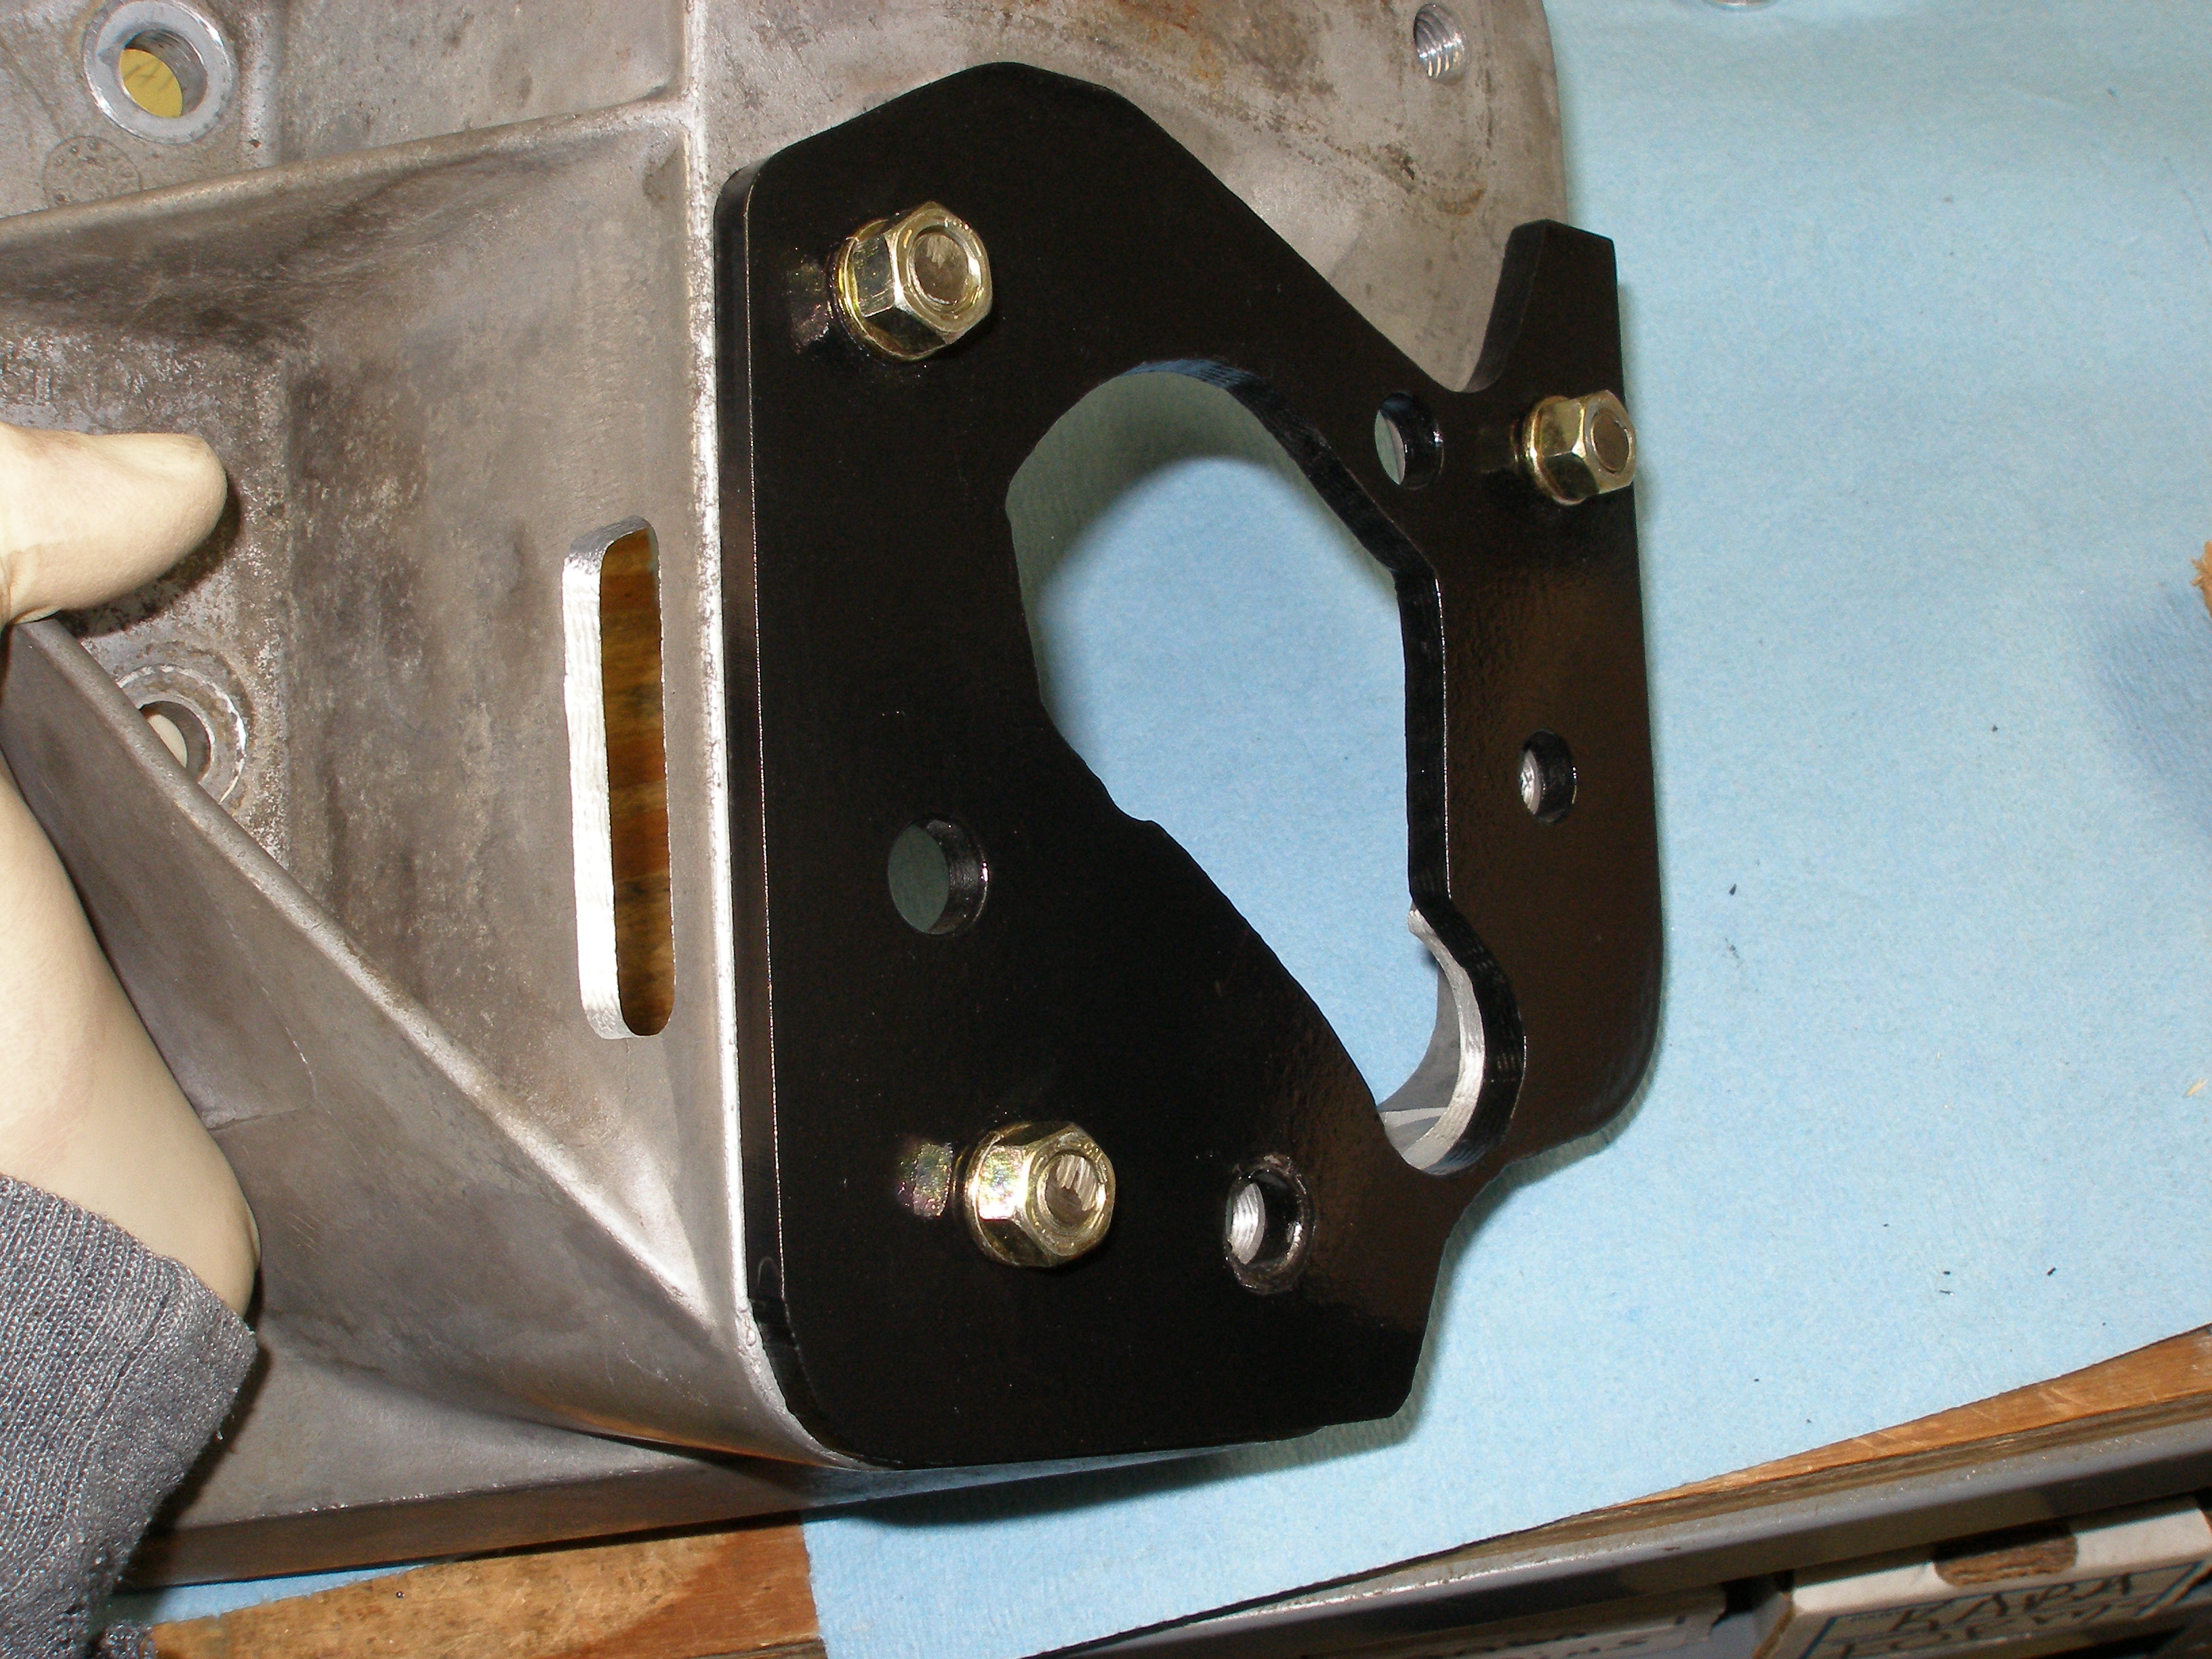
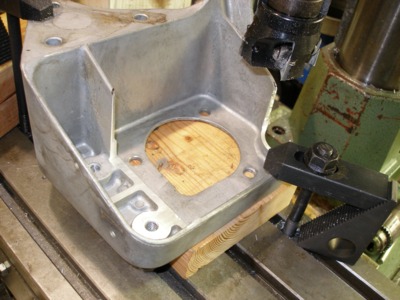
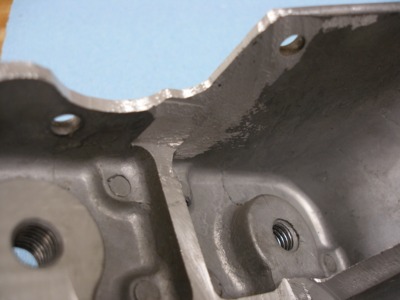
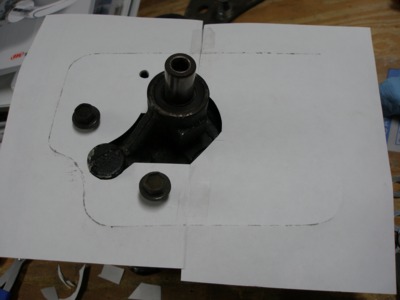
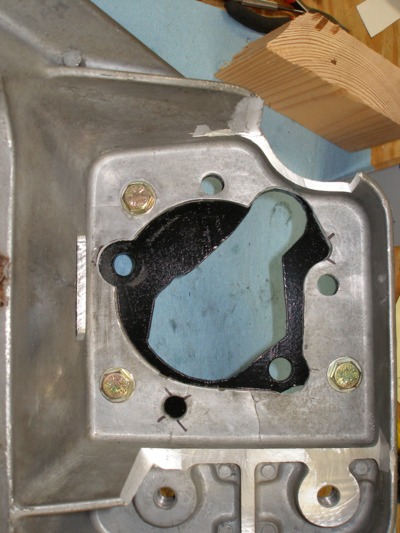
I decide on a doubler plate. This is 1/4" or 5/16" plate from a scrapped Demco Tow-It tow dolly fender support, off my scrap pile.
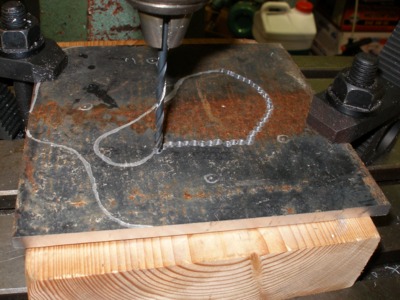
Lots of Dremel work to "connect the dots". I've since purchased a couple of end mills, but didn't have them when I made this plate. Expensive tools aren't necessary, but I would find it hard to get by without a Dremel and a couple of carbide burrs.


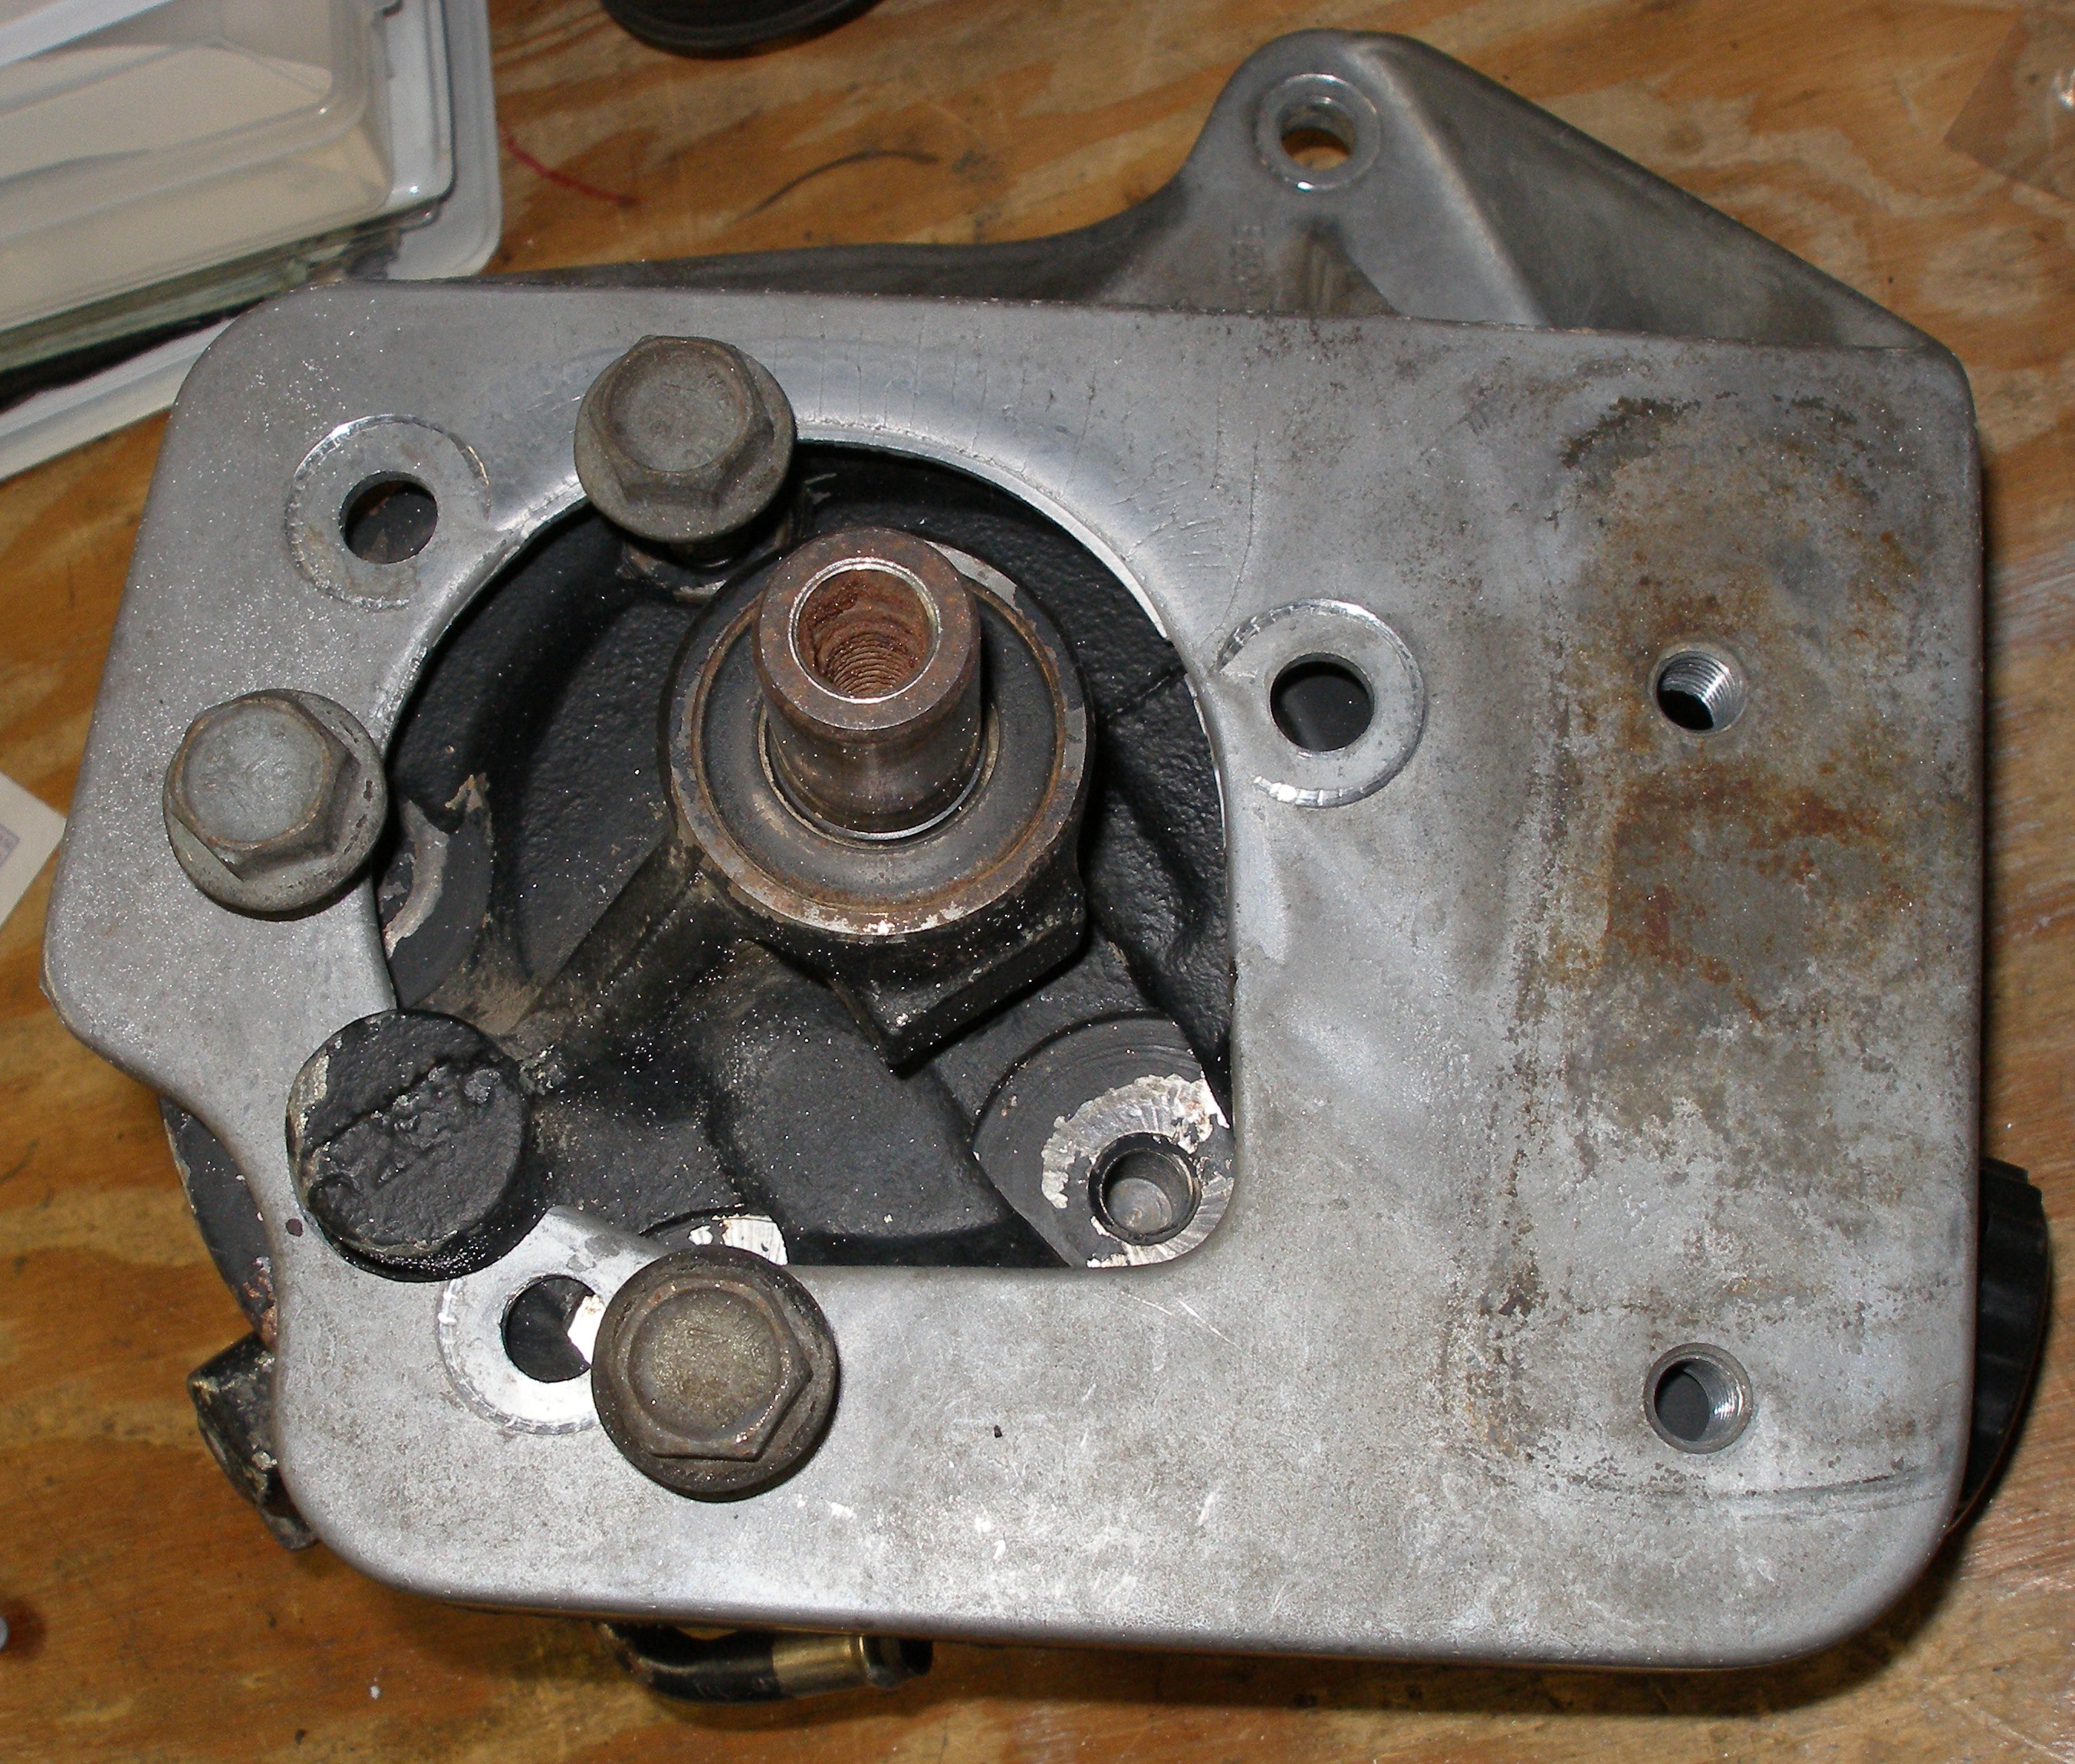
Needed to clearance the casting more to get a level place to bolt the pump up:
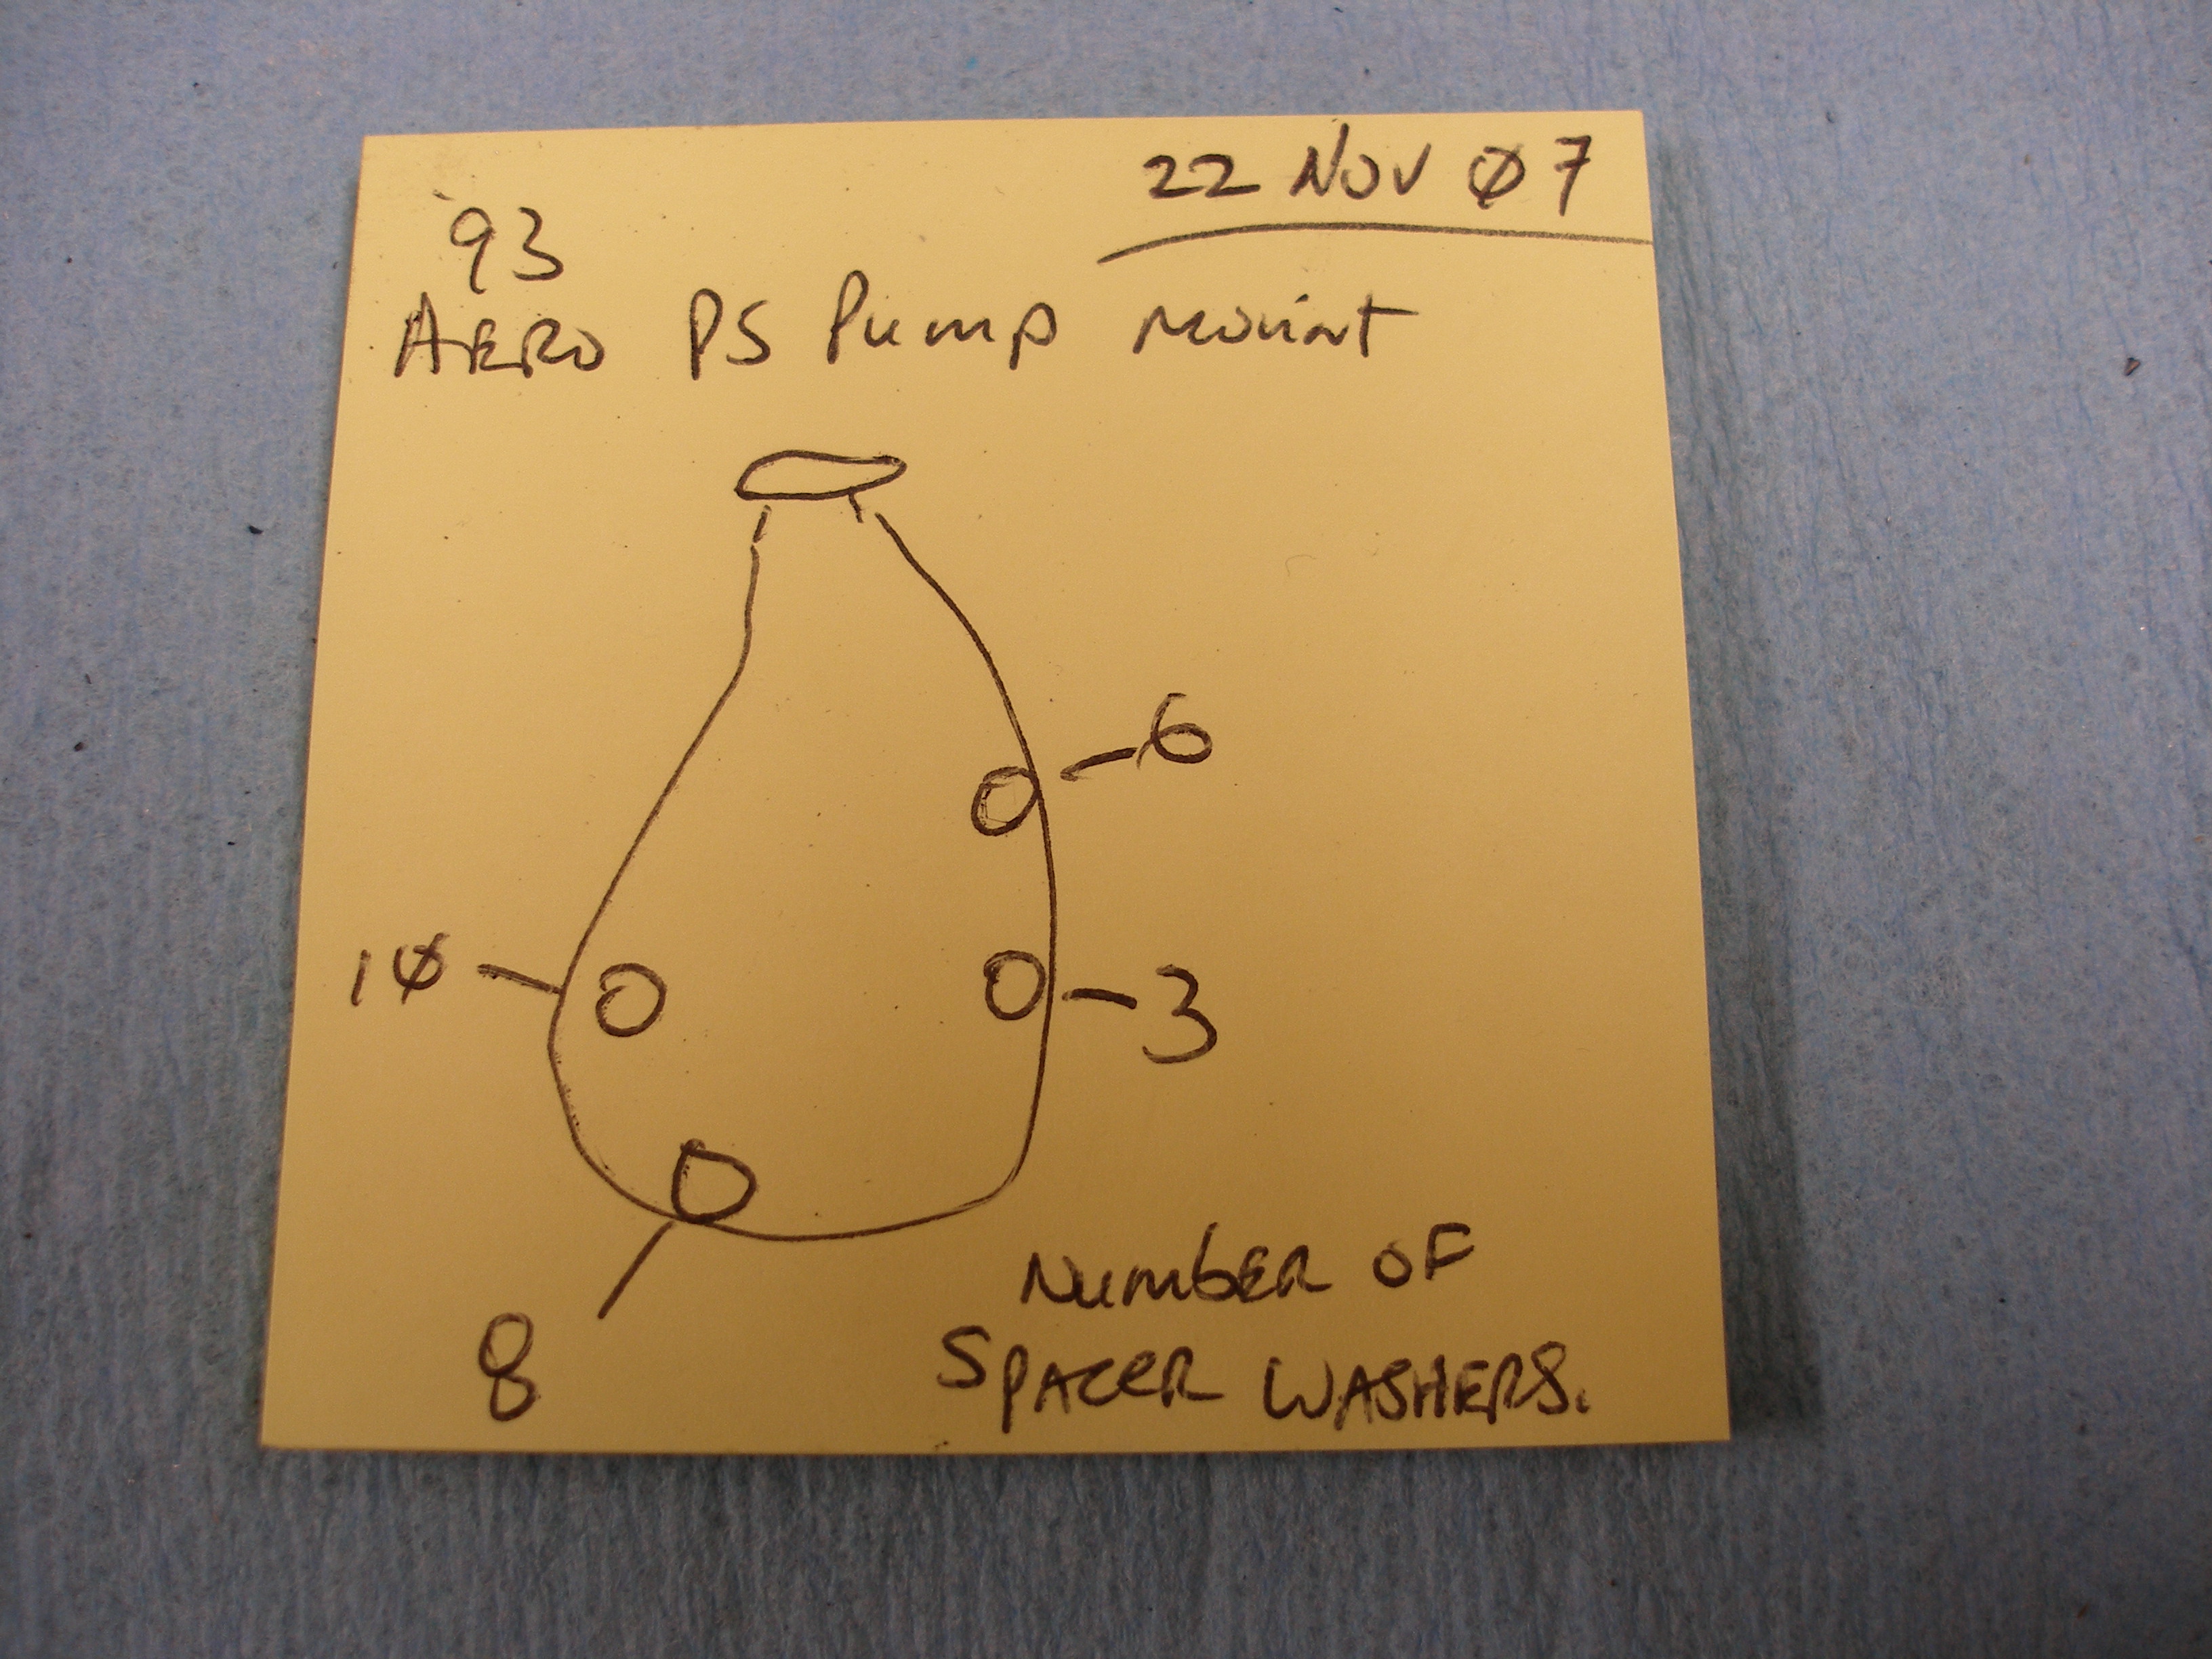
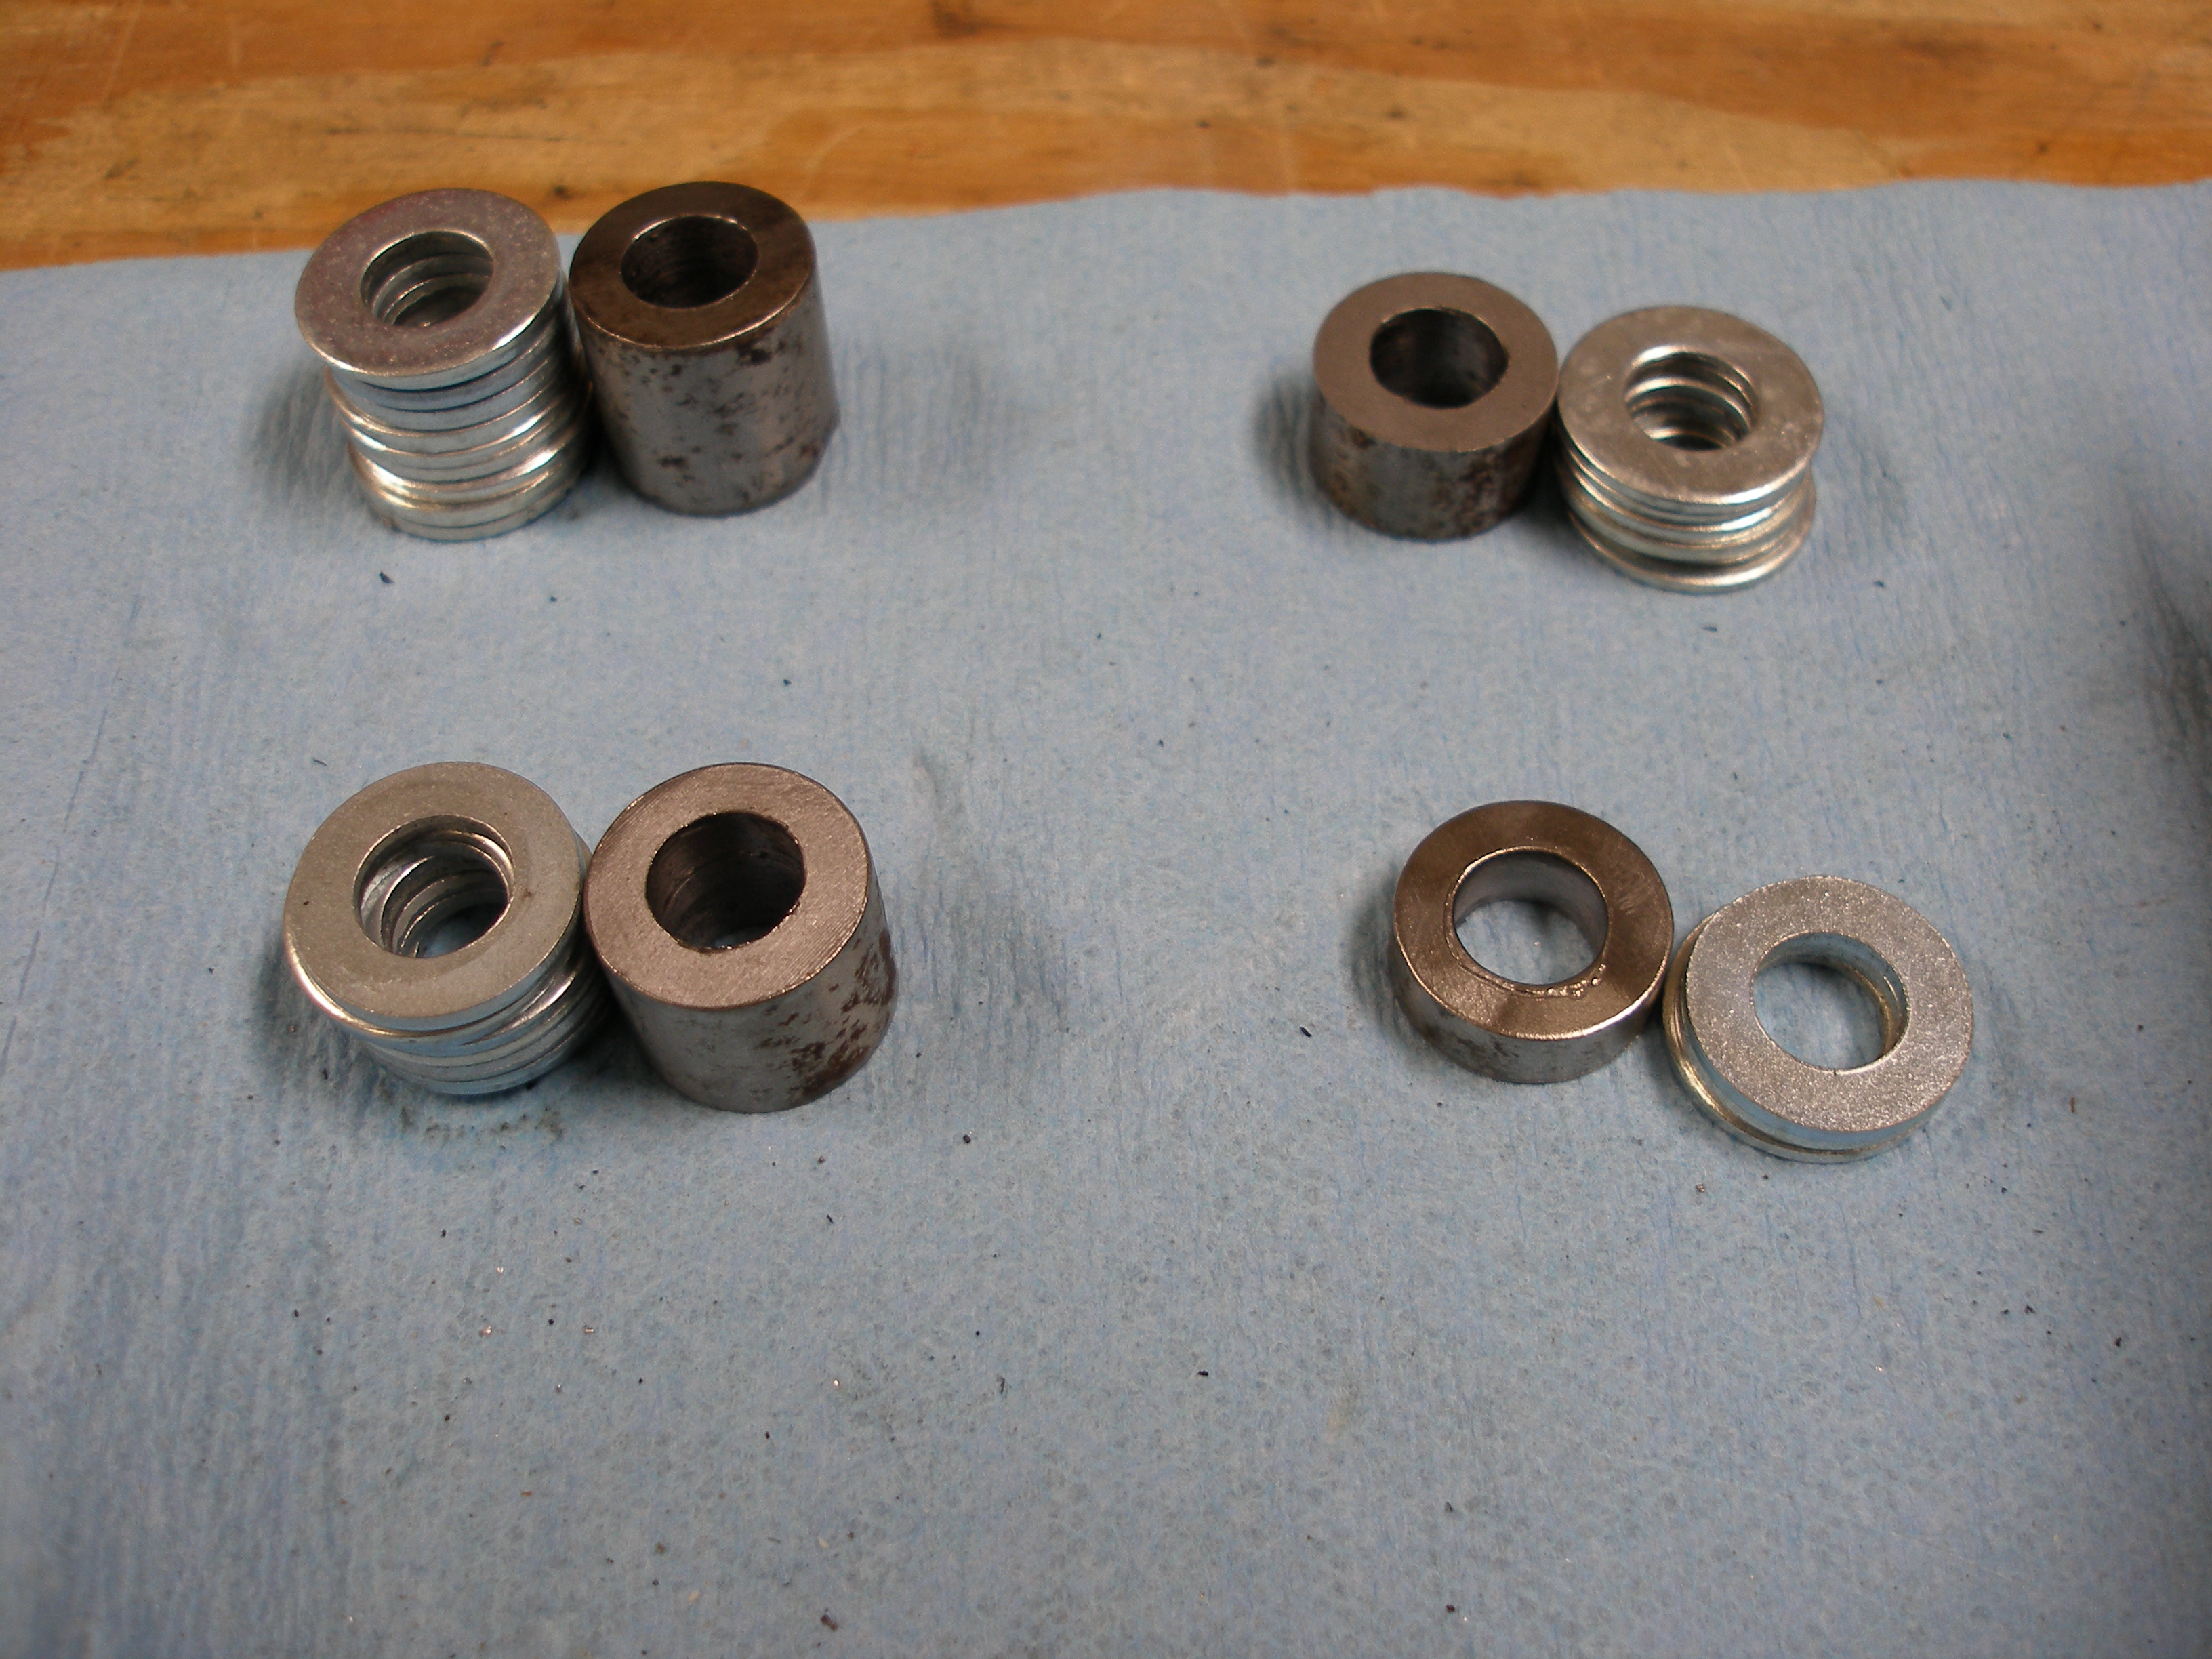
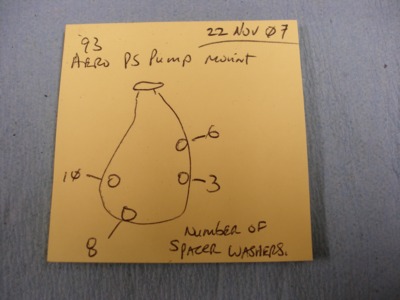
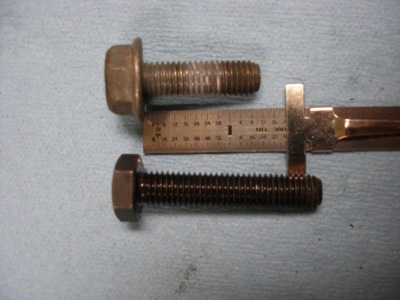
Determine the different space heights needed, using std flat washers for the mock-up, then fab'ing spacers from some roundbar laying about

Some hardware can be re-used, other bolts need to be longer.
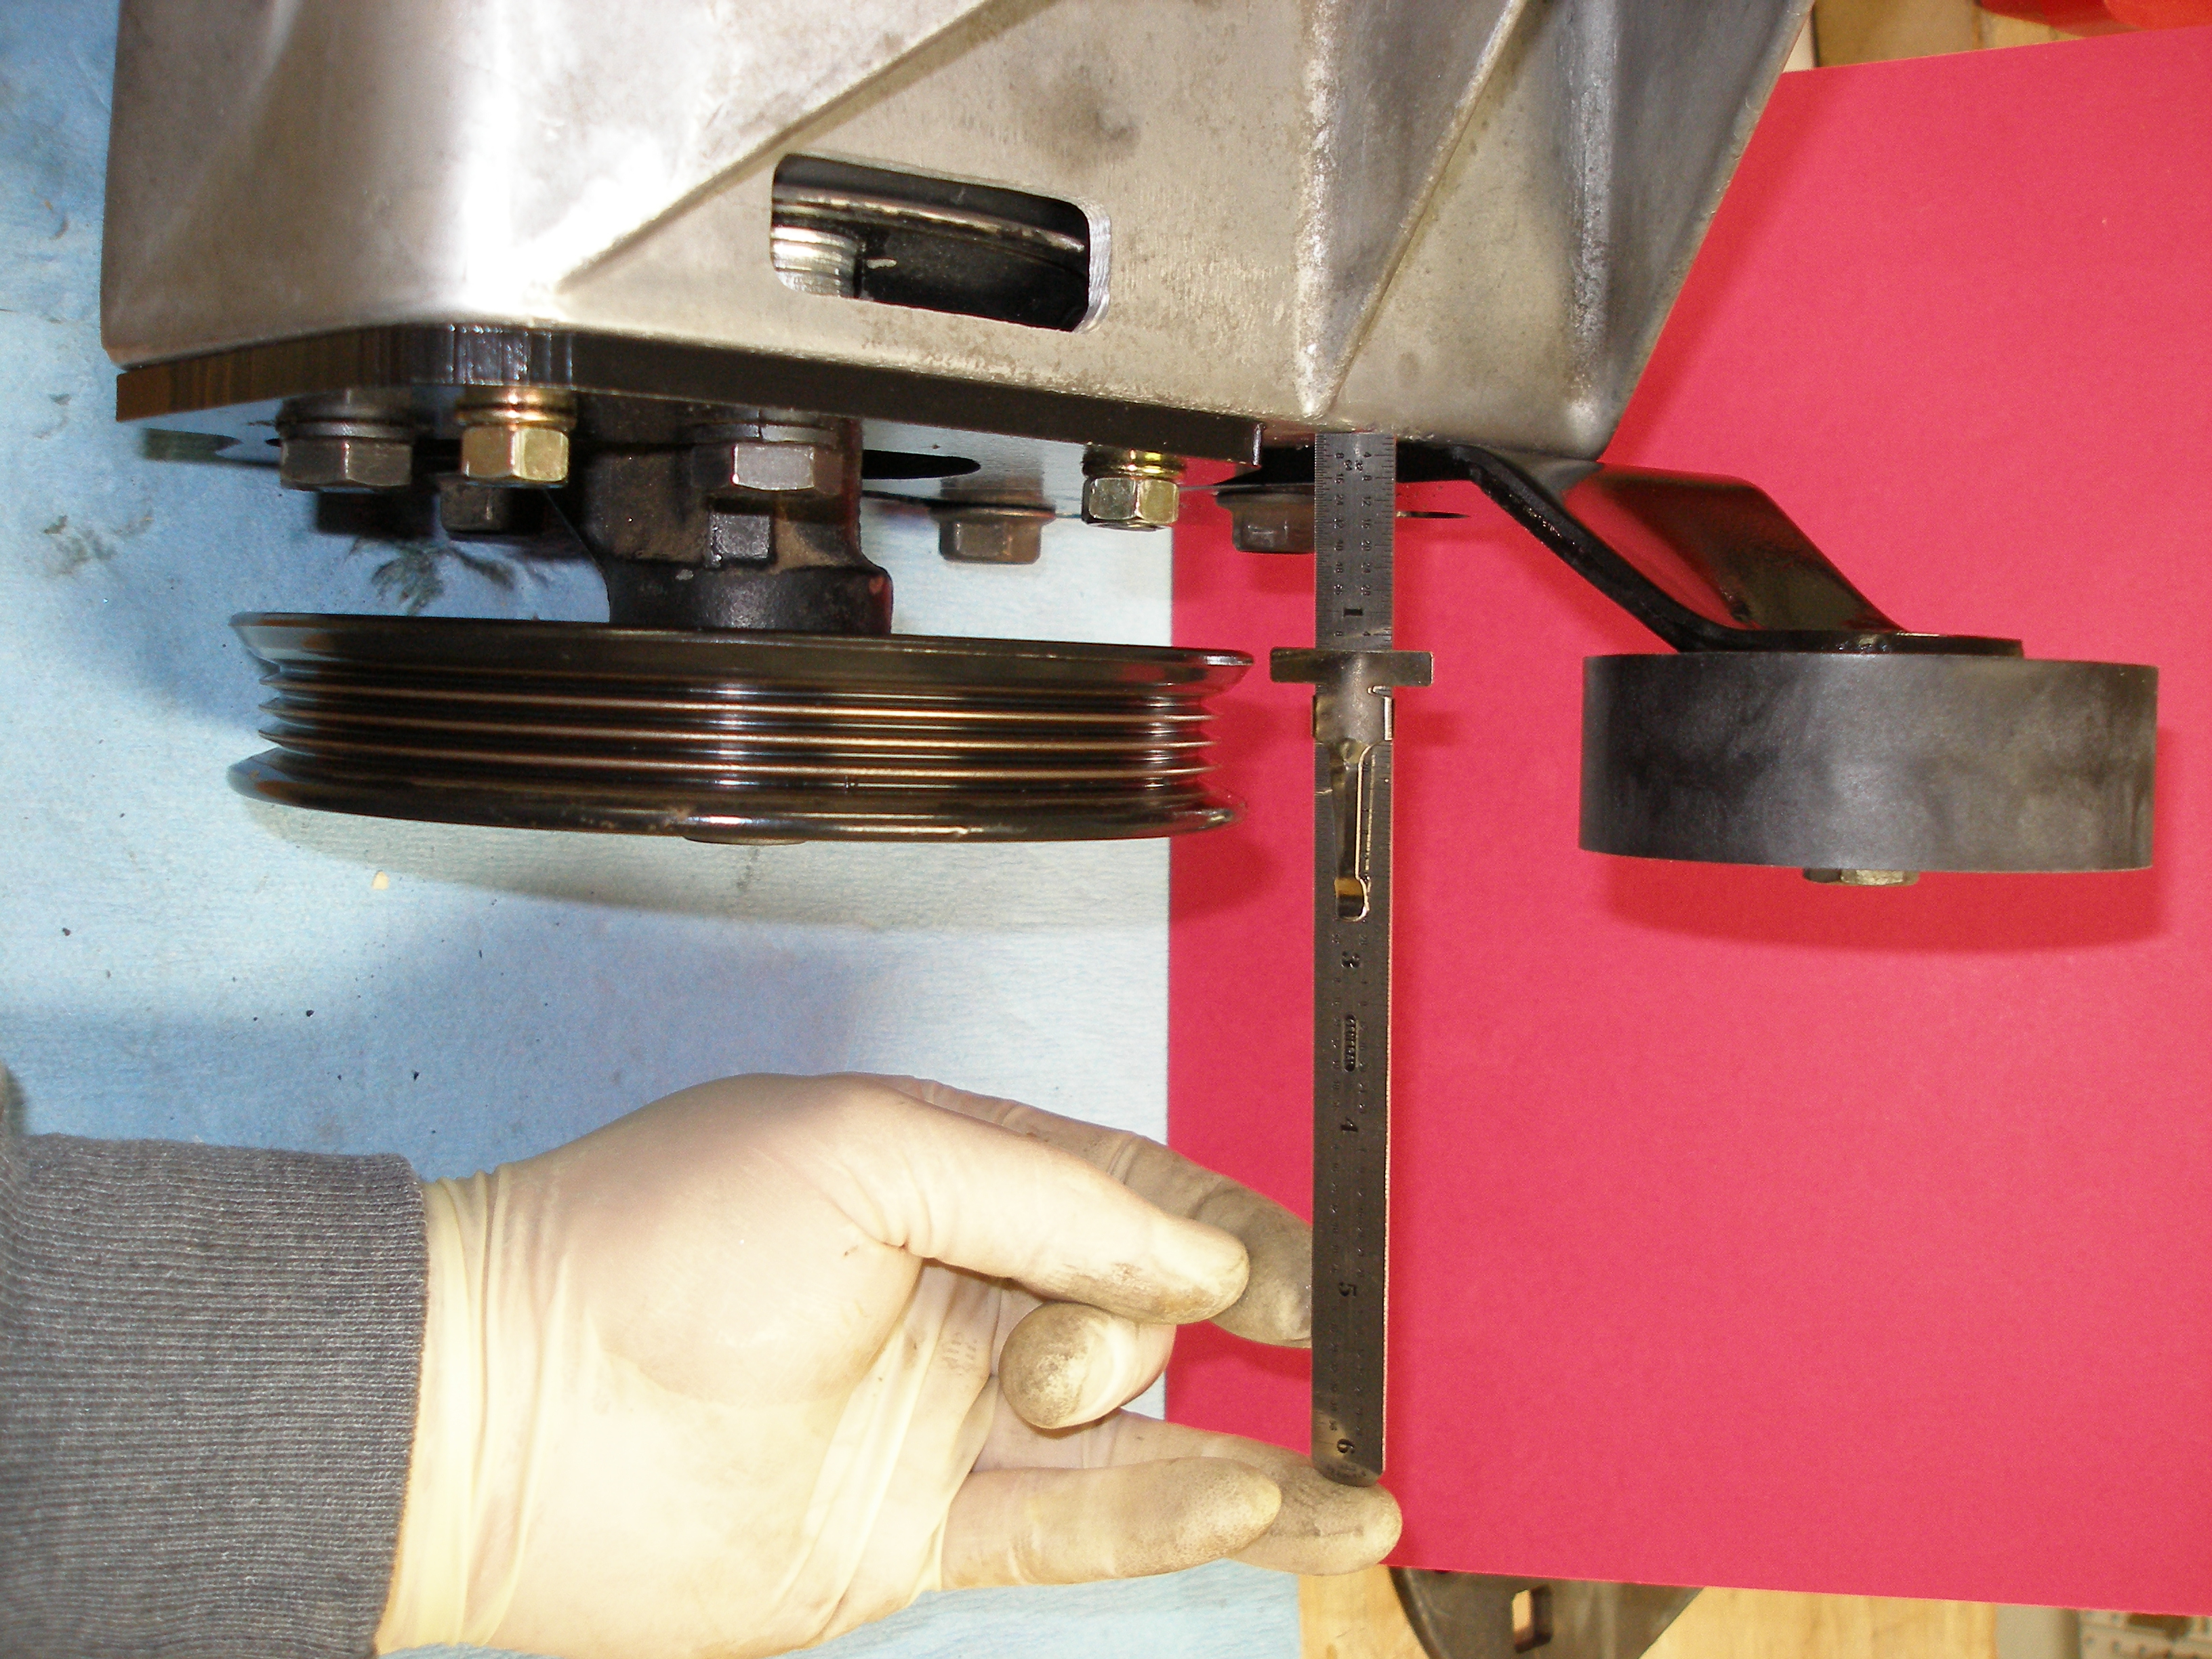
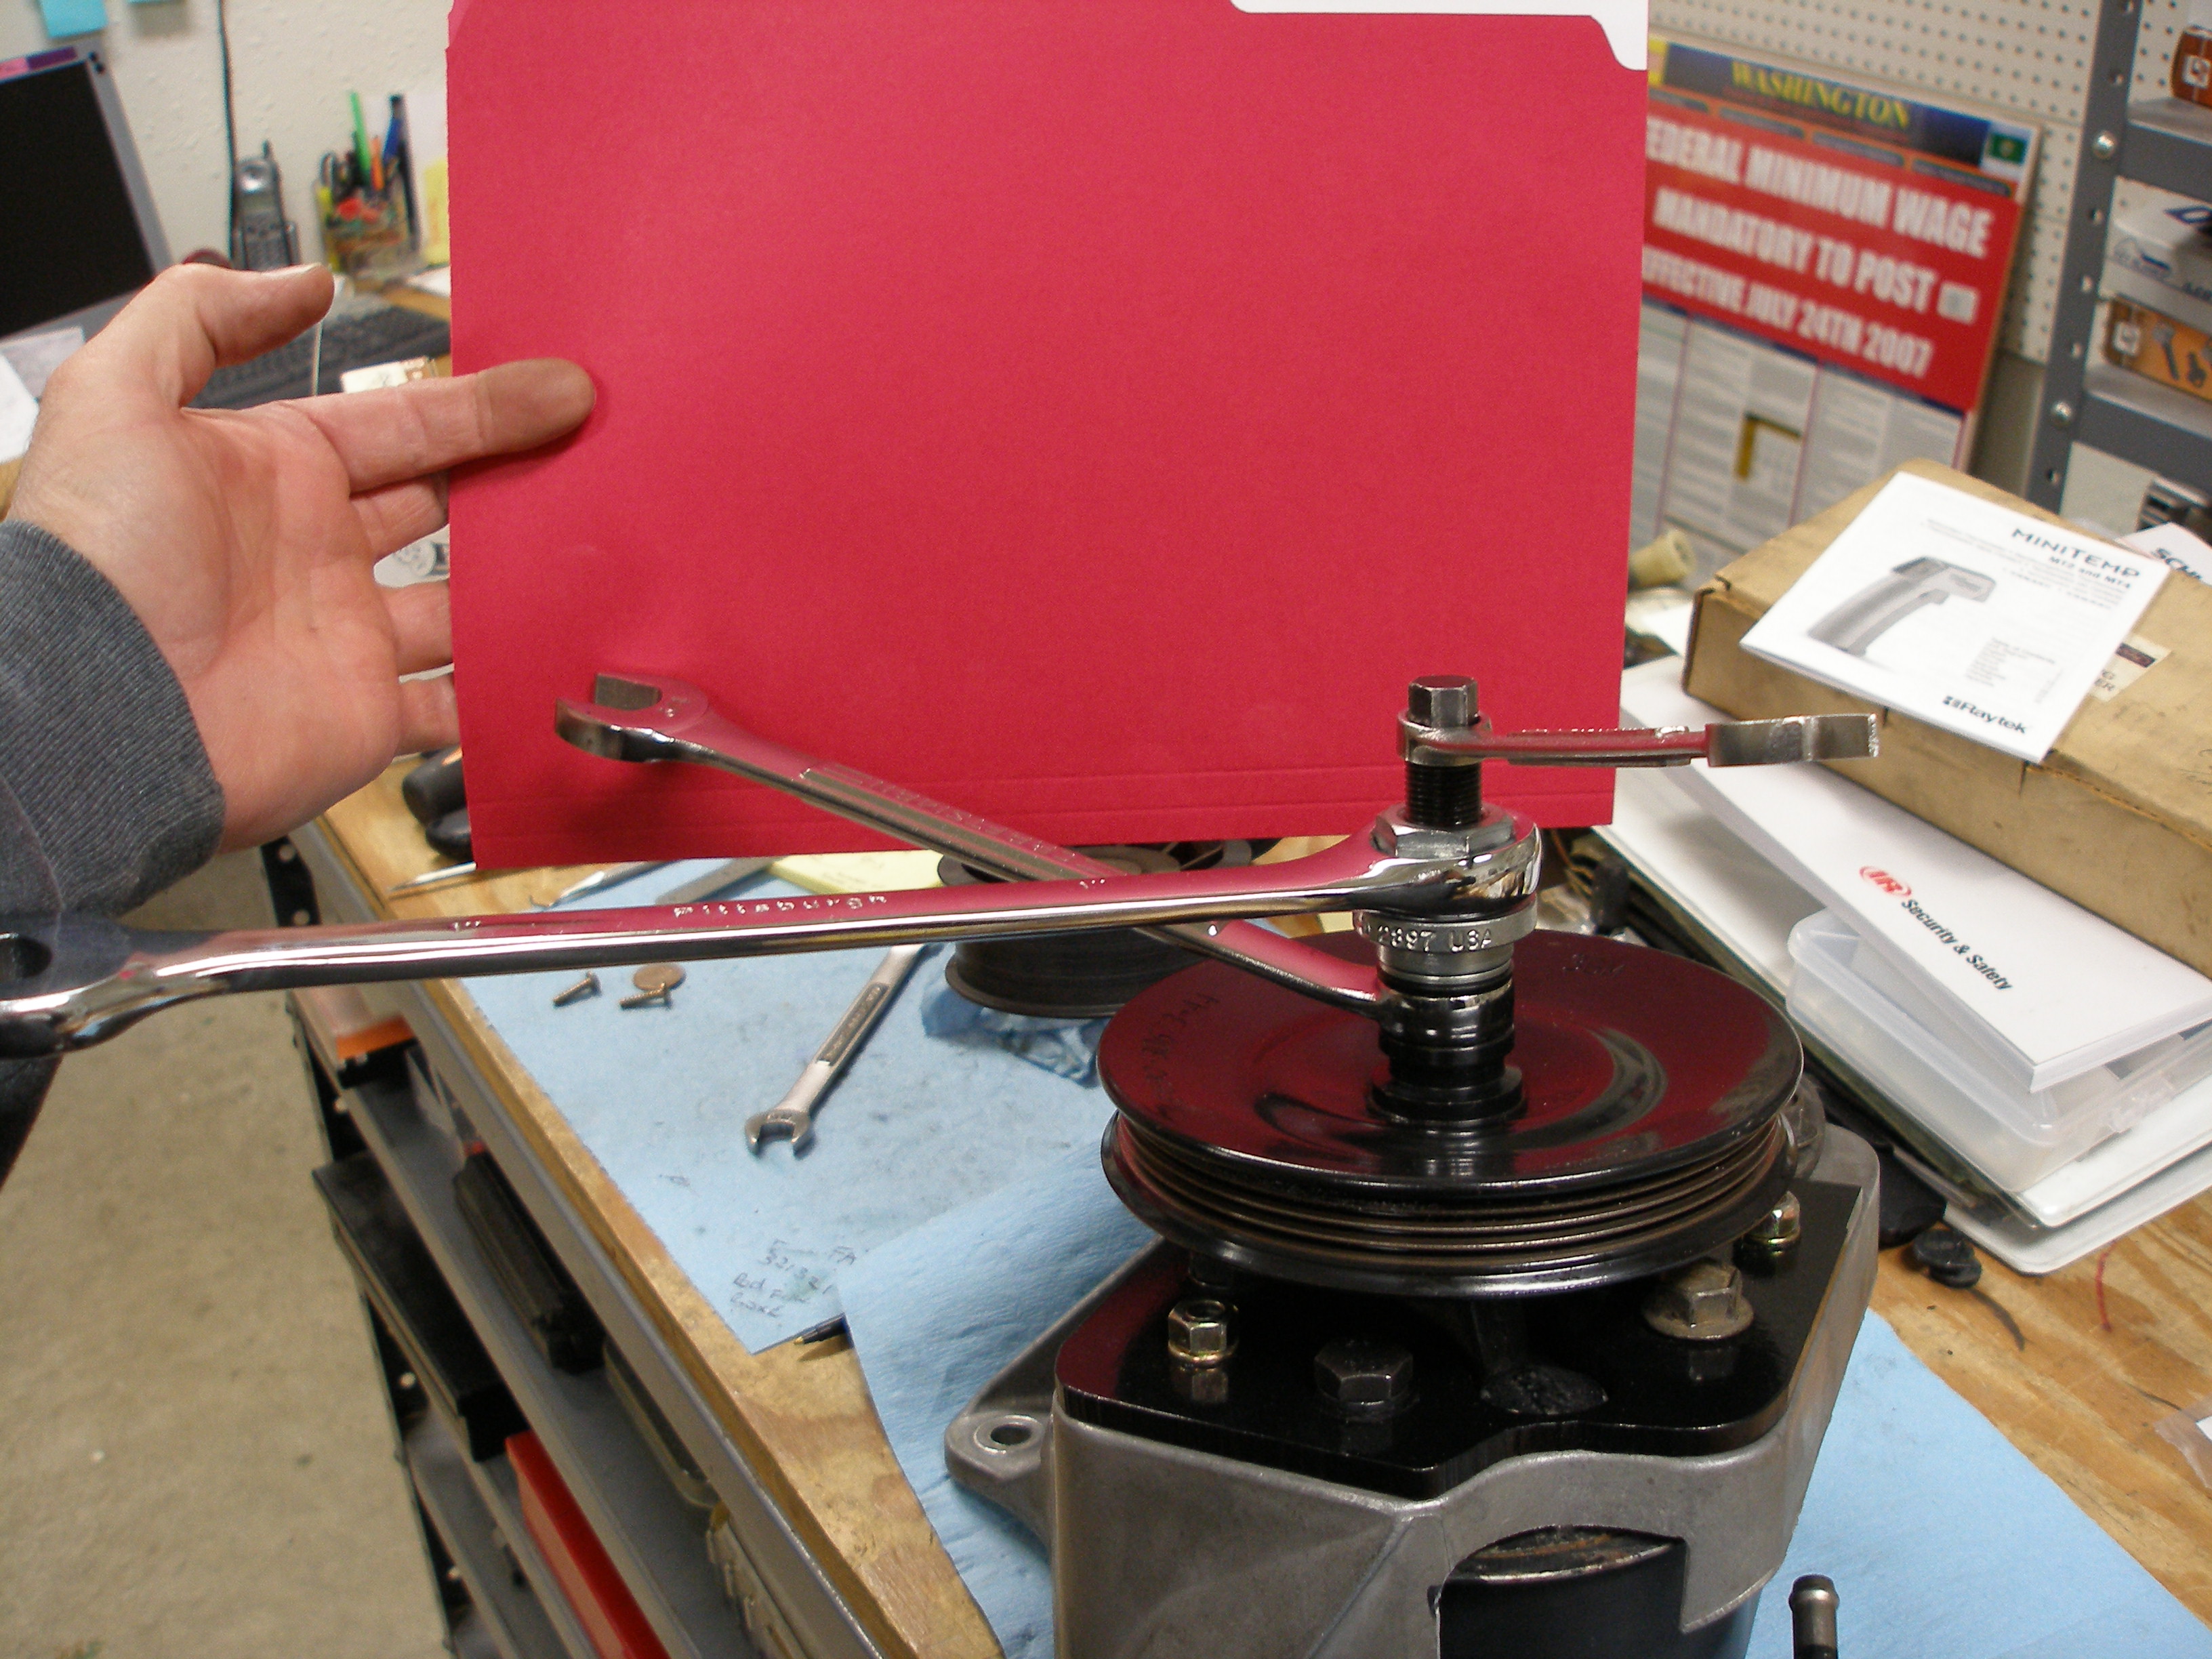
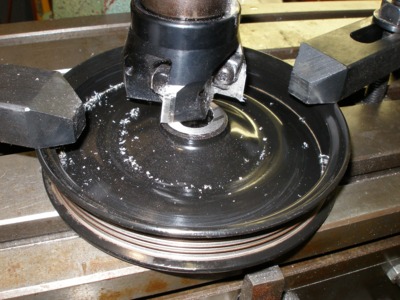
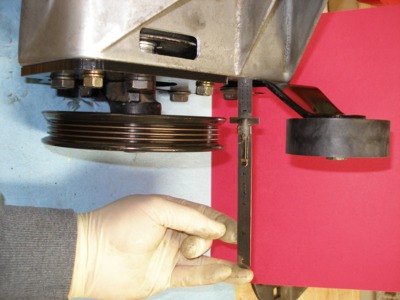
Mount up the sheave for about the fiftieth time, determine correct location WRT the idler:

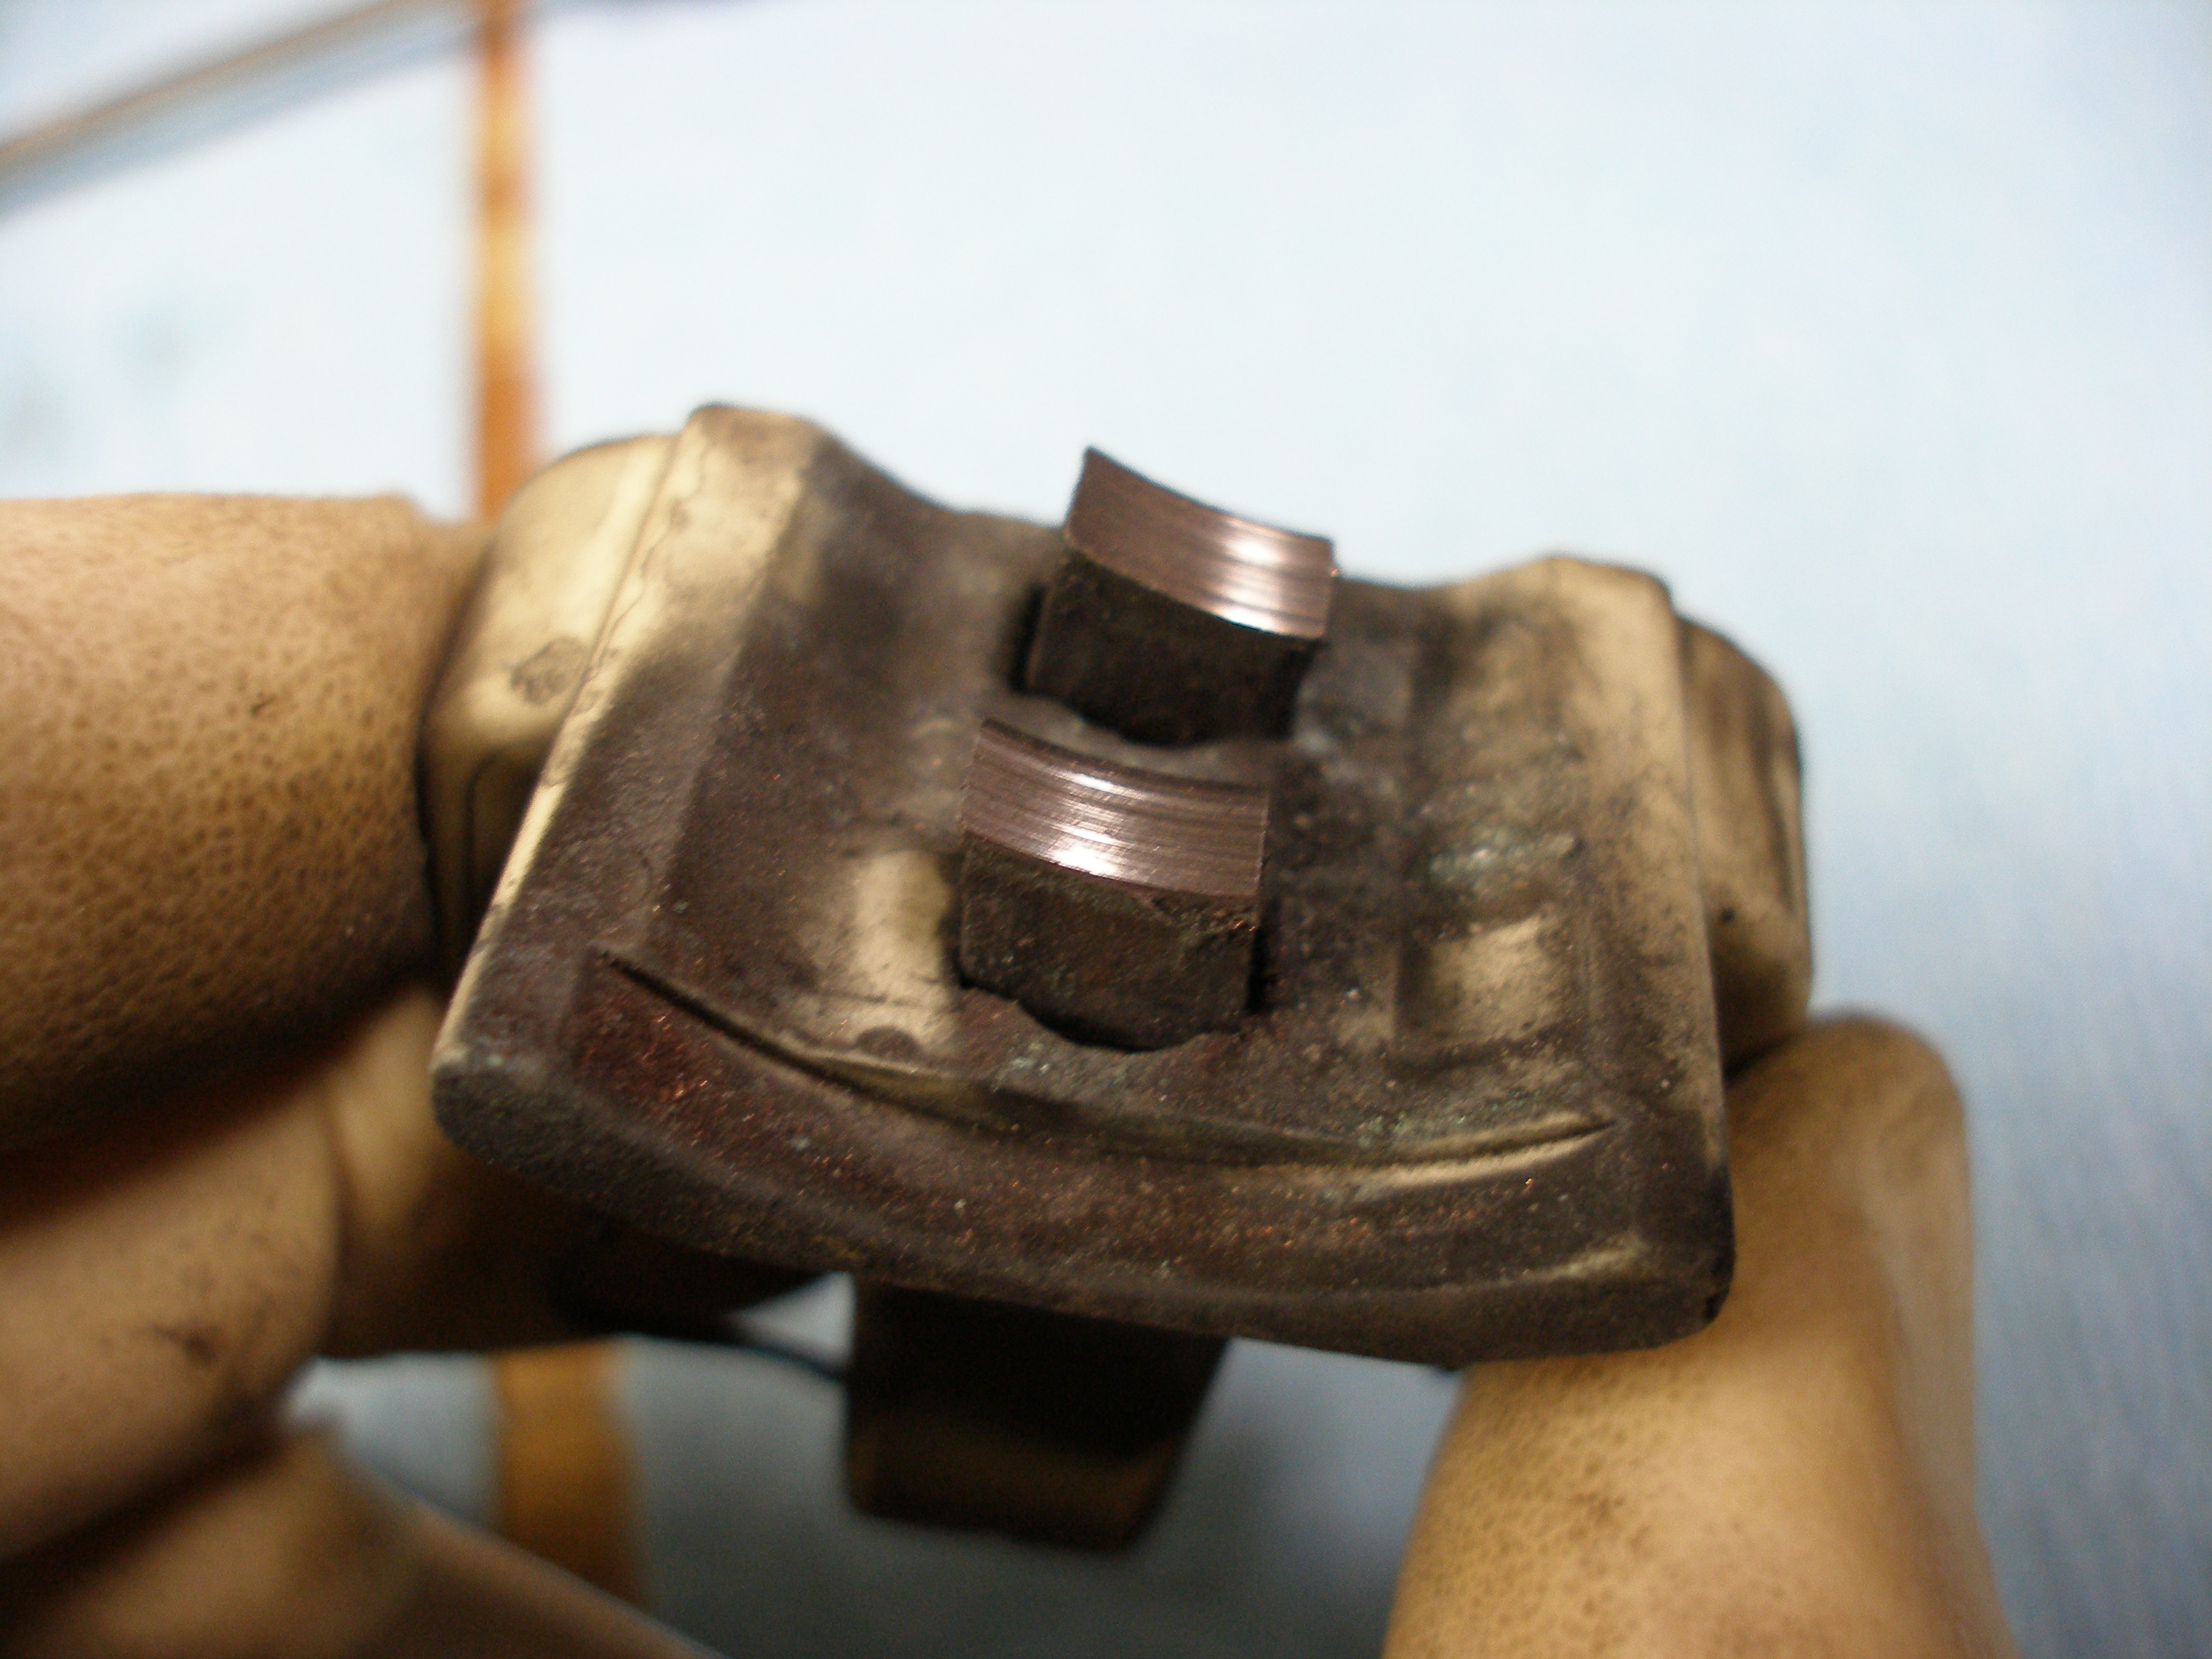
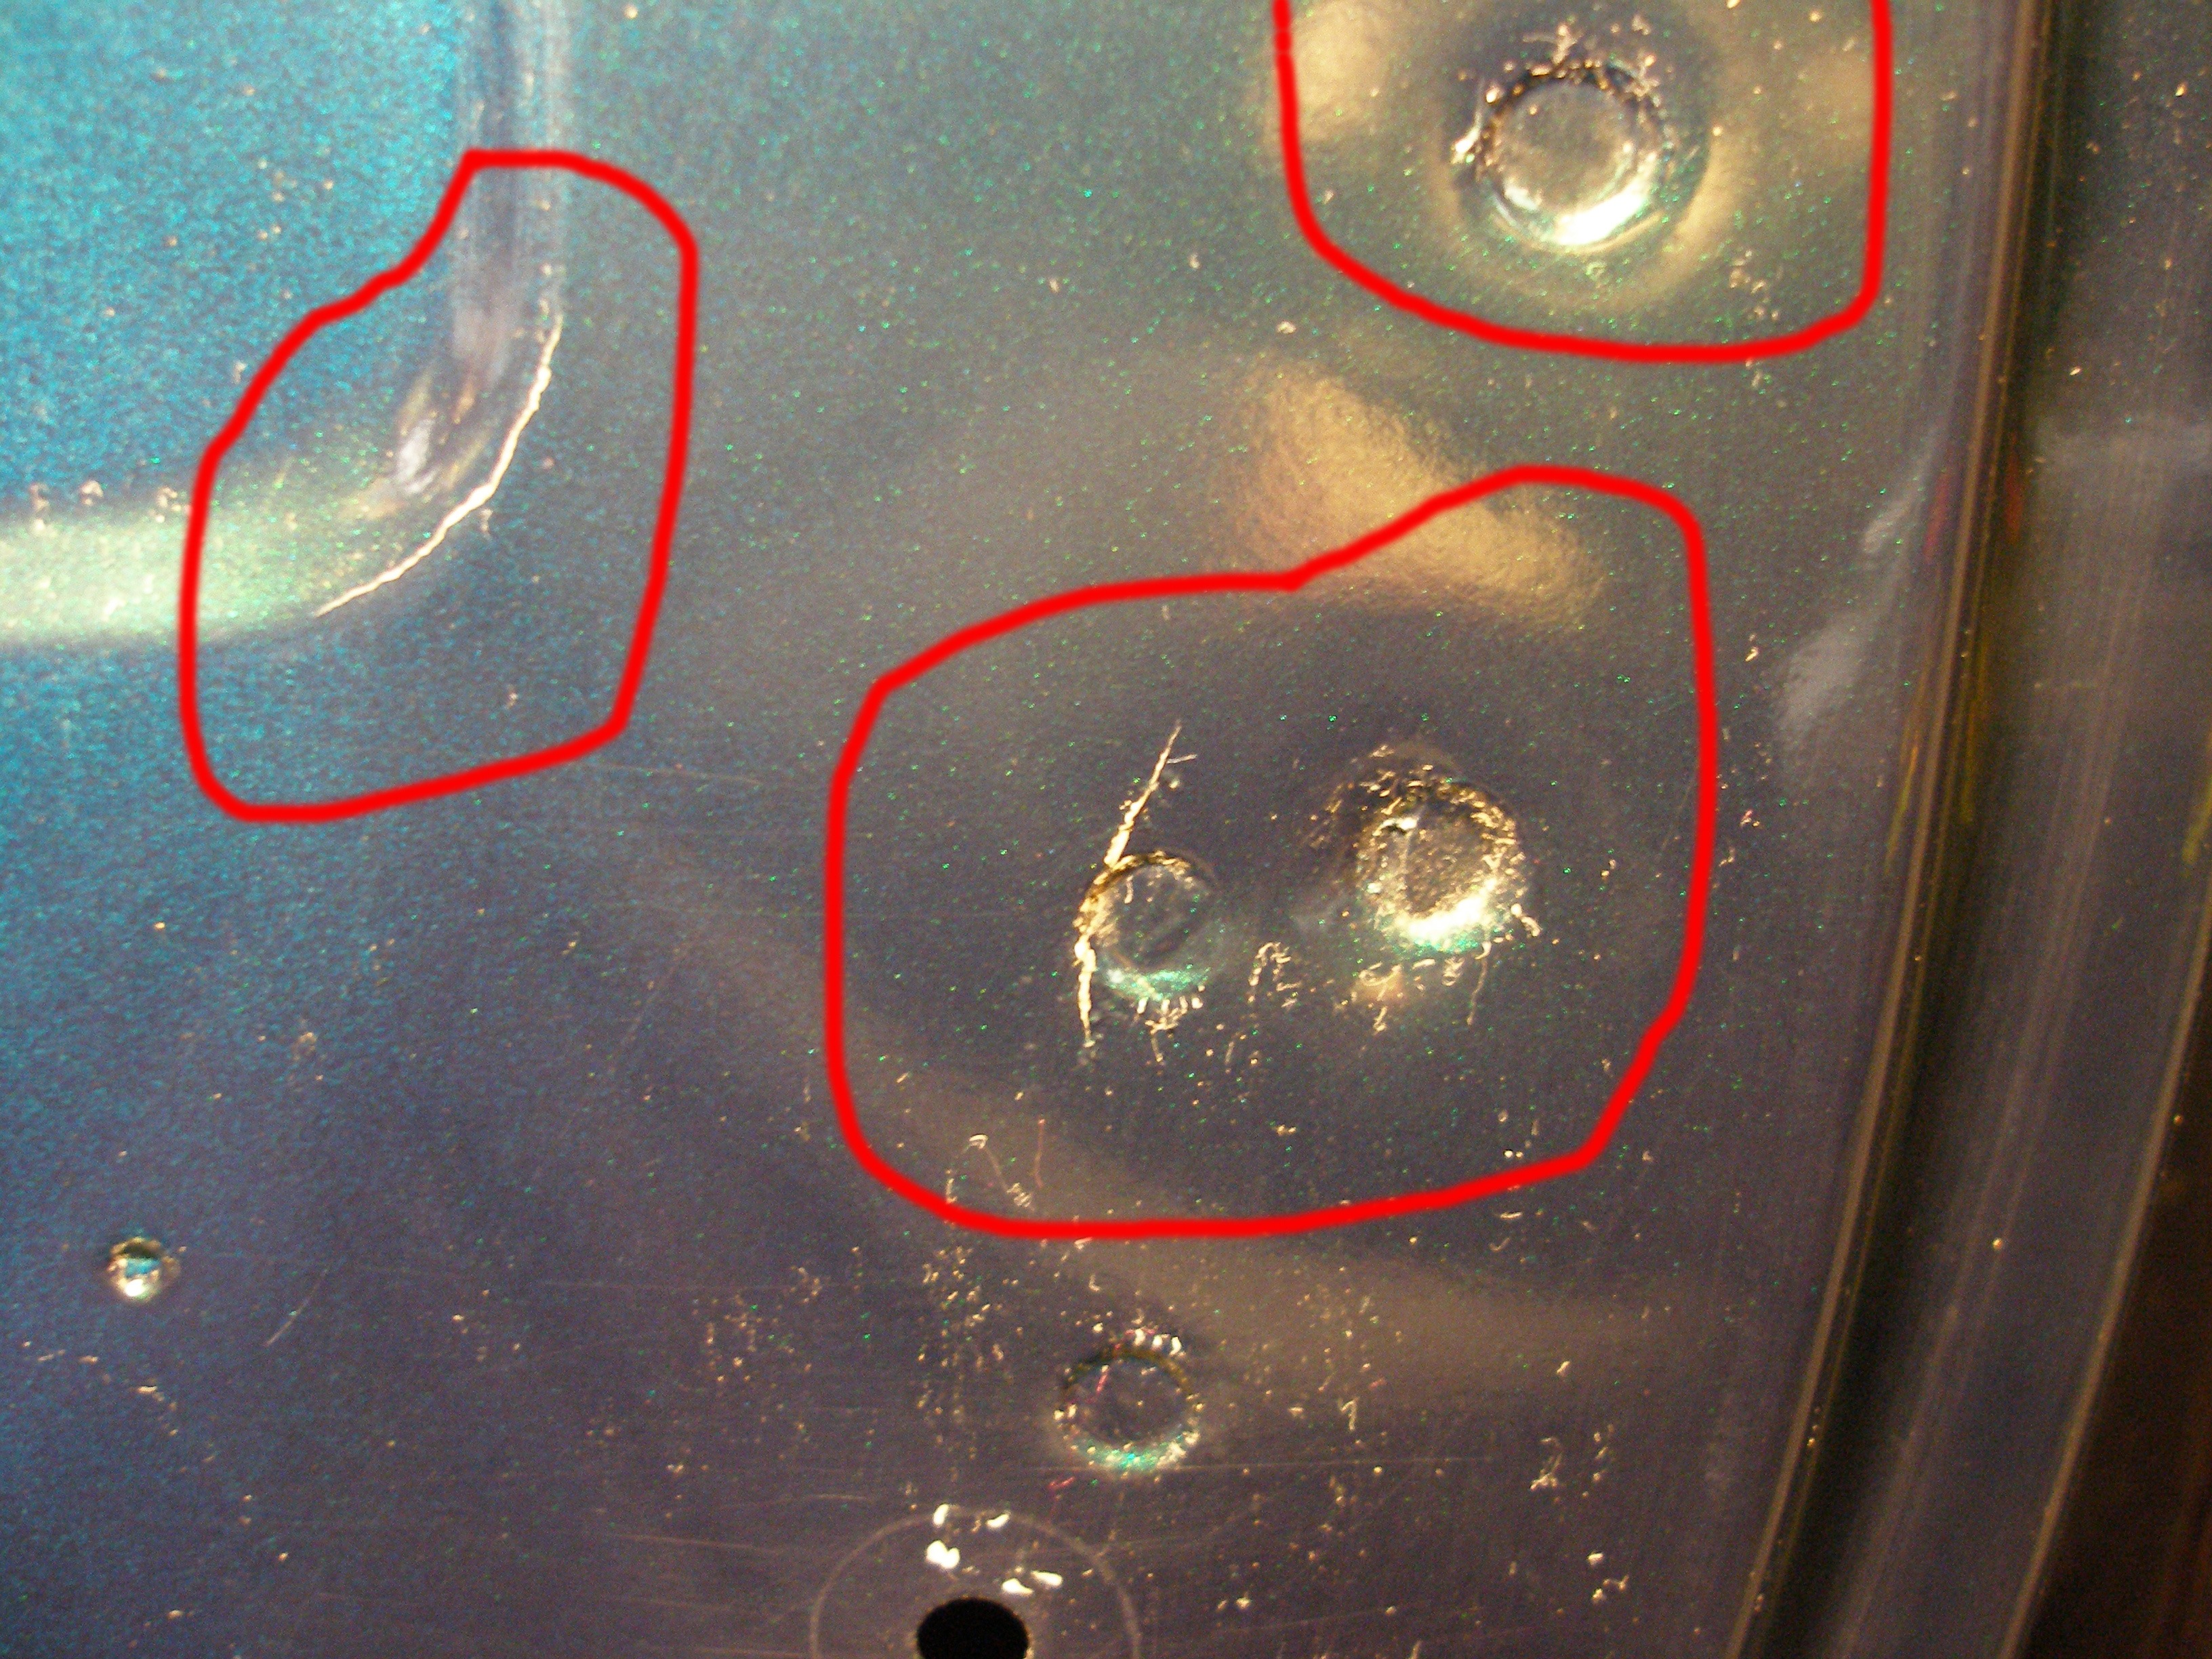
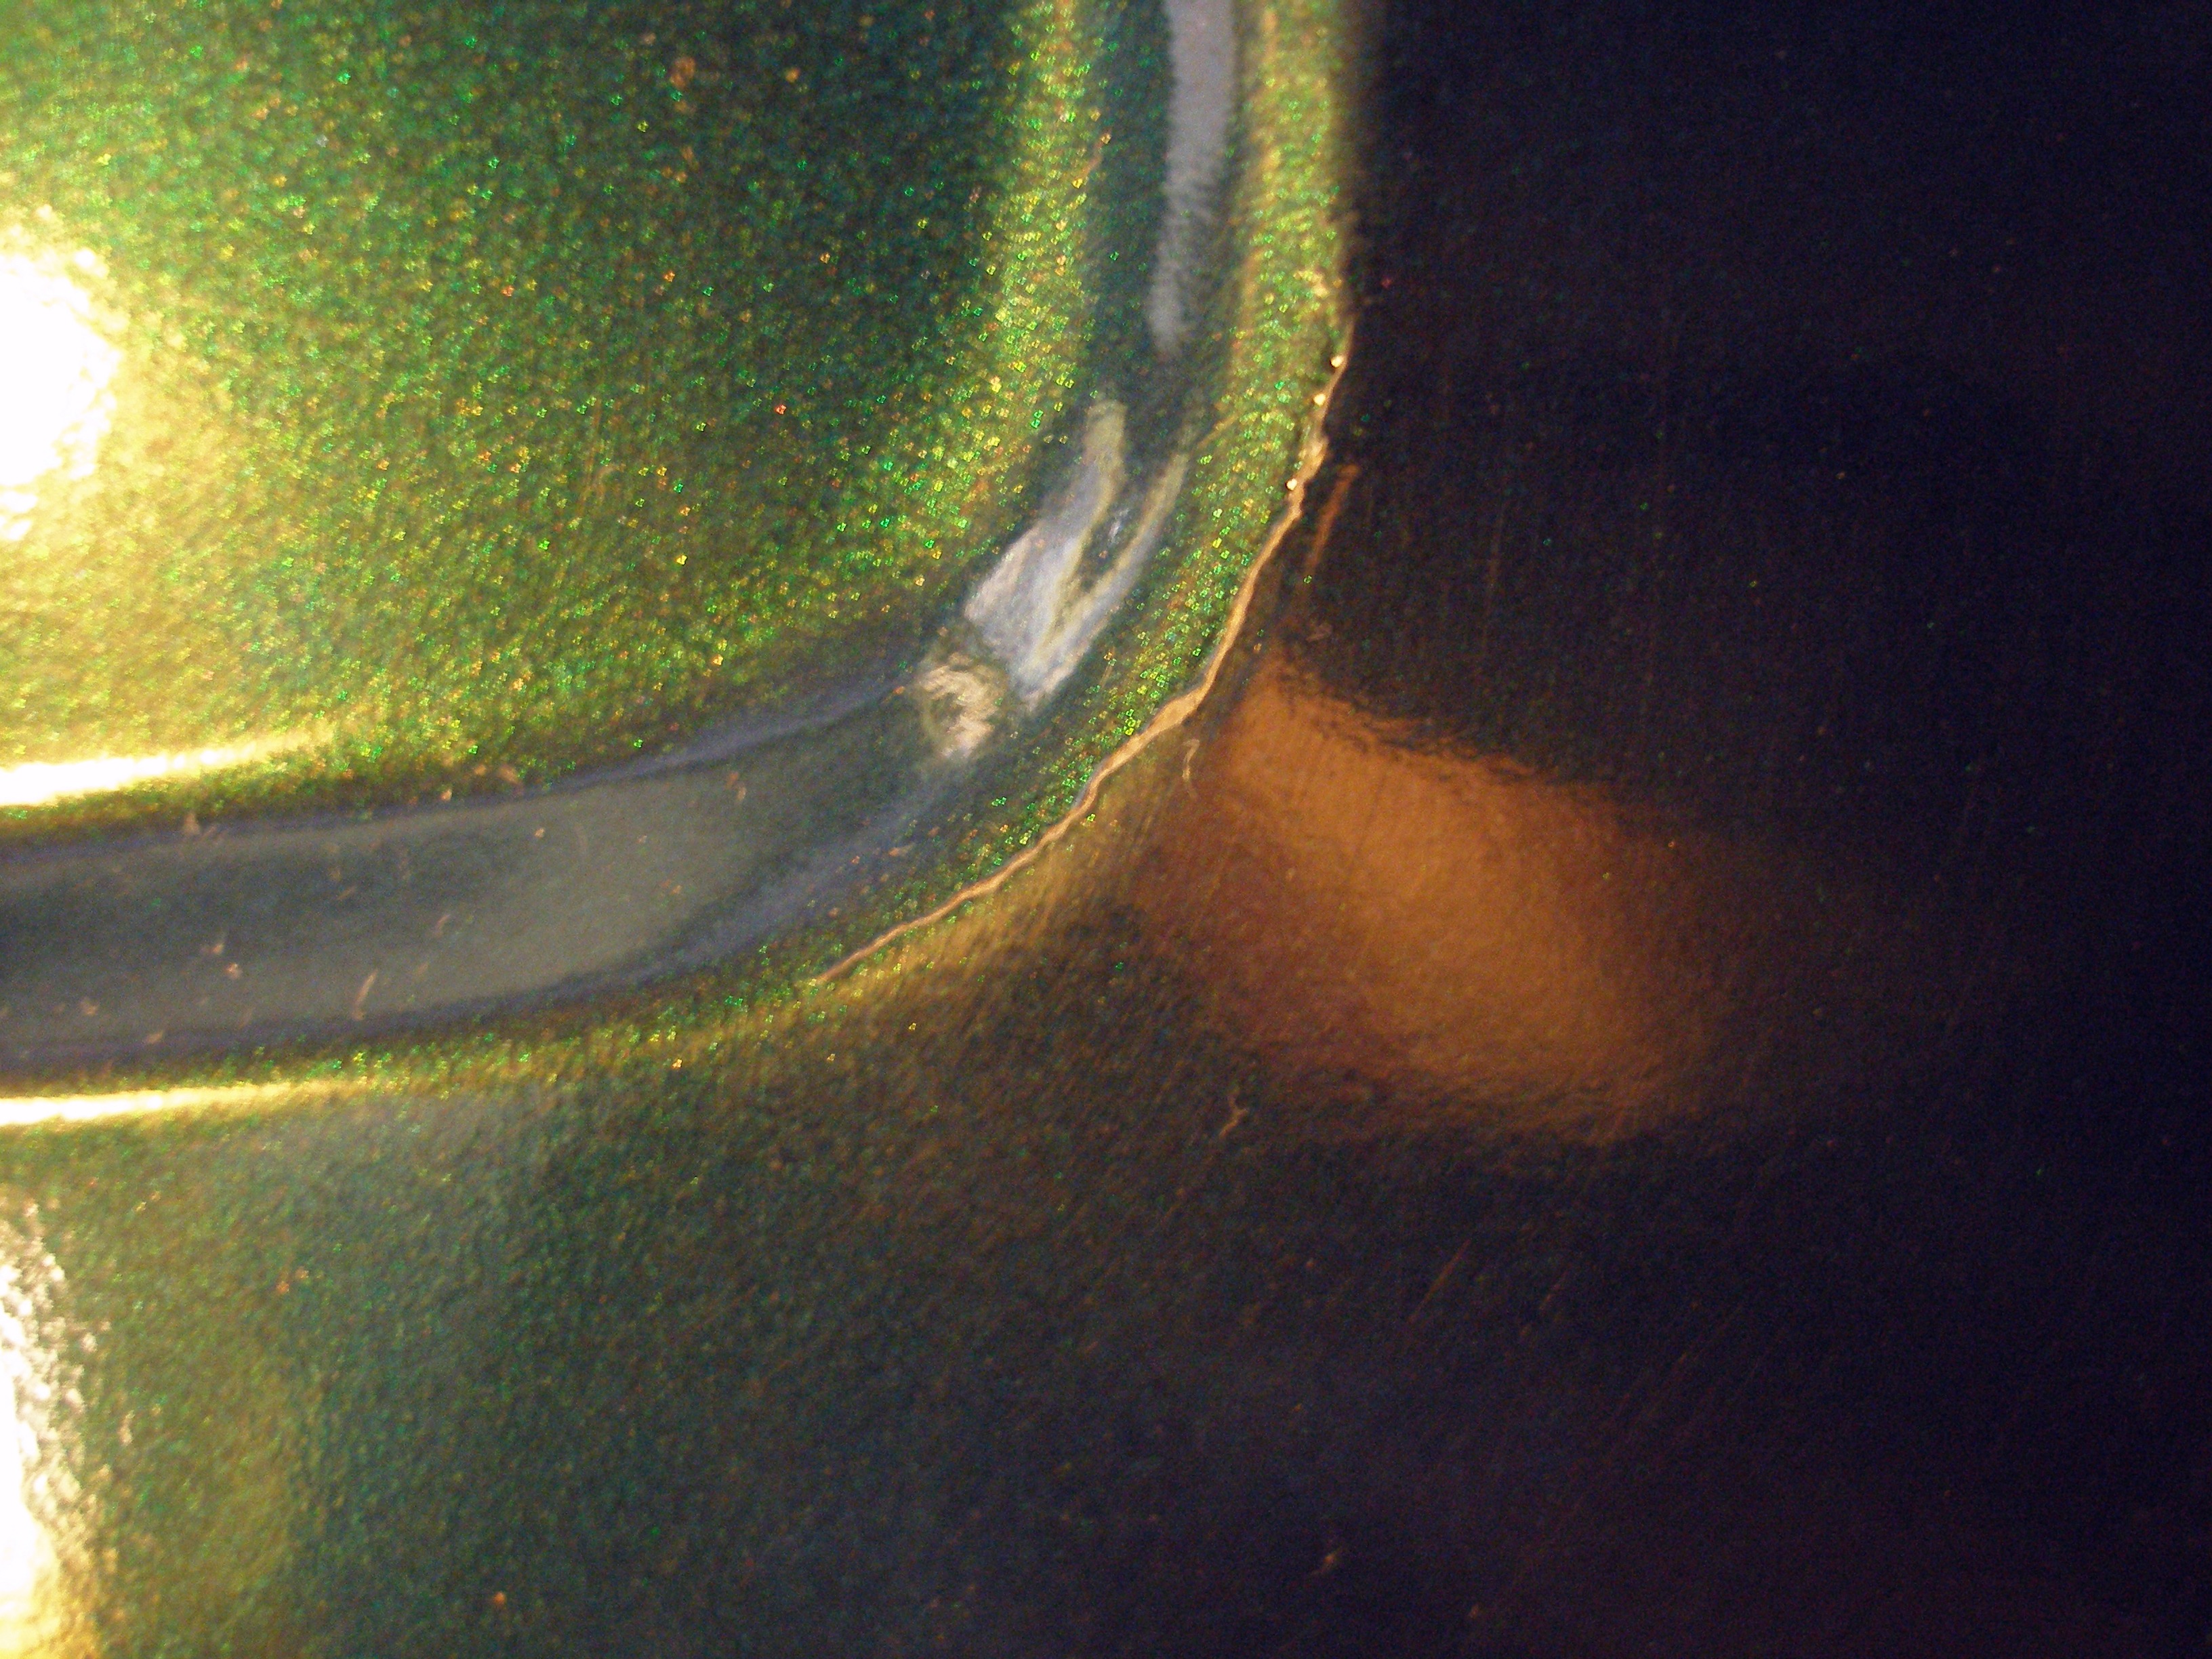
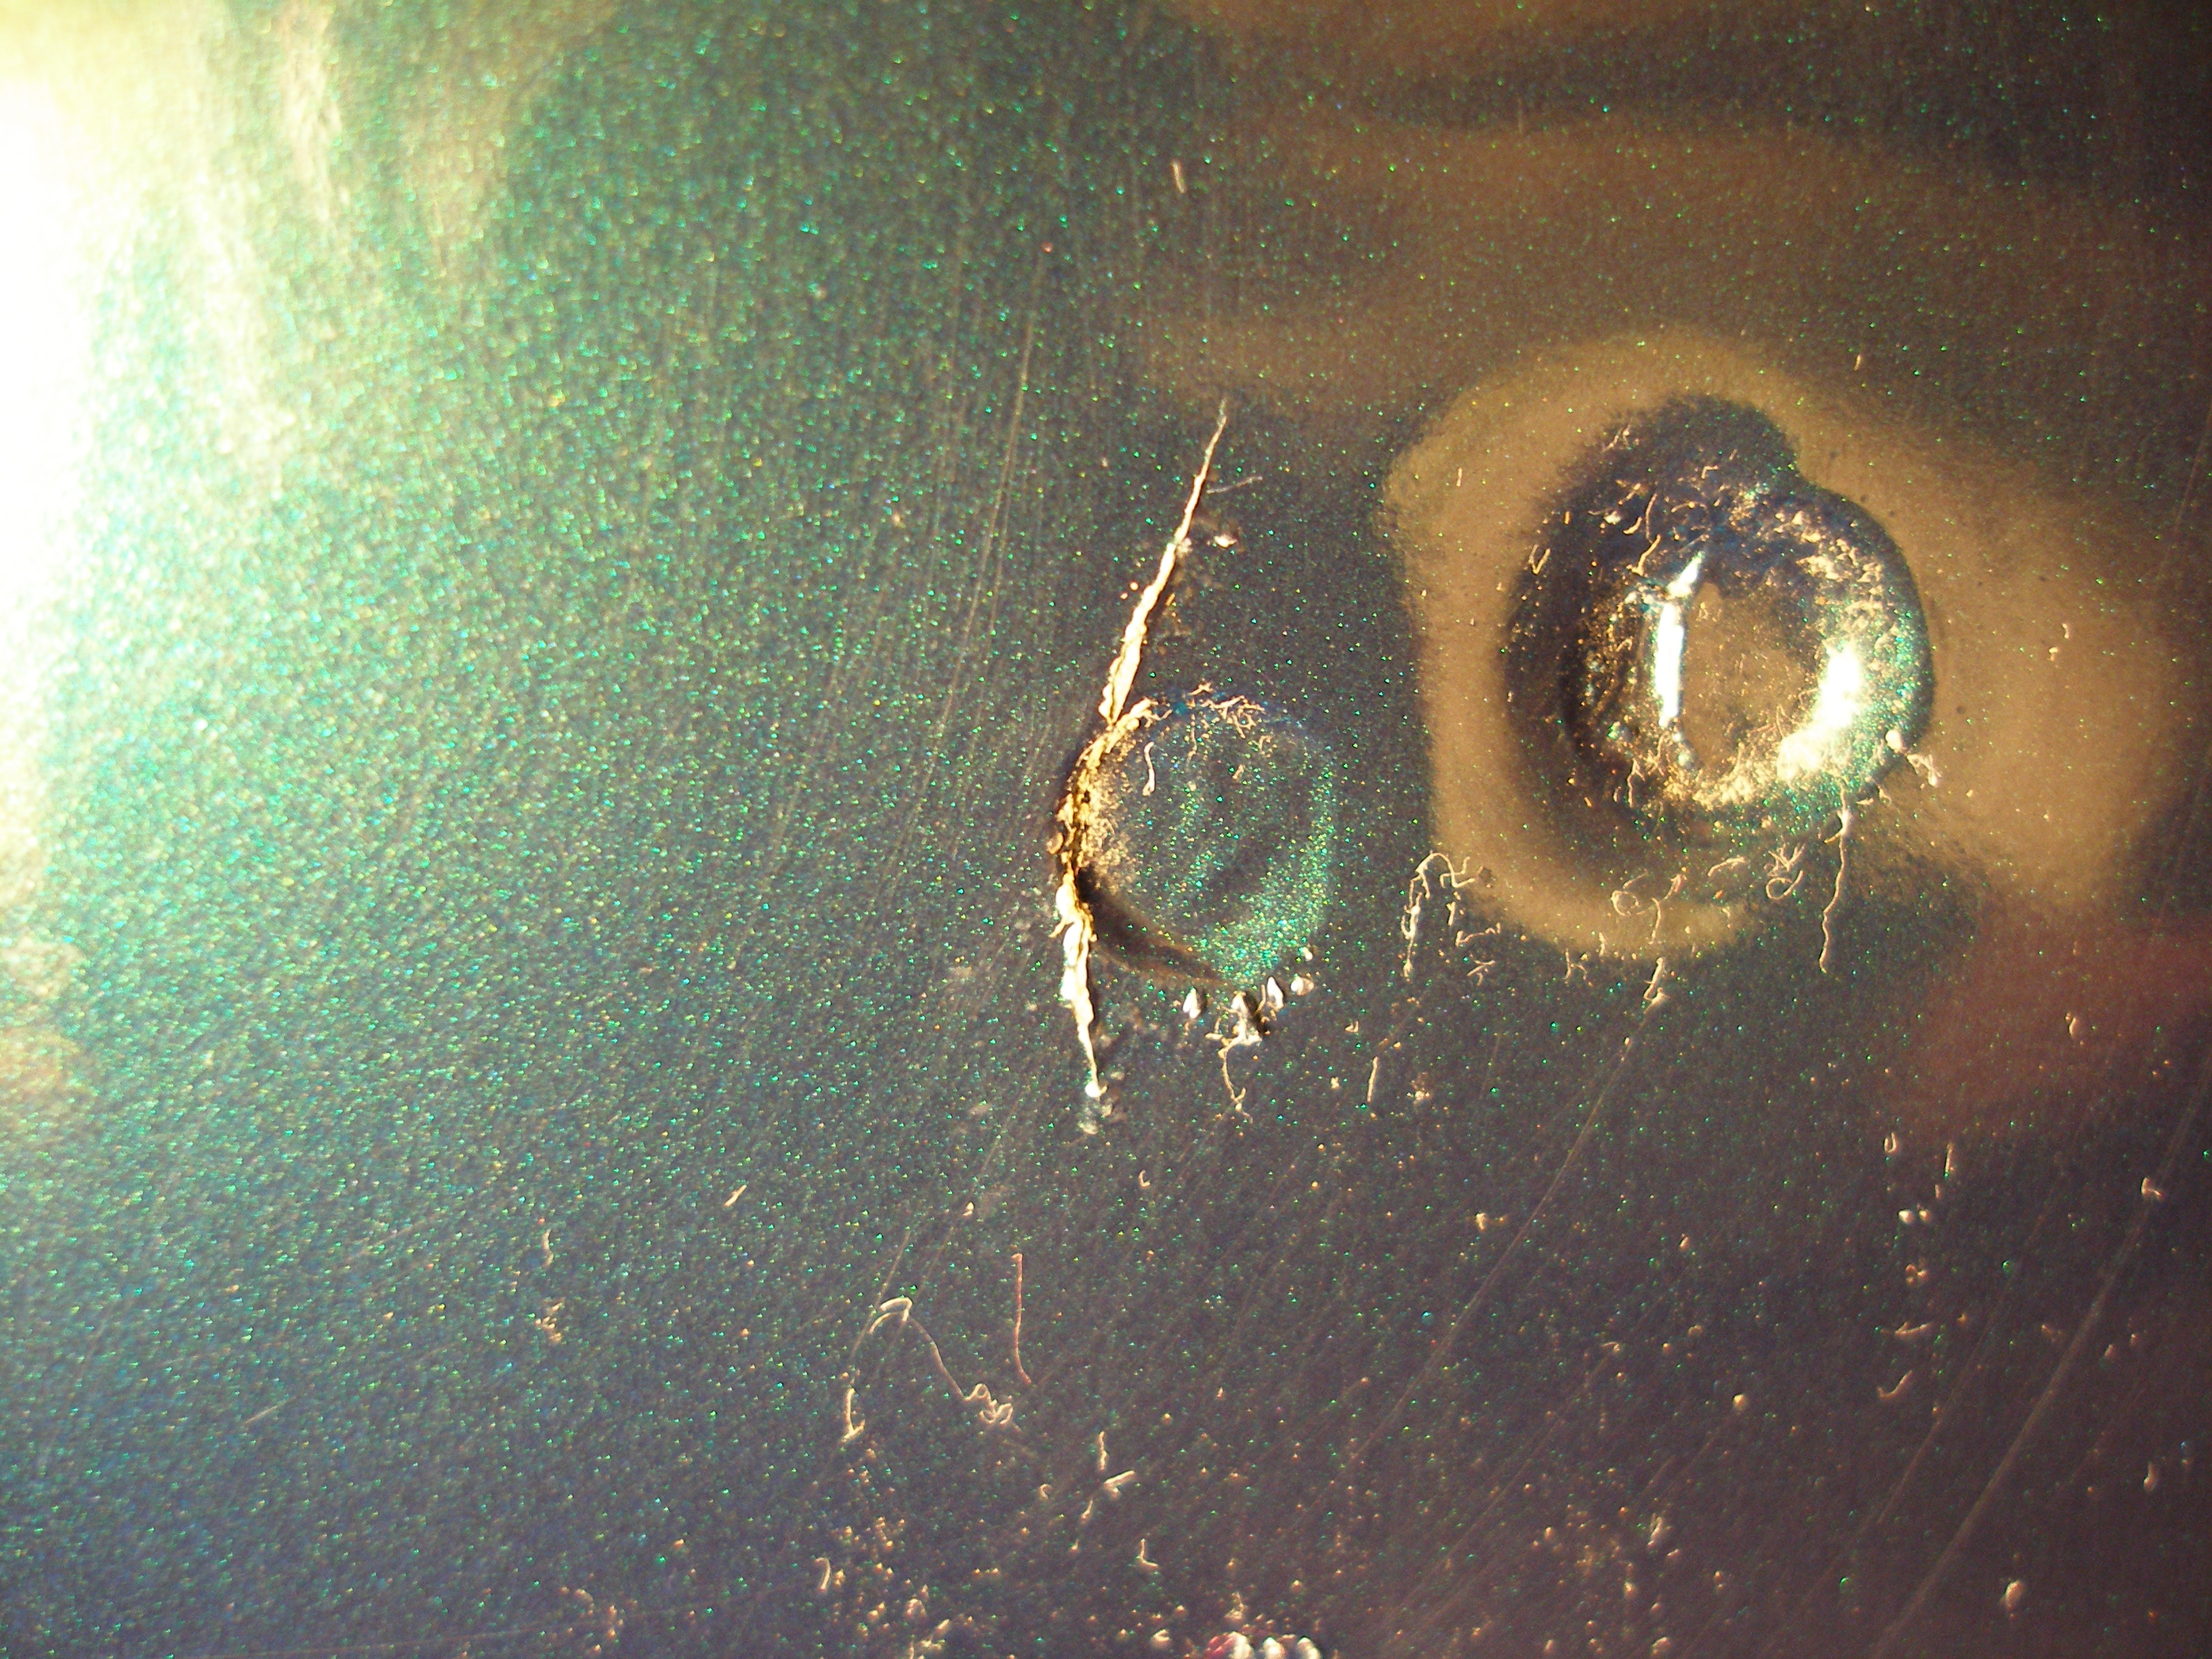
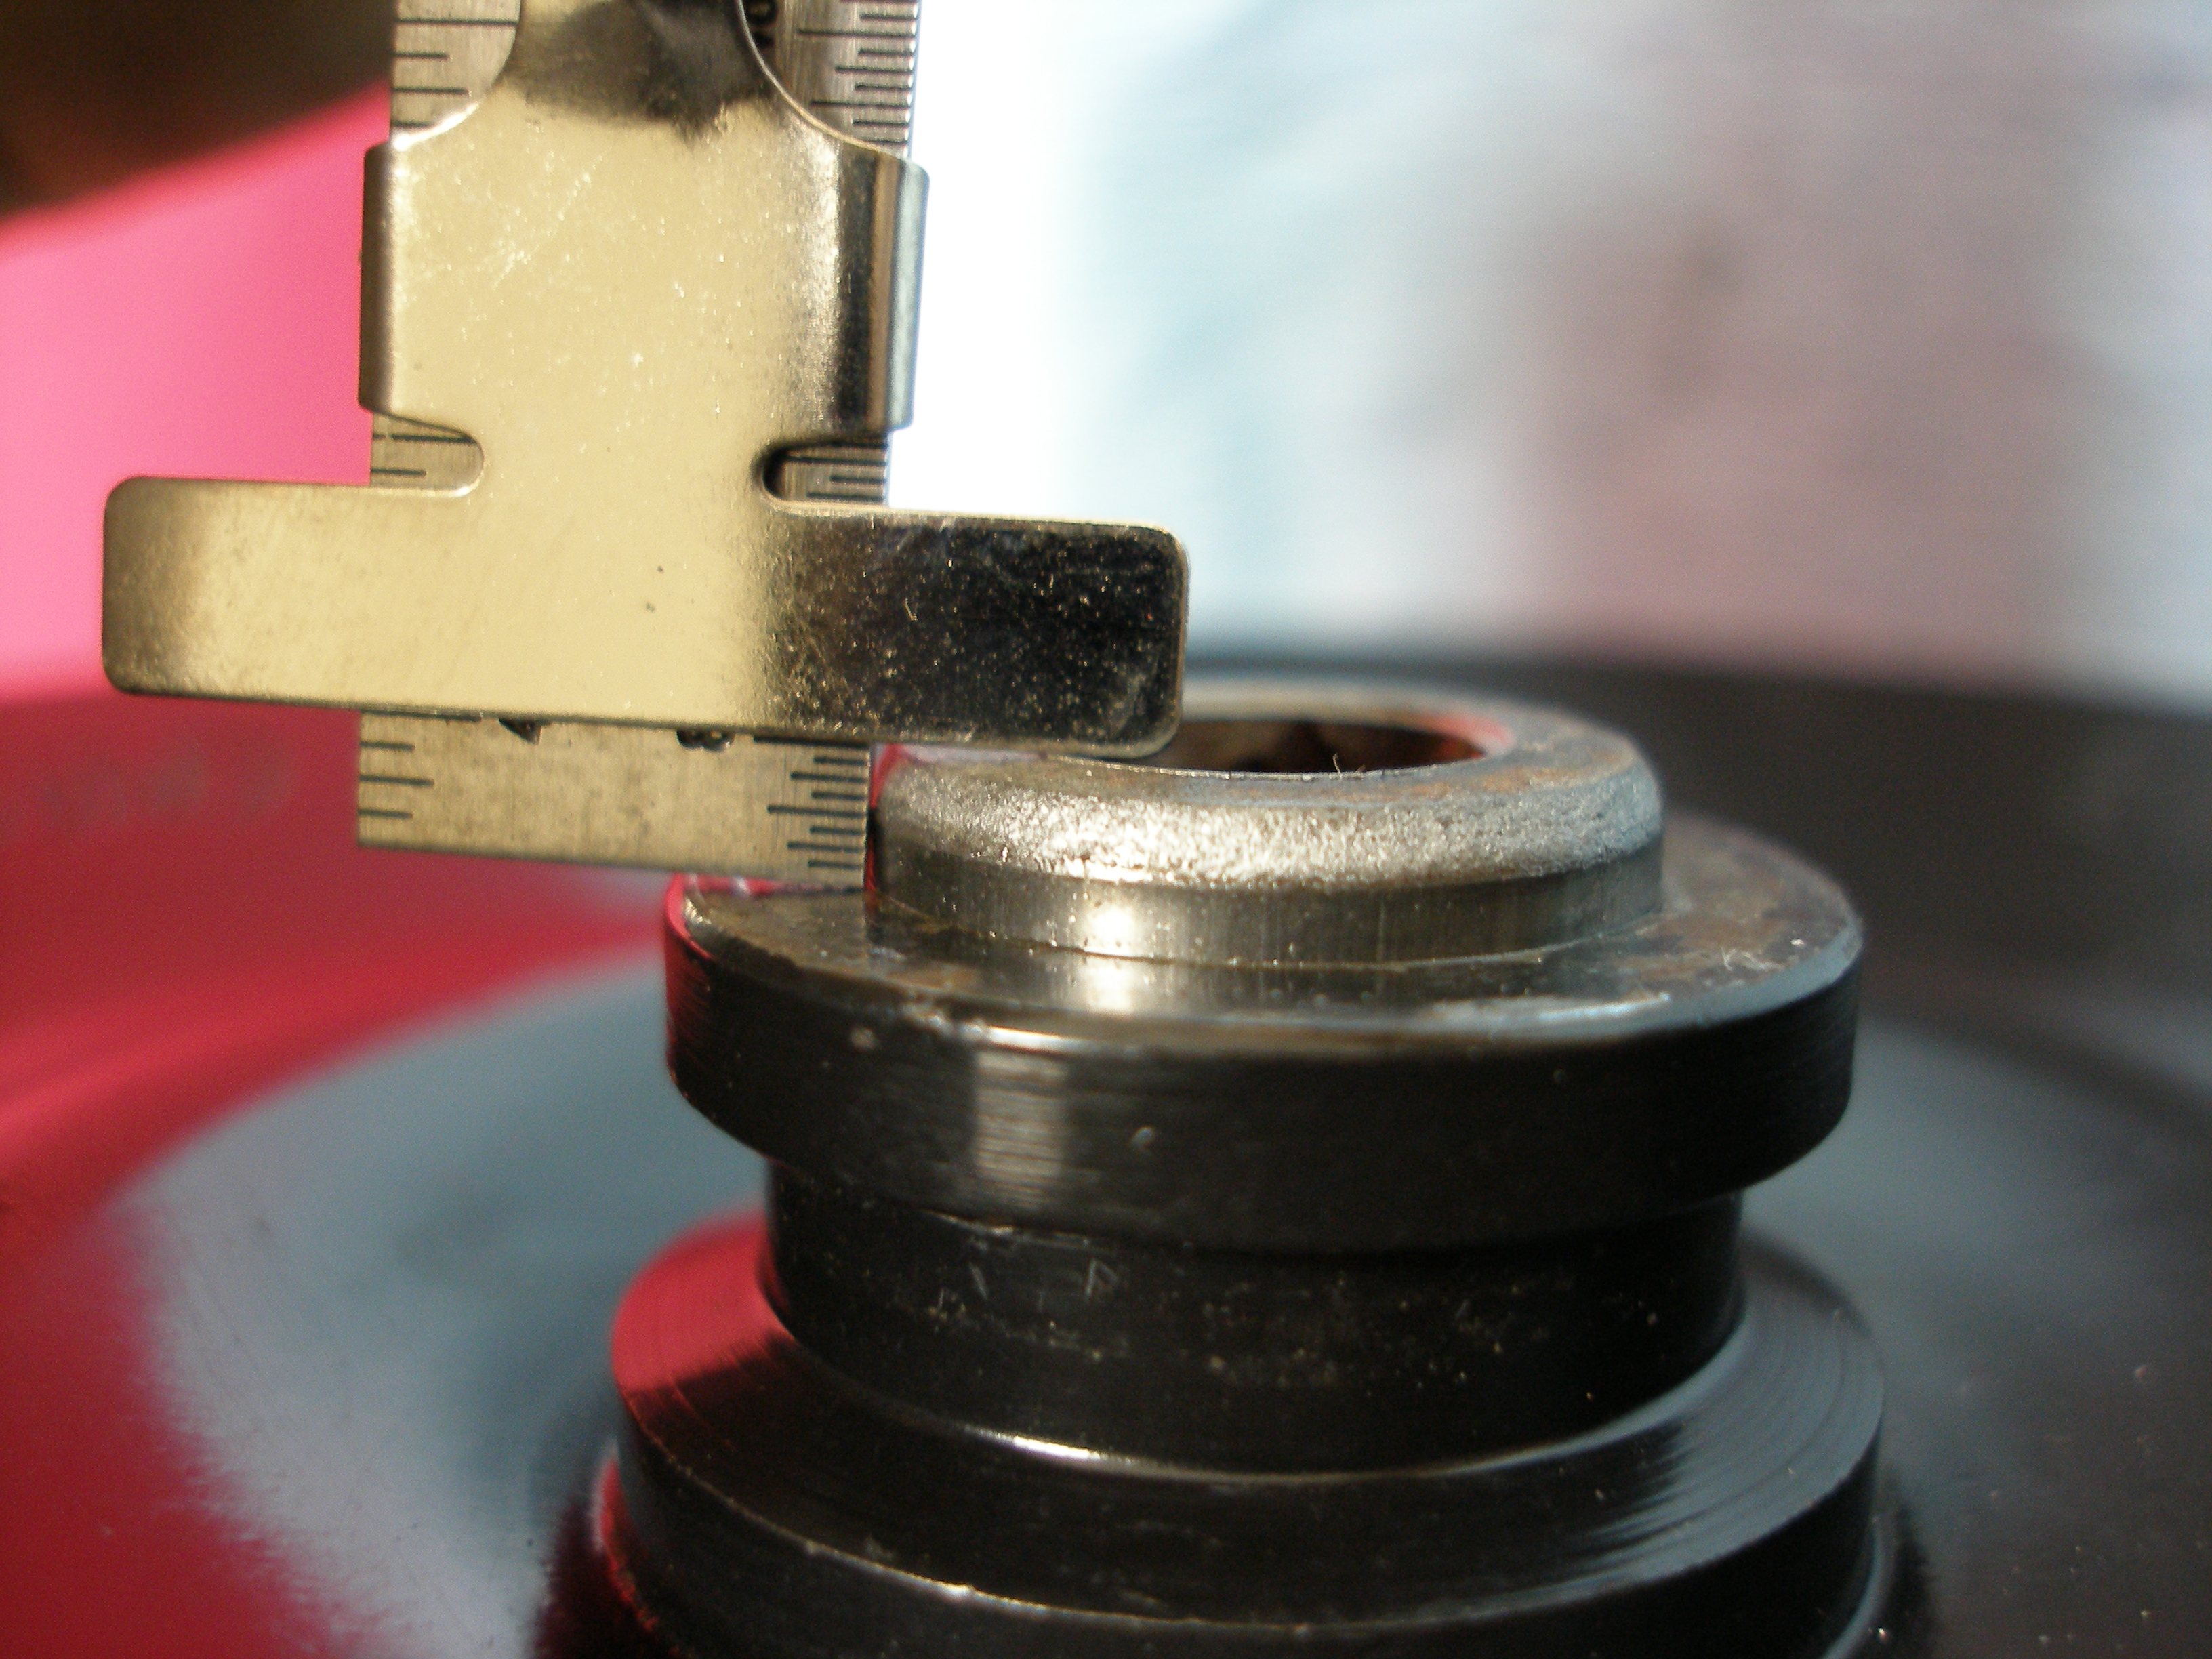
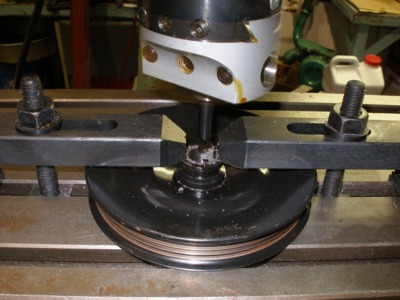
Some measurements . . . this is where I realized I had to take some material off the back of the sheave to move the belt inbound. Lowest wrench is merely a spacer to allow the installation tool to press the hub beyond flush.


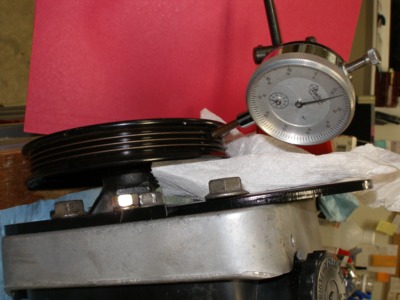
Checking runout. When I bored the first sheave, I didn't yet have a dial test indicator ("DTI"), and I tried to do the setup without. Result was .012" runout -- too much. After that, I went and bought a DTI and a second sheave from a JY for $5 and was able to correctly get the bore under the spindle. Made a huge difference.
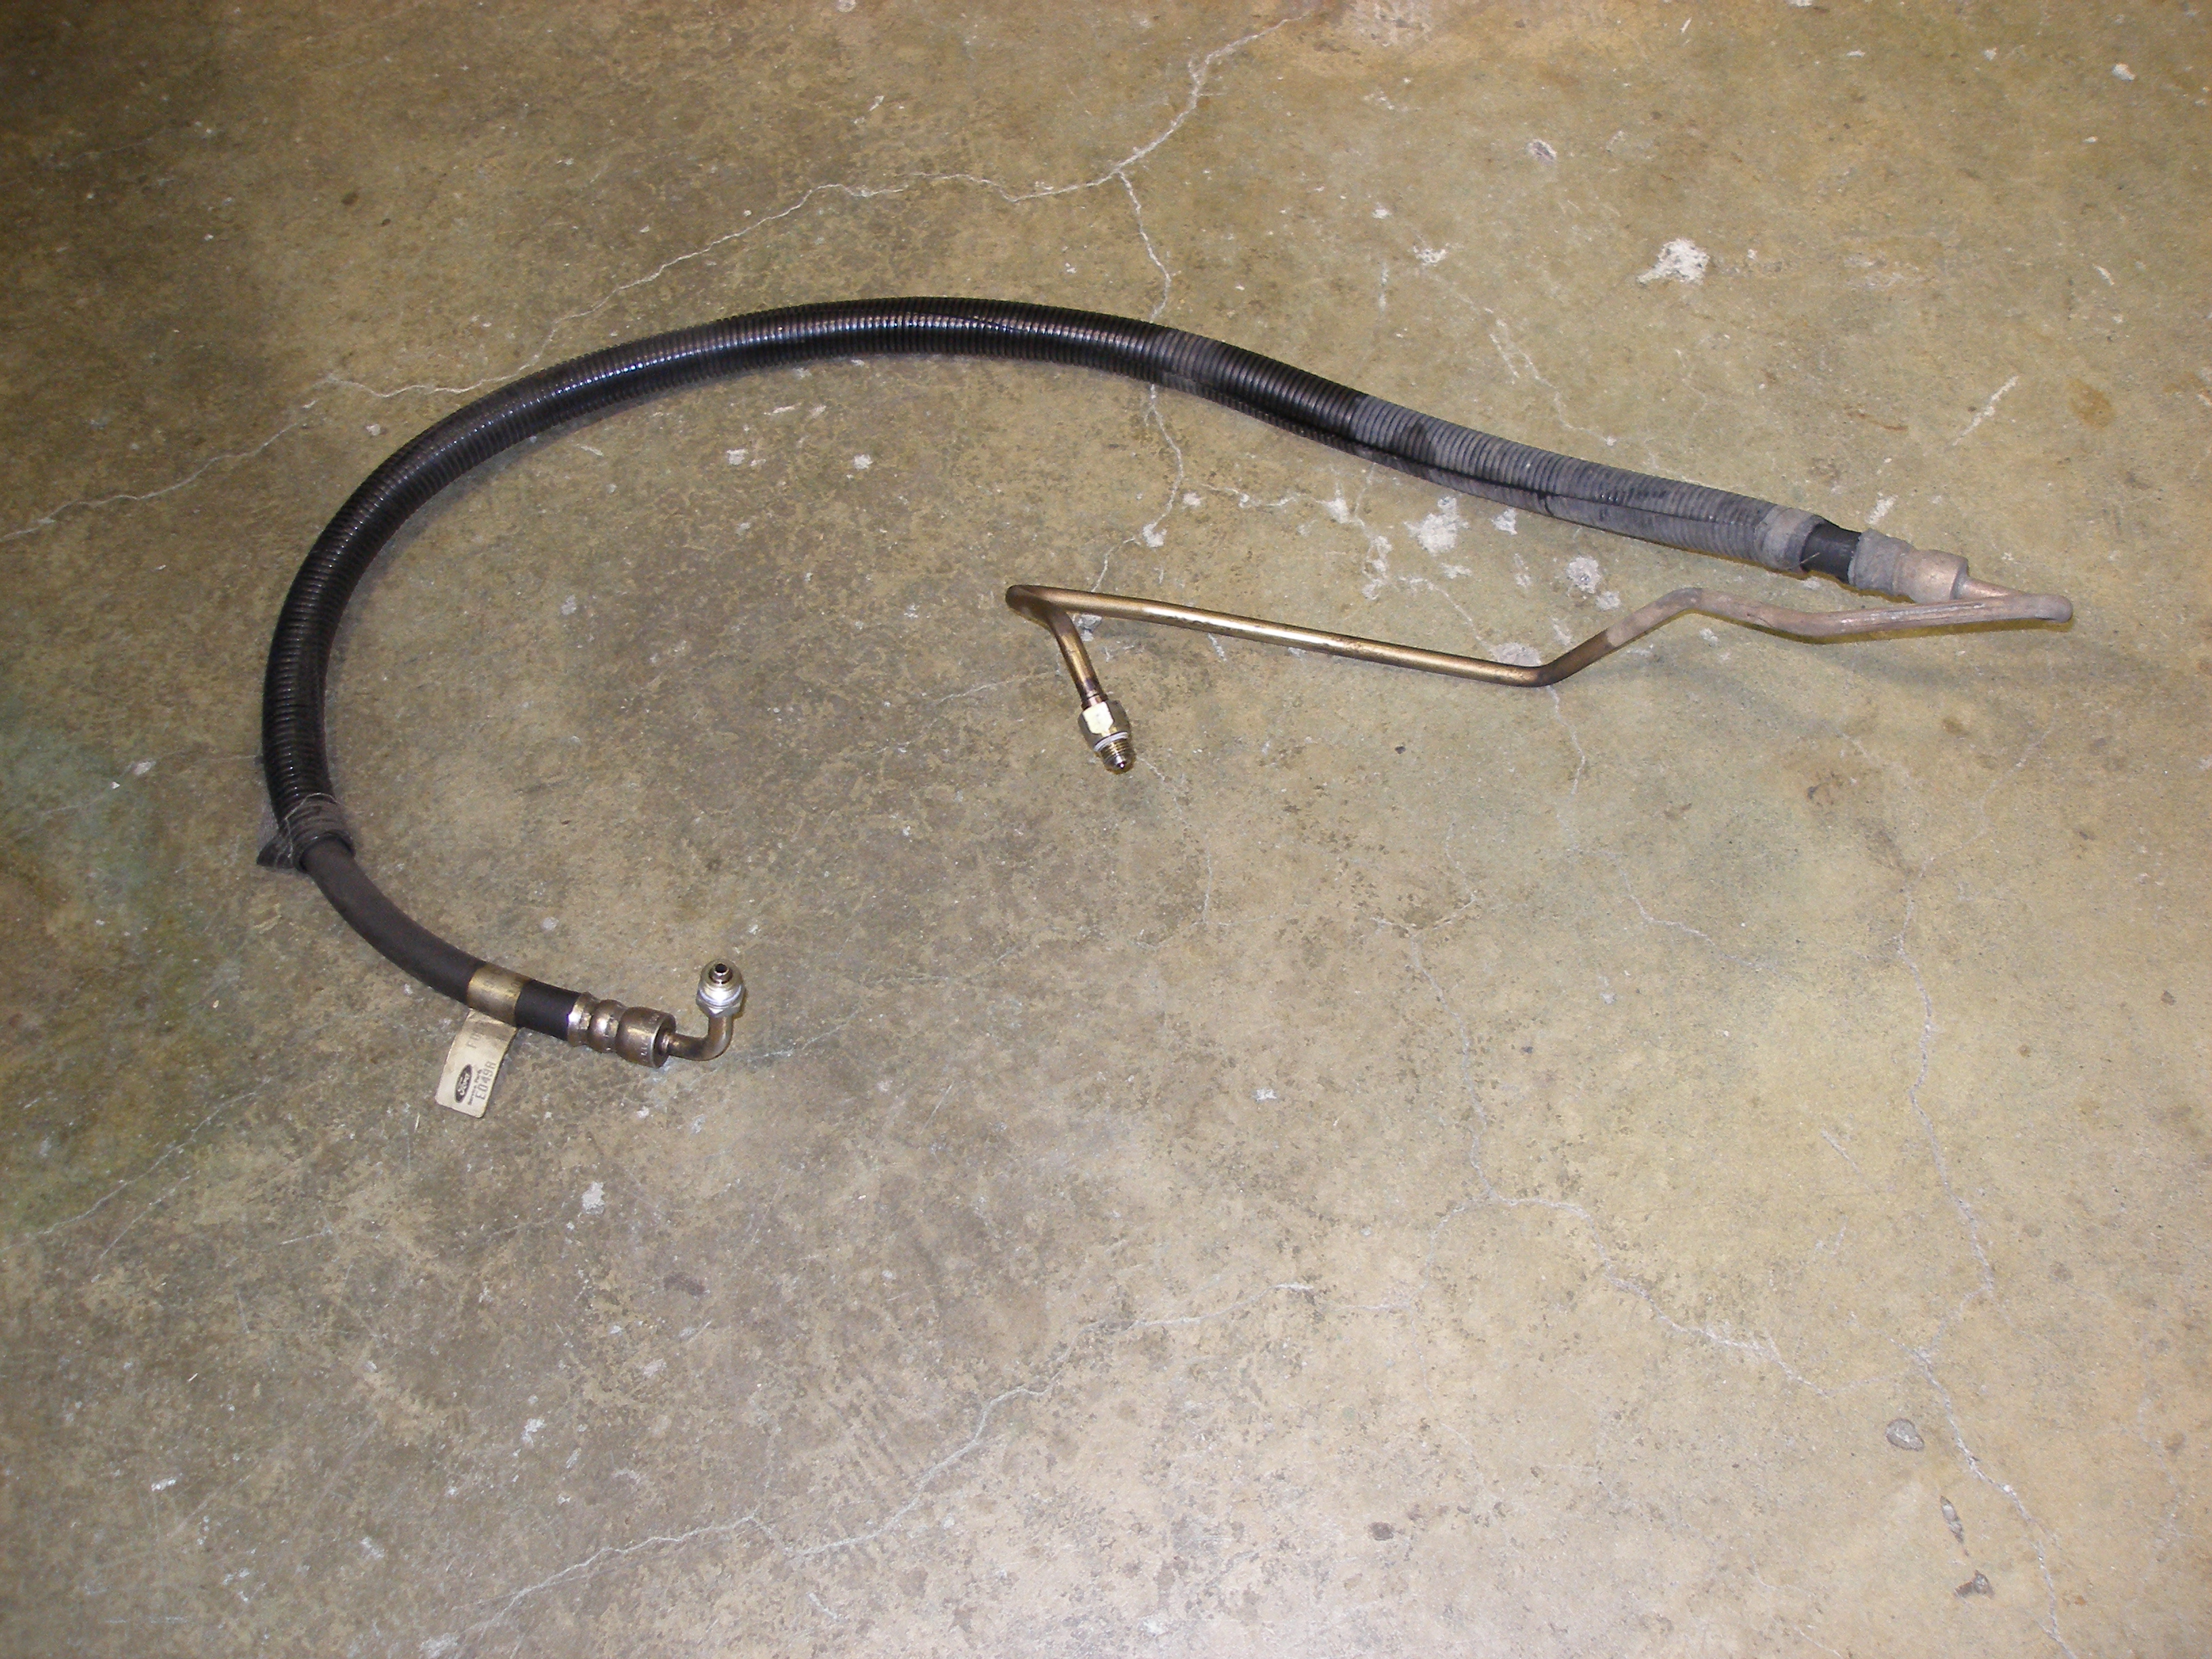
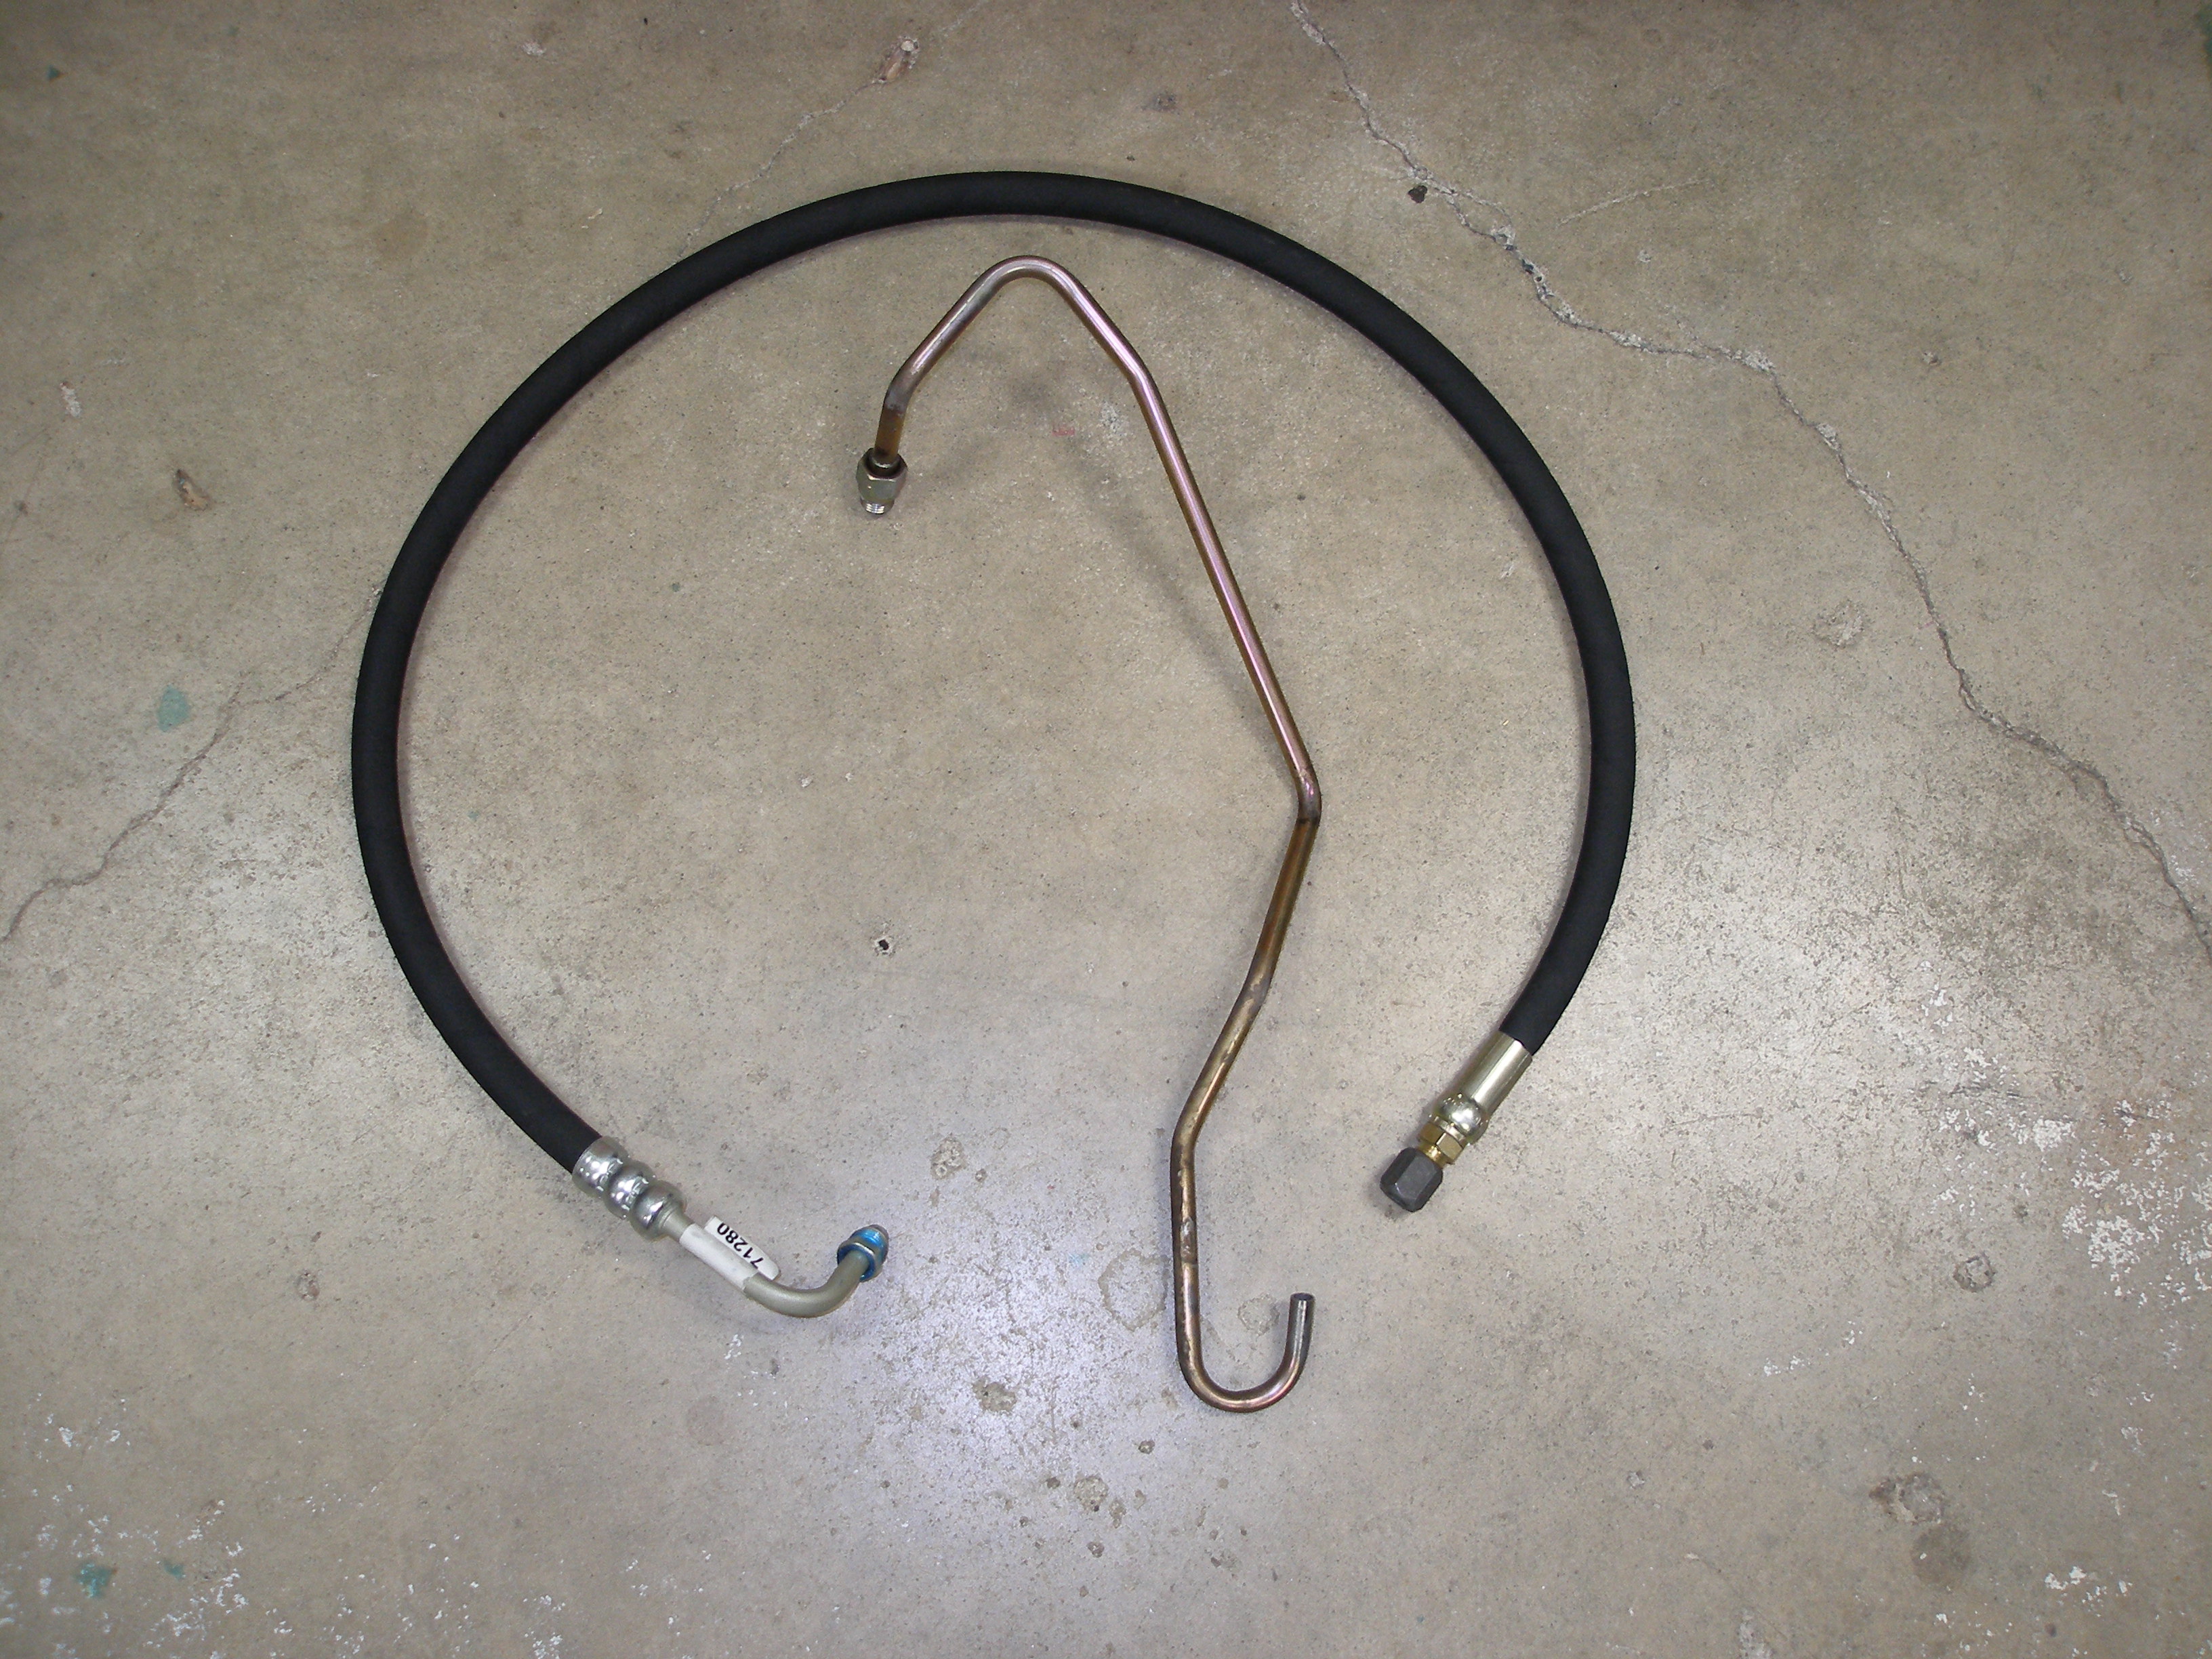
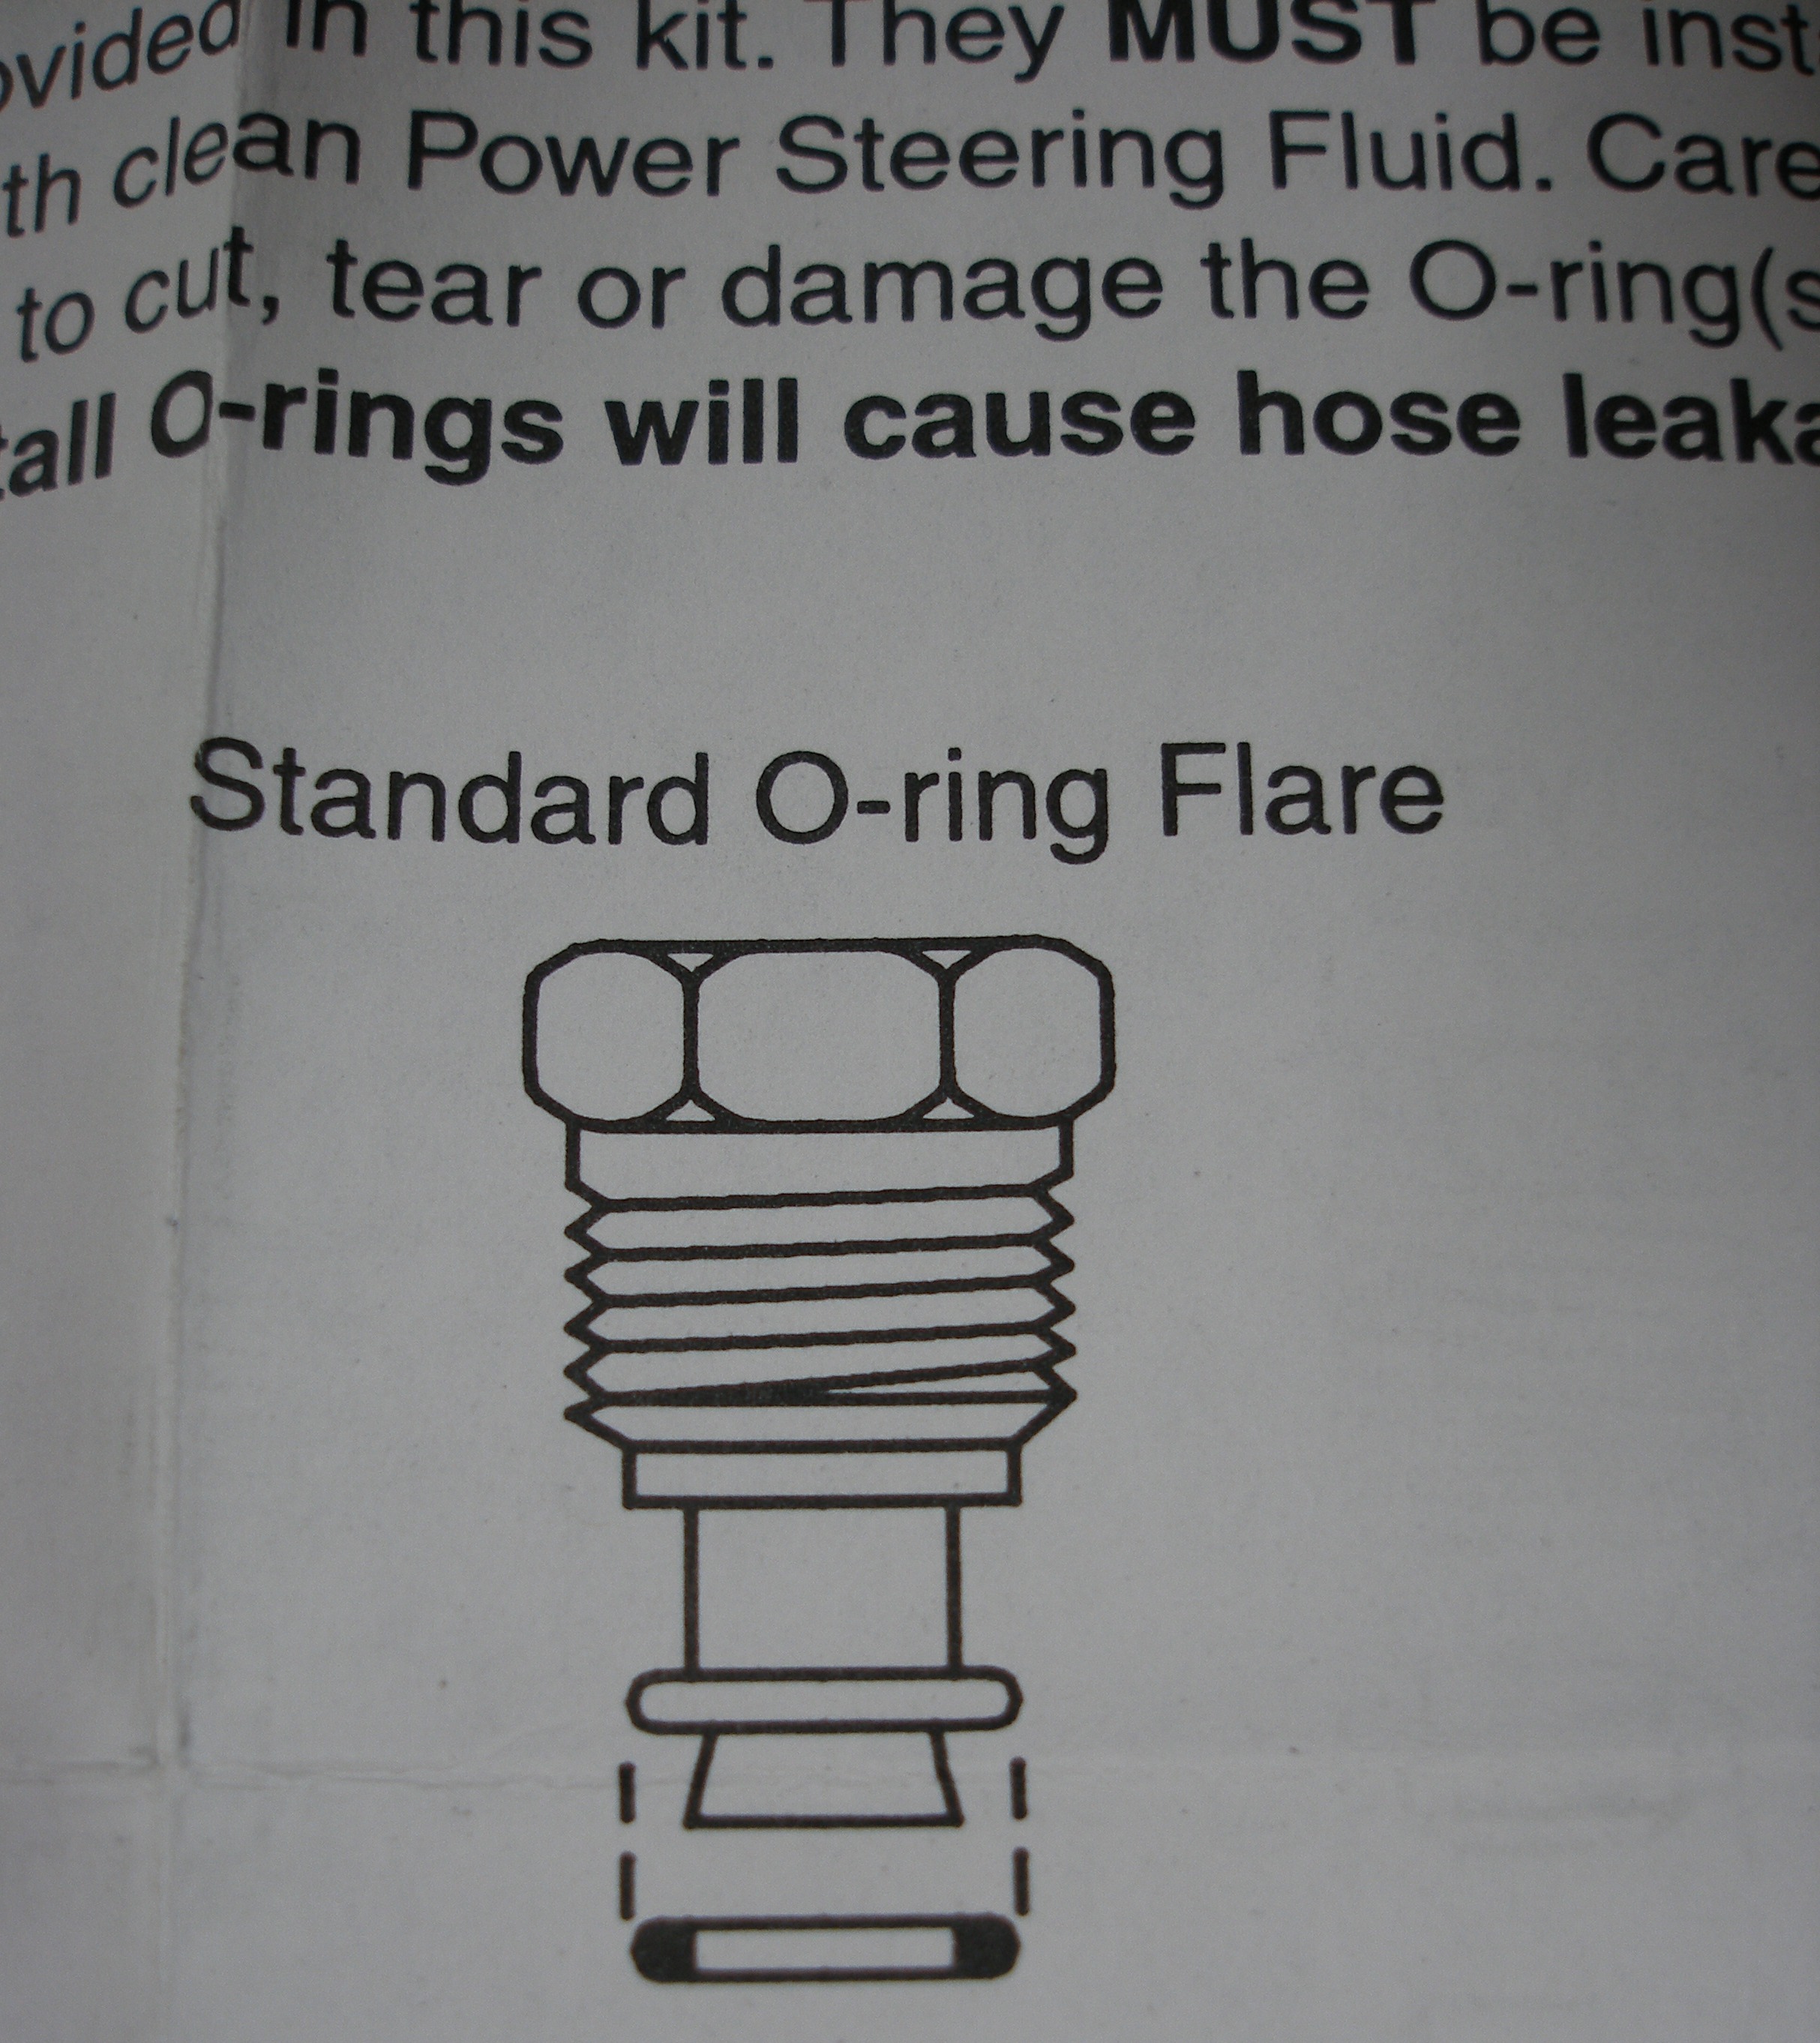
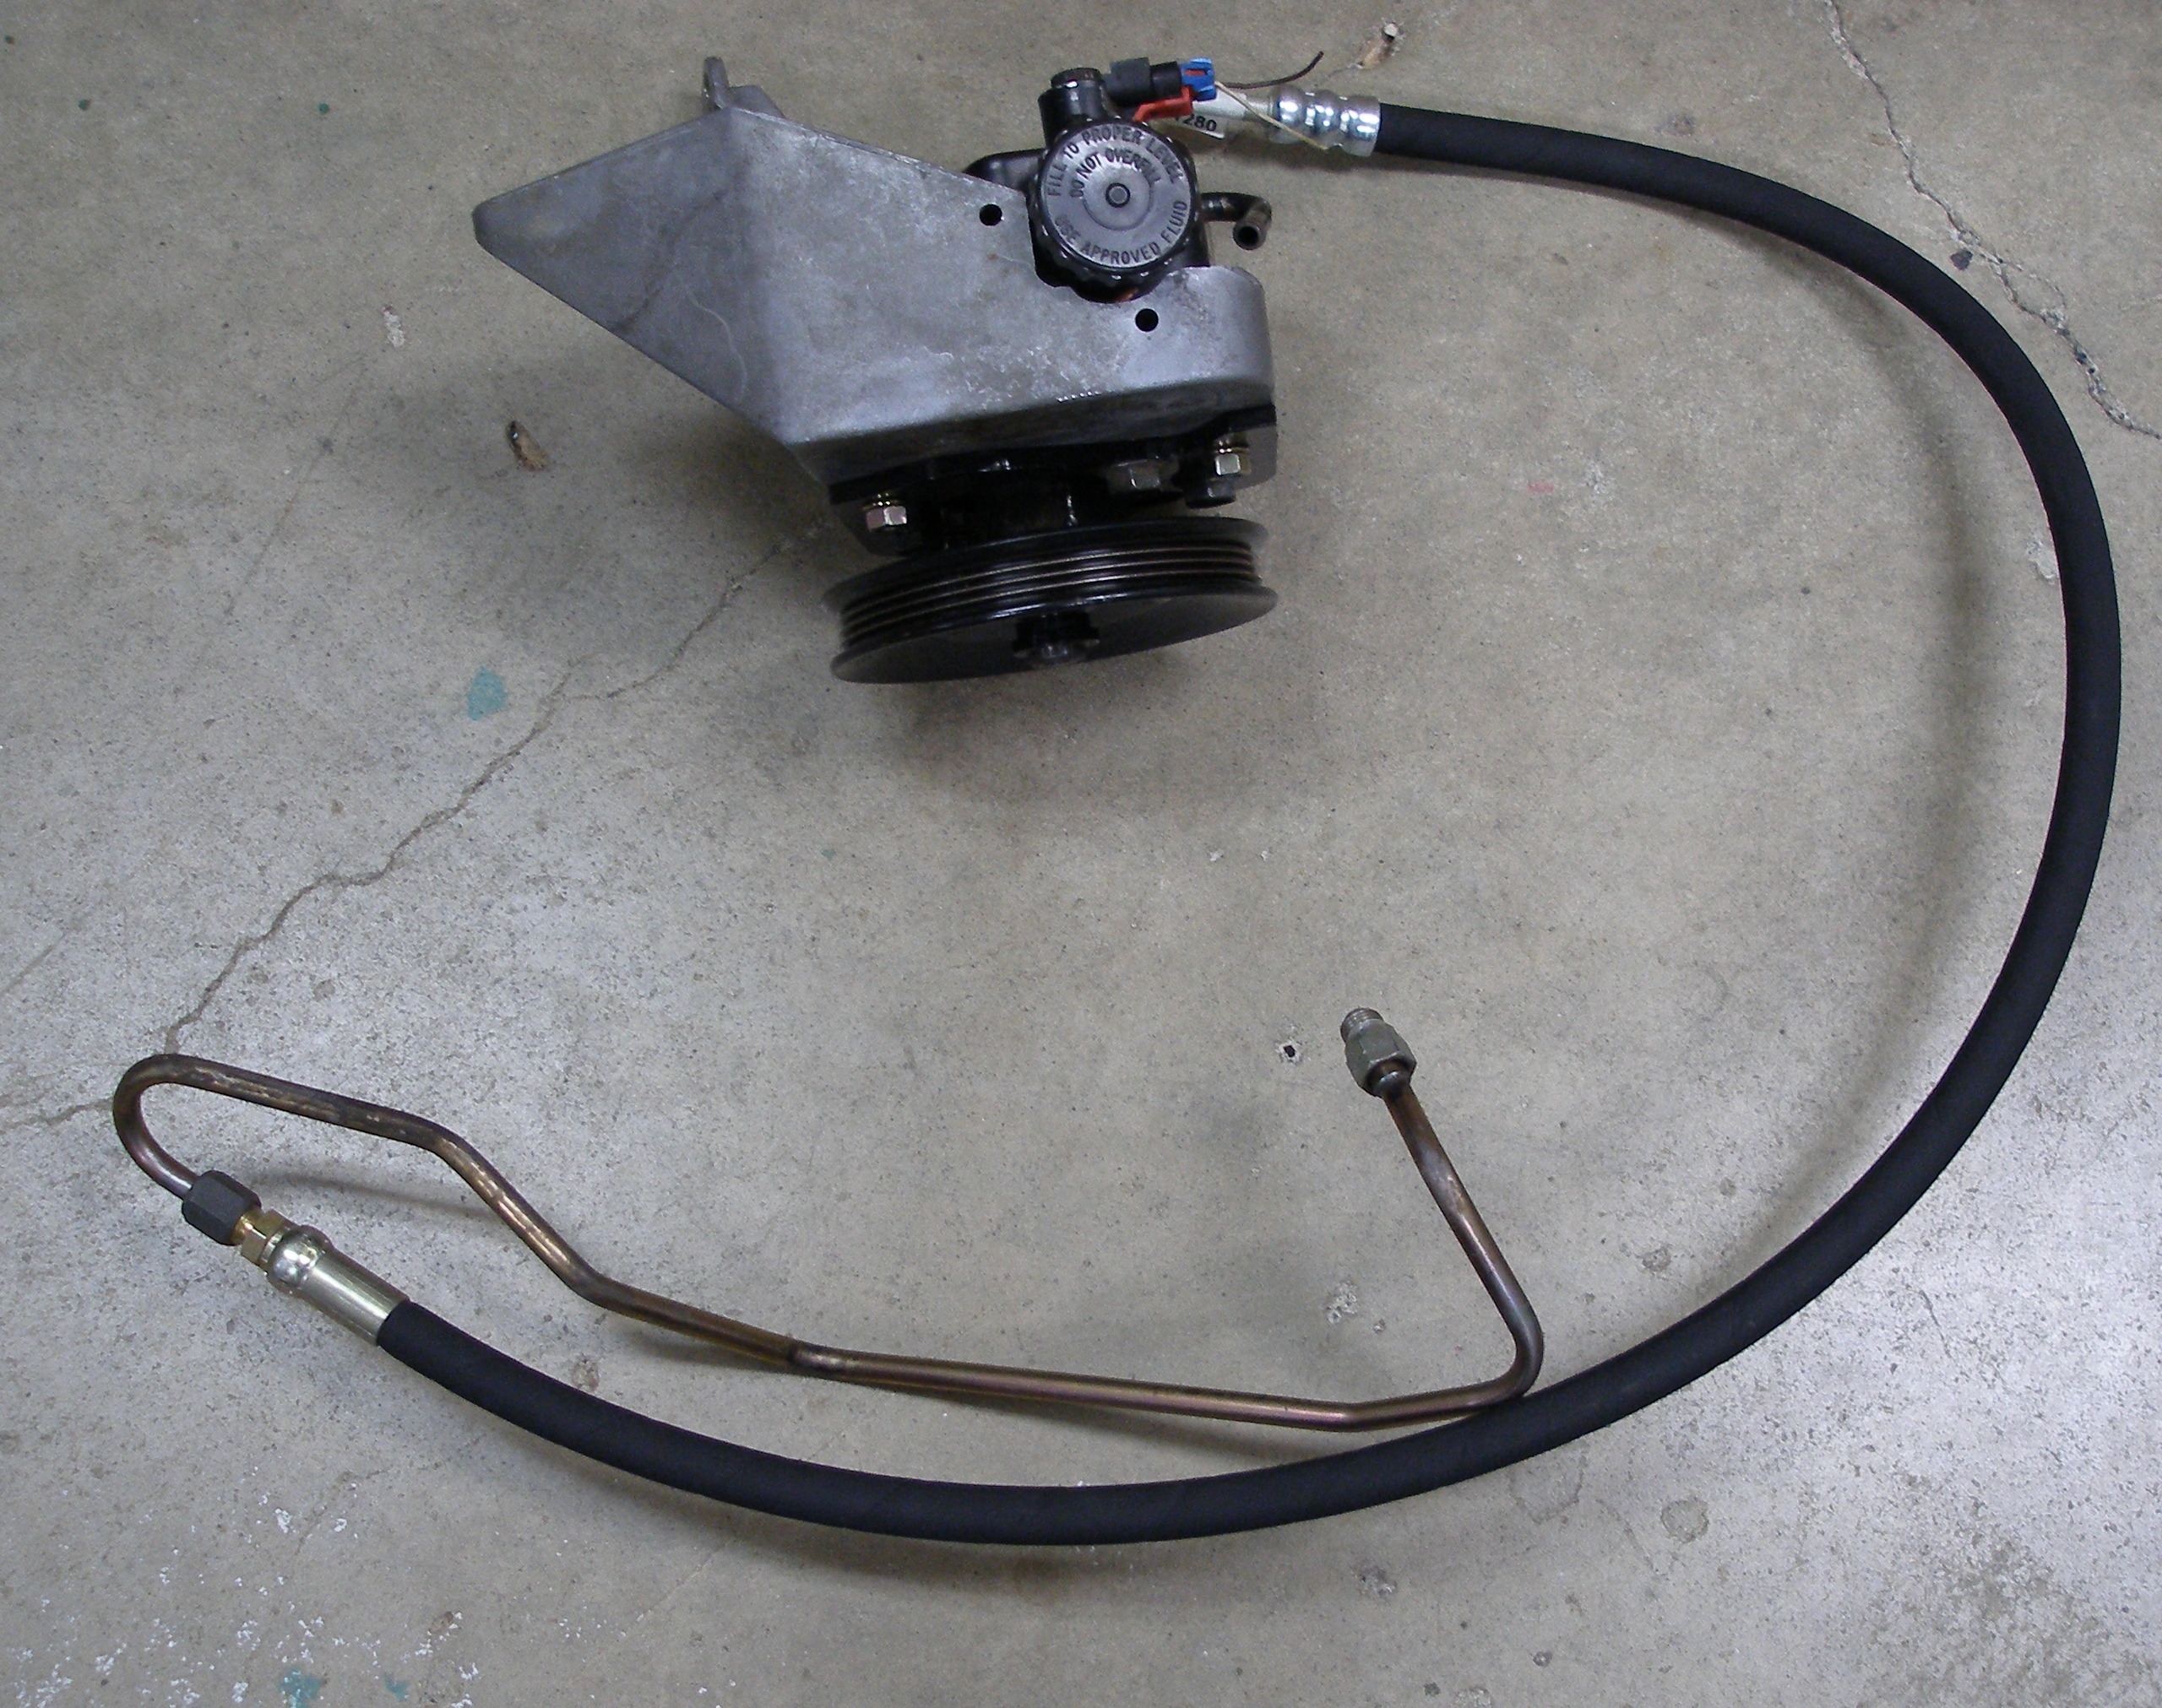
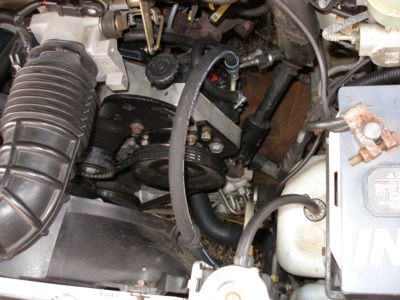
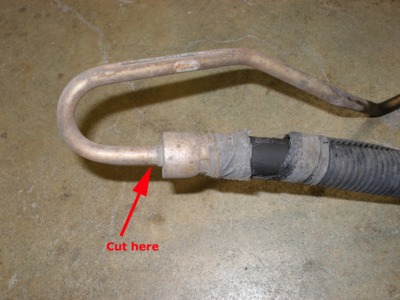
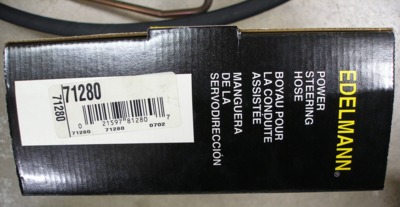
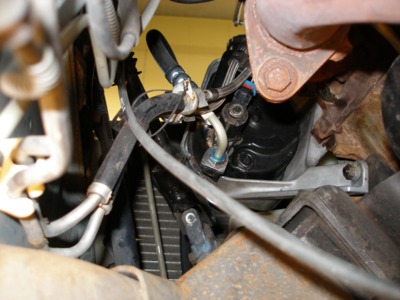
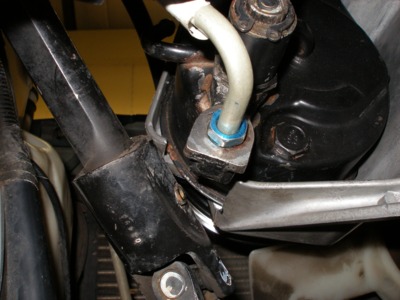
Get the high pressure hose prepped:
I used an Edelmann 71280 from an unknown application, cut it and swedged on a hydraulic compression fitting that adapts the hose to 3/8" tube. I have used this type of high-pressure compression fitting for PS hoses in the past, and so far have not had a leak. Credit to Todd Cheeseman at WestBay Auto Parts for actually doing the research to find this hose. It has a formed bend on the pump end that magically clears all my obstructions in the engine bay.
Original hose:
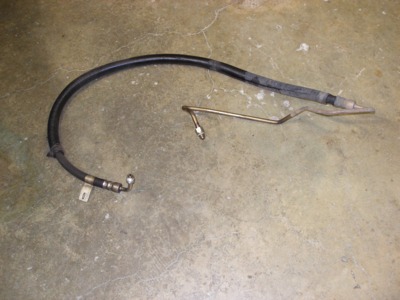
Cut the steel tube just to left of the hose crimp.
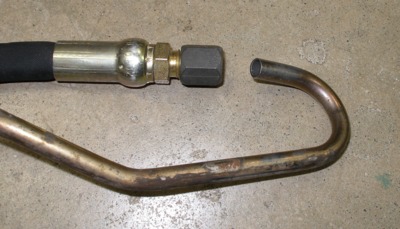


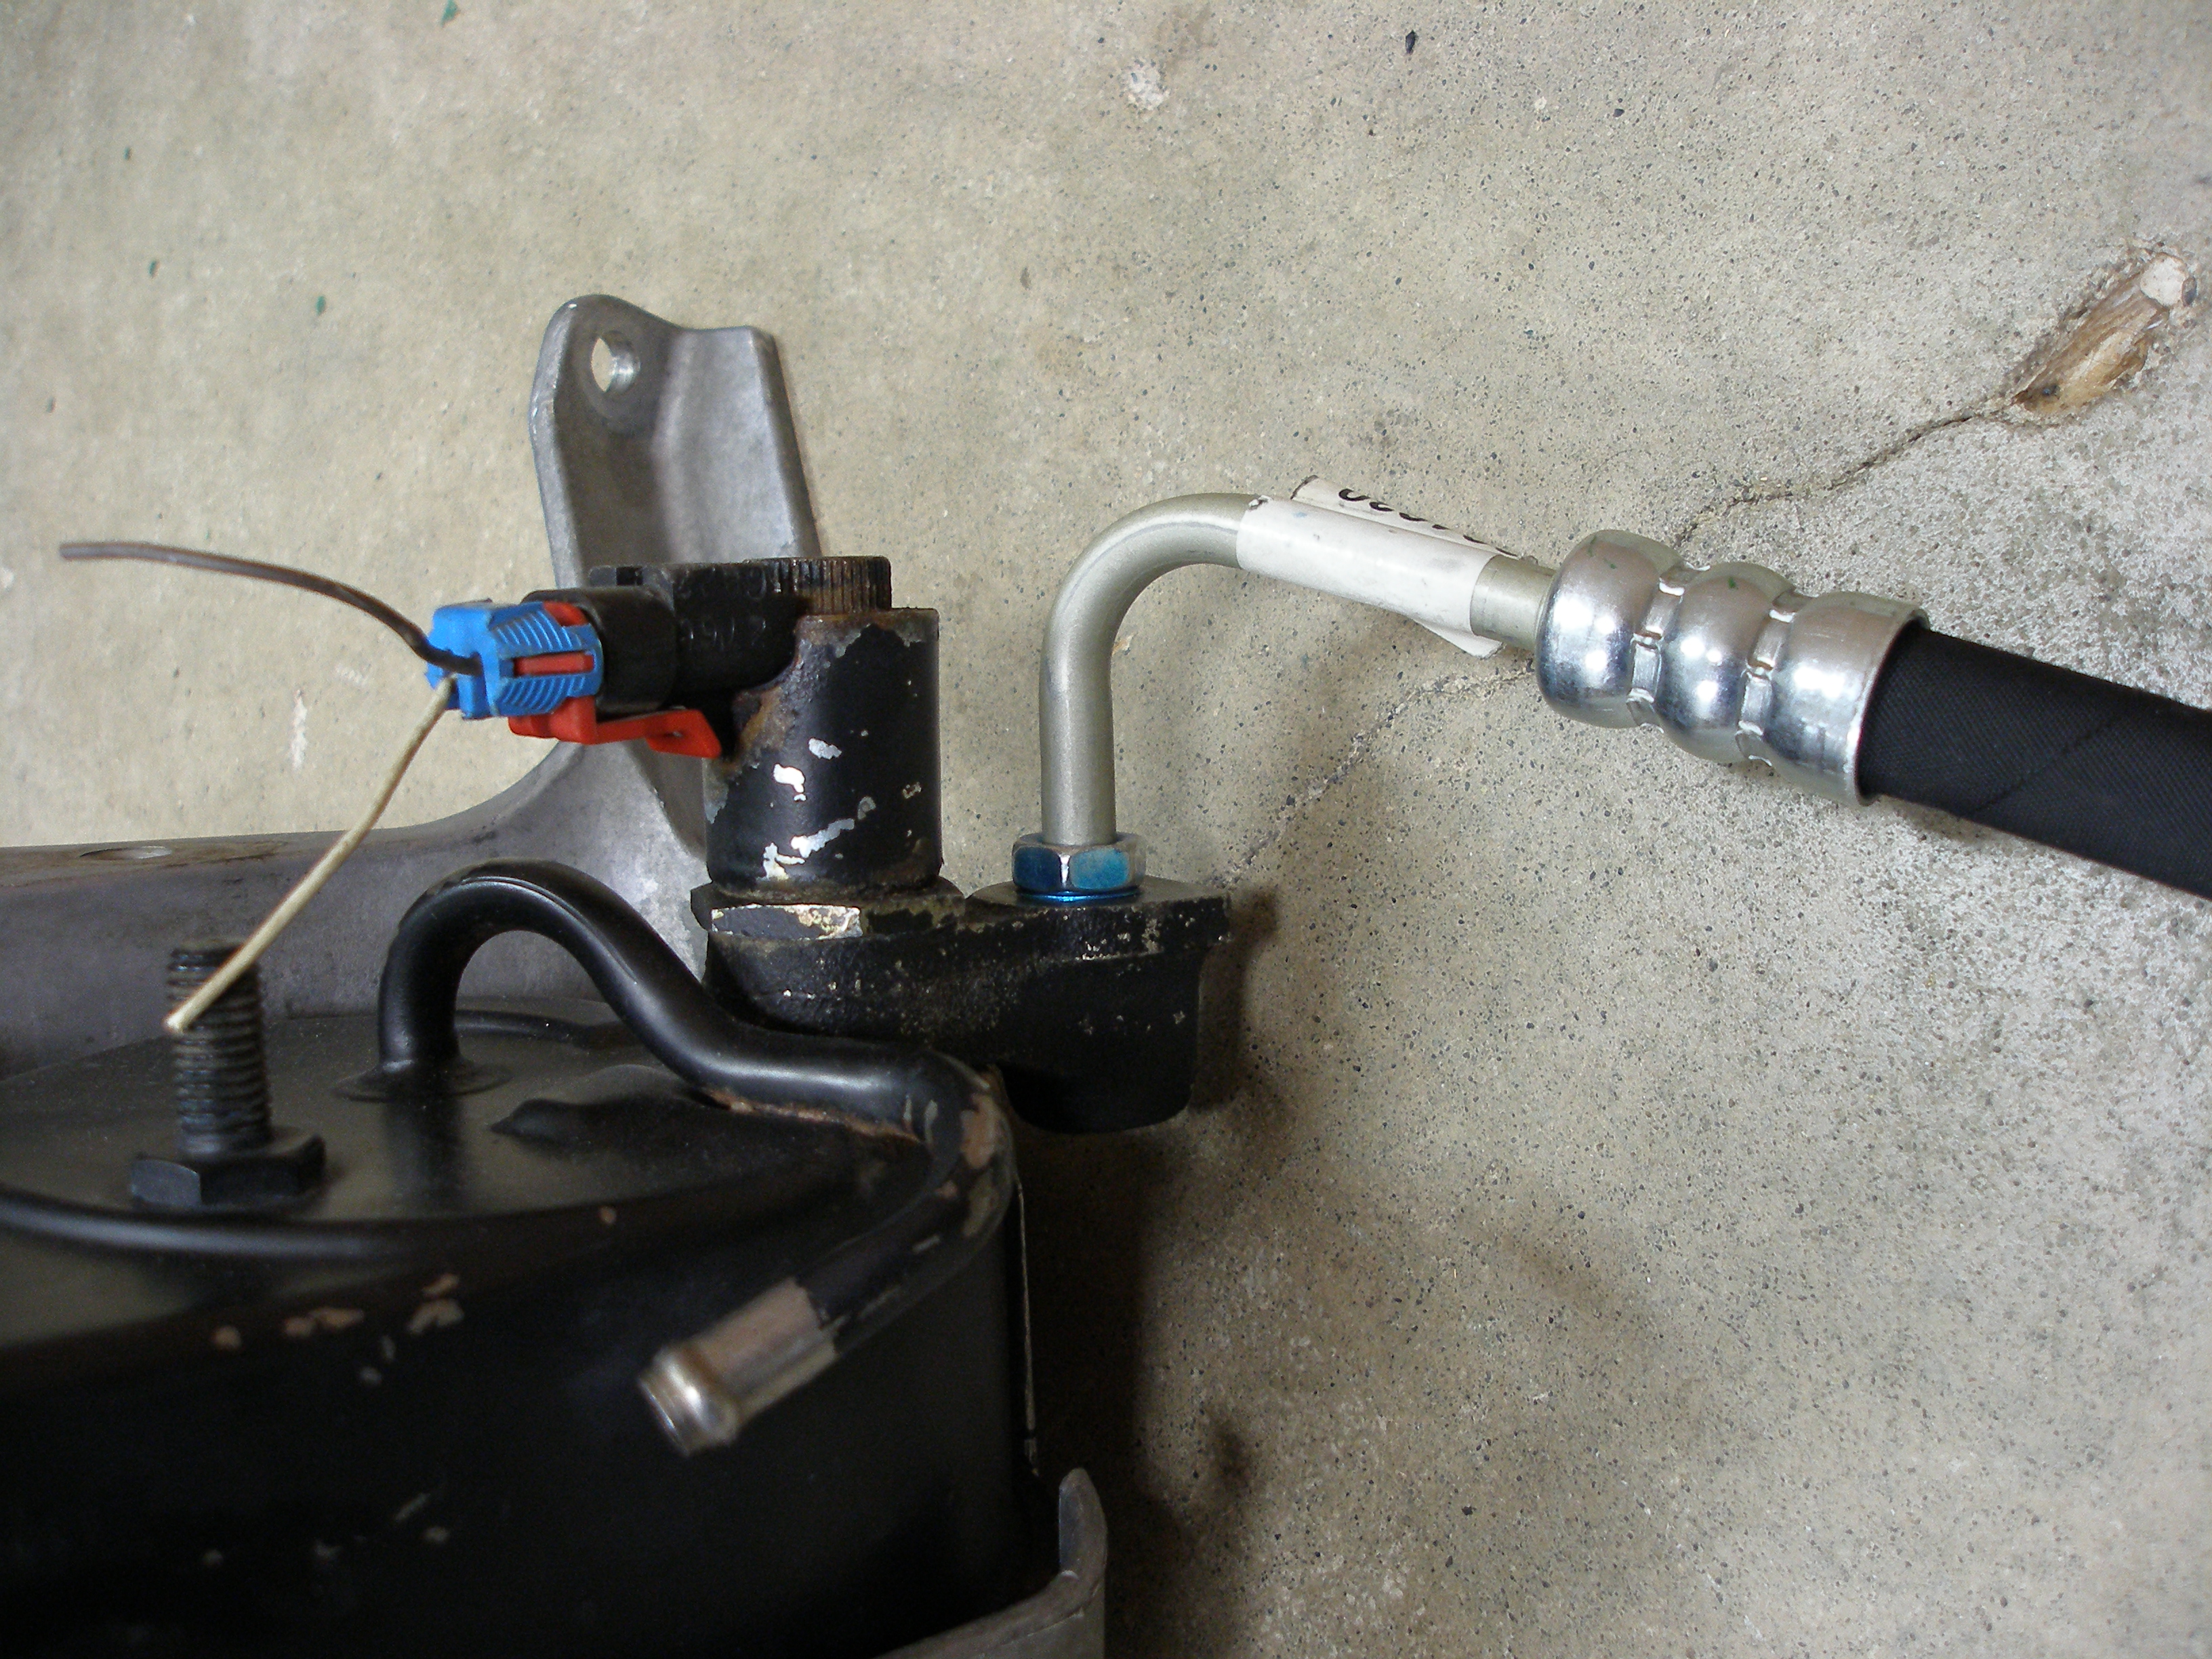
I left off final fitment of the high pressure hose to the OEM hardline until after everything was hung in place.
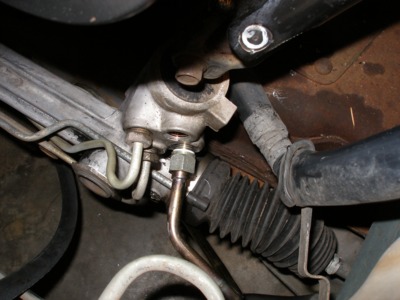
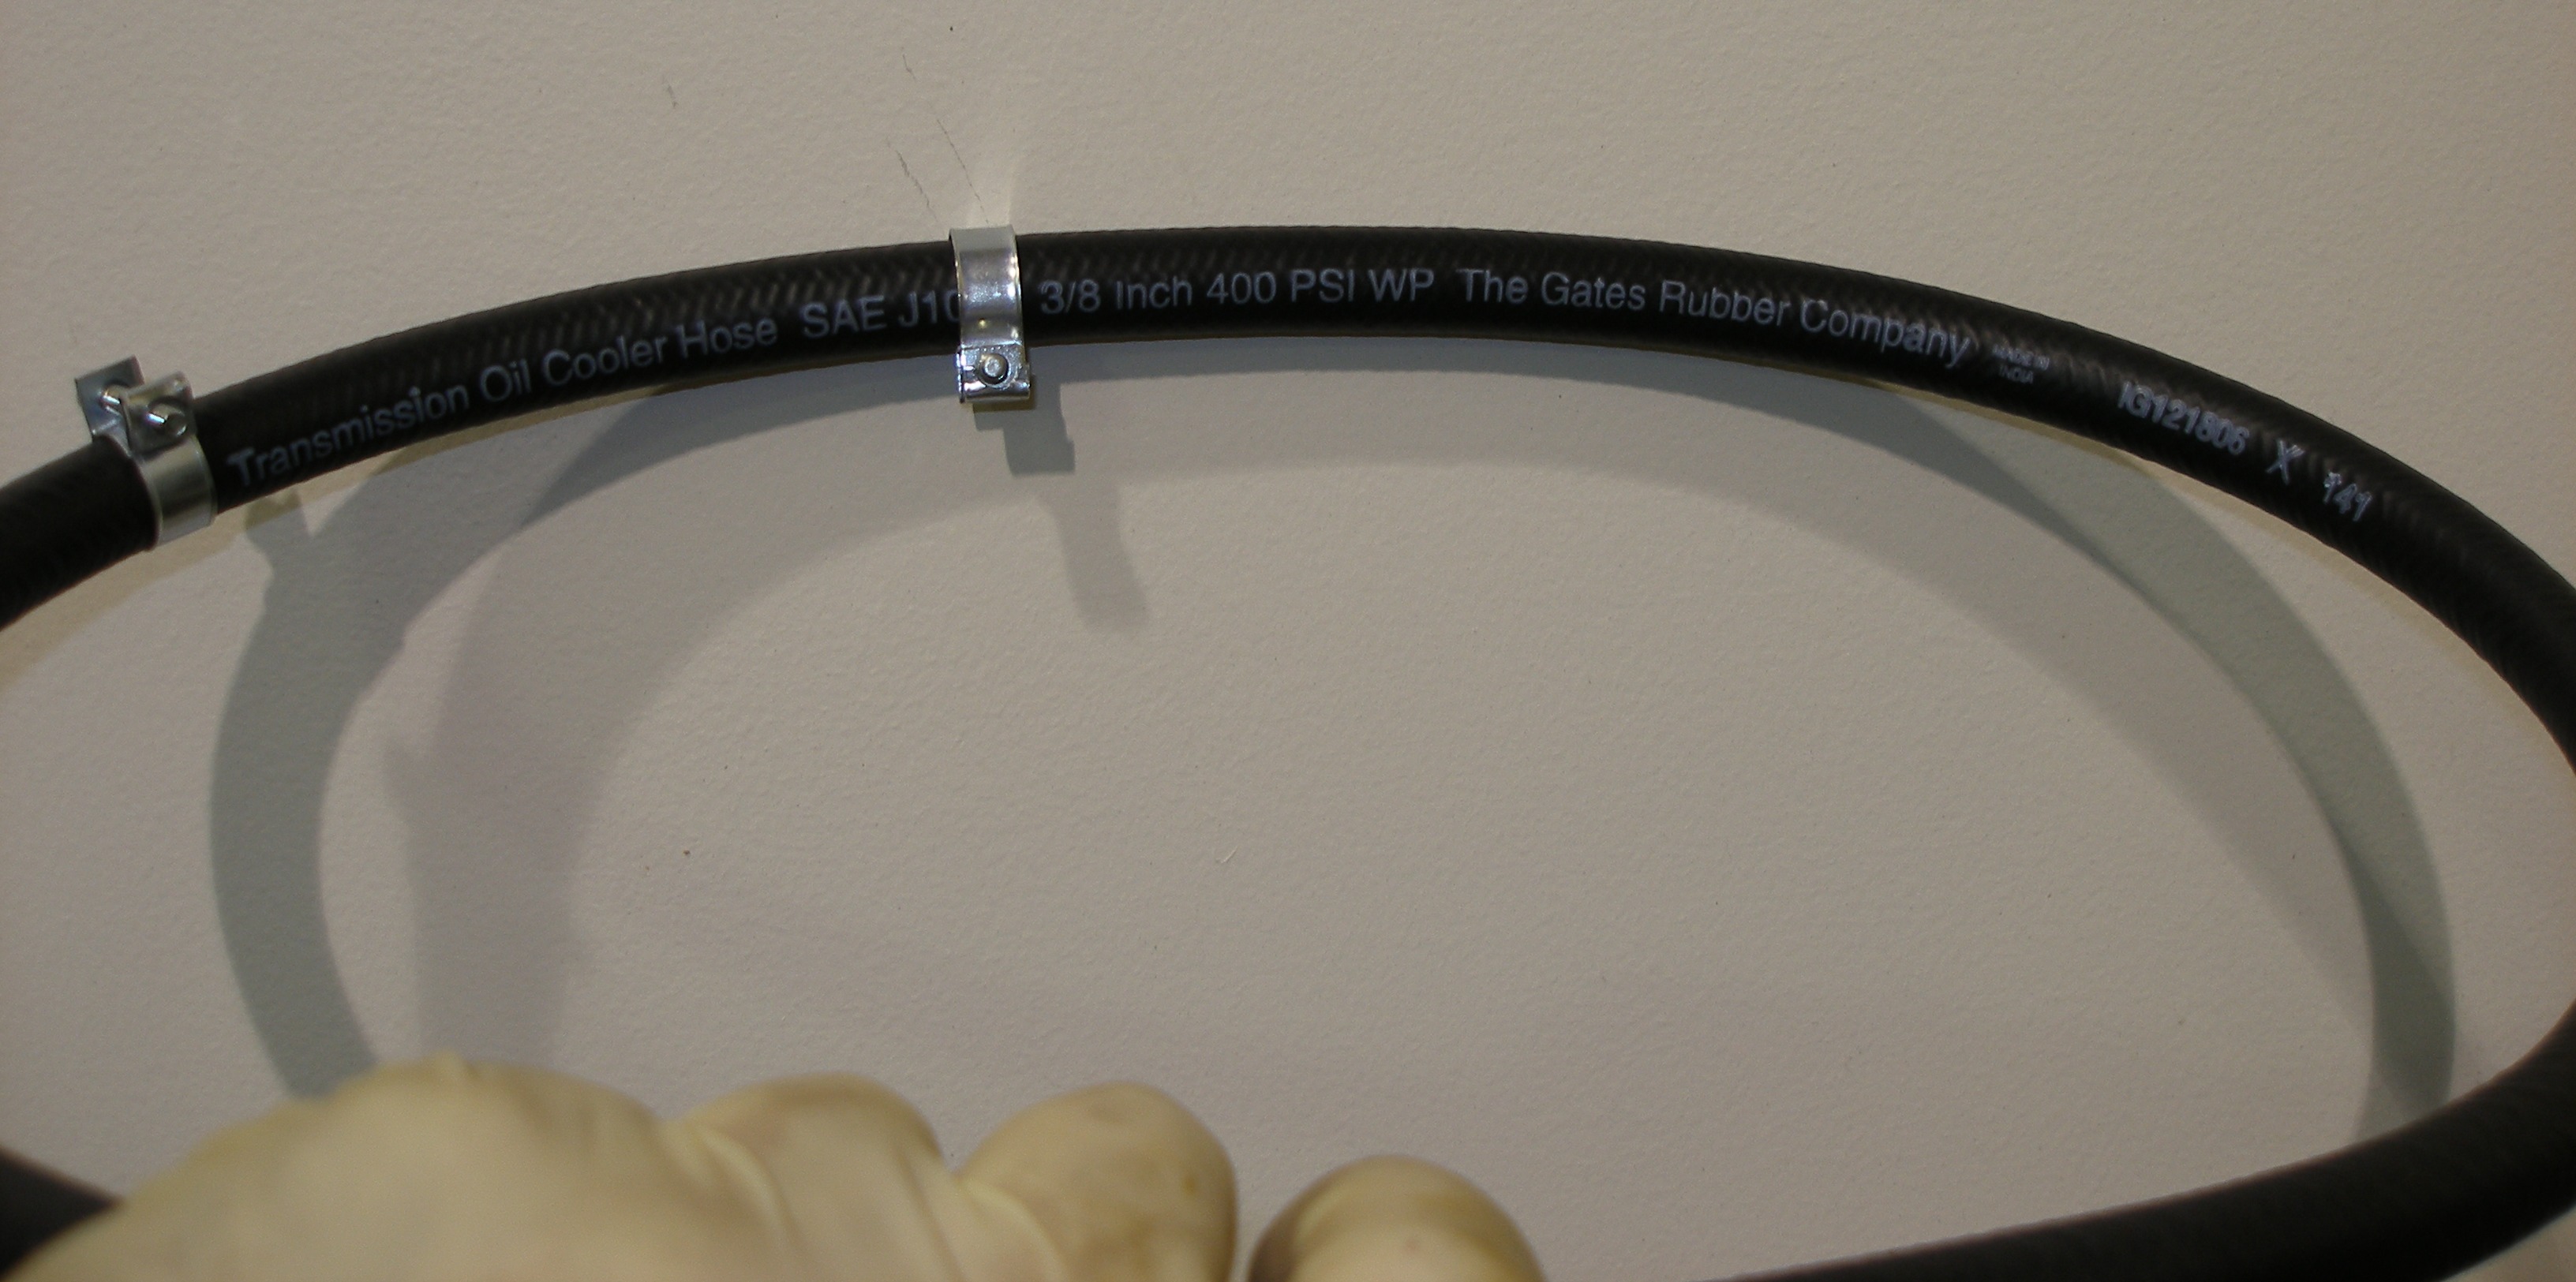
Return line is std trans cooler line, Gates 400 PSI stuff. Off-the-reel at most parts stores.

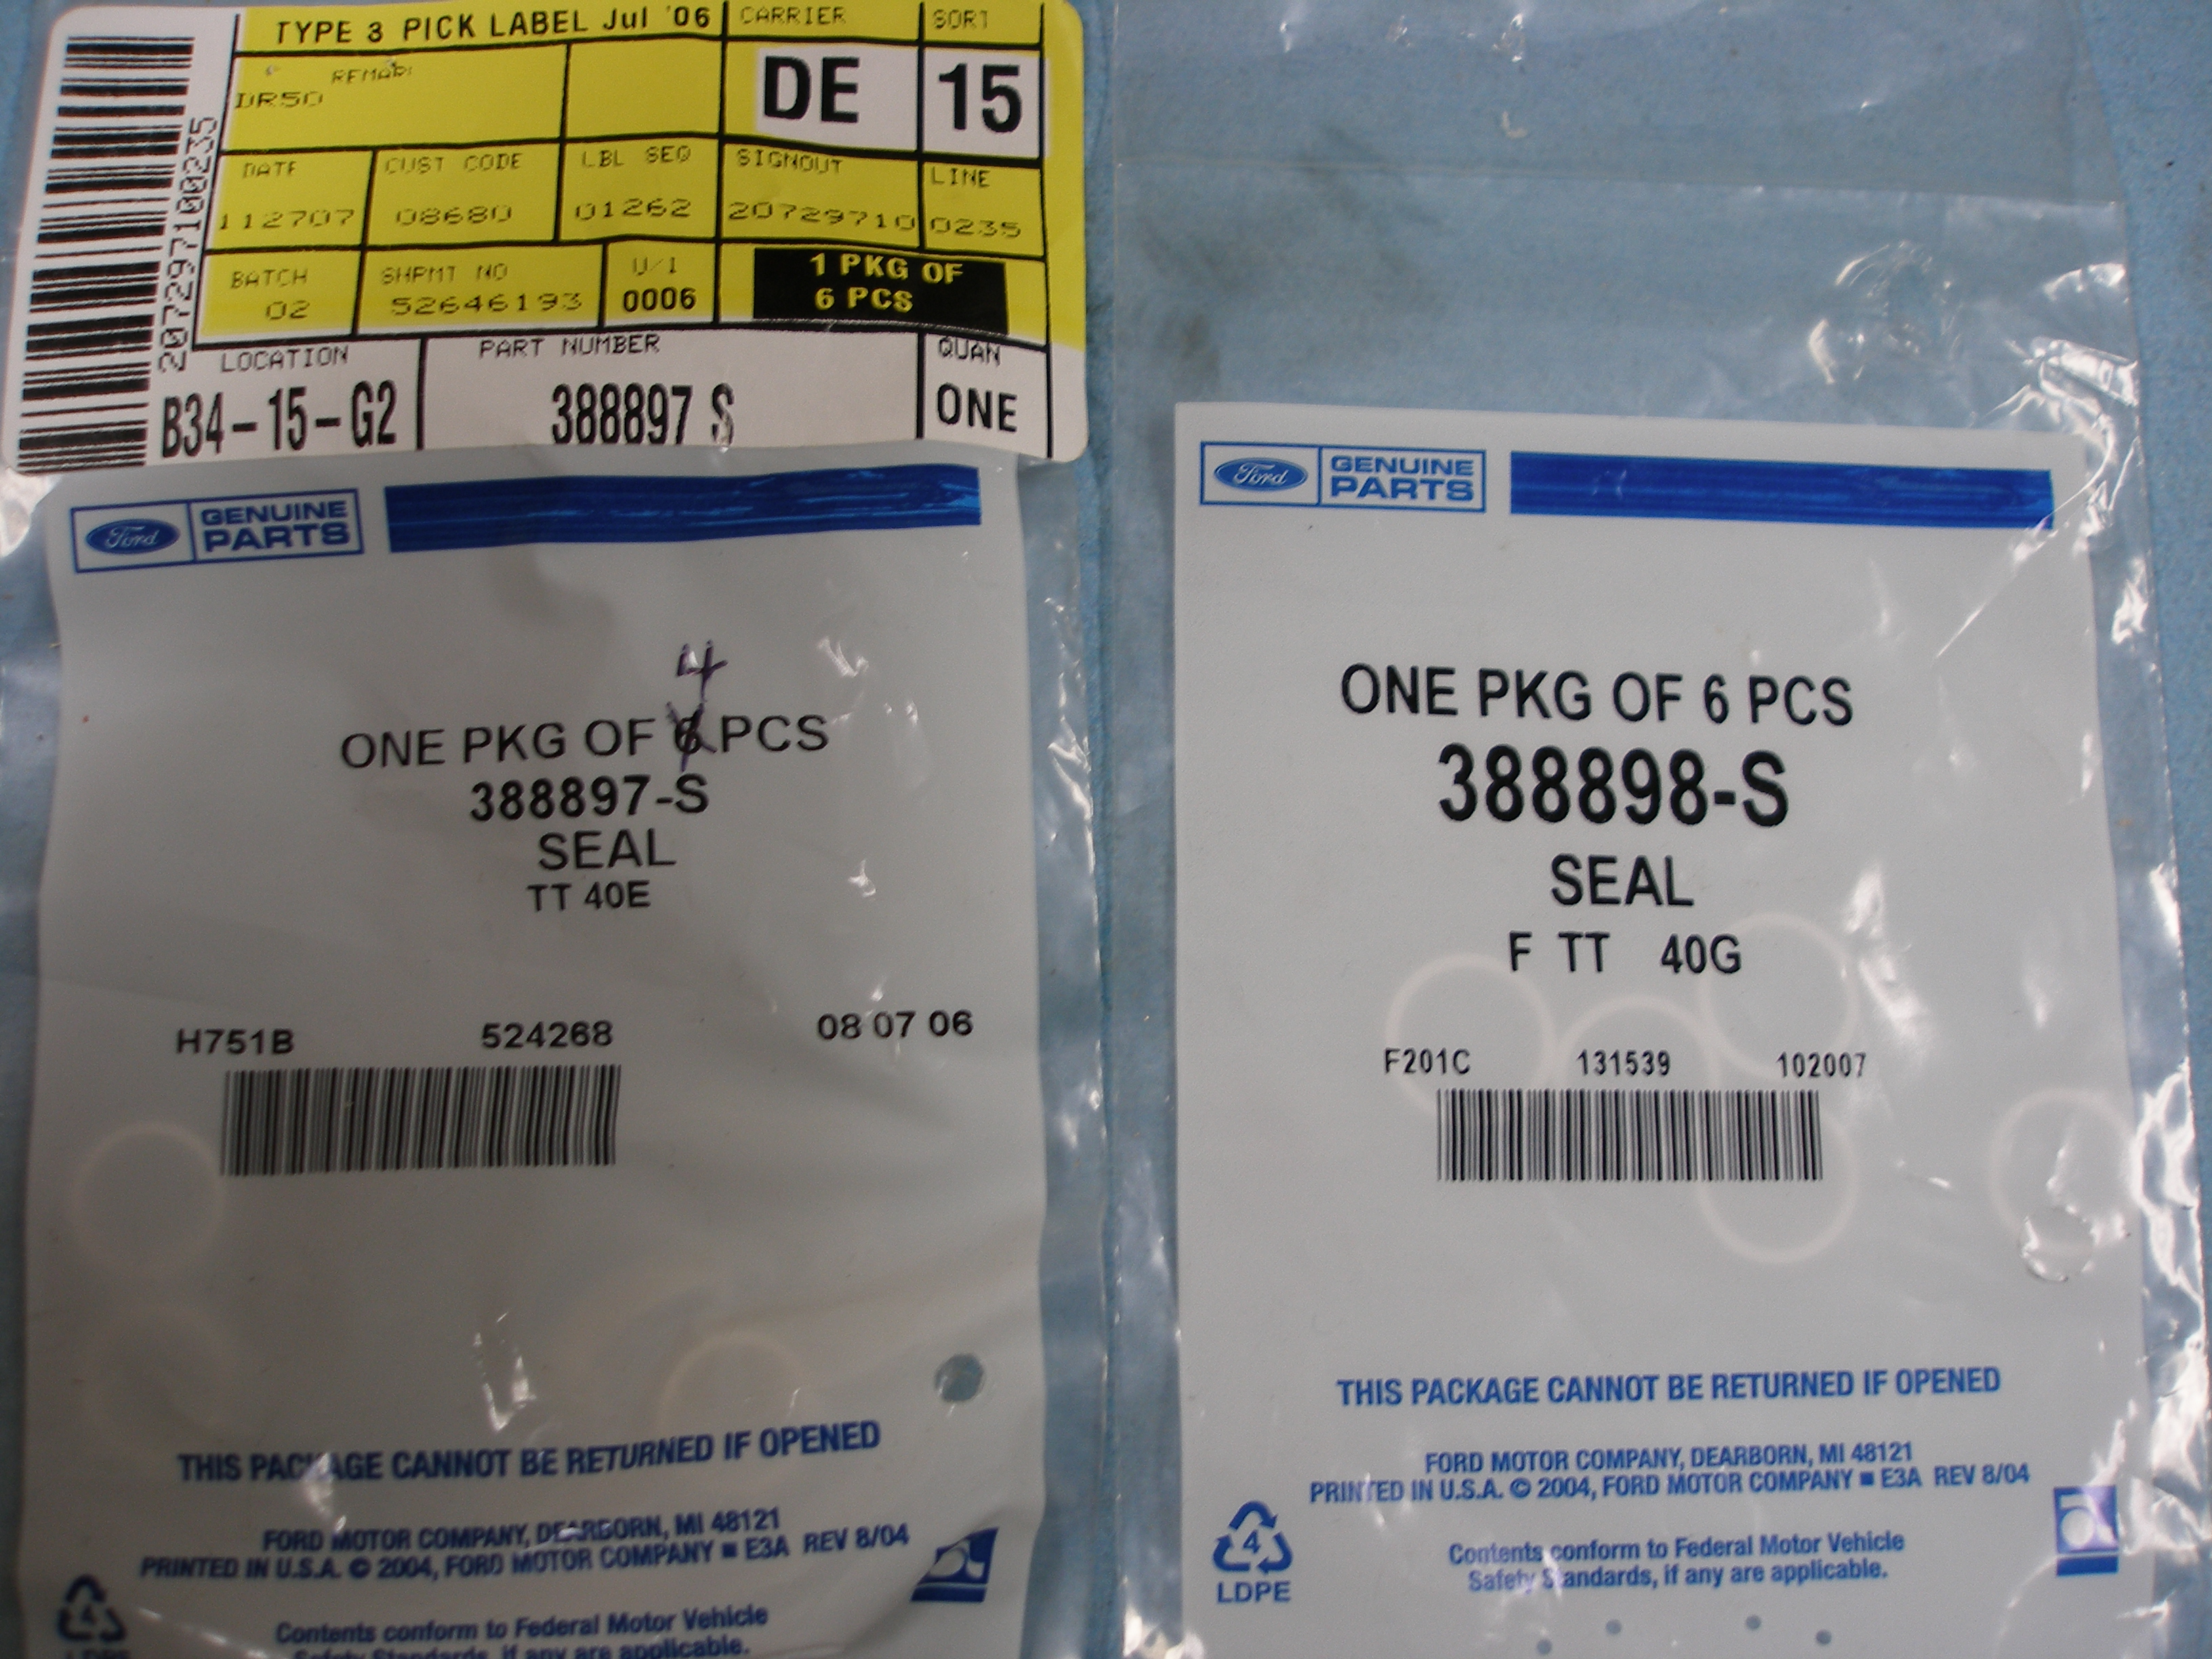
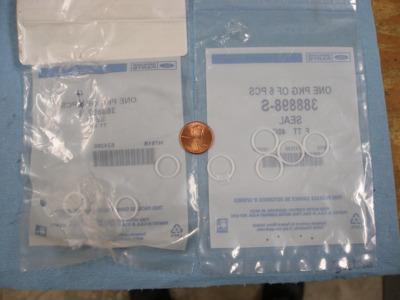
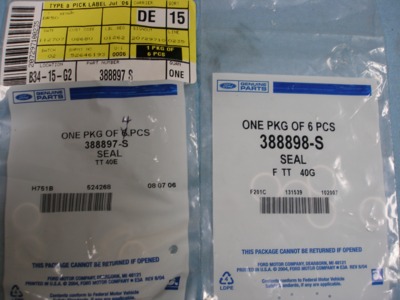
Ford teflon seal rings:
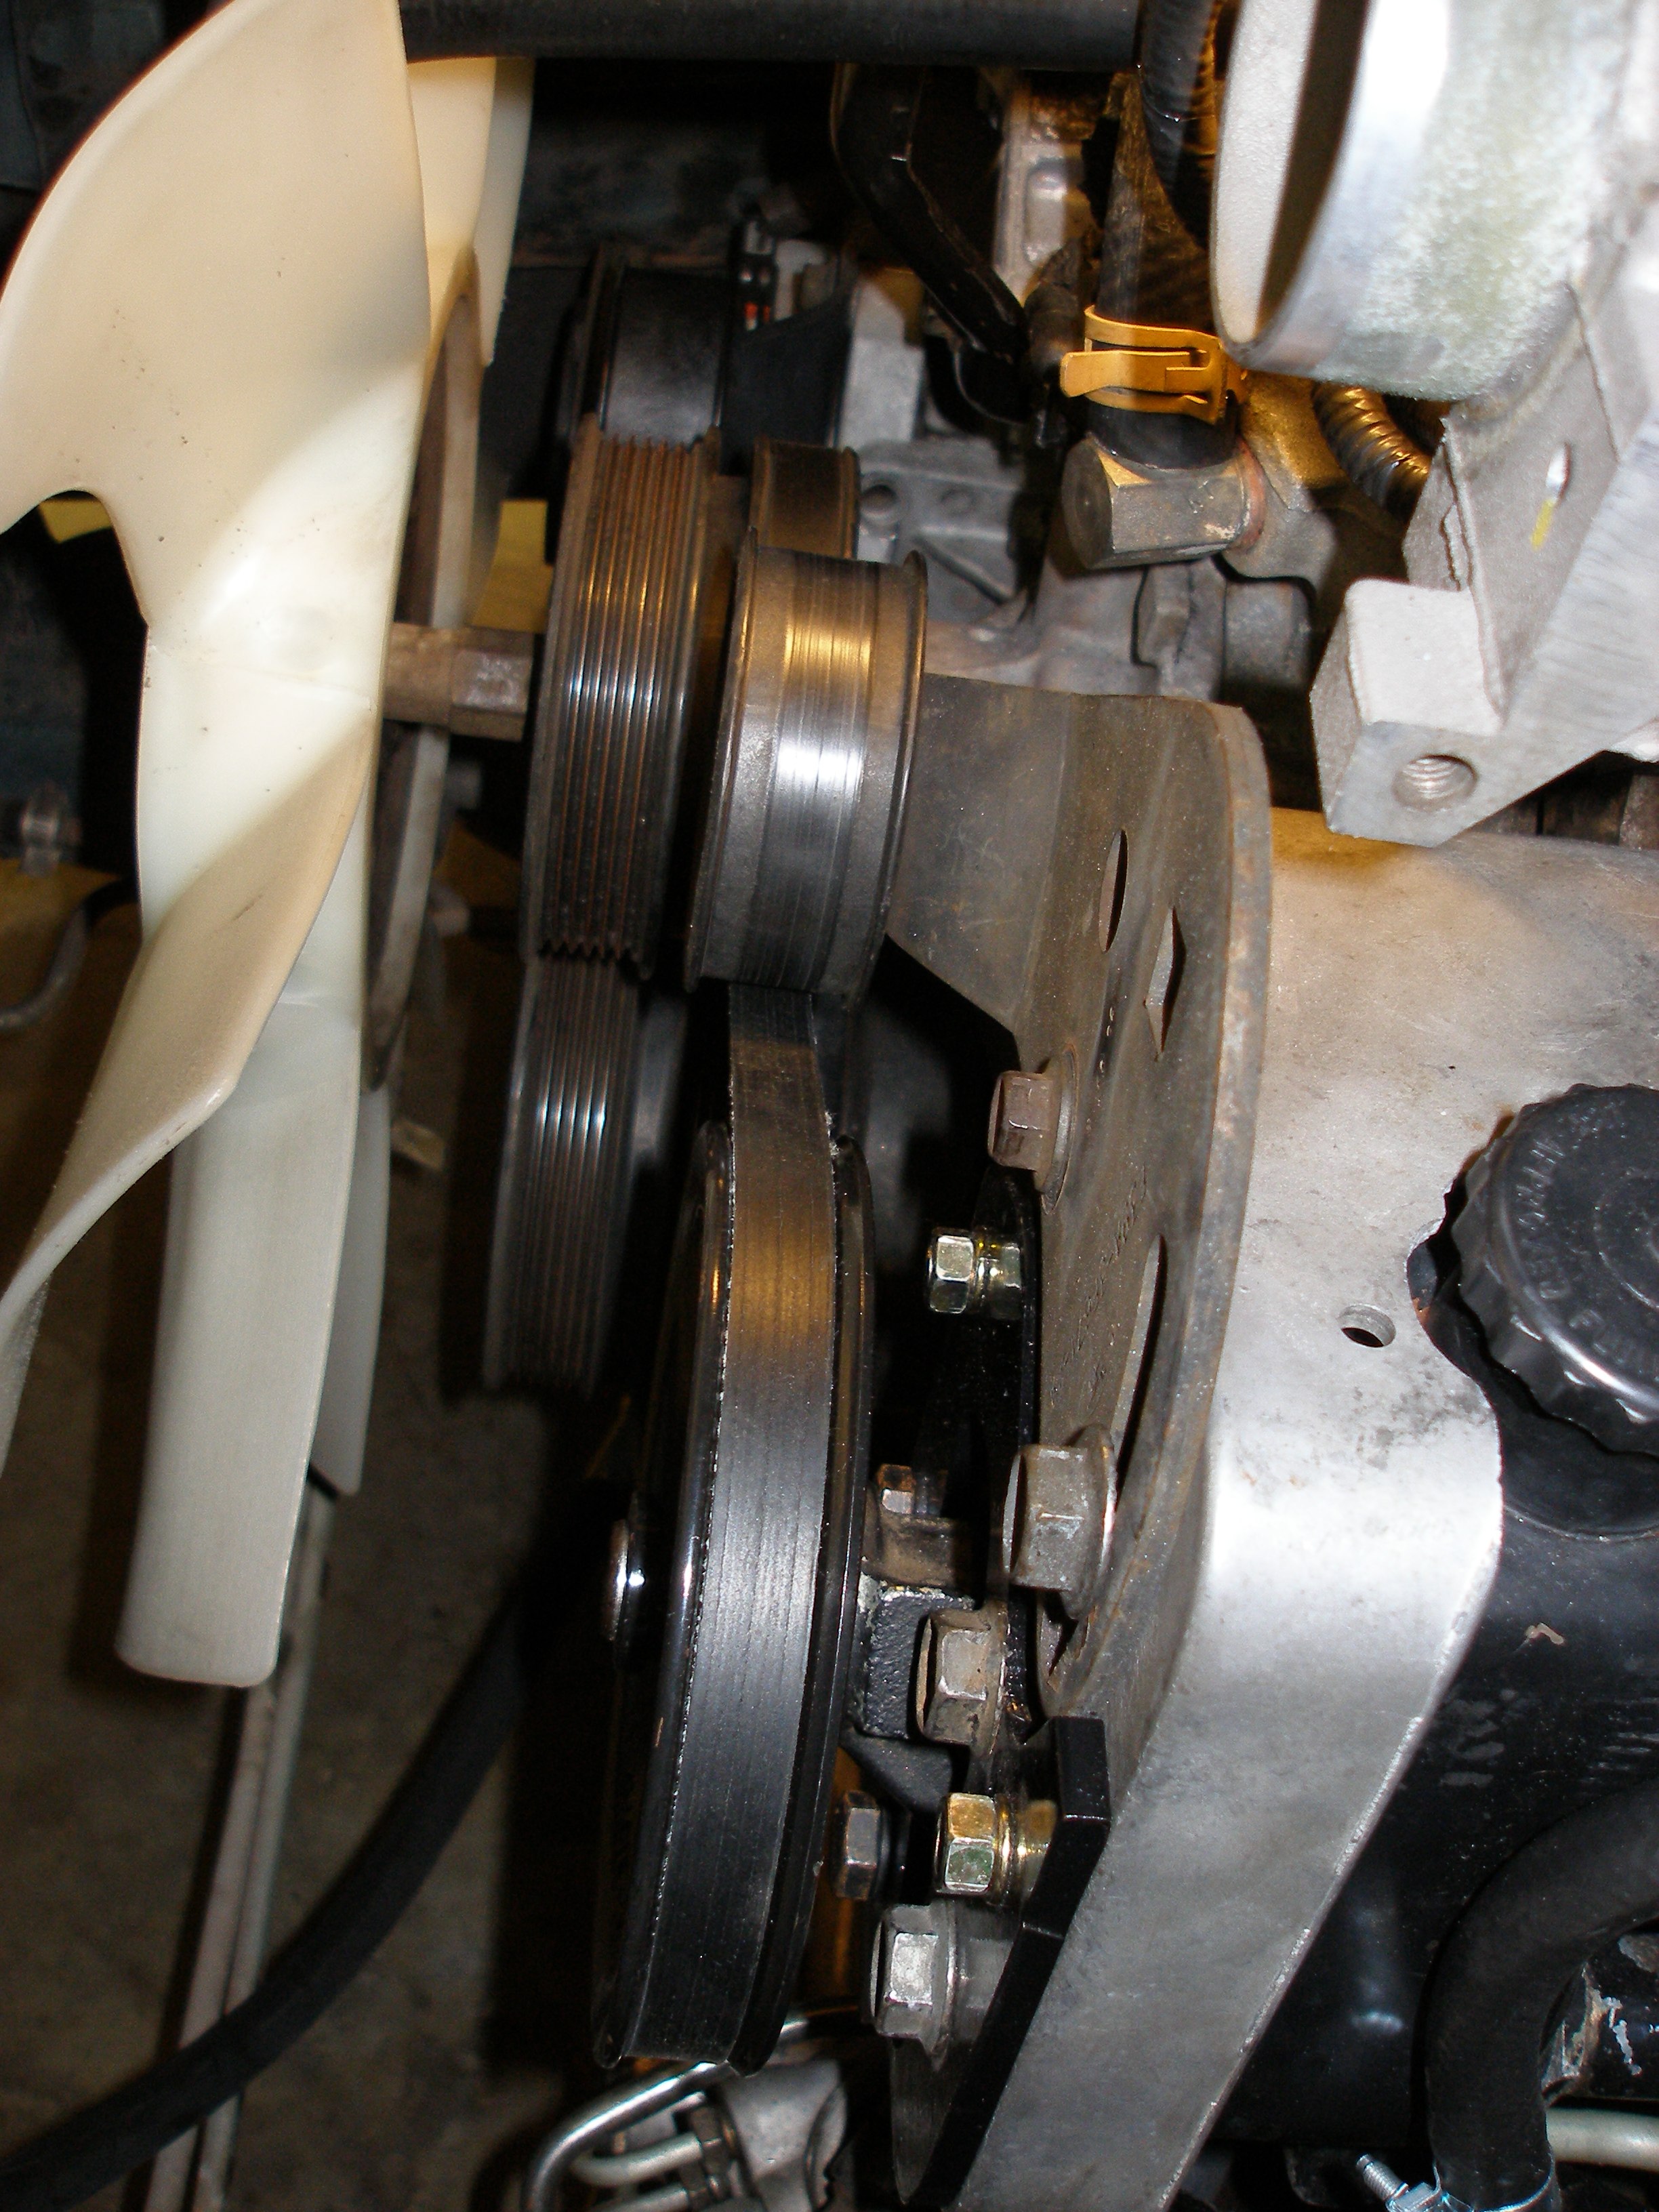
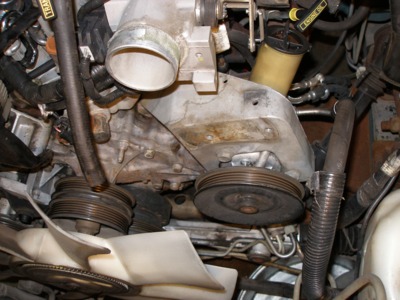
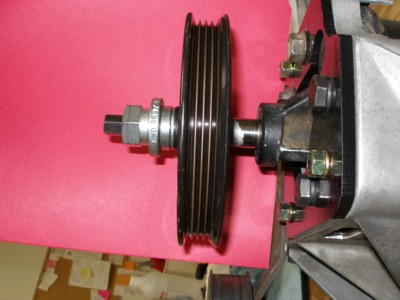
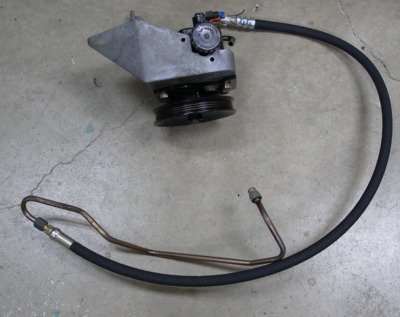
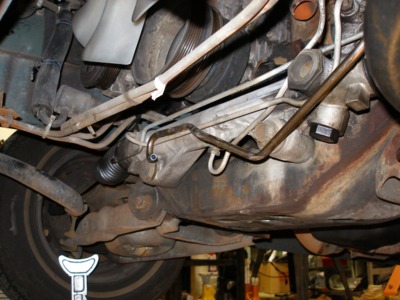
Hang the pump, put a belt on and a stock idler setup to check if the belt runs in the old wear area on the idler:

Put on my custom idler that uses the same idler/brg as the A/C idler, so it's bolt-on (replaceable separate from the bracket). Kind of a waste of time, since the aftermarket idler w/bracket is about $40, and the A/C idler is $32, but hey! It's done, what can I say?
Clearance is quite good, in excess of 3/8" at the tightest.
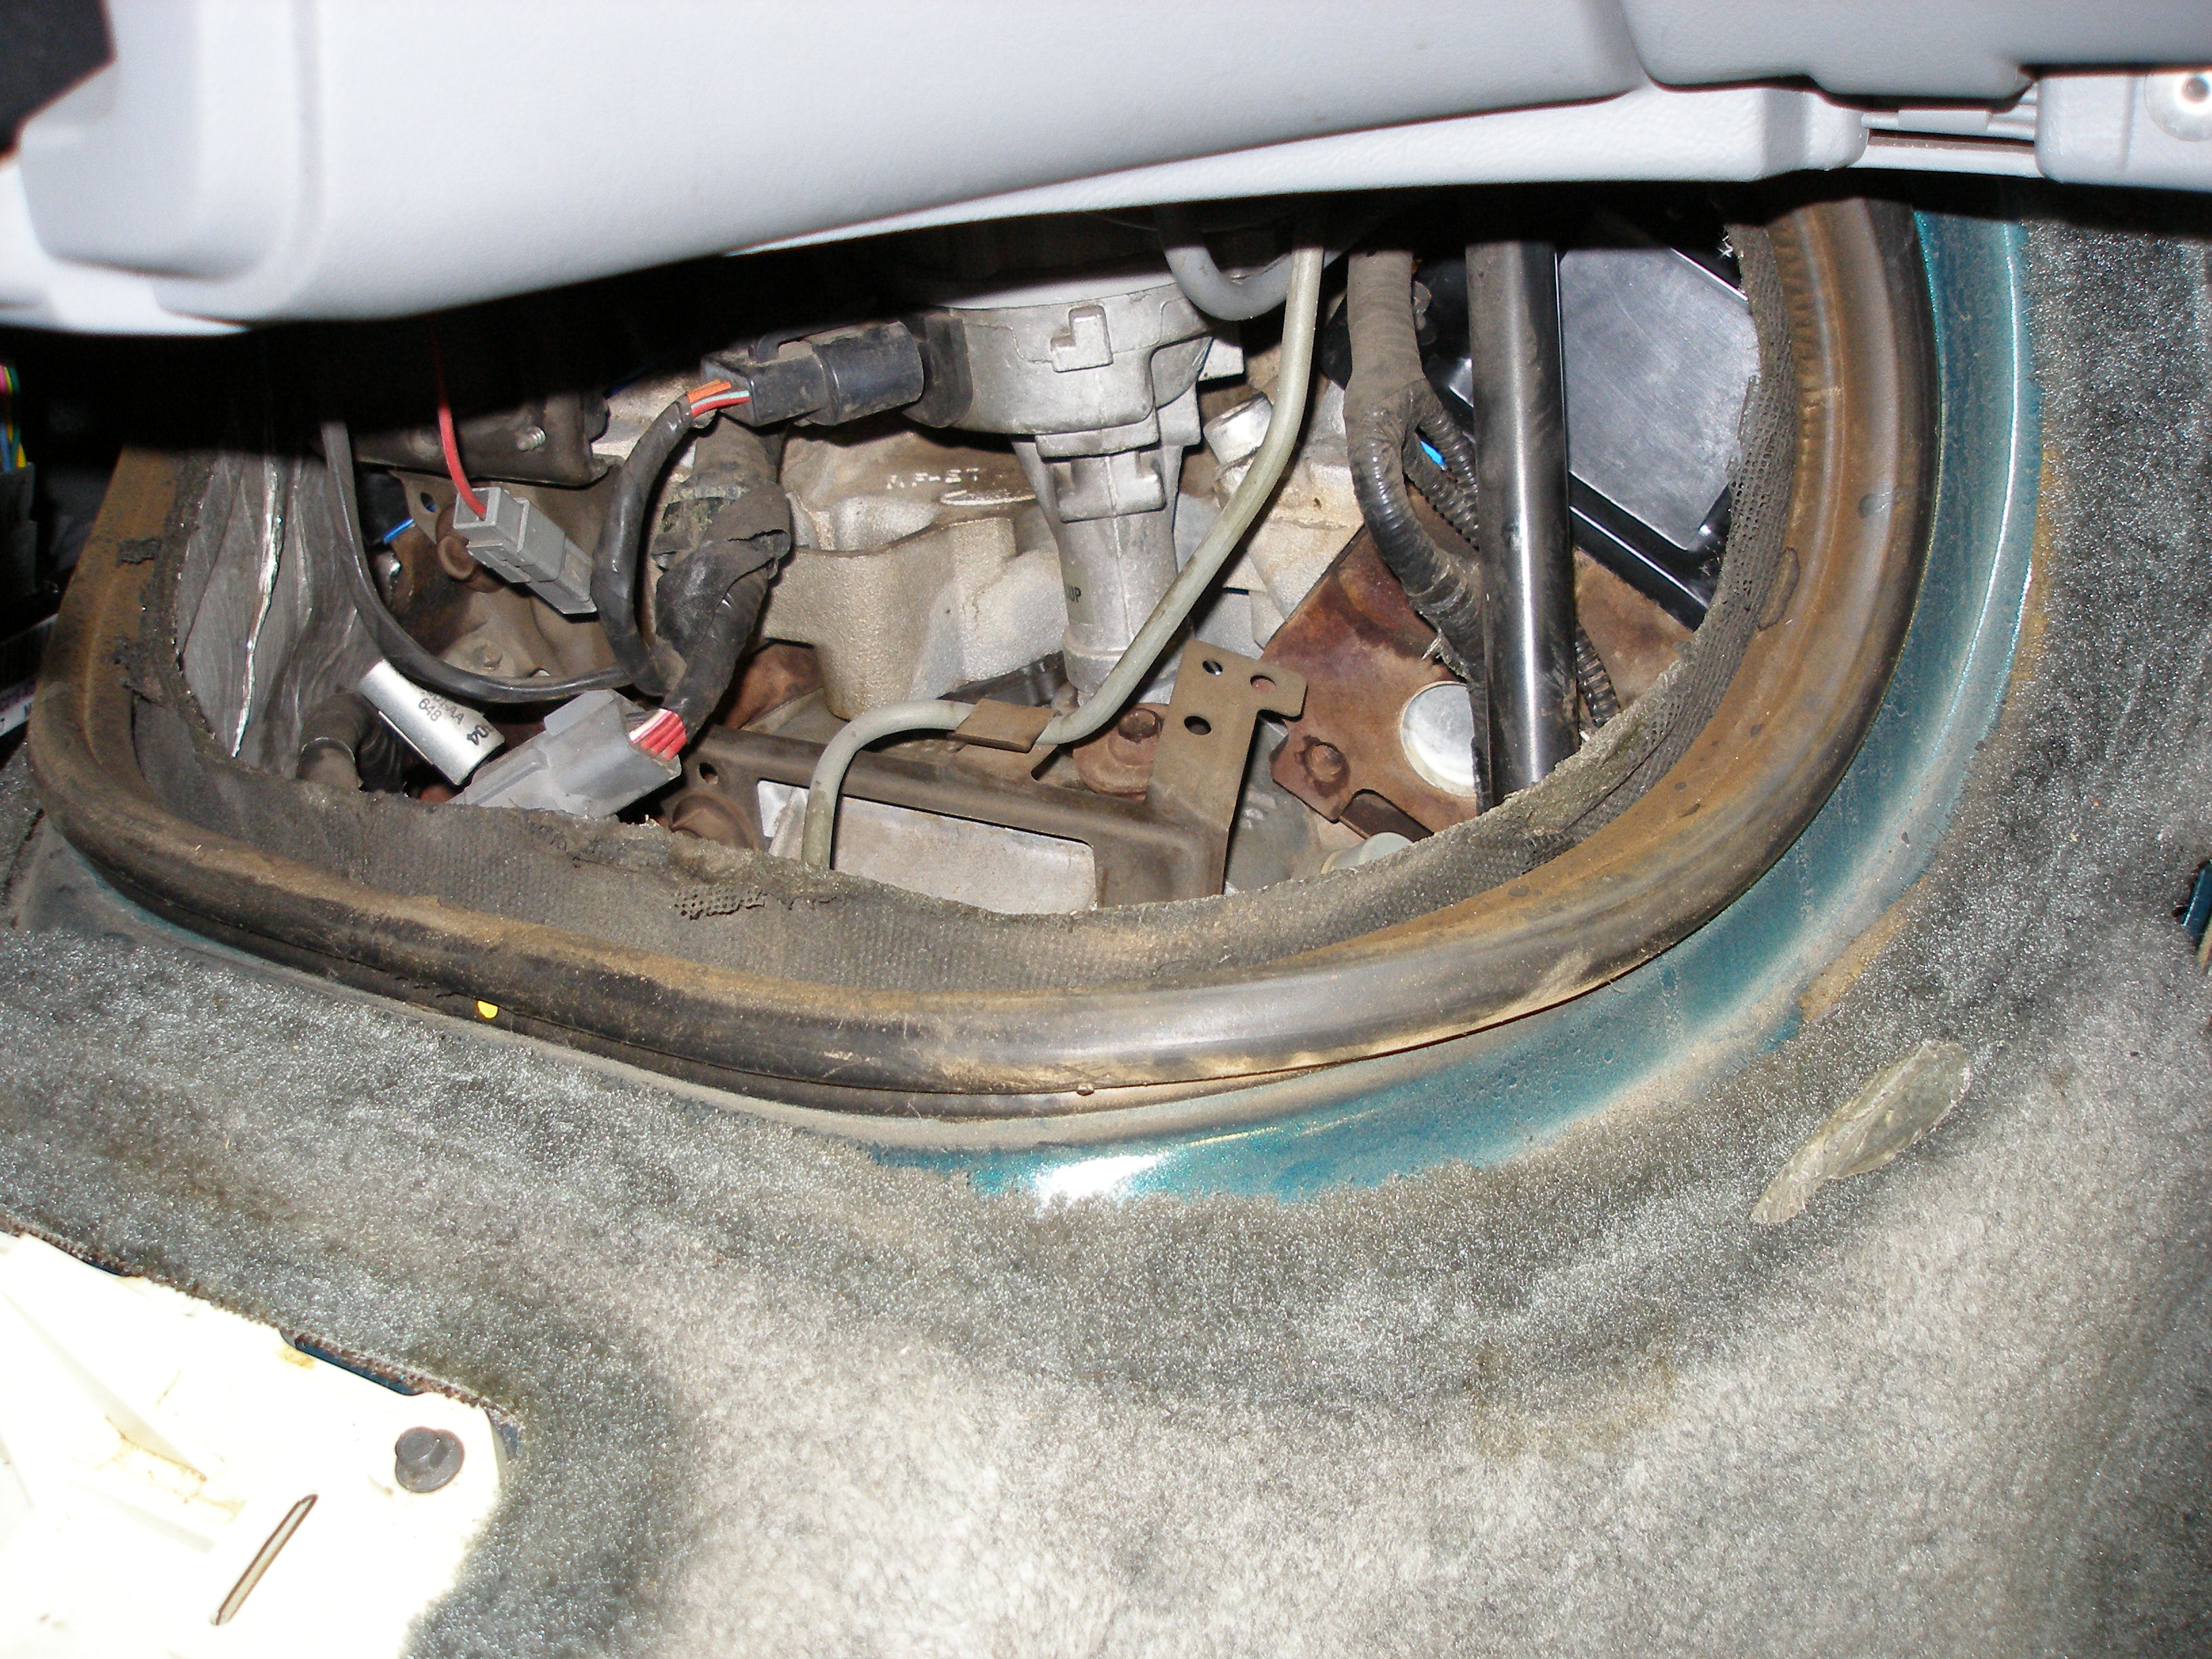
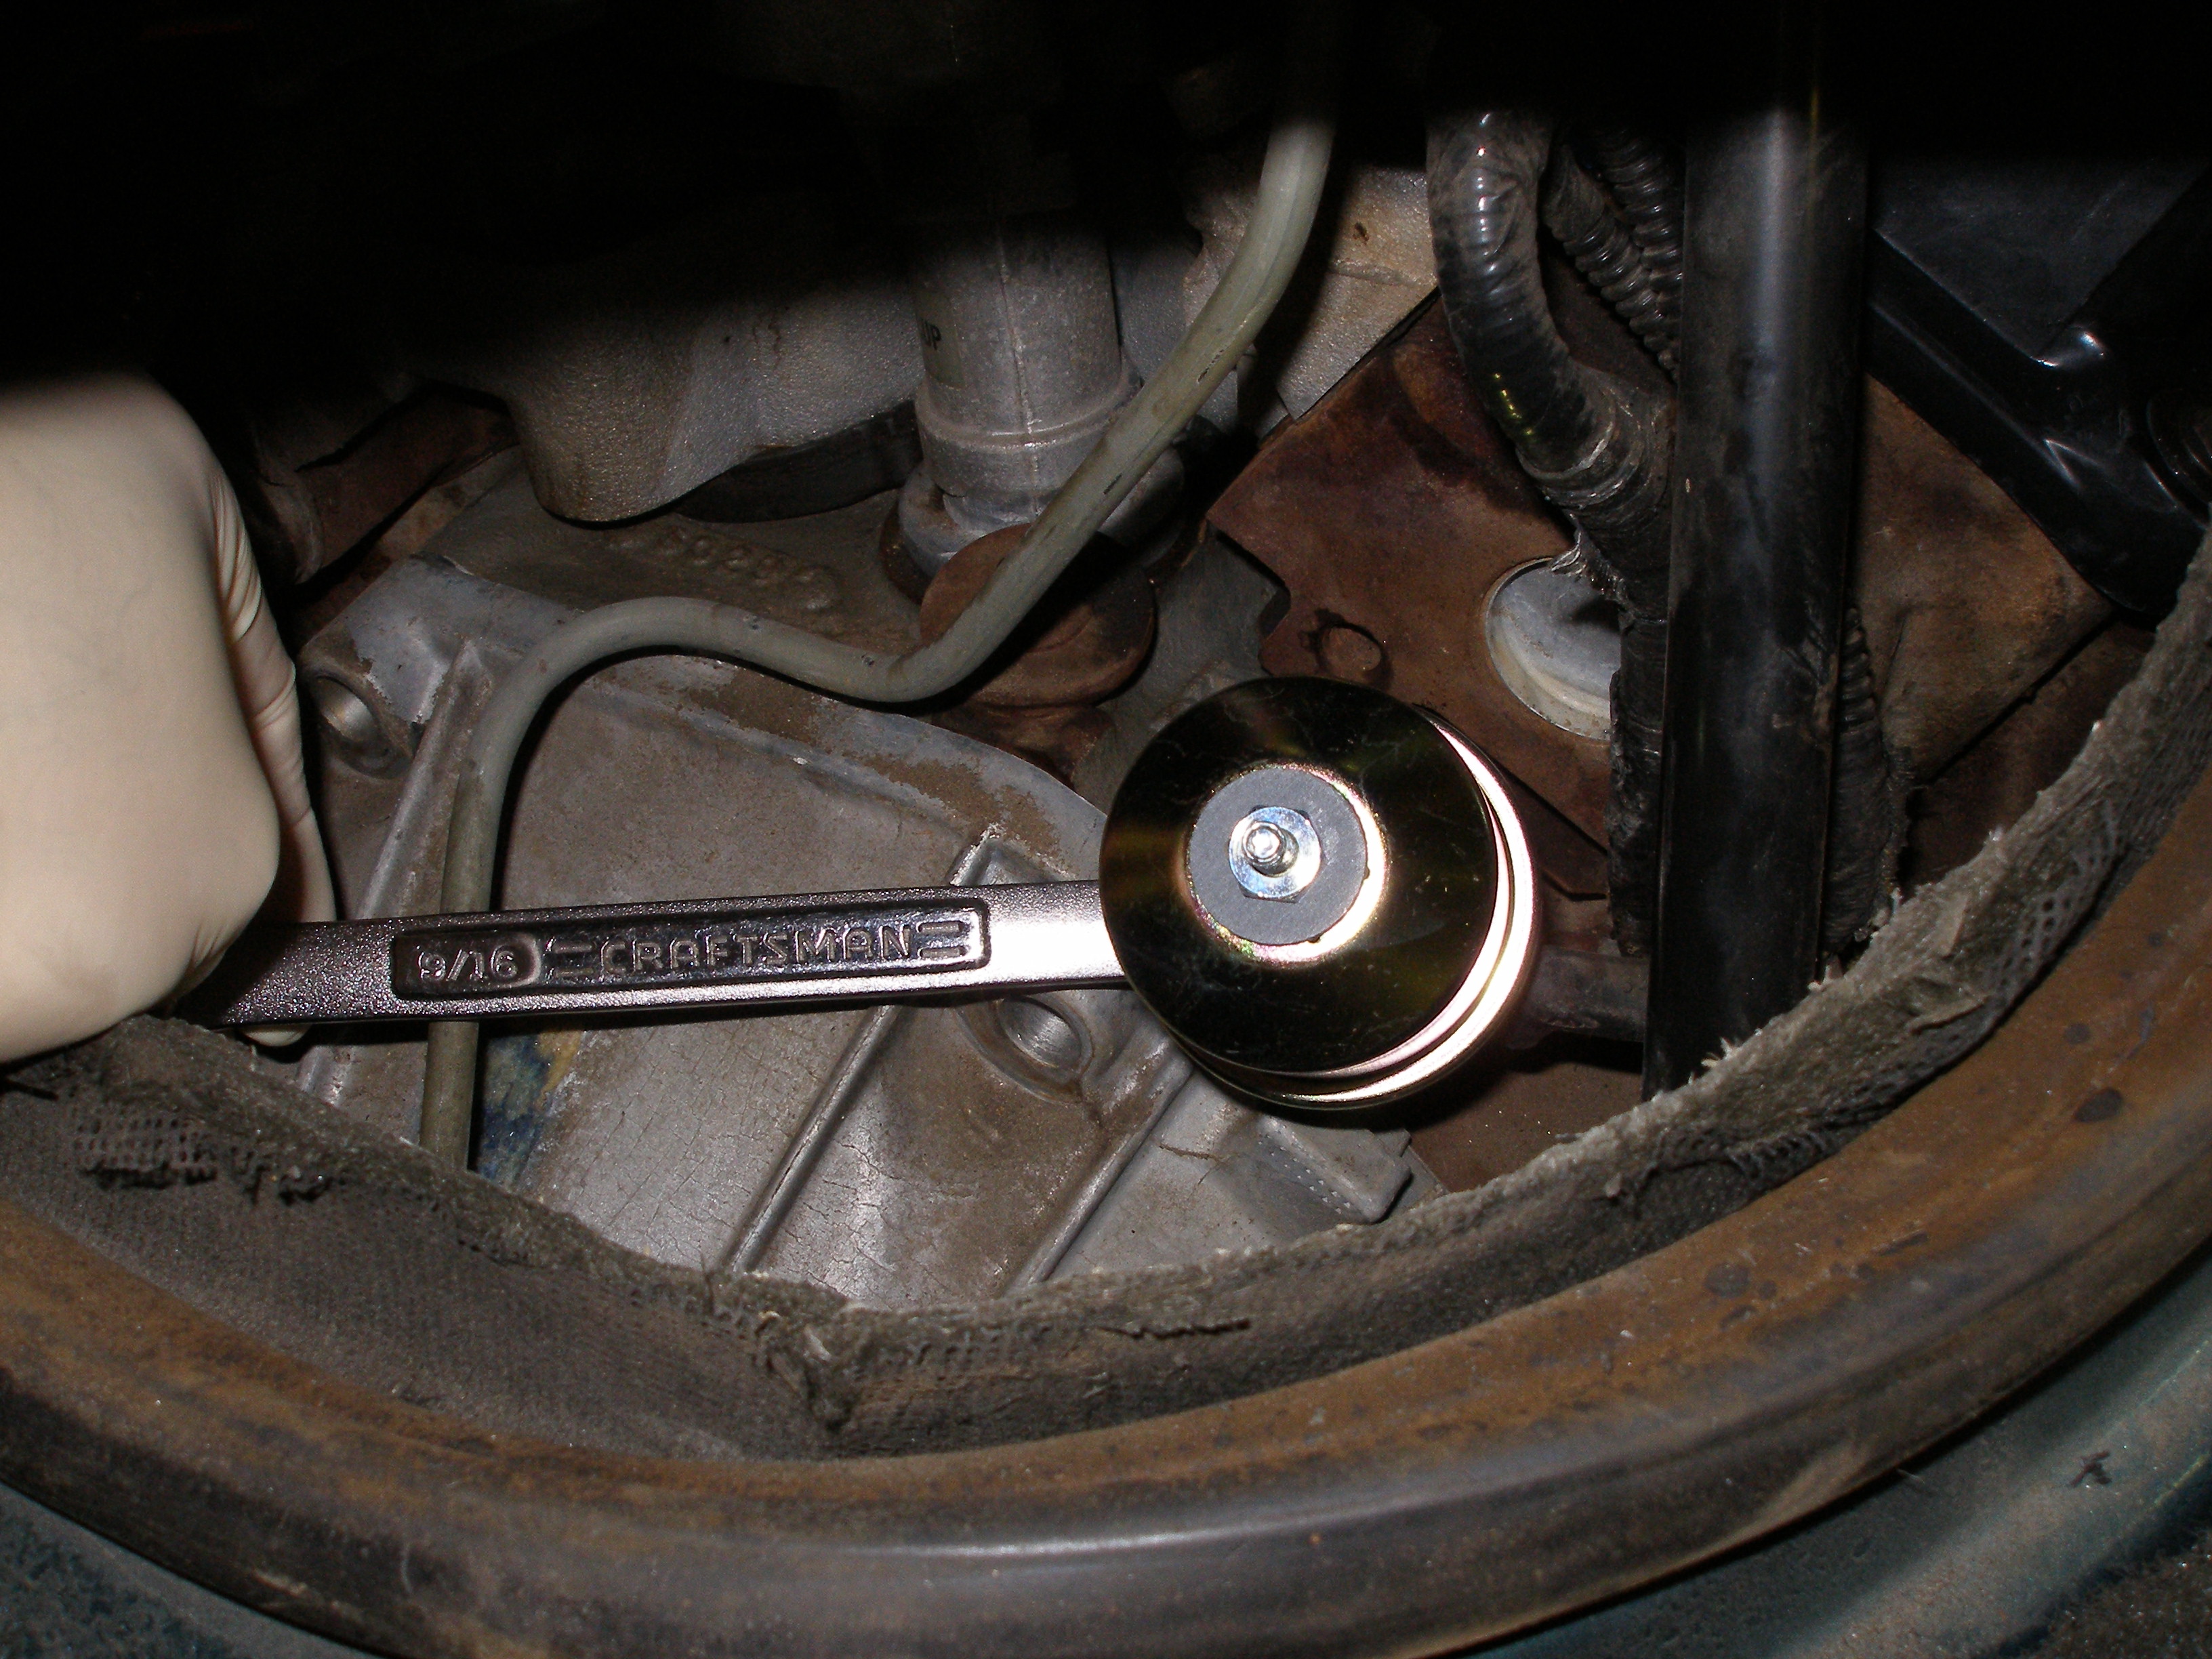
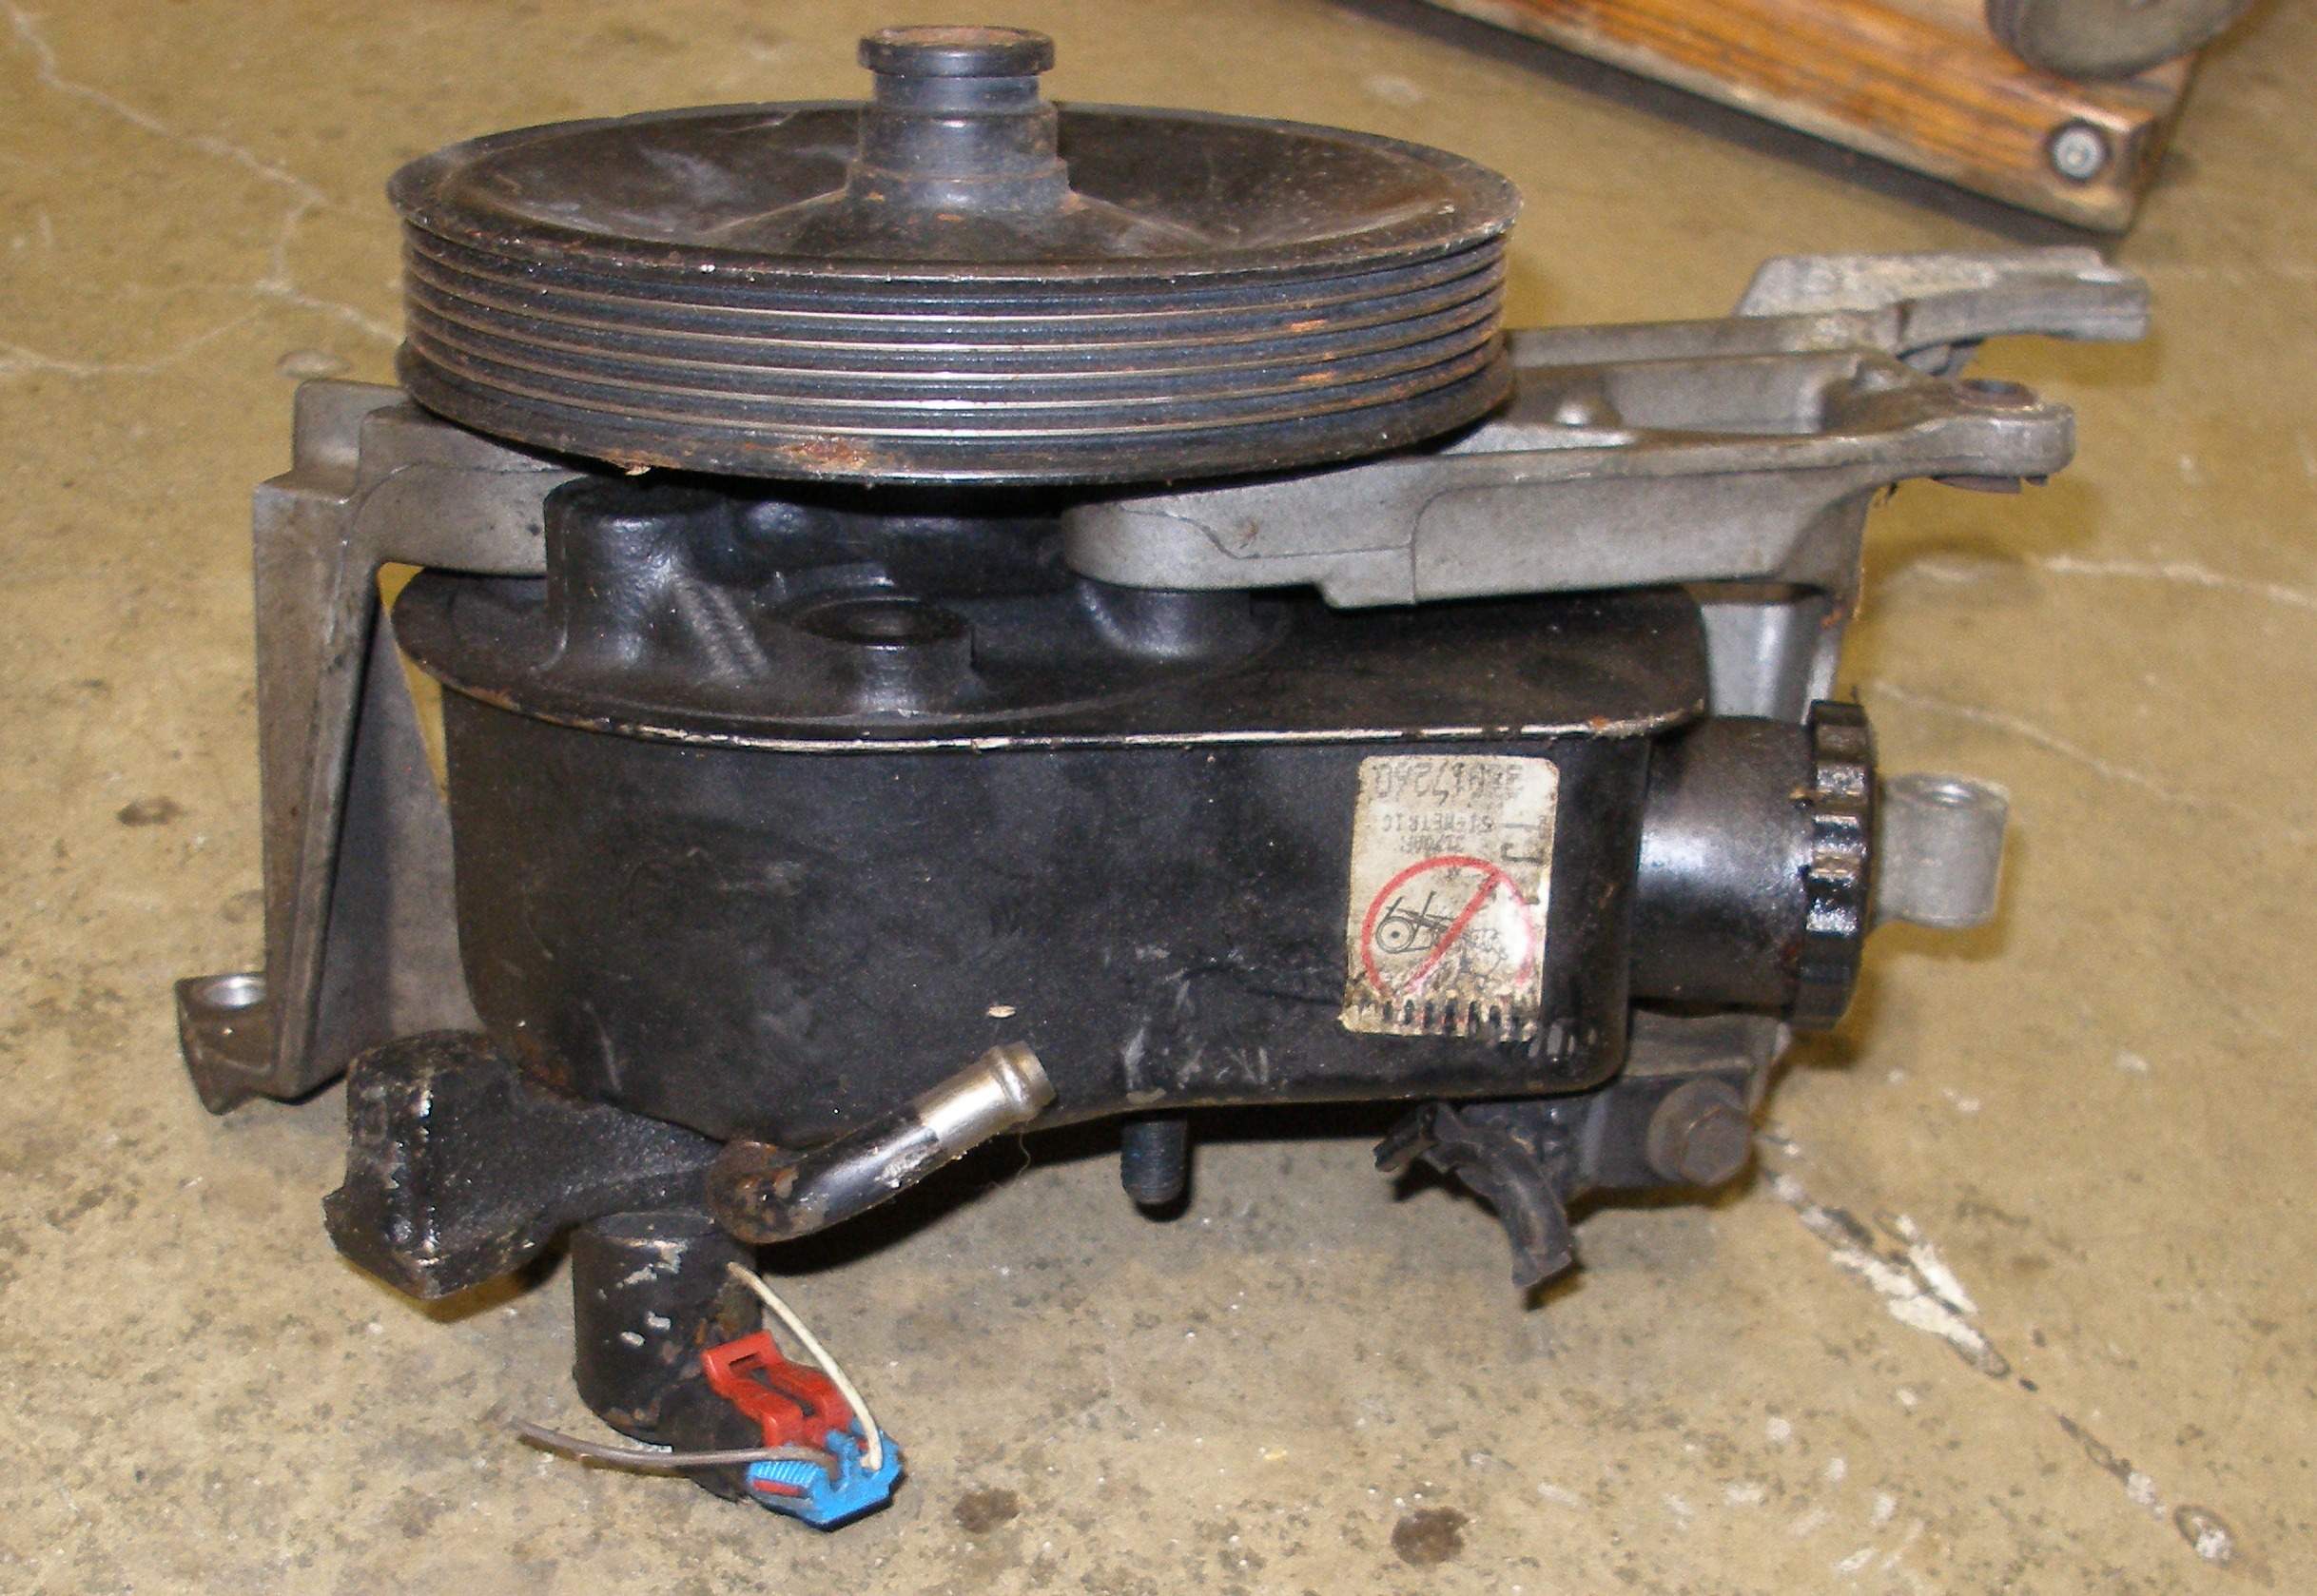
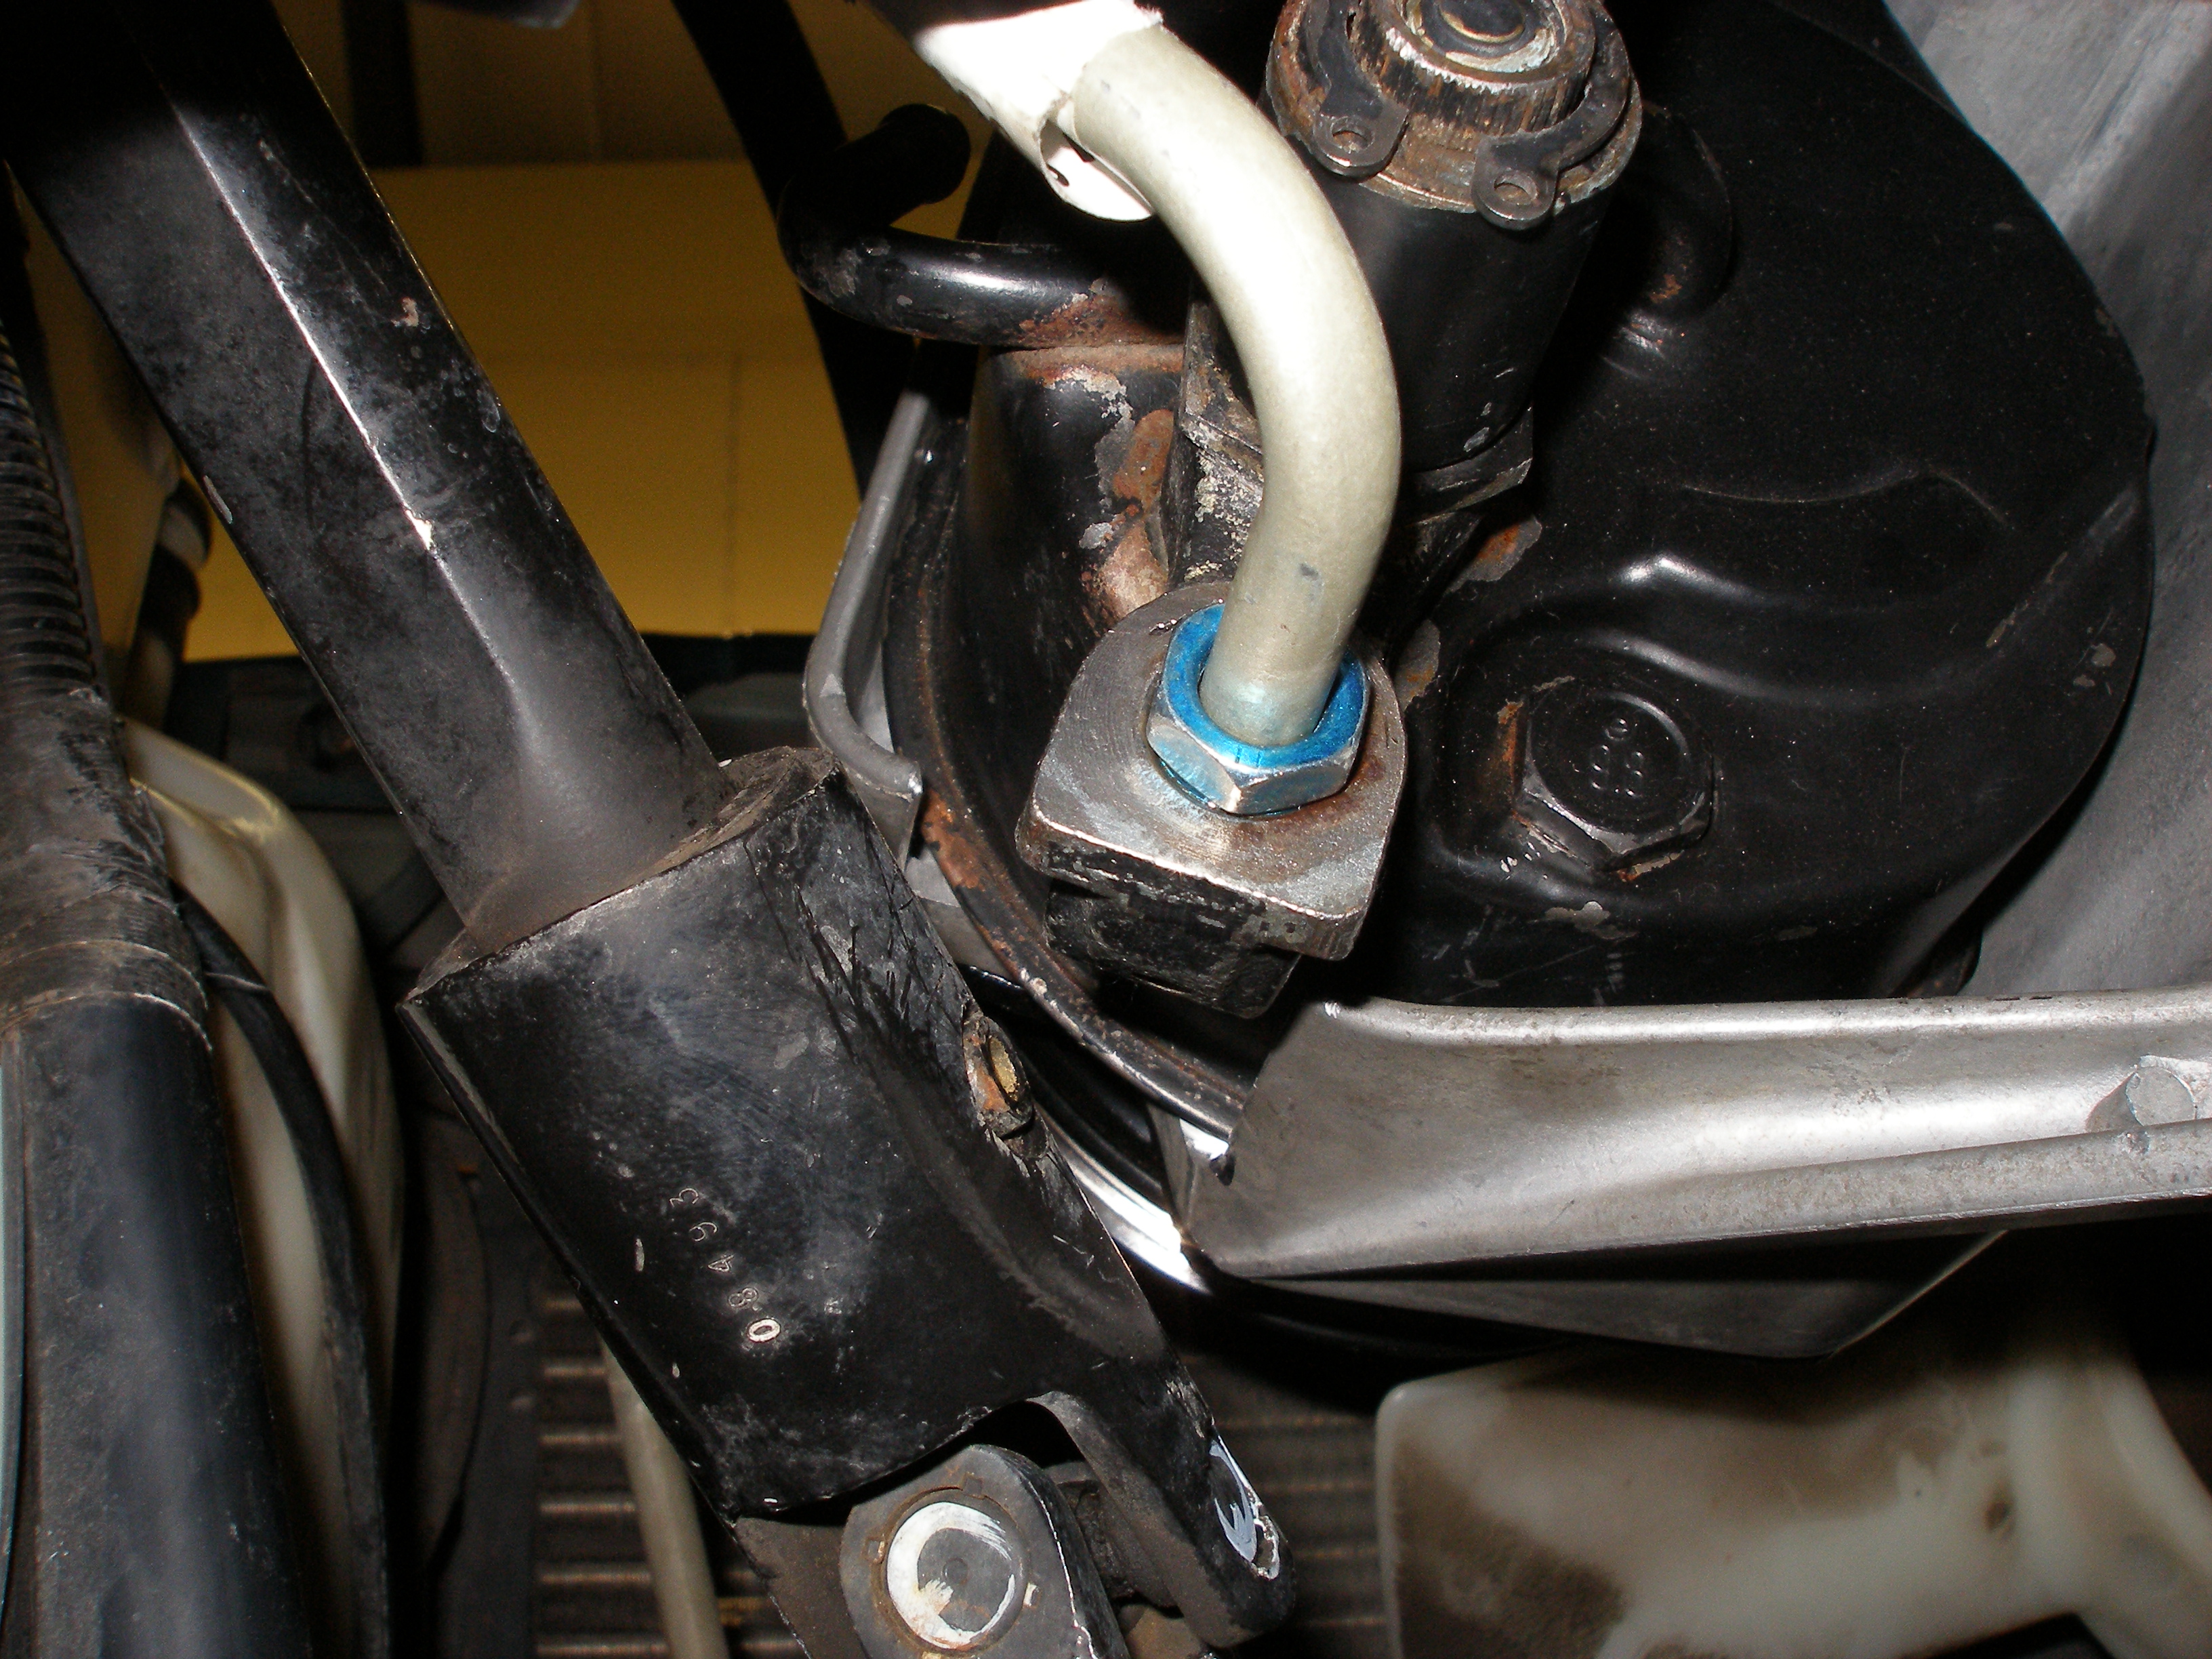
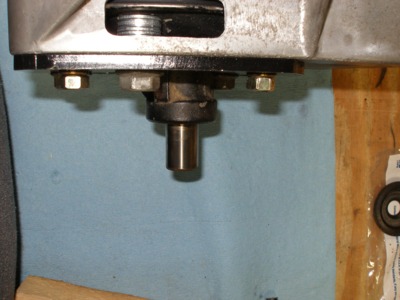
Finished installation:
Notes on results
As others have reported when putting a Saginaw pump on a rack-n-pinion vehicle: there's too much assist at higher speeds. "Twitchy" is an oft-used word that you'll see when talking about these conversions, and it's a good term for the way the vehicle handles.
The first thing I tried was dialing up the caster. The caster spec for 2WD Aeros is 2-5° (for 4WD: 3-6°). I installed new Michelin Harmony tires, and aligned it to 6° positive caster. This requires quite a tall shim stack to achieve, and even more caster would probably not be adviseable. While 6° did improve returnability (the steering wheel returns to center better when you let go of it while driving), it's still too light at highway speeds with little road feel. Some pressure/flow reduction is needed.
The conventional fix seems to be to add a restricting orifice or some mechanism to restrict the flow from the pump to the rack.
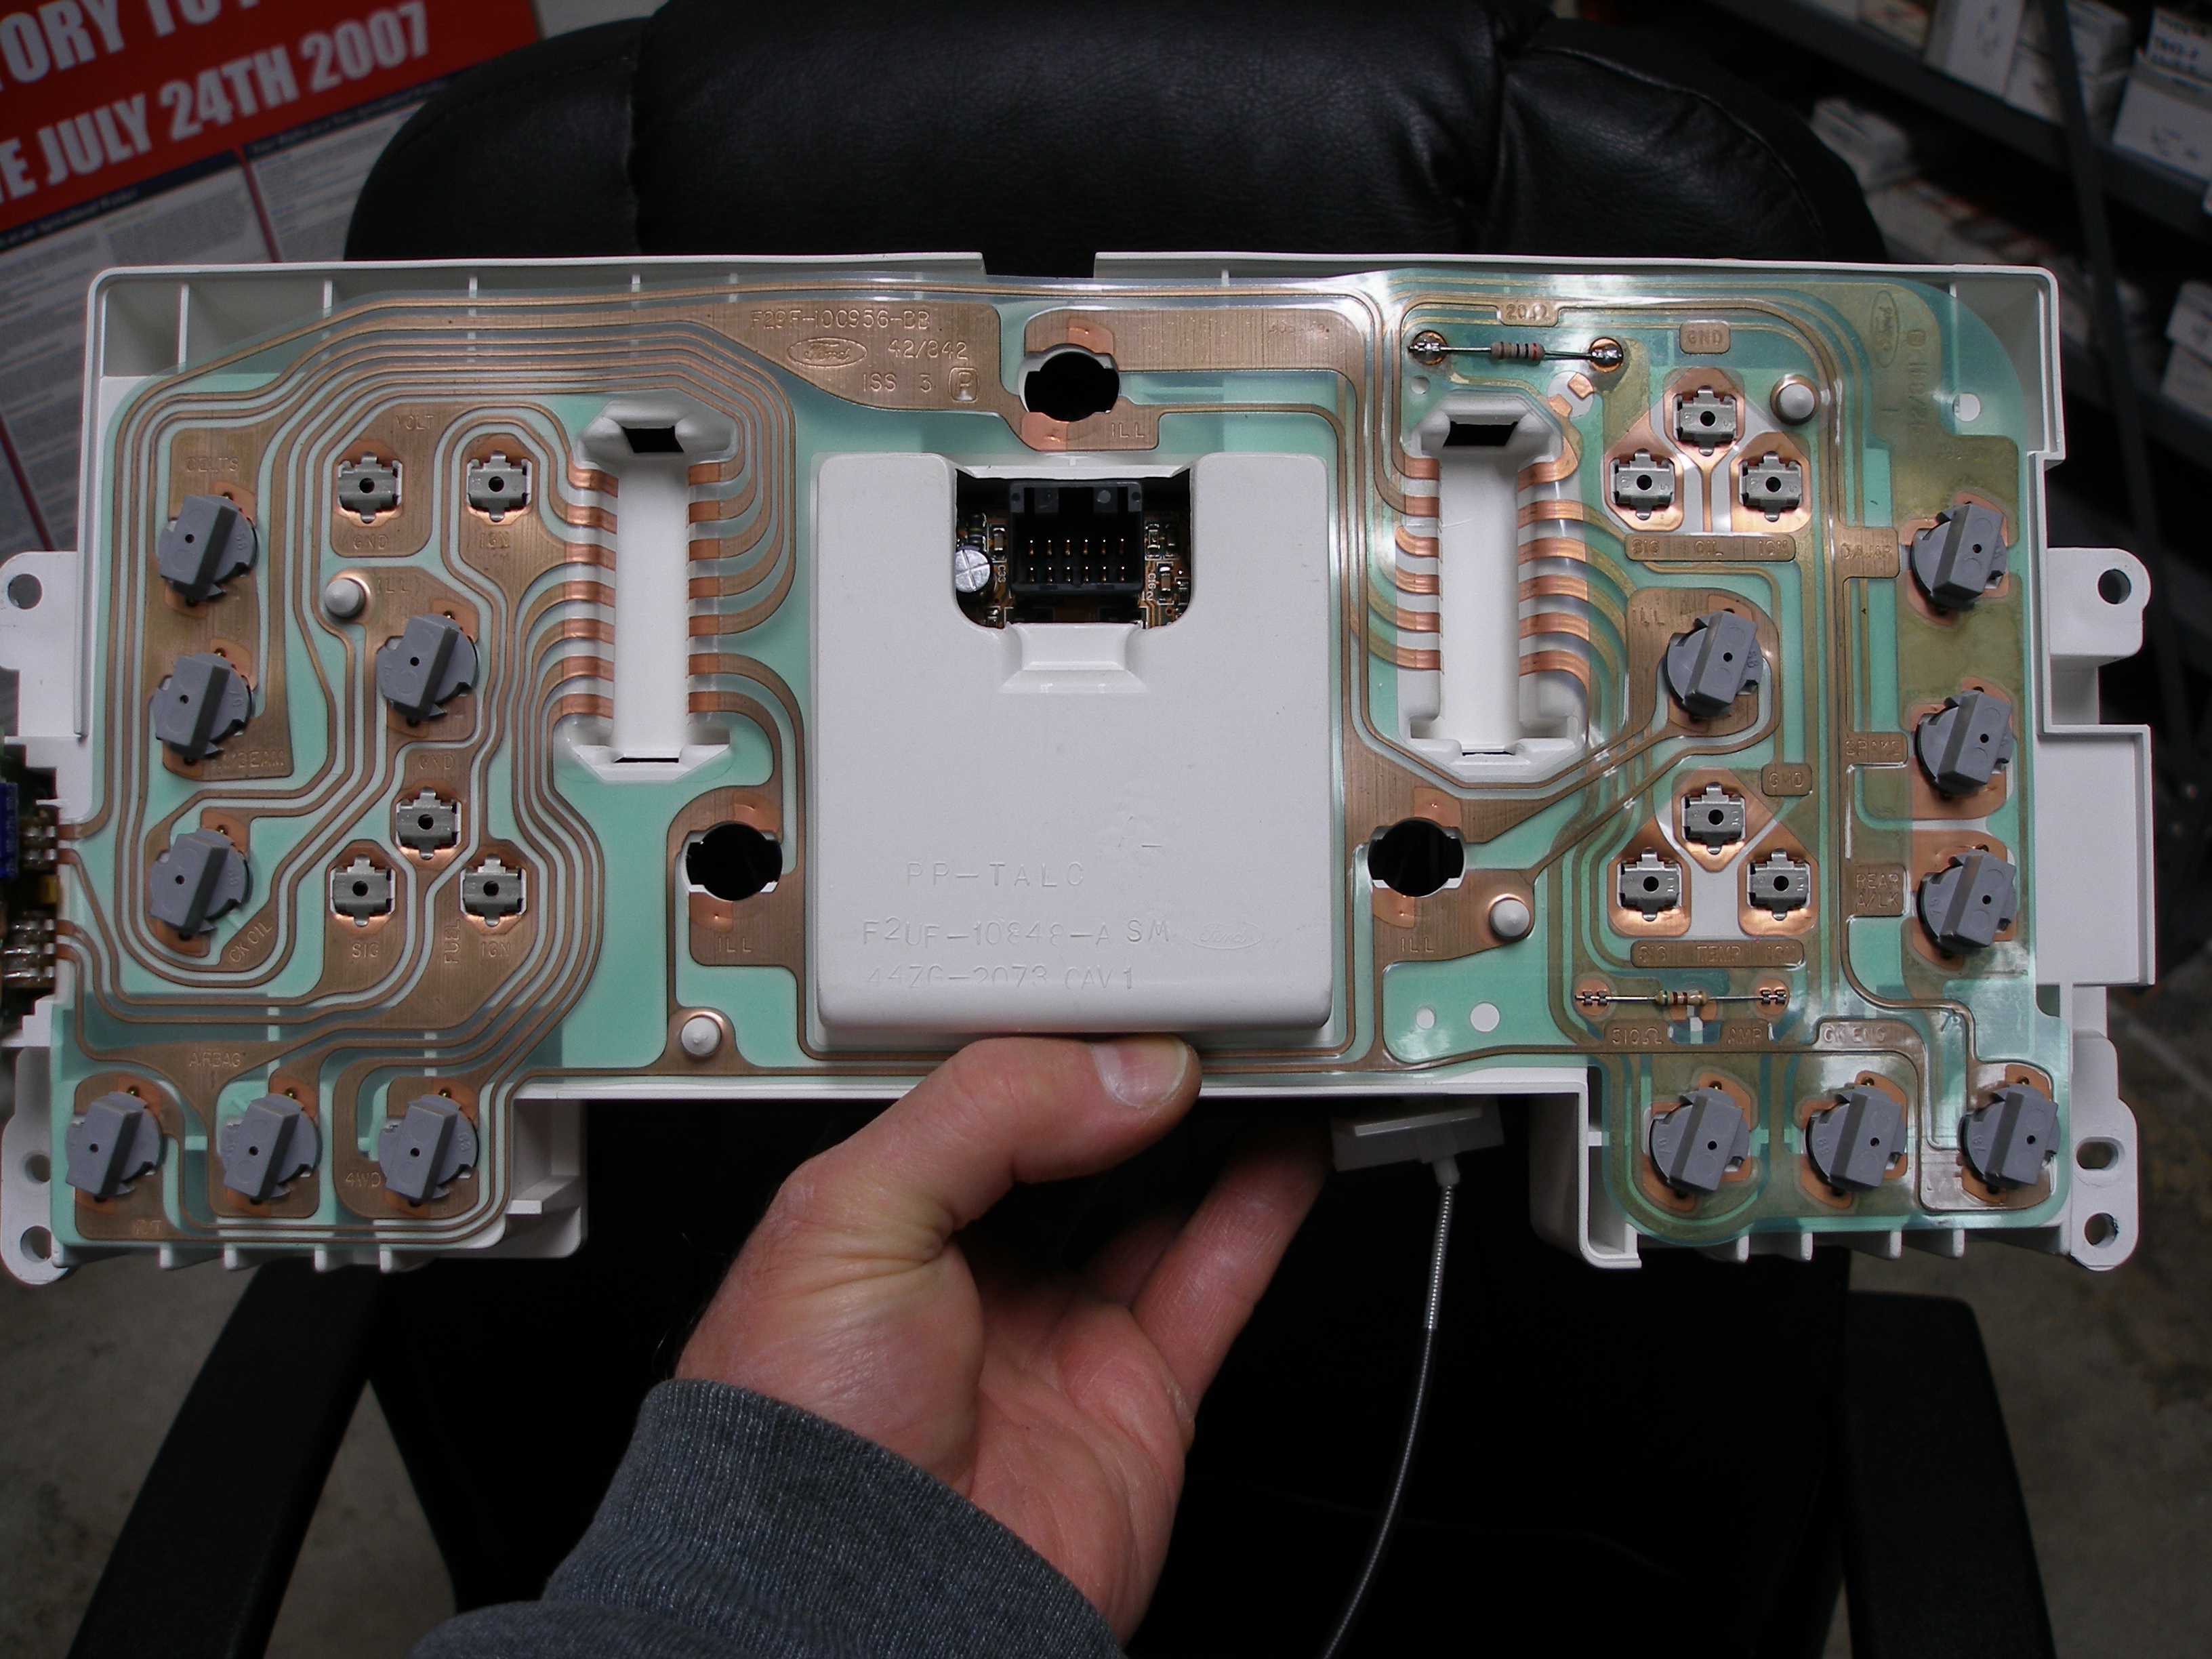
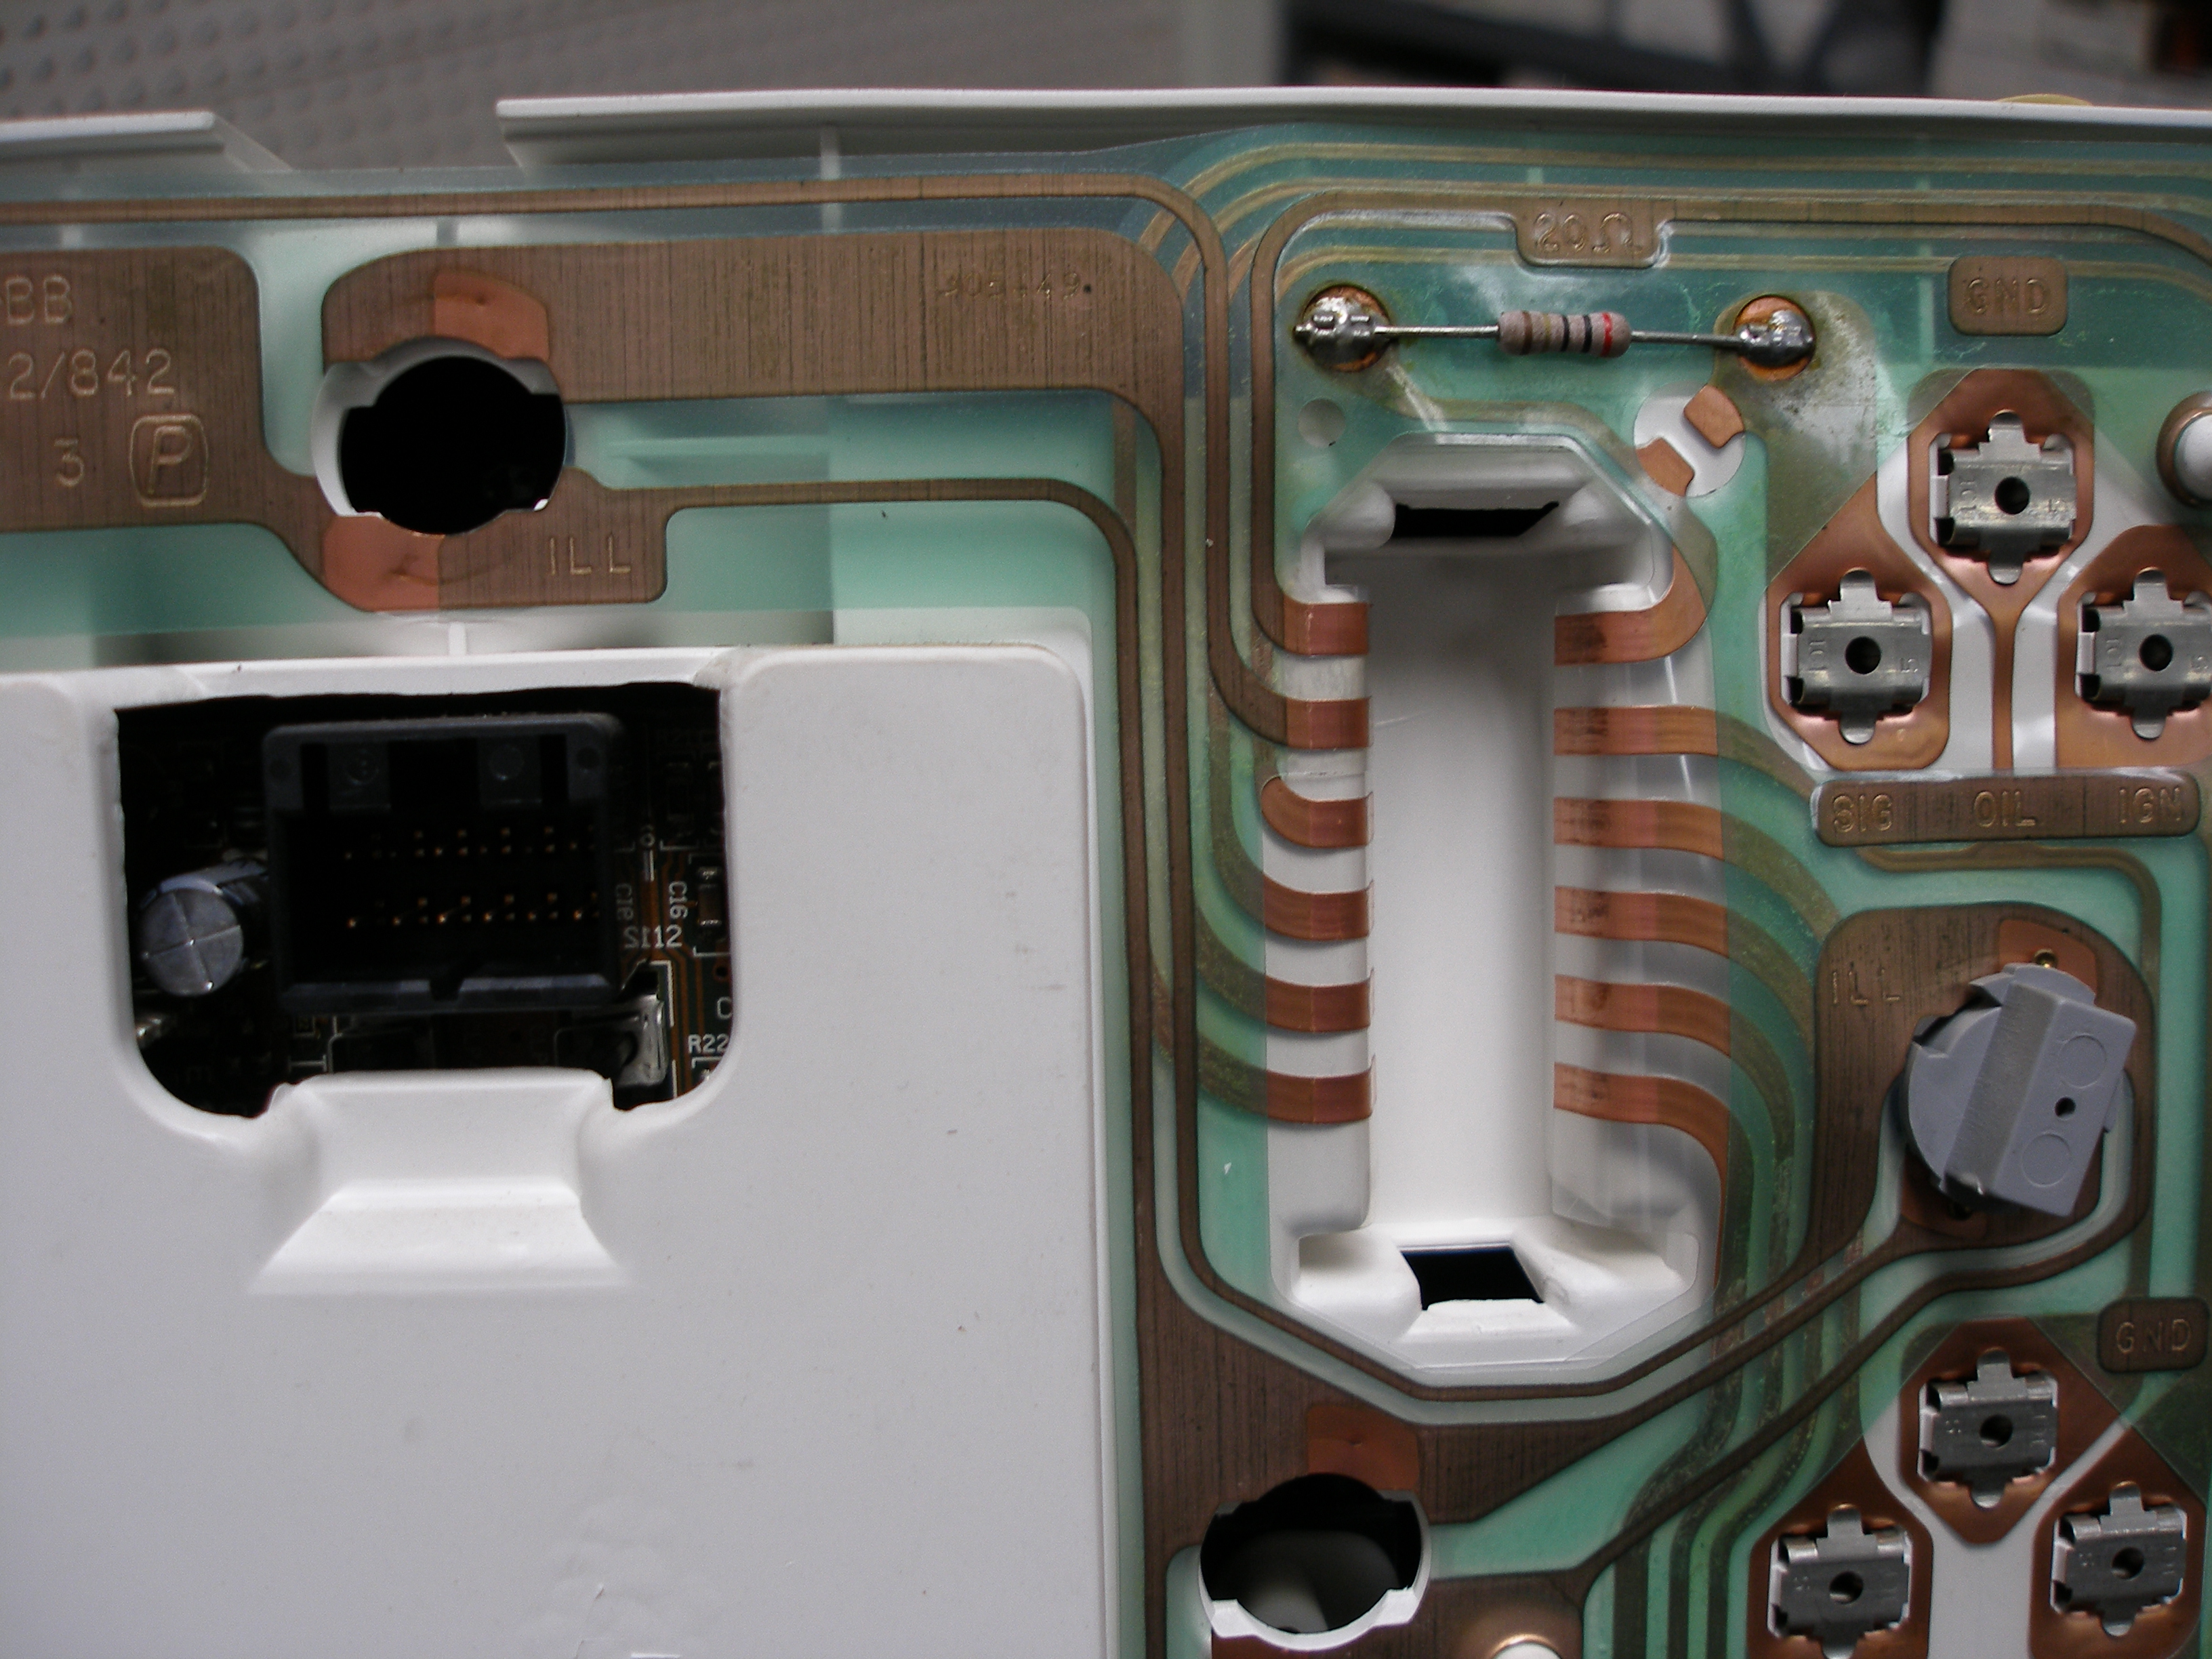
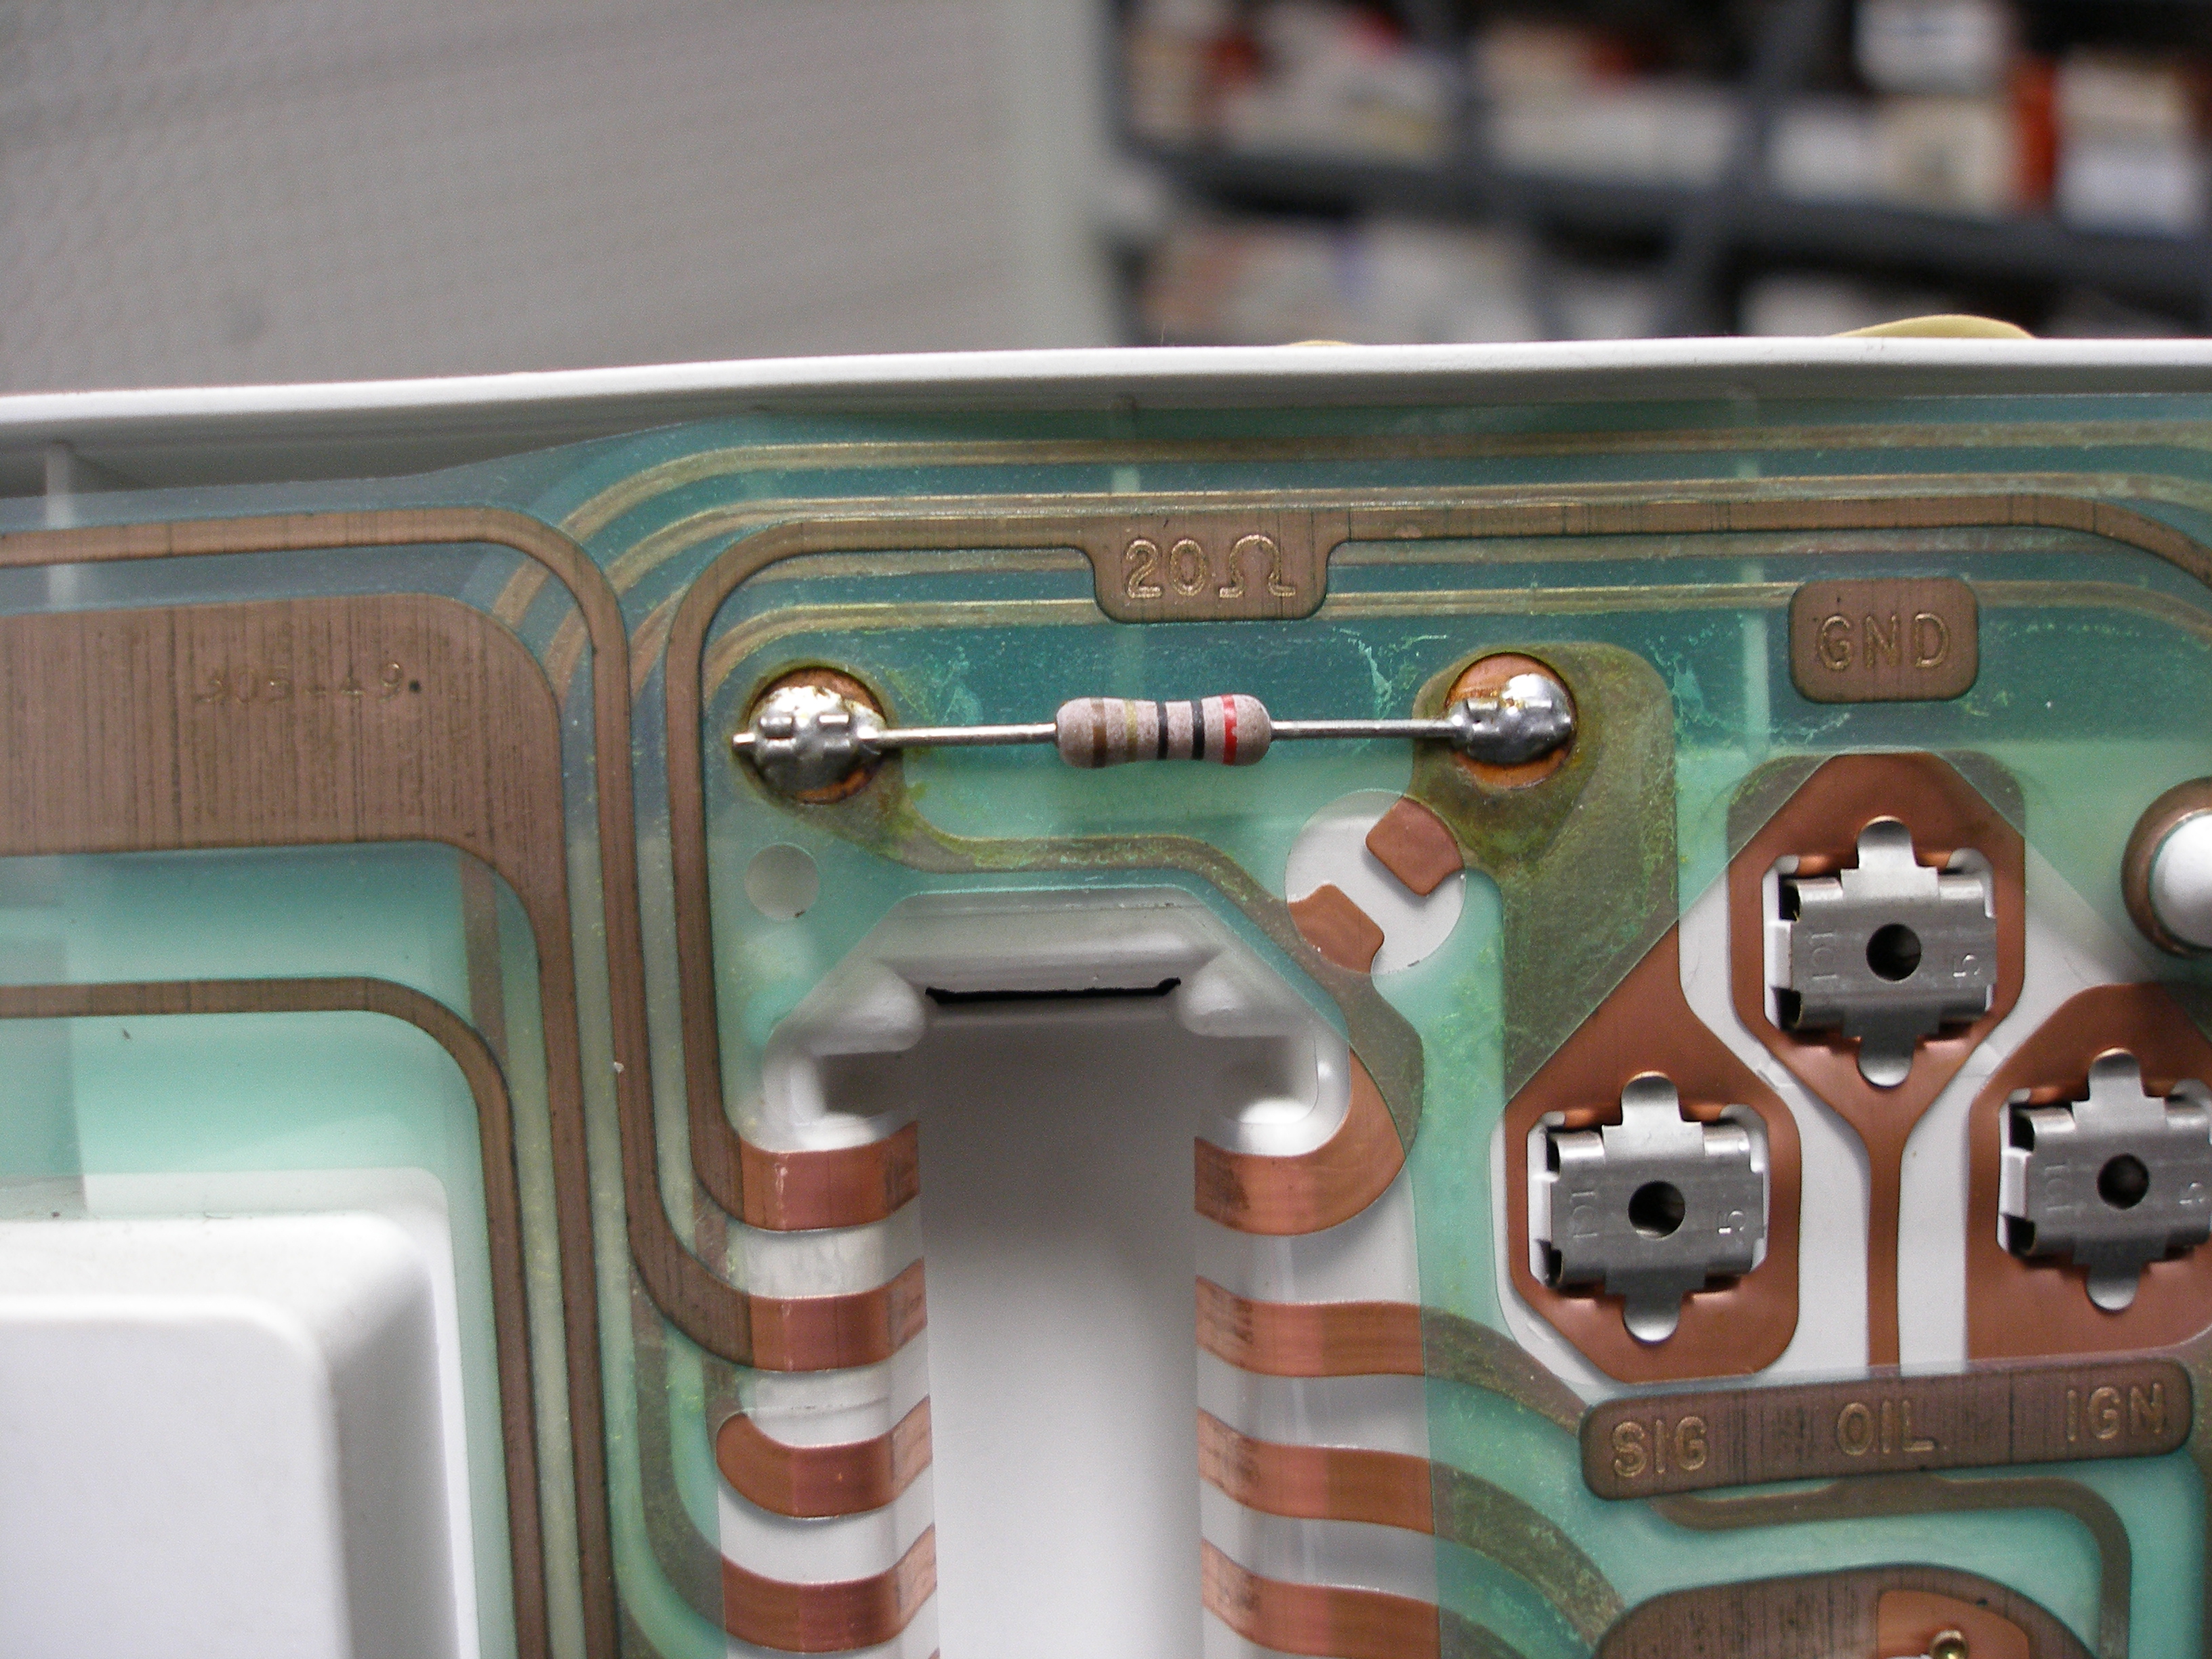
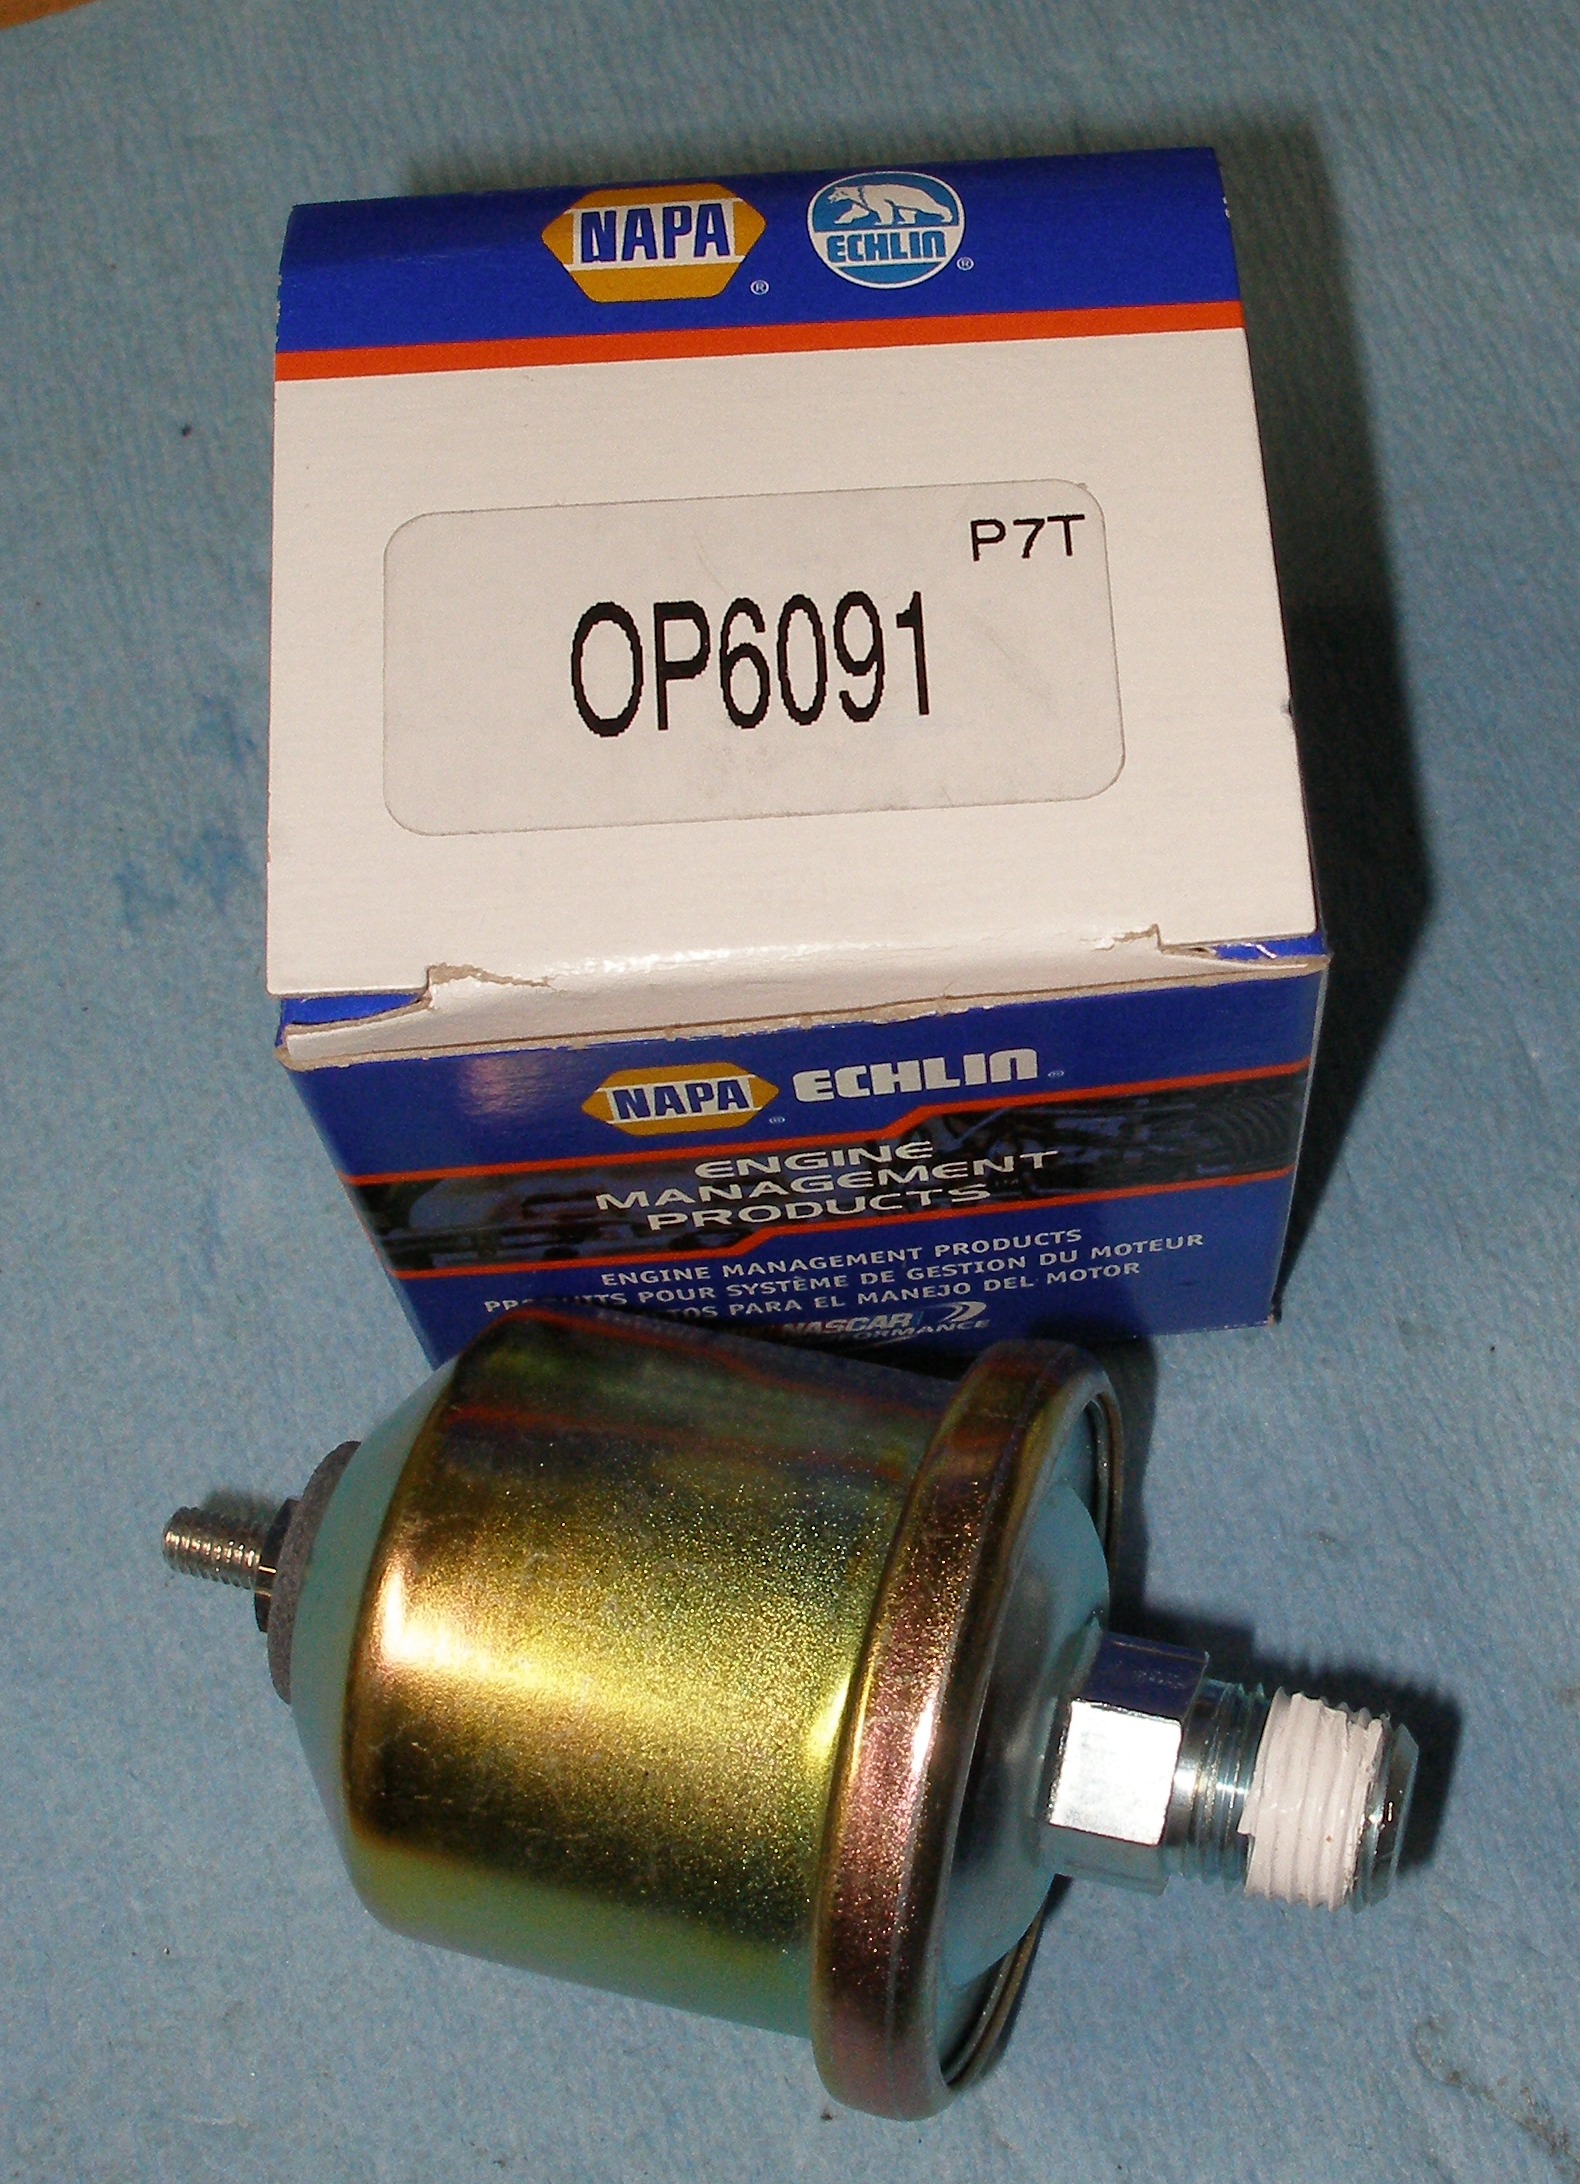
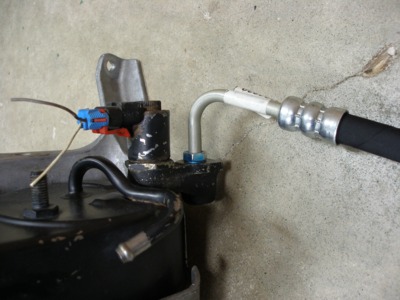
GM has had a variety of variable assist setups for their power steering systems over the years. This particular pump is set up with an Electrically Variable Orifice ("EVO"), a solenoid that is supposedly cycled (PWM) by a feed from either a dedicated controller or a Body Control Module ("BCM"). From what I've read from Googling, the BCM or controller monitors the VSS (and sometimes the angle of the steering wheel and/or the rate at which the wheel is turned) and pulse-width modulates (PWM) 5v to the EVO on the pump. Info on this system is kind of sparse on the internet.
I'm thinking I can use the EVO (Electrically Variable Orifice) valve on this pump to achieve a similar effect, even without tying into the VSS. I have acquired a couple of DC-to-DC converters to get 5V to play with that option; future project.
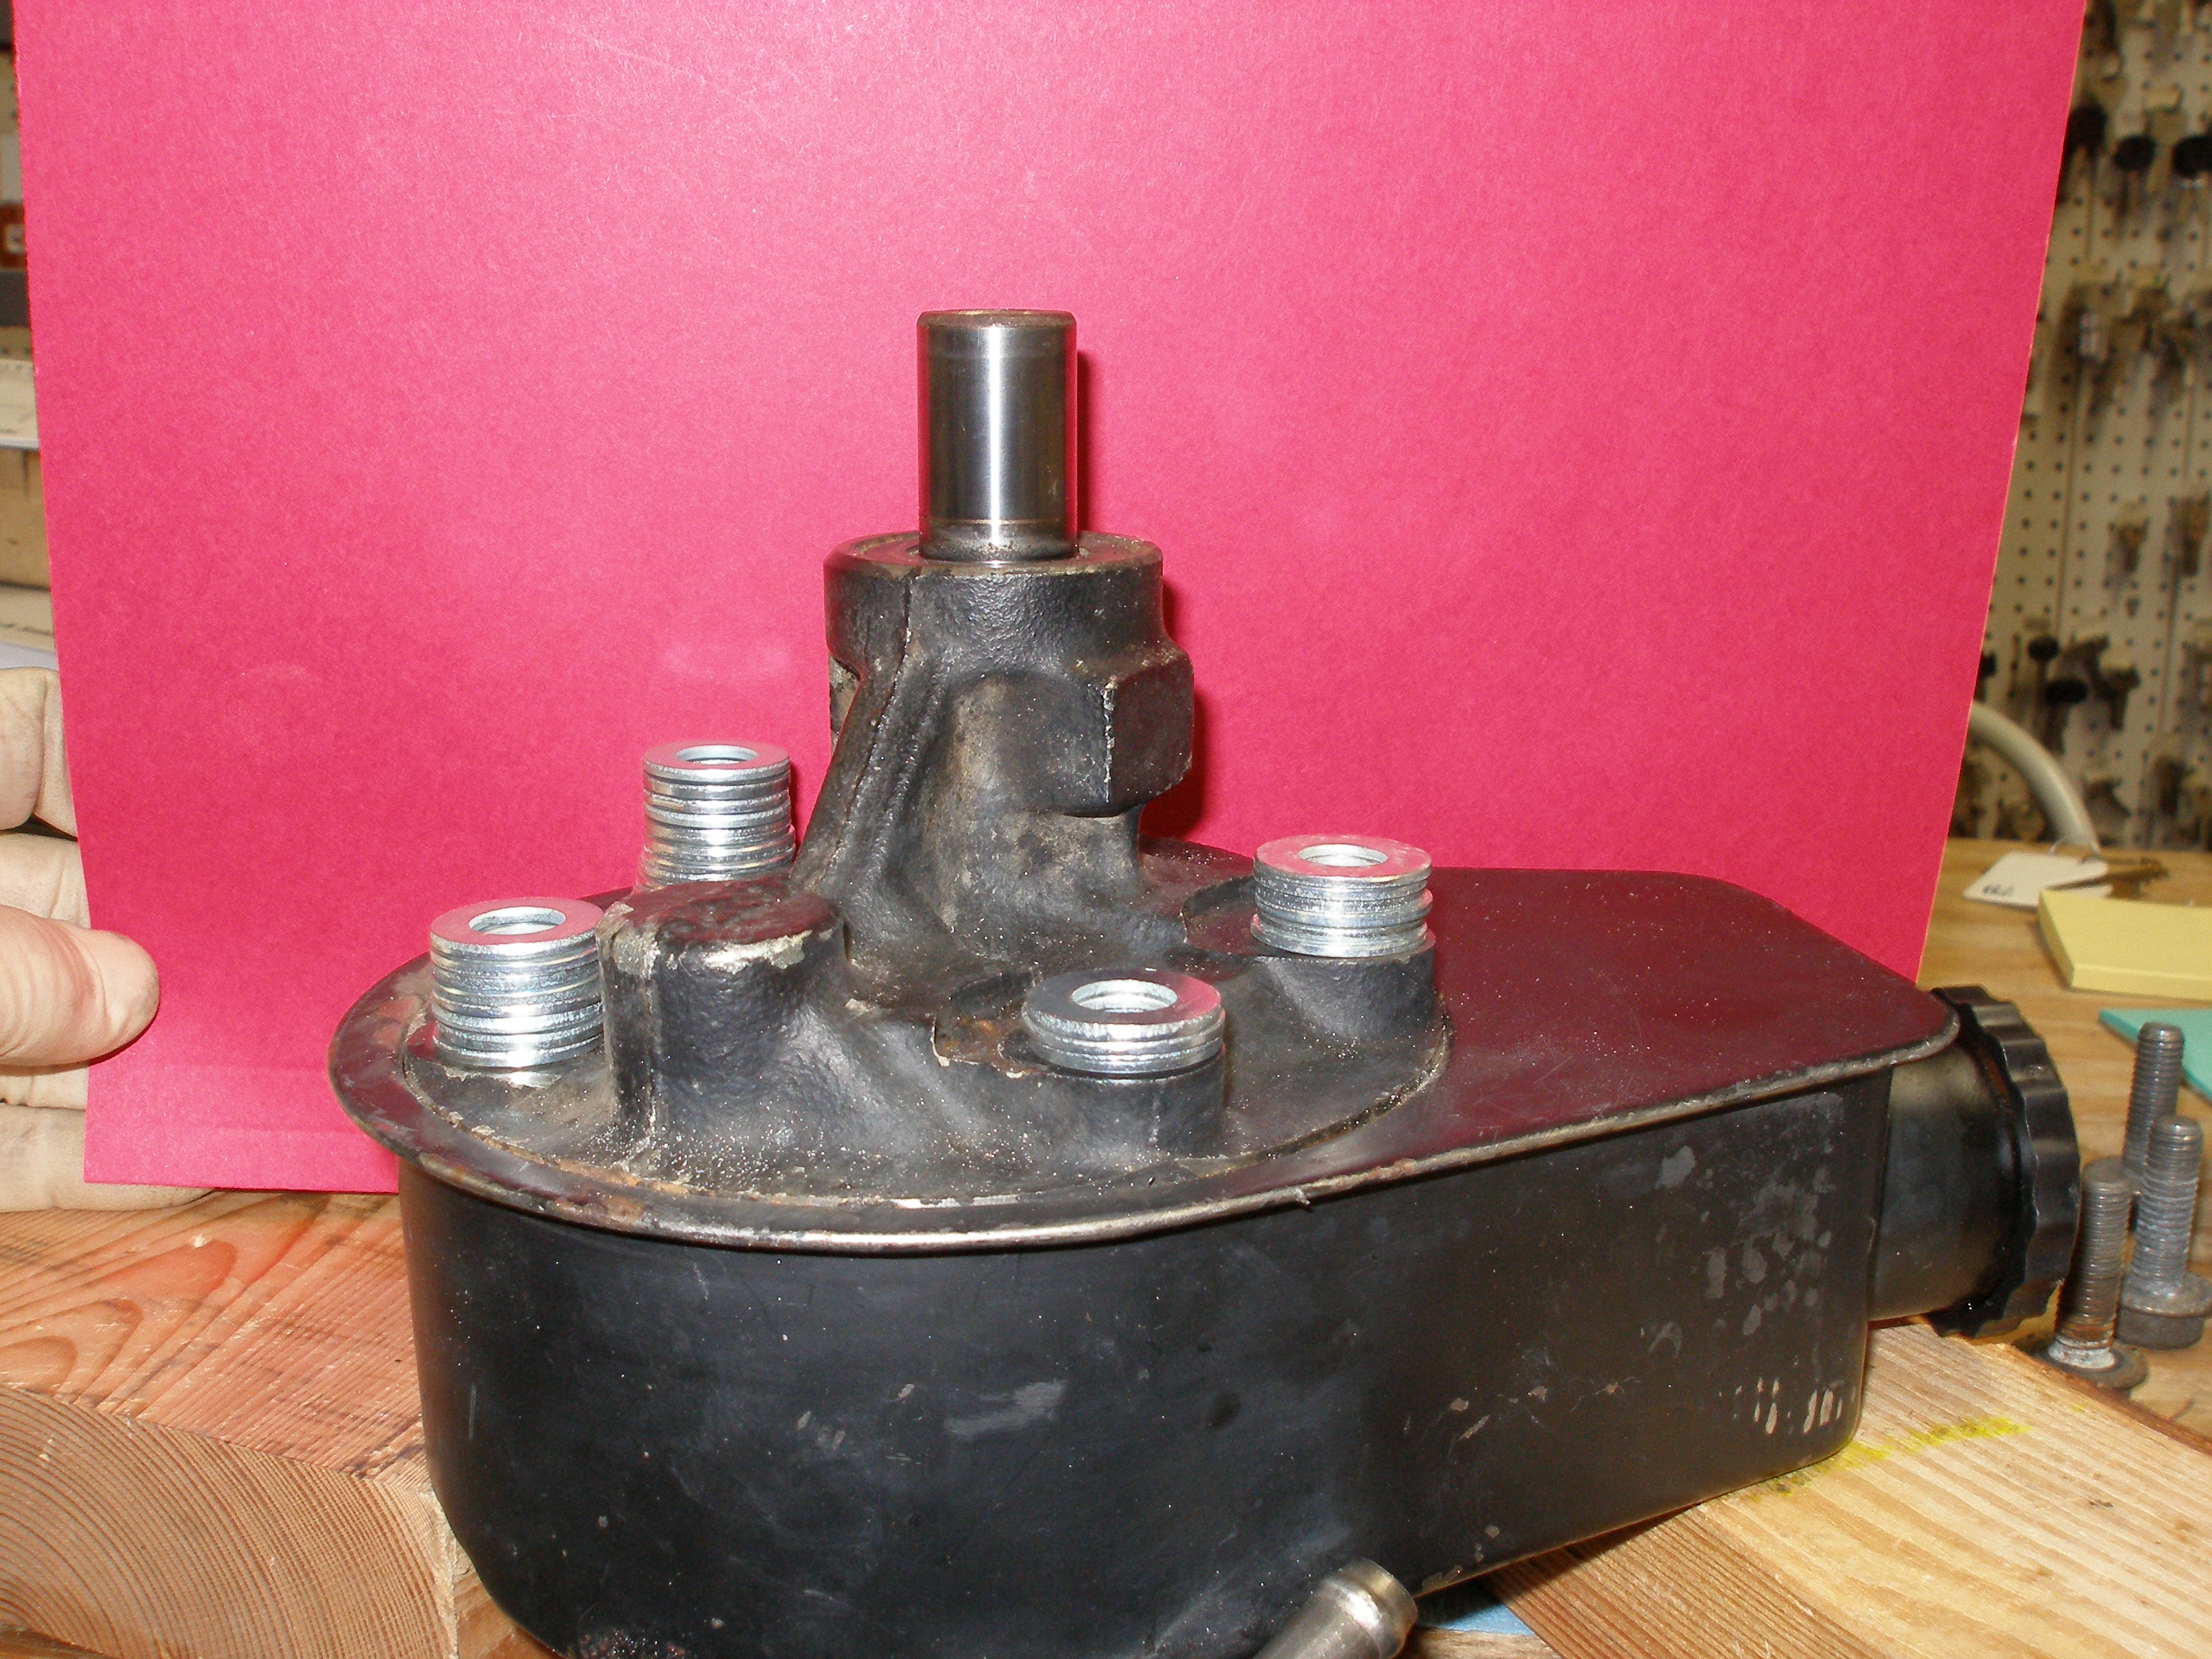
An exploded view of the EVO assy. in the back of the pump:
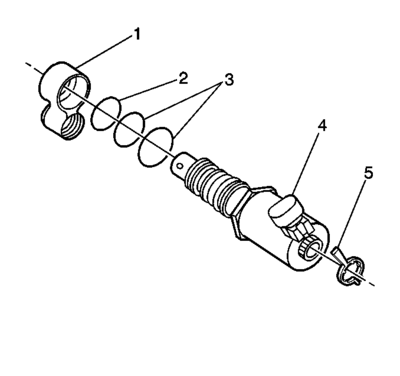
Other approaches to this common problem:
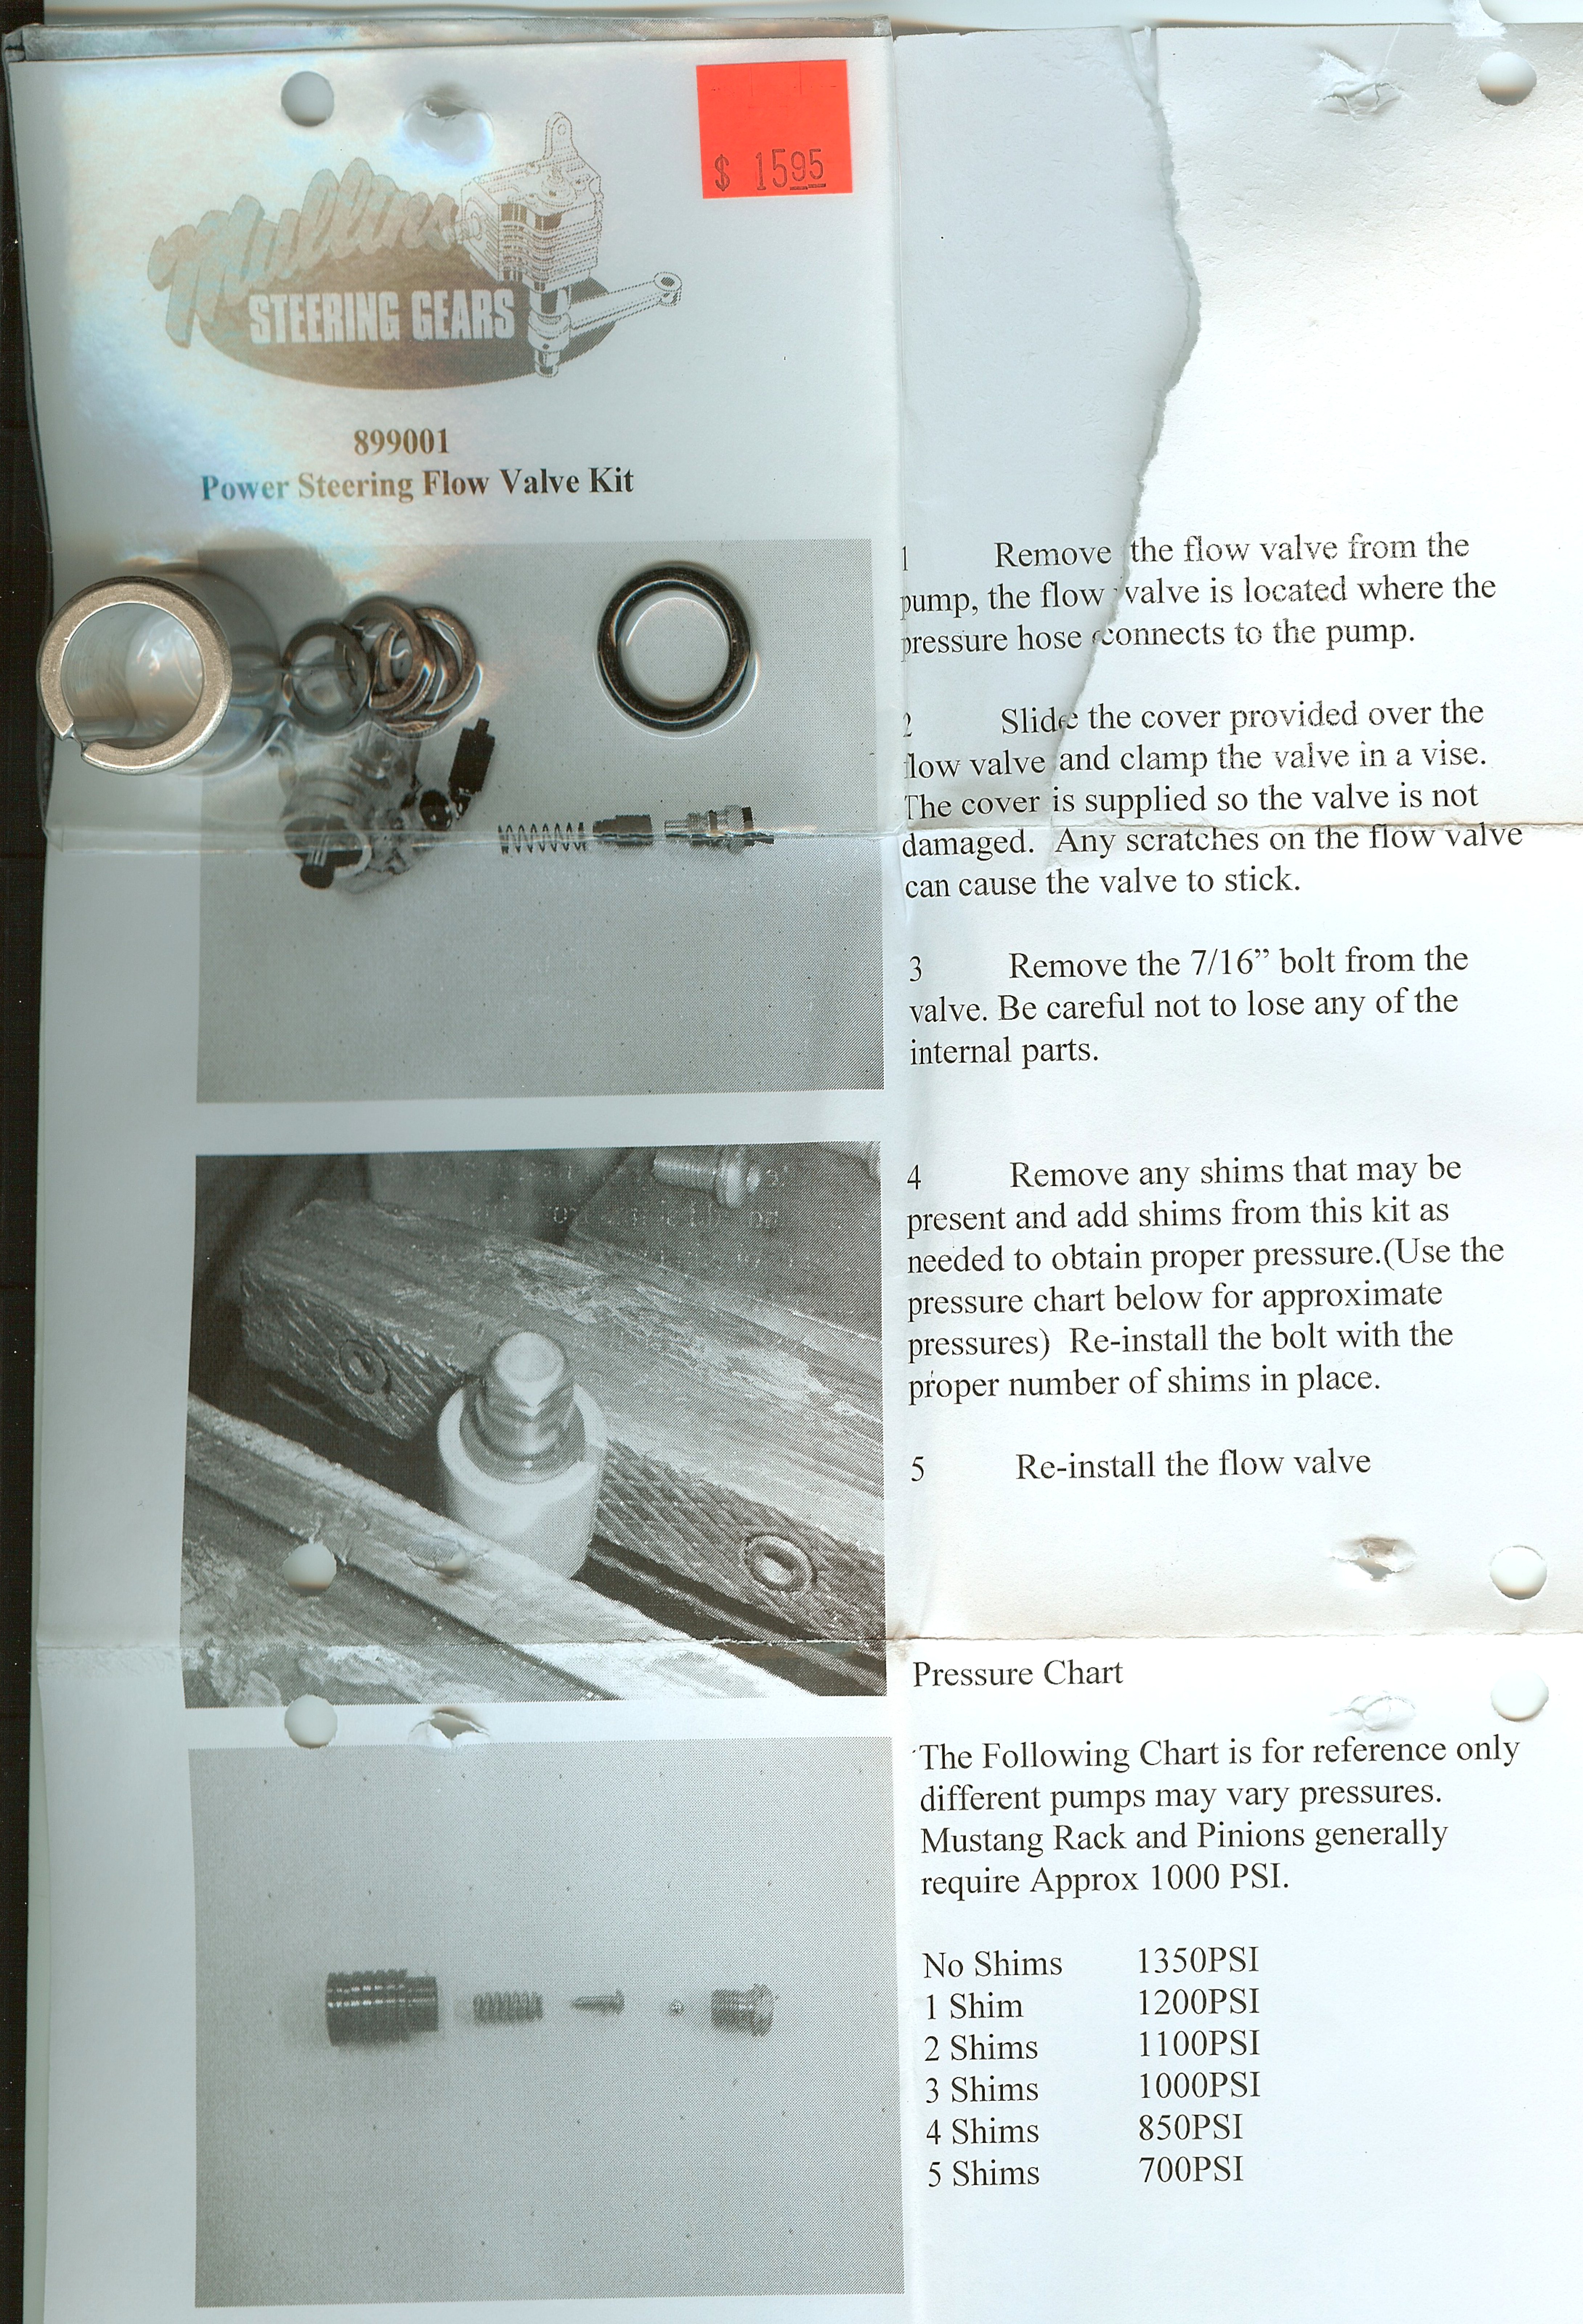
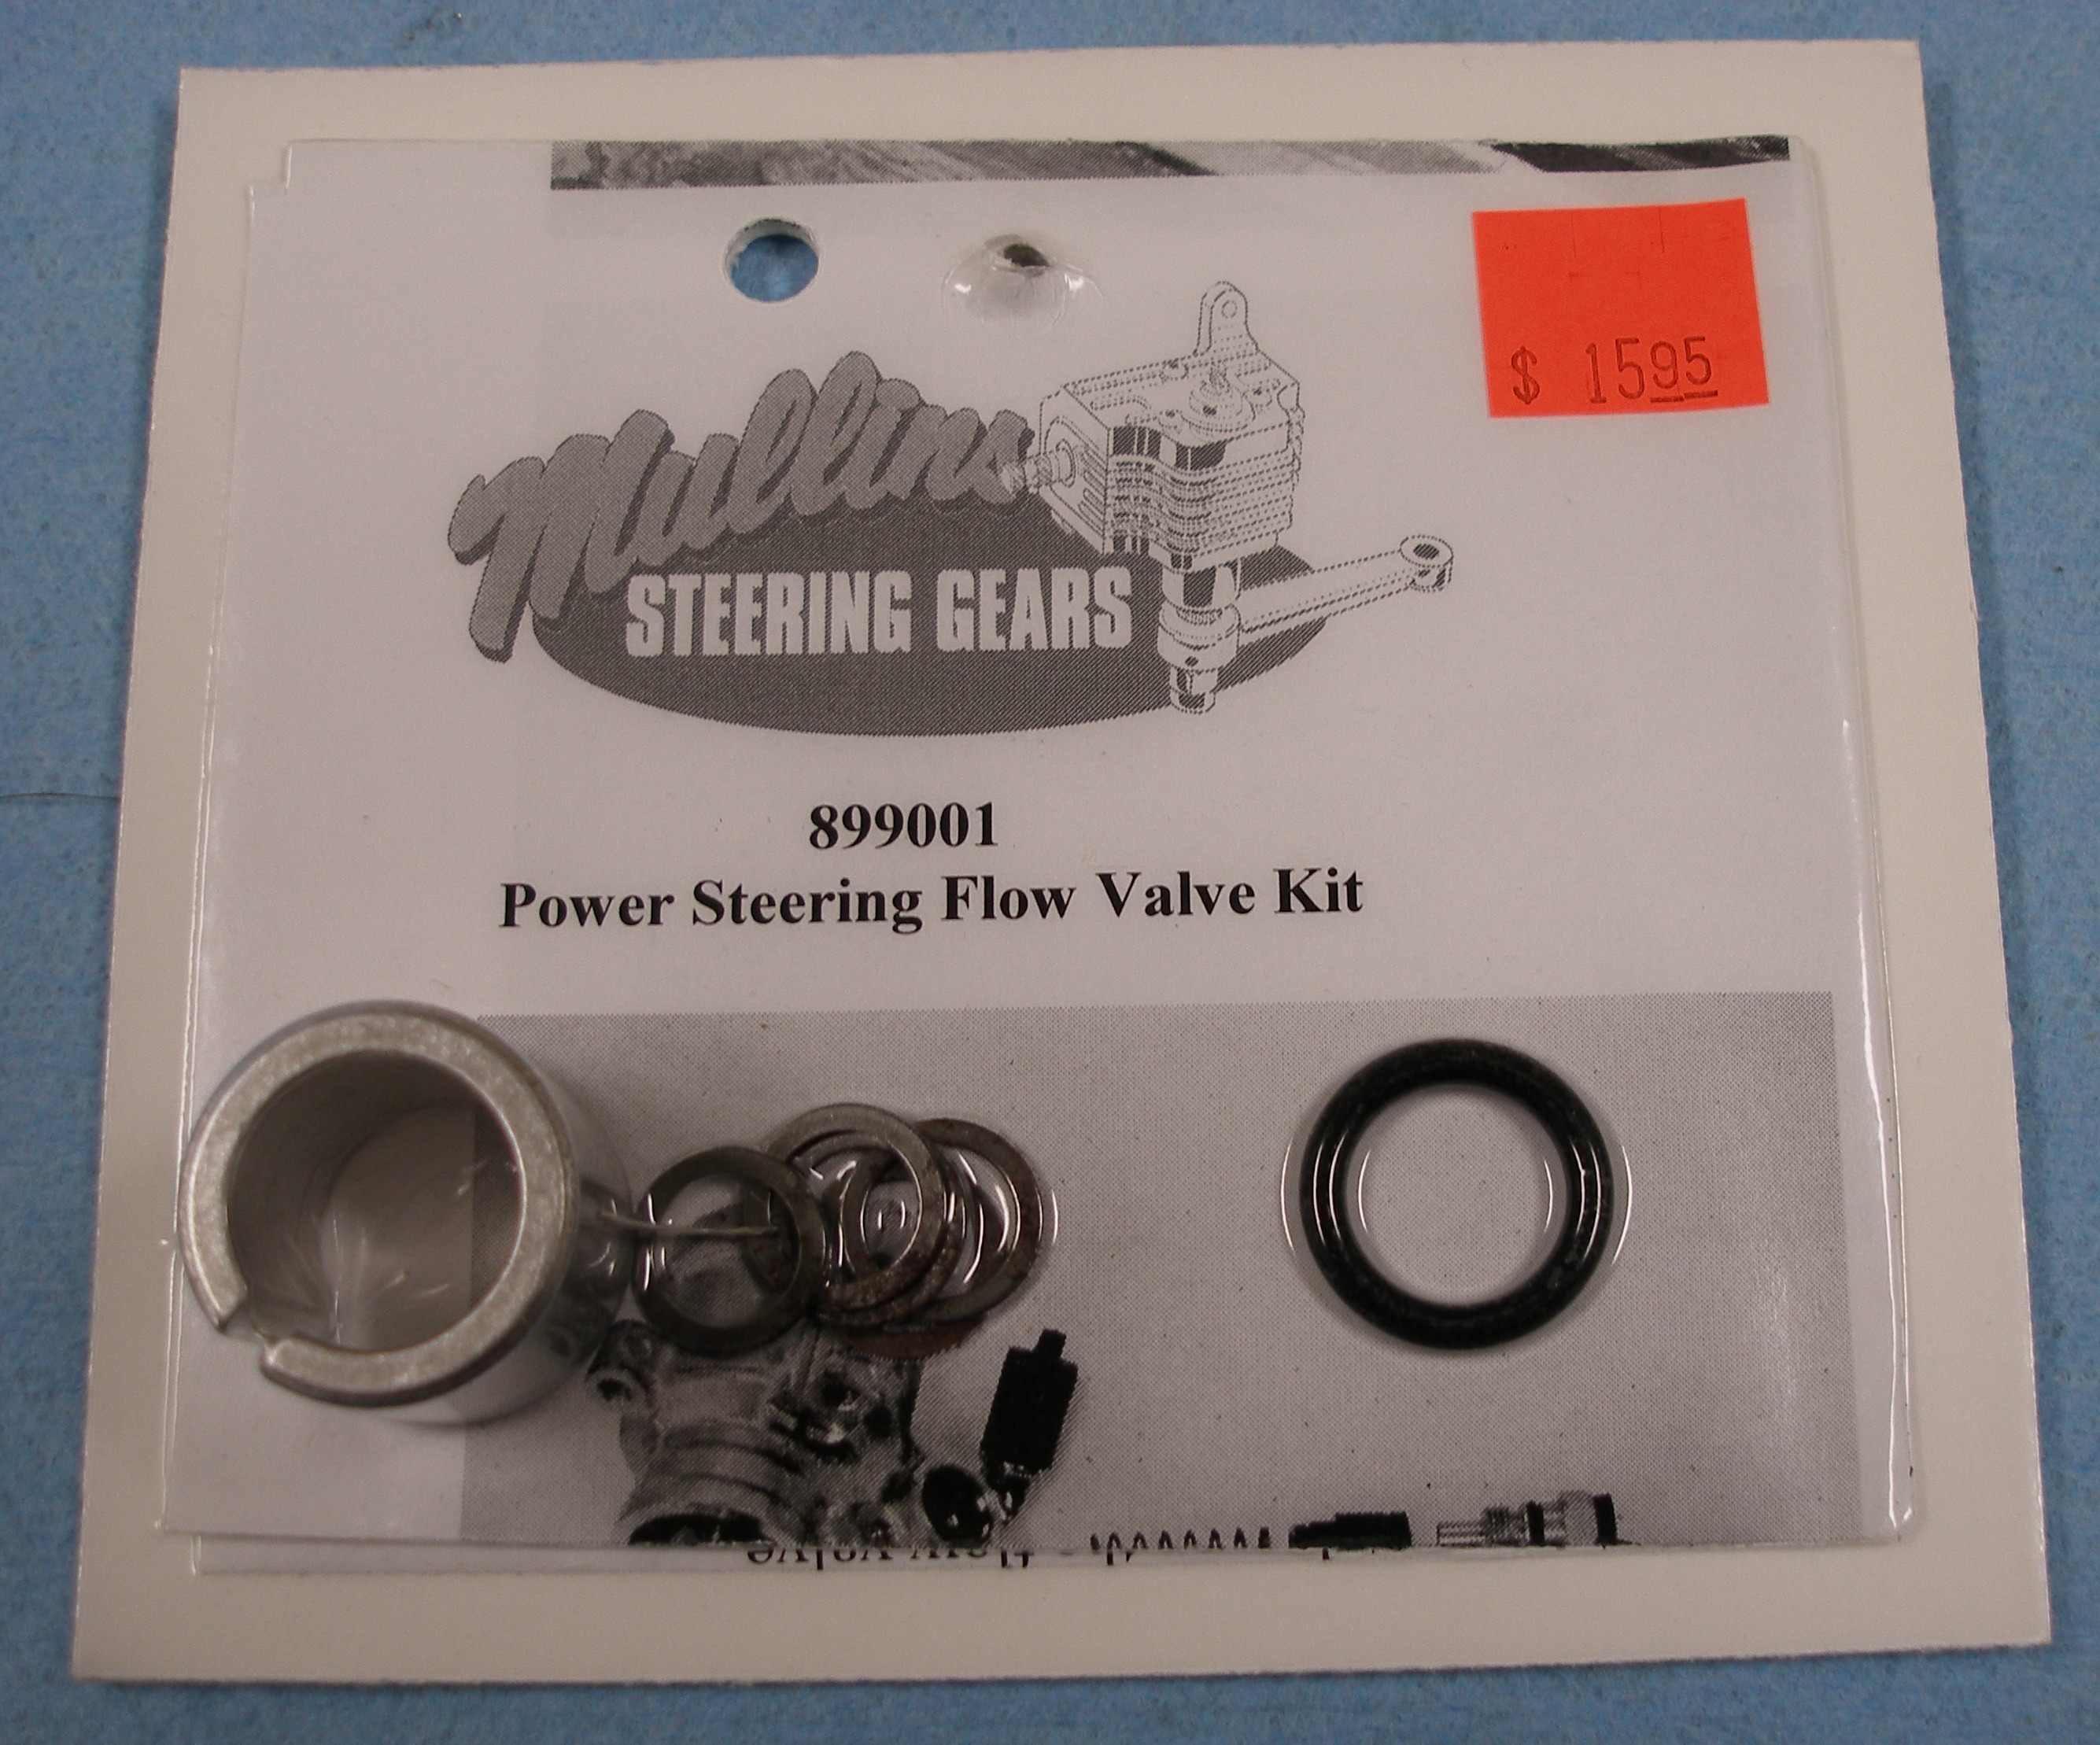
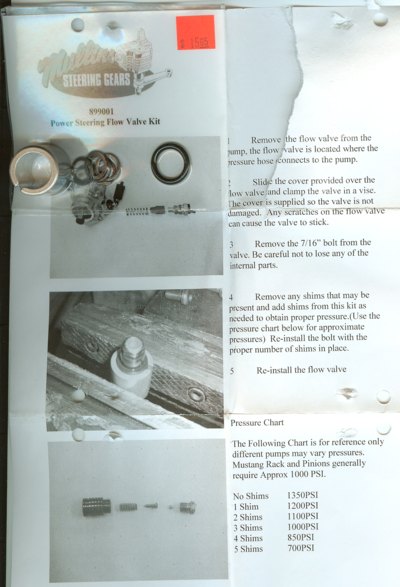
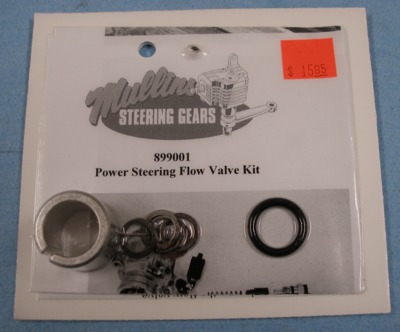
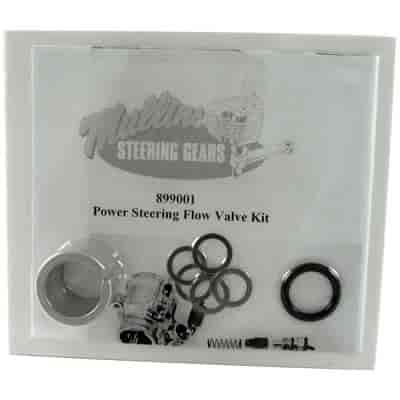
I just today received the Mullins shim kit and may try it out.
Borgeson/Mullins 899001 pressure reducing shim kit, $18
 Billet Specialties BSPRP1300, $25
 Detroit Speed 091401, $26
 March Performance P306, $27

A variation on this is an adjustable bypass valve that bleeds fluid back to the return line. Advantage to this approach is the pump works less and the fluid may not get as hot.
Heidt's Adjustable Power Steering Valve PS-101, $80

("Random extra pictures" removed from this section)