Technically, this is not part of this project . . . yet. But I've wanted one for years, so . . .
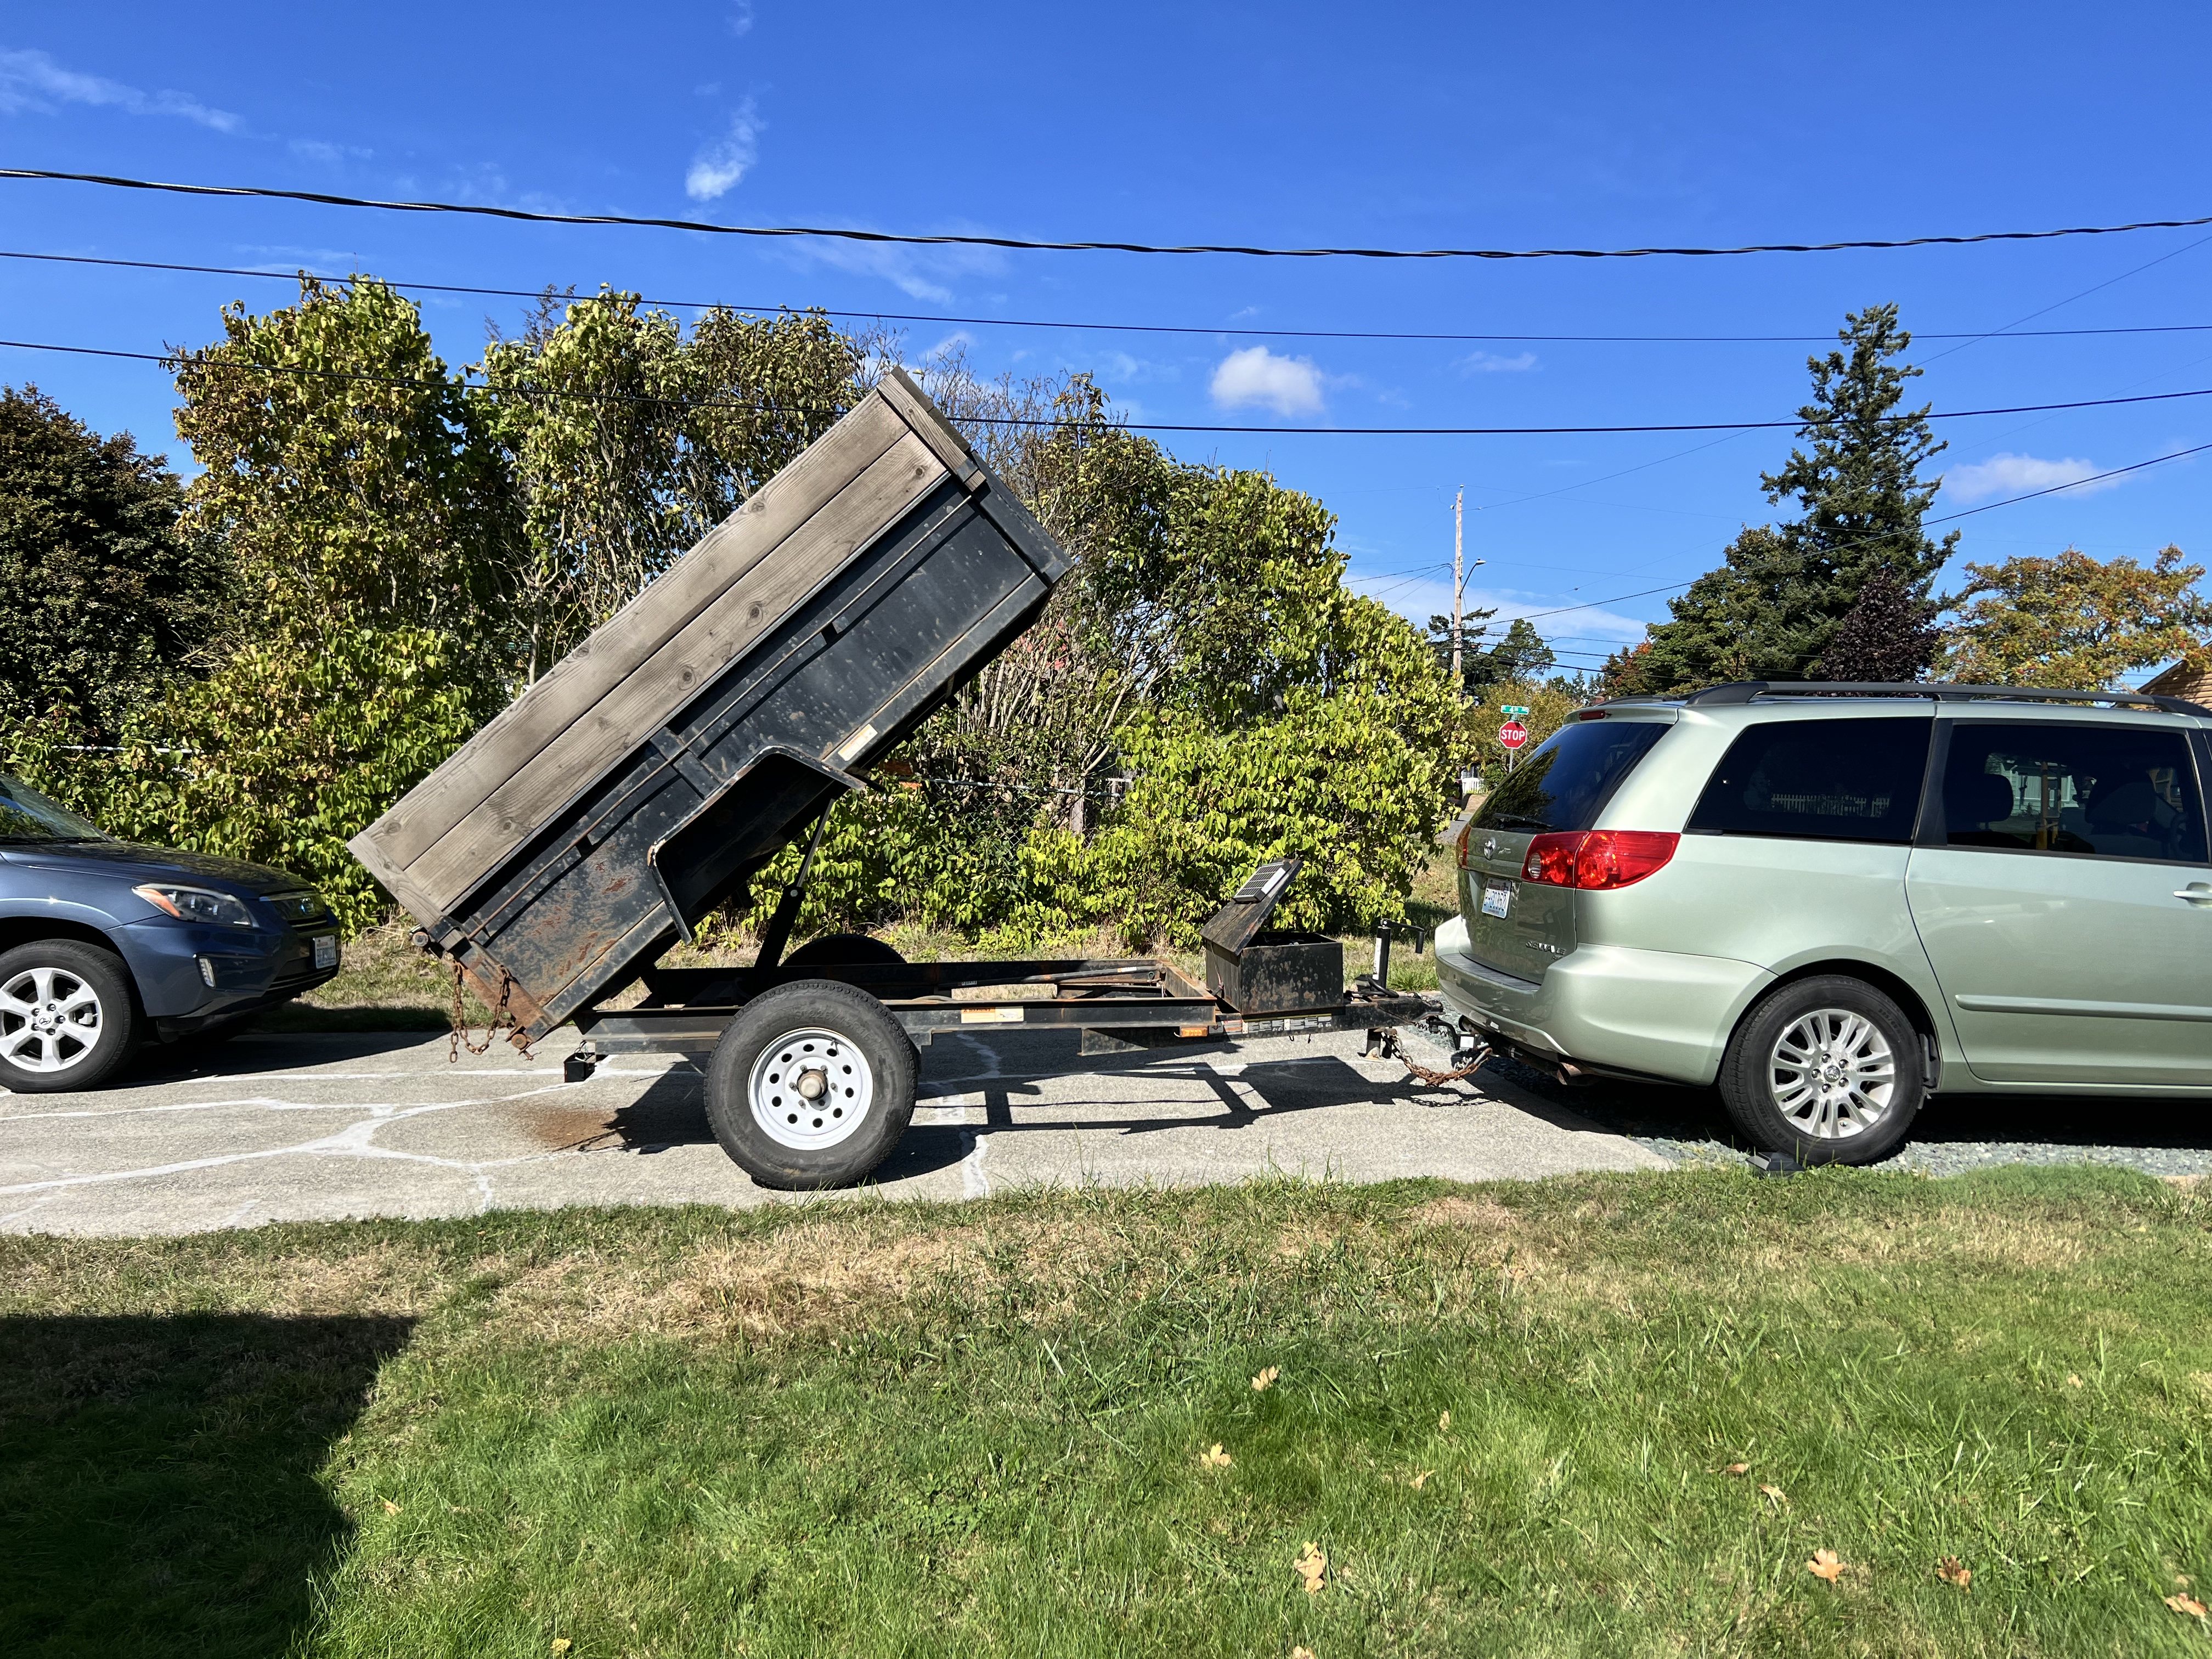
Late last year I was finally able to locate a baby dump trailer of sufficient capacity to serve as an alternate dirt mover, should the four shop vacs be unable to lift dirt 12' to the top of the primary cyclonic separator. The dump truck's bed is at about 4' from ground, whereas the dump trailer's is closer to 2'. A downside to the trailer is that it probably can only hold a fraction of the drums that the dump truck can, but in case lift is an issue, I will use the trailer and live with more-frequent drives to dump.
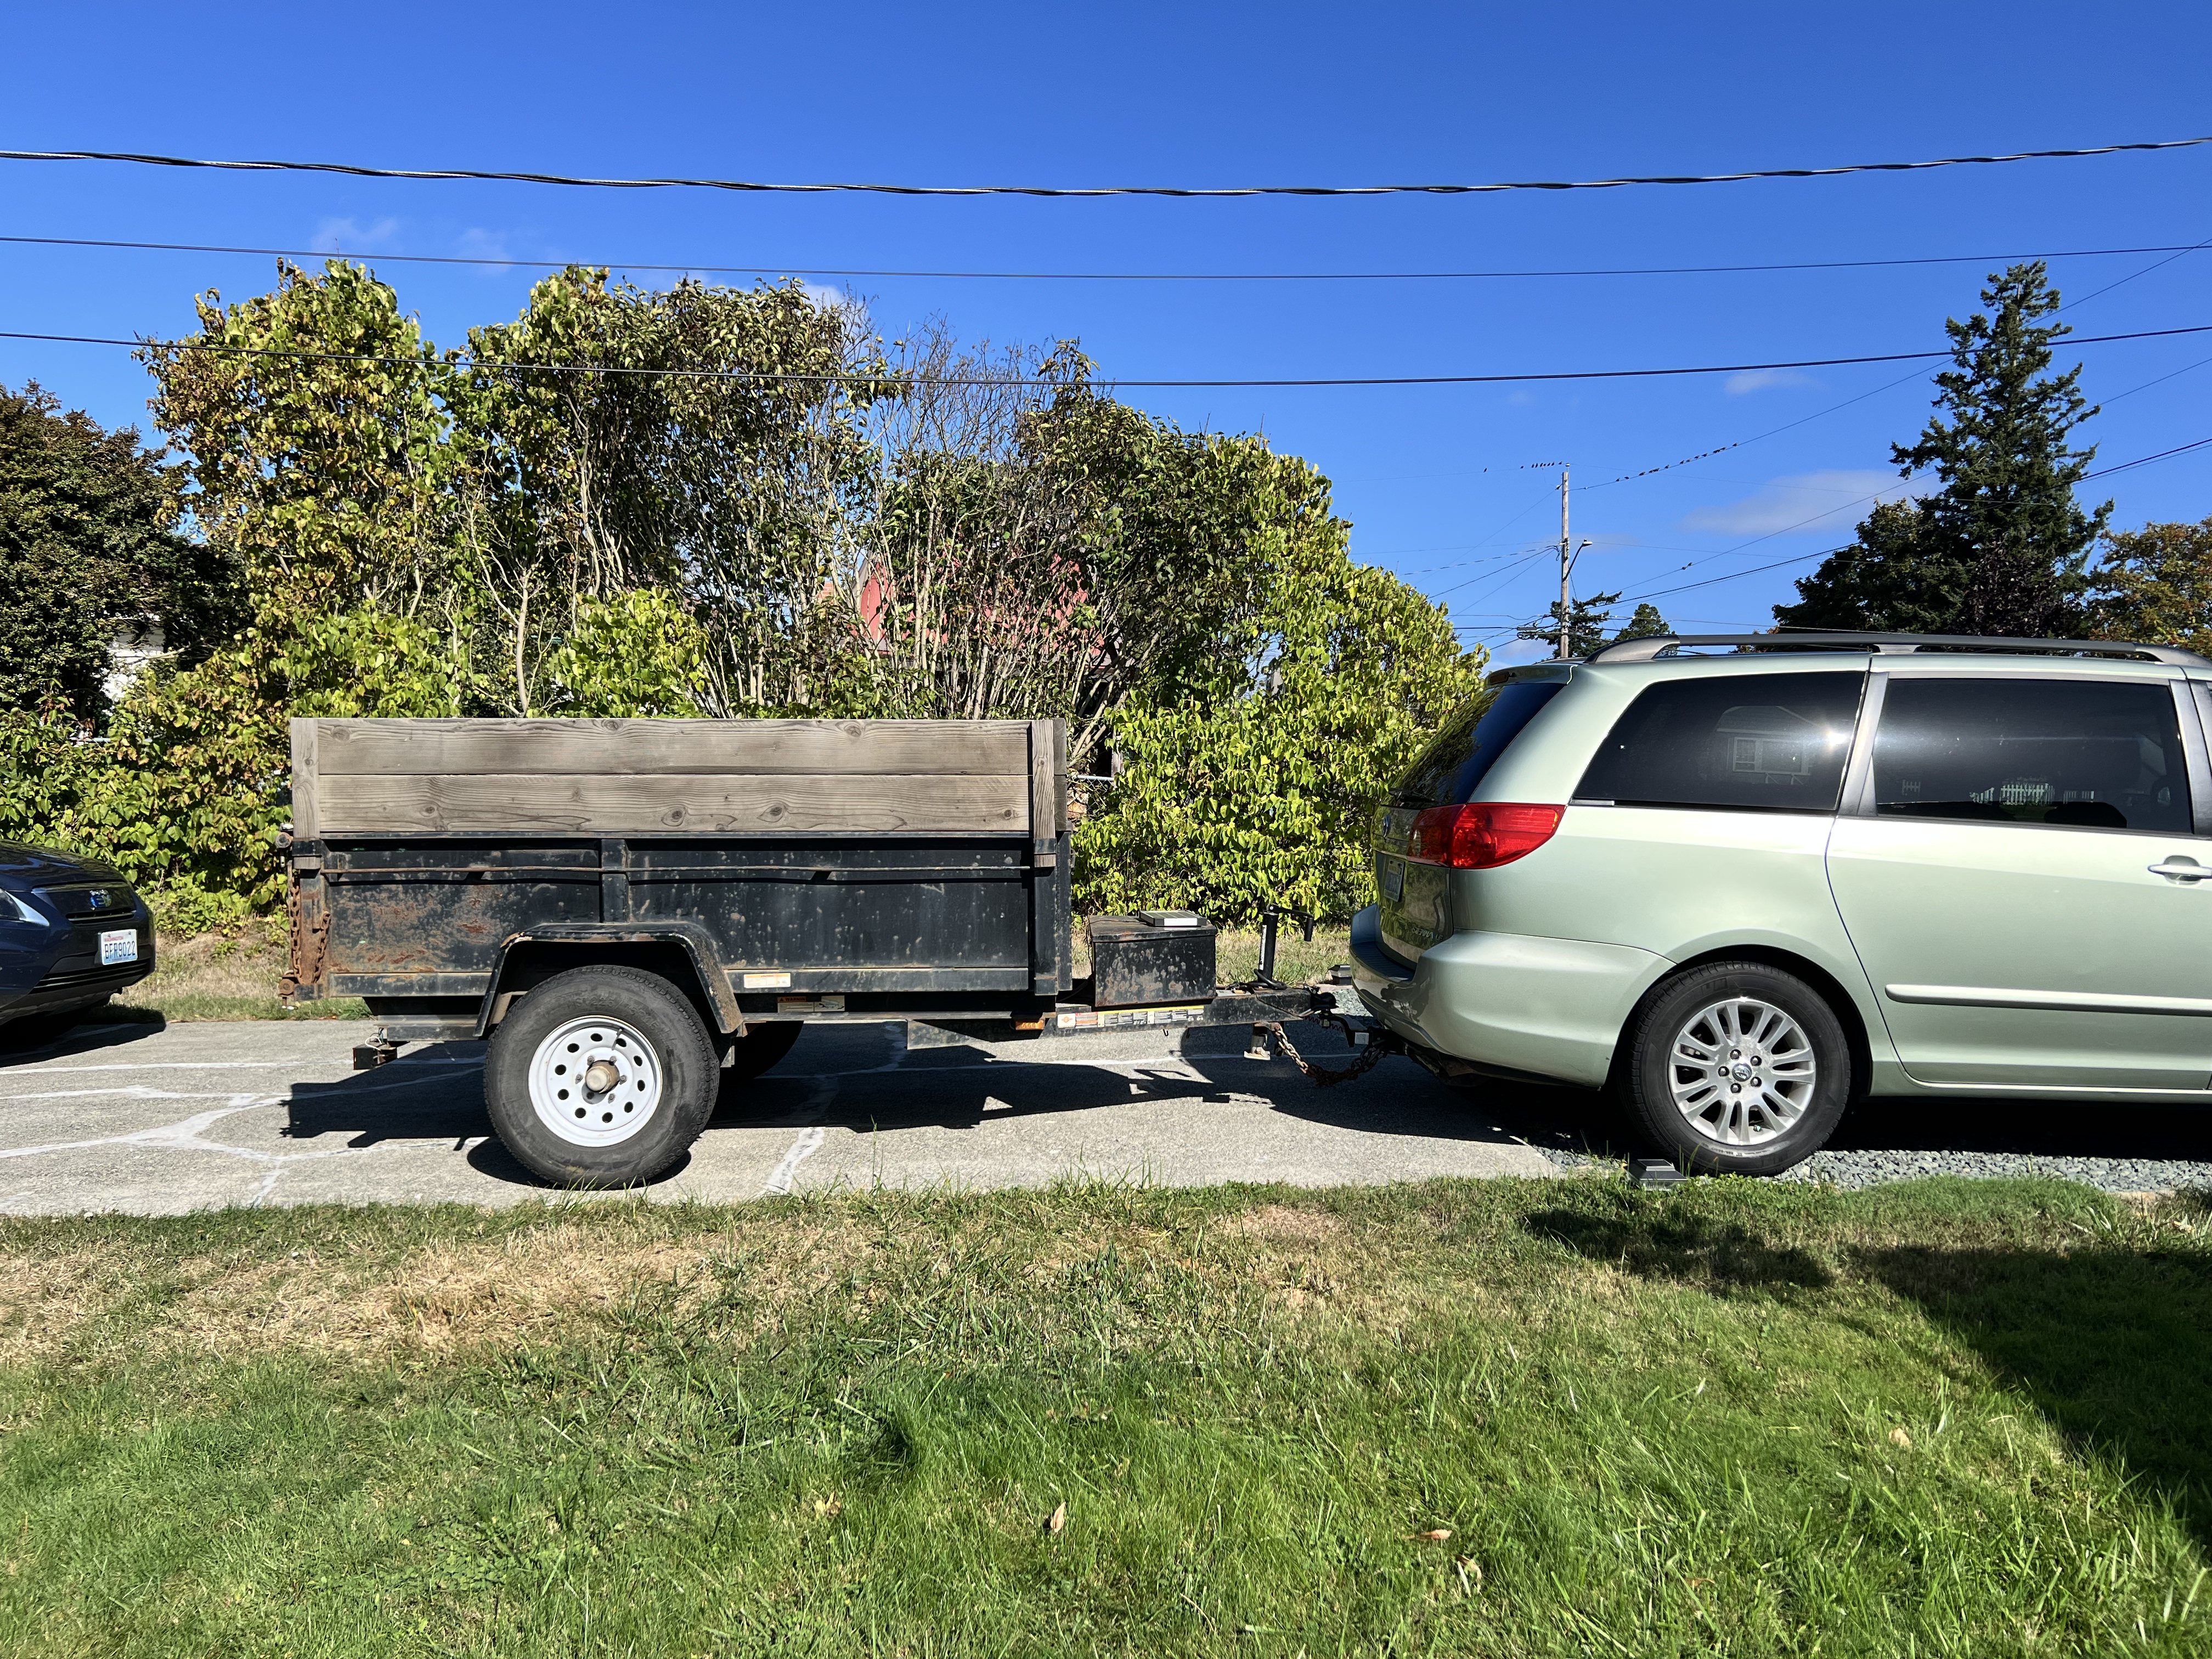
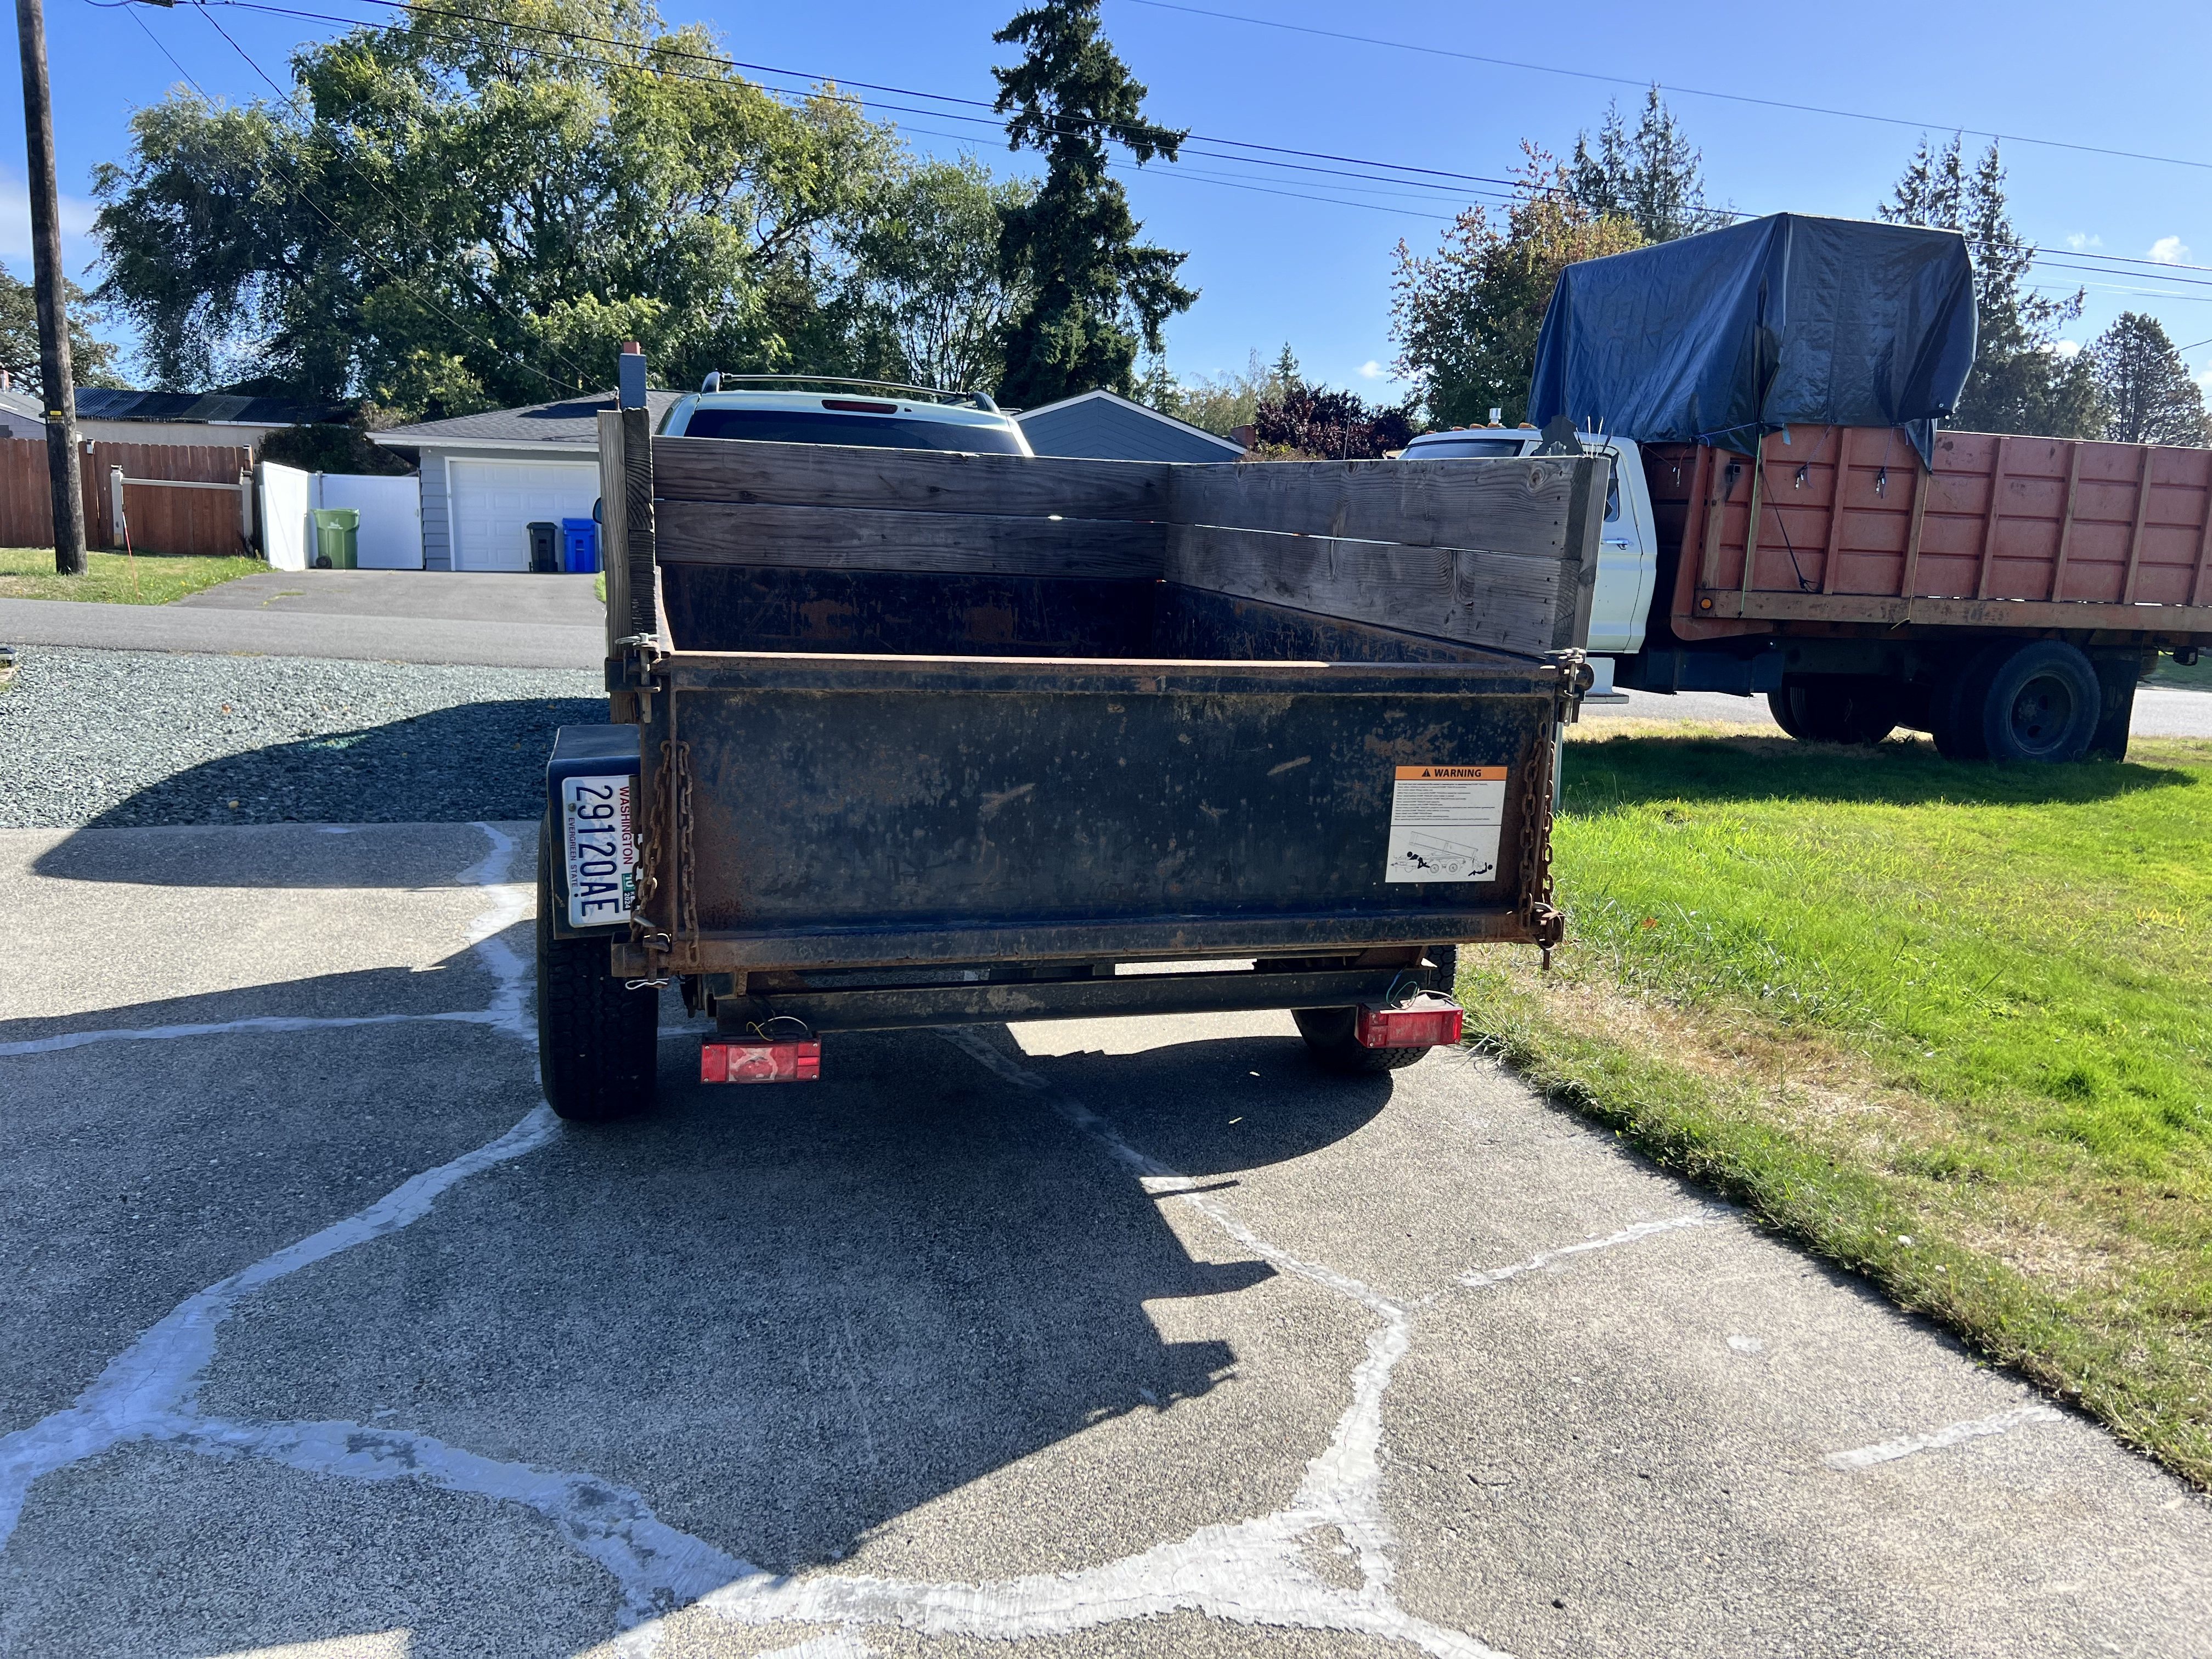
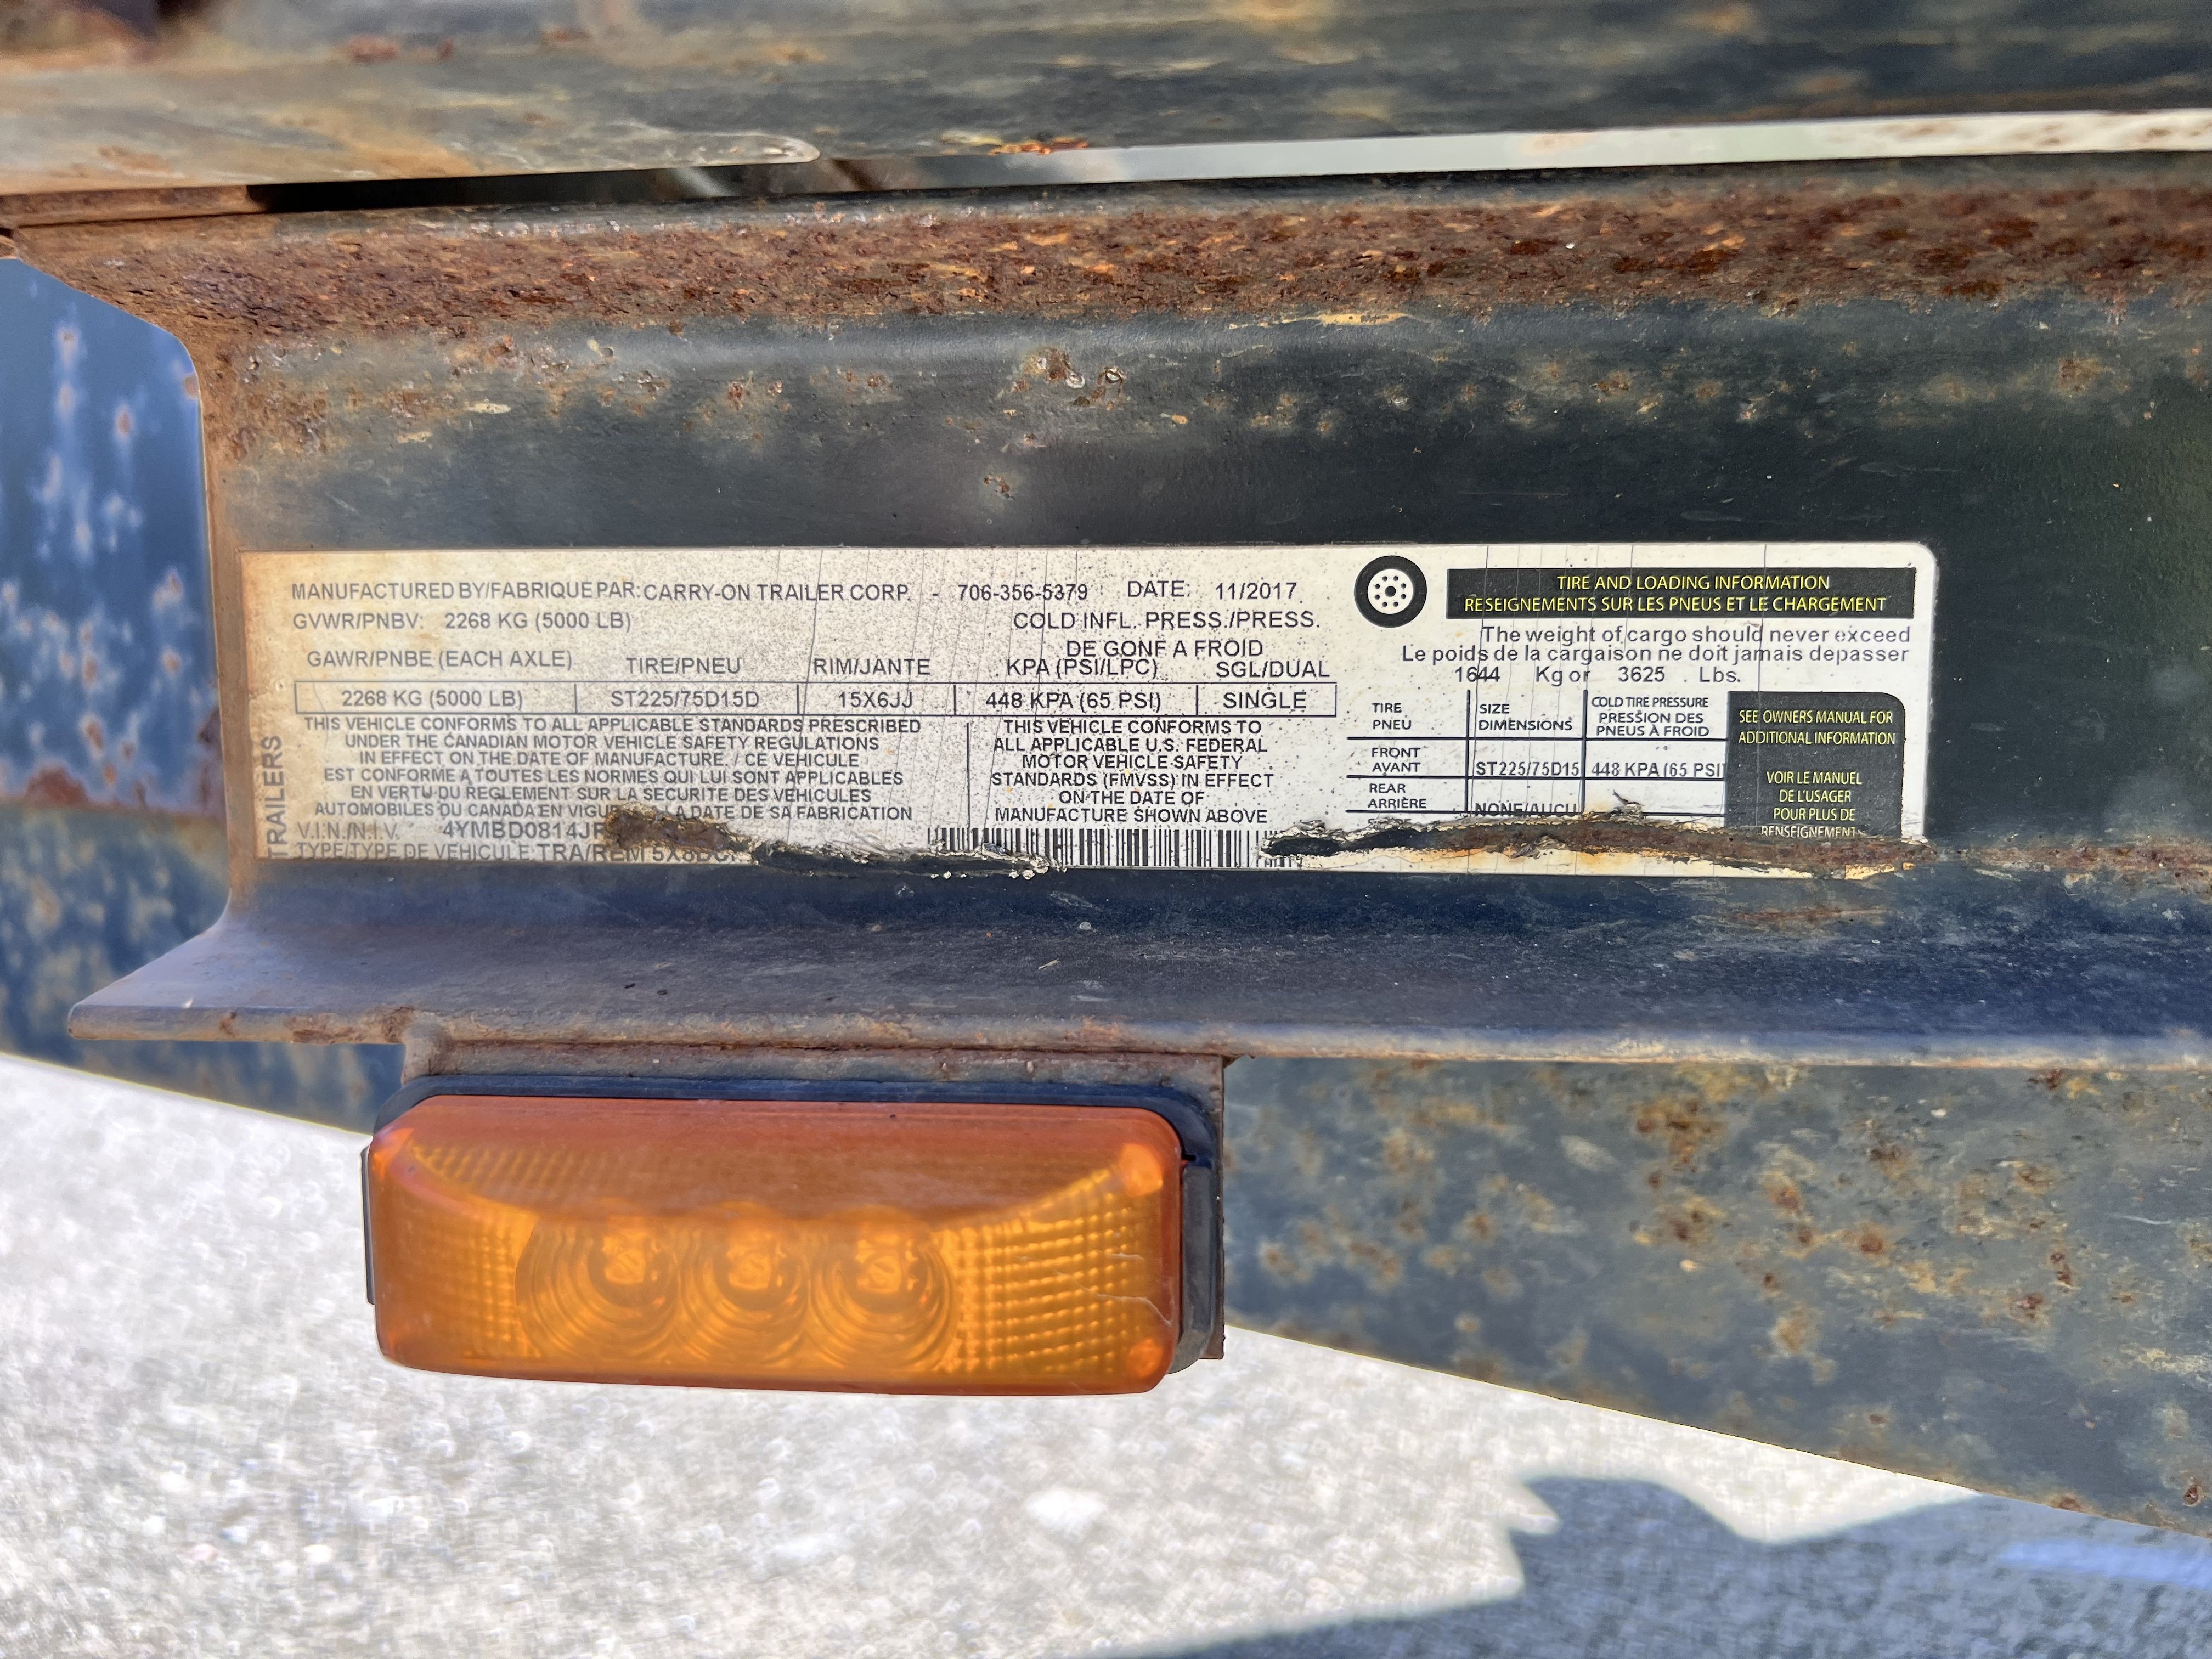
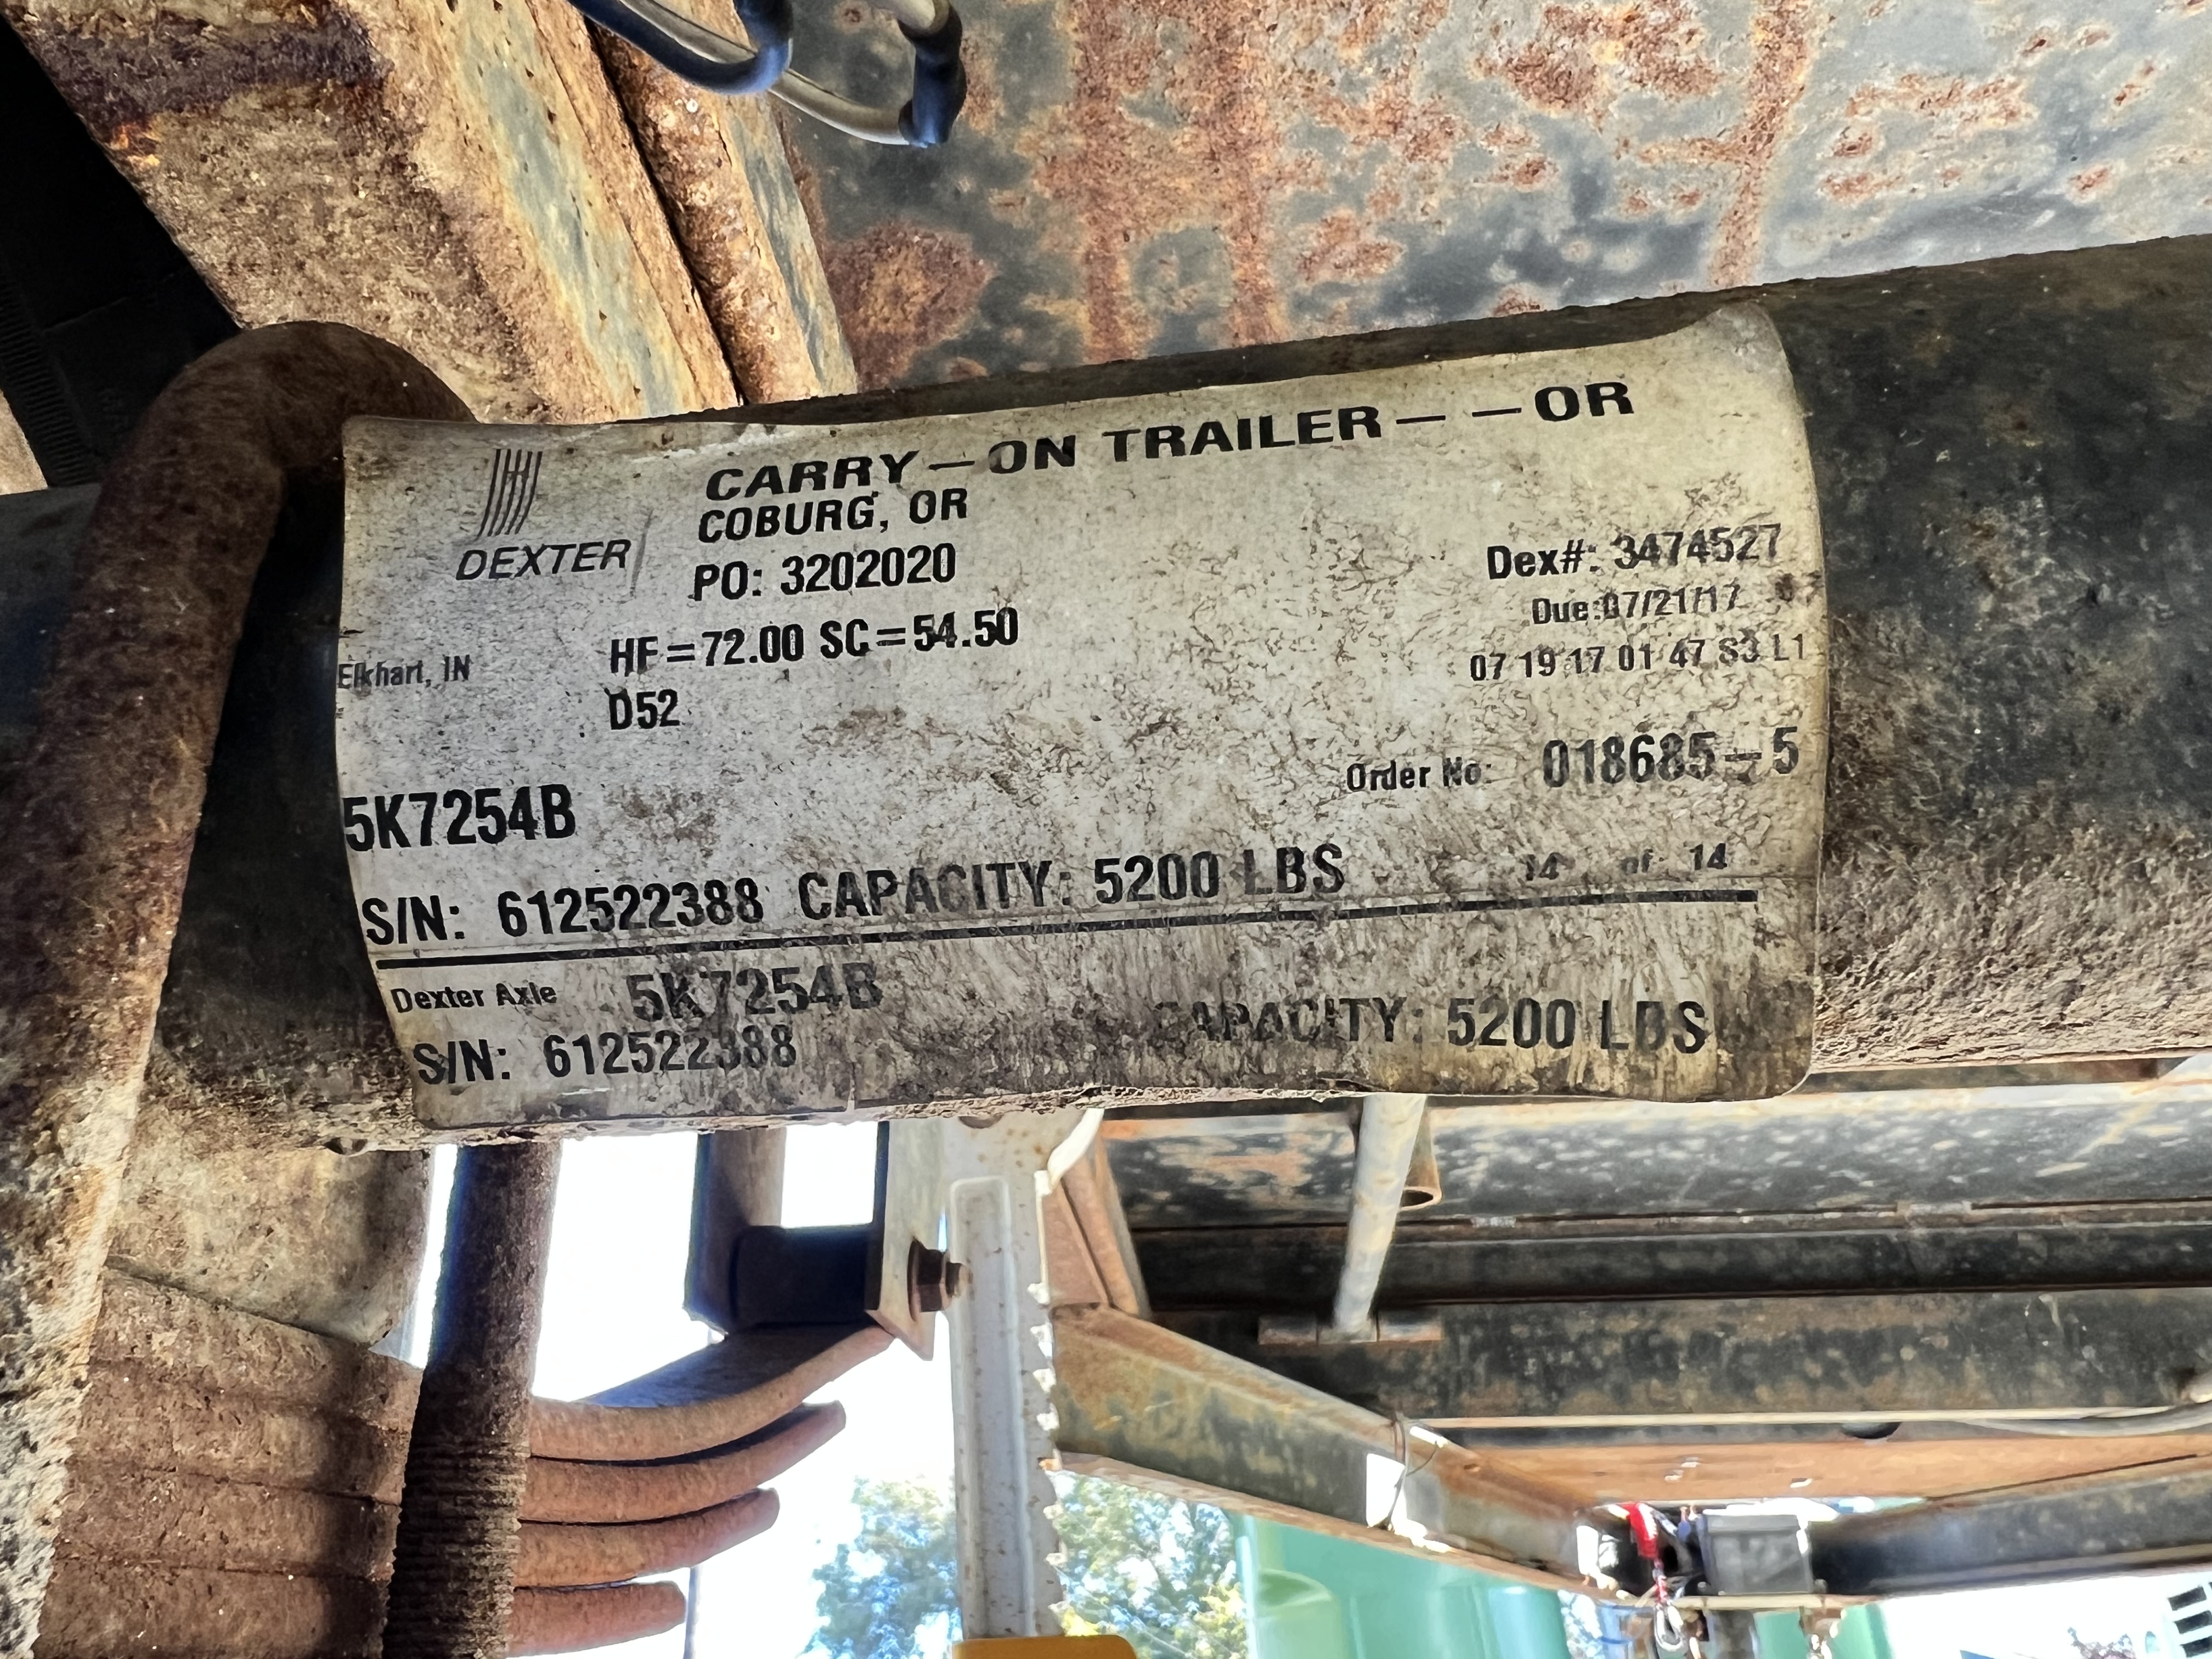
This is a 5'x8' Nov2017 Carry On trailer with a 5k lbs GVWR, 3,625 lb capacity, making this weigh around 1,400 lbs empty. It has electric brakes. As-purchased:
- IMG_024629.jpg (3.39 MiB) Viewed 4301 times
- IMG_024625.jpg (3.07 MiB) Viewed 4301 times
- IMG_024639.jpg (1.94 MiB) Viewed 4301 times
- IMG_2344.jpg (2.88 MiB) Viewed 4301 times
- IMG_024648.jpg (3.29 MiB) Viewed 4301 times
- IMG_024649.jpg (3.13 MiB) Viewed 4301 times
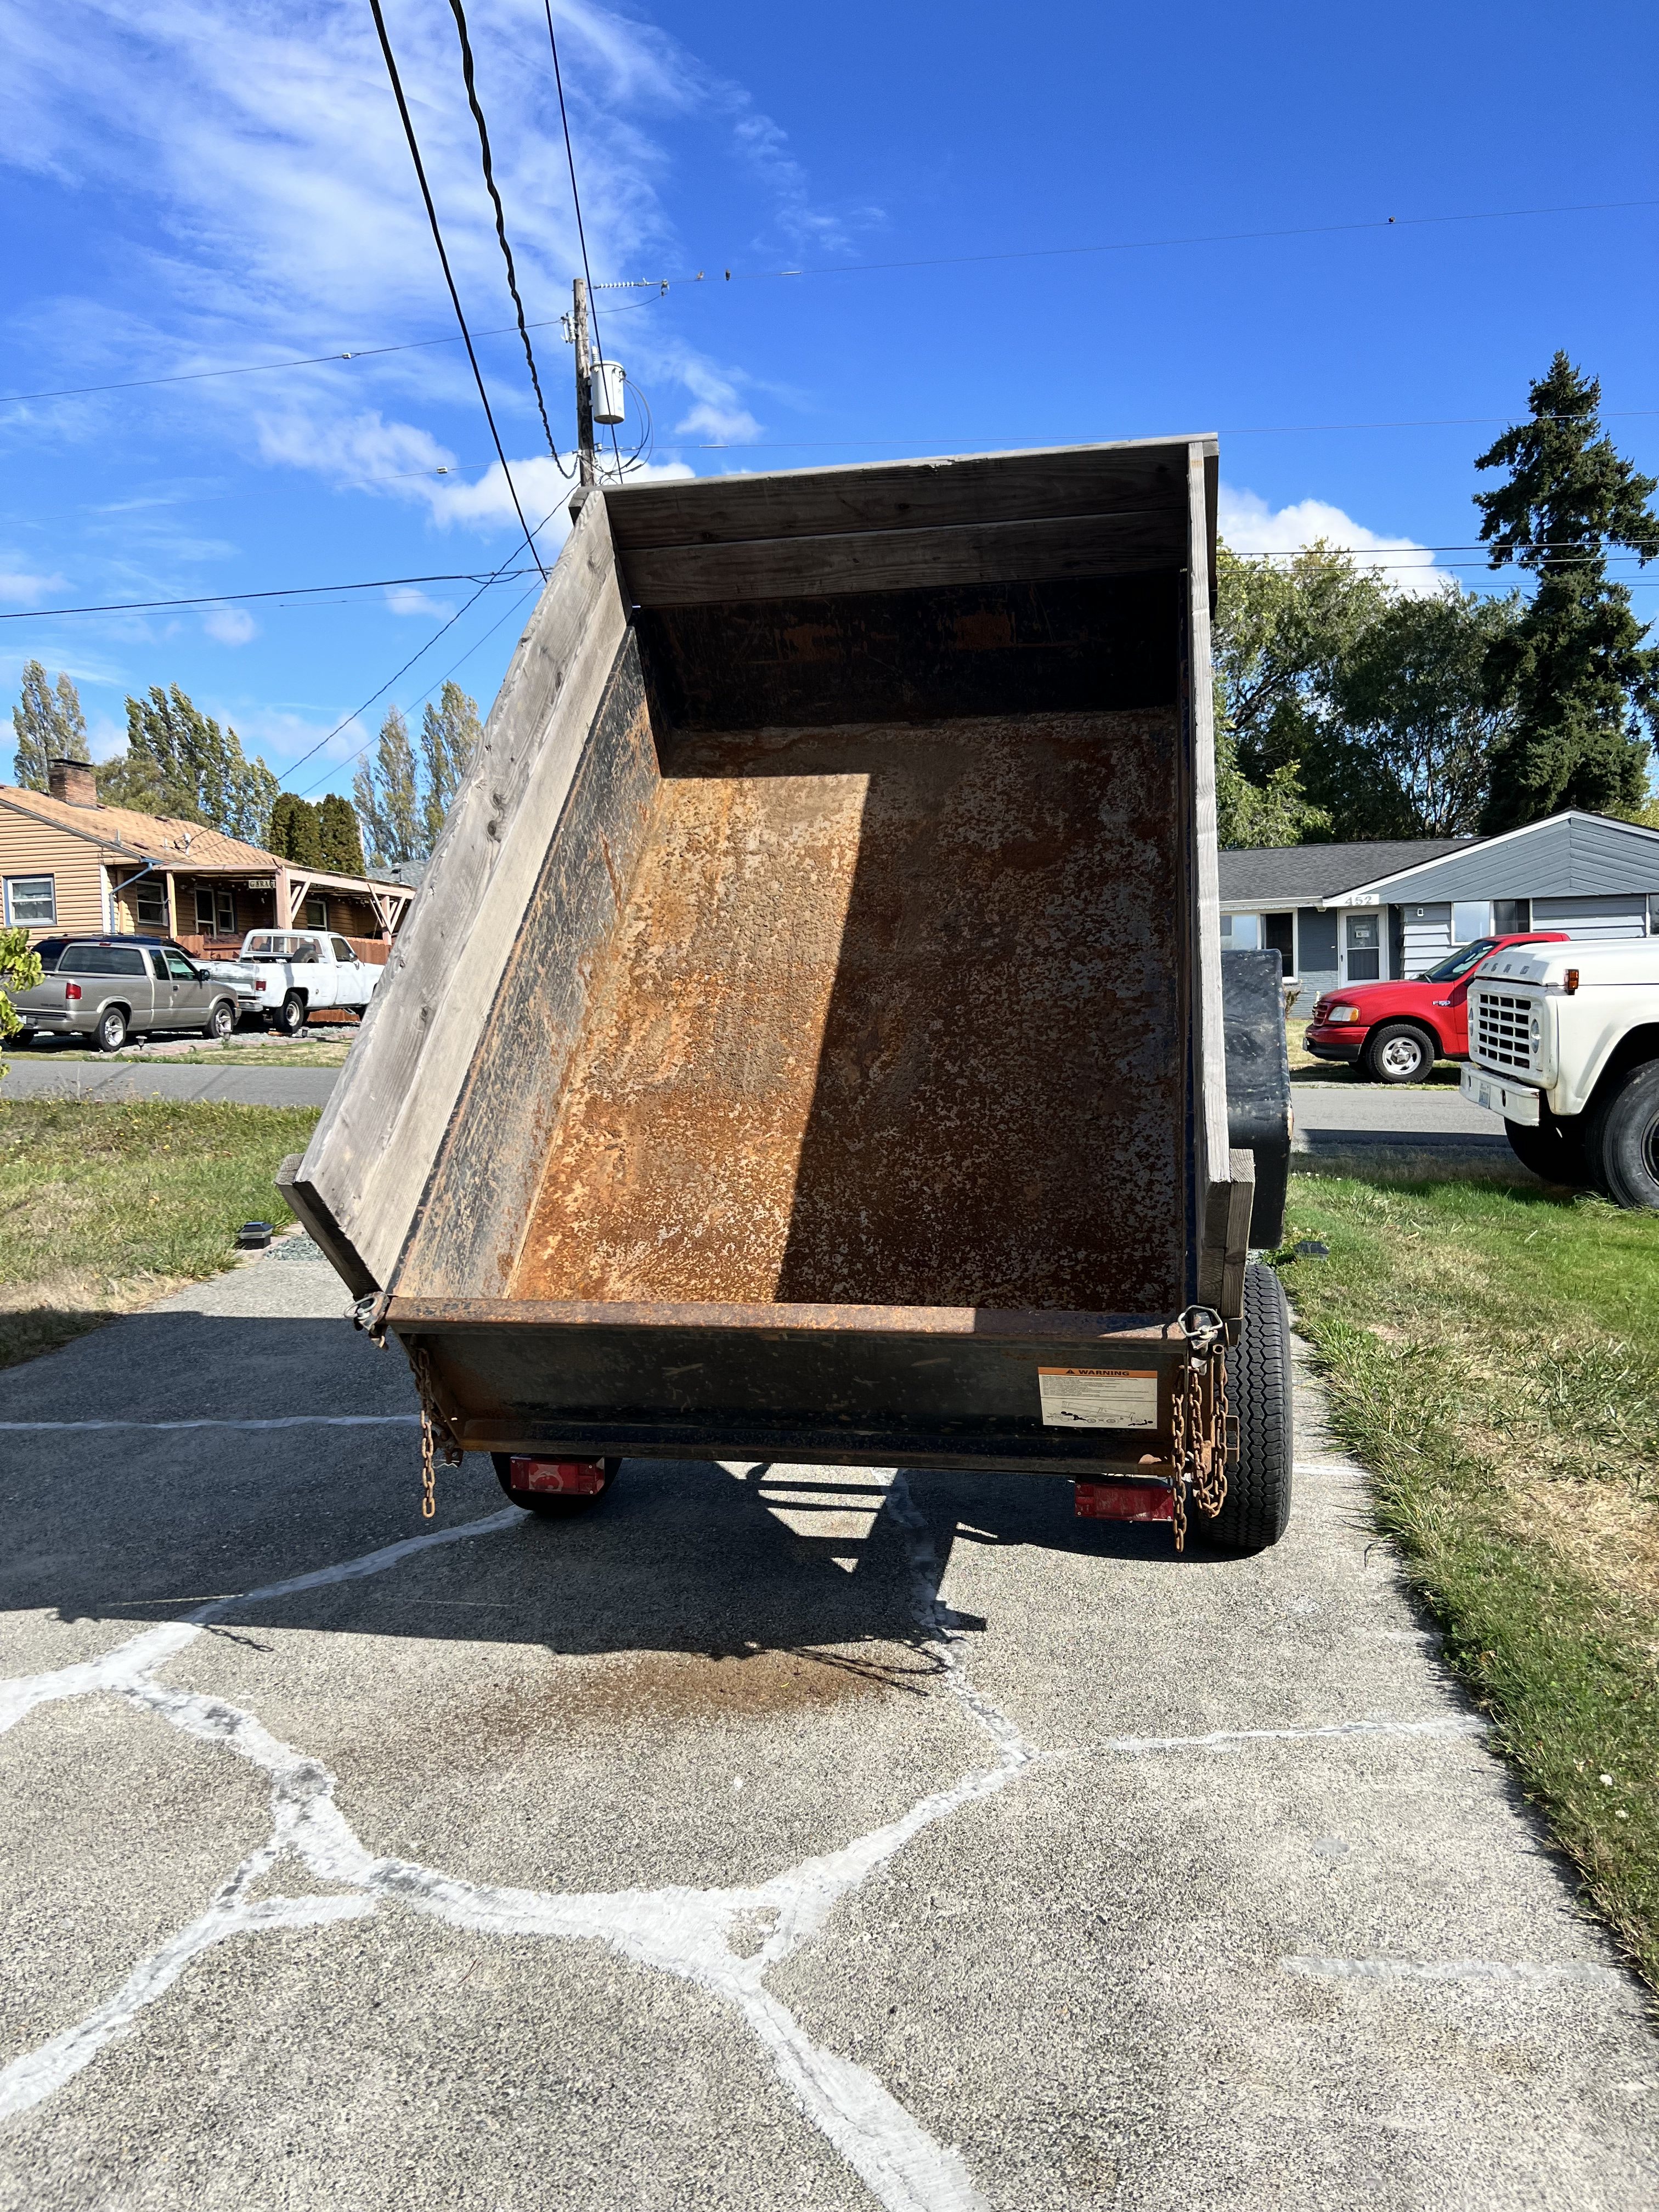
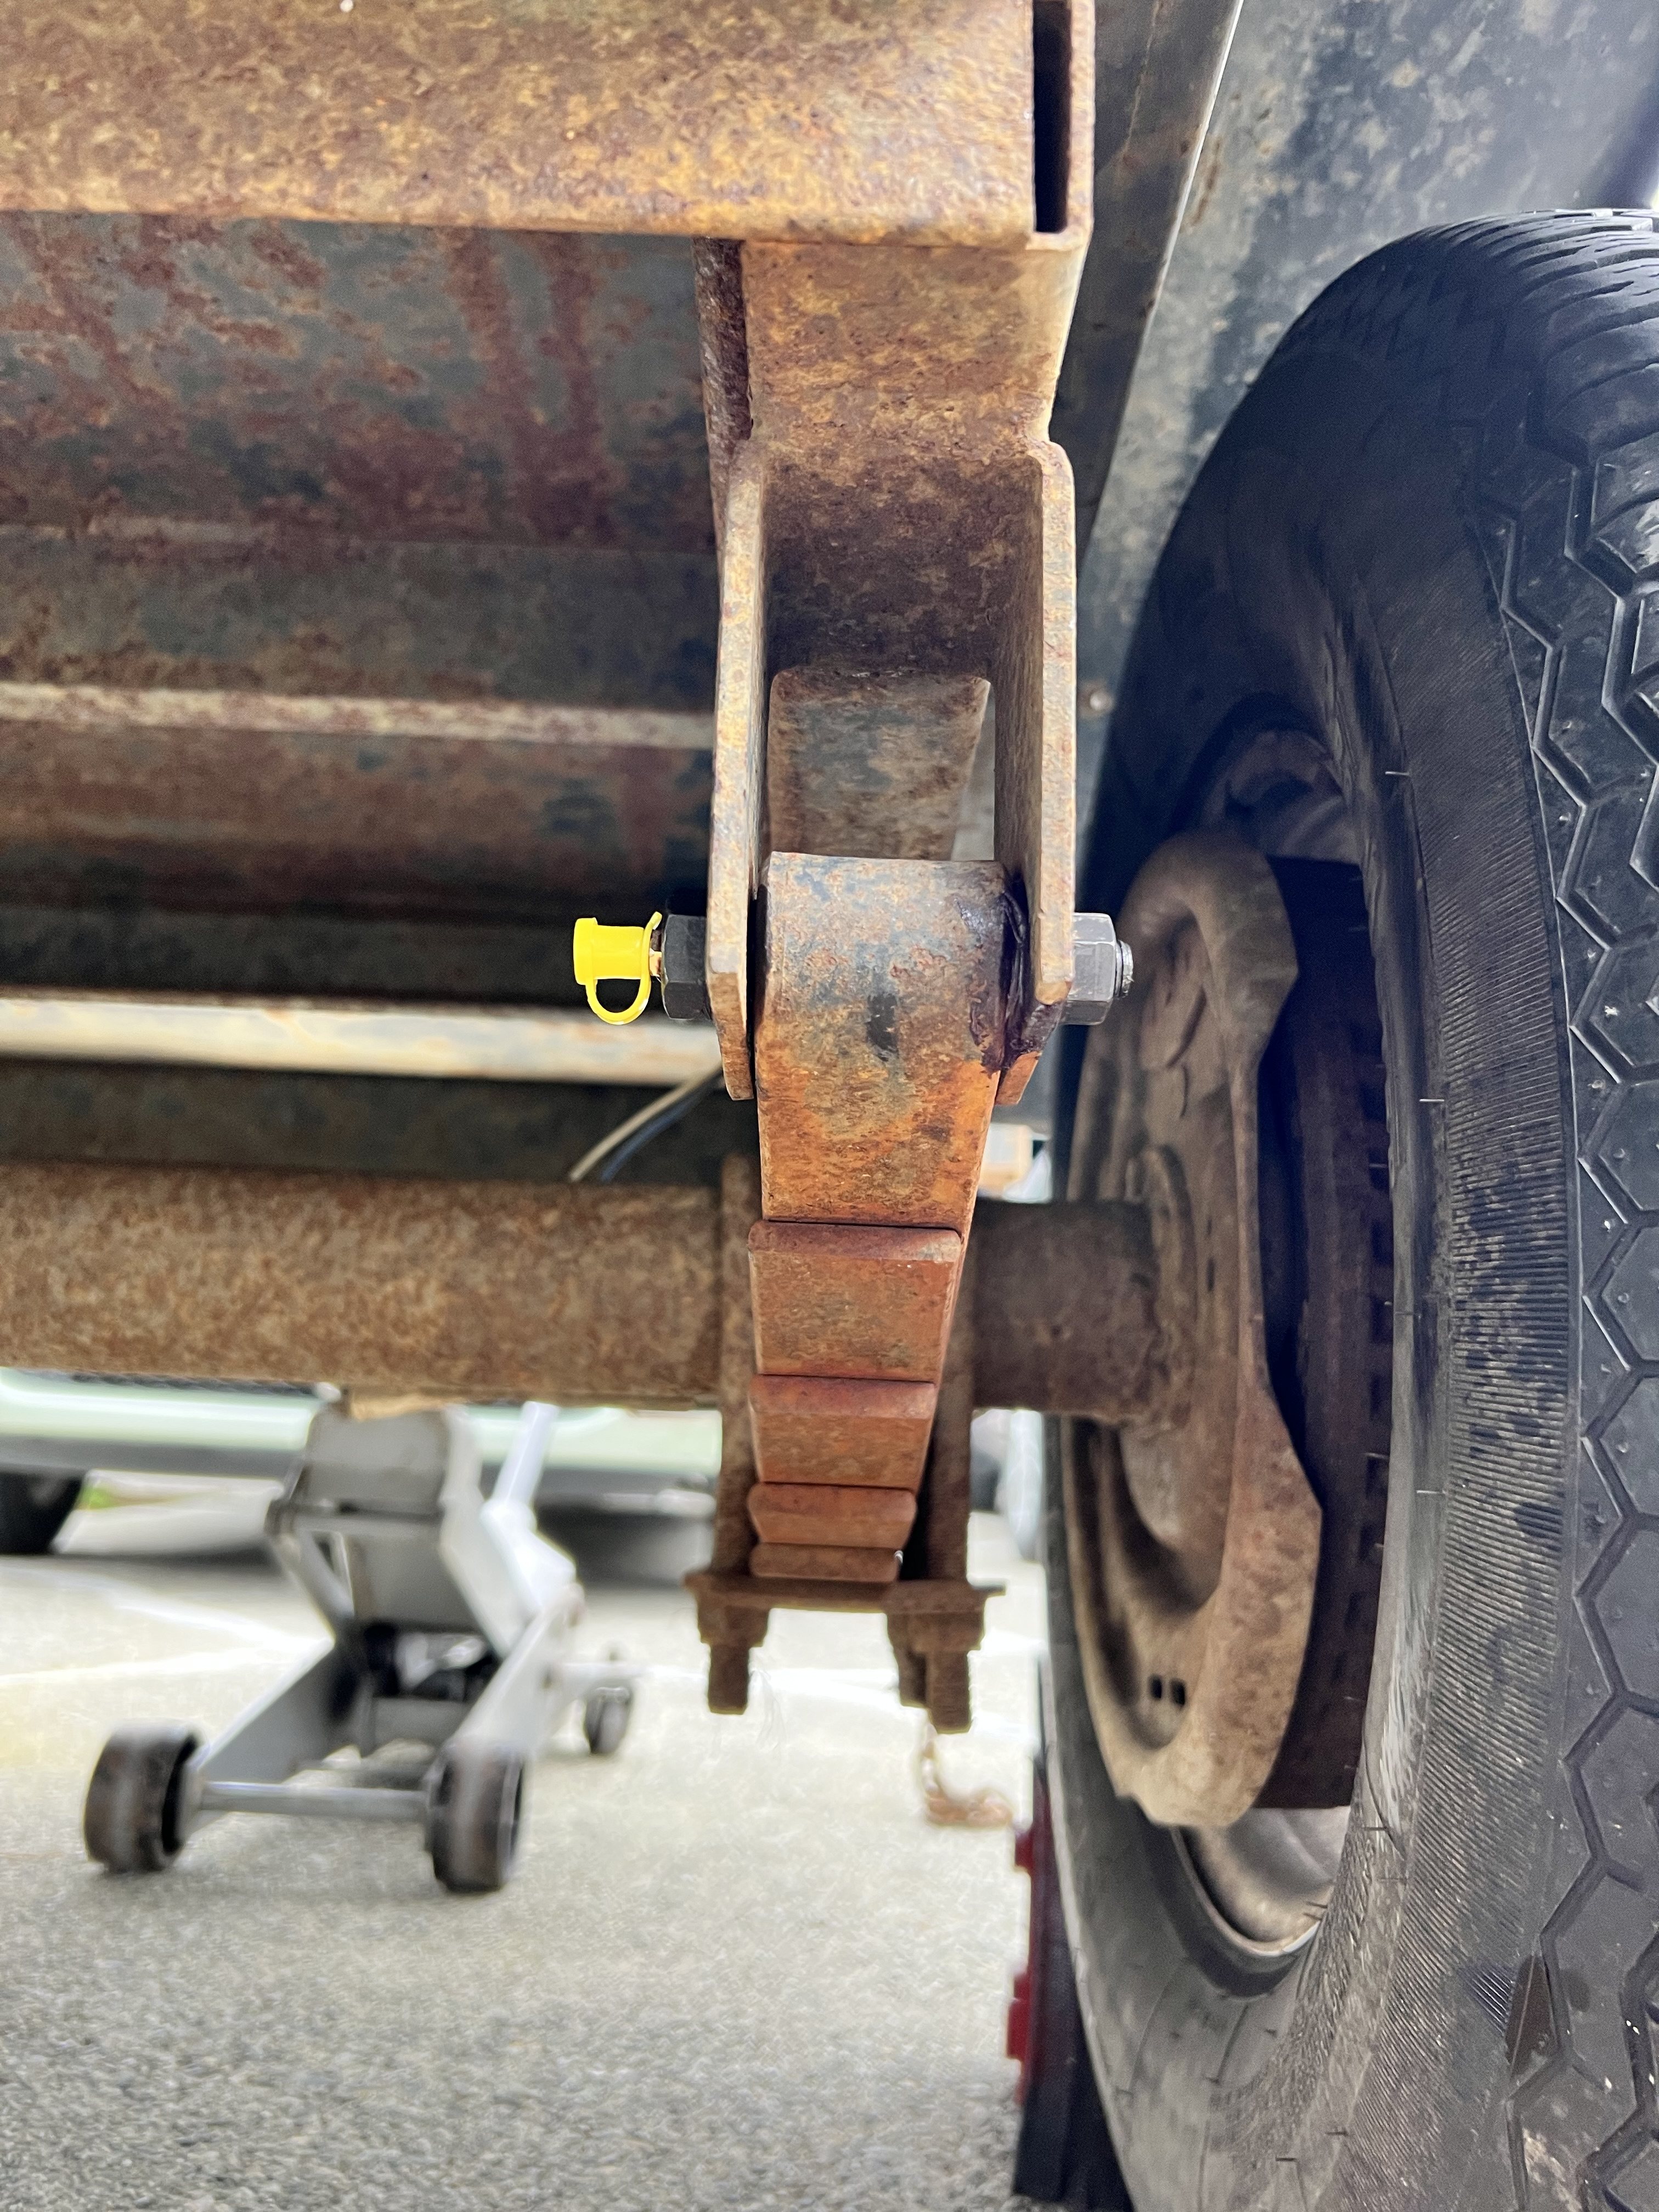
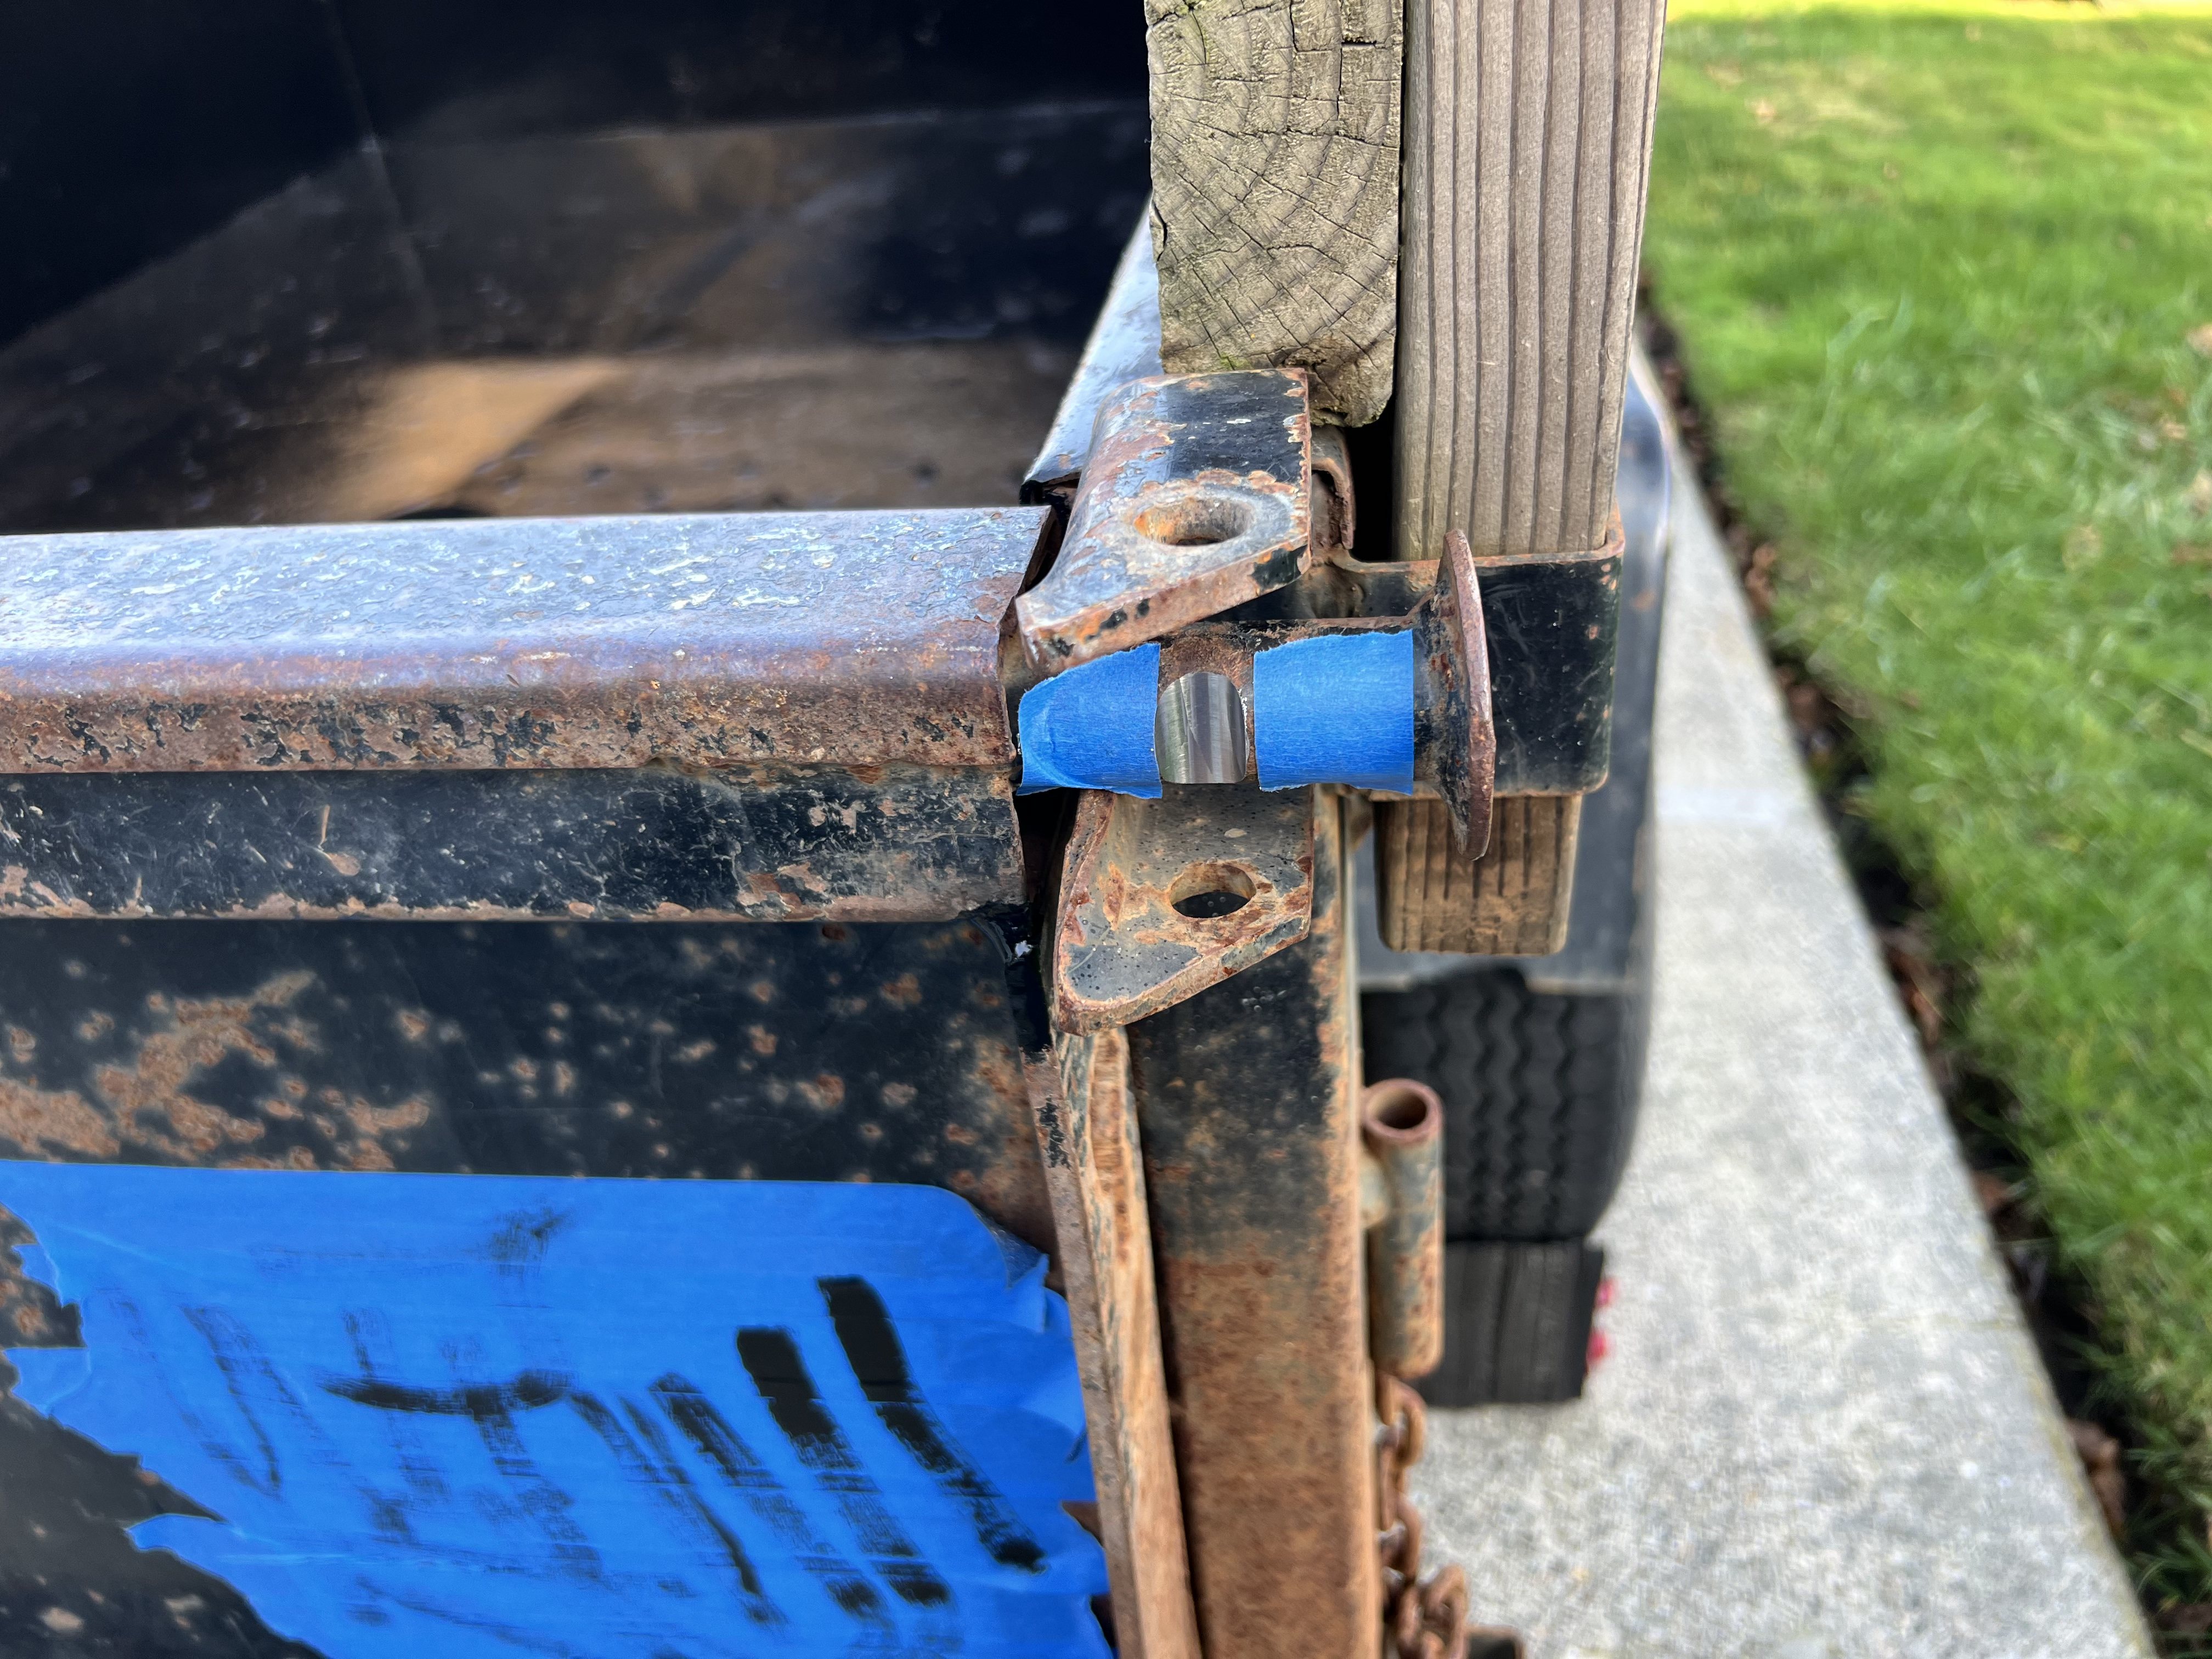
This trailer has led a hard, short life. Lots of rust showing in its nine years, and some tweaked metal, but it will serve.
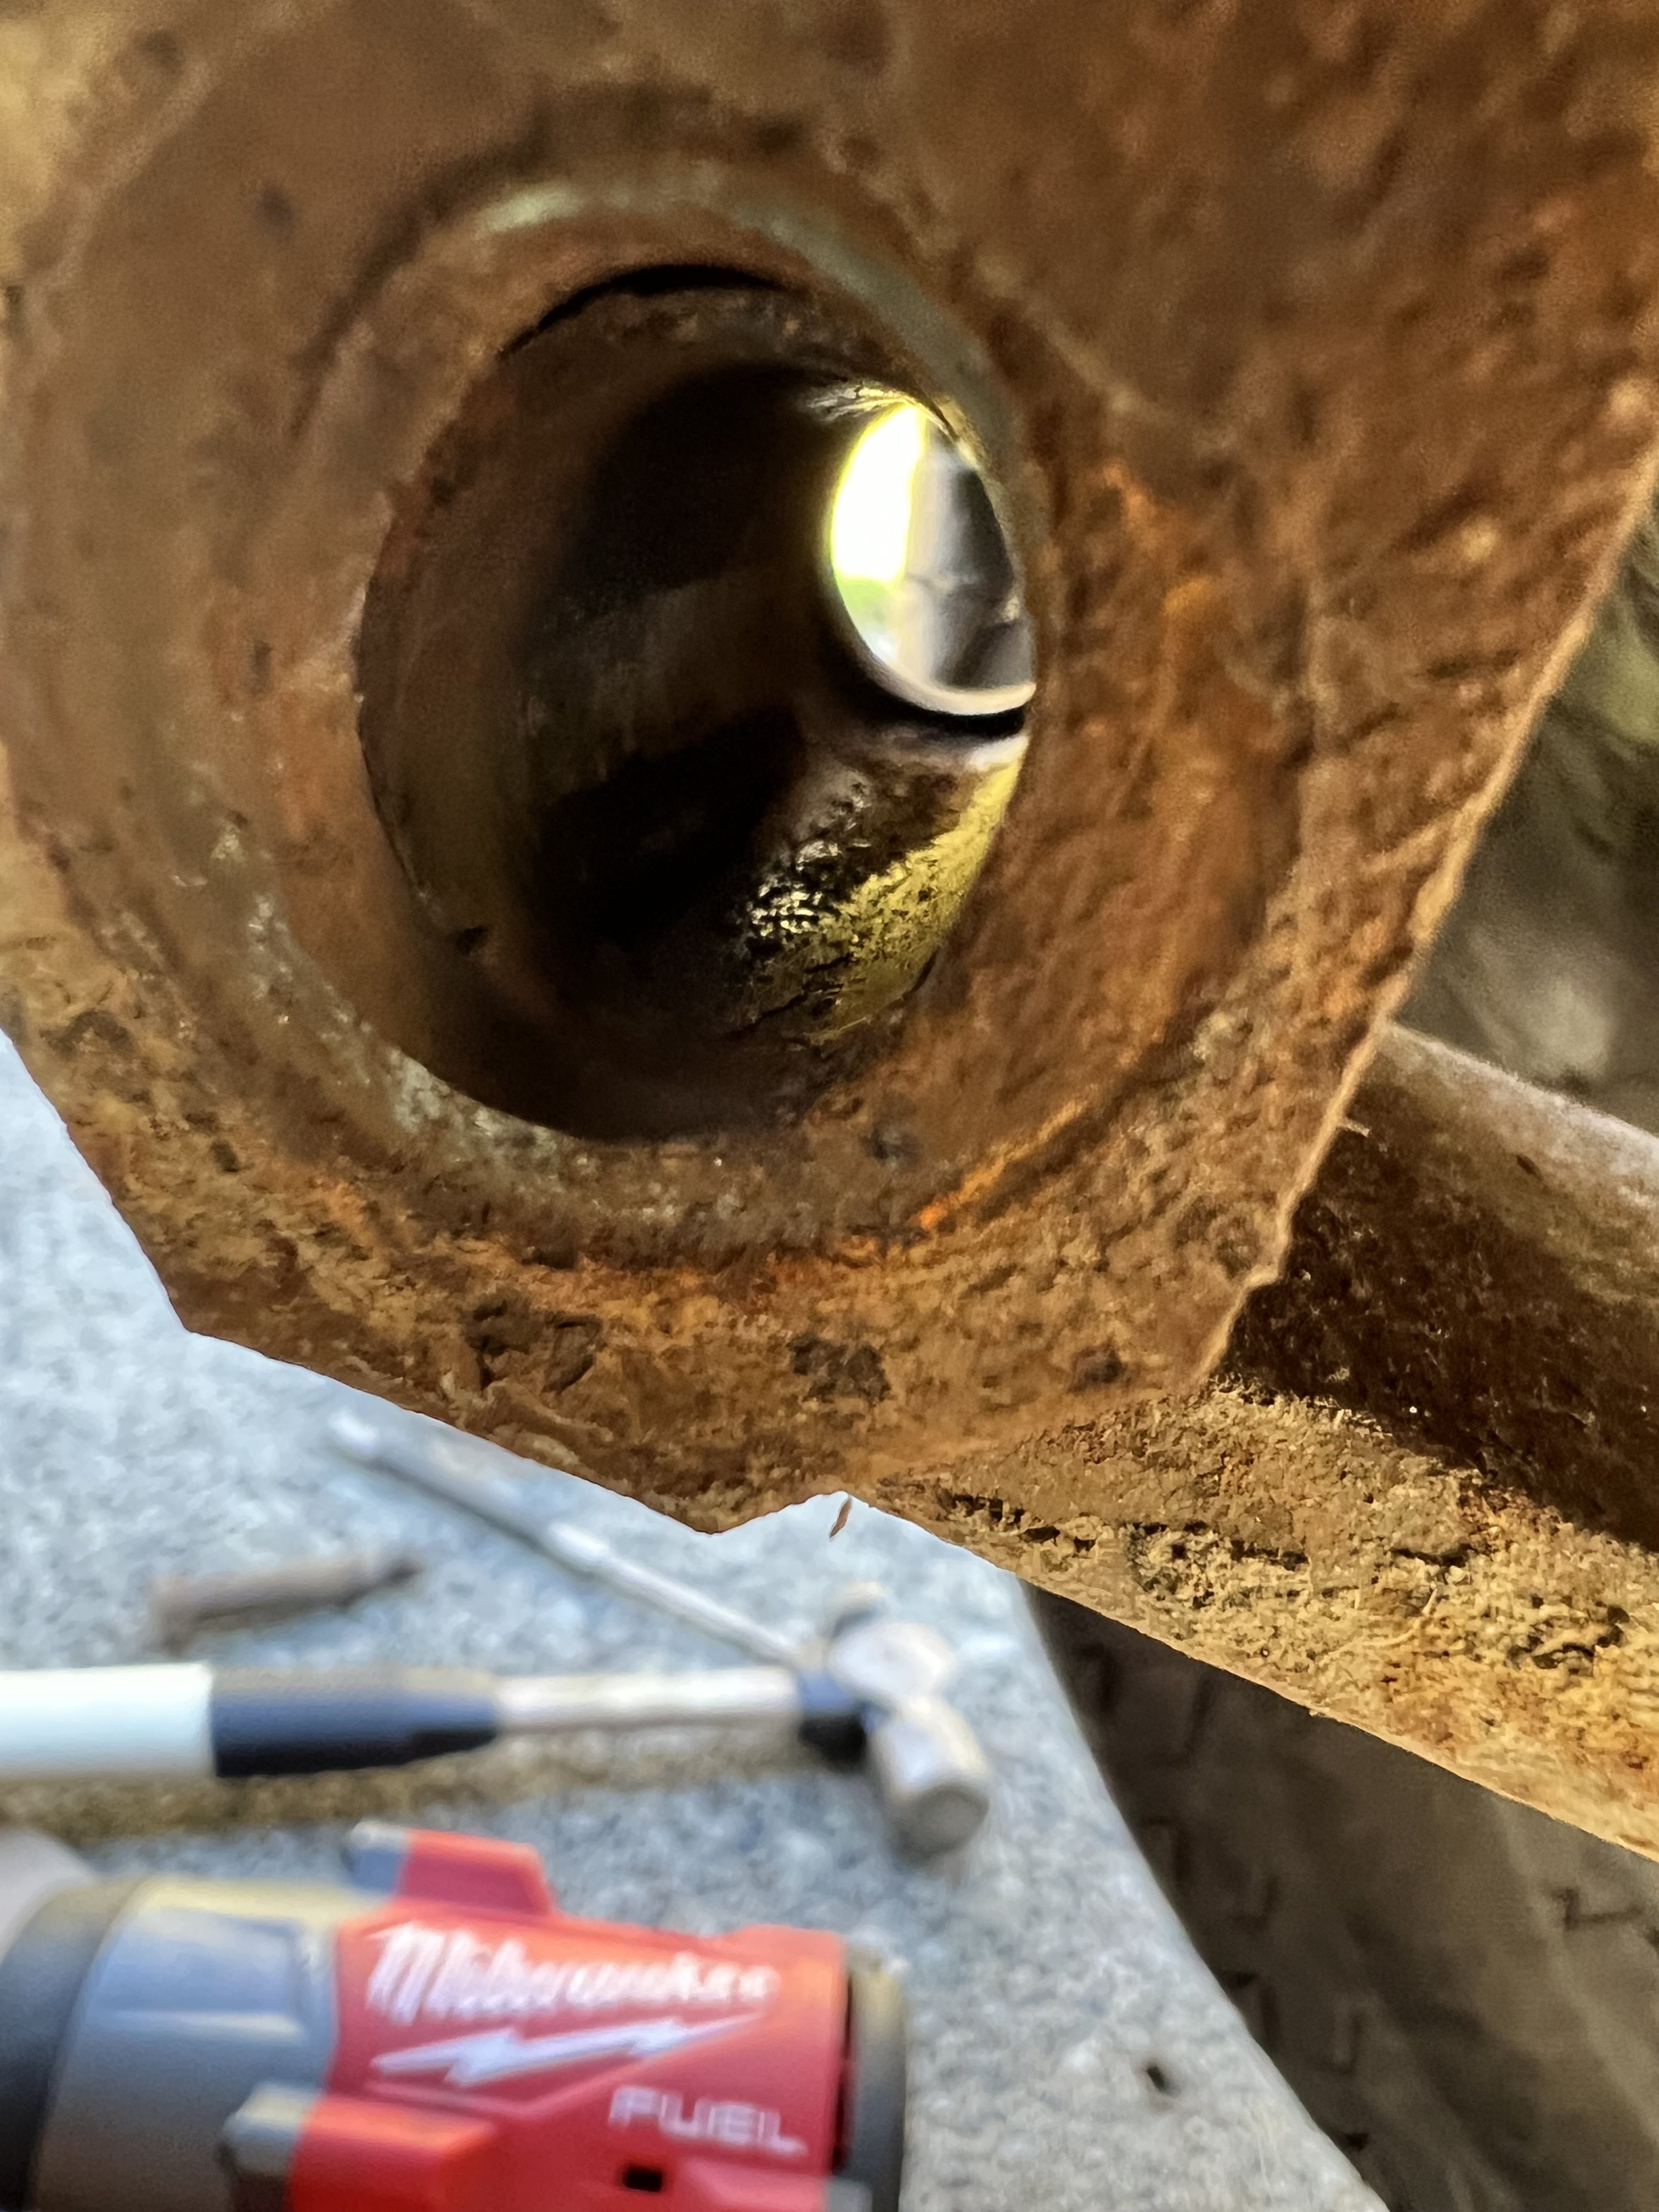
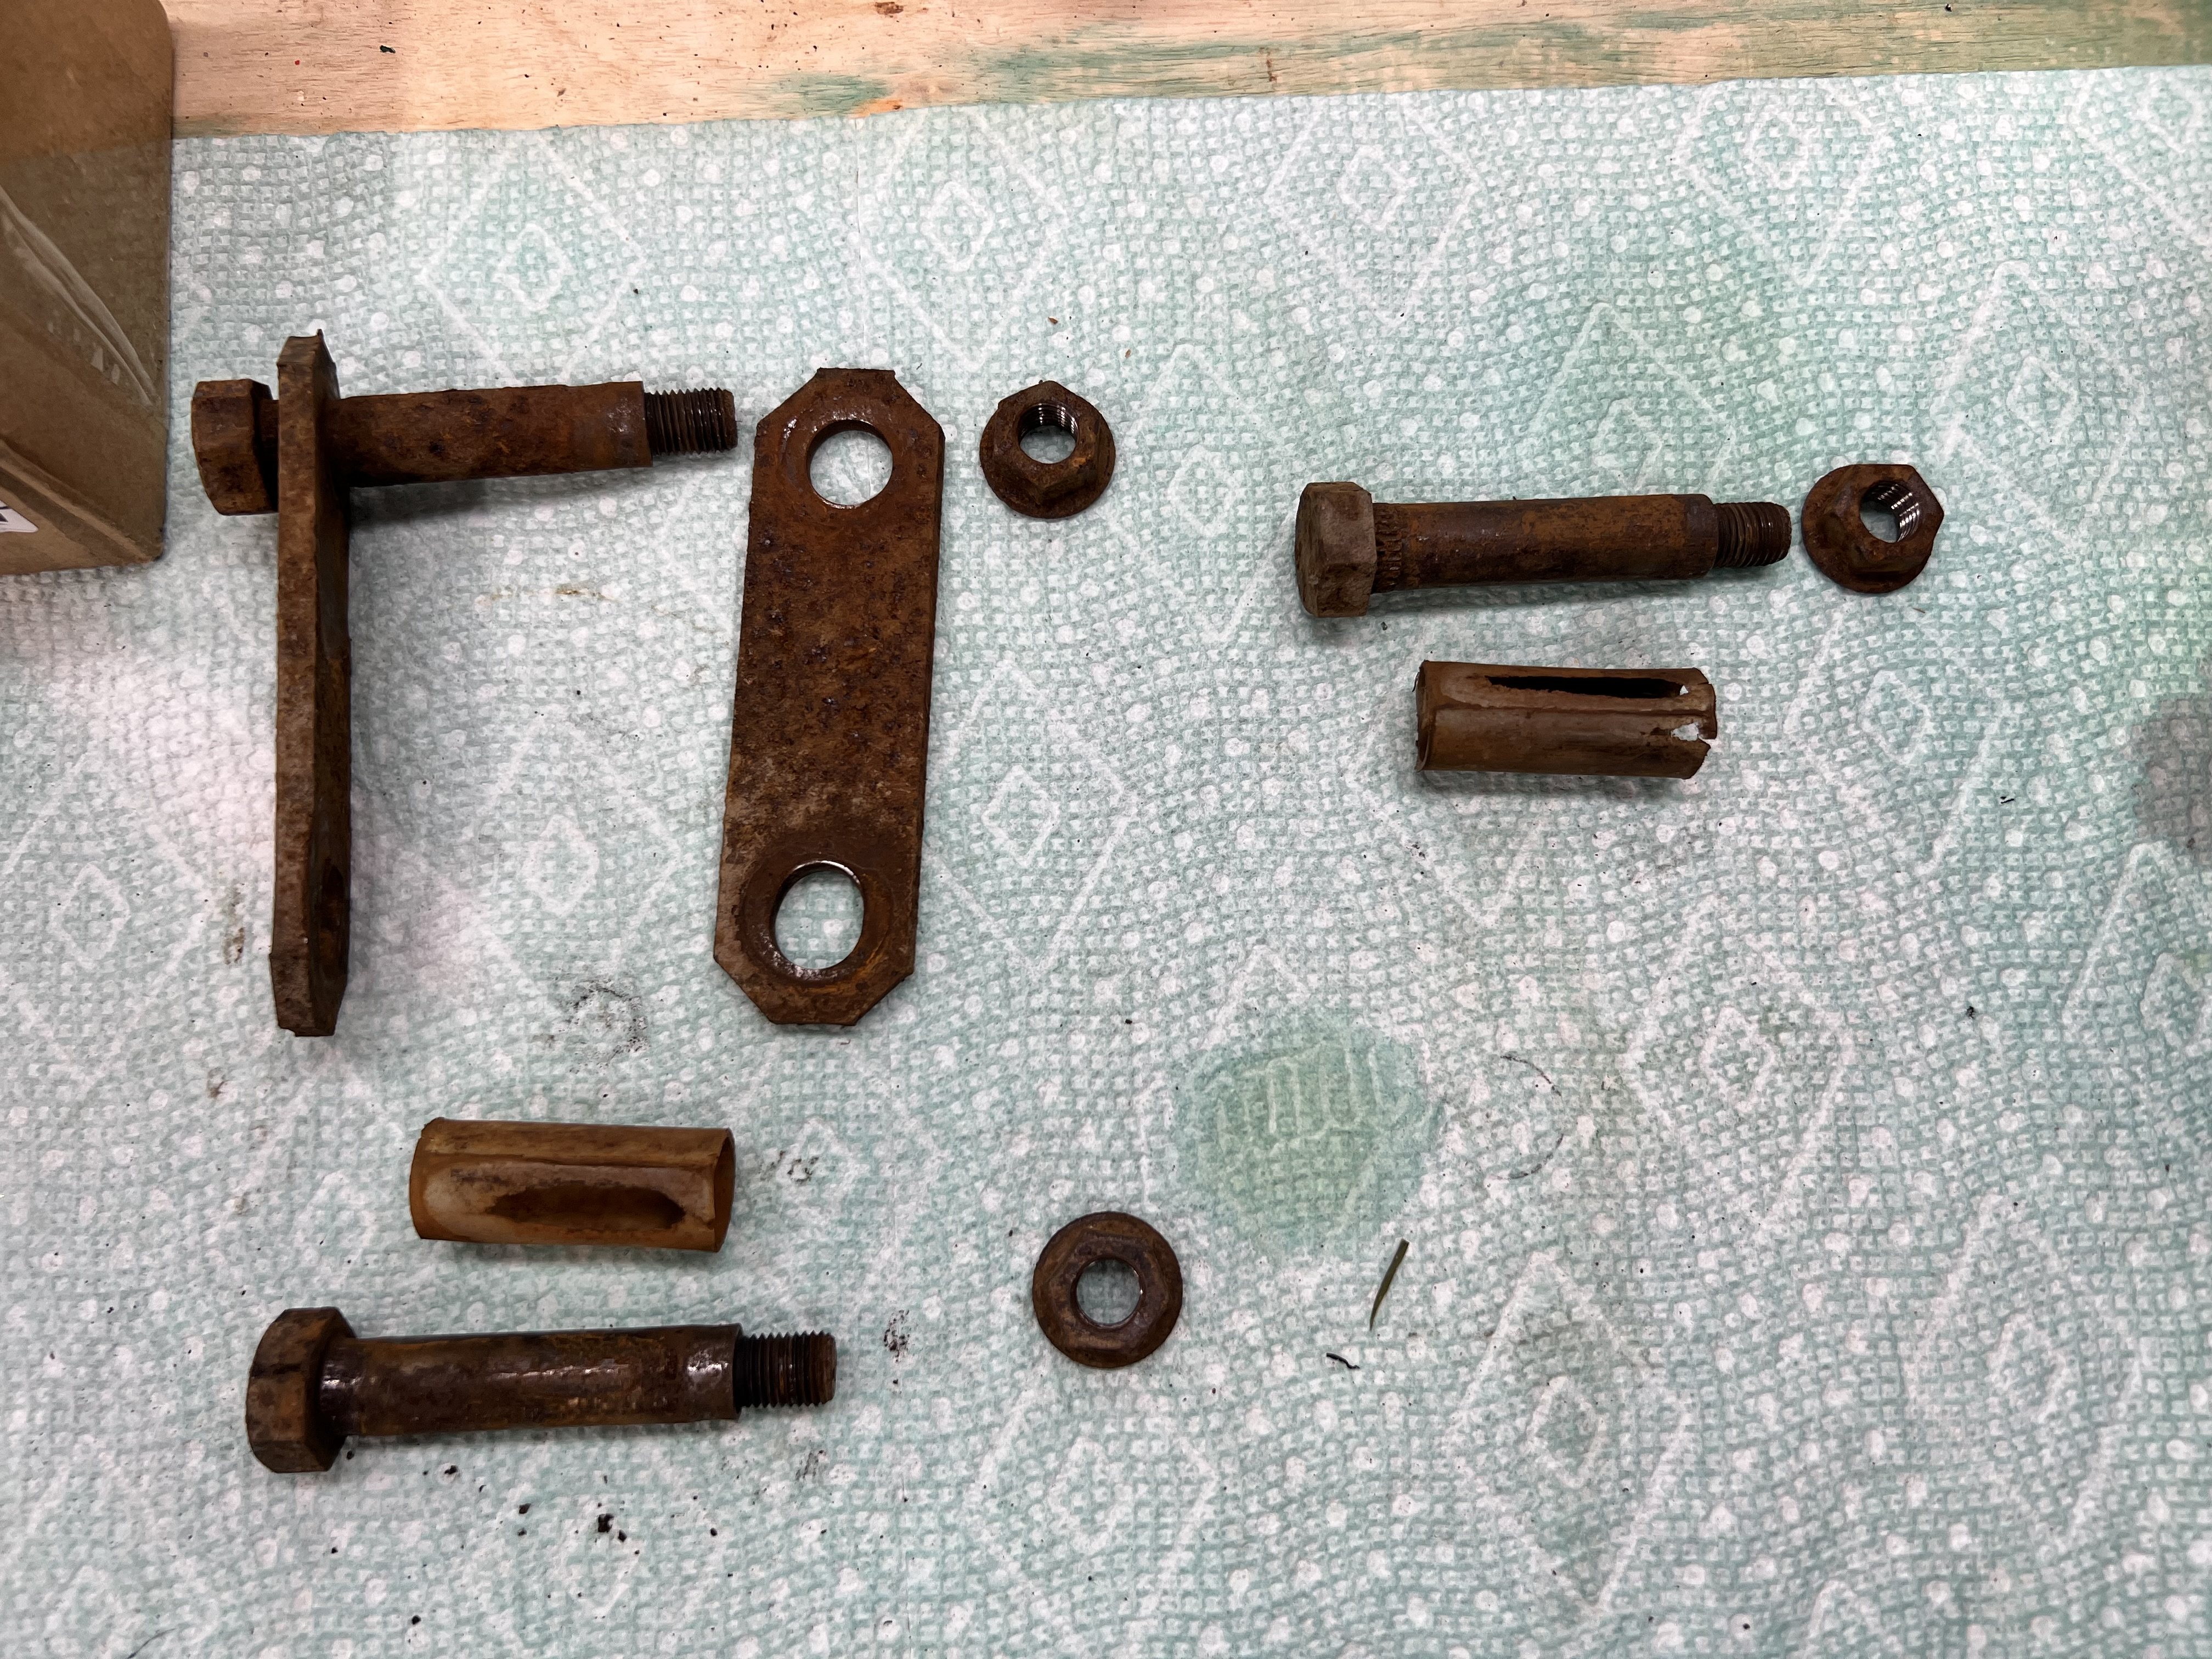
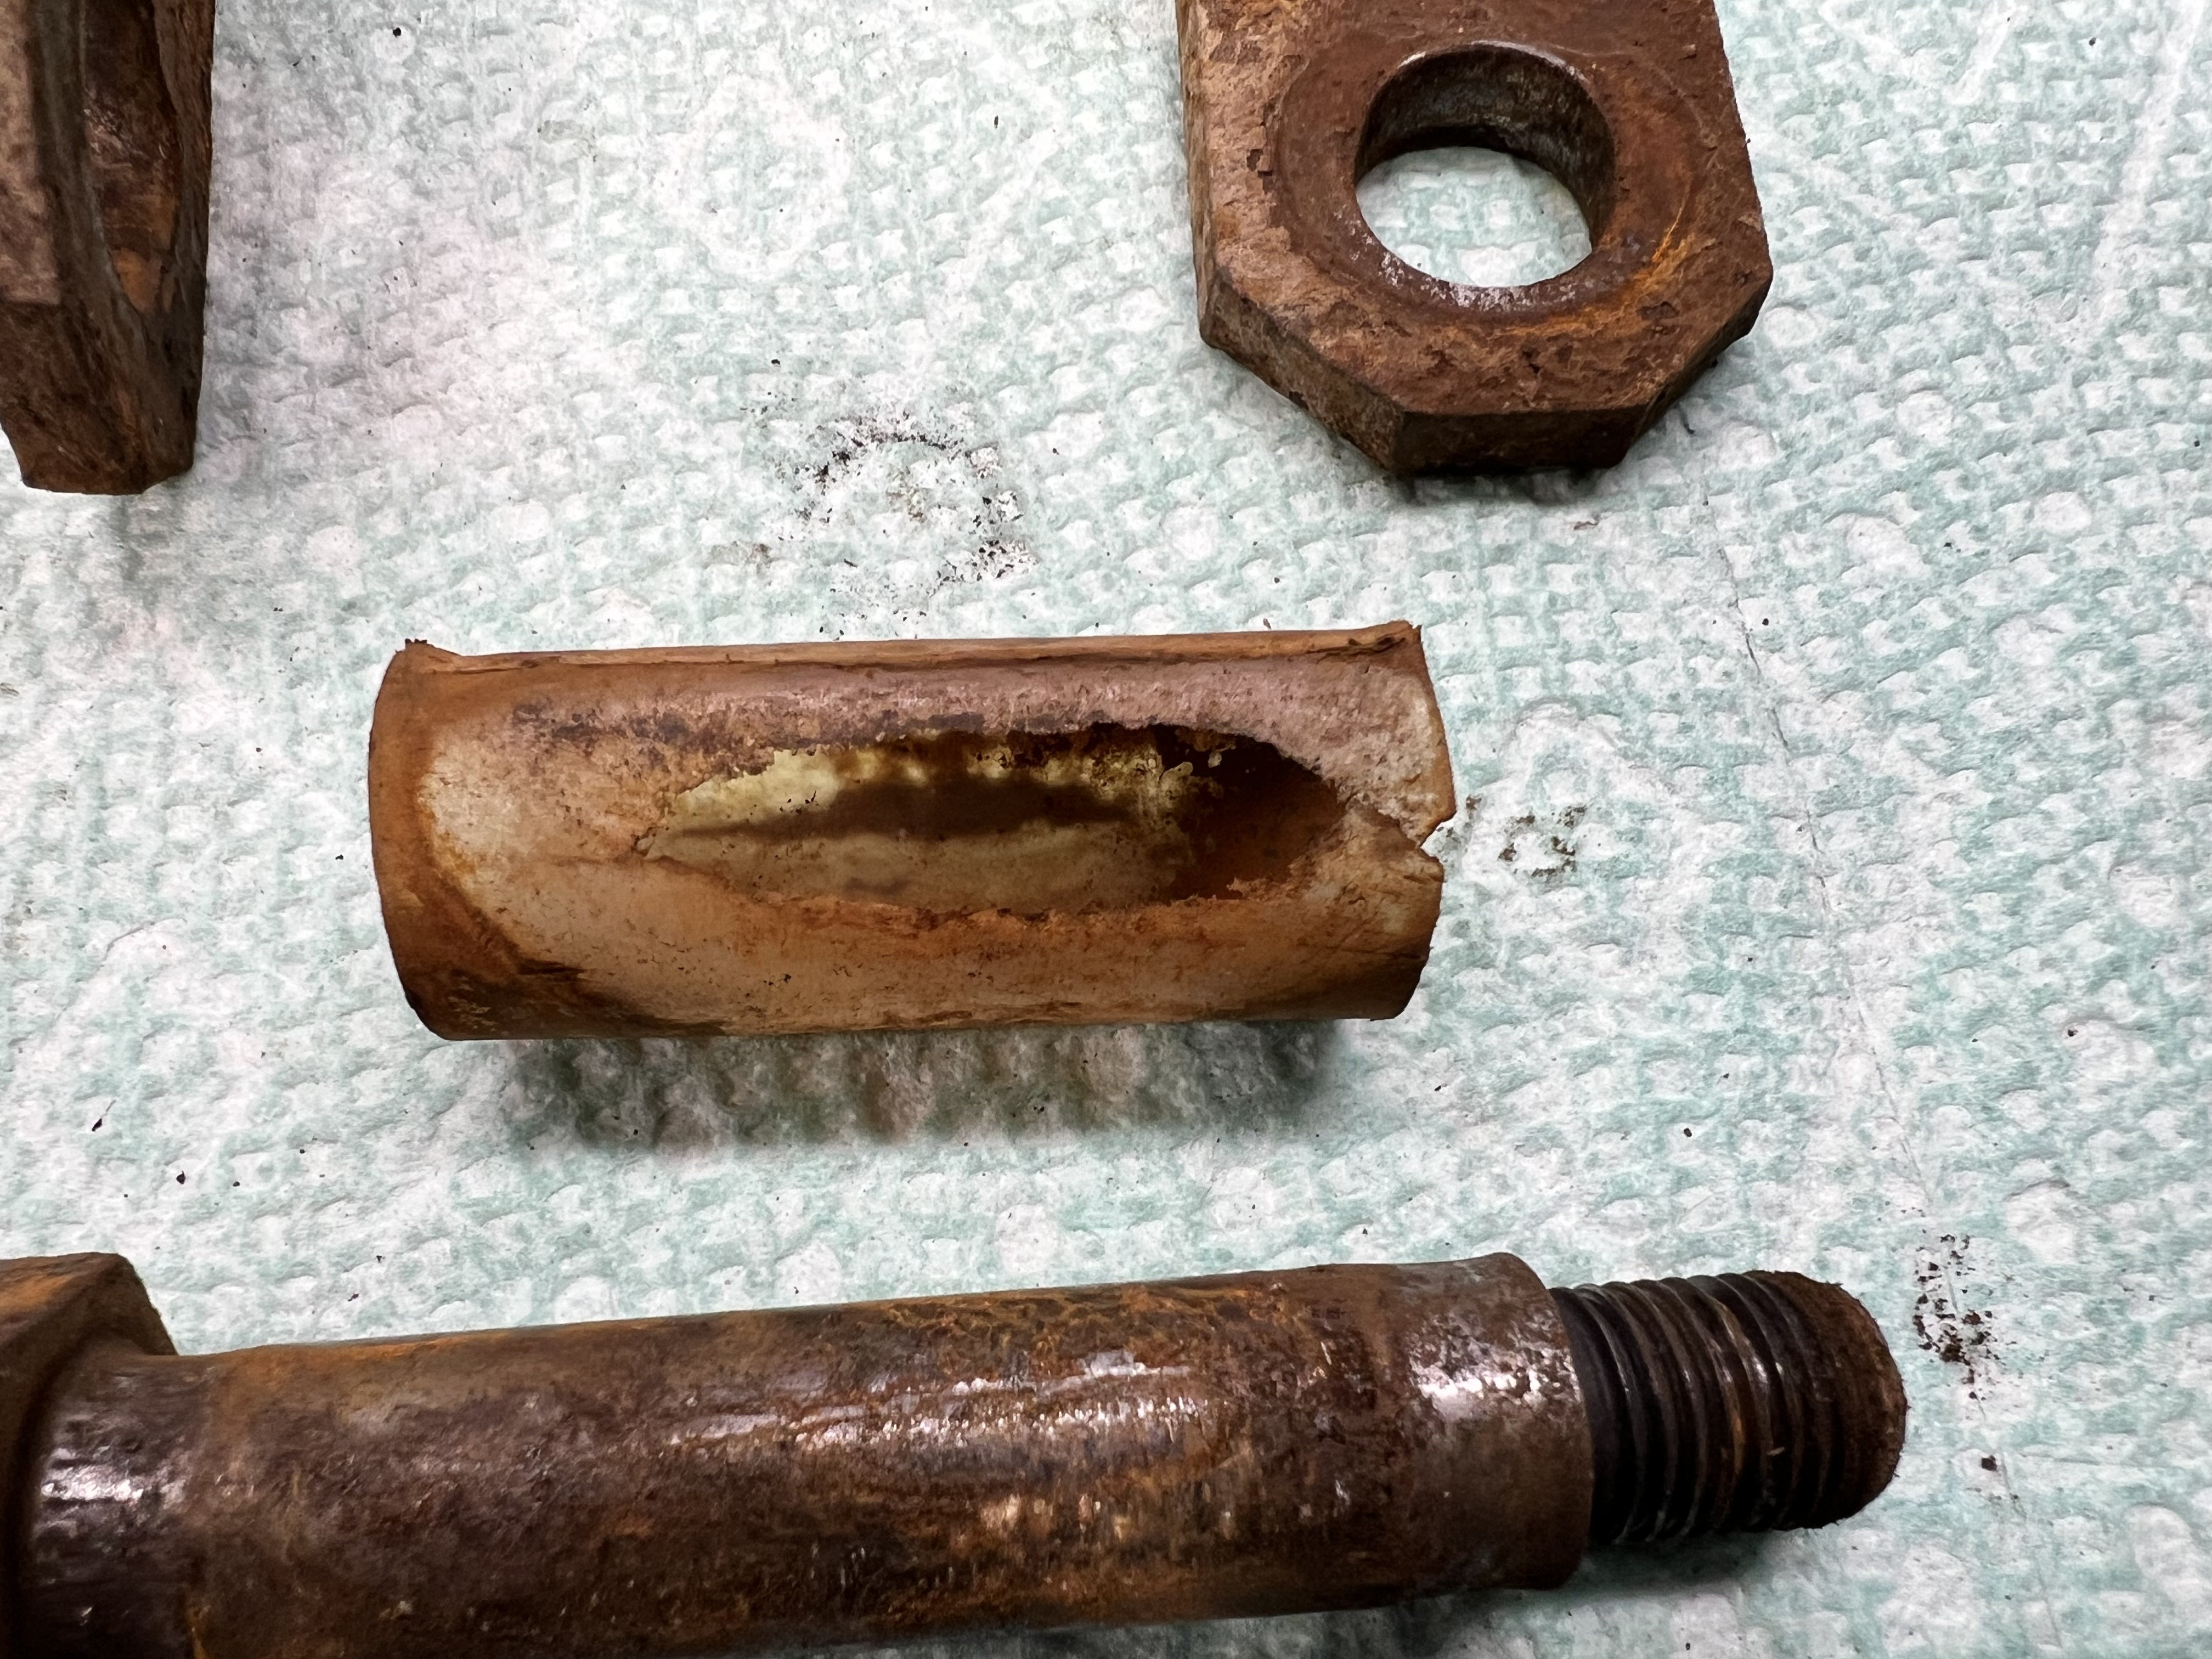
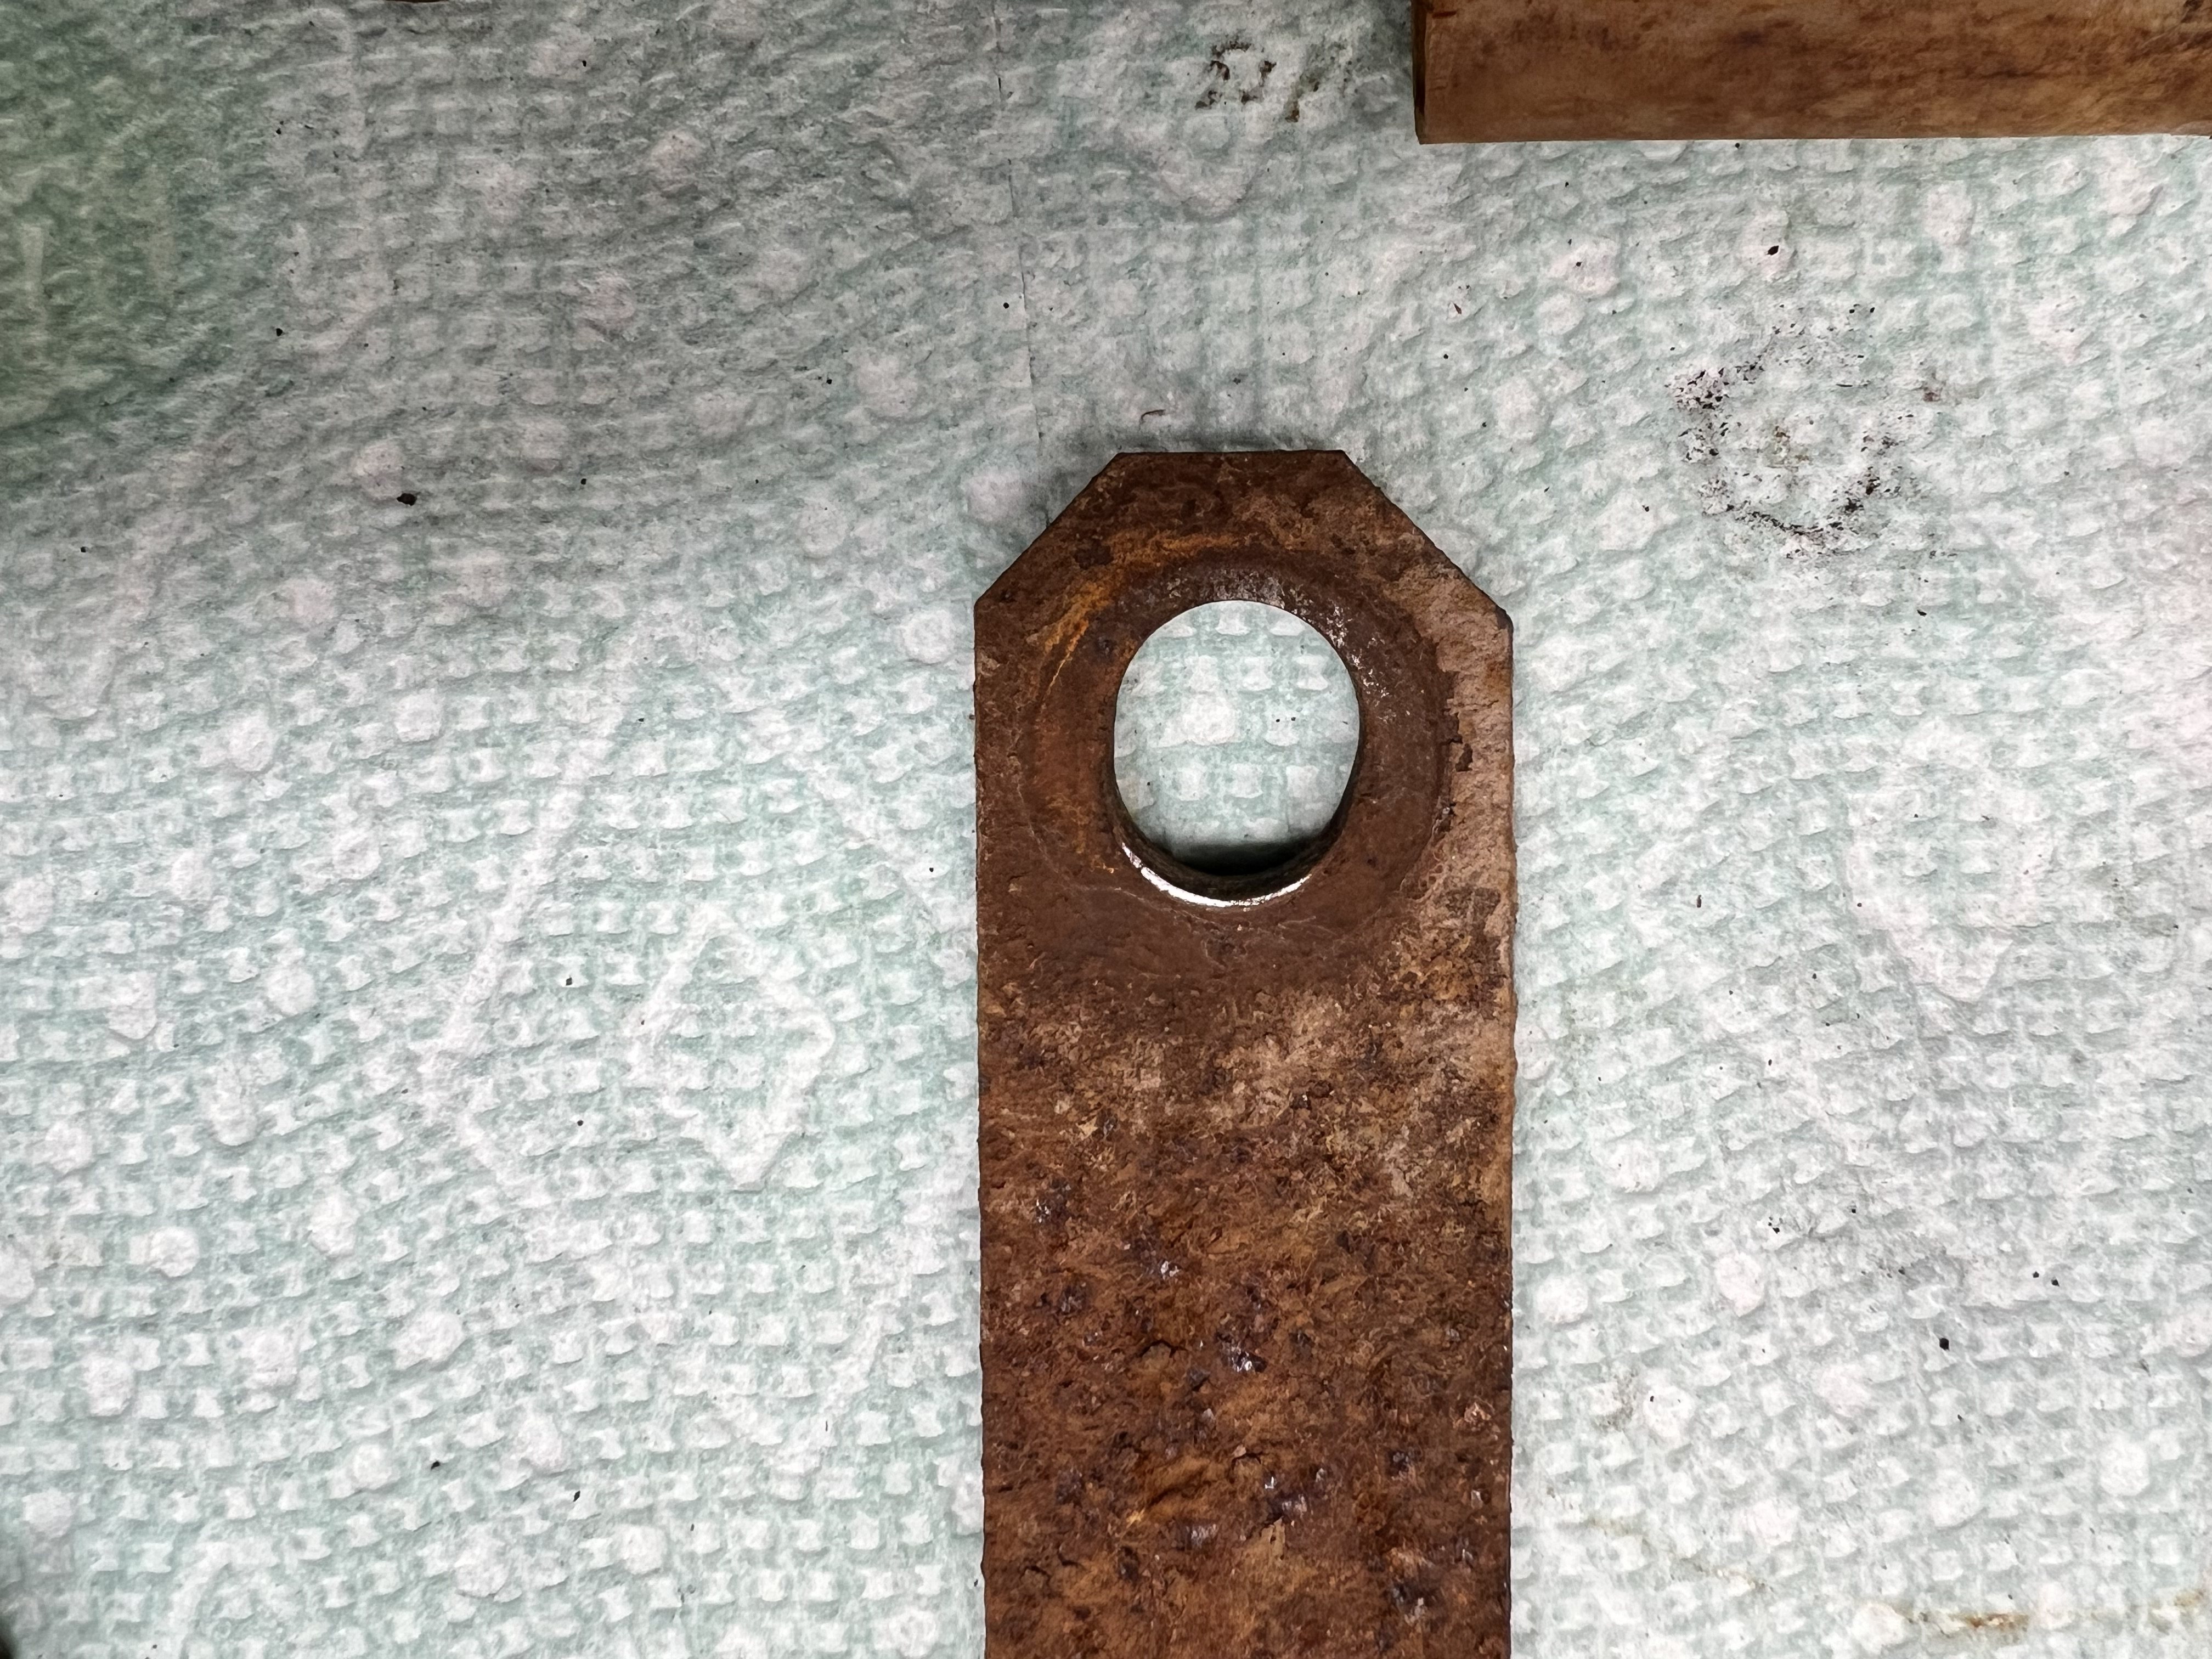
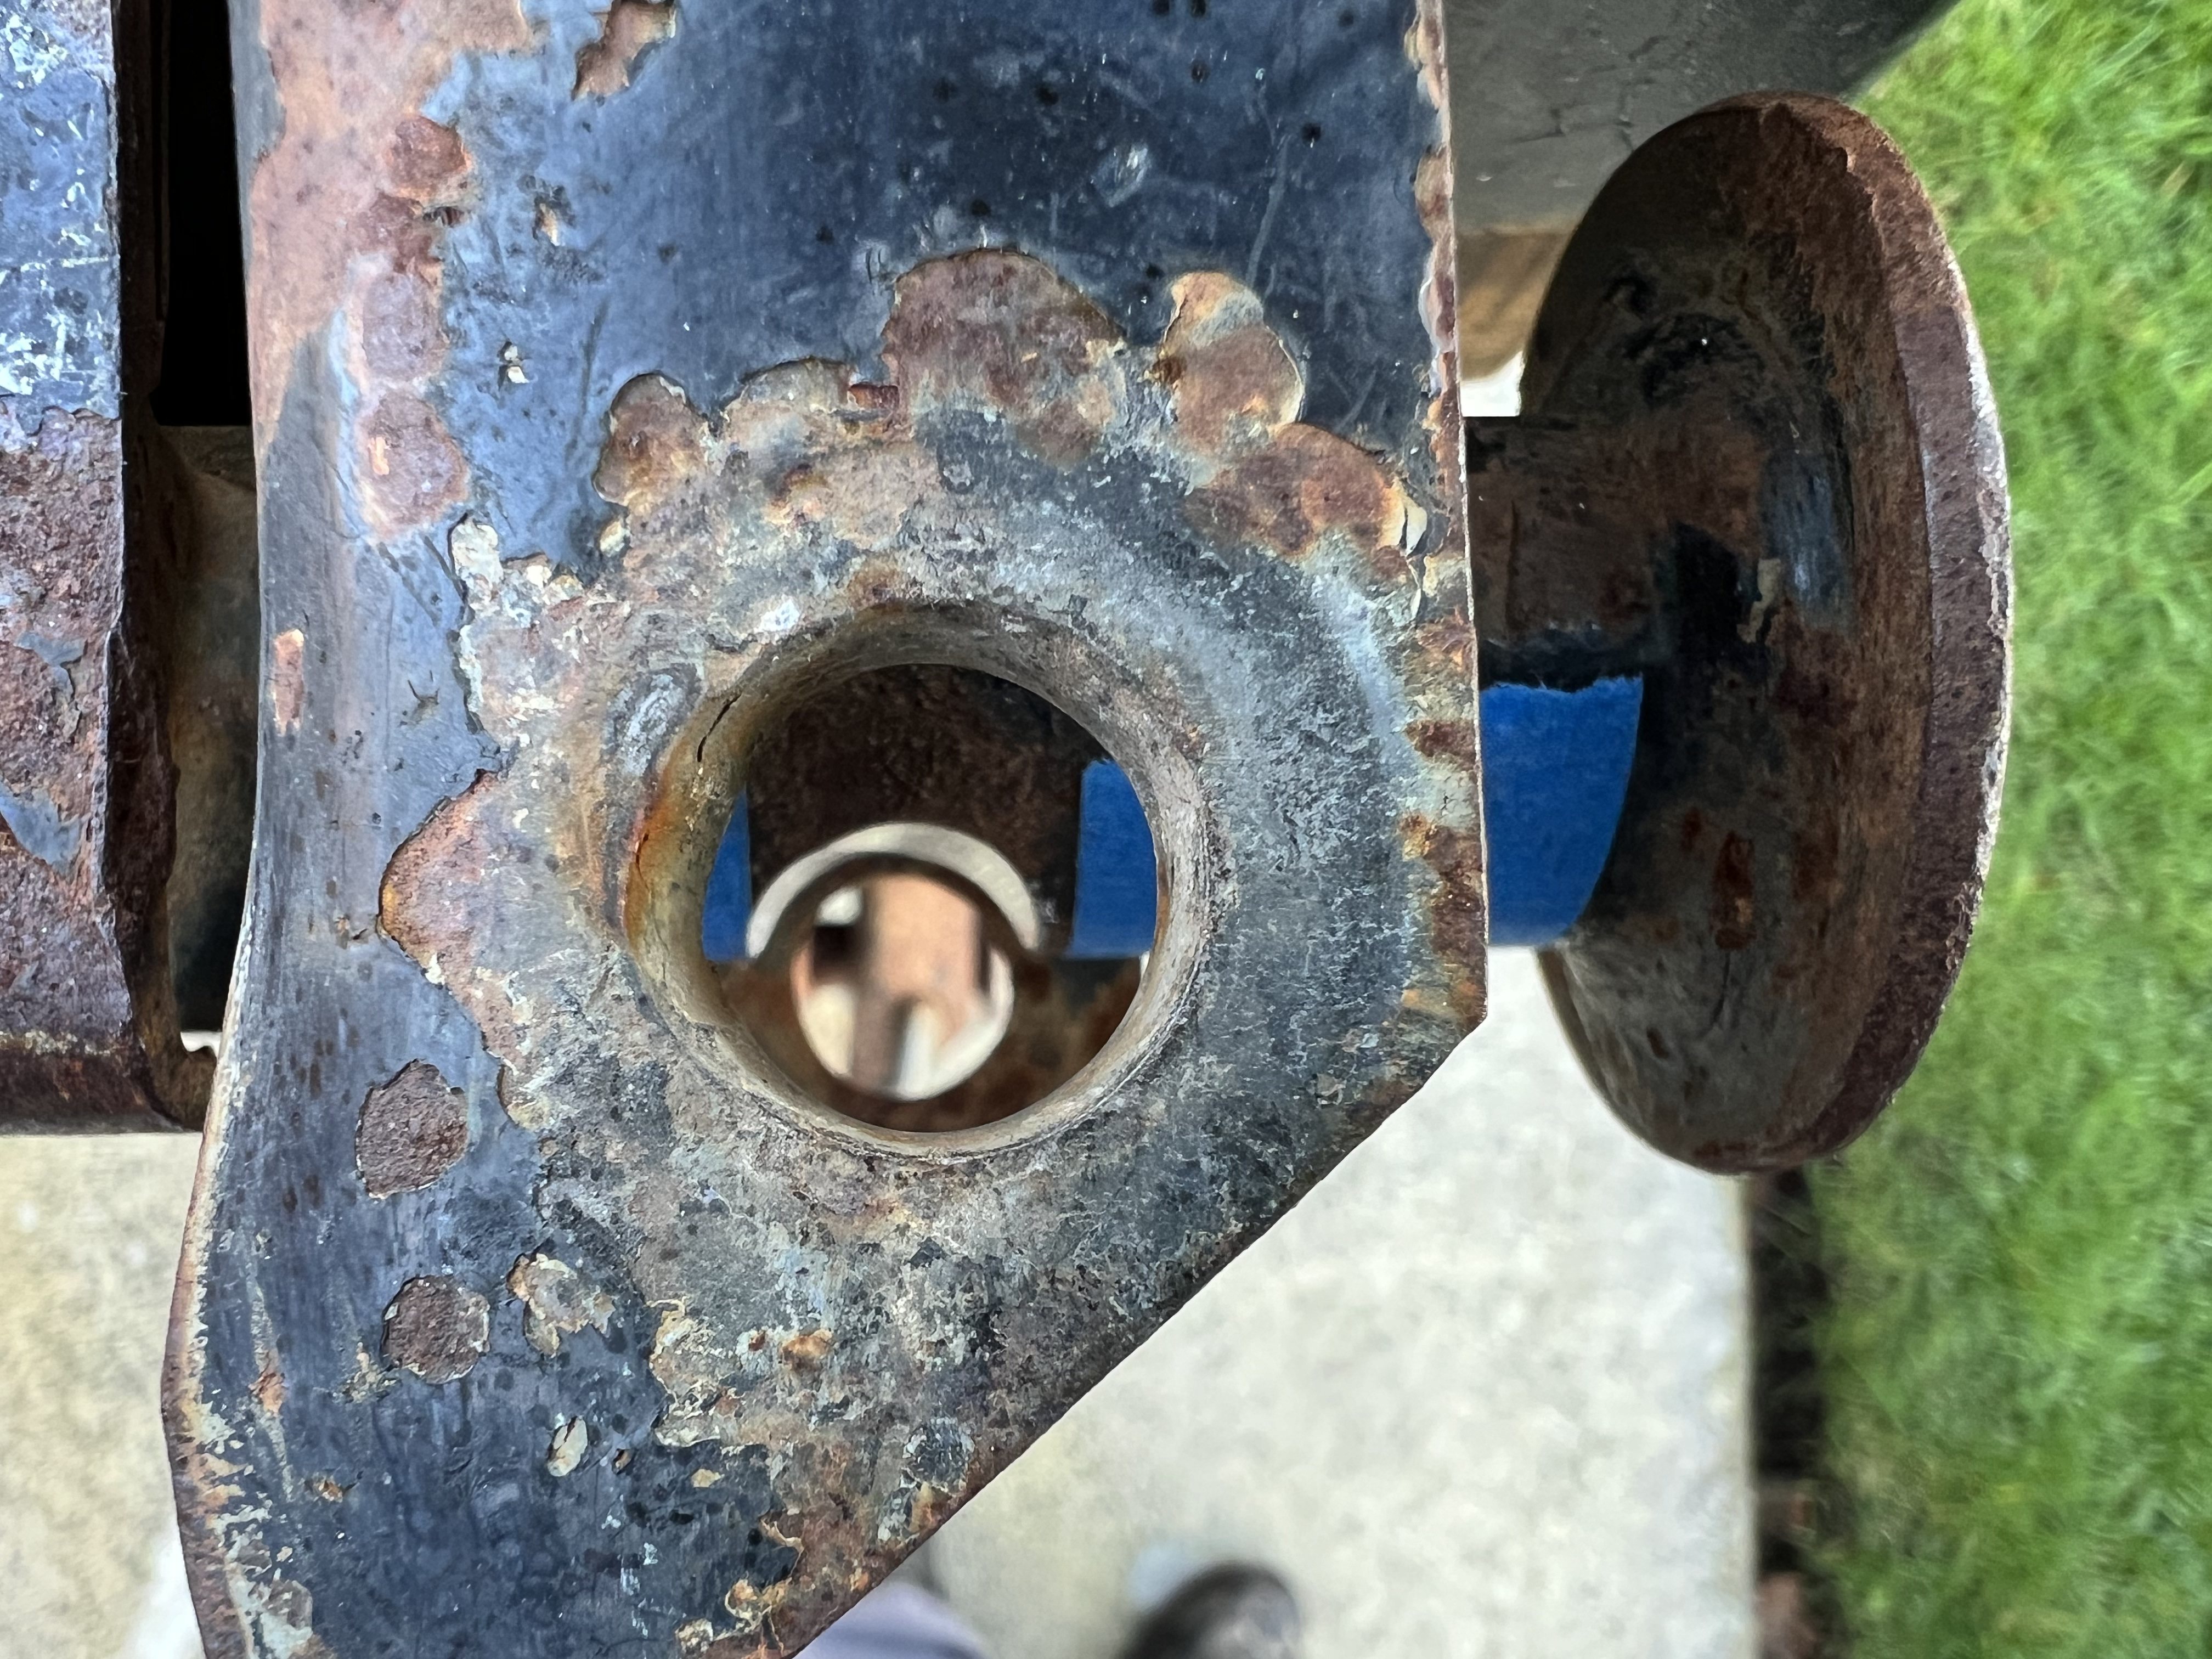
The plastic shackle bushings (why do they always use plastic?) were shot, of course.
- IMG_2345.jpg (1.33 MiB) Viewed 4301 times
- IMG_2346.jpg (2.36 MiB) Viewed 4301 times
- IMG_2347.jpg (1.77 MiB) Viewed 4301 times
- IMG_2348.jpg (1.89 MiB) Viewed 4301 times
I got those sorted with some proper bronze bushings and new pins with cross-drilling and grease zerks.
- IMG_2398.jpg (2.2 MiB) Viewed 4301 times
I pulled a drum, and the brakes looks good enough to continue running. The Chinese trailer tires are OK, too.
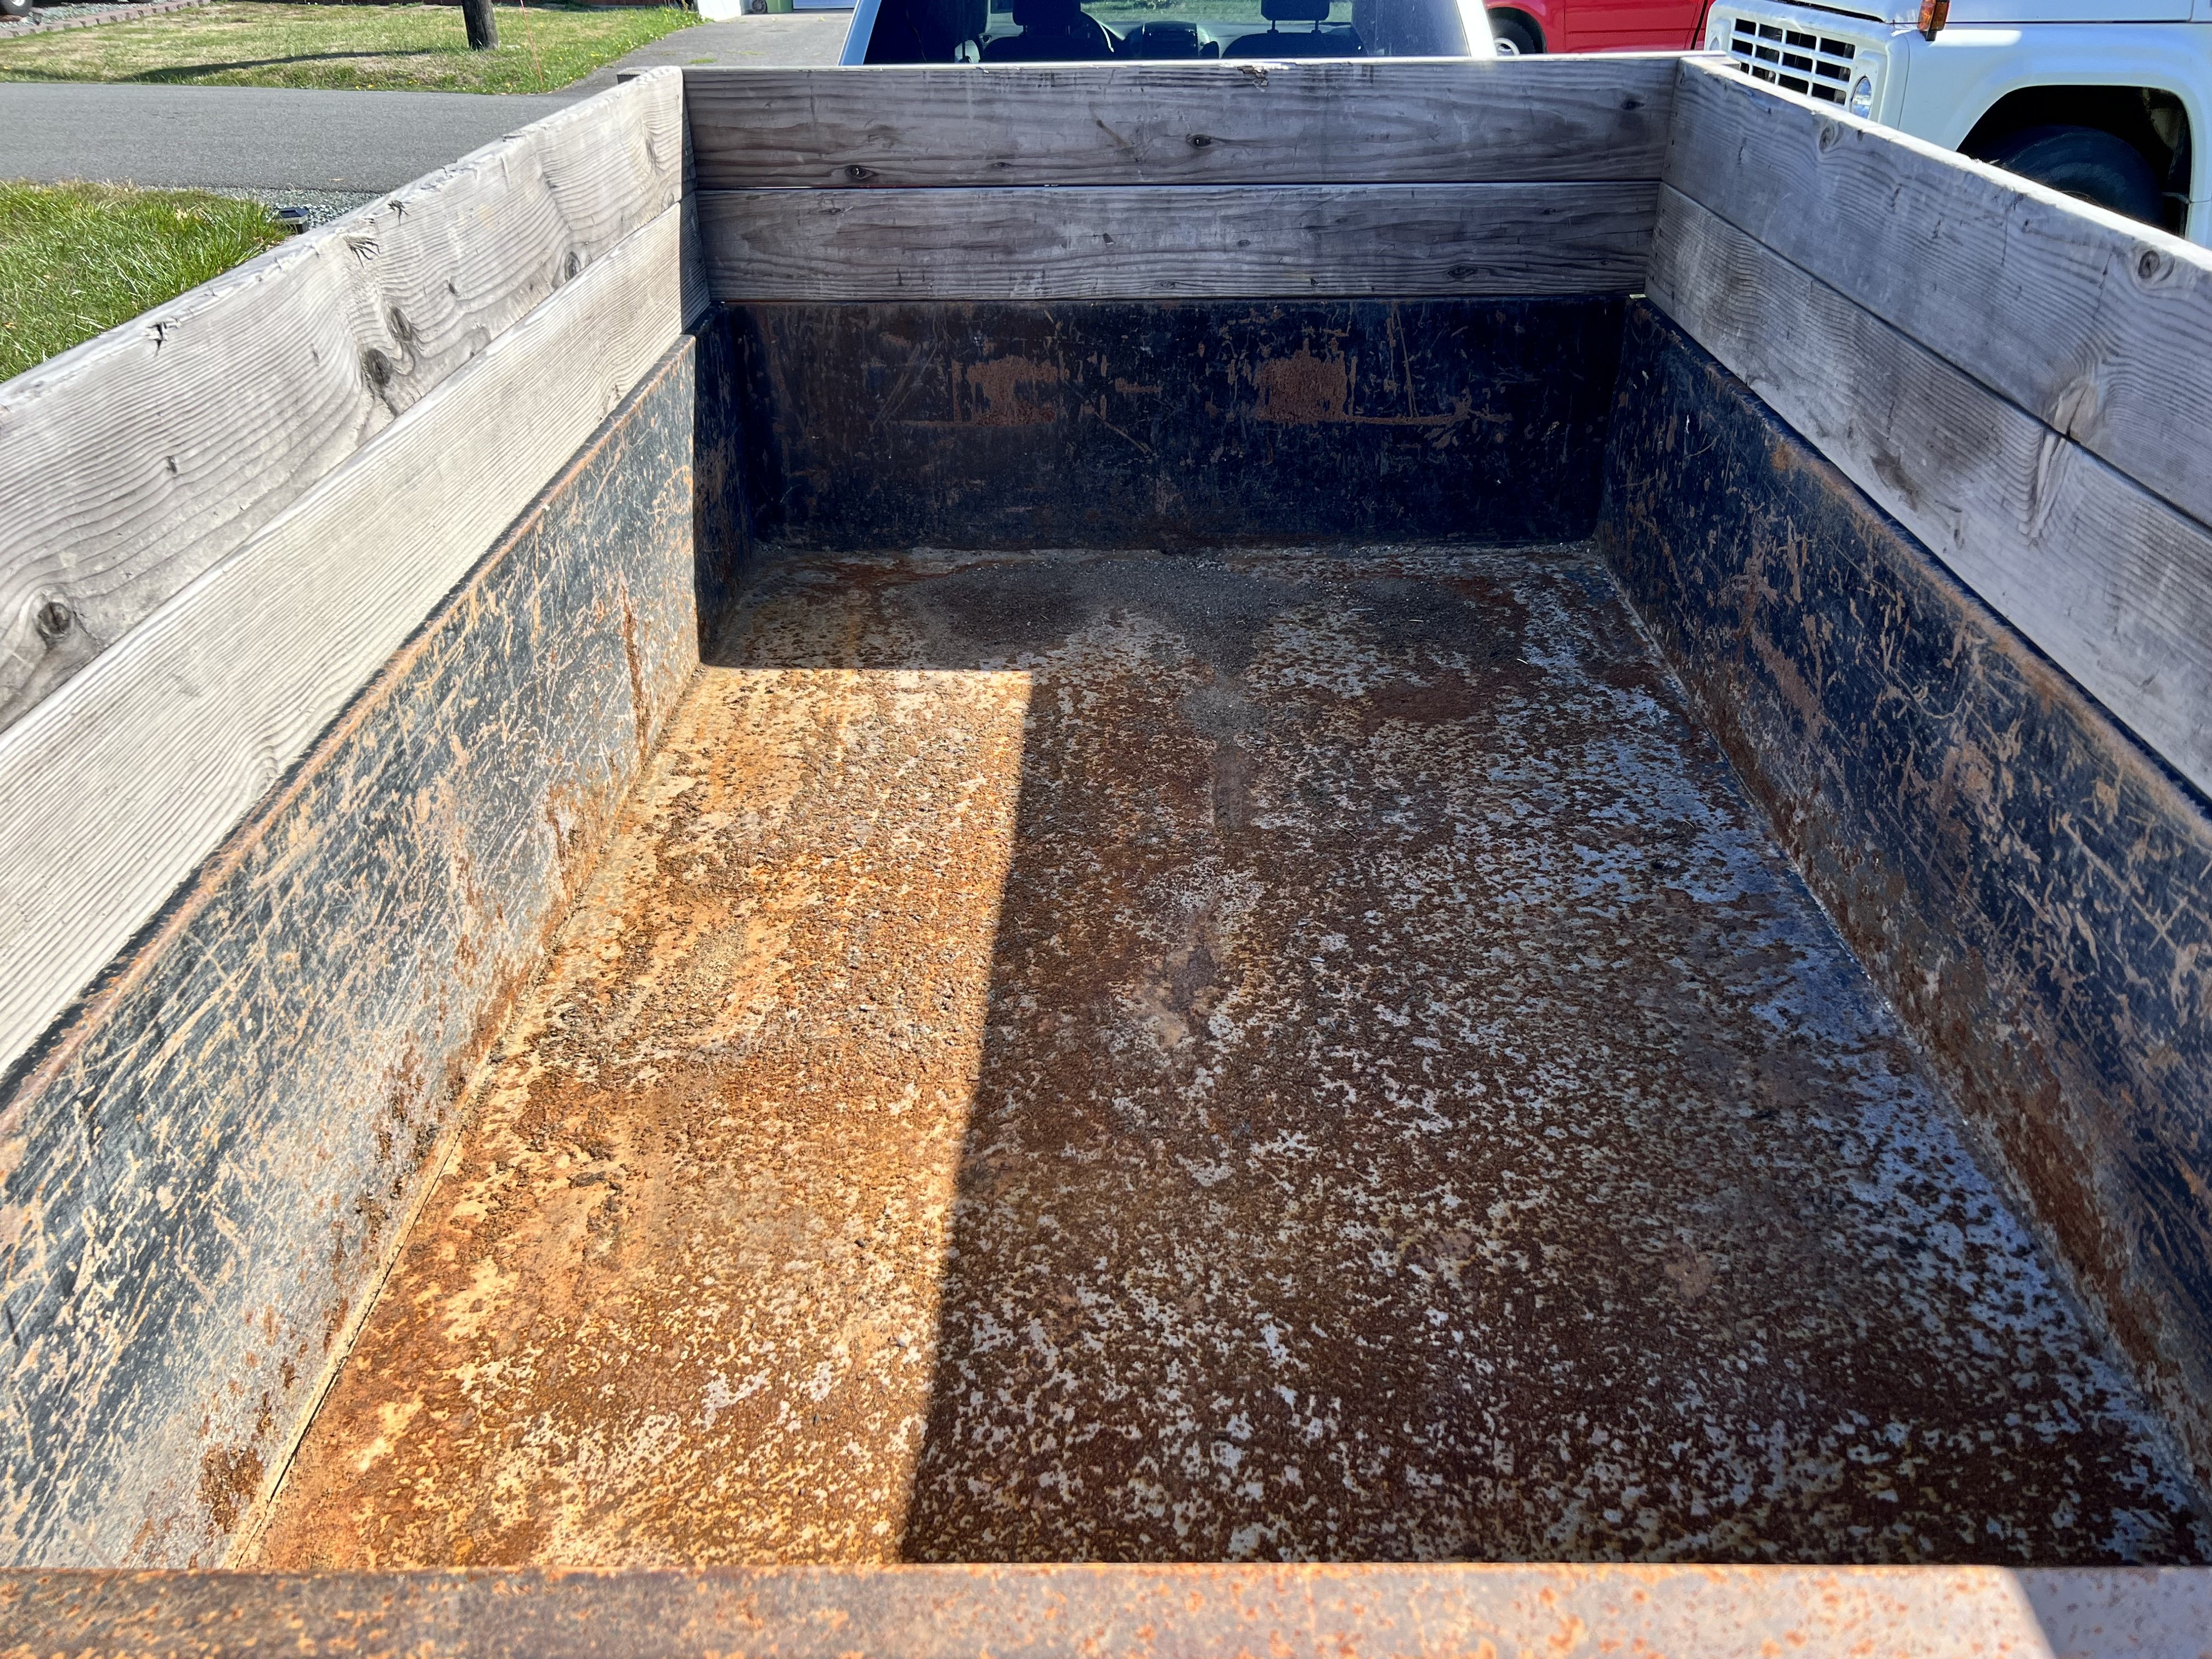
The bed had what appeared to be rusted-on sand.
- IMG_024626.jpg (2.96 MiB) Viewed 4301 times
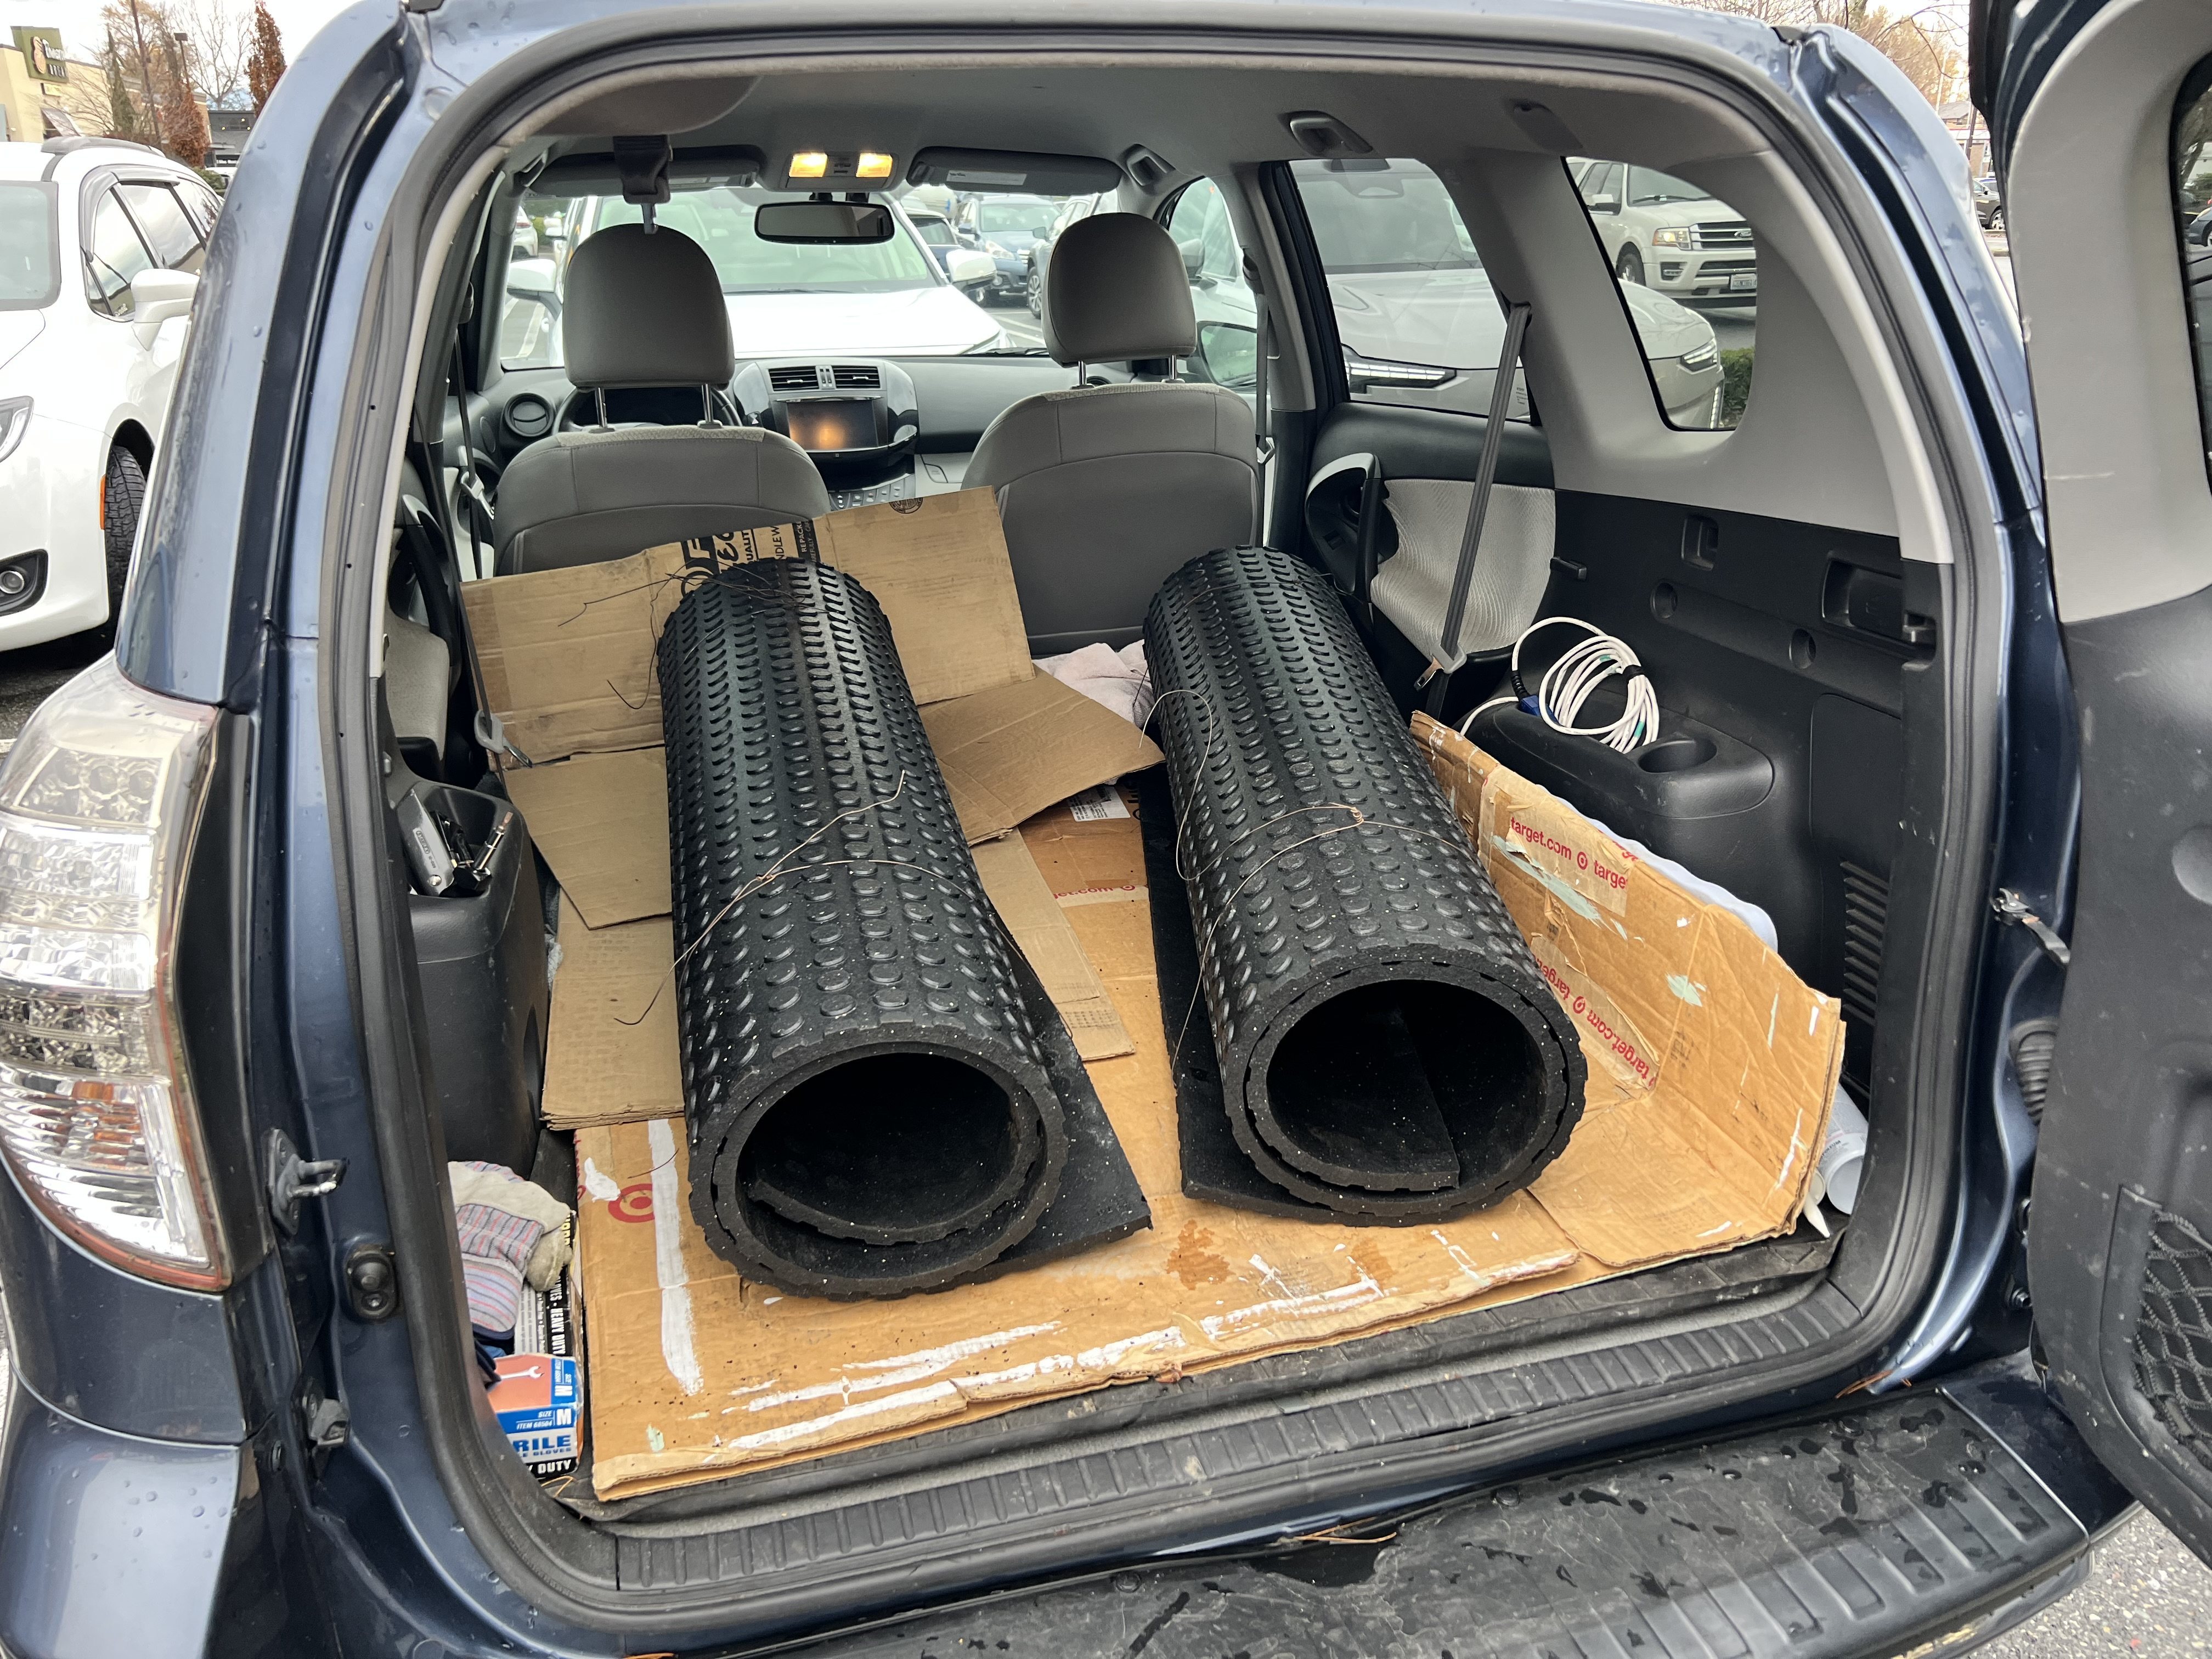
Some serious pressure washing and three coats of brush-on Rustoleum should slow down further damage. I bought (2)
animal stall mats 4'x8' and cut them to 5', layed cross-ways in the bed, to prevent impacts from going through my new paint
- IMG_2368.jpg (2 MiB) Viewed 4301 times

- IMG_025341.jpg (3.54 MiB) Viewed 4301 times
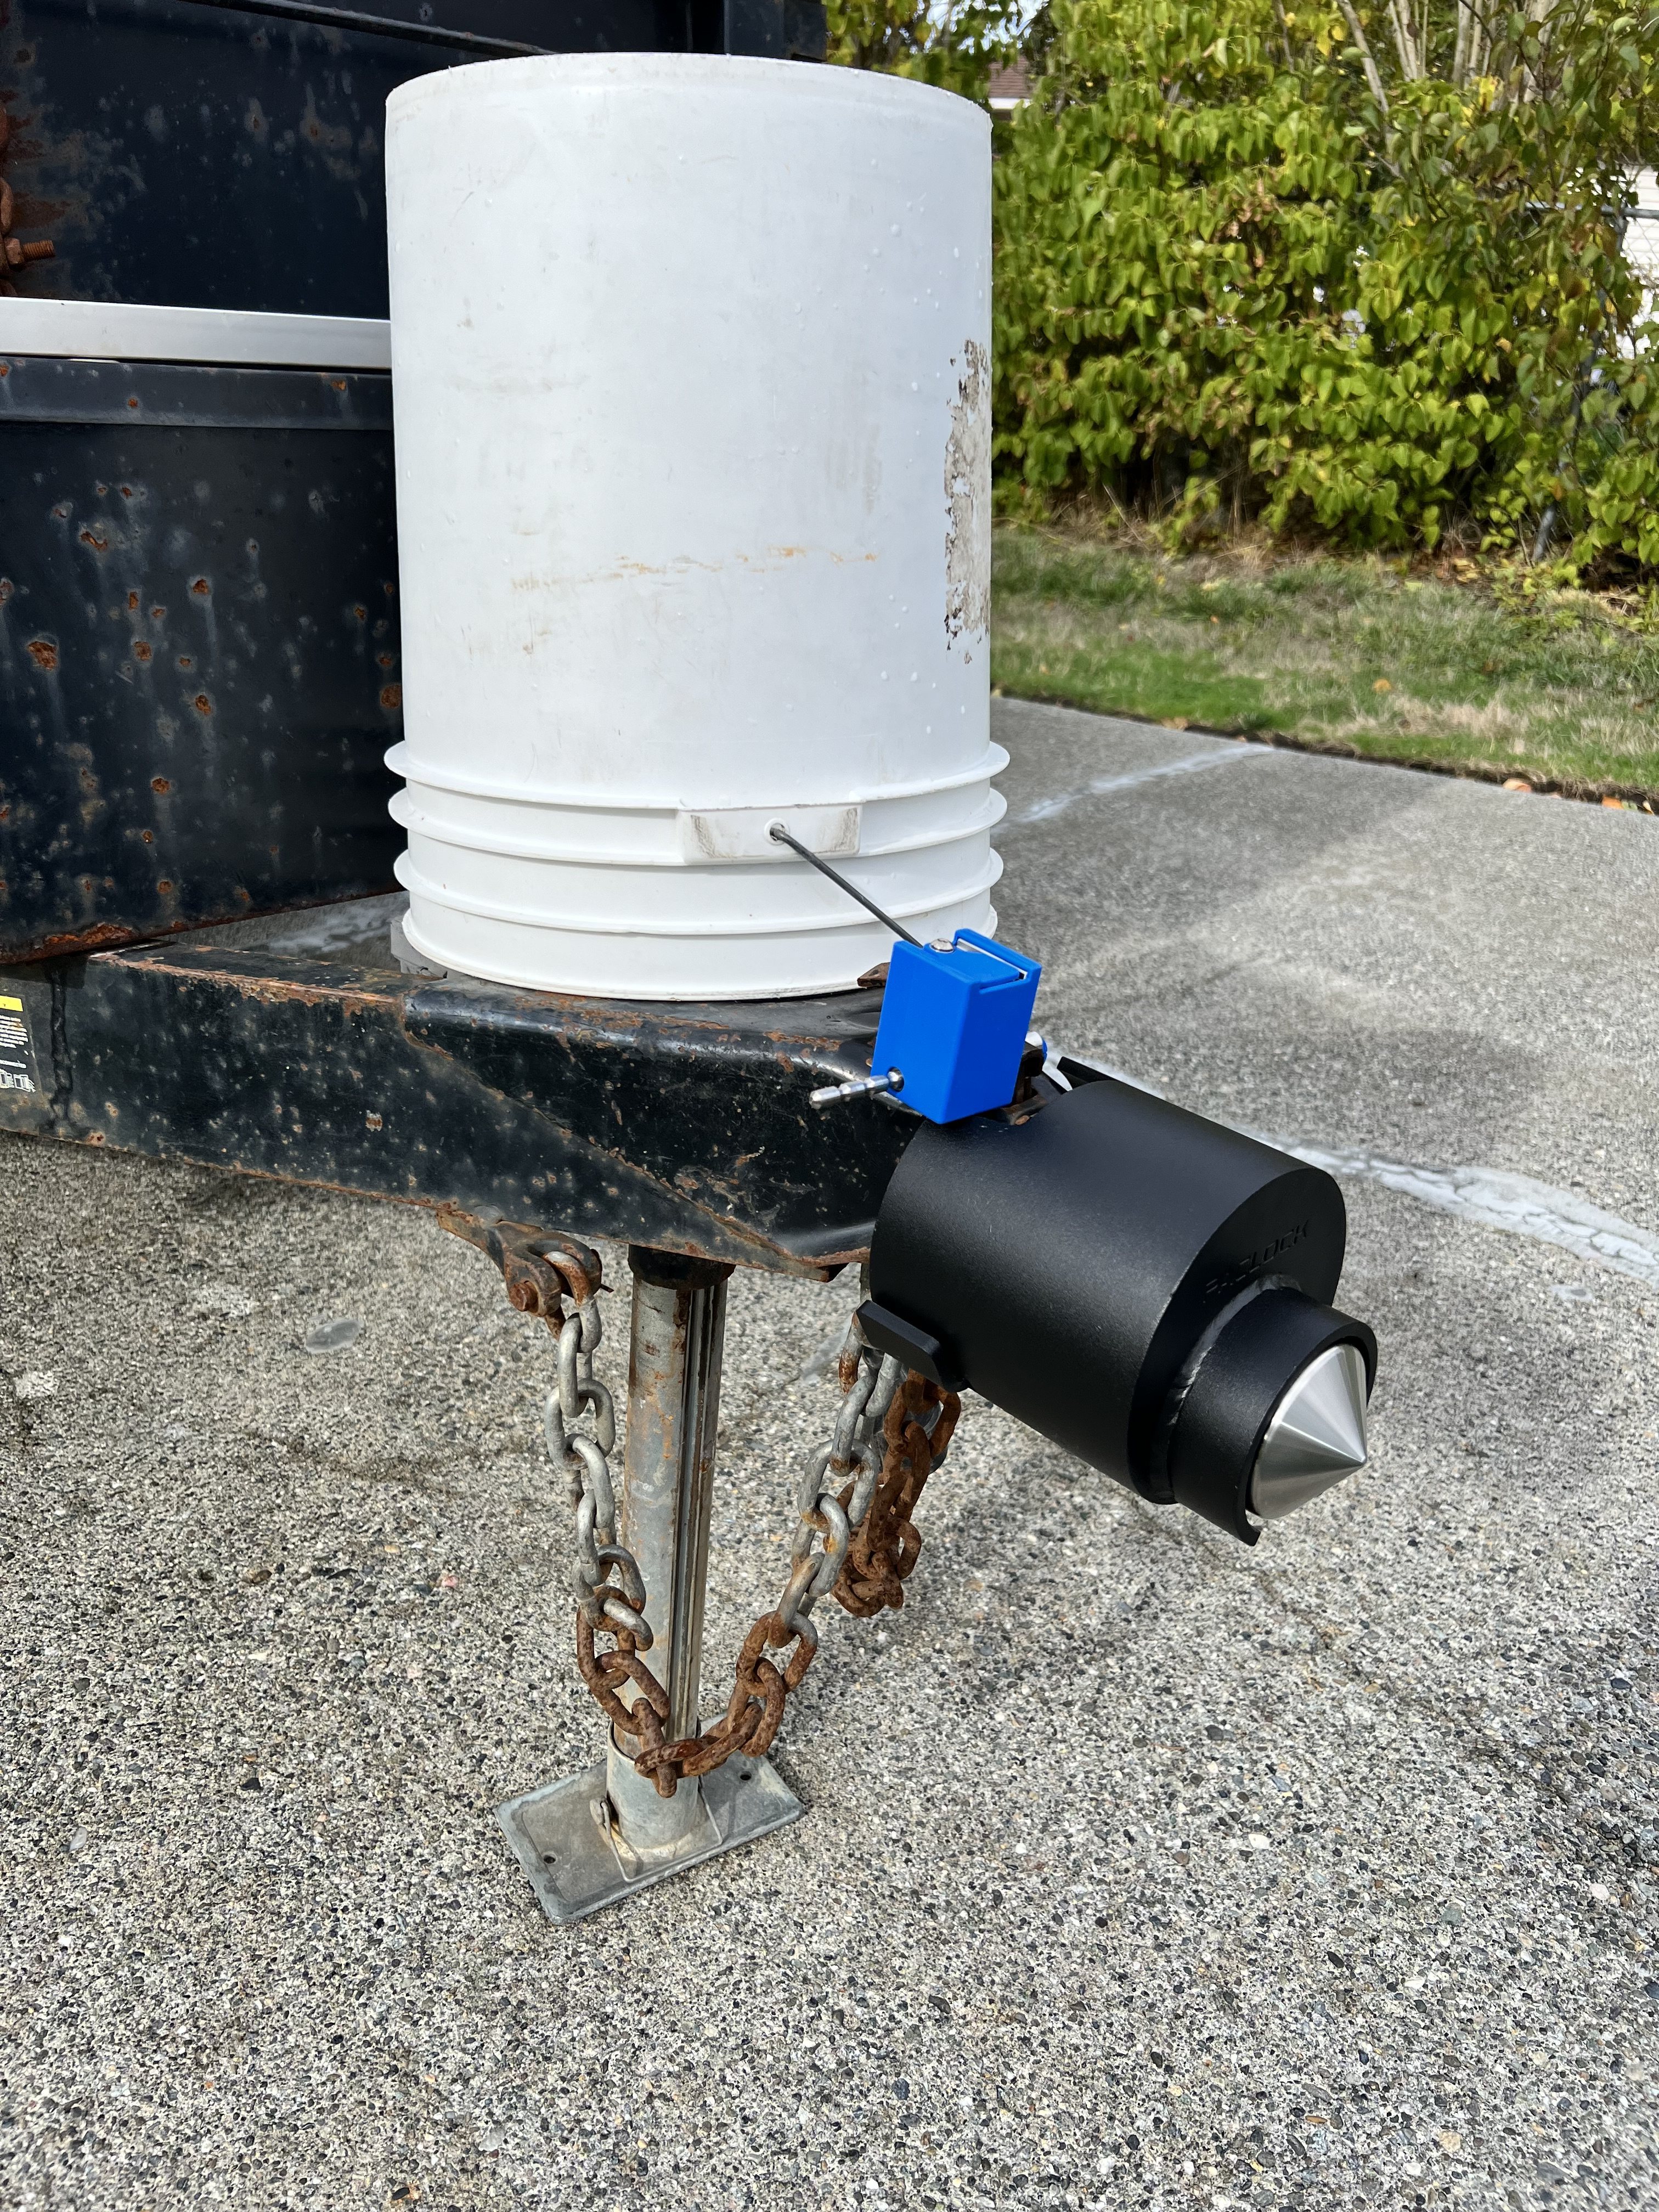
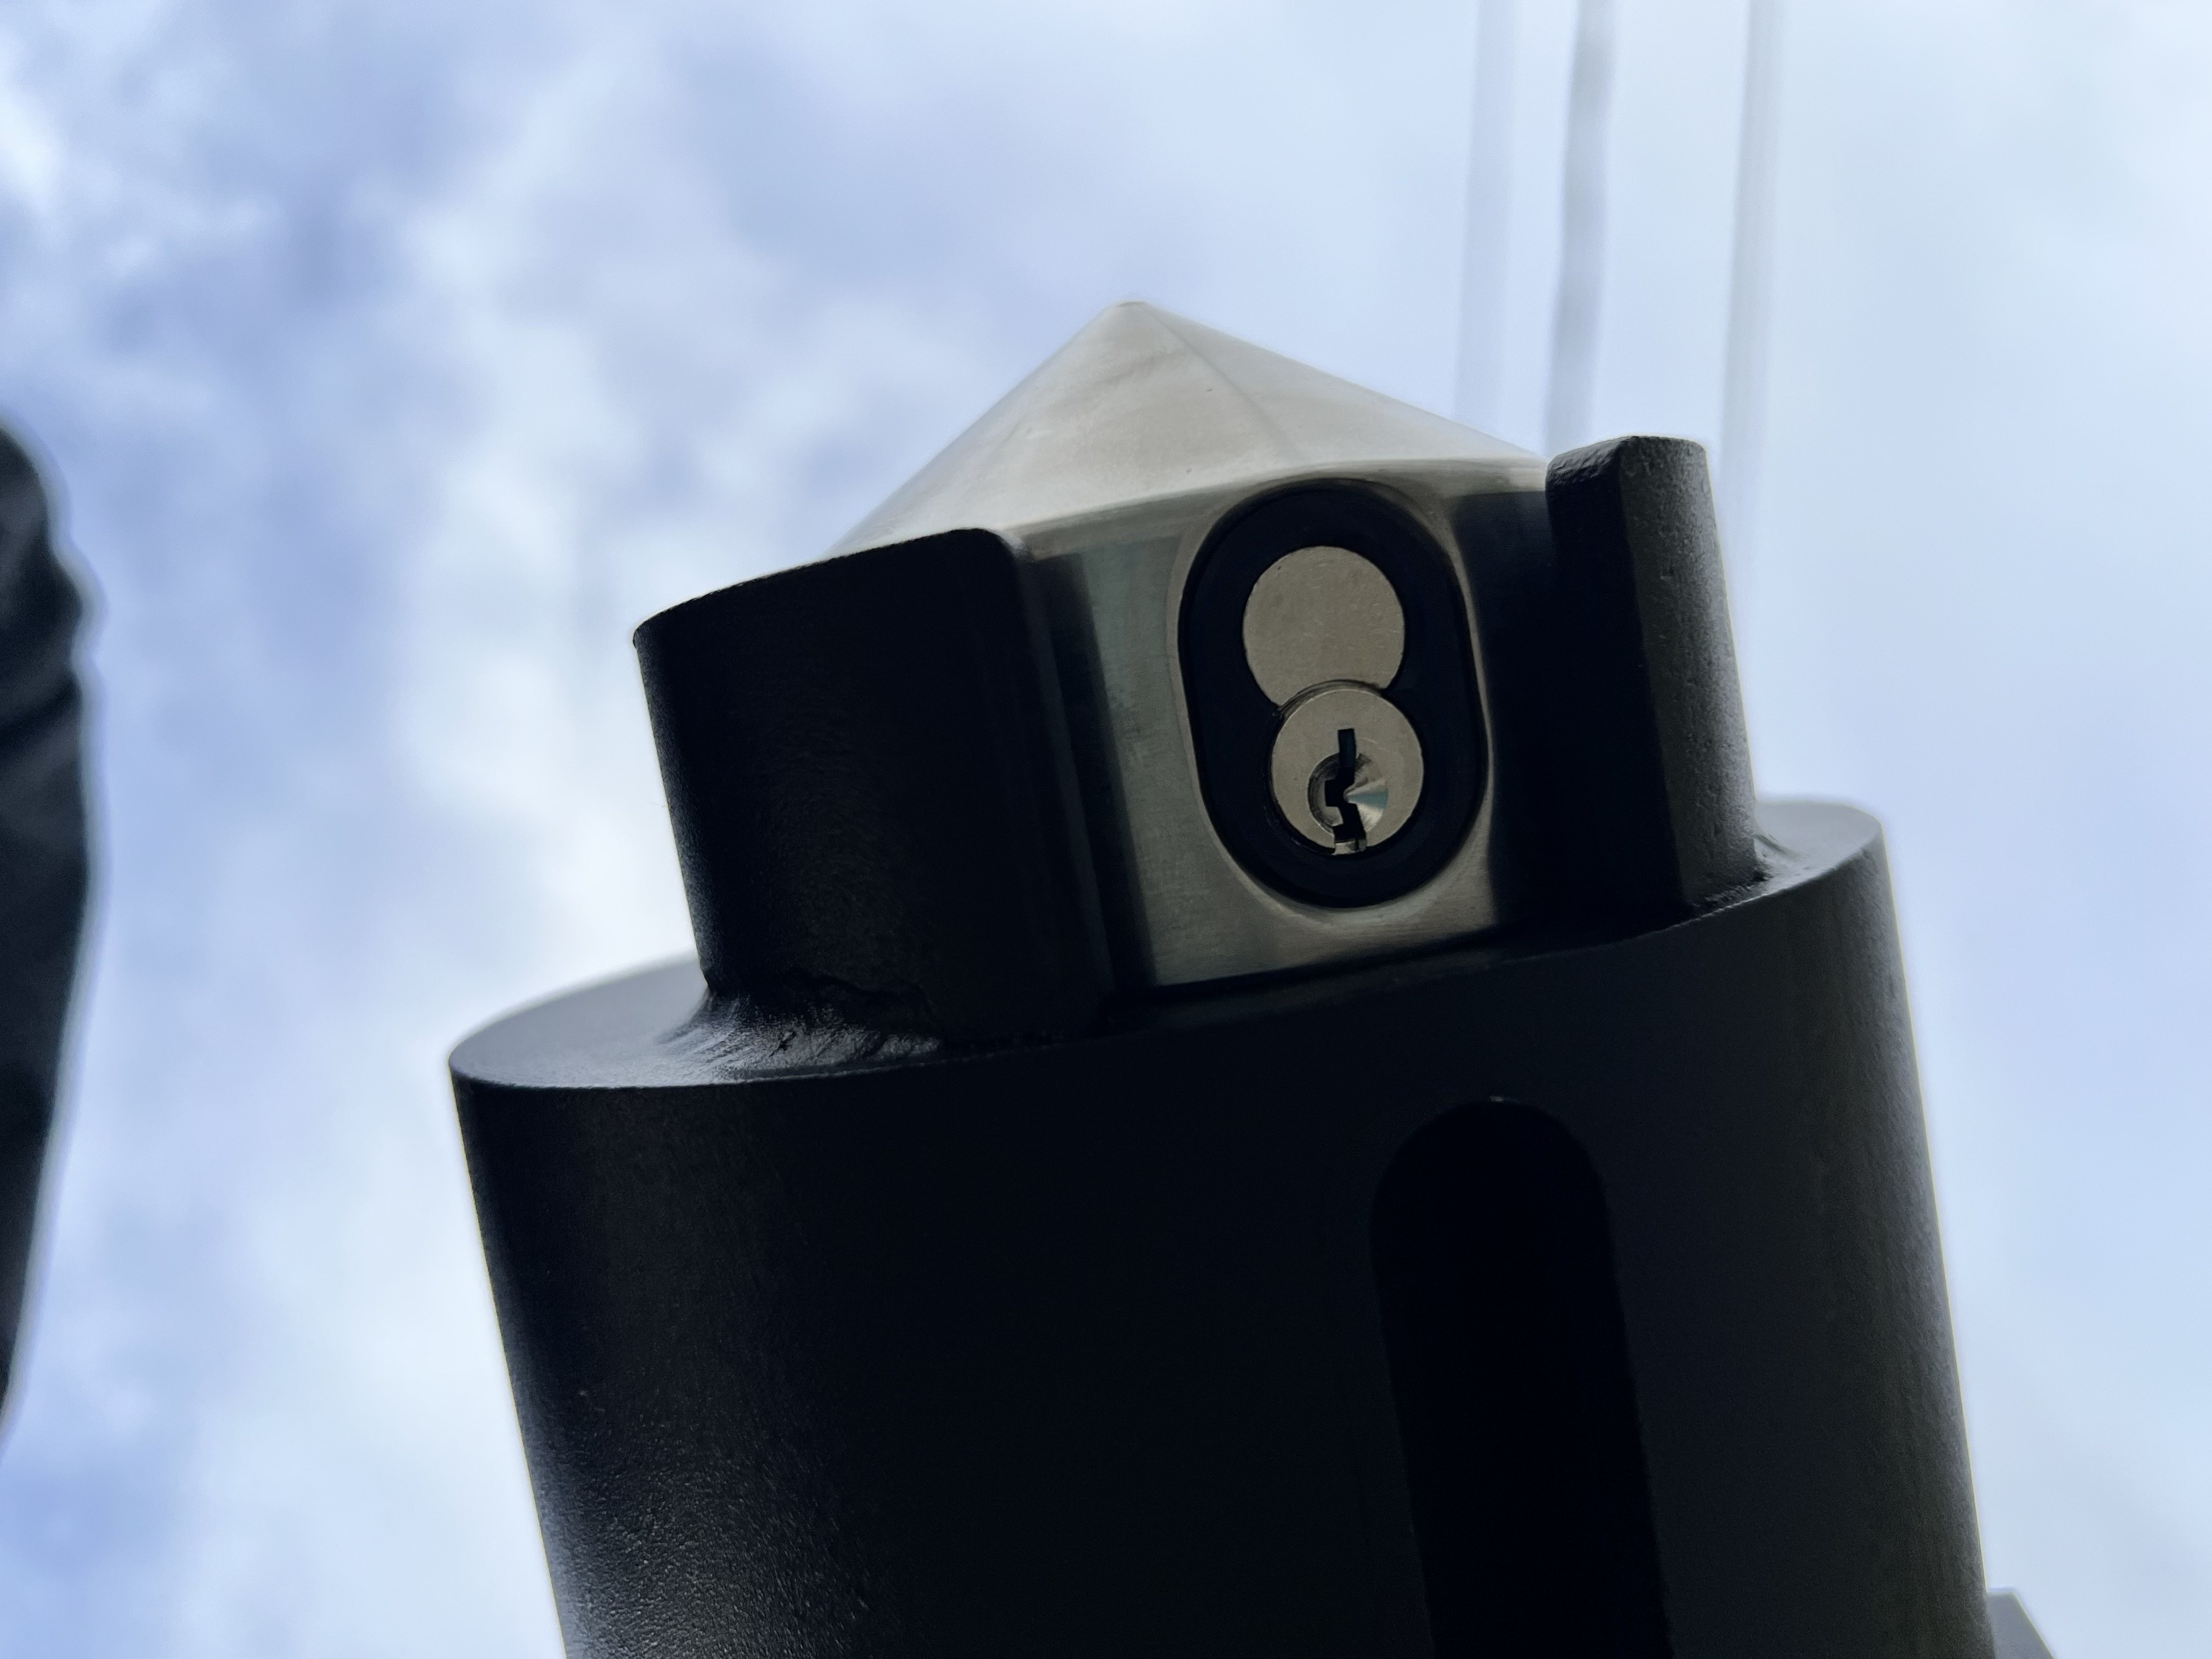
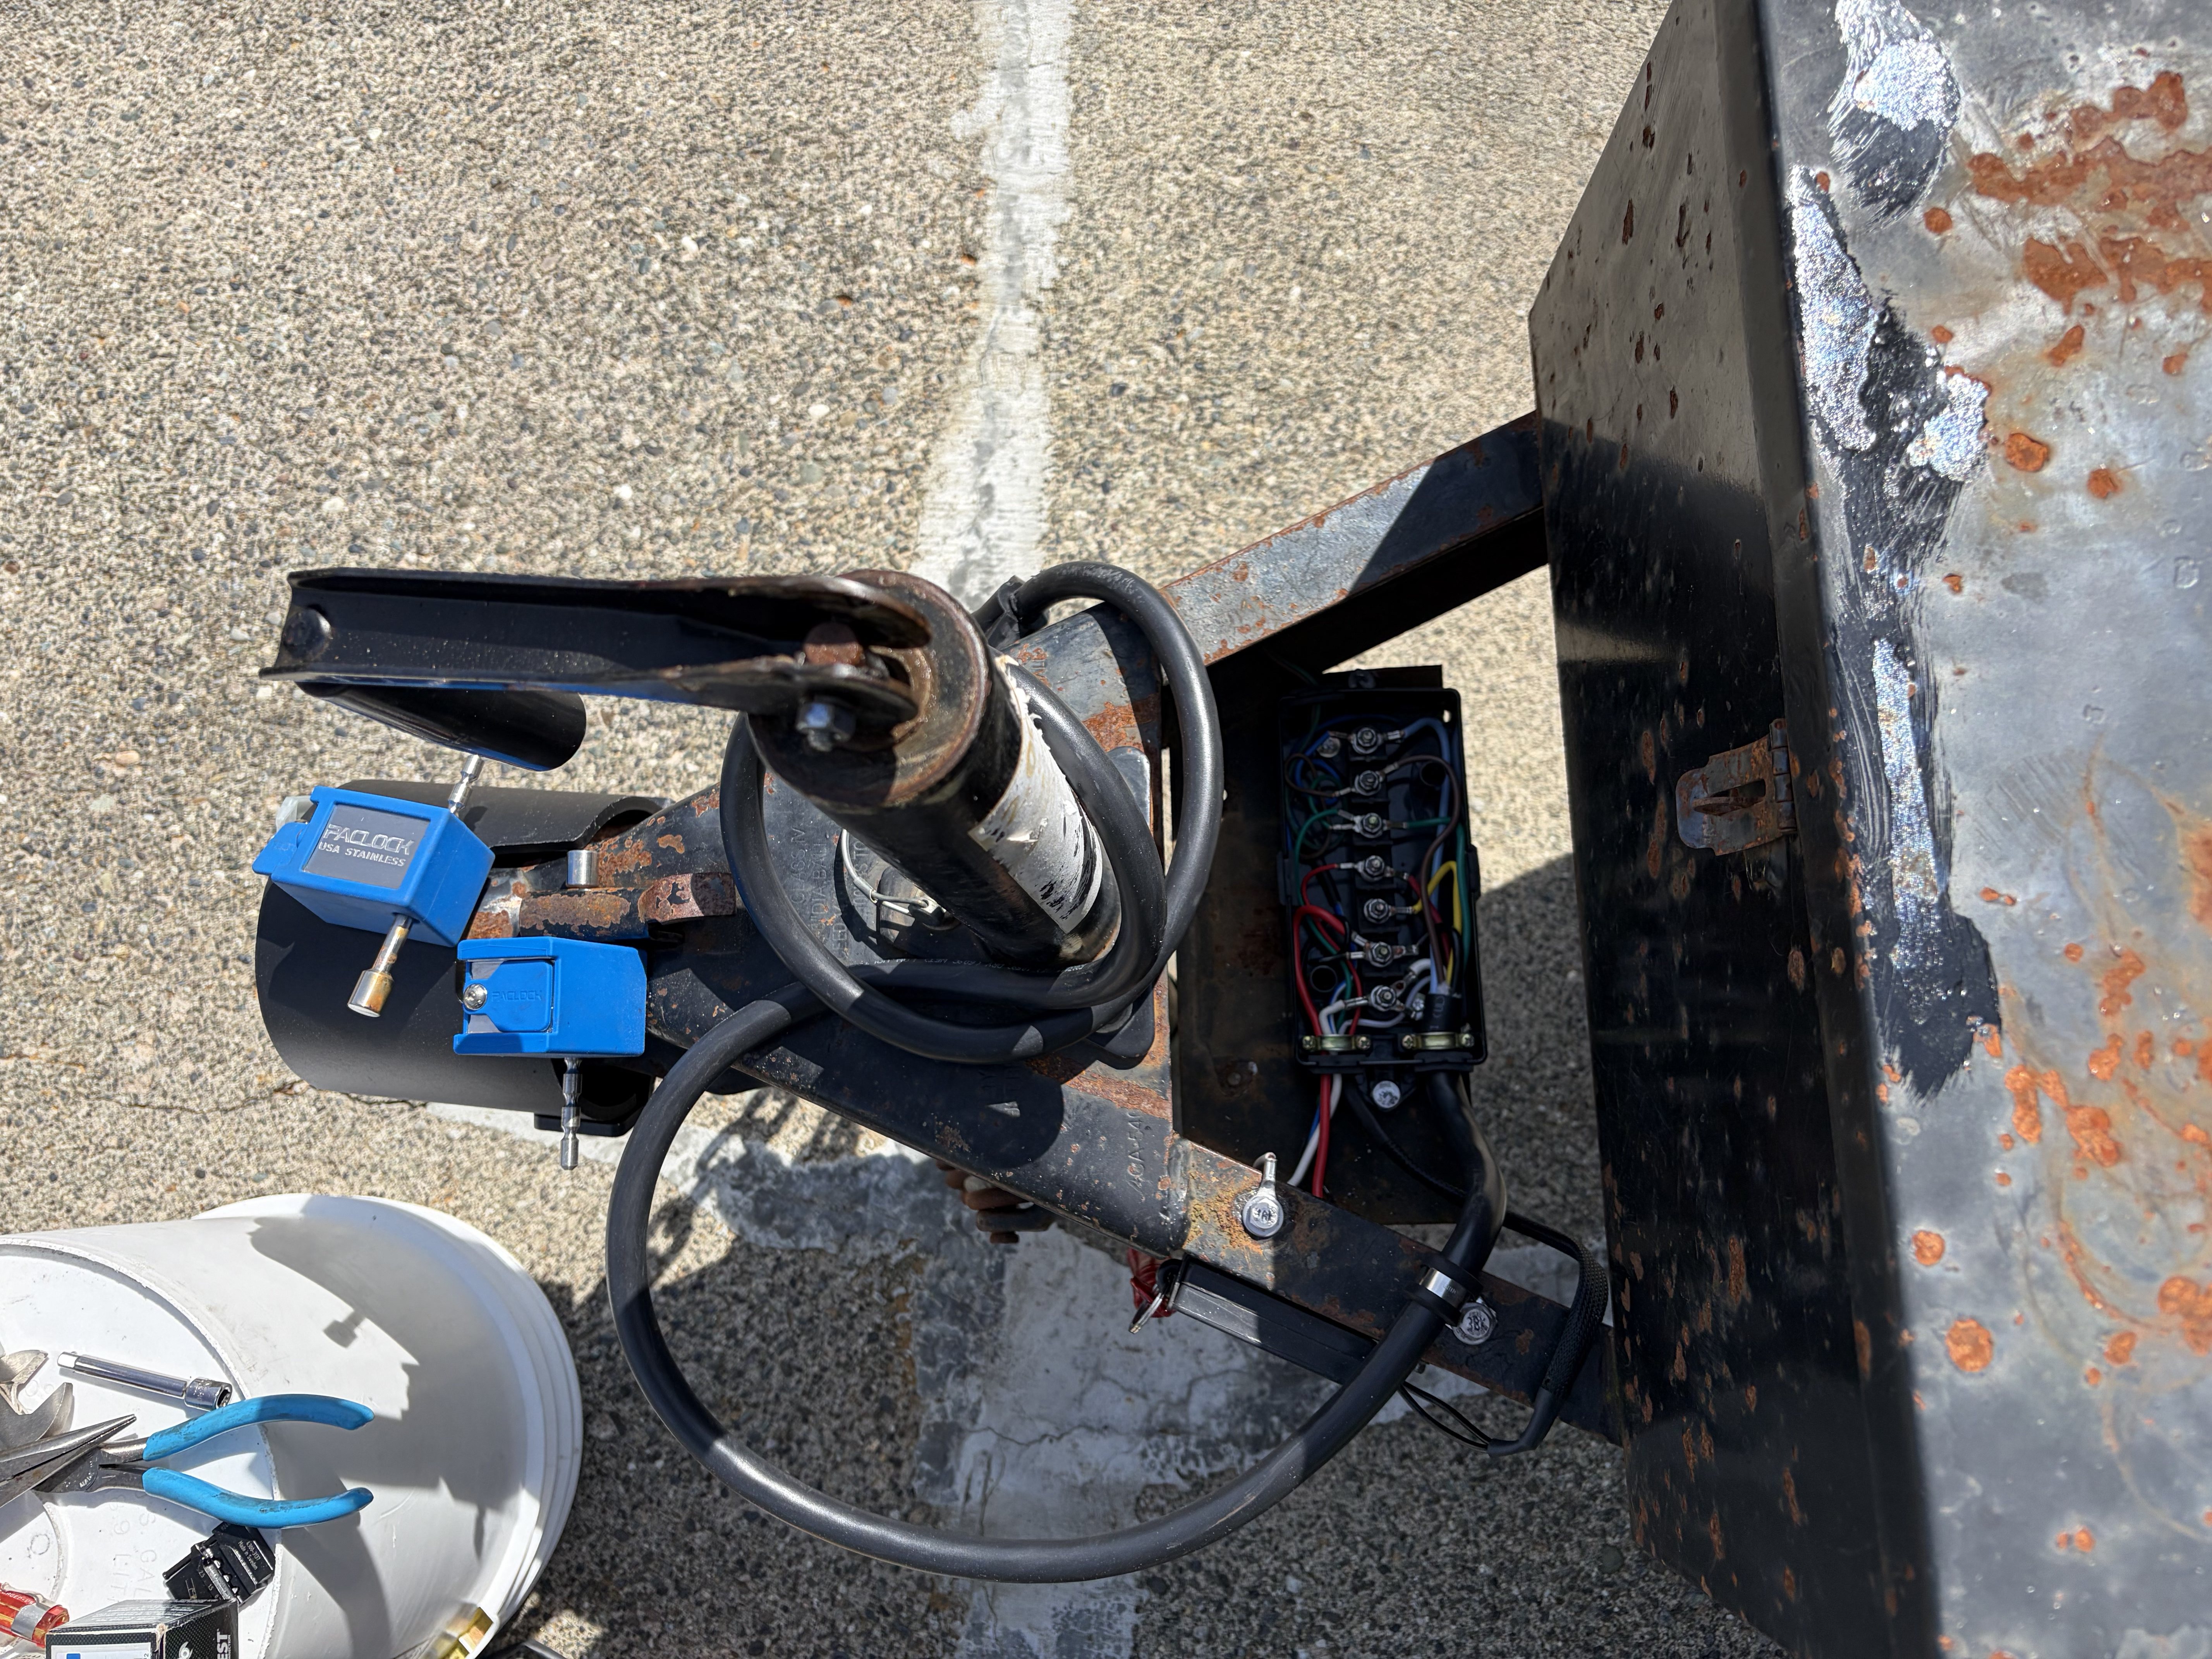
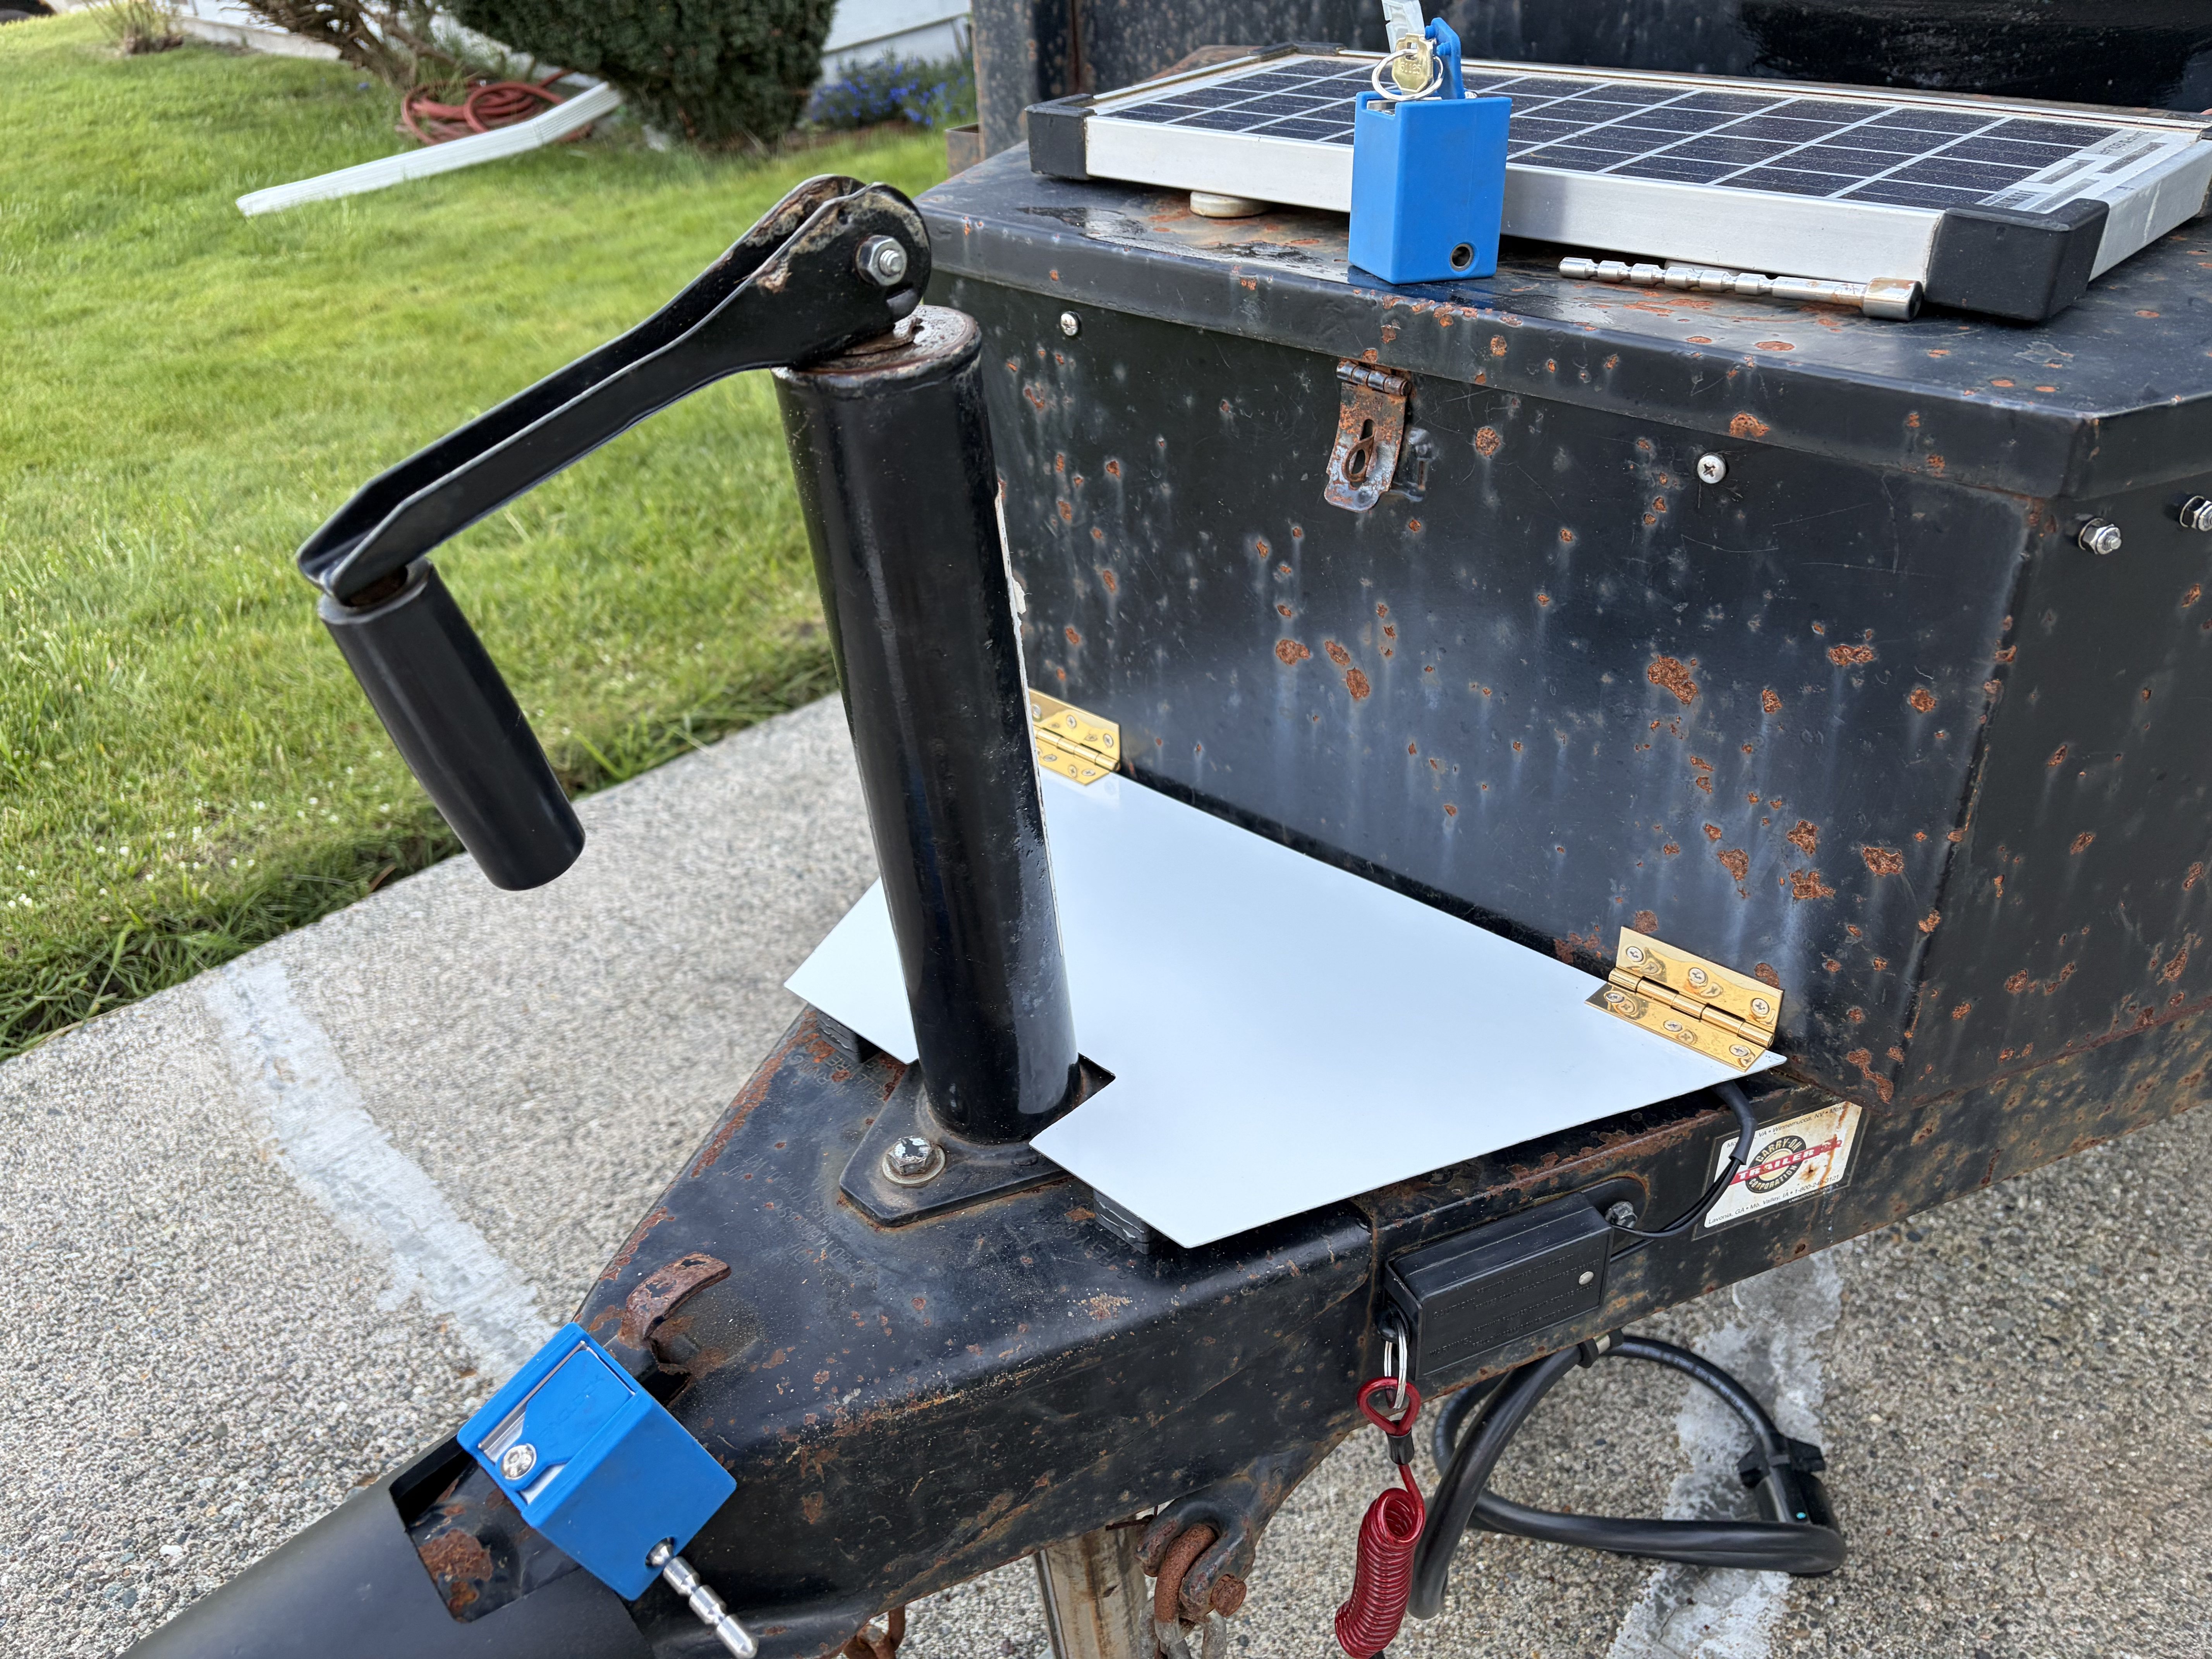
I want to keep this trailer, so I bought a
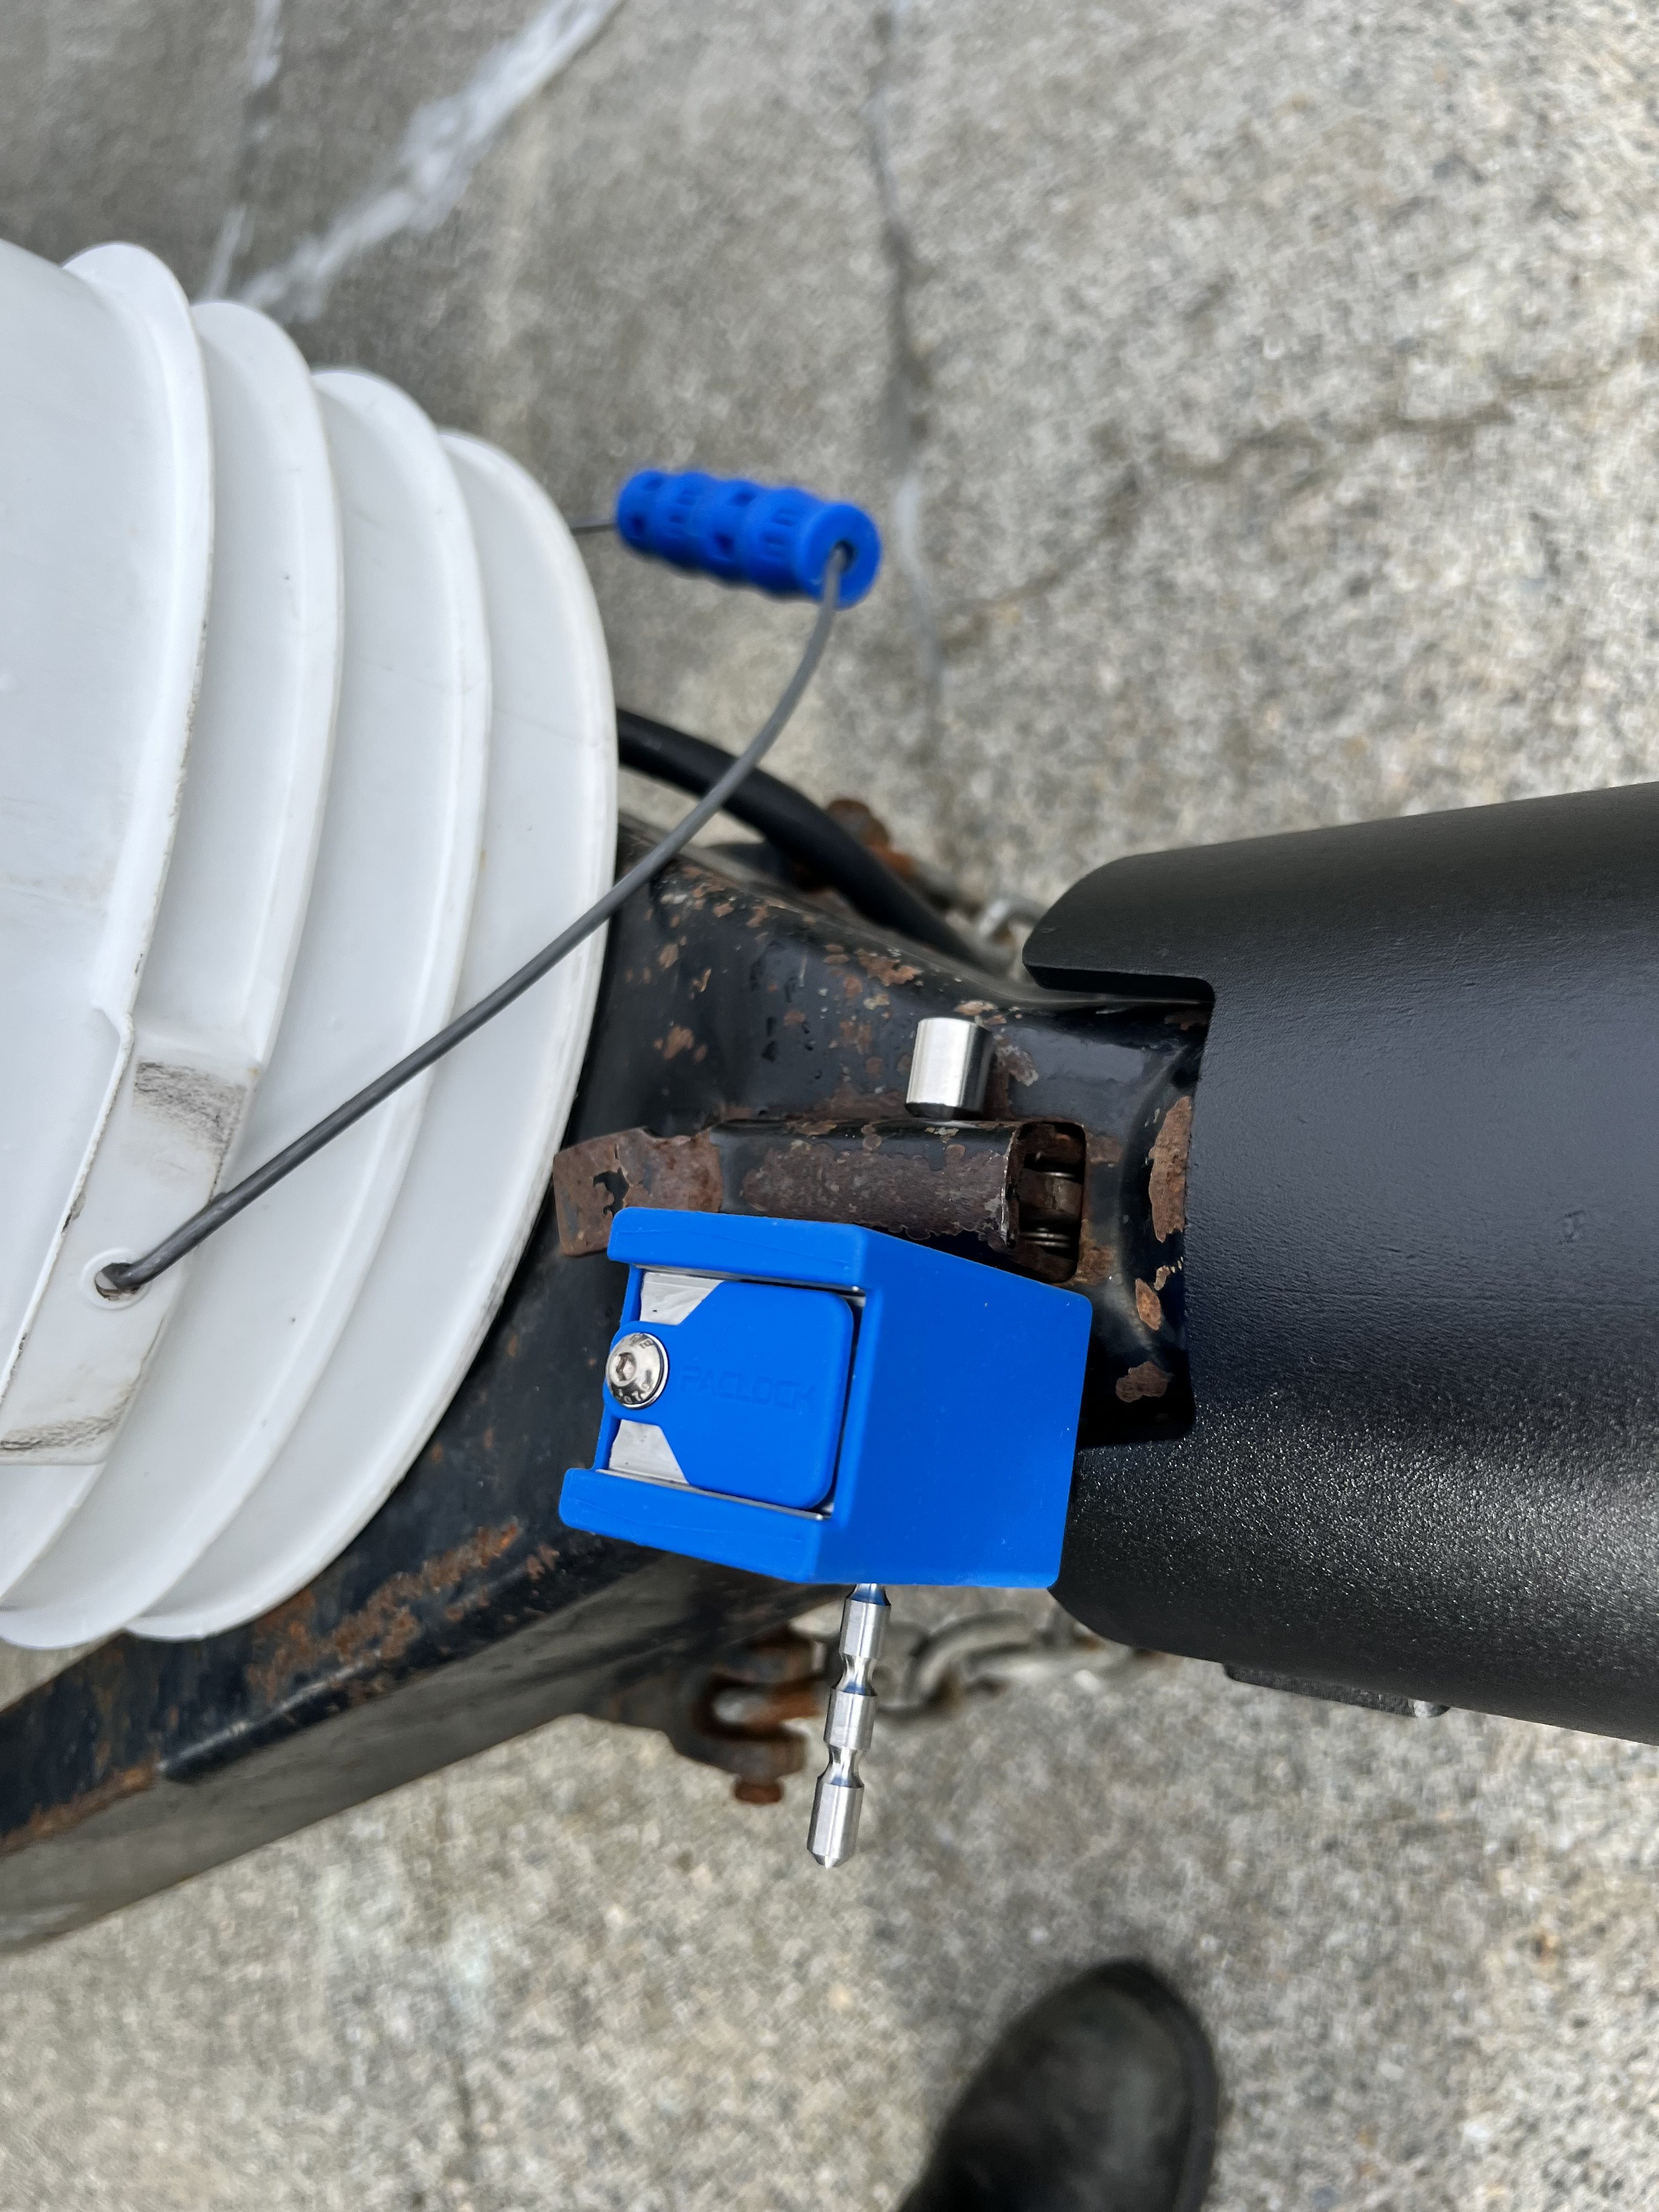
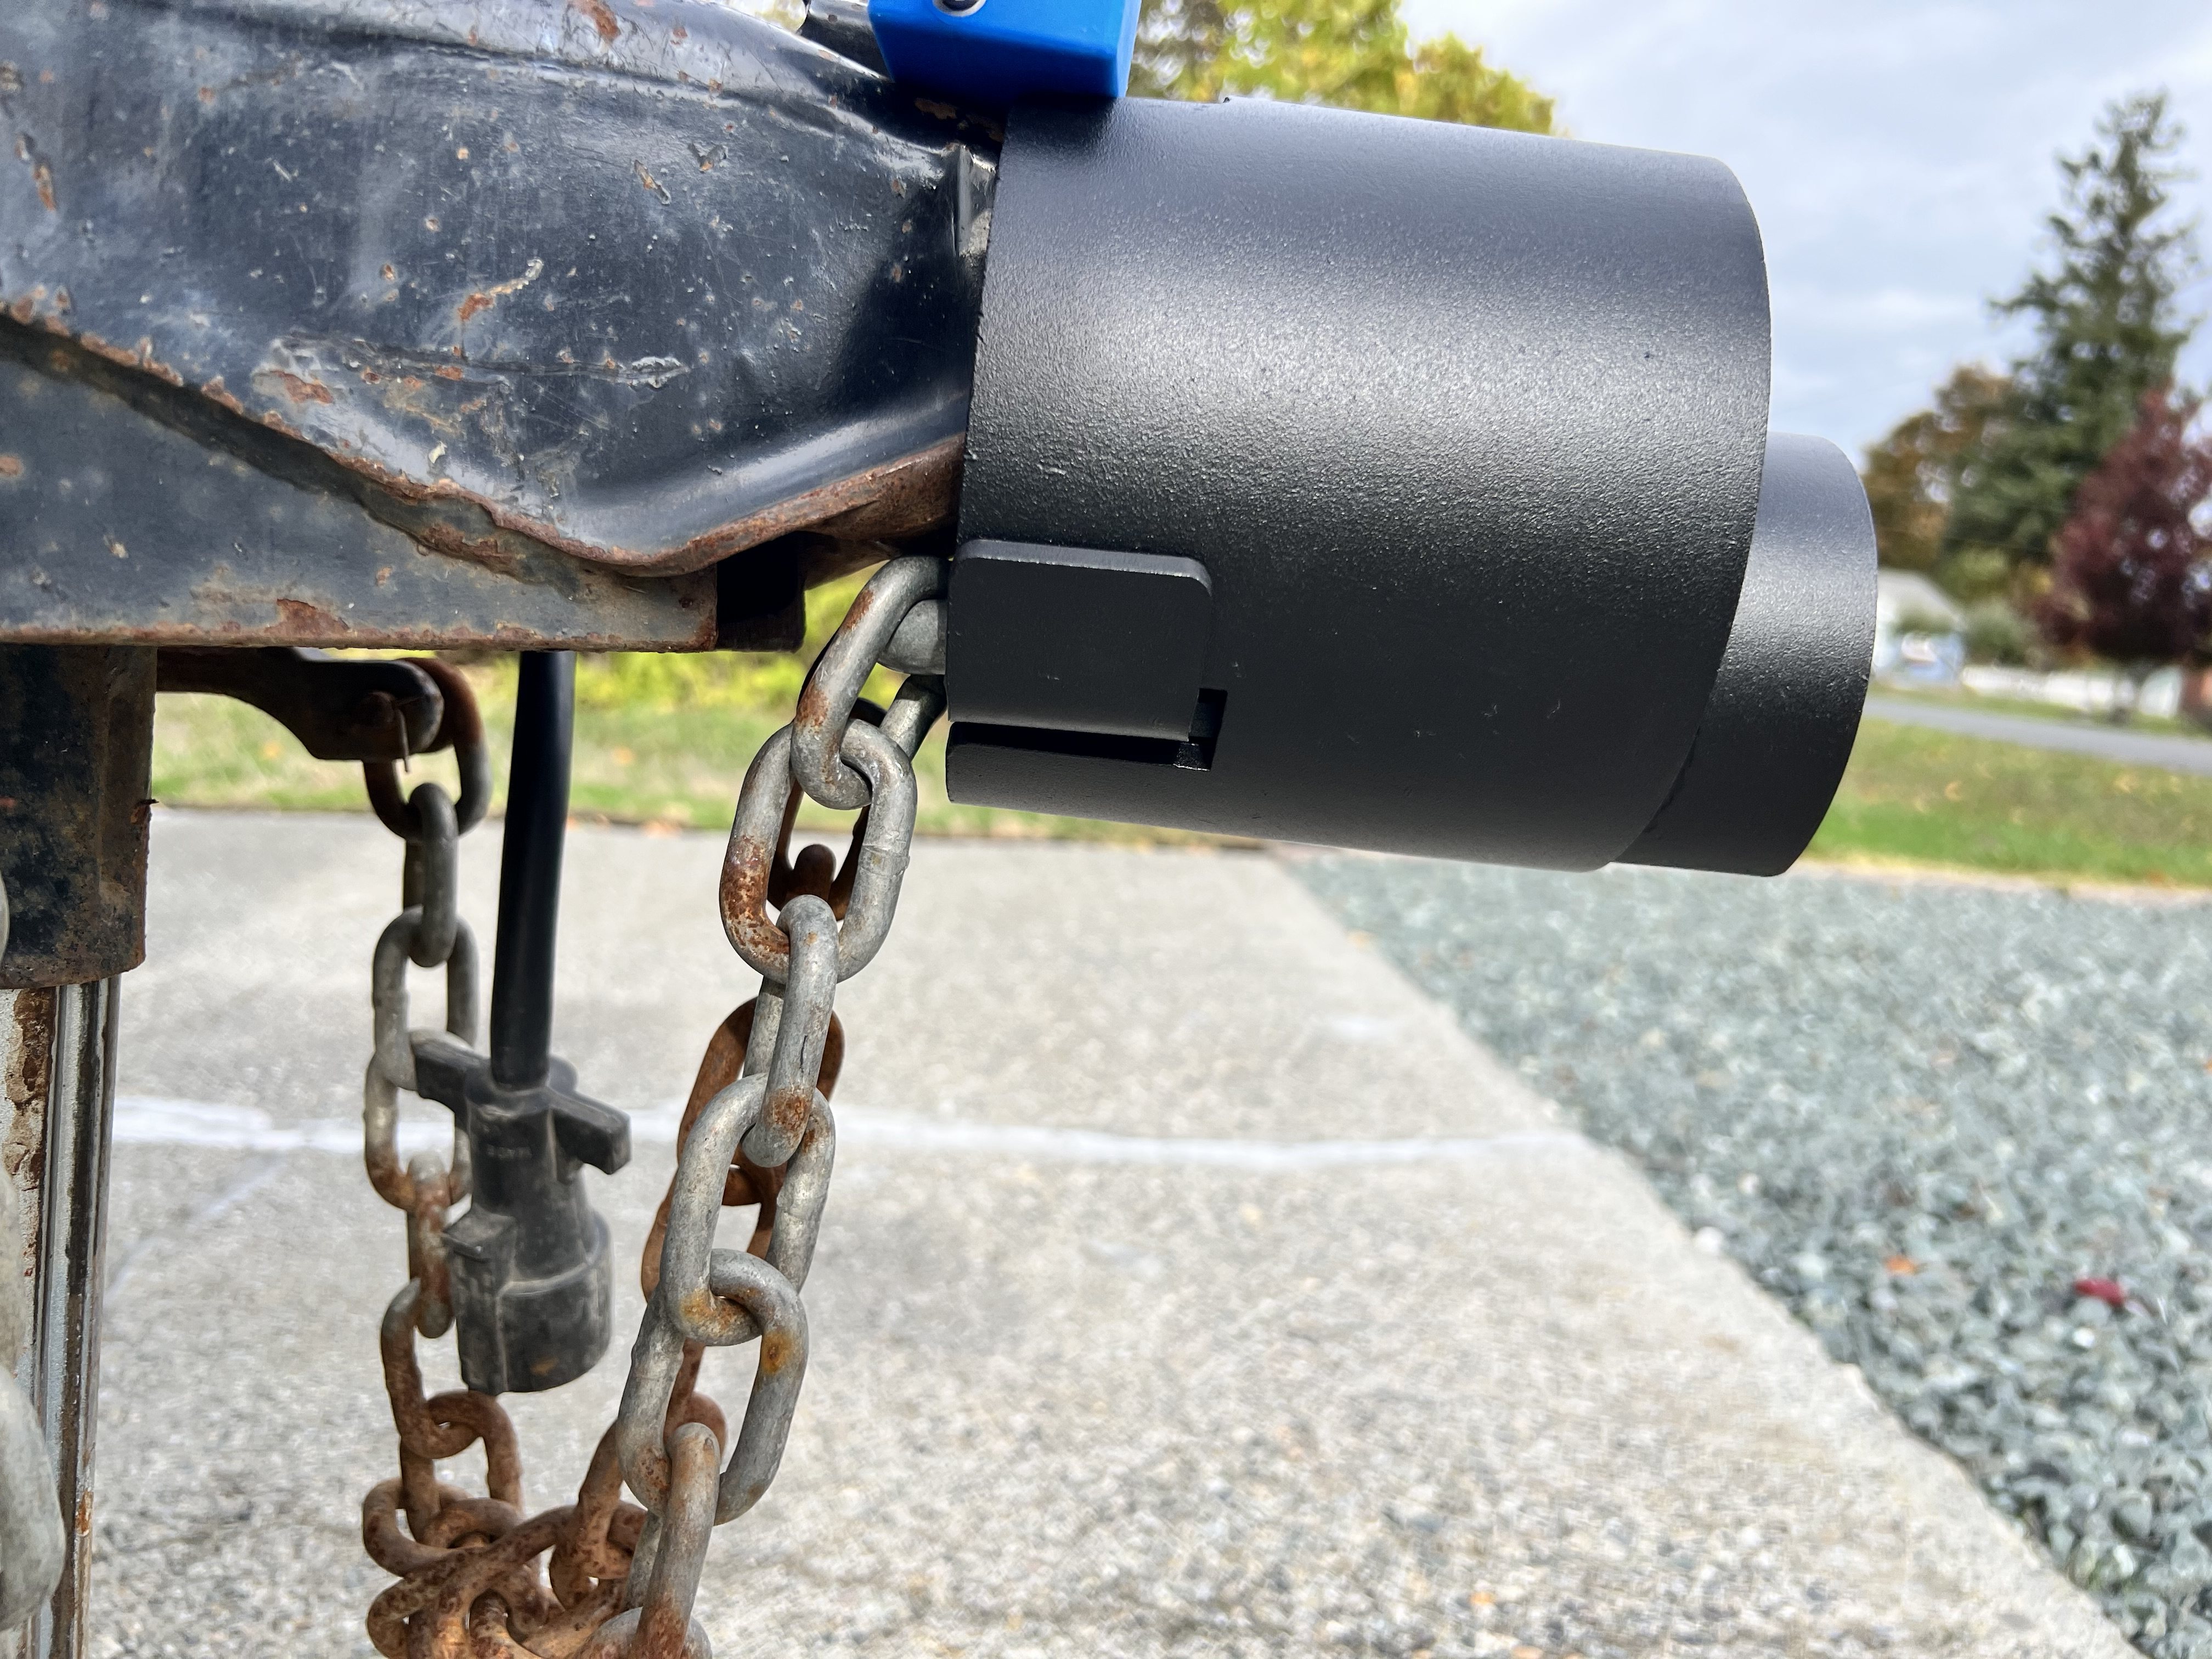
PacLock coupler cover. These aren't cheap but you aren't going to take them off with an angle grinder in 10 minutes, either. Made in USA, SS lock body. Then, a matching, keyed-alike,
coupler lock (pin type). It
can be cut off quickly, but it's an added layer of security anyway. I bought two of those, one to lock the coupler, one to lock the battery/pump box.
- IMG_2250.jpg (3.11 MiB) Viewed 4301 times
- IMG_2251.jpg (1.55 MiB) Viewed 4301 times
- IMG_2252.jpg (1.84 MiB) Viewed 4301 times
- IMG_2253.jpg (856.24 KiB) Viewed 4301 times
Yes, you can drill the lock core, but you'll lay on your back to do it, chips flying in your face. I'm going to make you work for it.
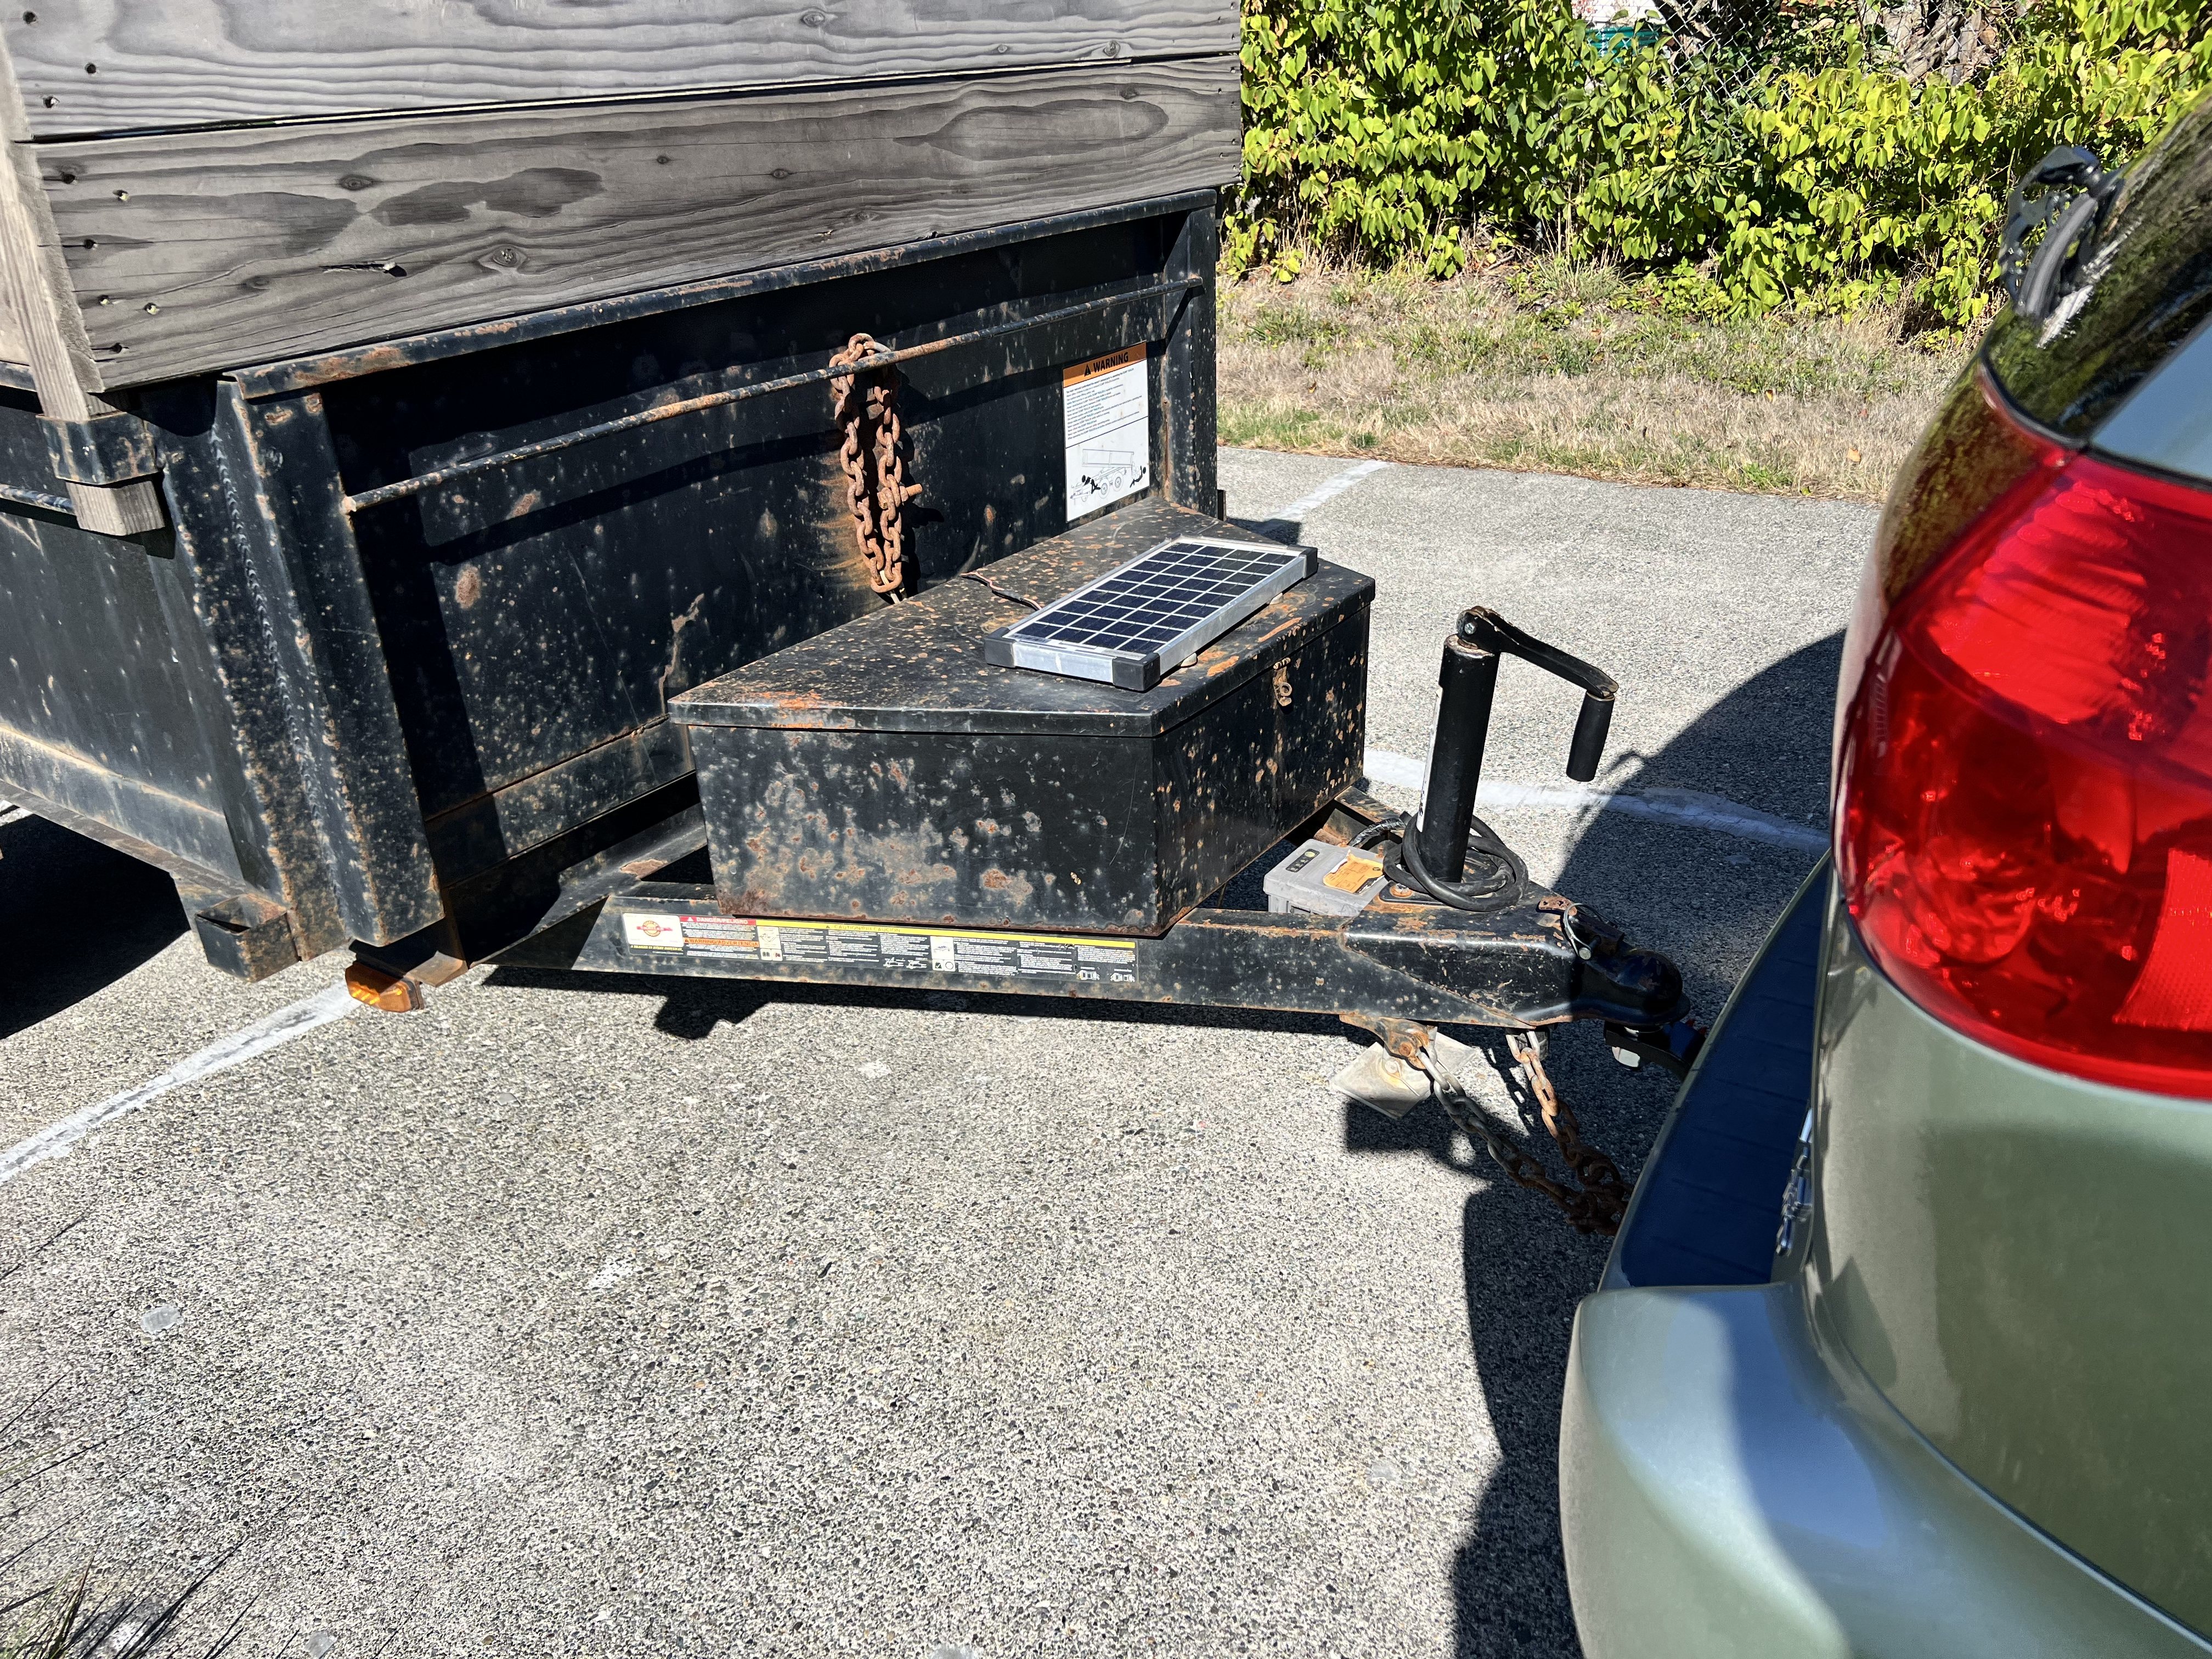
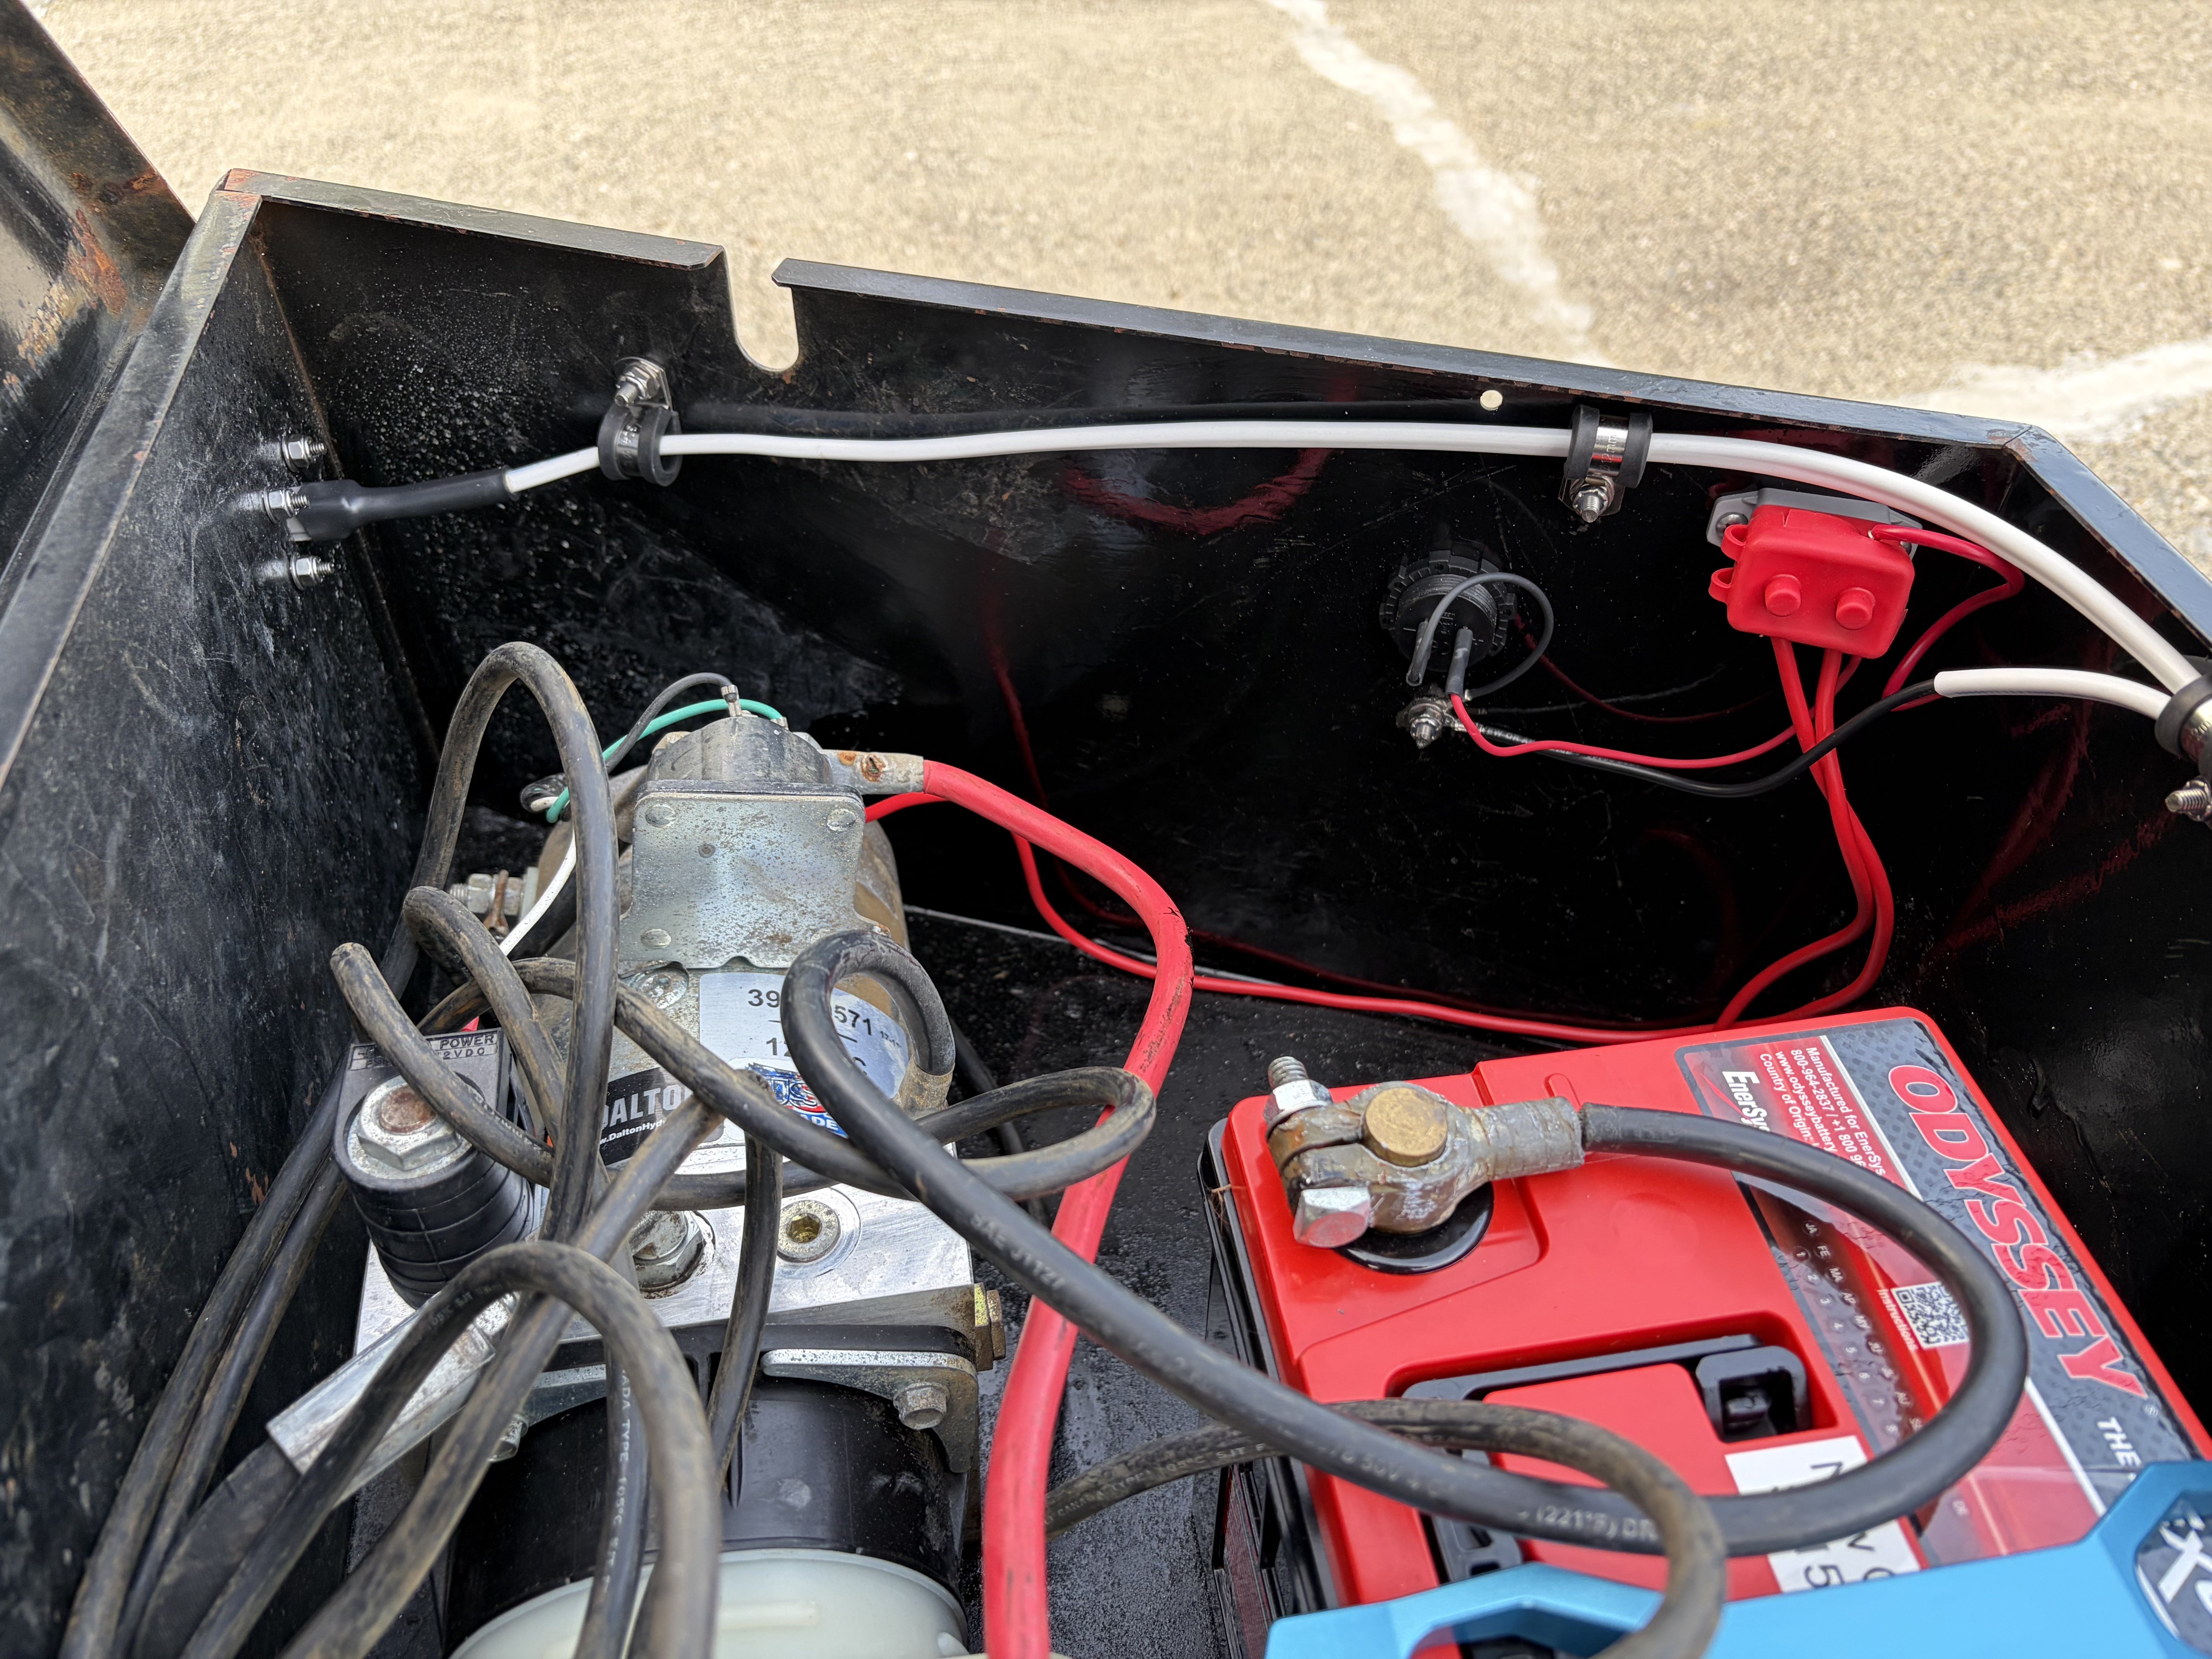
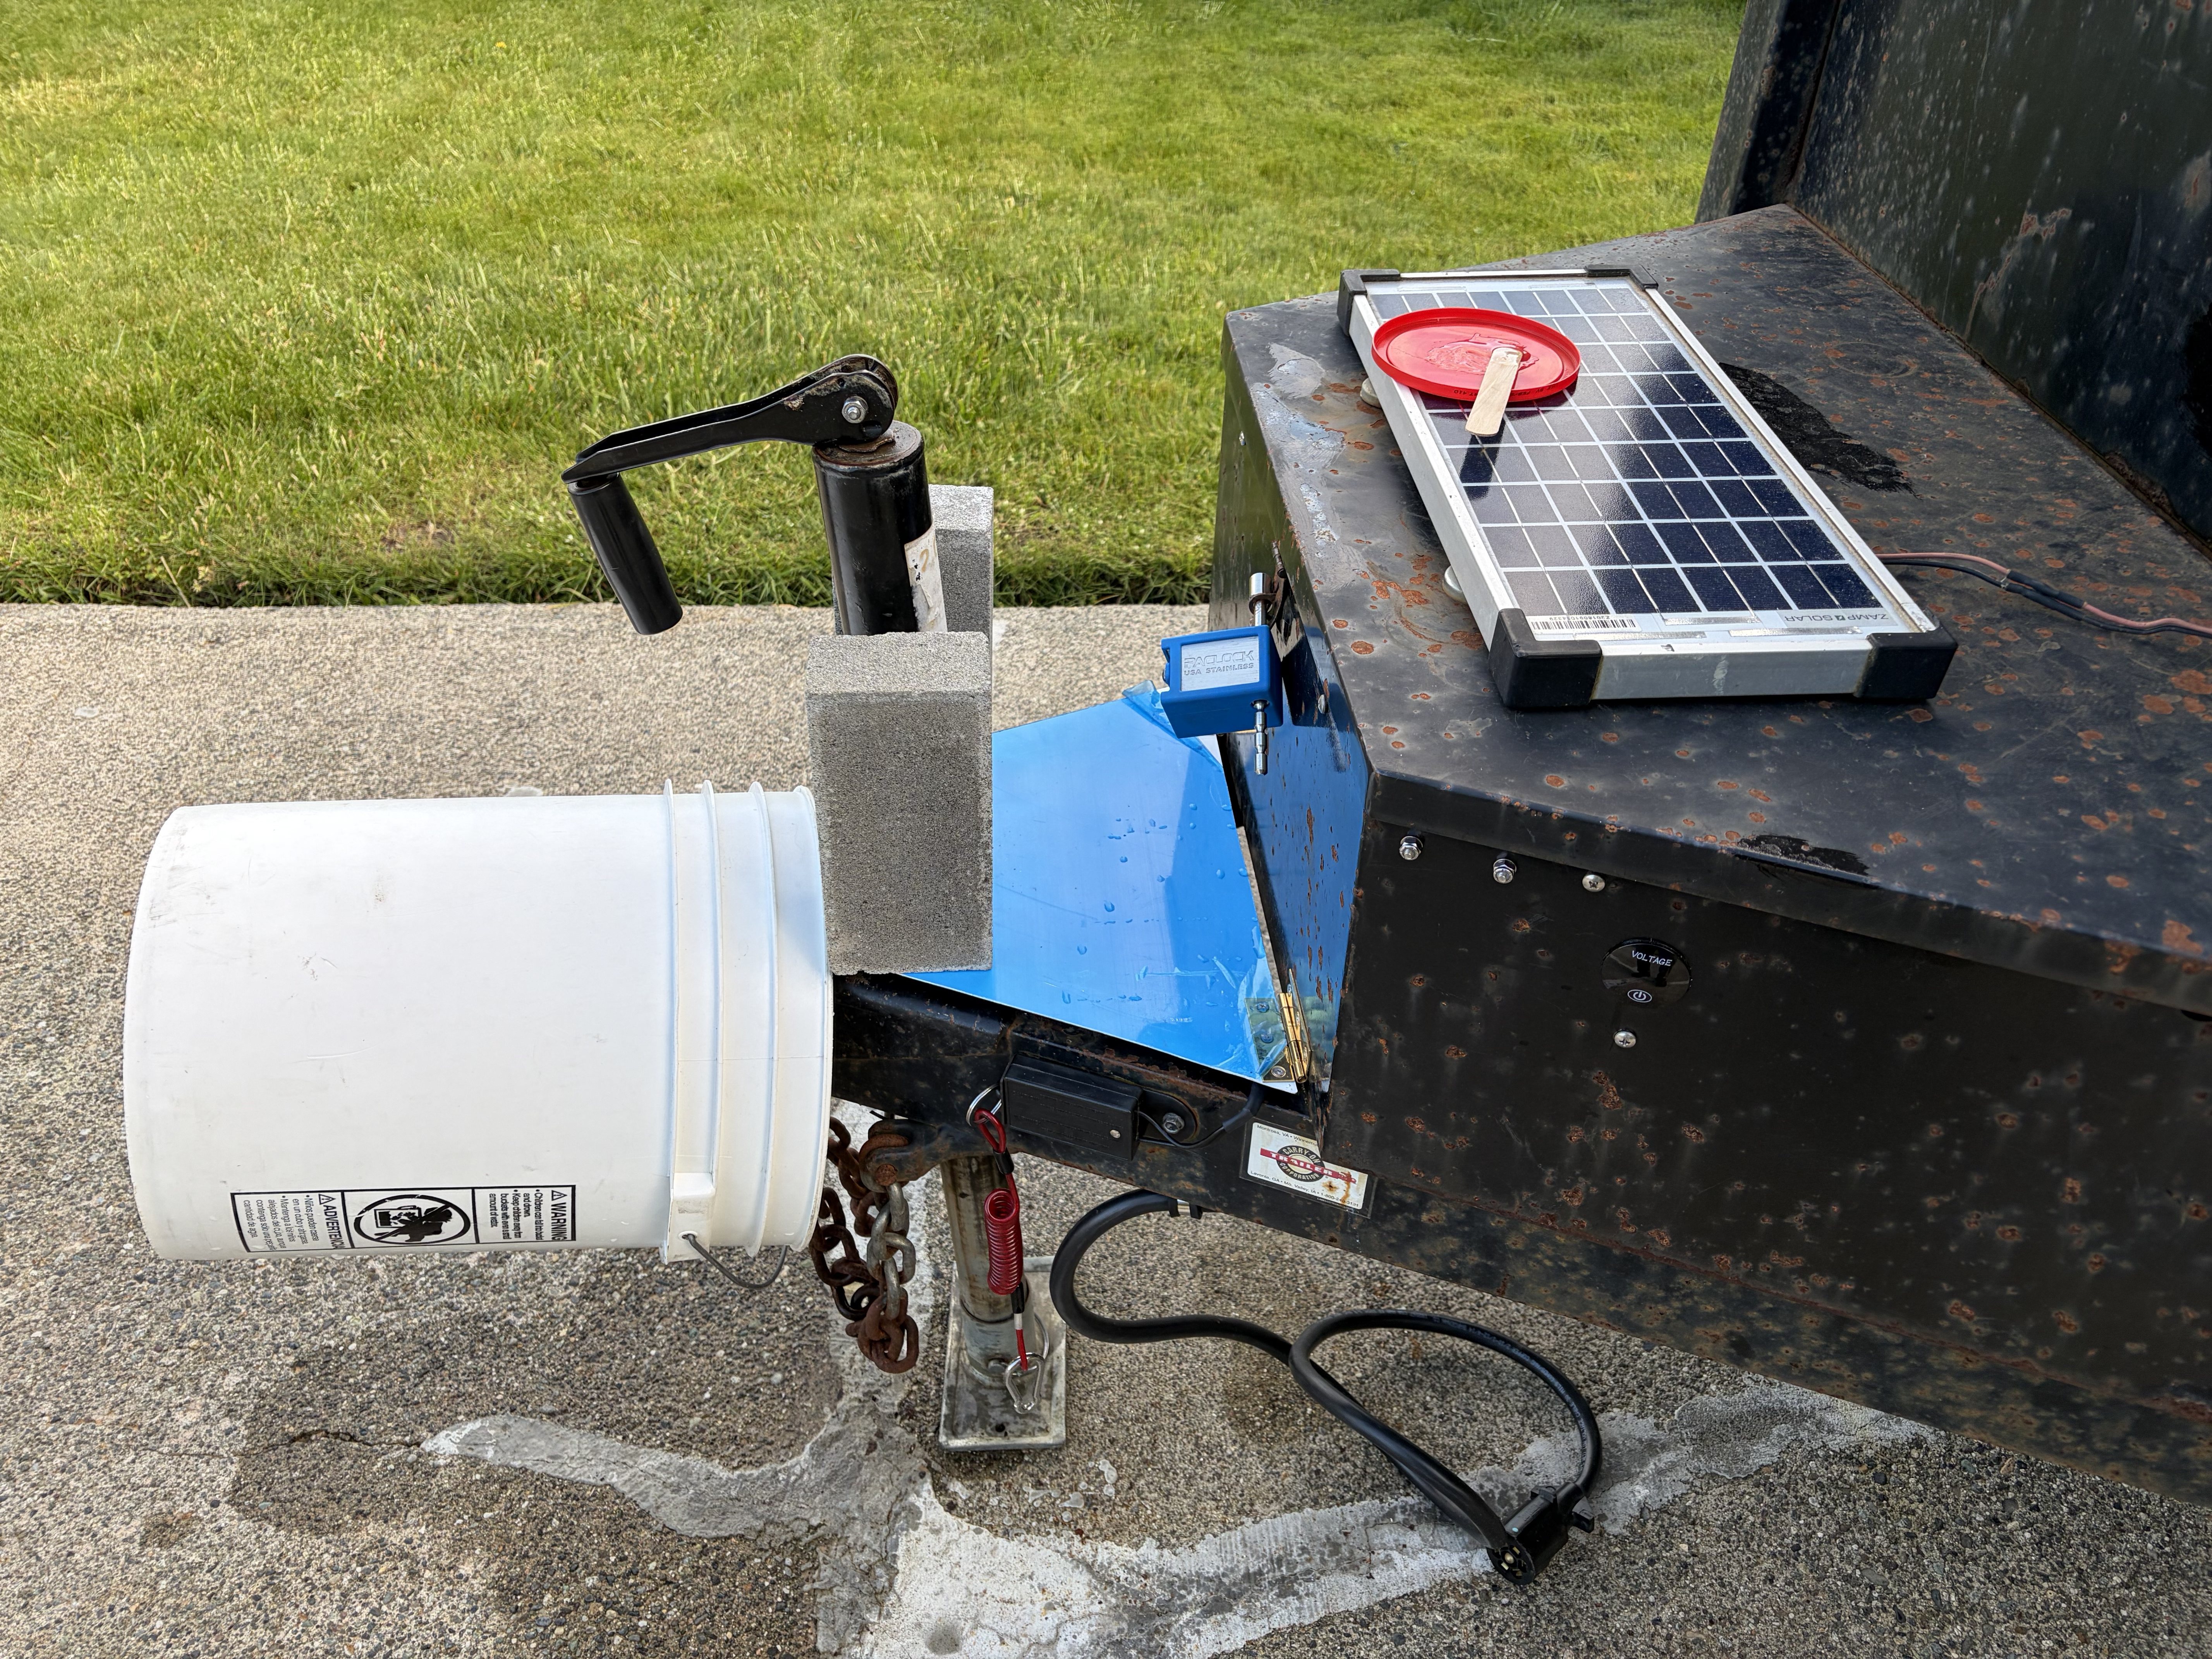
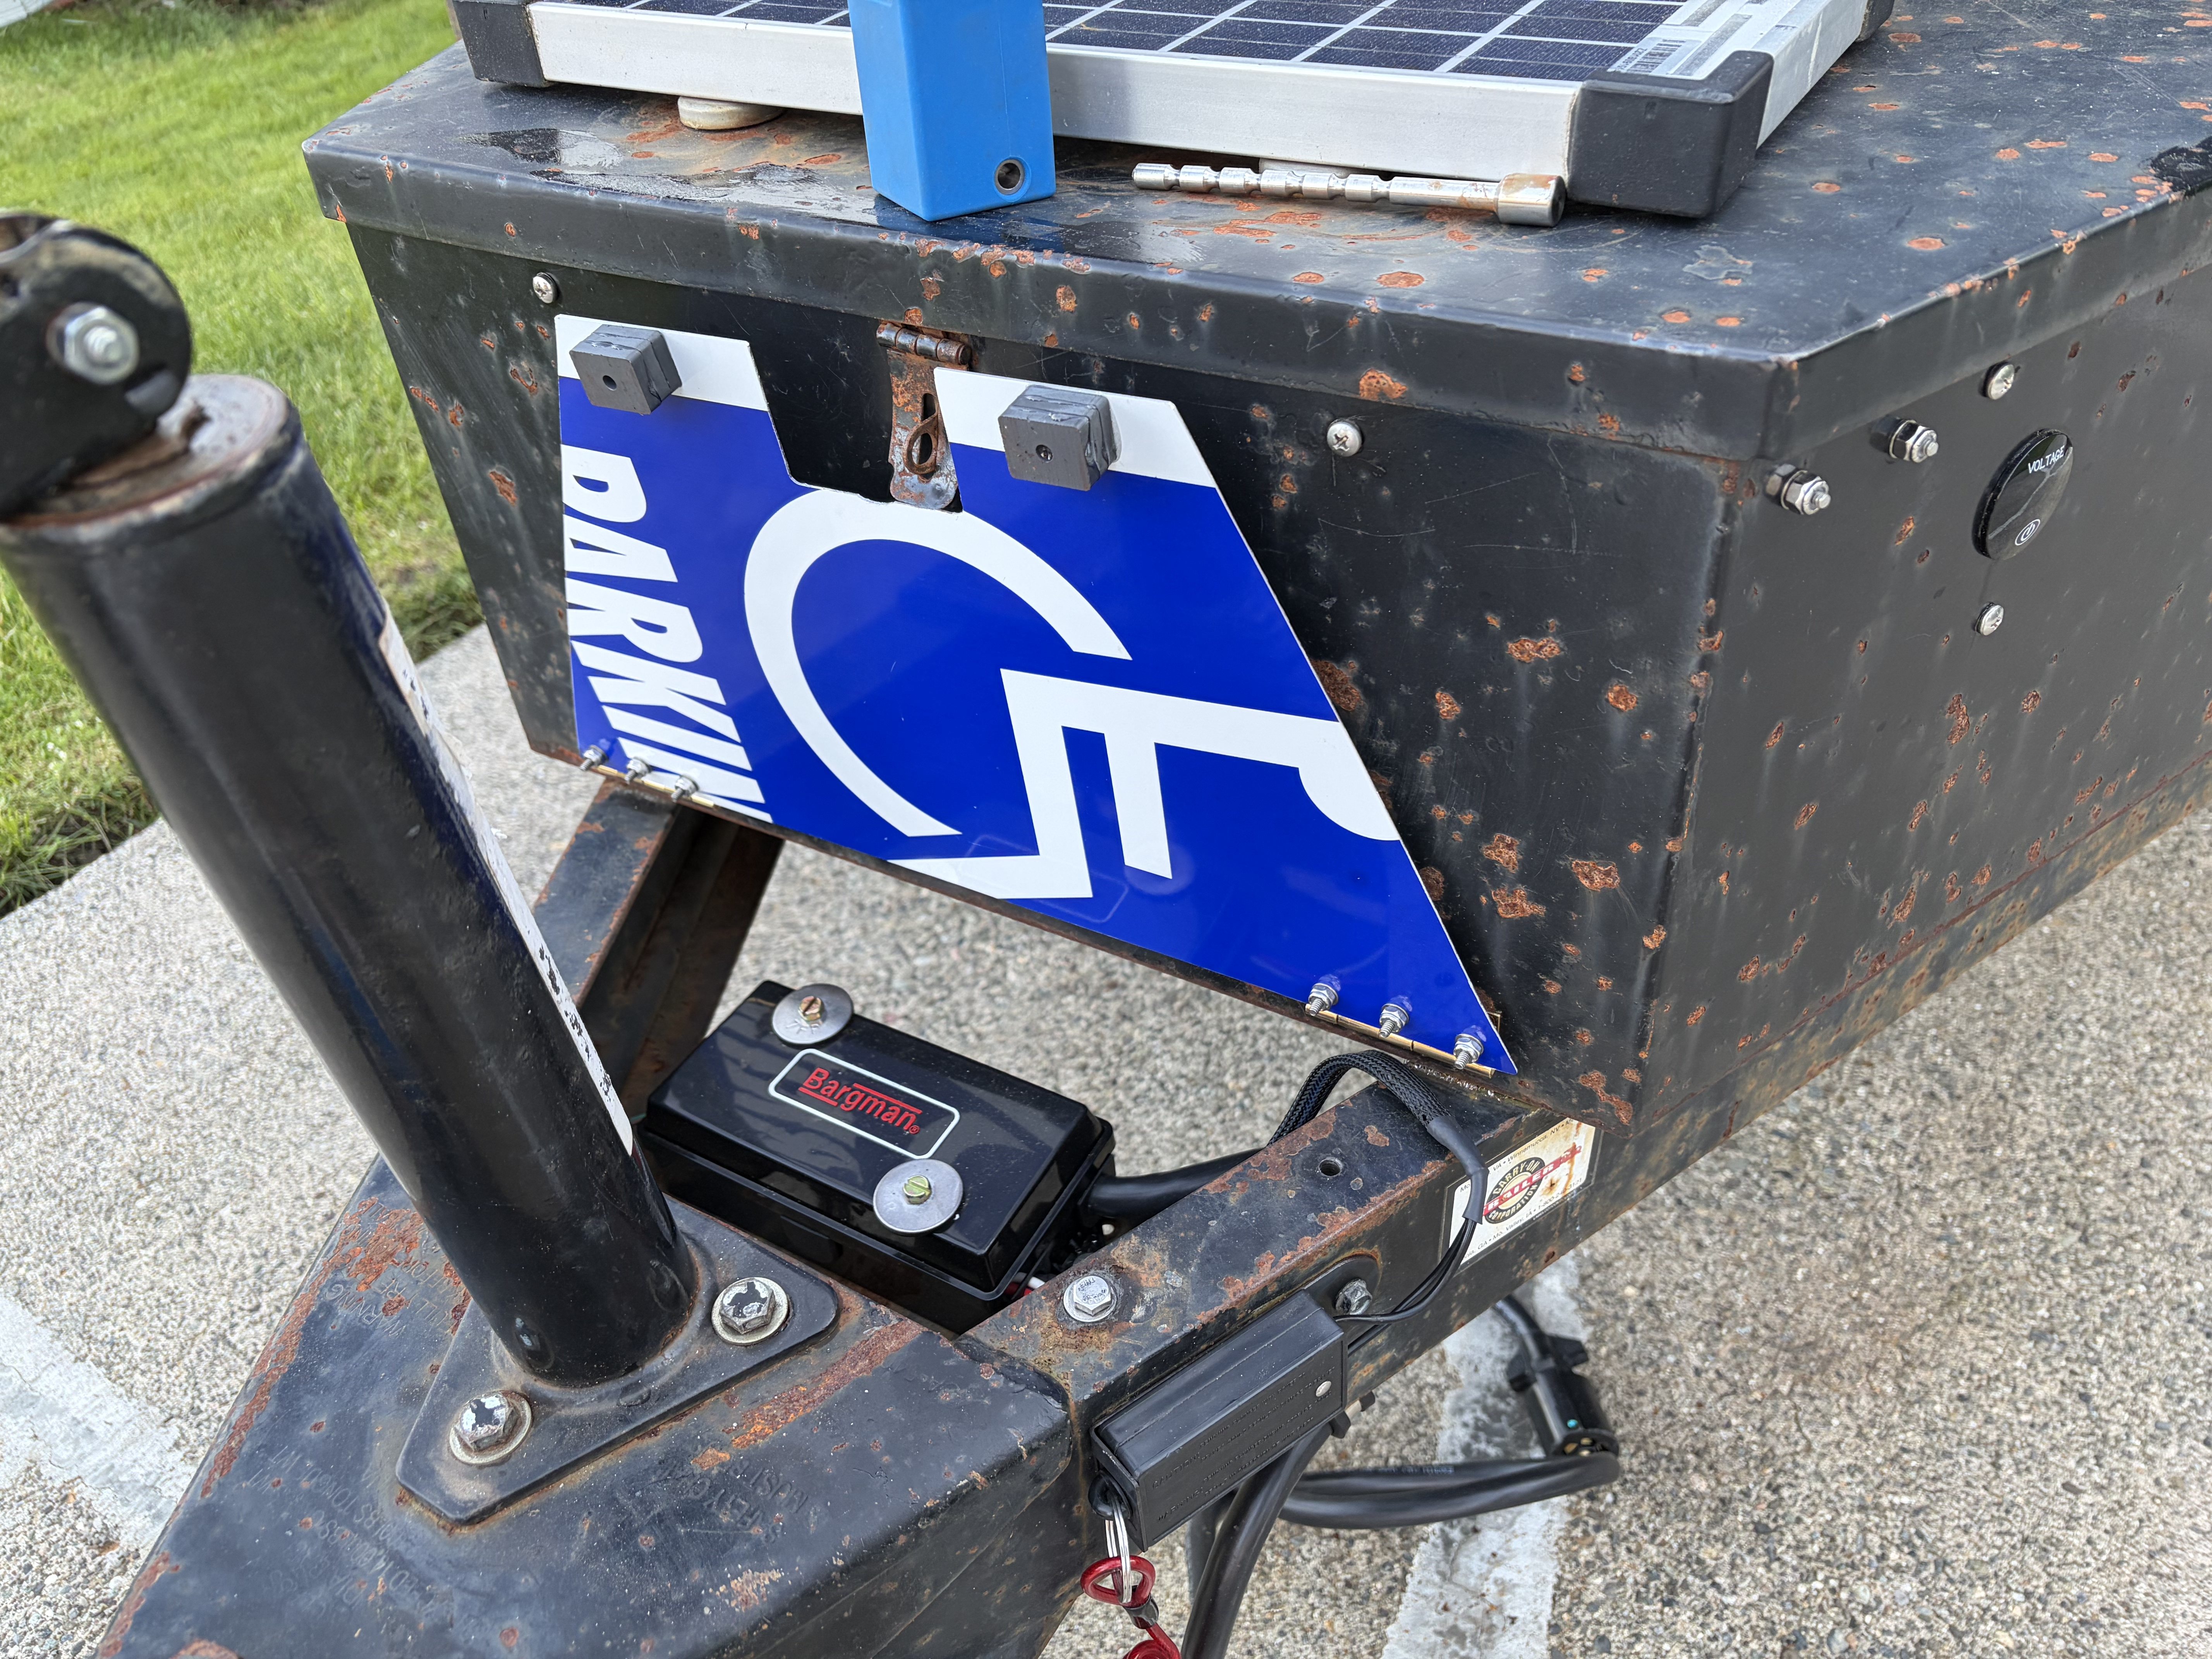
The battery box also houses the electrohydraulic pump. The magnetic solar panel was wired directly to the battery and has a nominal output of 16v, so there's a problem.
- IMG_024630.jpg (3.53 MiB) Viewed 4301 times
No "before" picture that captures the internals of that arrangement, but the hydraulic pump wasn't bolted down, nothing was fuses and wires were running through the box without grommets, it was all a fire waiting to happen.
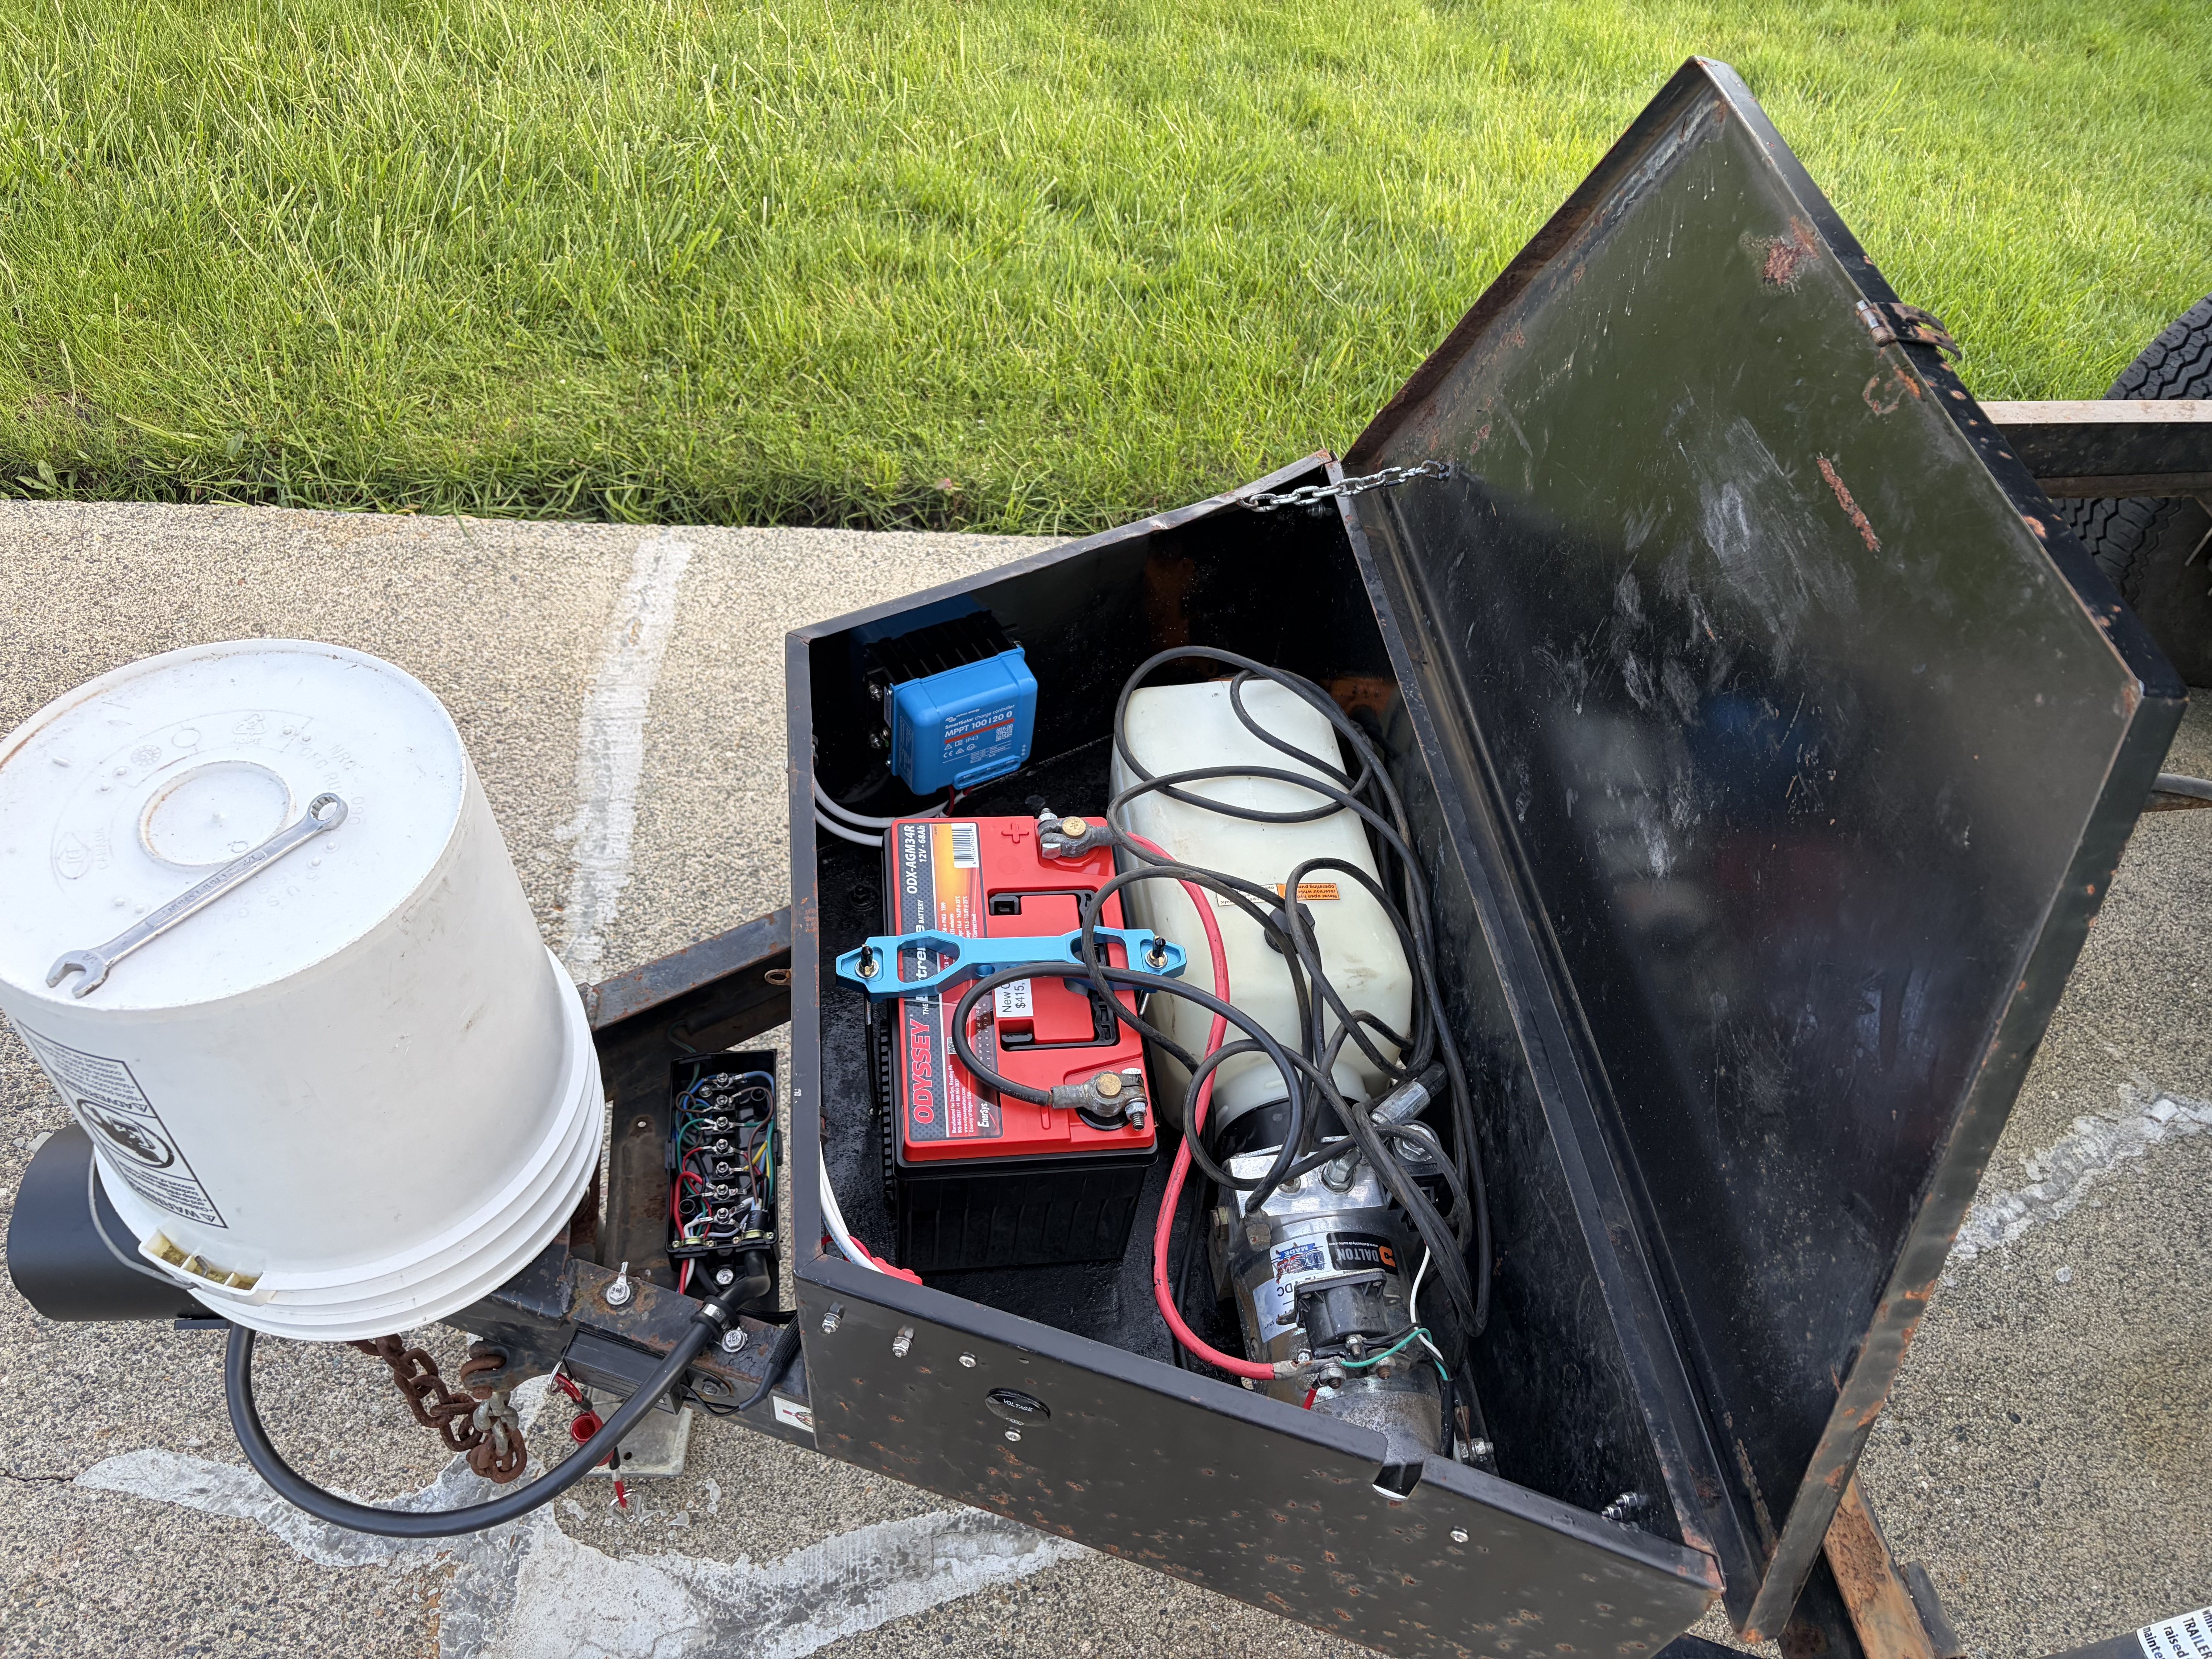
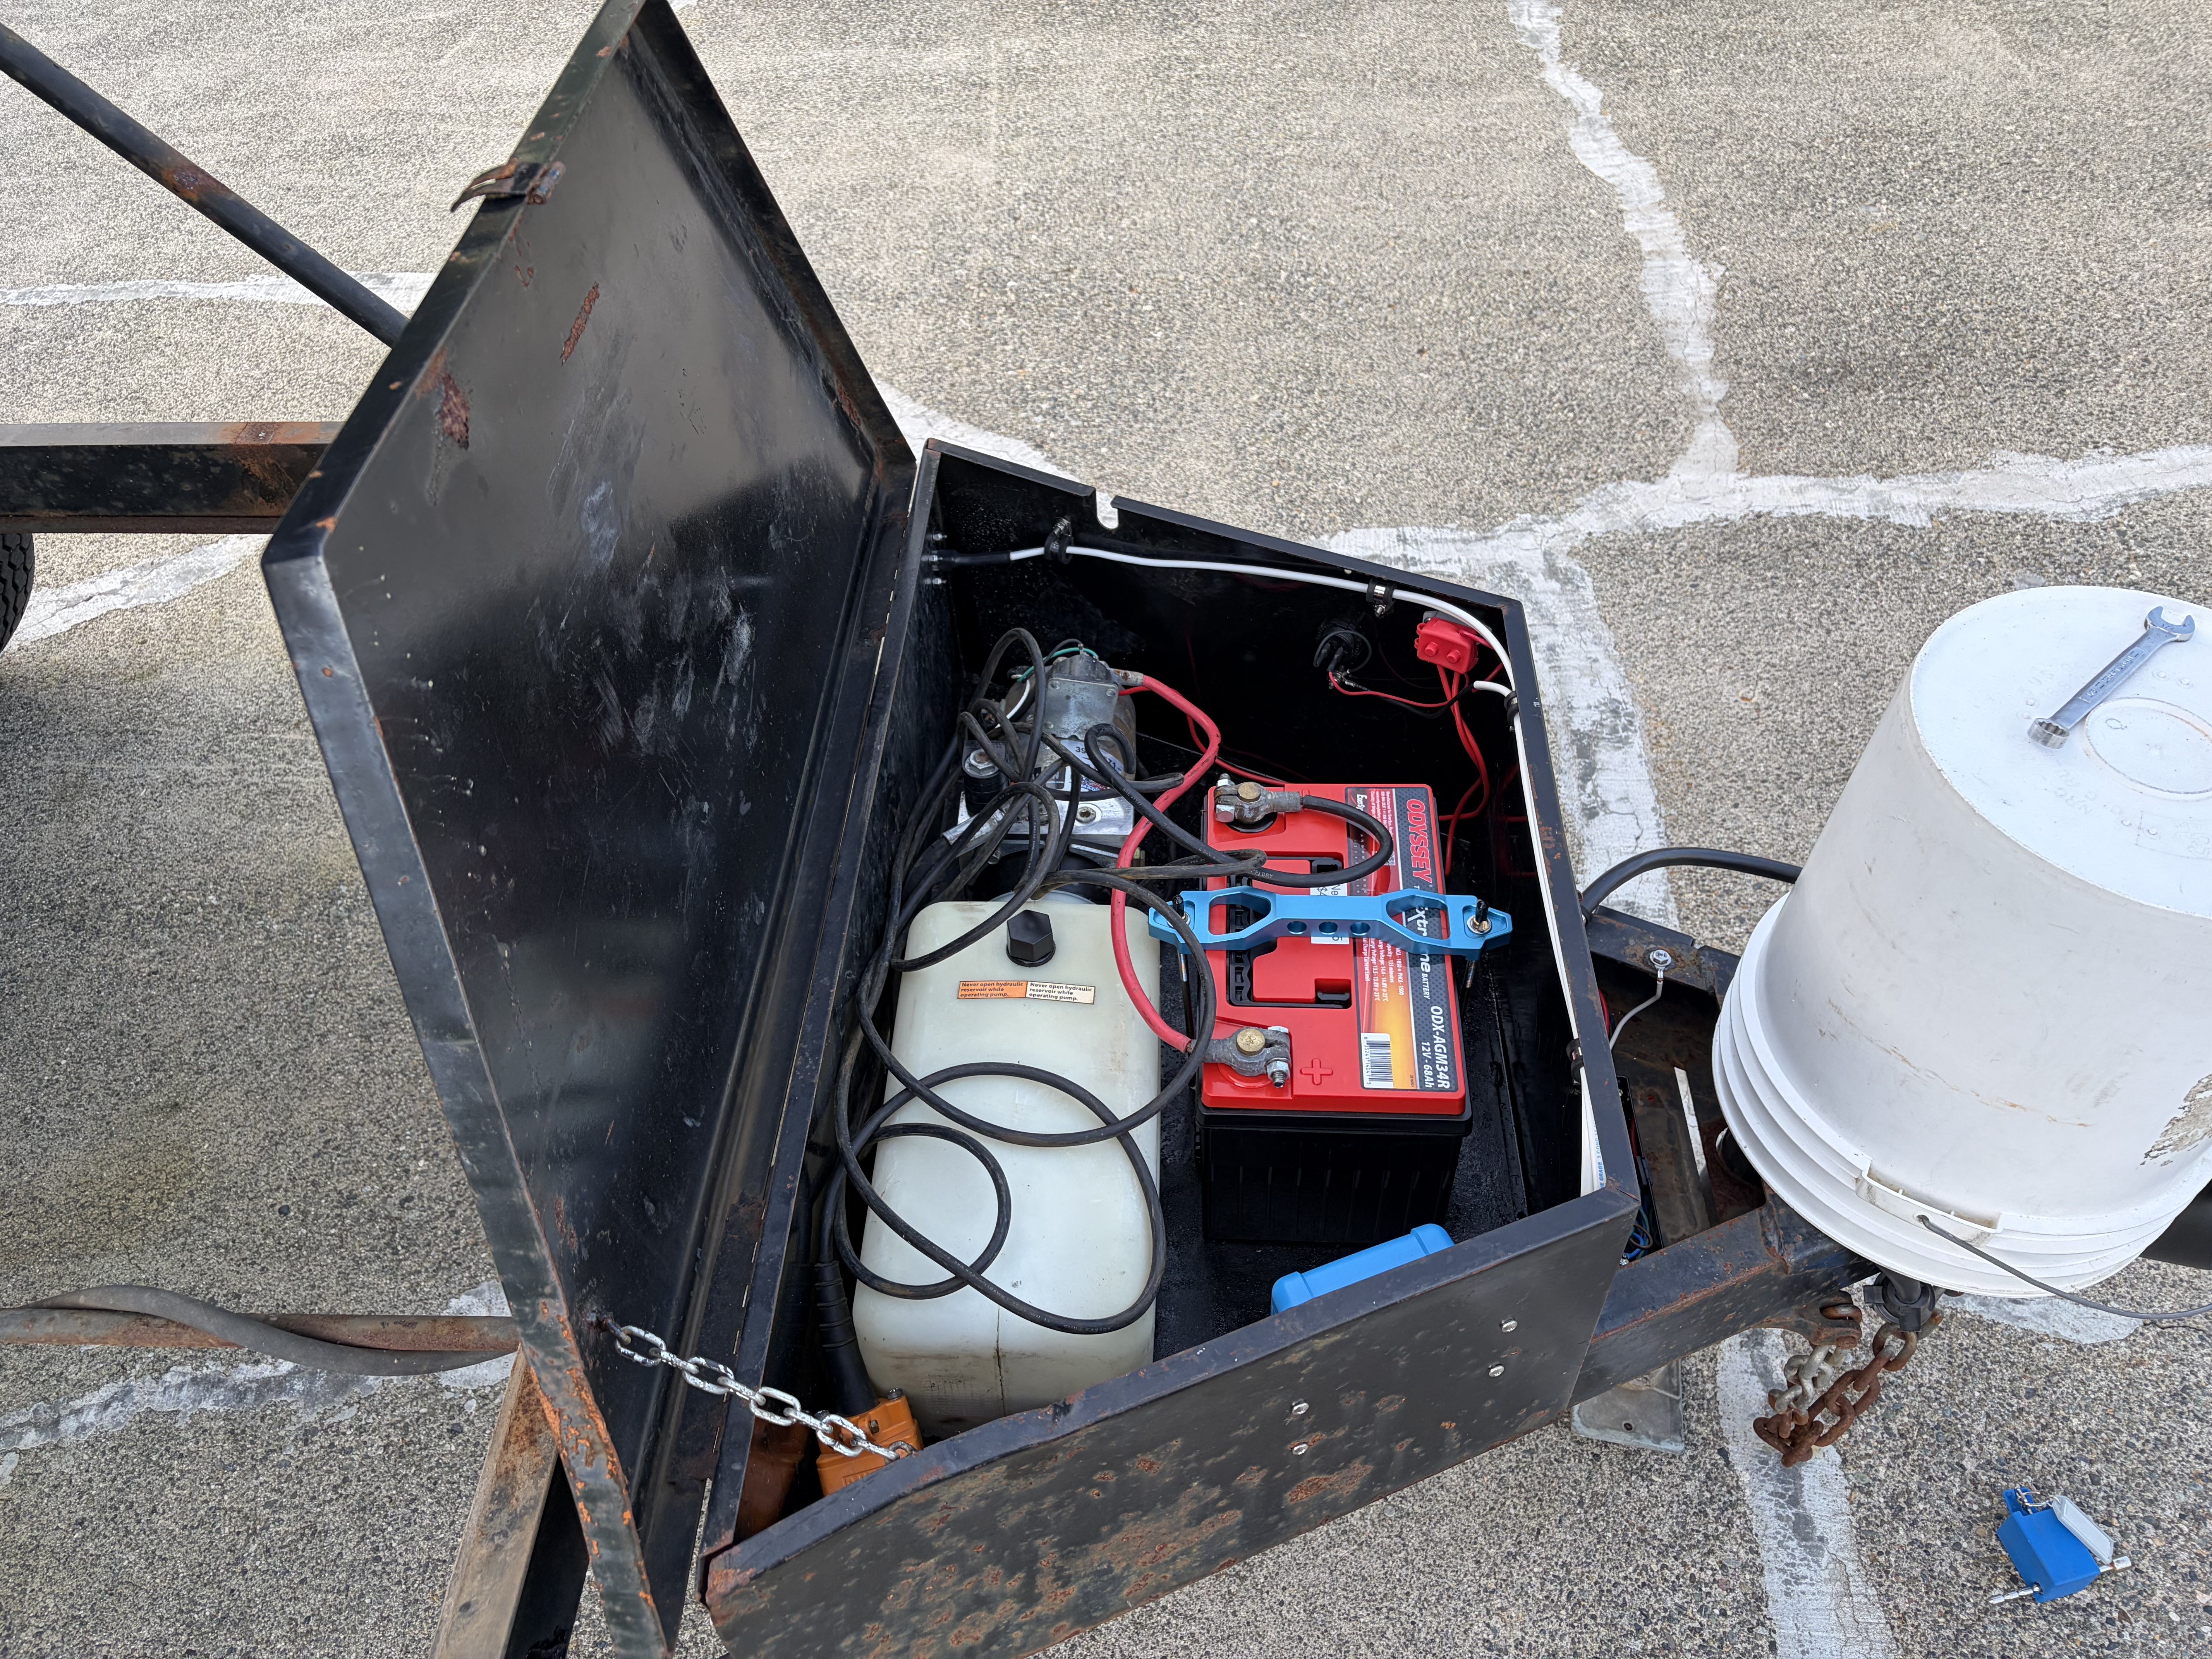
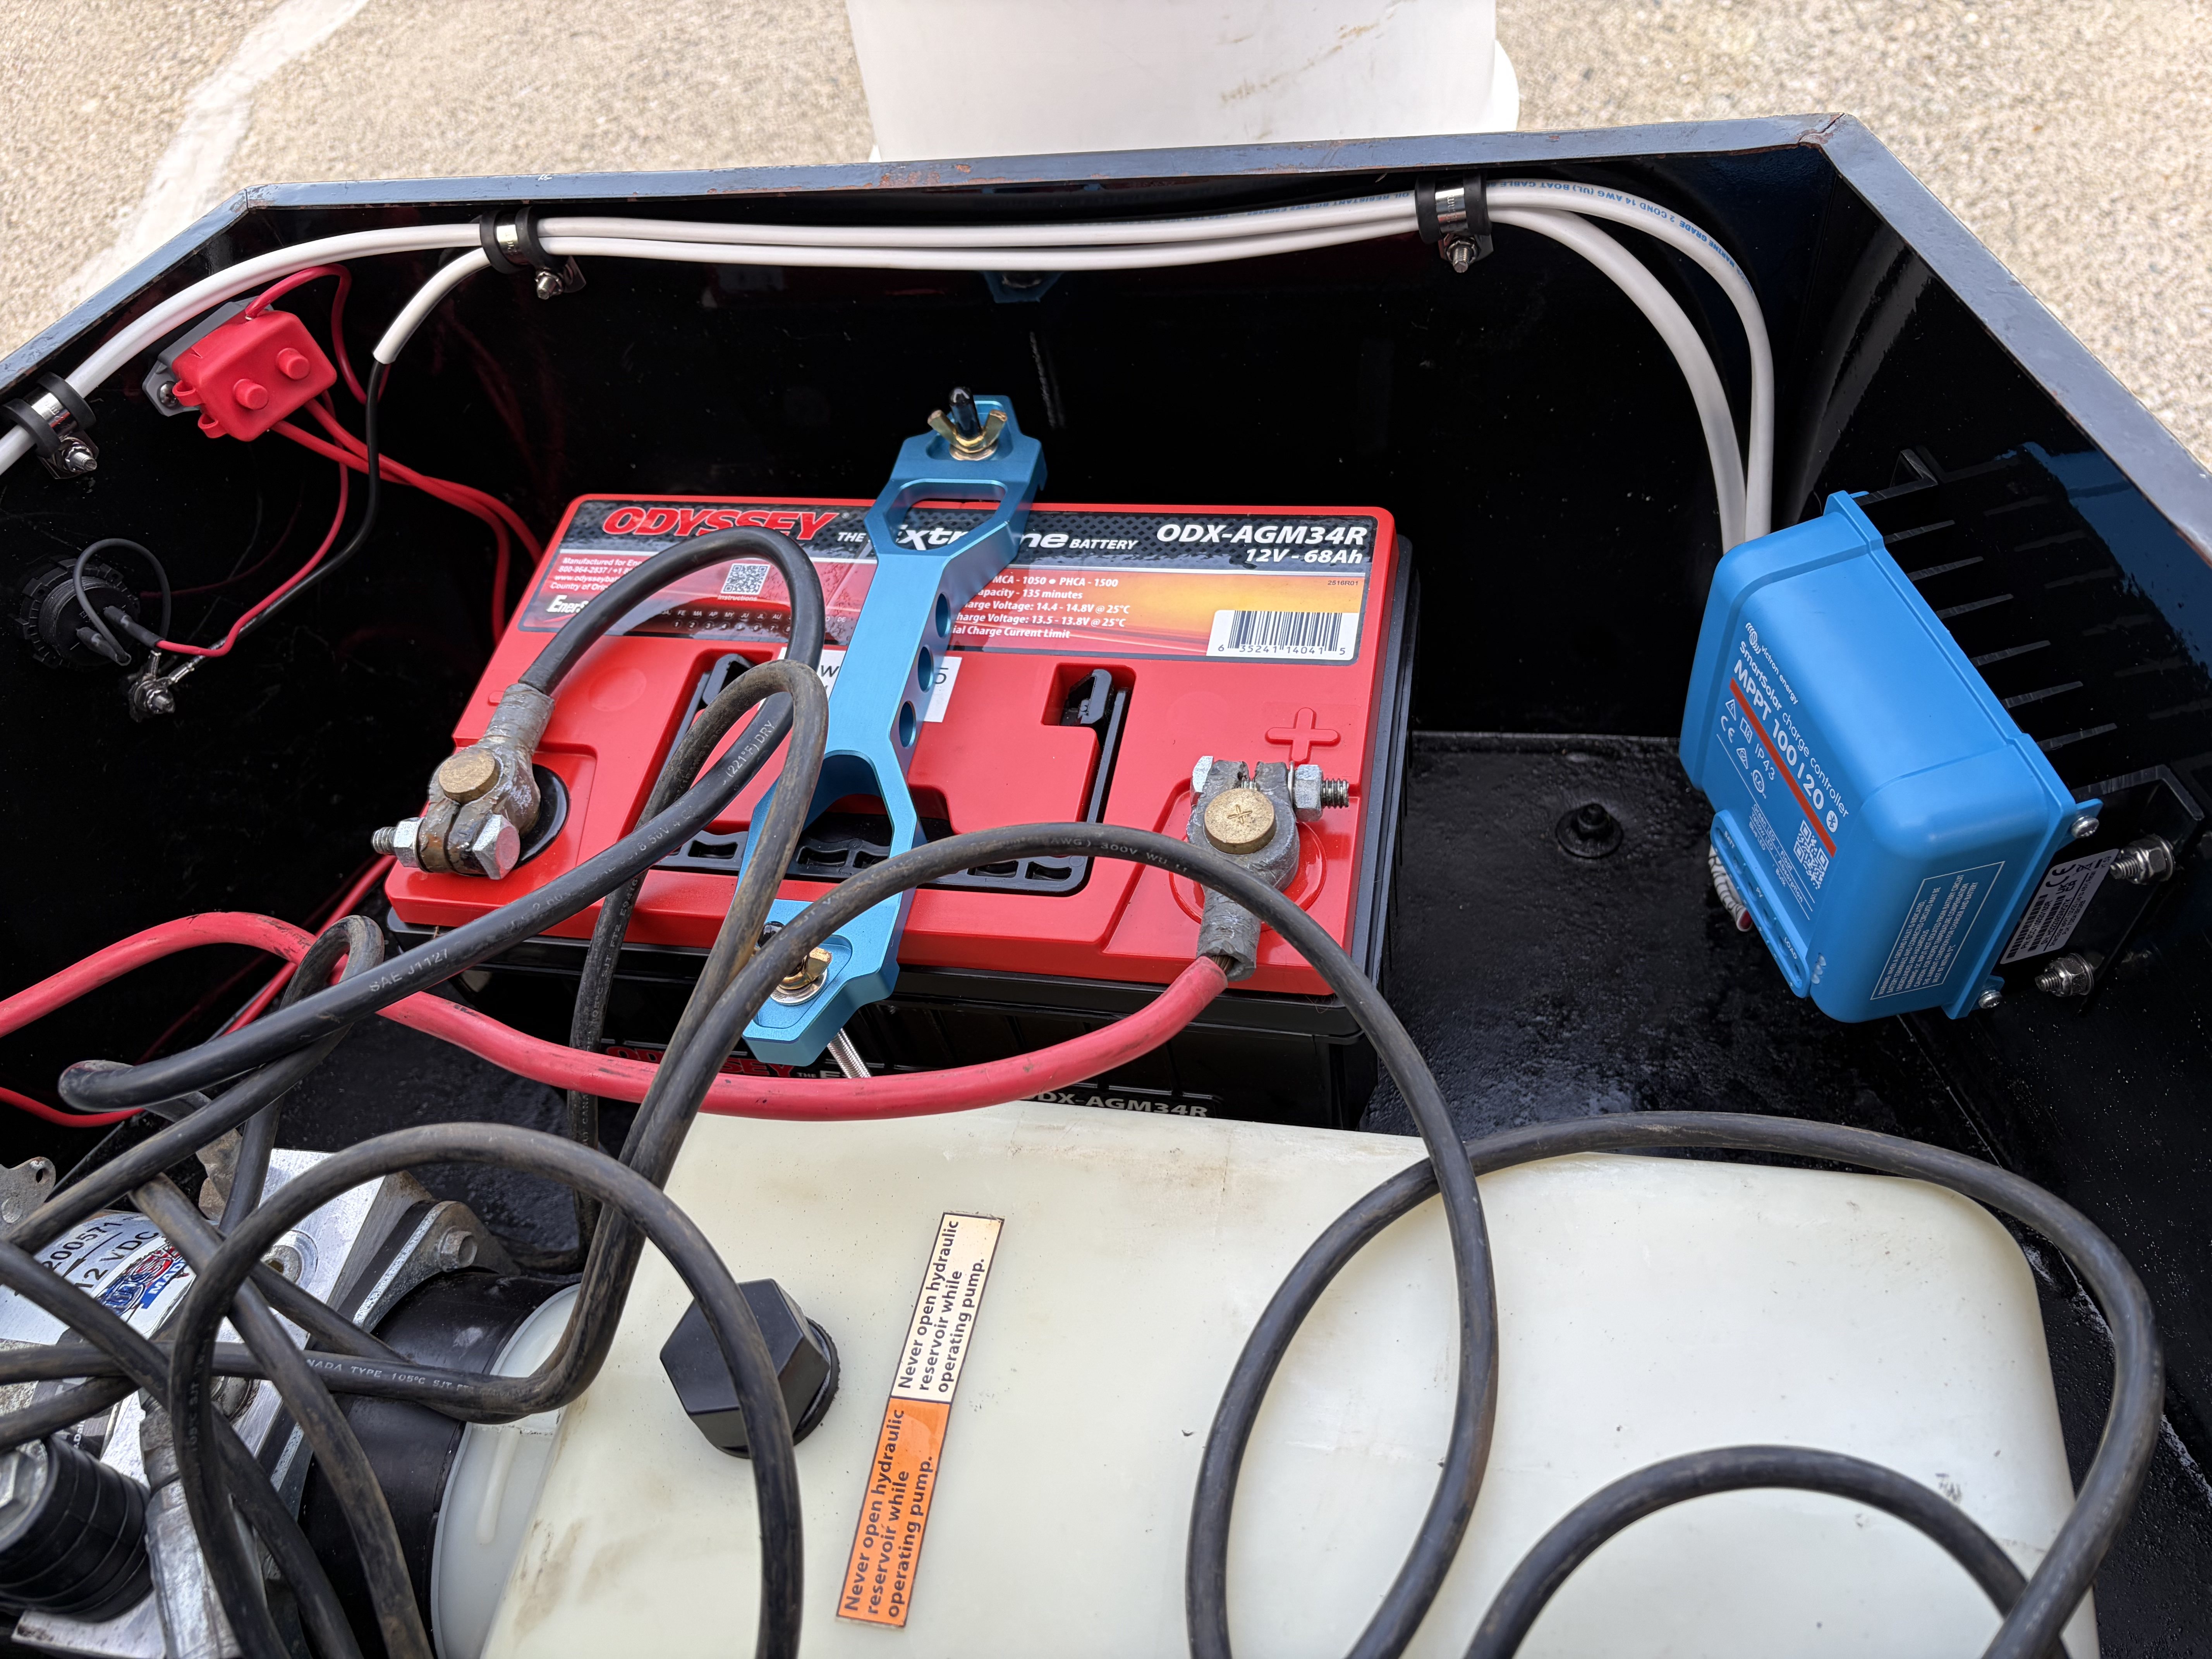
I eliminated the emergency break-way brake battery and wired that to the main battery, which I replaced with an Enersys/Hawker/
Odyssey ODX-AGM34R (to match all my other vehicles). Added an
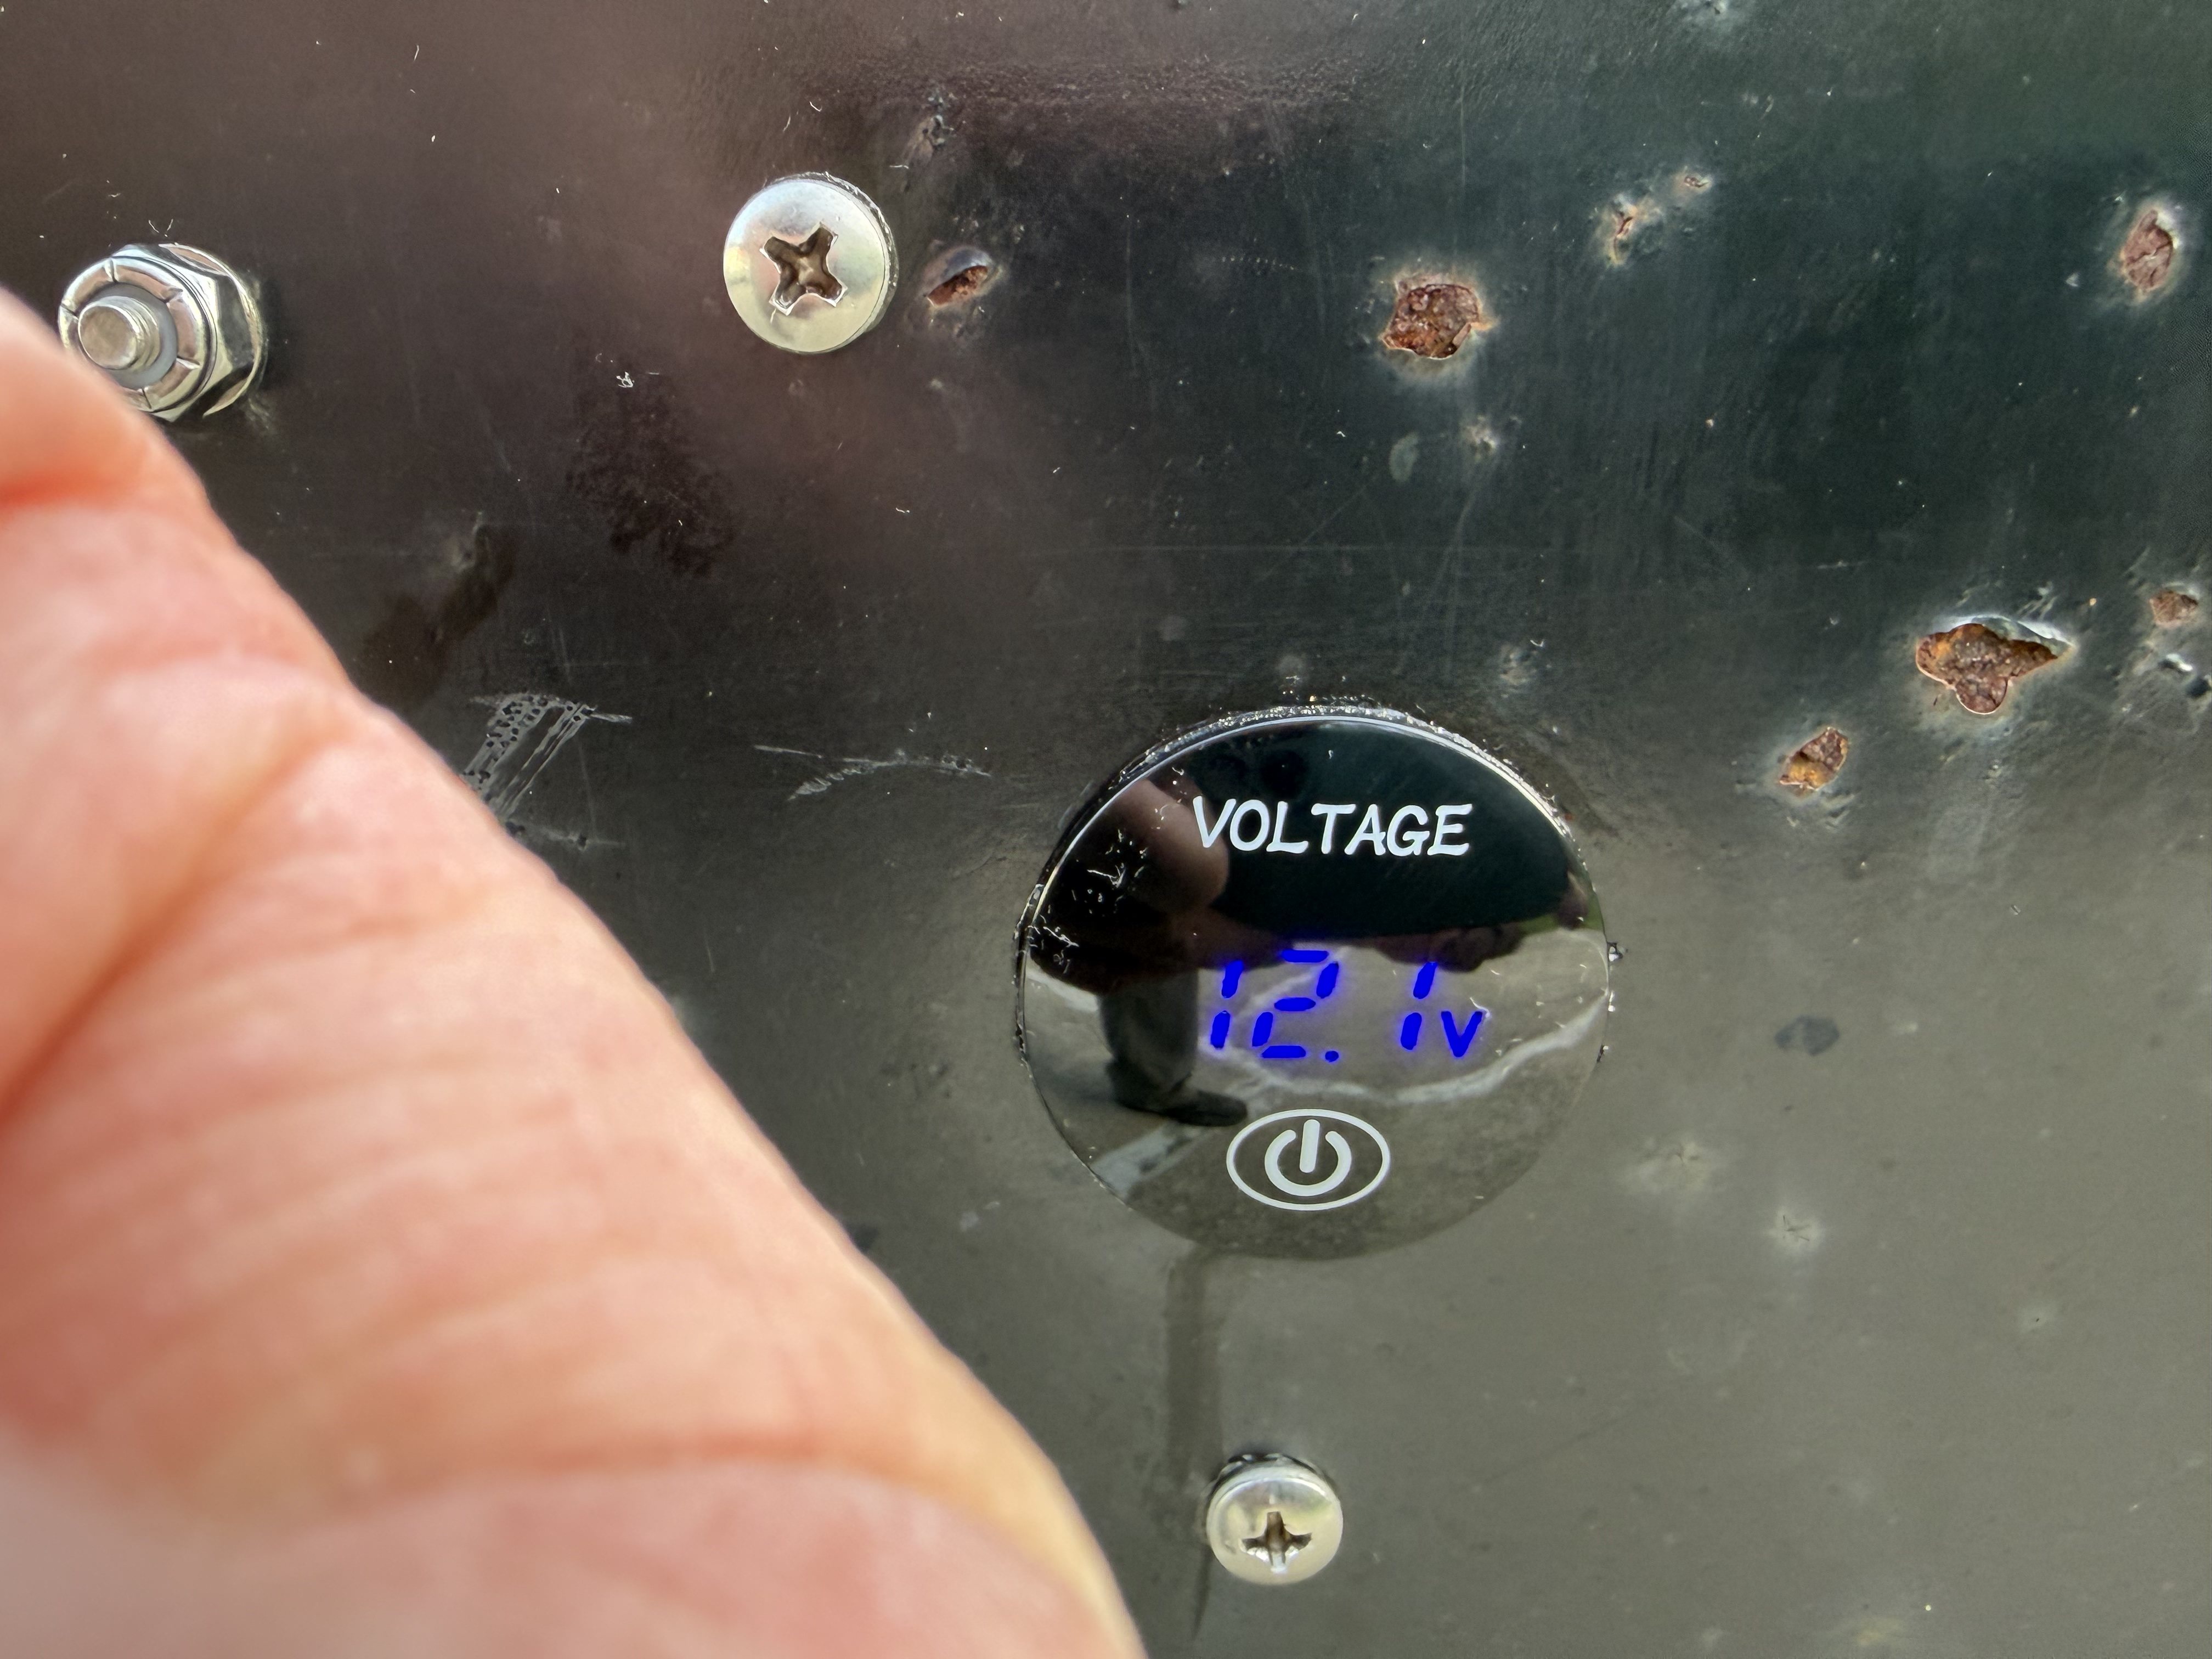
external voltmeter (I do not recommend this voltmeter for outdoor use, the lens glare is
bad), a circuit breaker, a
Victron Solar Charge Controller so the solar panel won't fry my battery, a
battery hold-down, and panel-mount bulkhead quick-disconnect for the solar panel.
When this trailer is tarped, the solar panel will need to be outside the tarp, so I build an extension cord to plug in an extra 10' of run, to allow that. But without the tarp, only 2' of wire is needed, so the extension cord can be plugged in-line for tarp duty. I used Deutsch connectors.
- IMG_032139.jpg (4.44 MiB) Viewed 4301 times
- IMG_032140.jpg (4.41 MiB) Viewed 4301 times
- IMG_032141.jpg (2.81 MiB) Viewed 4301 times
- IMG_032142.jpg (2.35 MiB) Viewed 4301 times
- IMG_032143.jpg (1.01 MiB) Viewed 4301 times

- IMG_032144.jpg (4.46 MiB) Viewed 4301 times
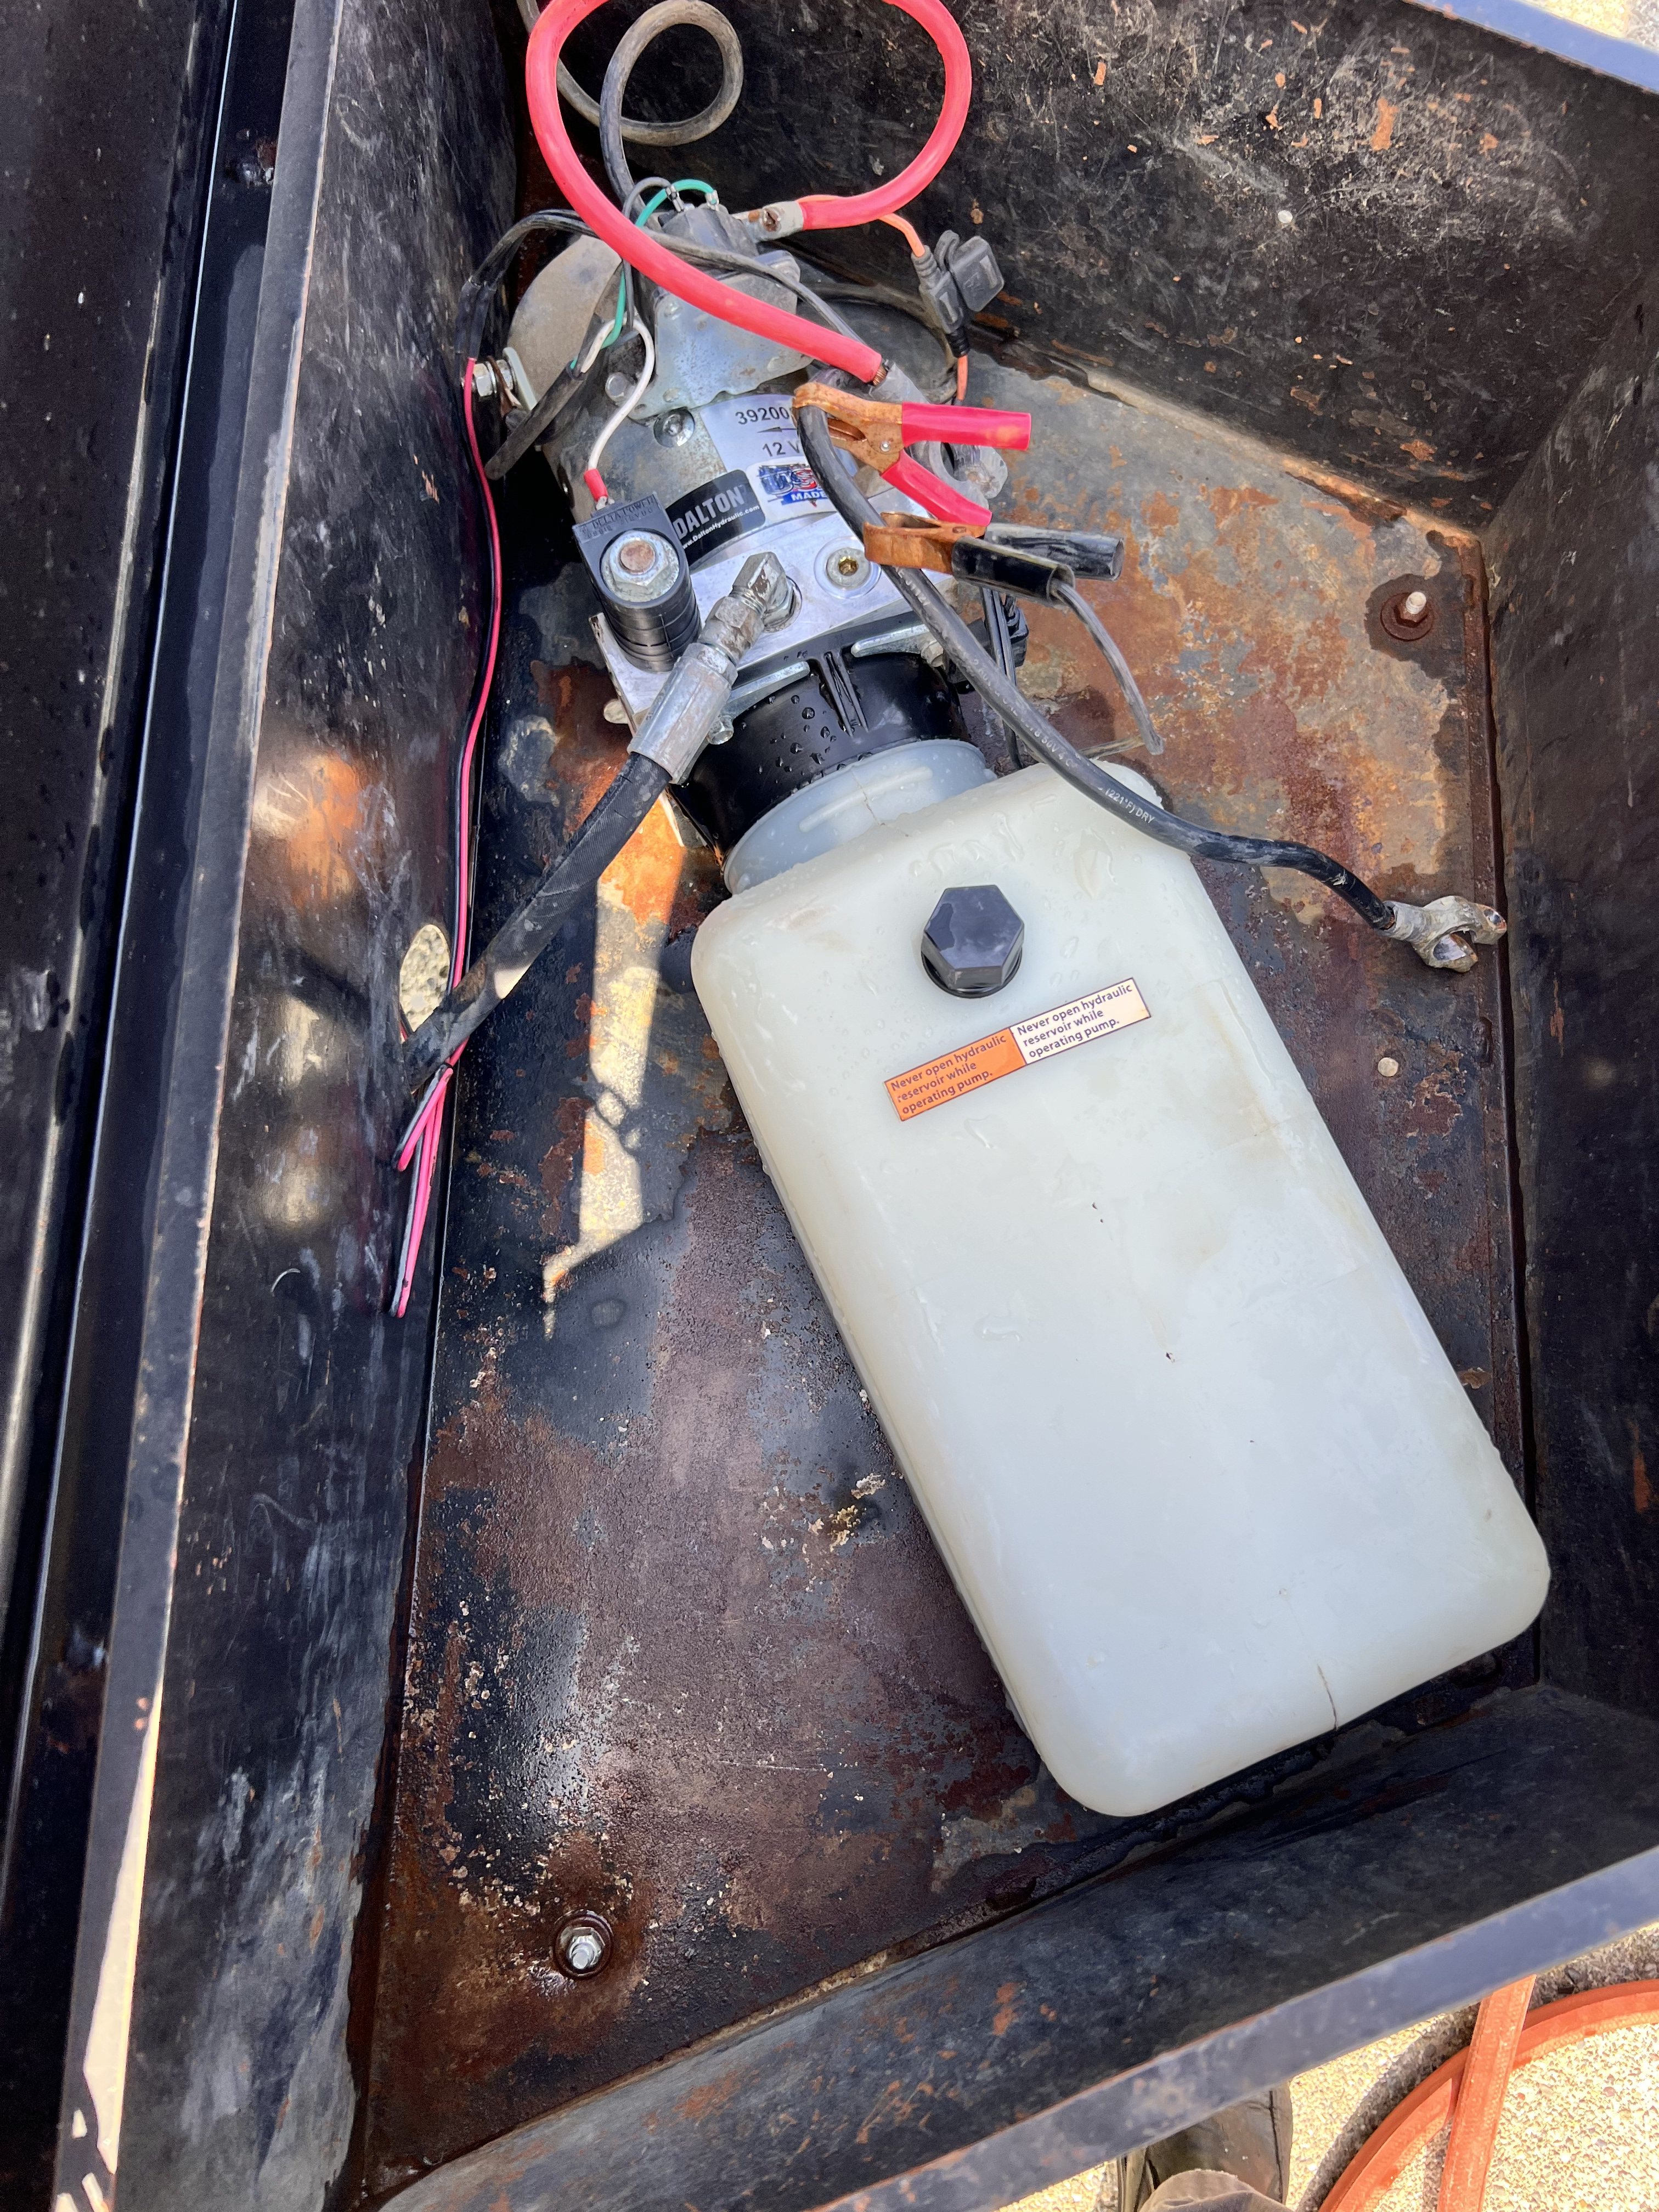
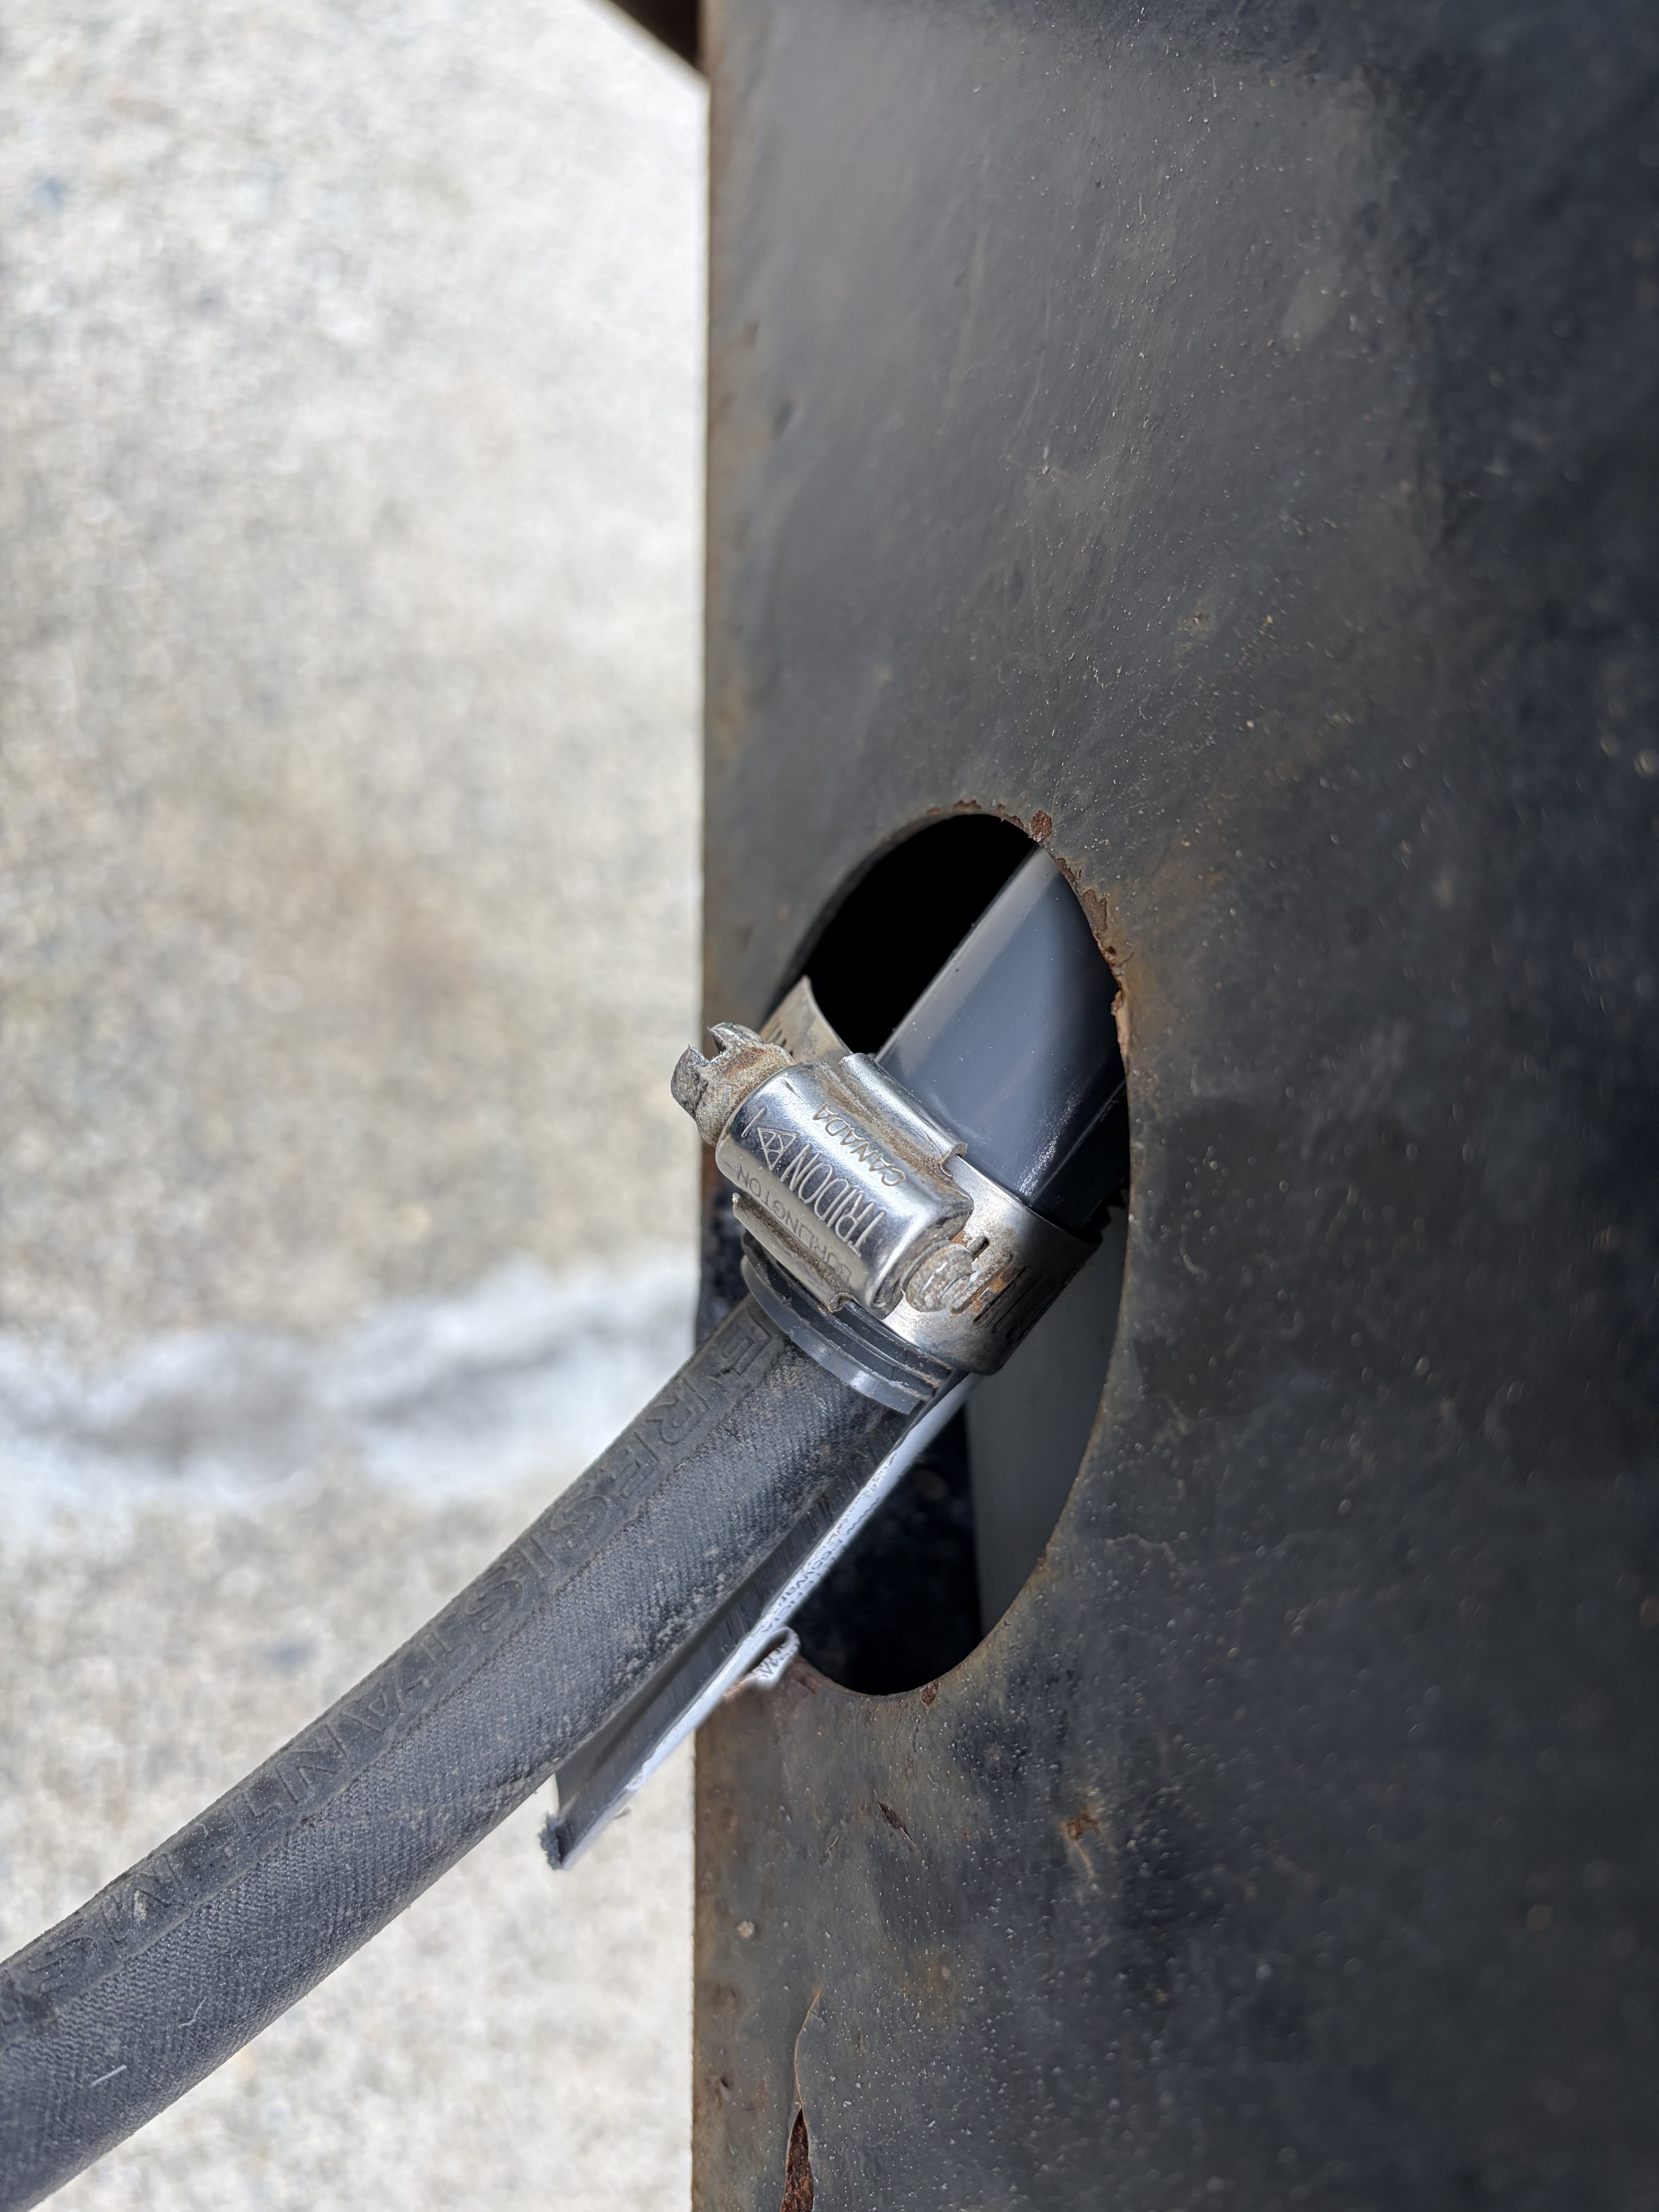
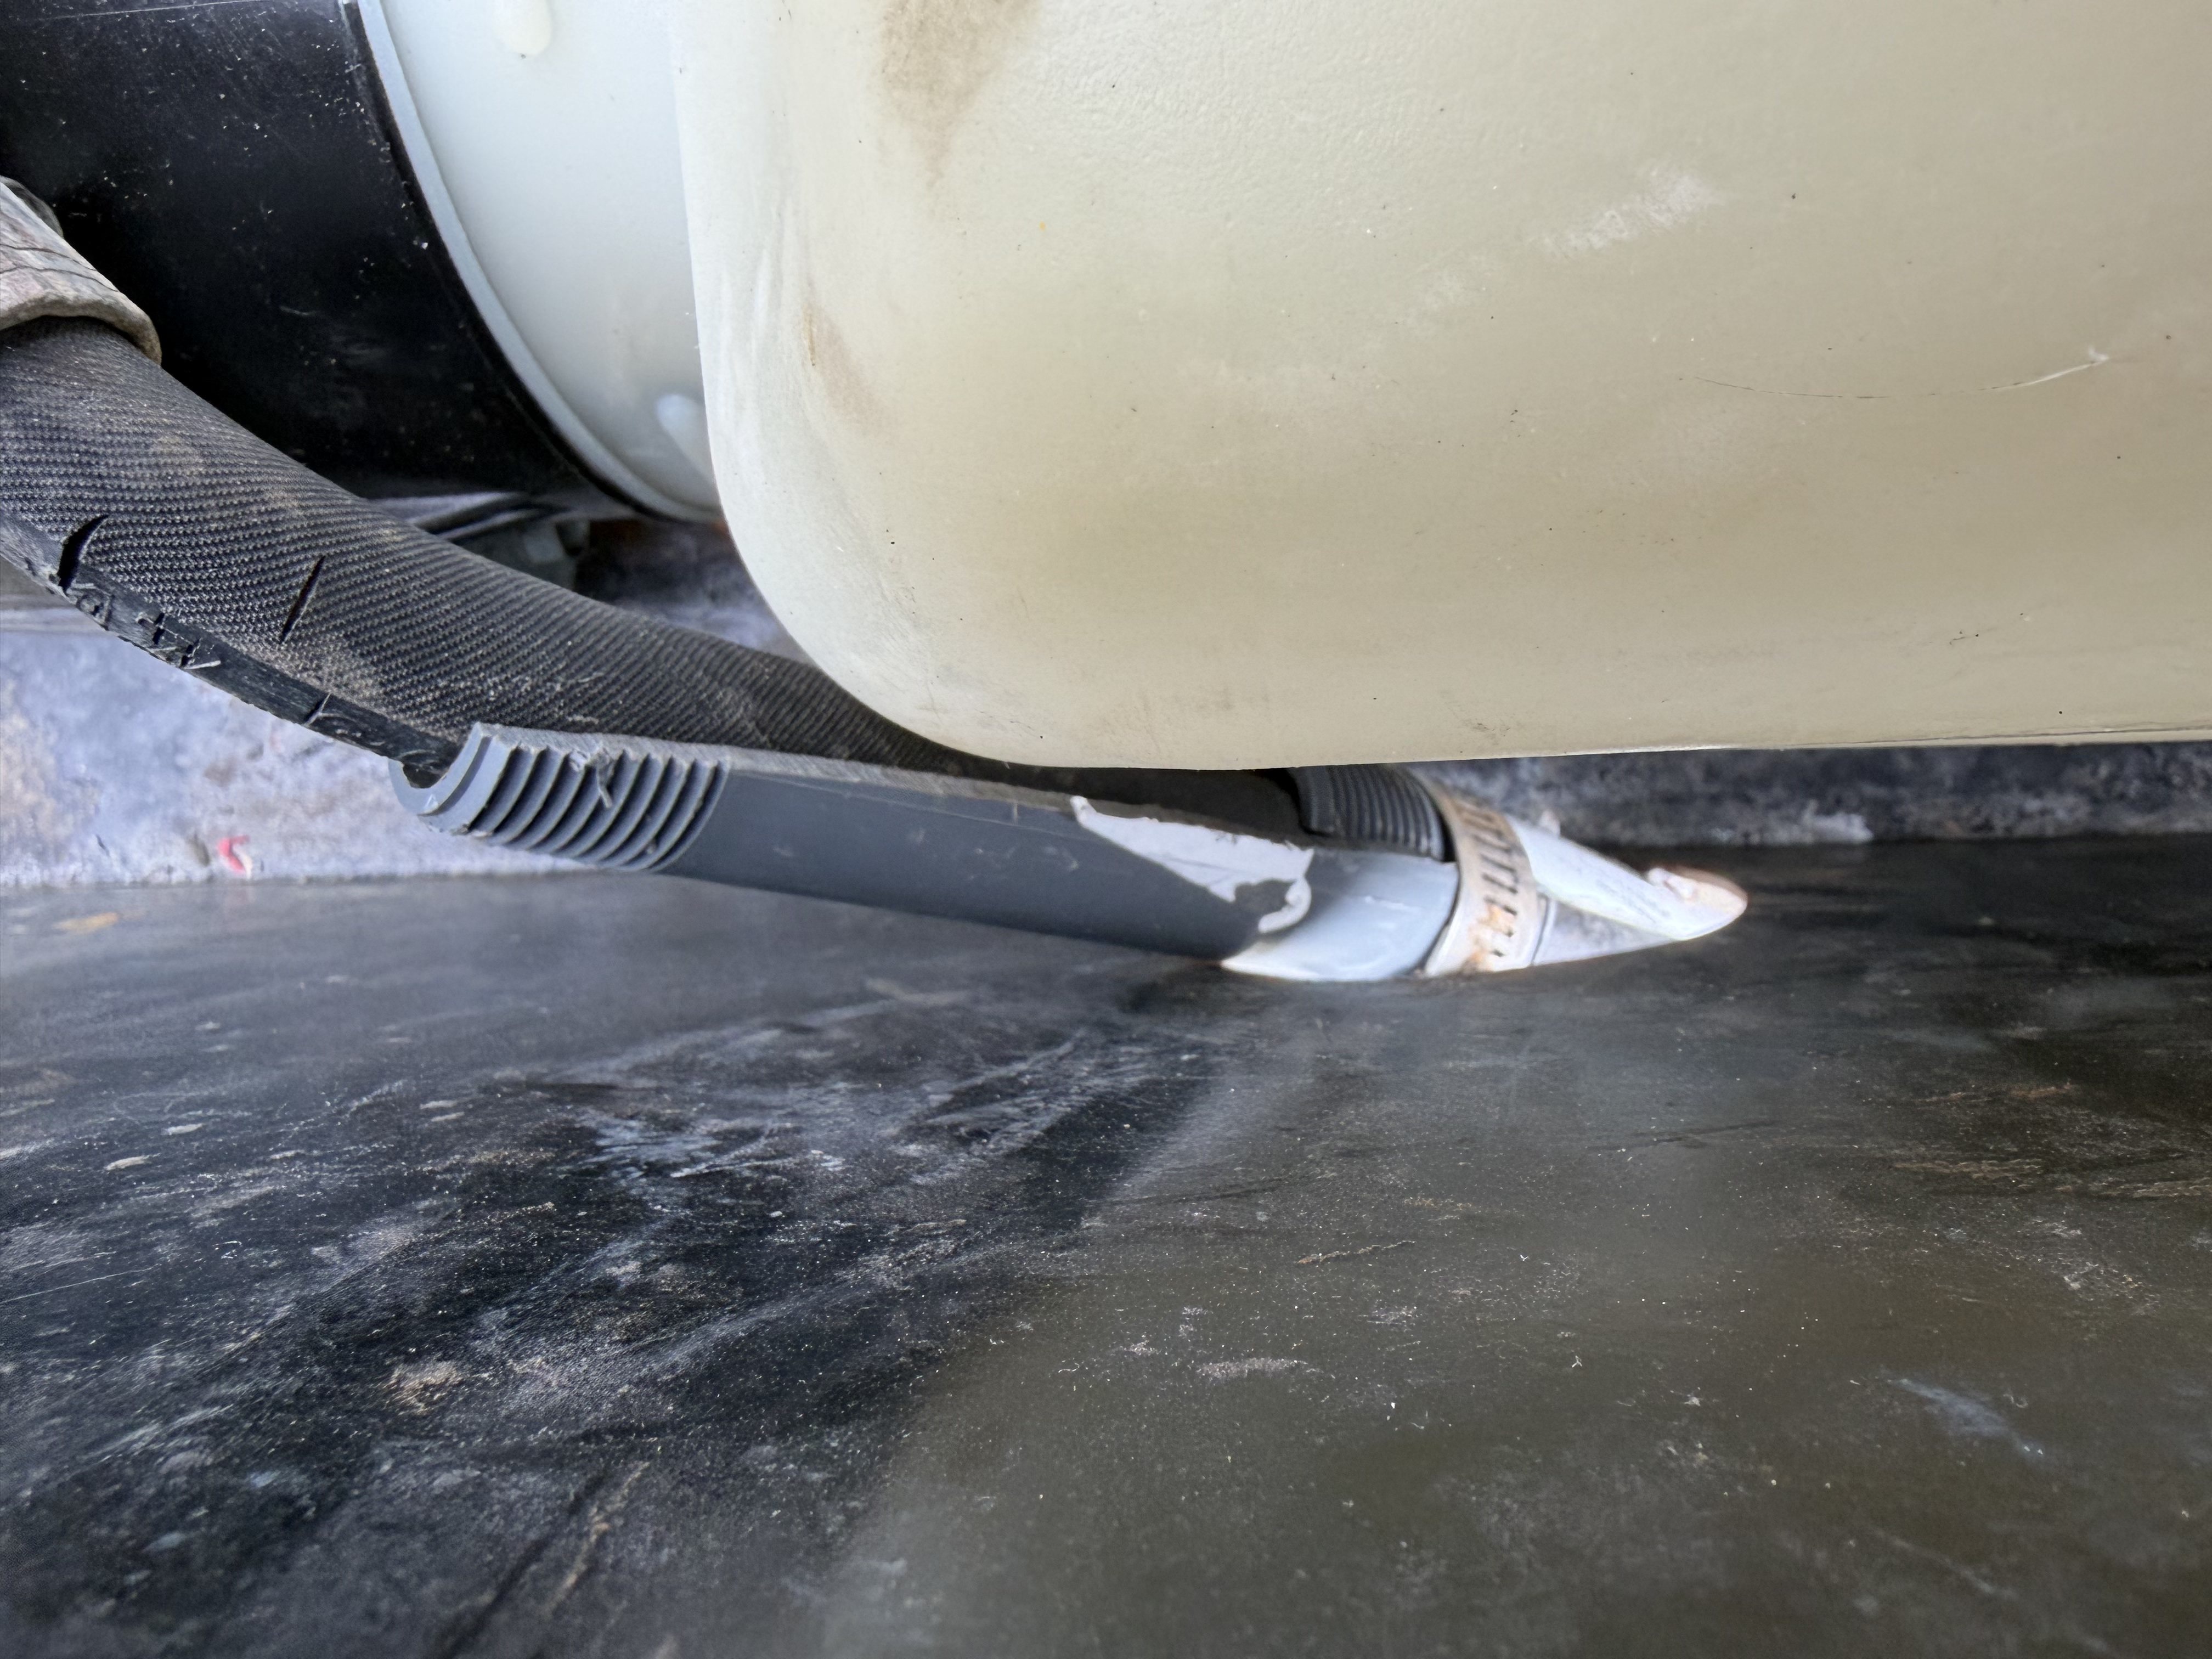
And I bolted-down the pump. That revealed a sort-of reason why it may have been un-bolted: the hydraulic hose routing led to chafing on the box, due to the design the builder chose.
- IMG_024684.jpg (2.45 MiB) Viewed 4301 times
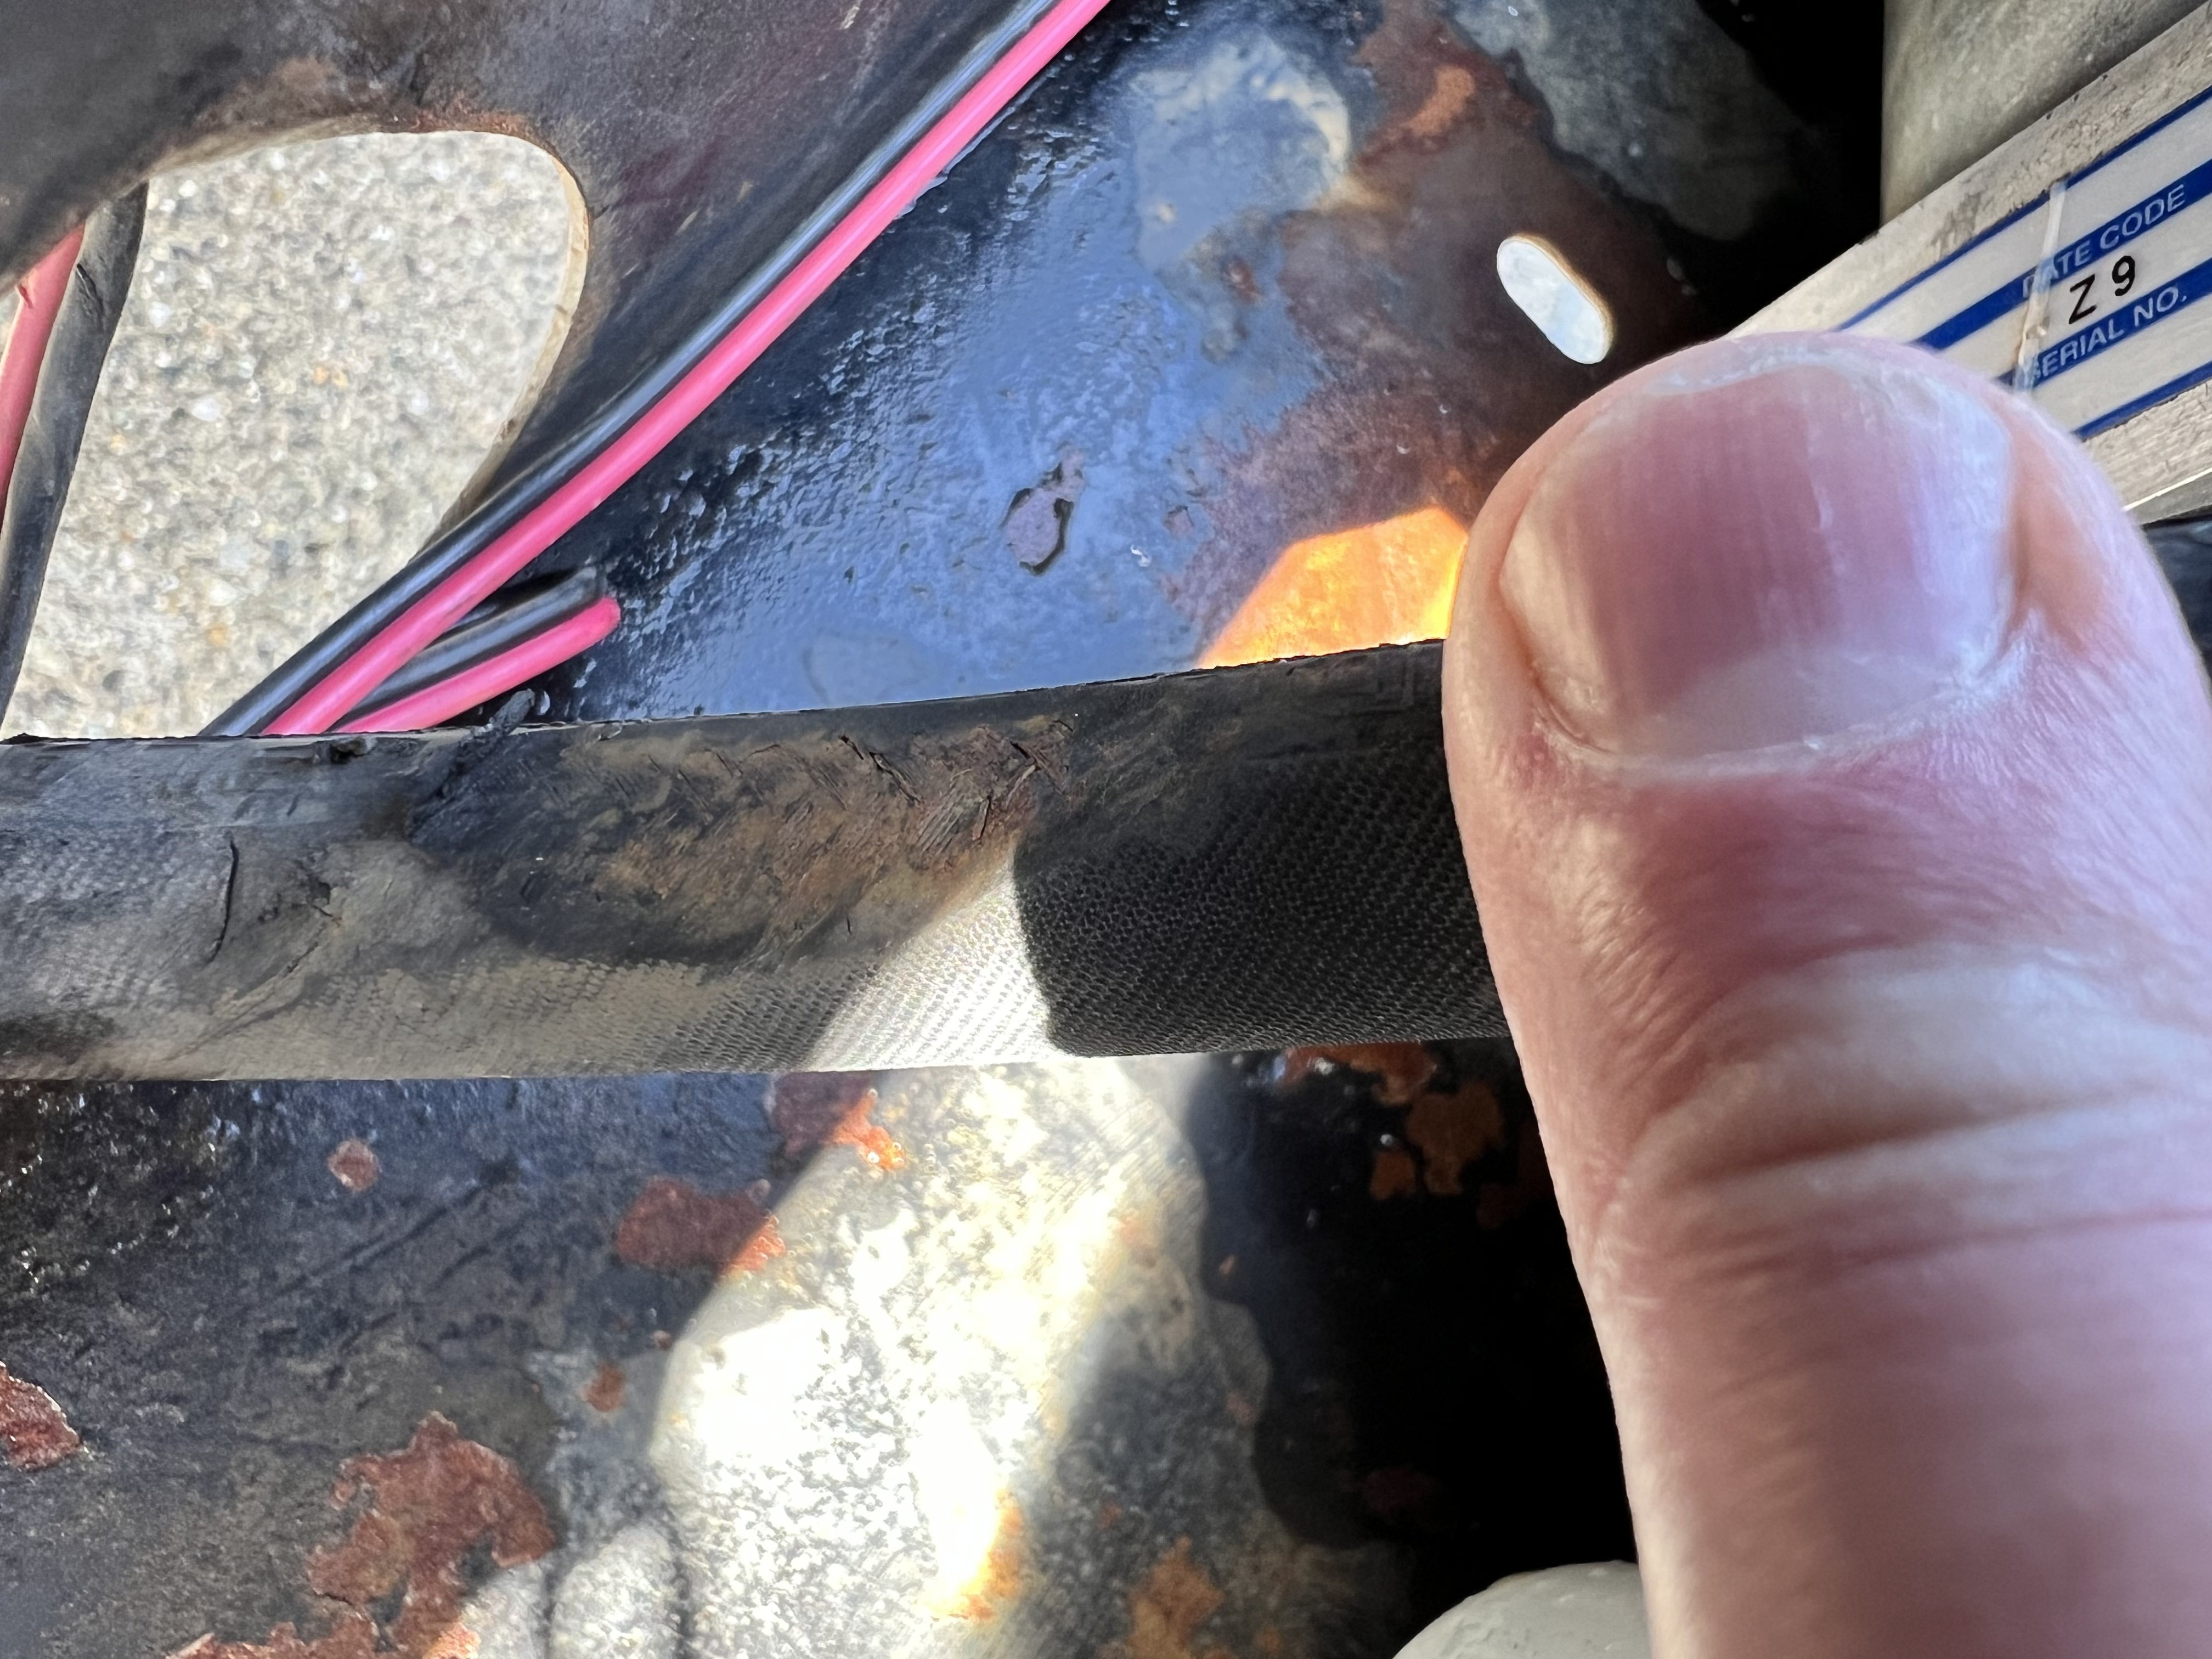
- IMG_024688.jpg (1.29 MiB) Viewed 4301 times
- IMG_032185.jpg (1.28 MiB) Viewed 4301 times
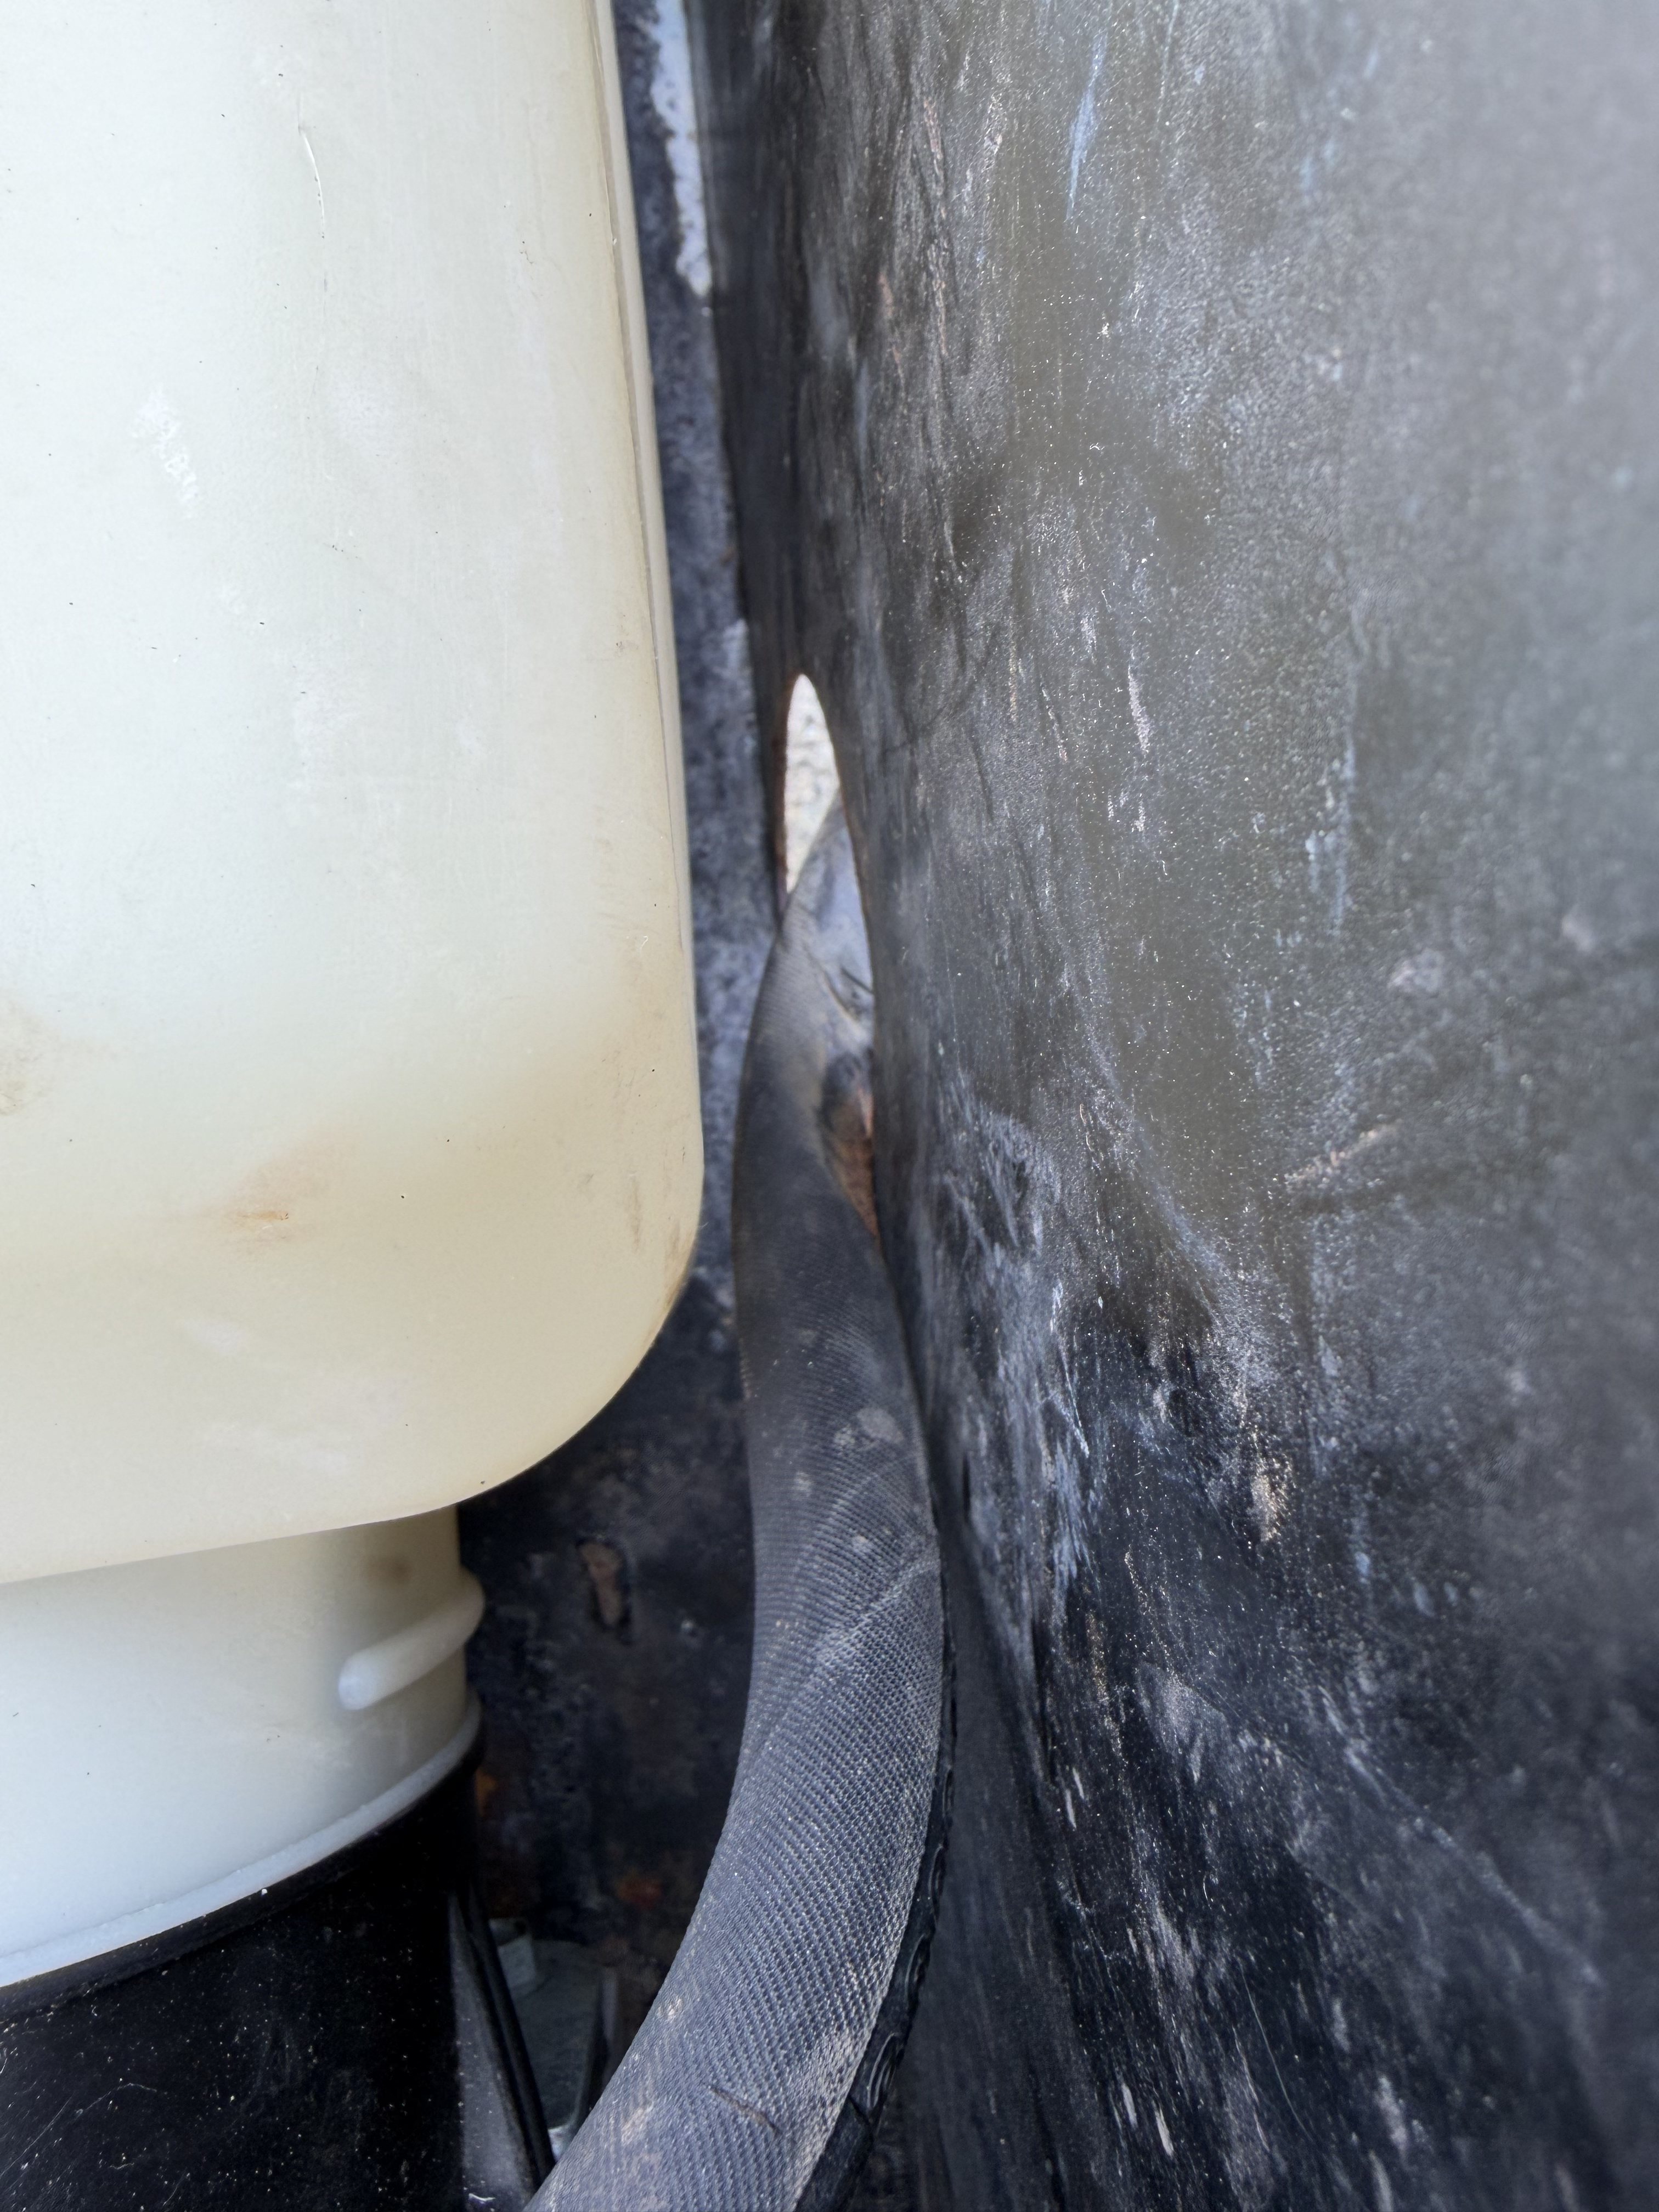
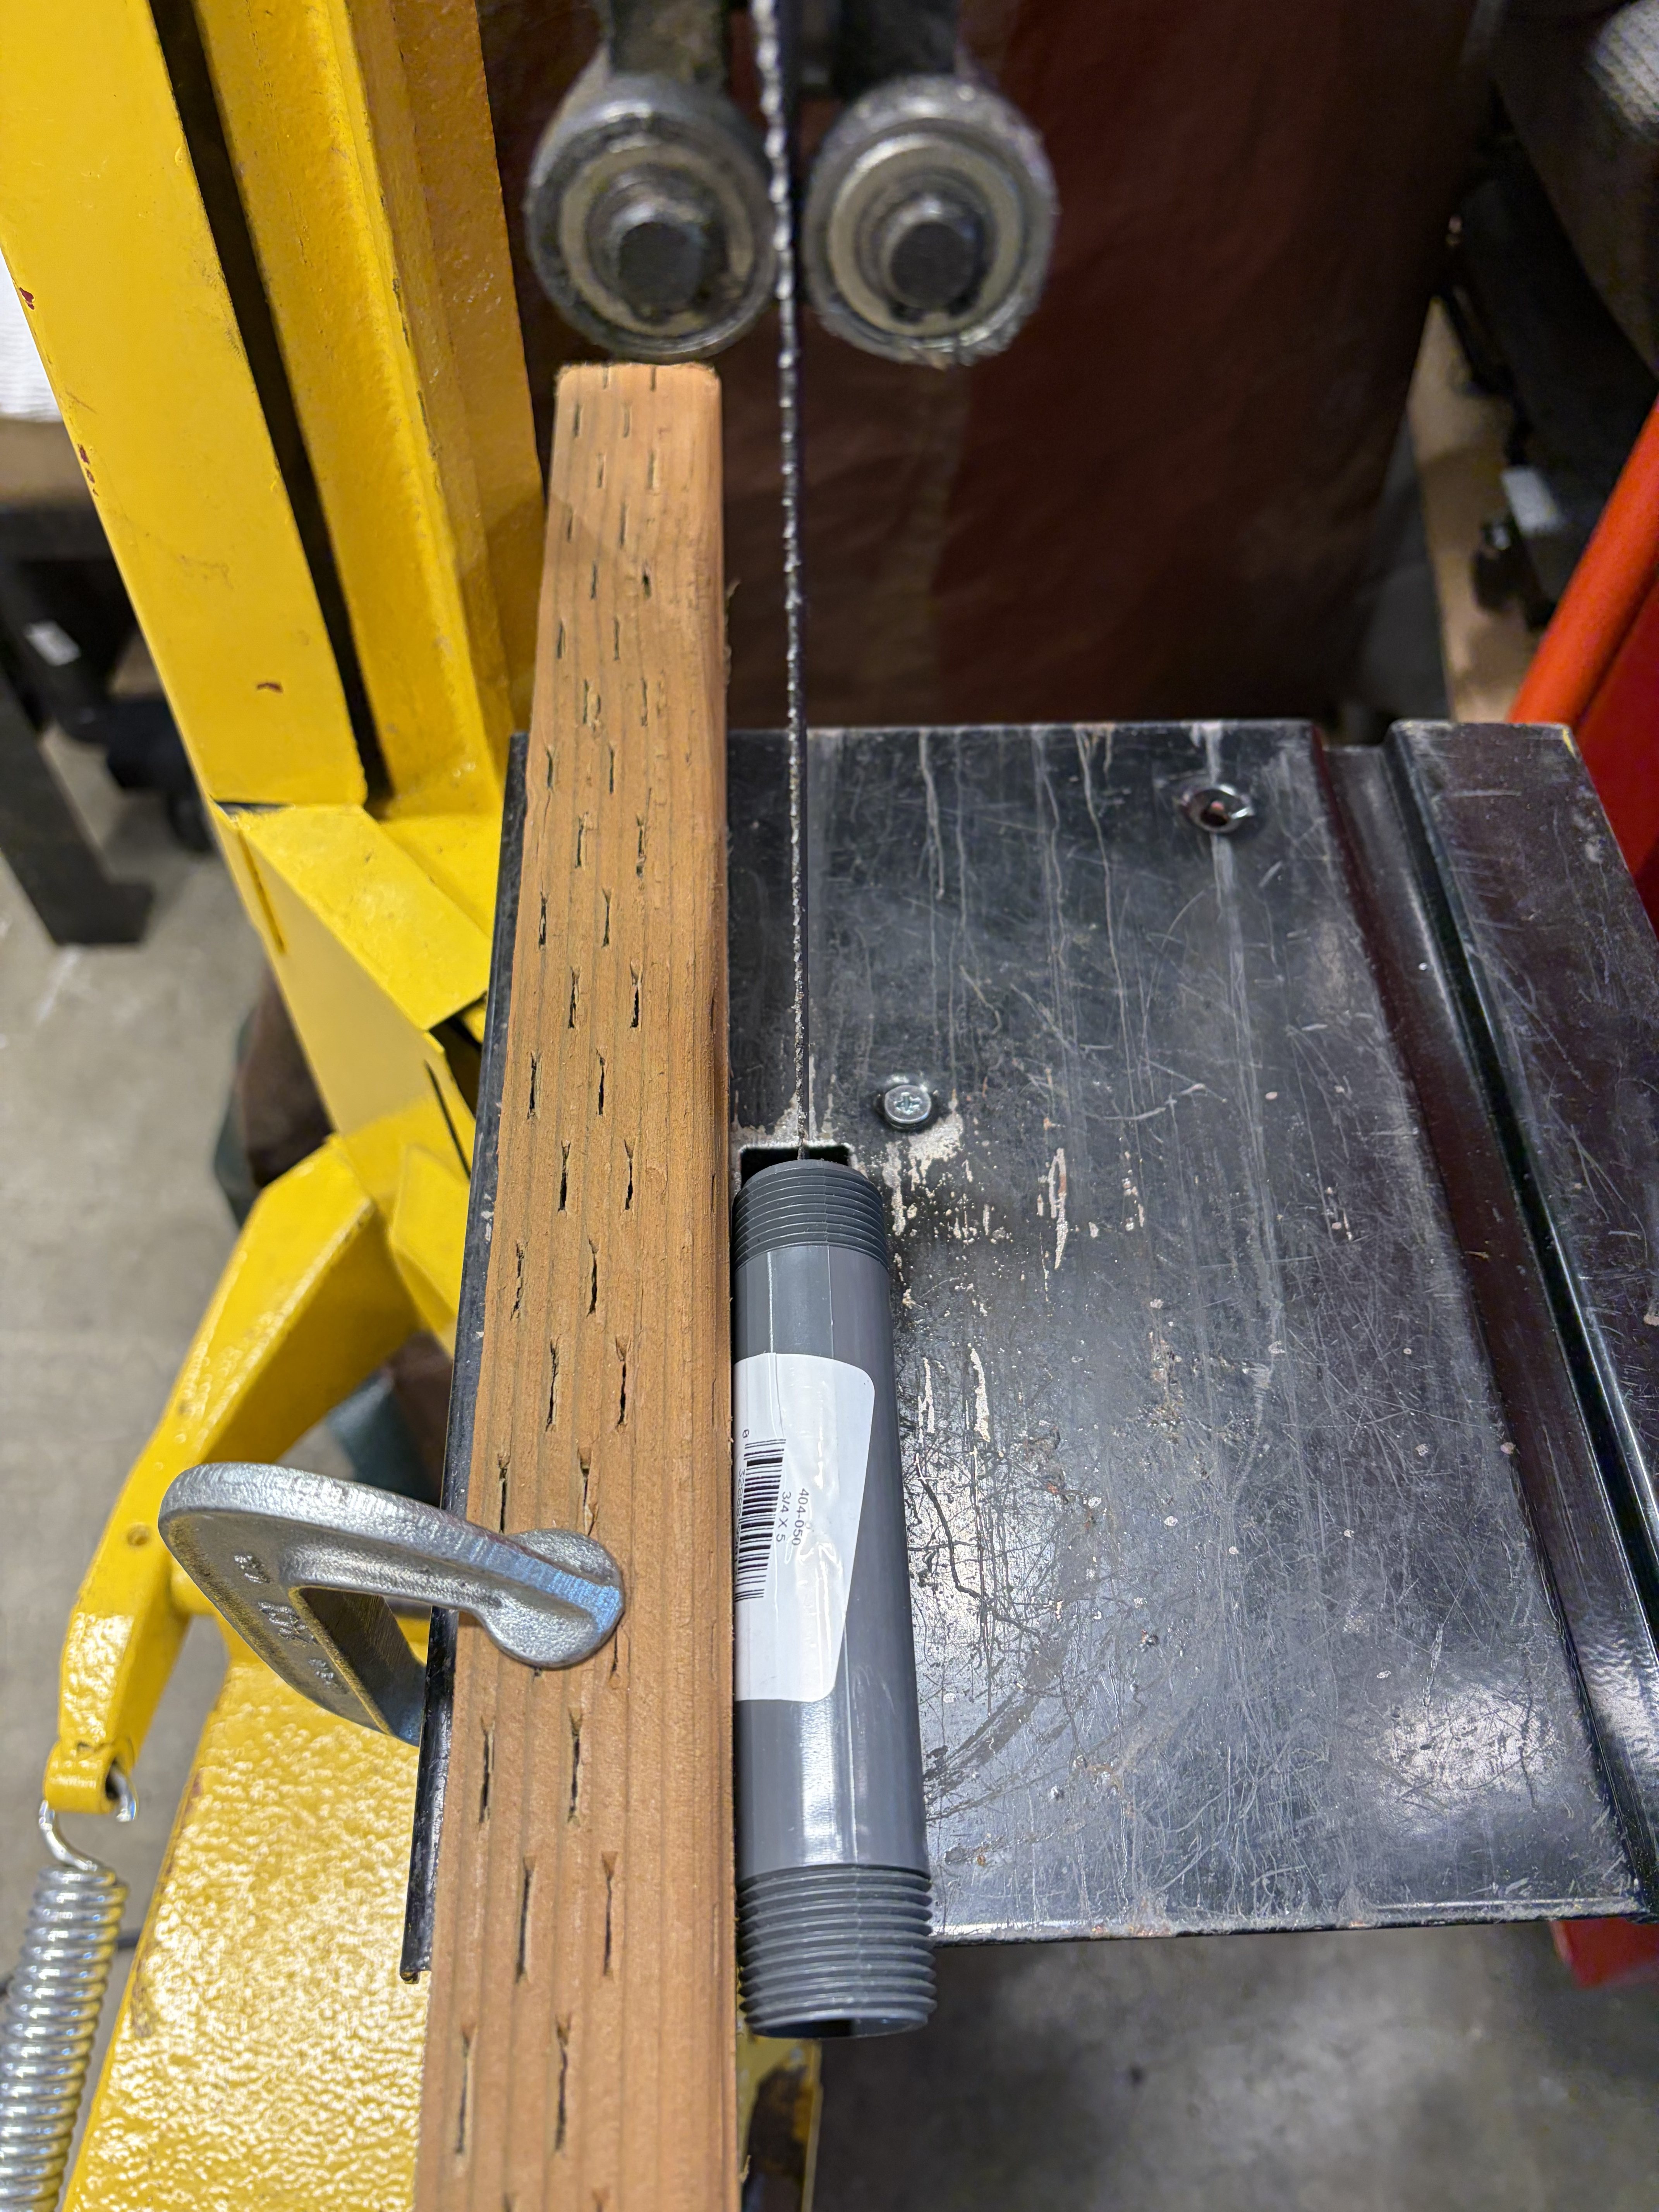
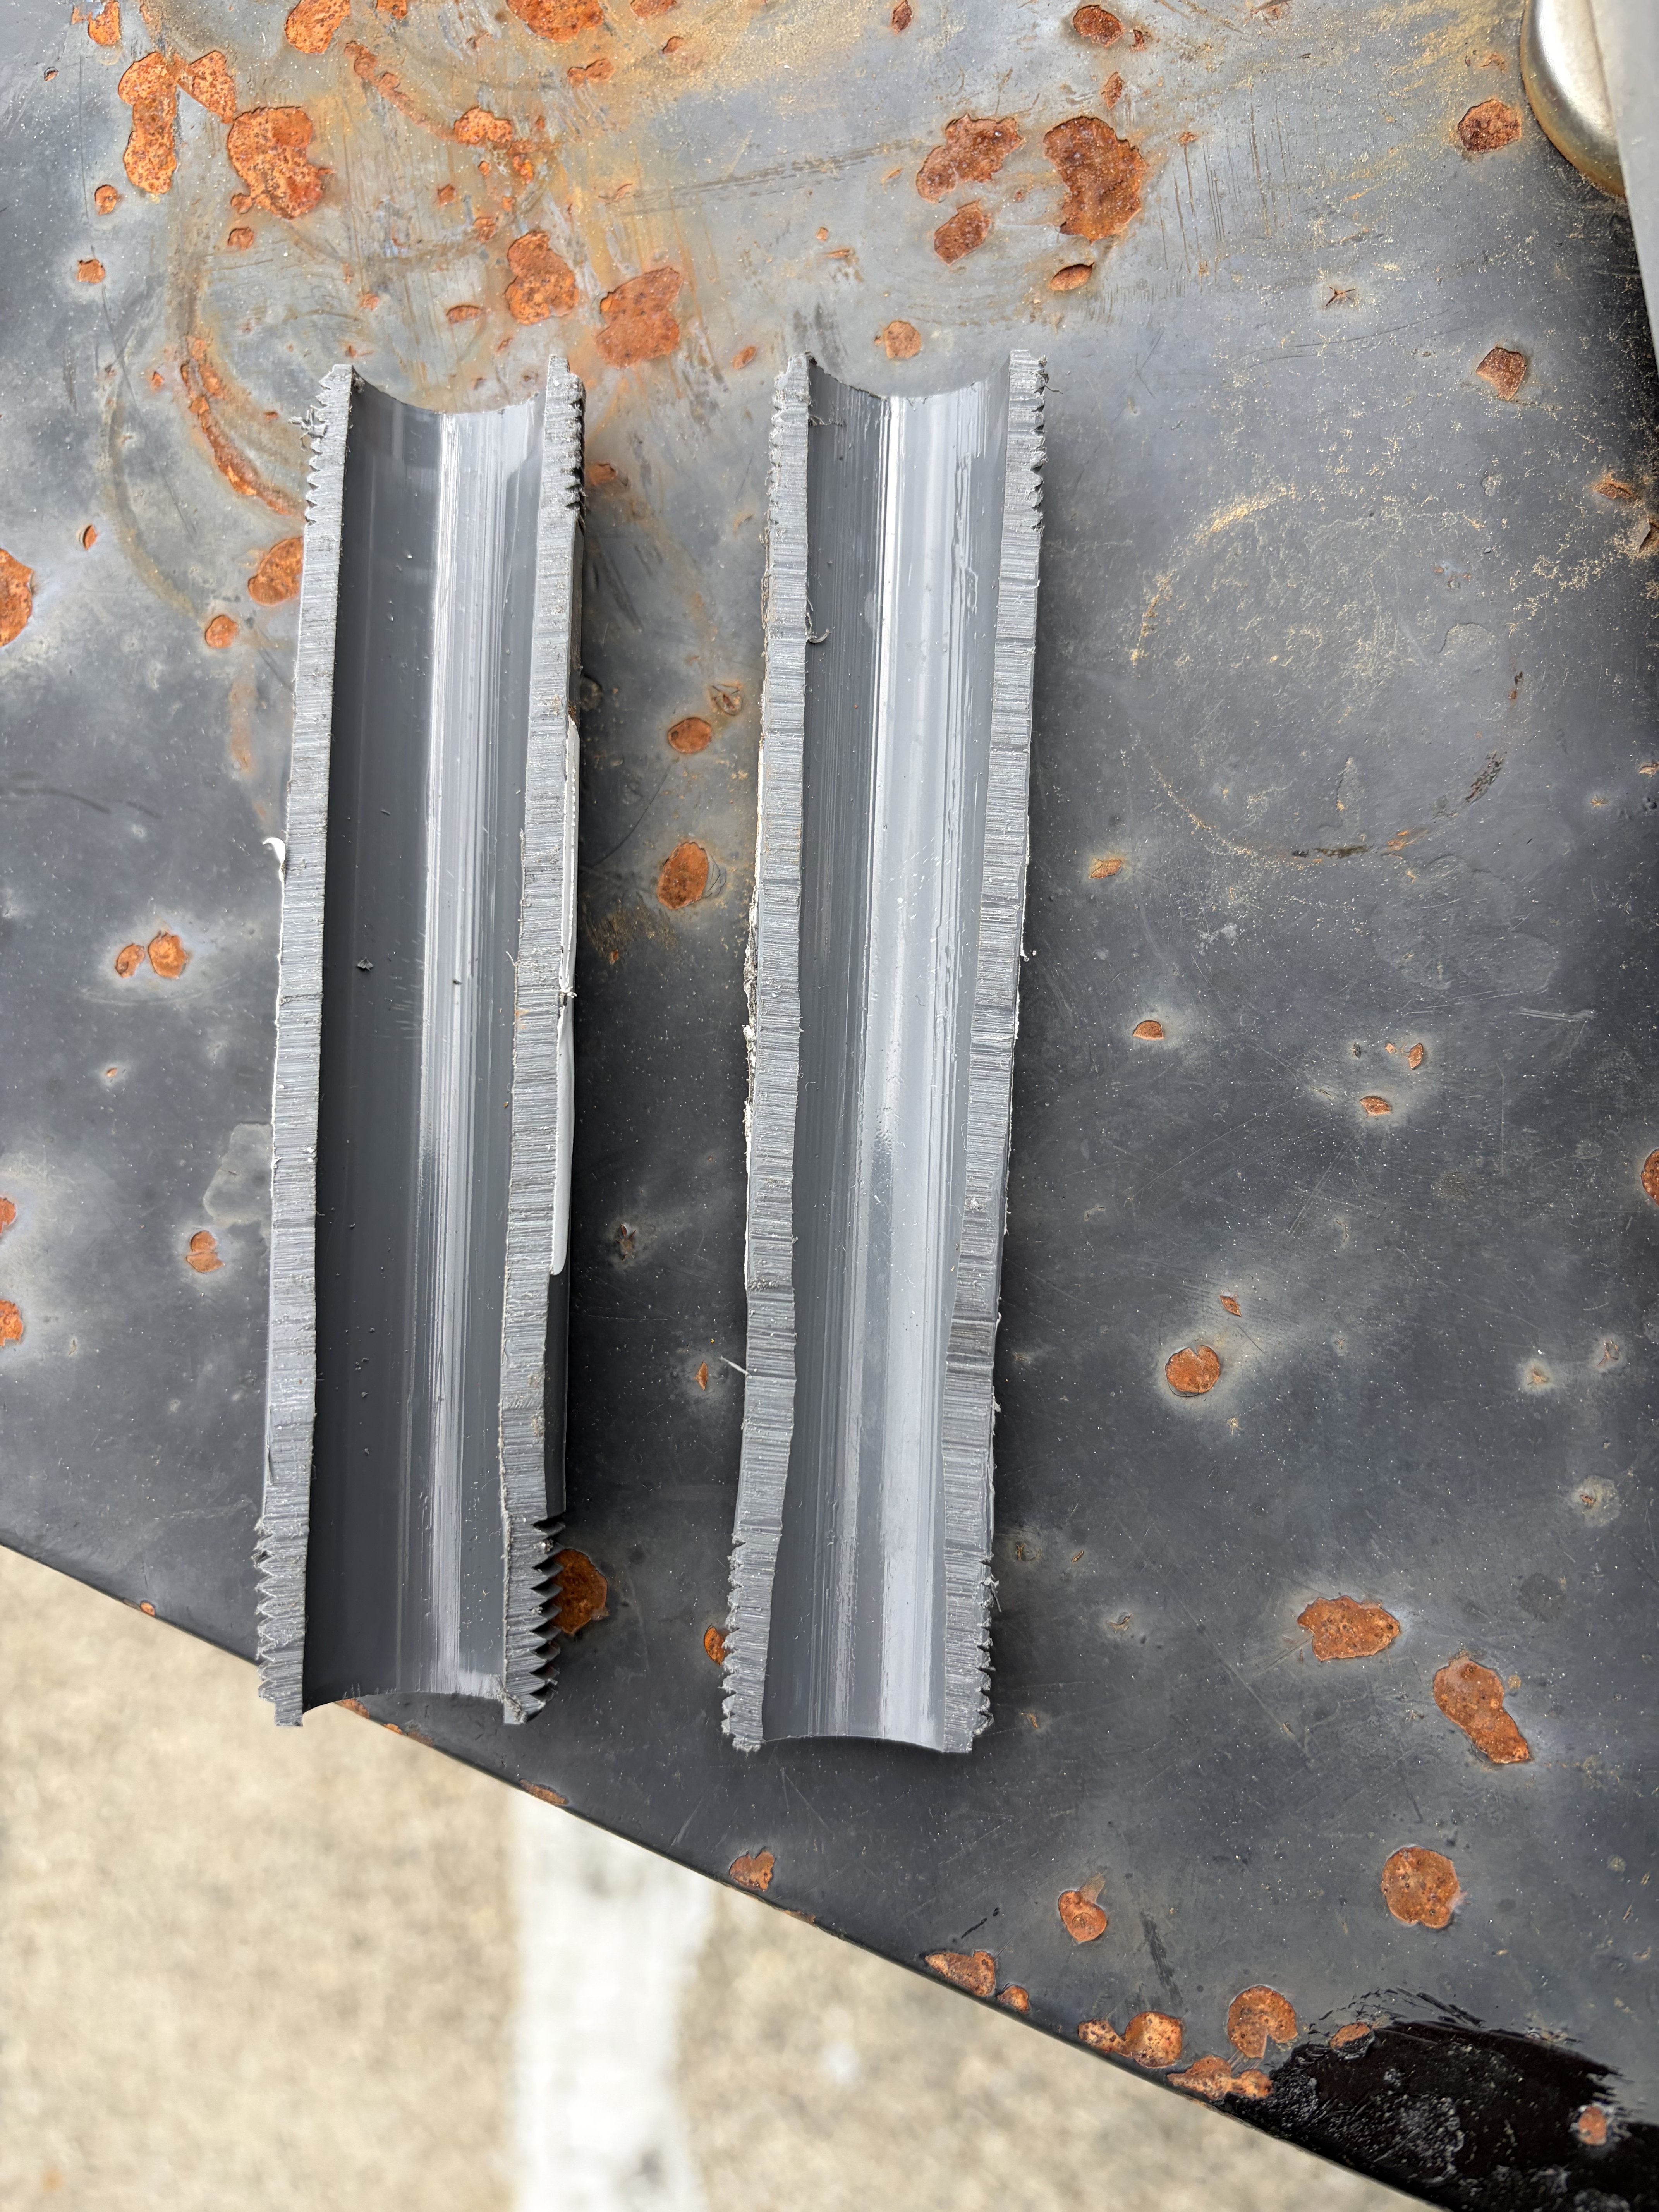
I made a hard-wearing sleeve for that area:
- IMG_032154.jpg (2.79 MiB) Viewed 4301 times
- IMG_032187.jpg (2.92 MiB) Viewed 4301 times
- IMG_032188.jpg (1.66 MiB) Viewed 4301 times
- IMG_032189.jpg (1.31 MiB) Viewed 4301 times
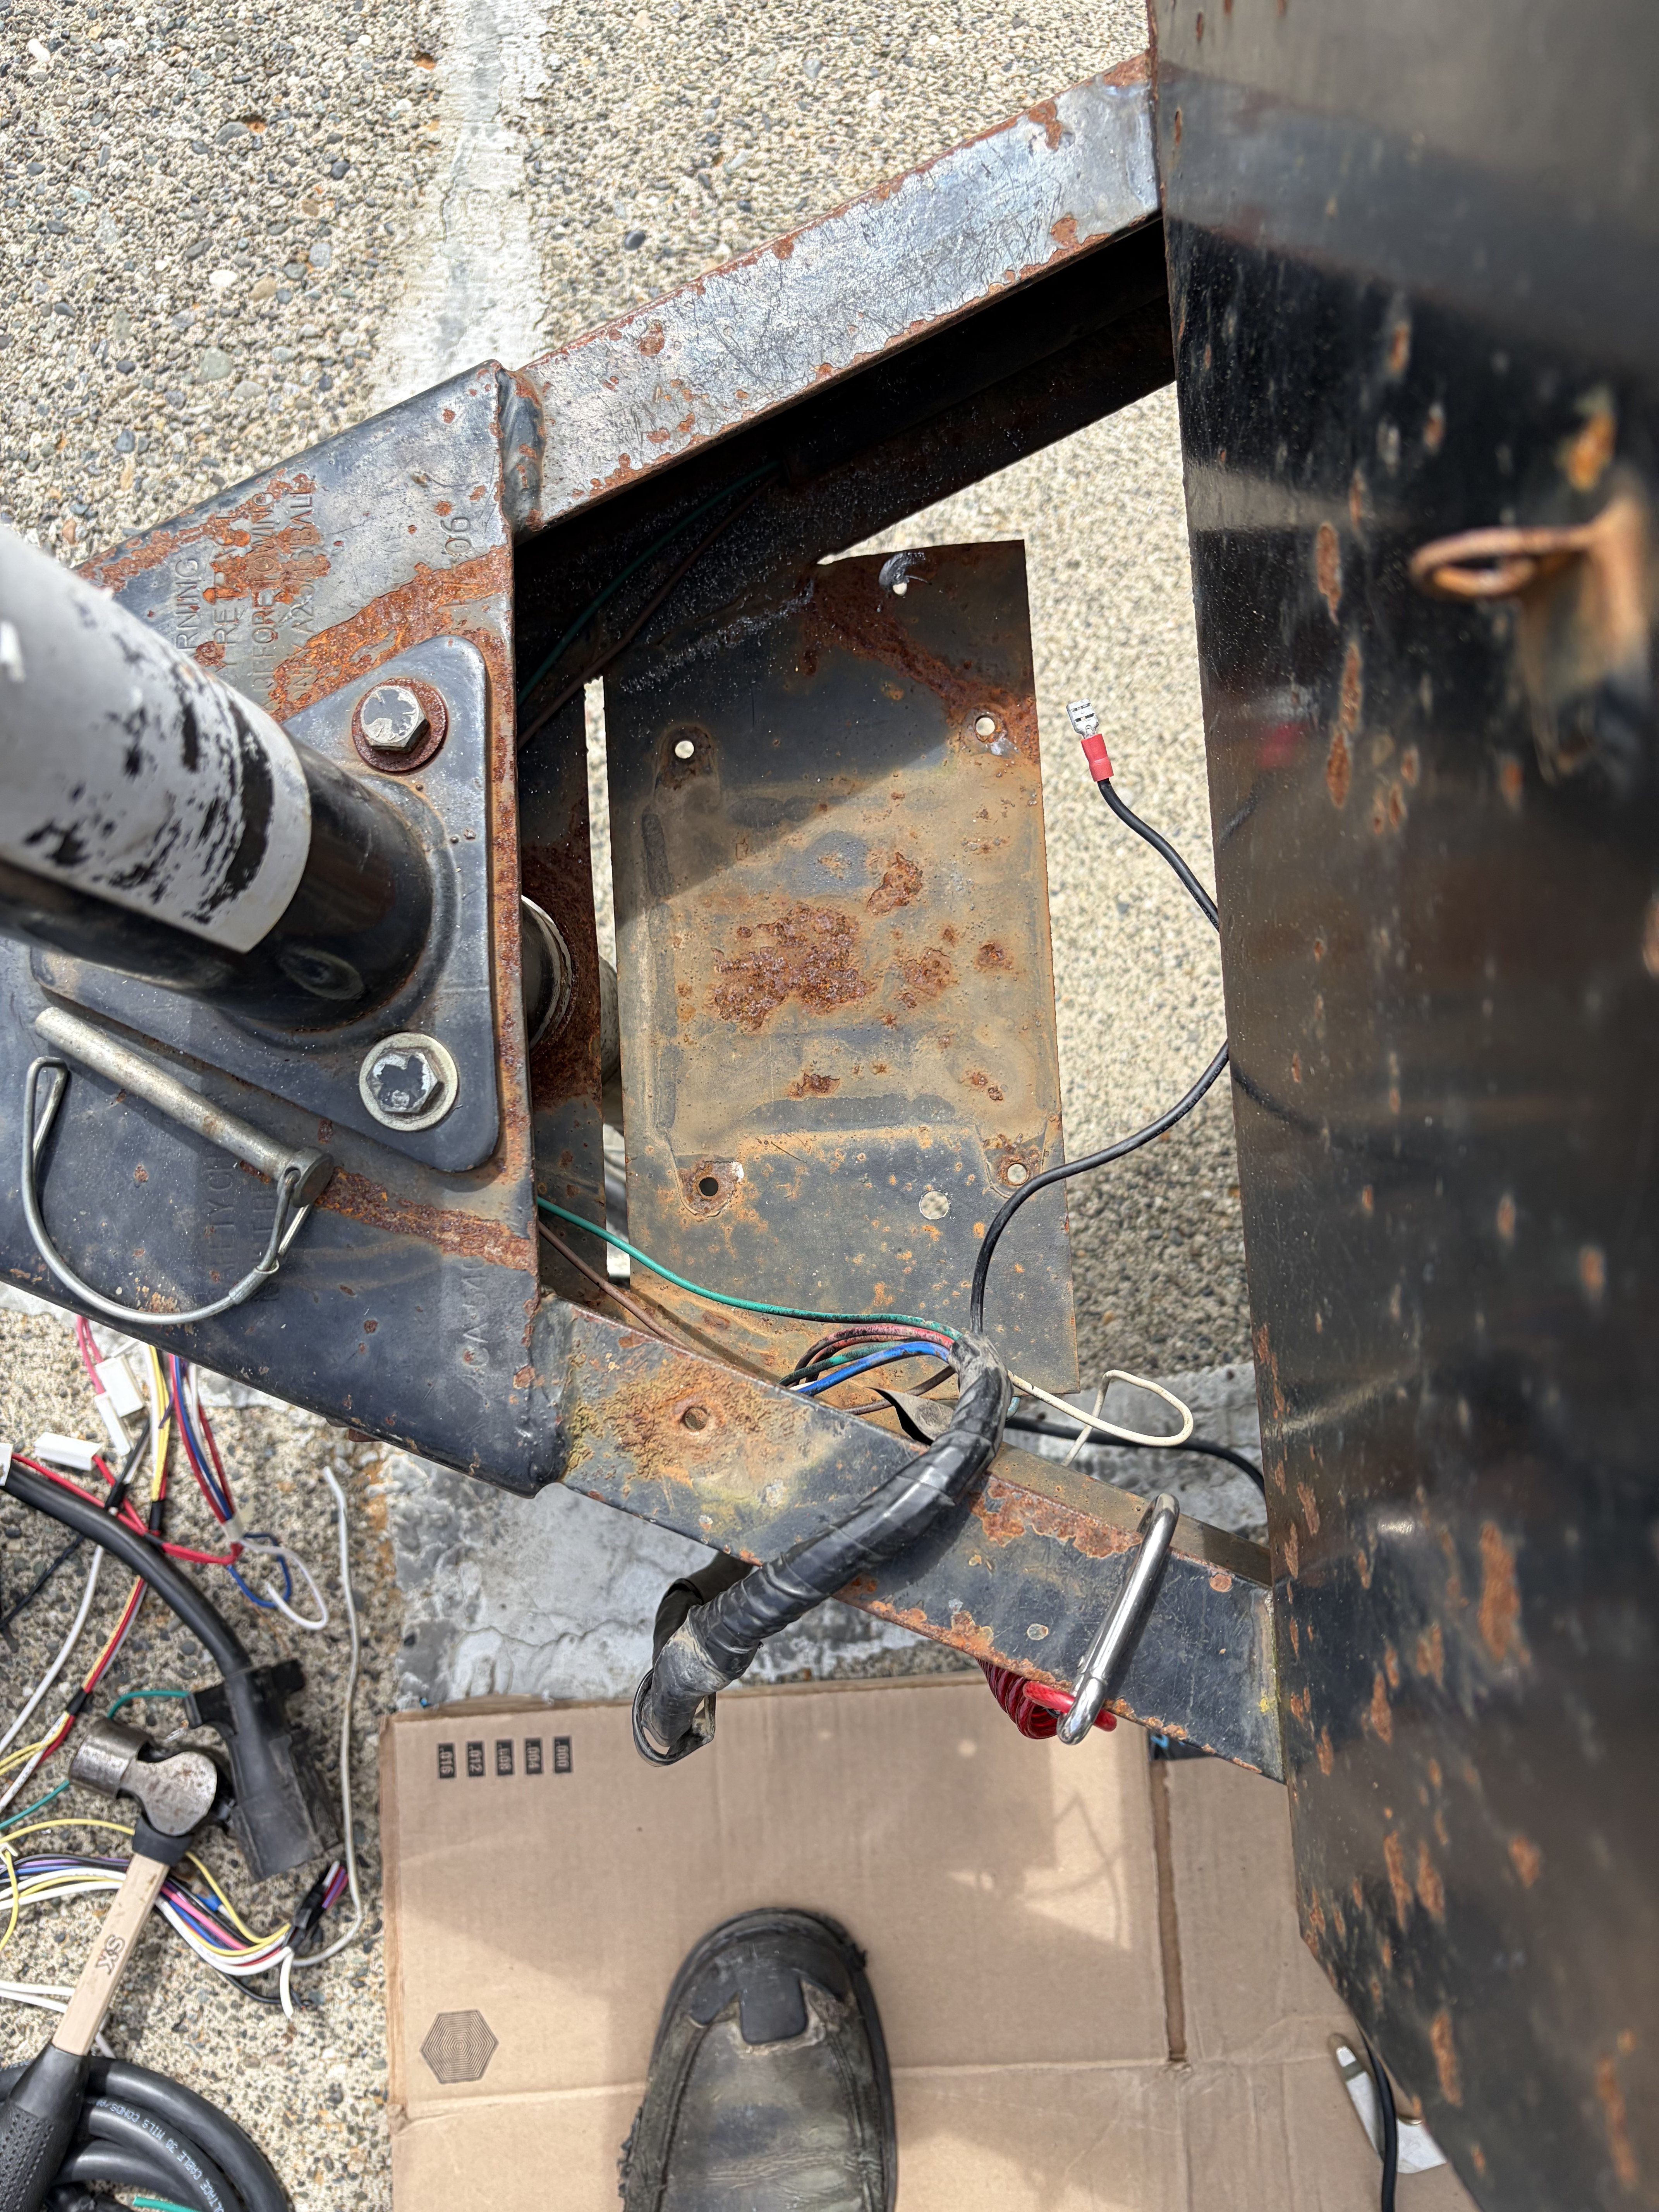
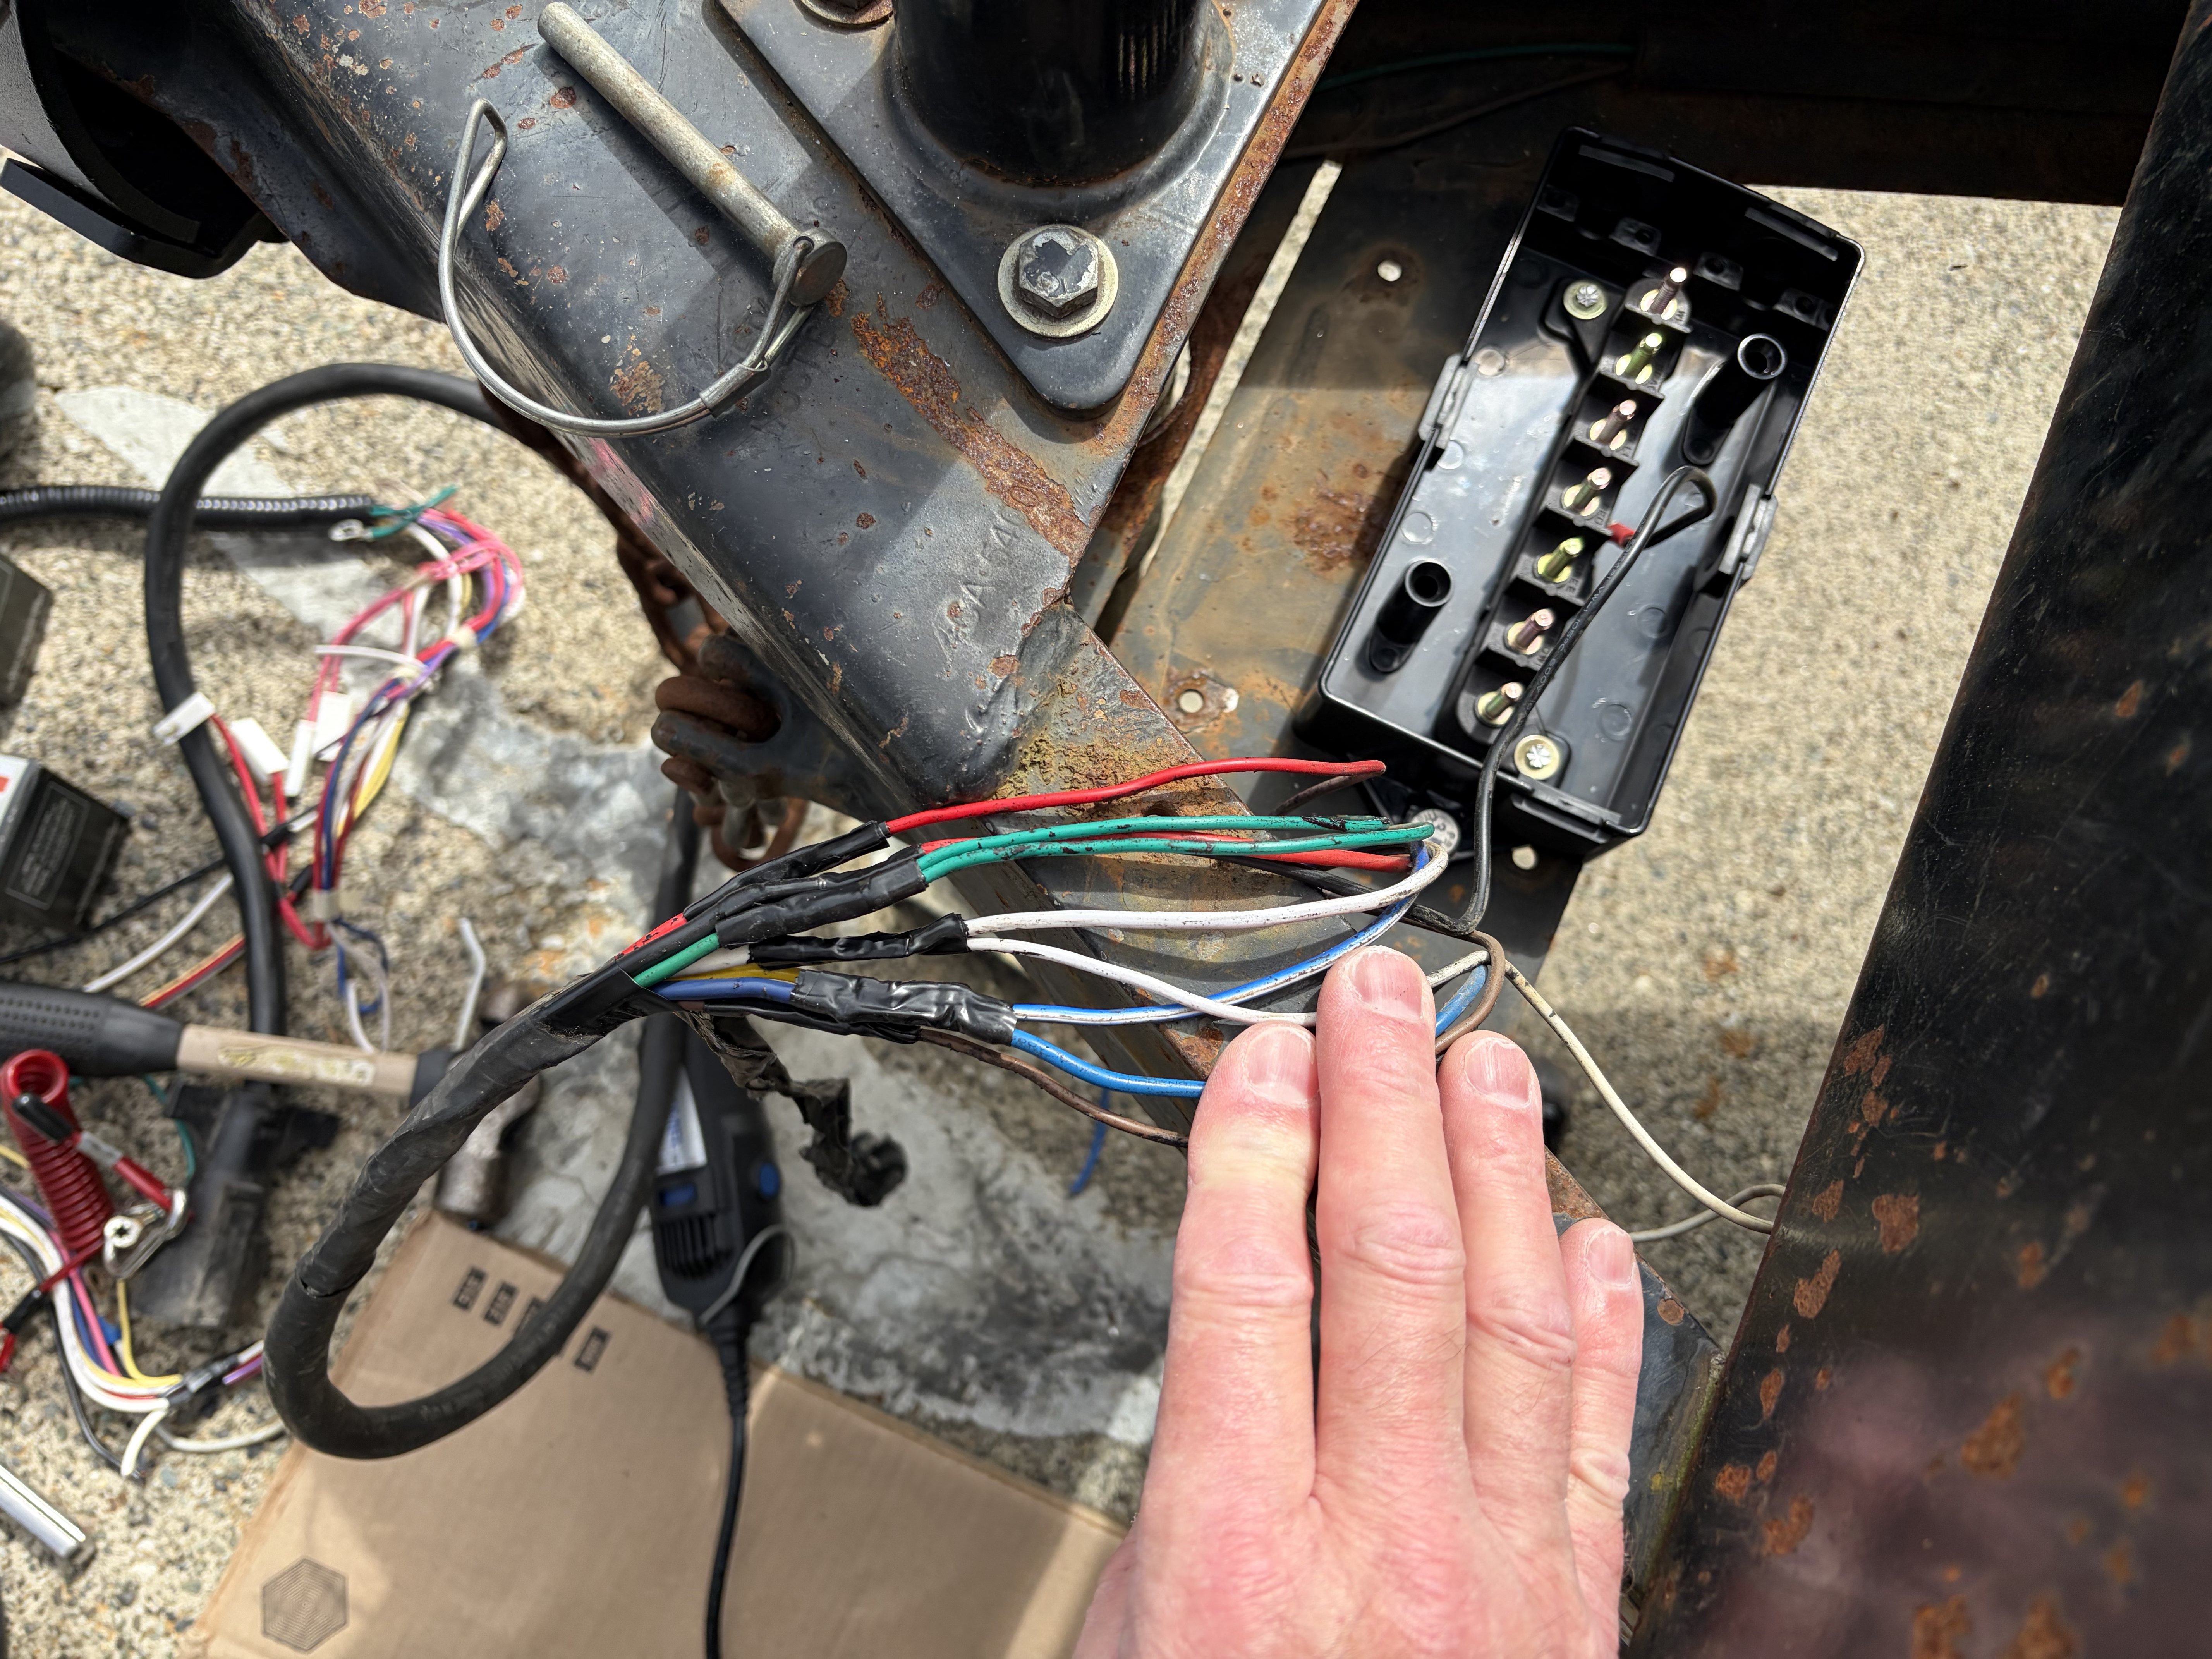
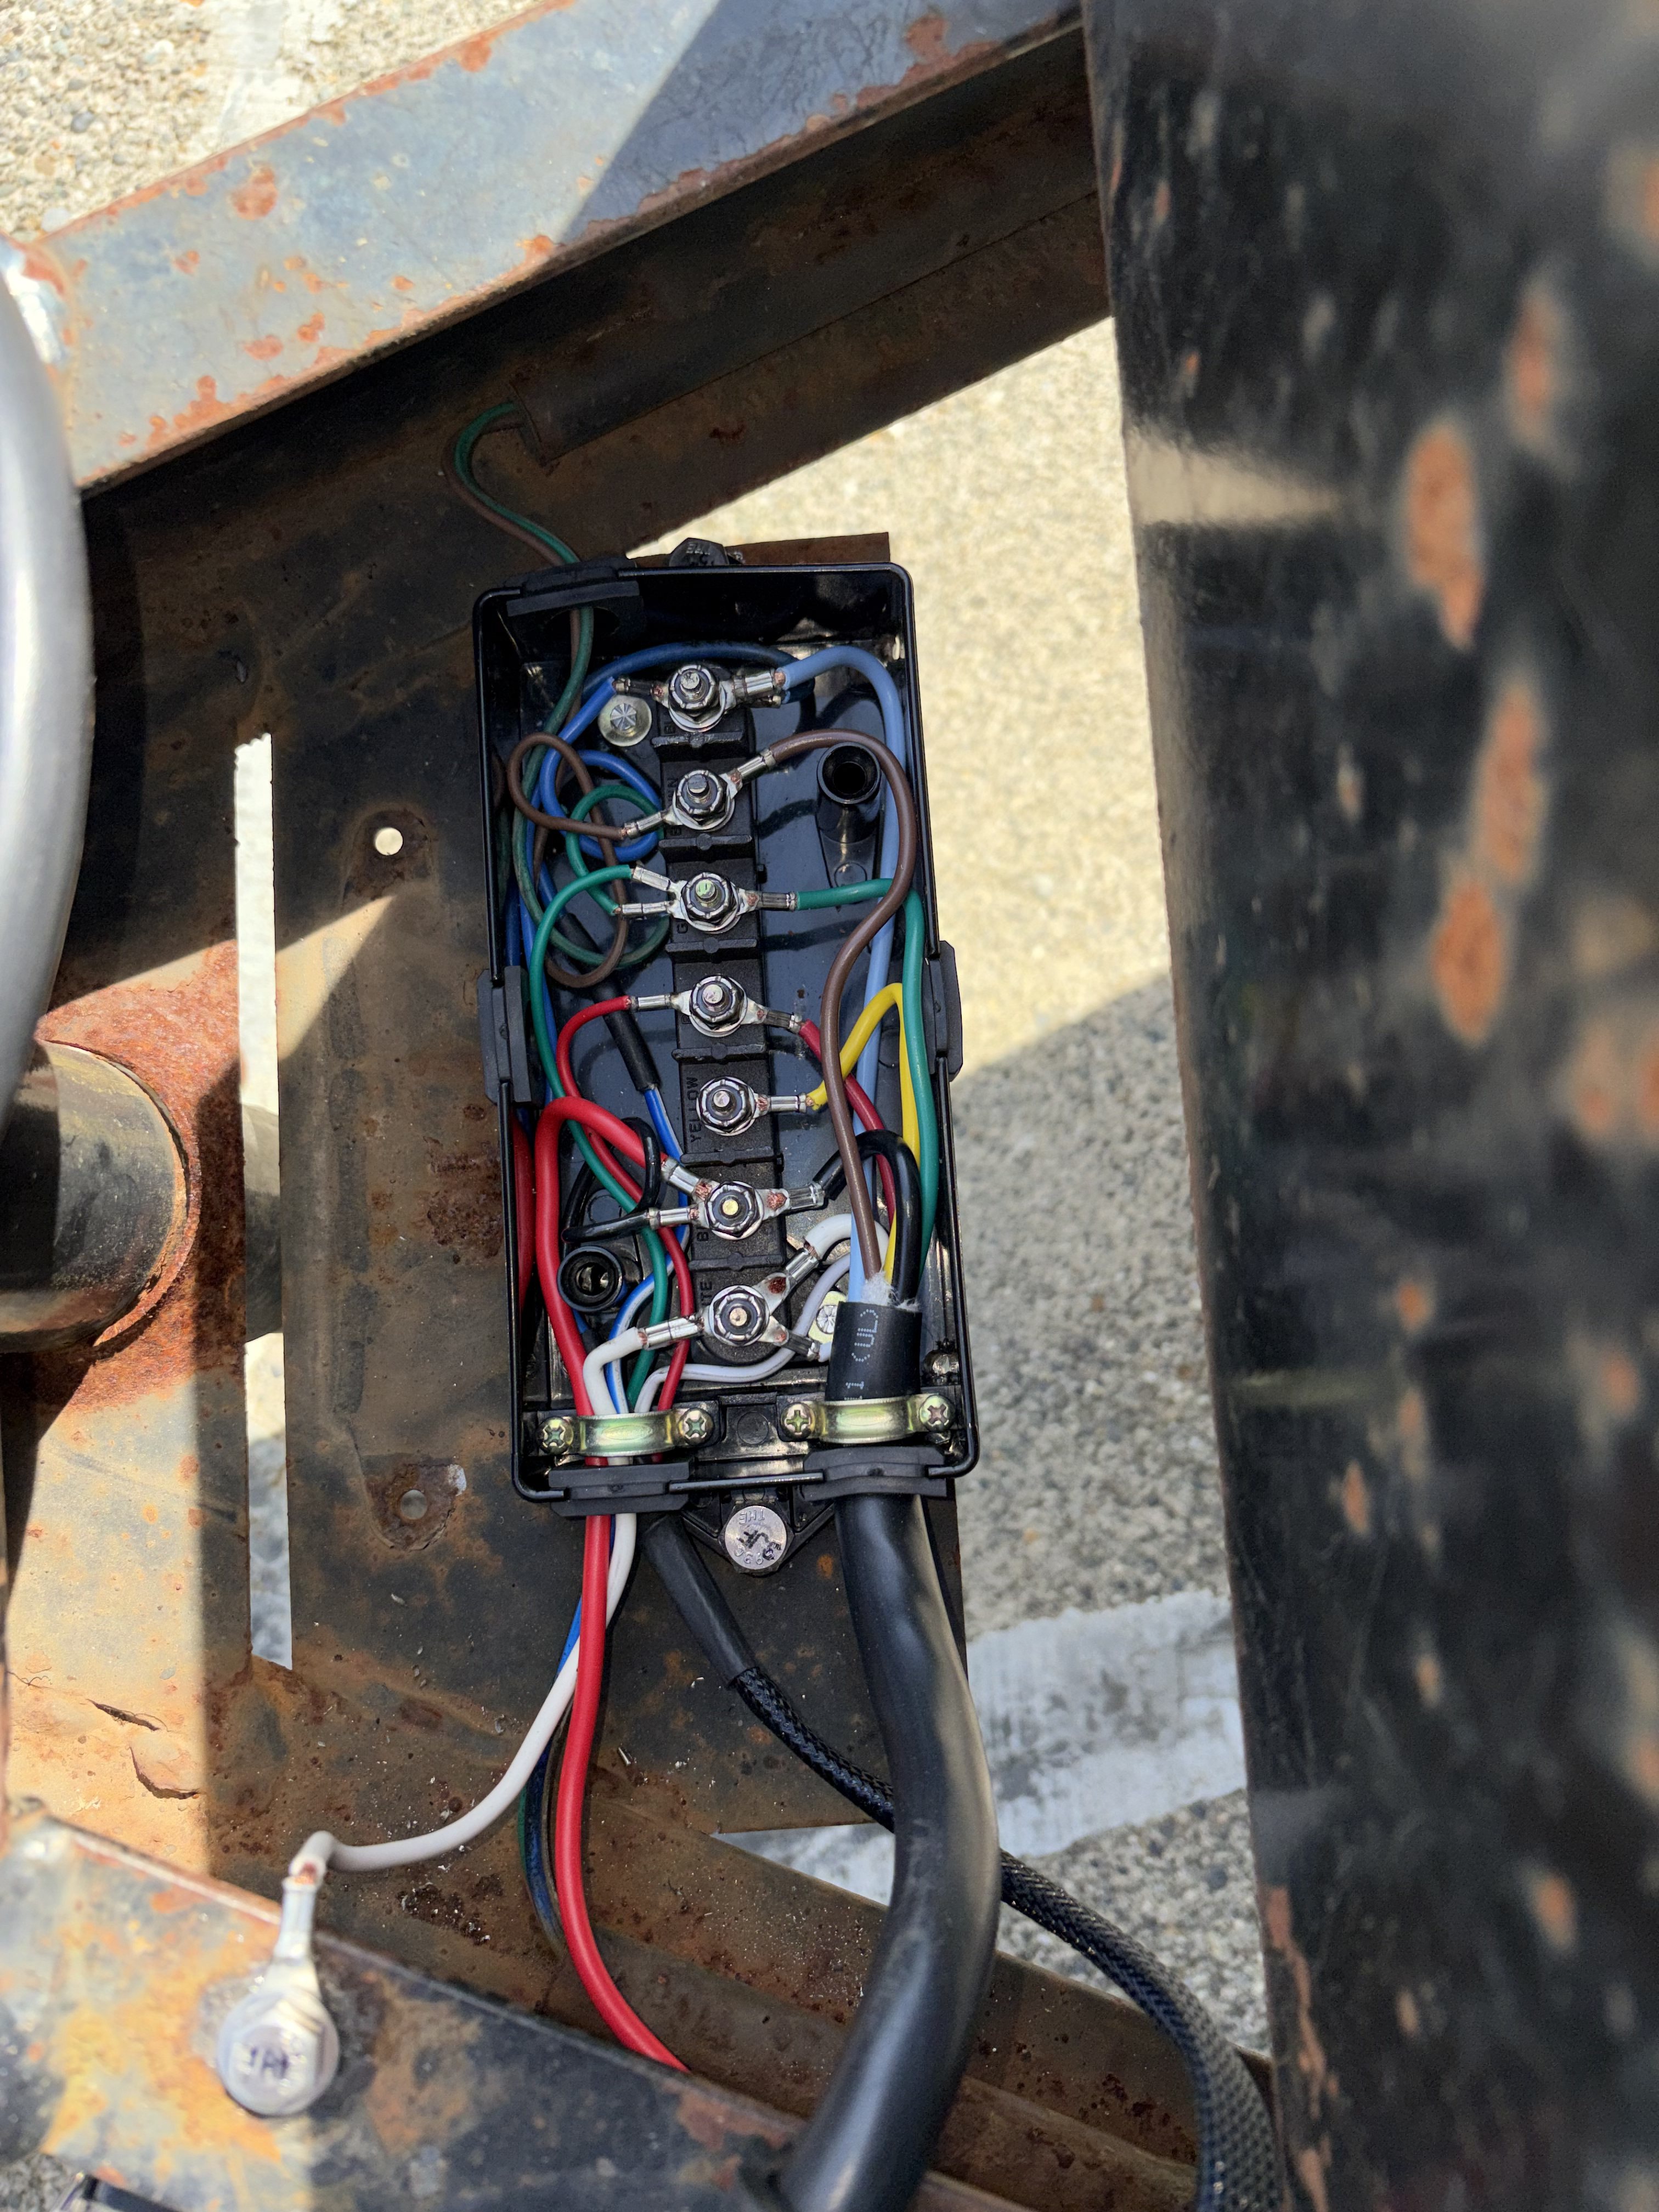
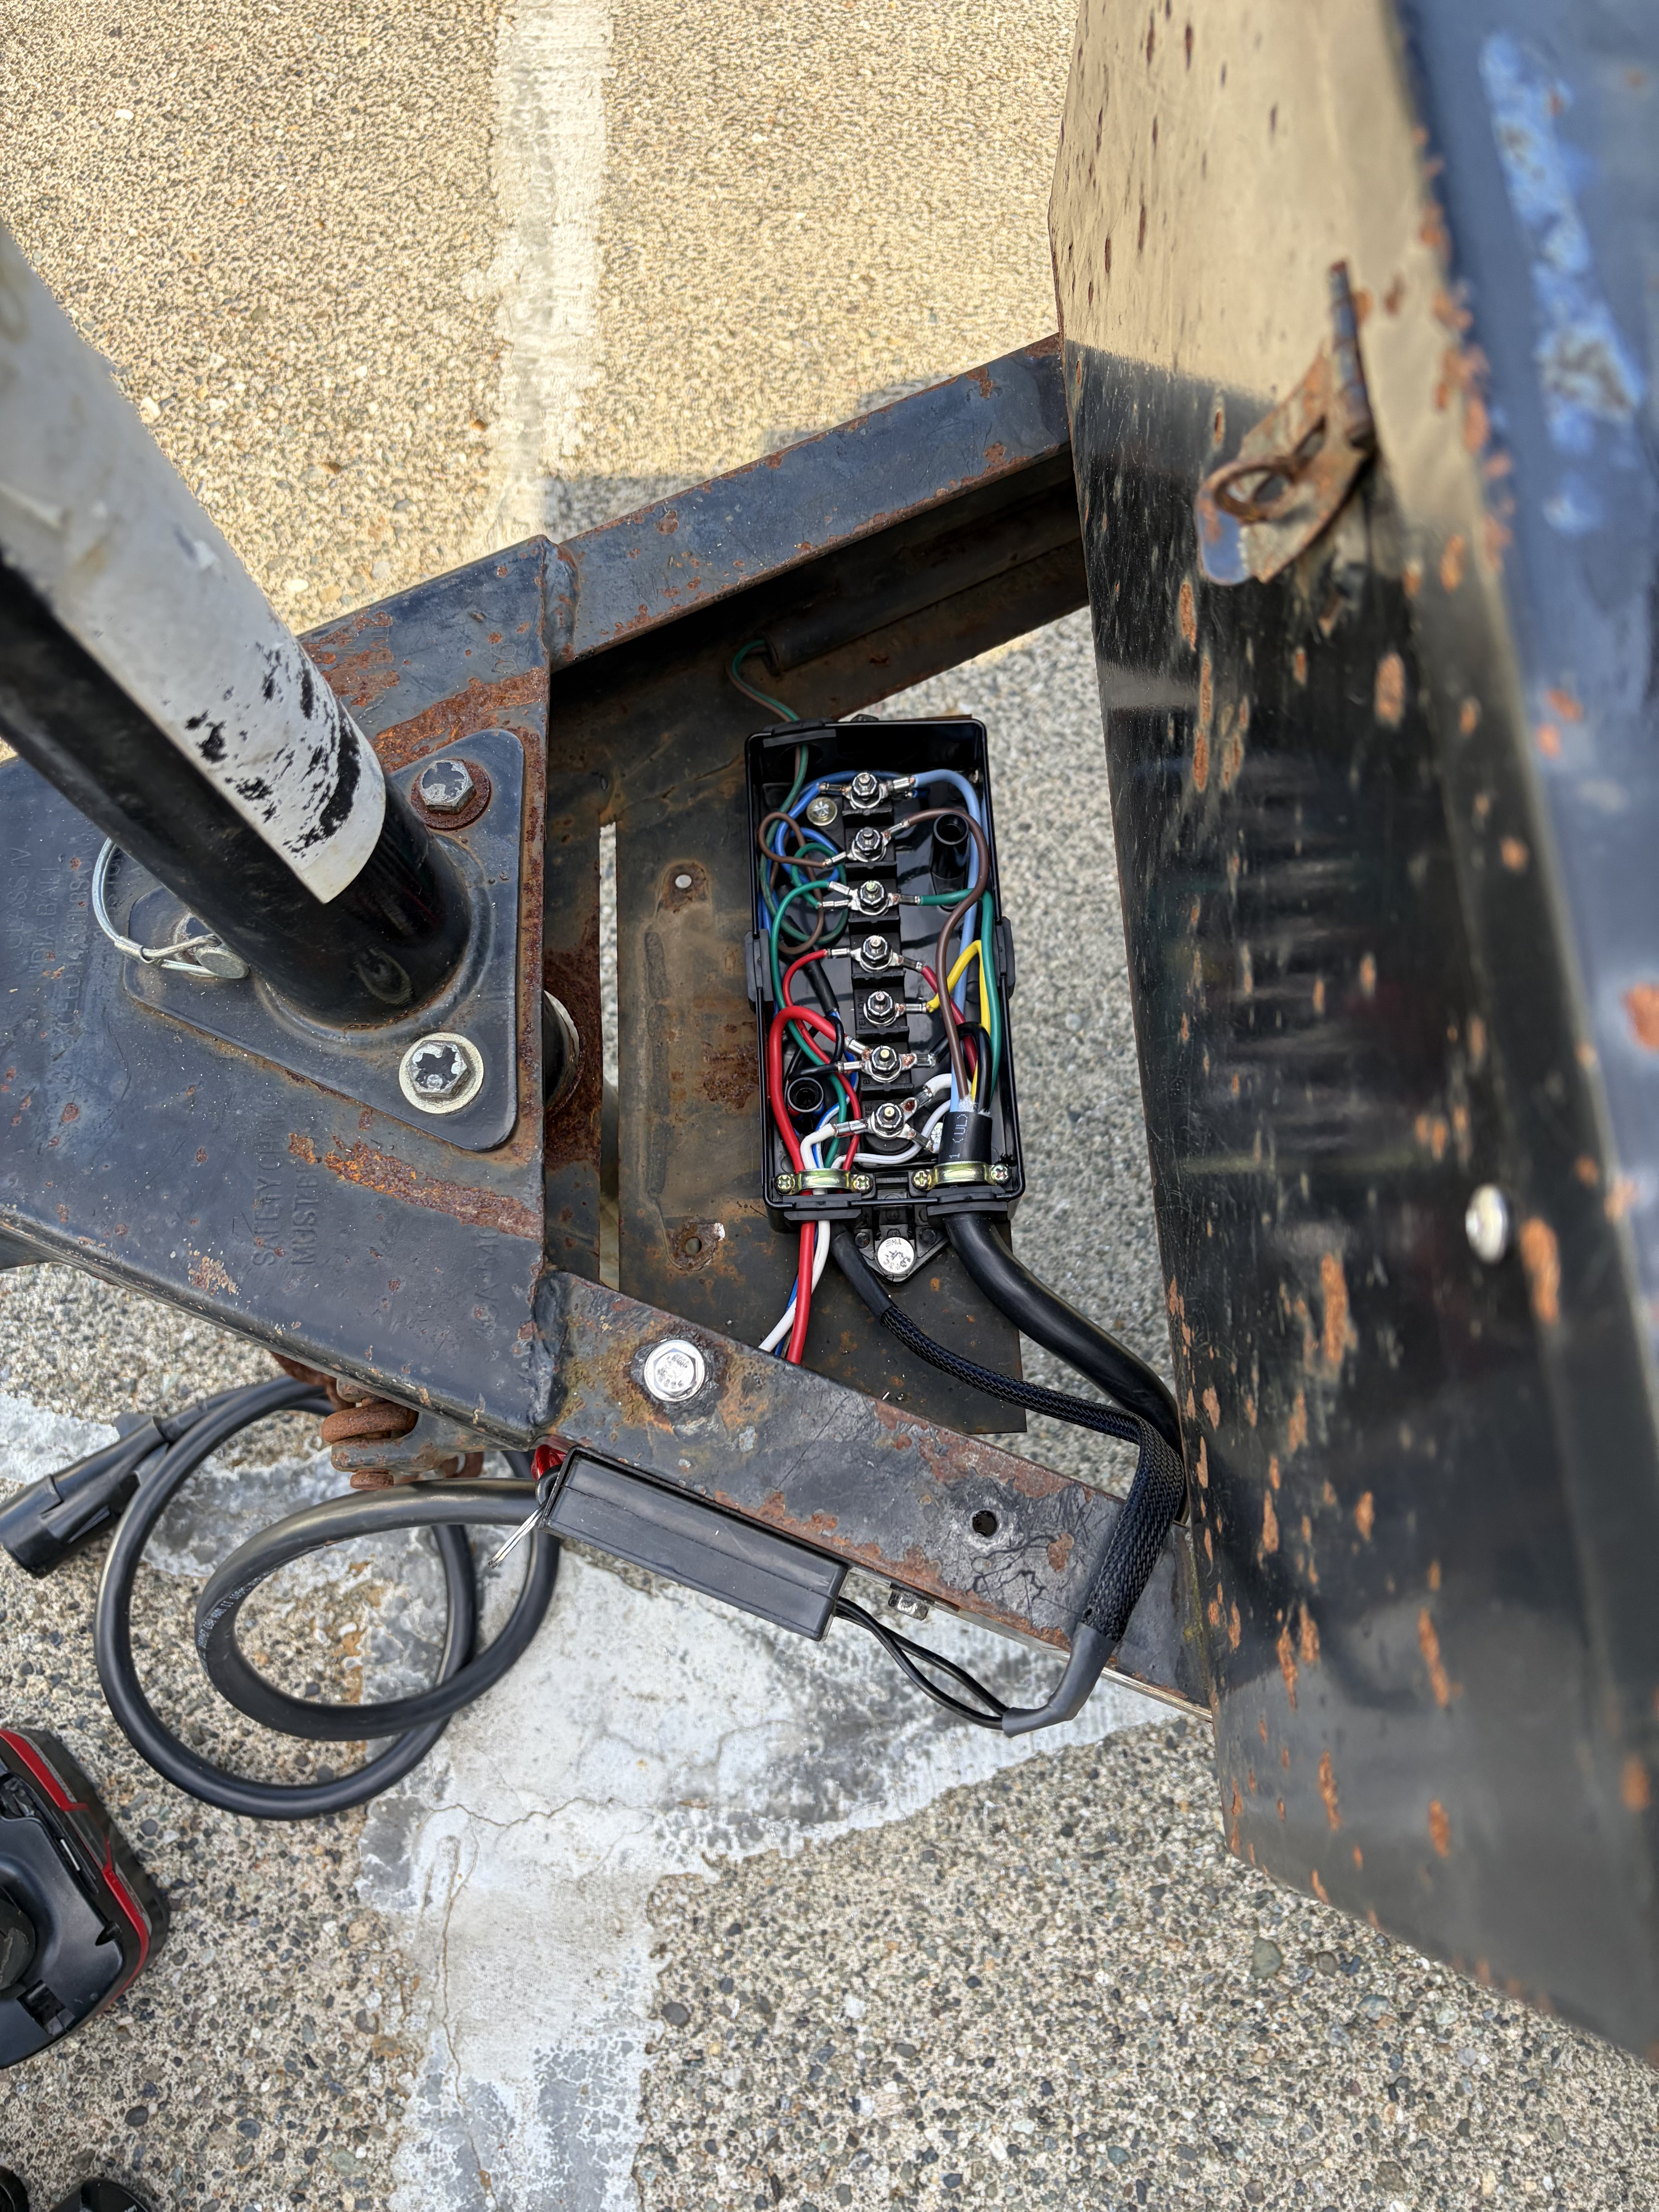
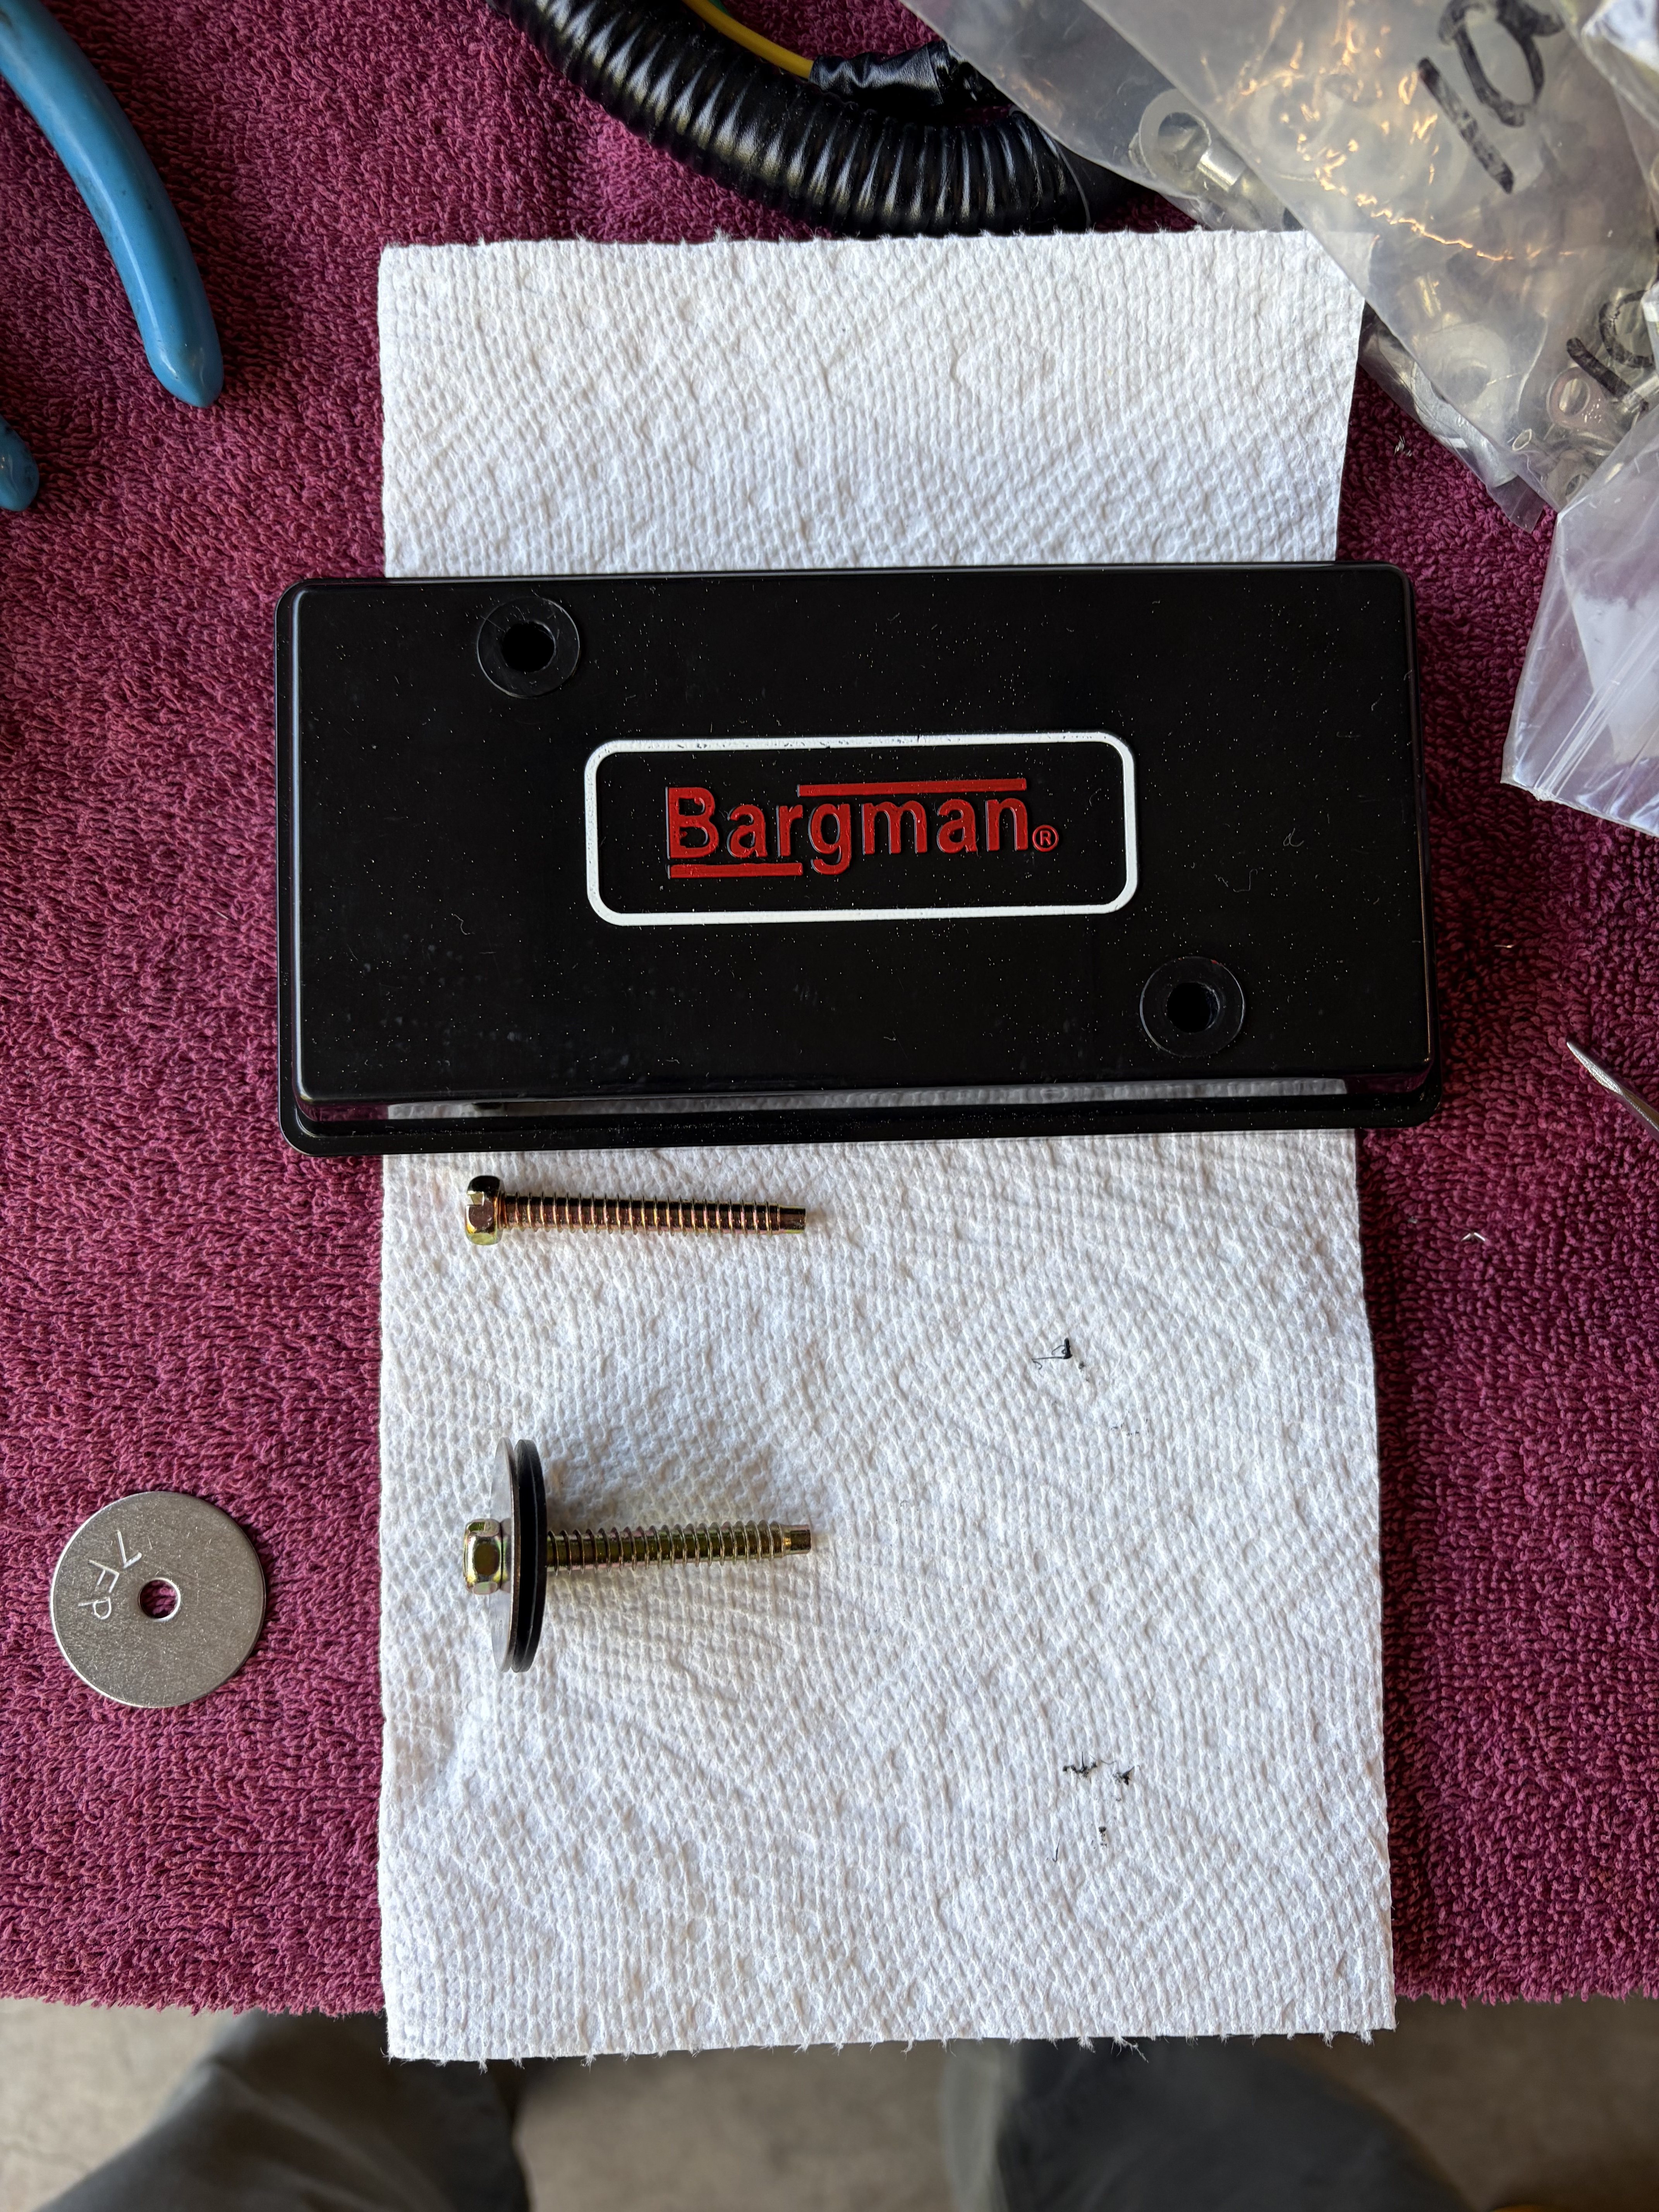
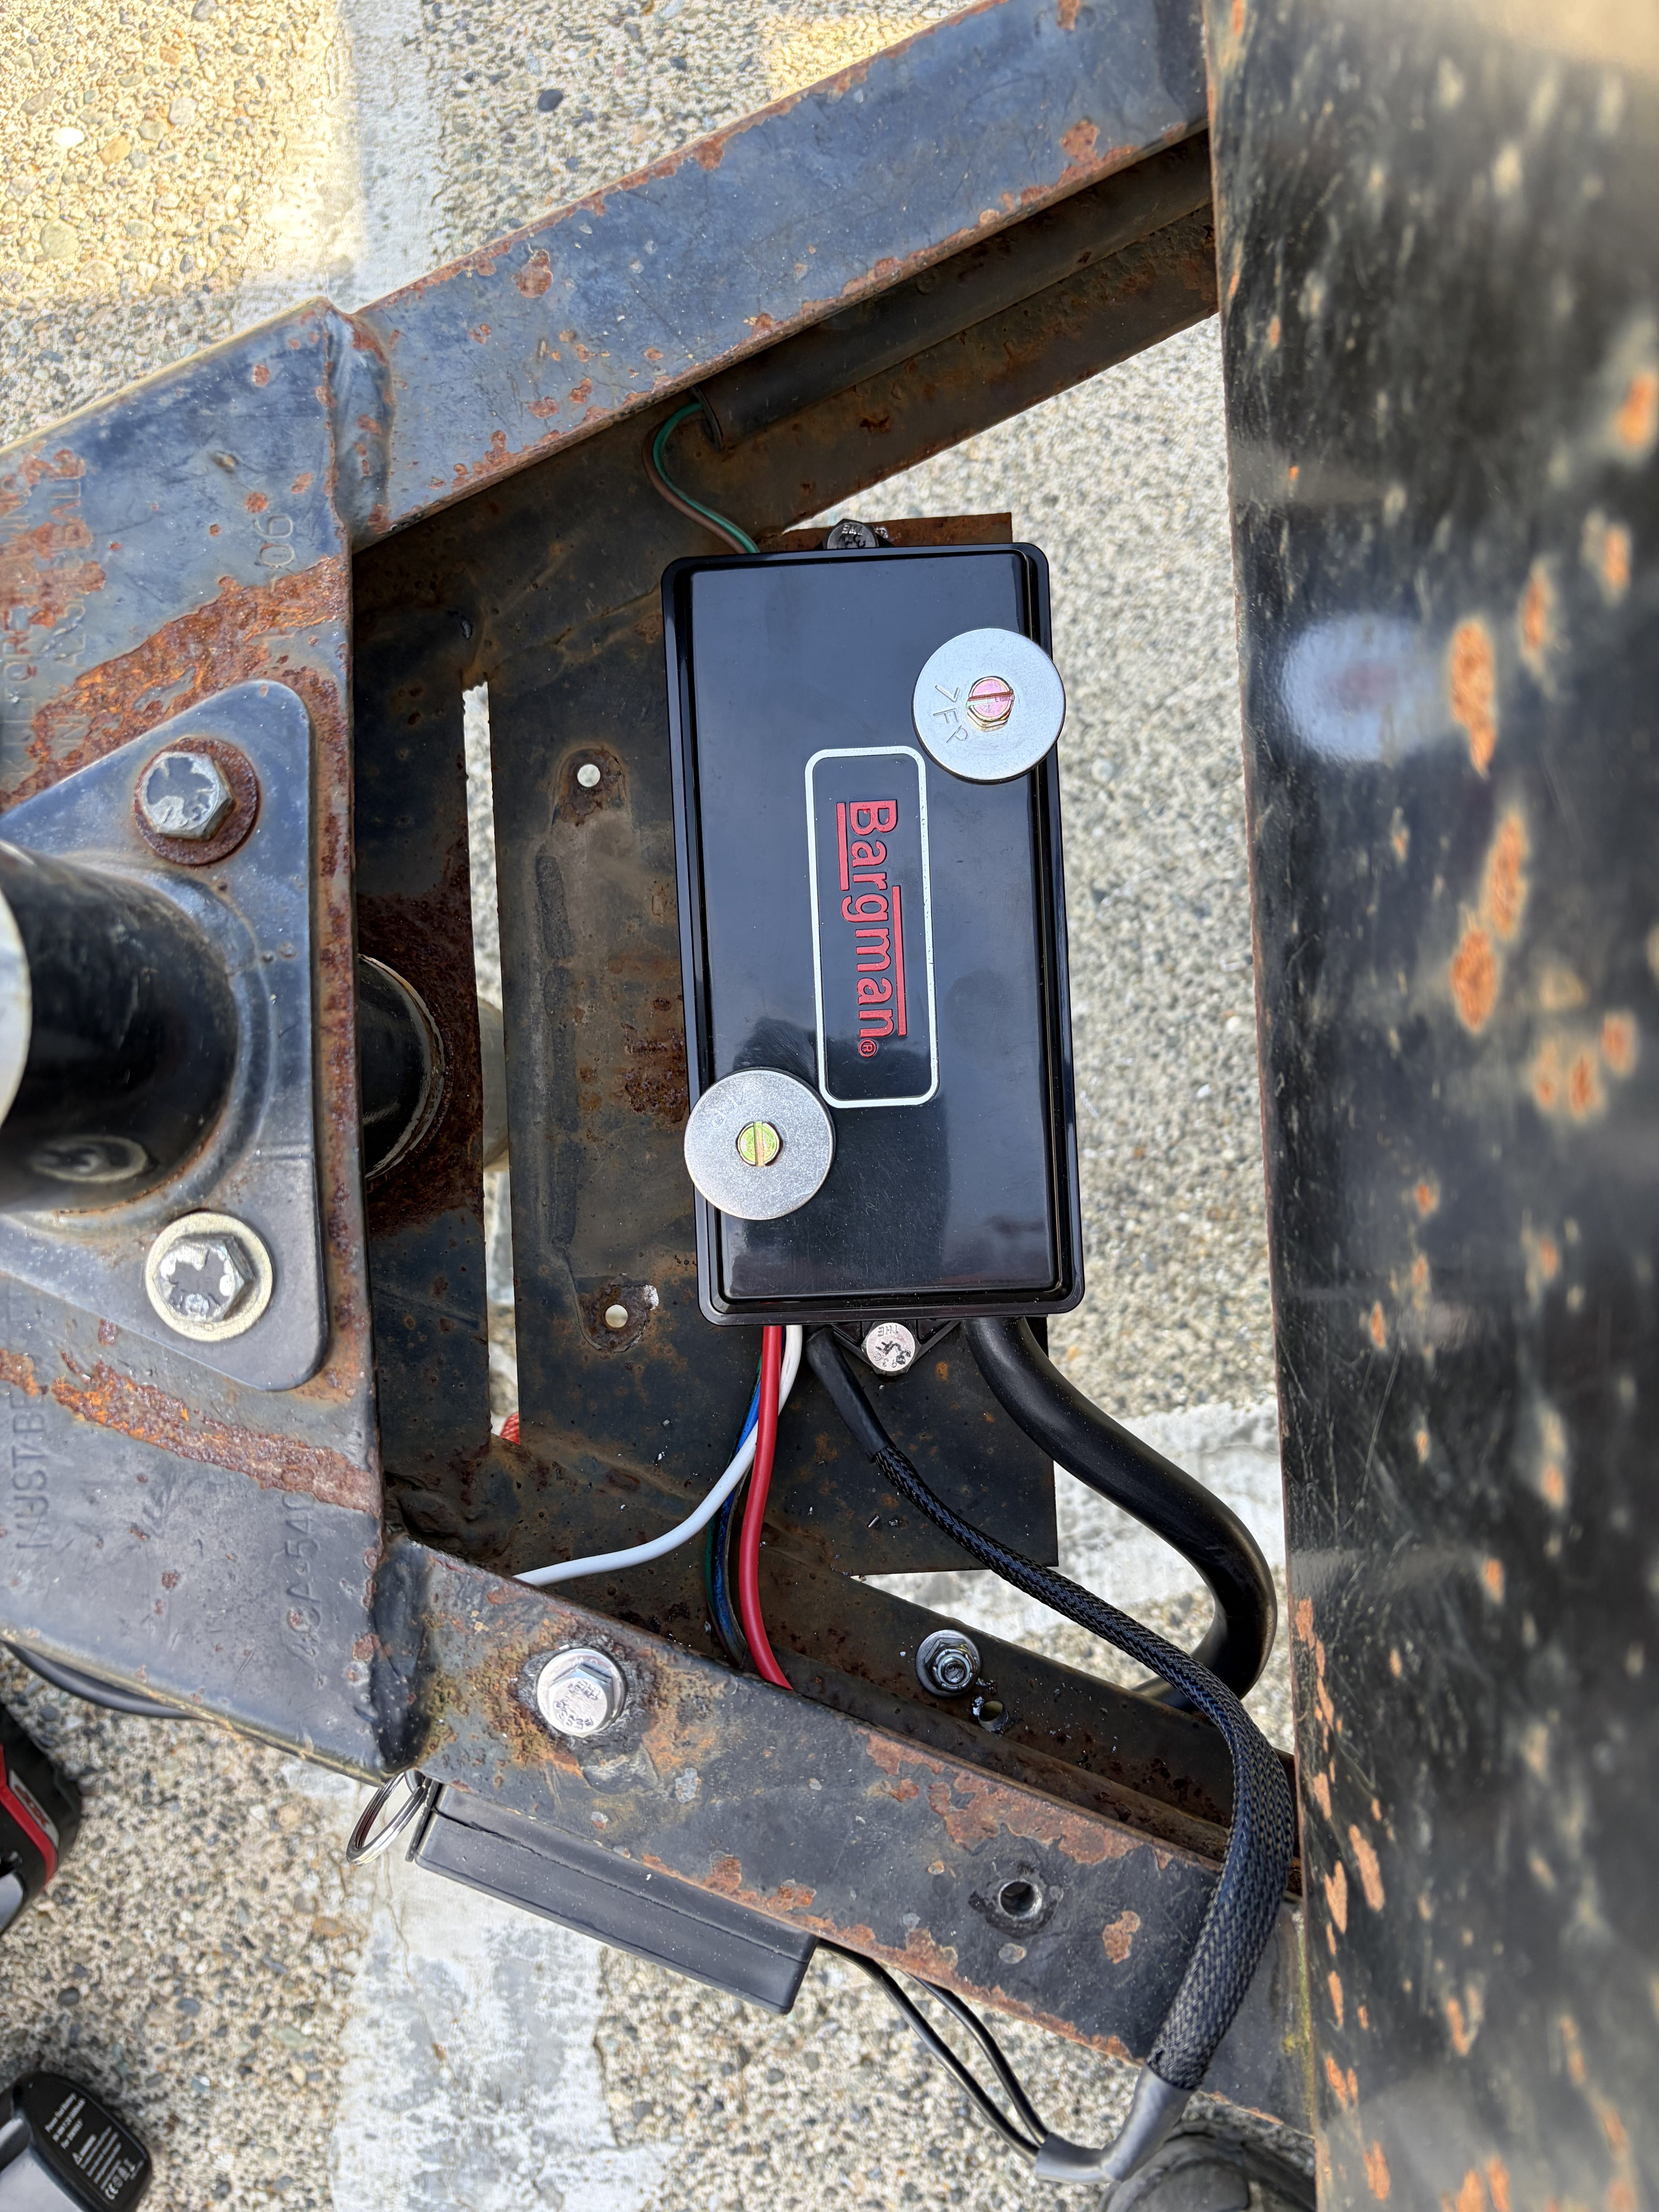
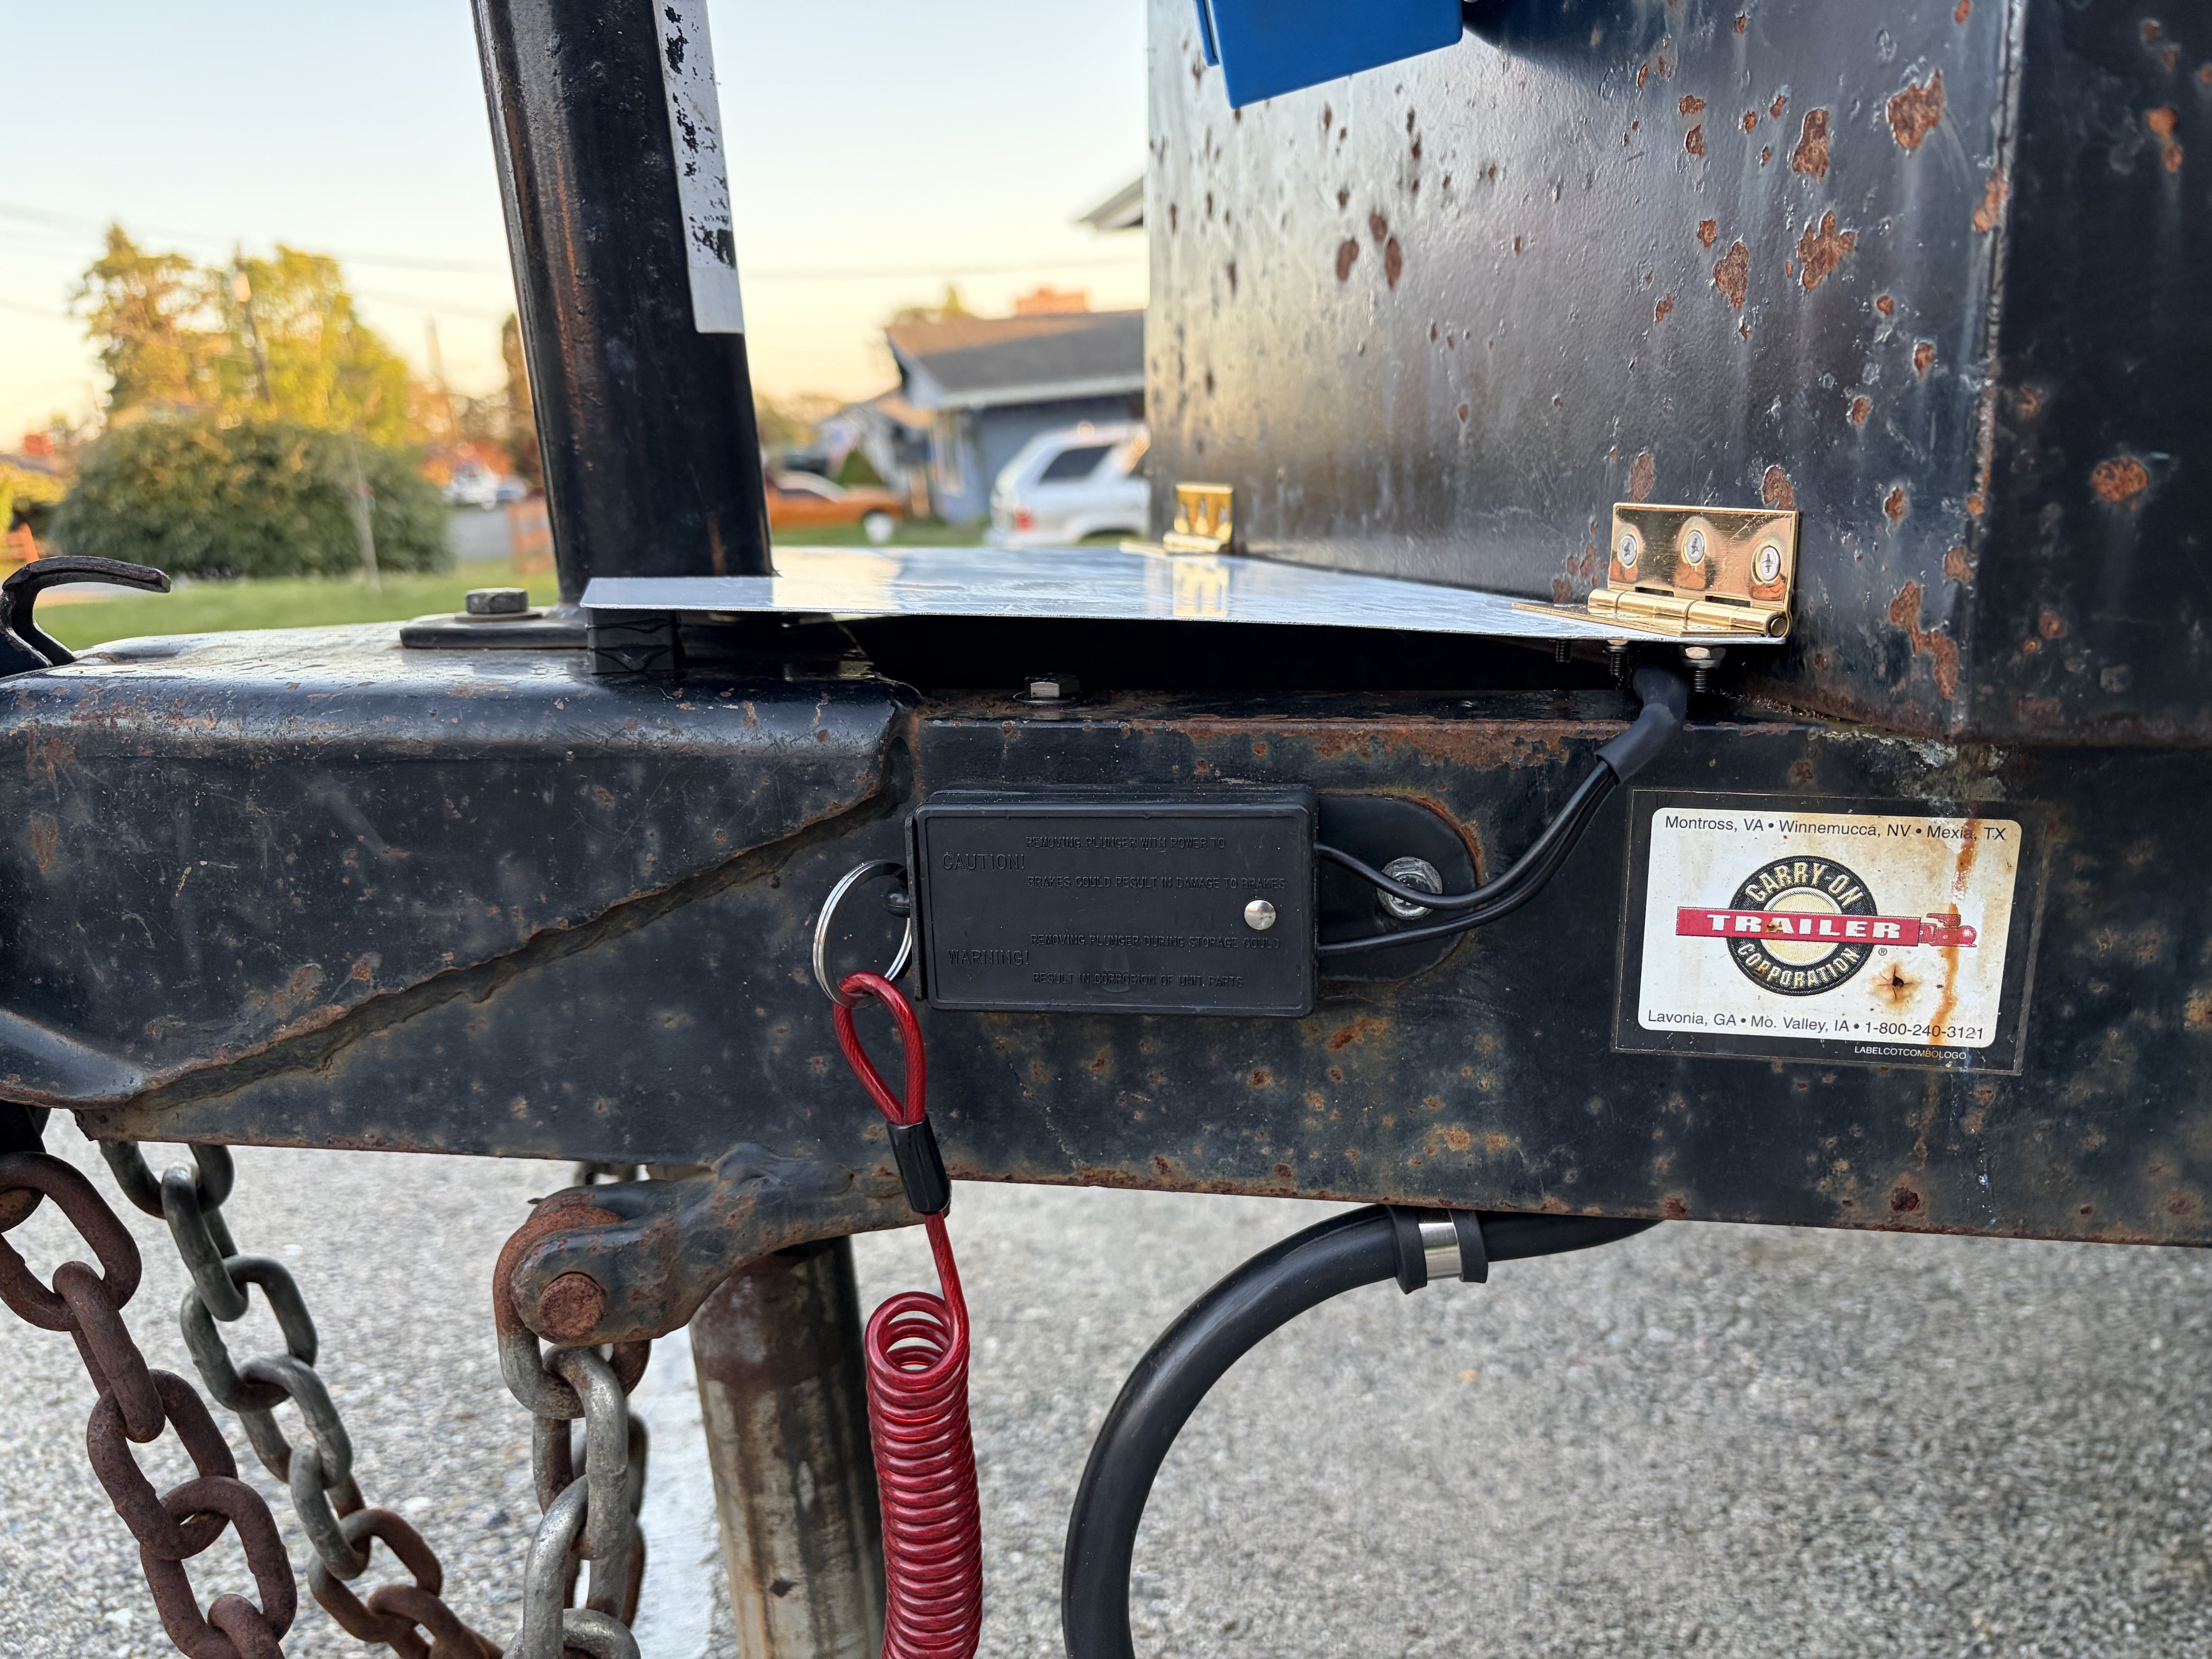
That led me to the lights. Oh, the lights. Short story: the right taillight was wired backward, not a big deal, but cleaning up the lighting/brake/charge wiring at the front end turned into installing a junction box. I installed a Bargman 787535 and a new 7-blade pigtail, mounted horizontally where the old emergency break-away brake battery/controller used to reside.
- IMG_032126.jpg (3.32 MiB) Viewed 4301 times
- IMG_032128.jpg (2.73 MiB) Viewed 4301 times
- IMG_032131.jpg (3.56 MiB) Viewed 4301 times
- IMG_032132.jpg (1.53 MiB) Viewed 4301 times
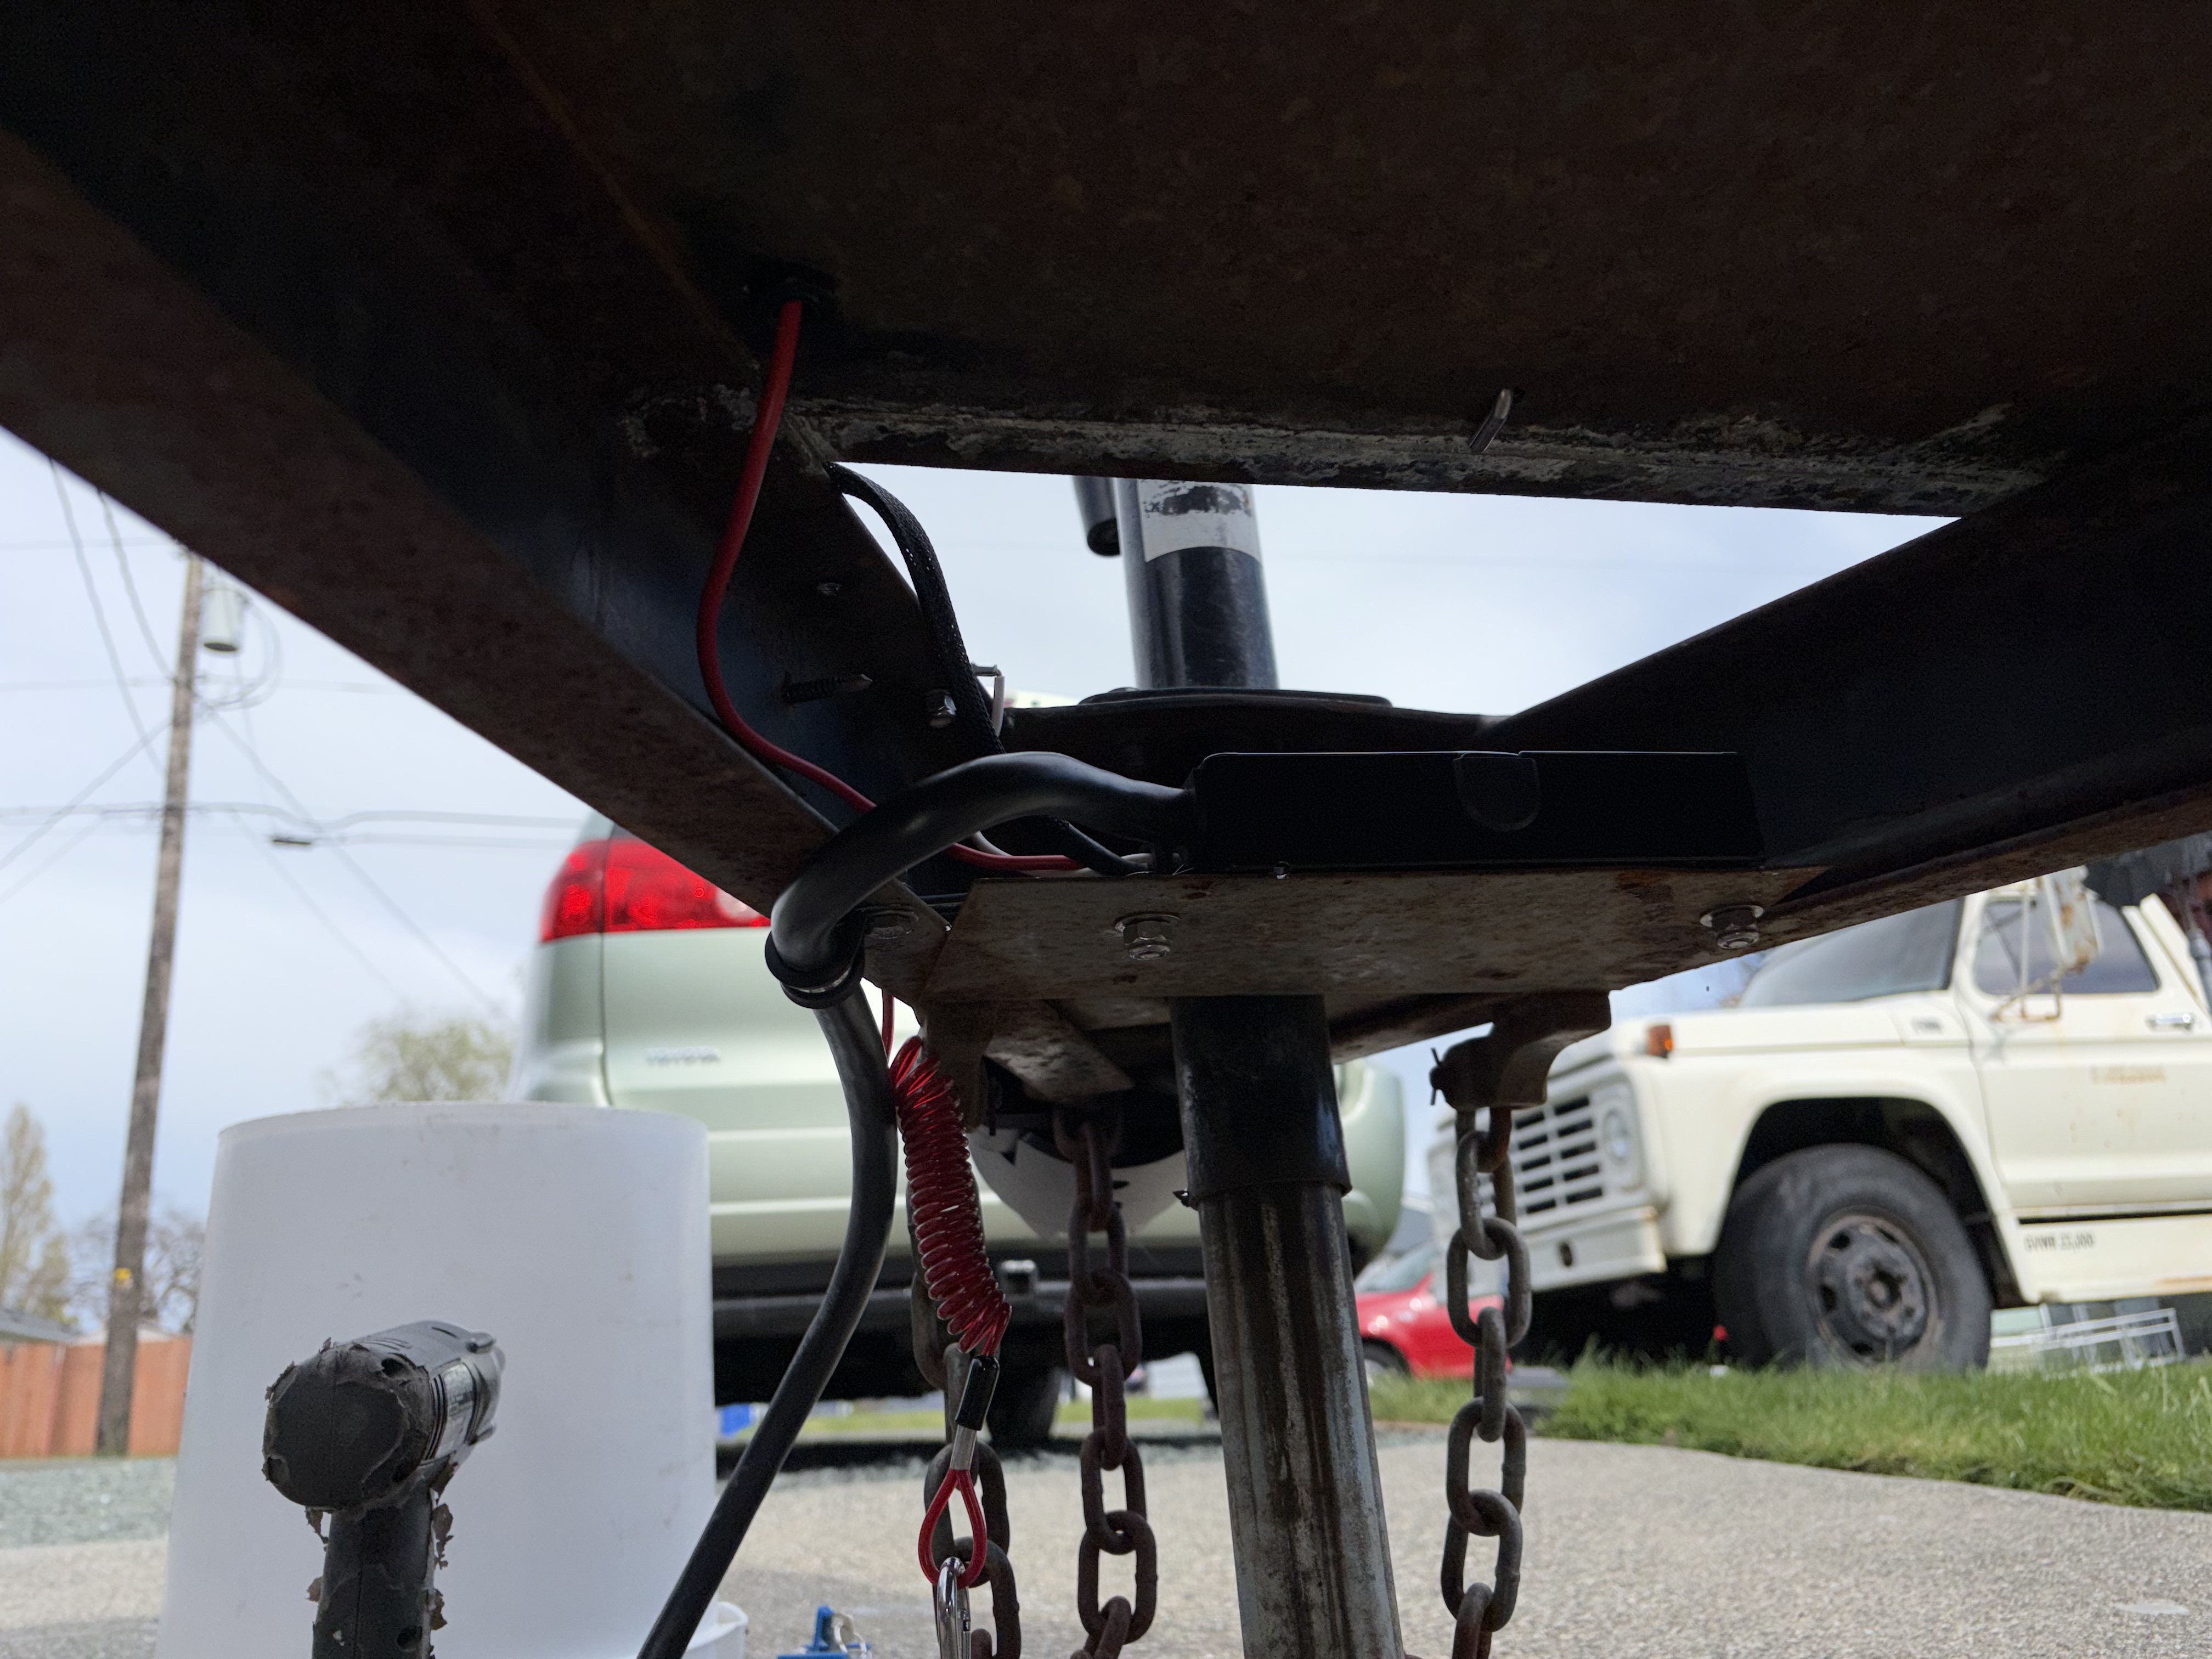
Well, that pigtail had to move below the frame . . .
- IMG_032145.jpg (1.2 MiB) Viewed 4301 times
- IMG_032146.jpg (3.57 MiB) Viewed 4301 times
- IMG_032147.jpg (3.65 MiB) Viewed 4301 times
- IMG_032148.jpg (2.9 MiB) Viewed 4301 times
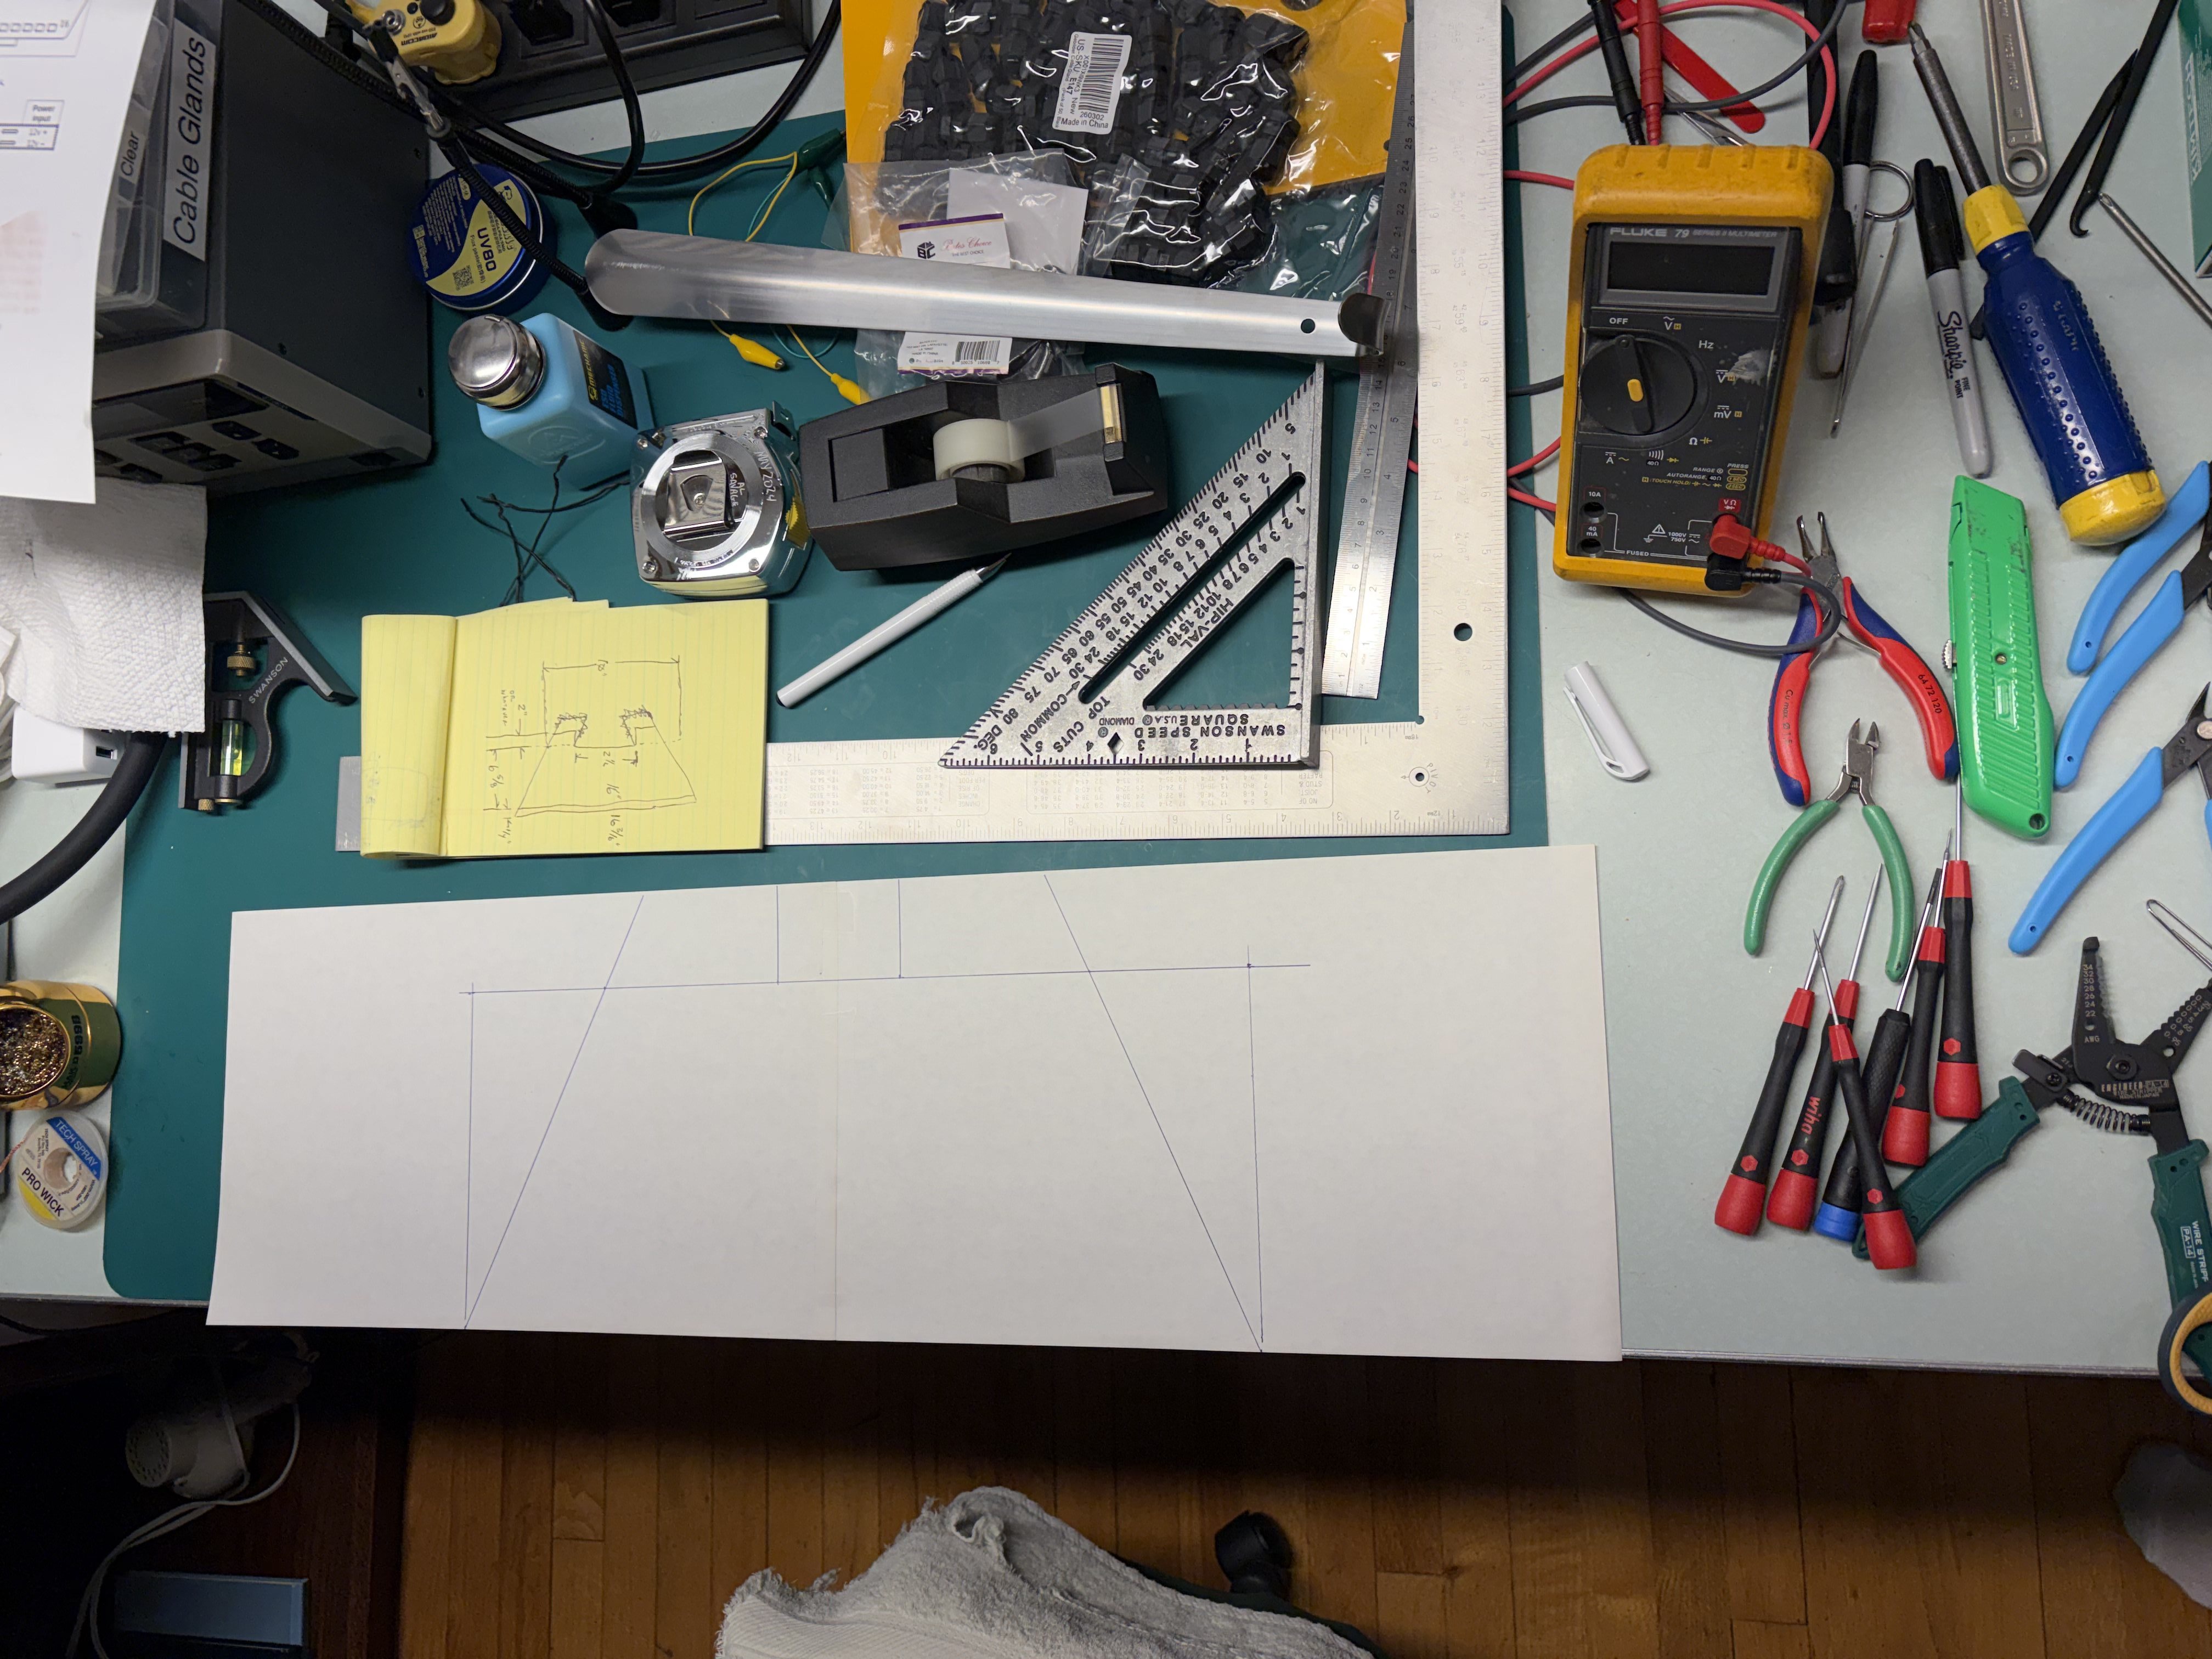
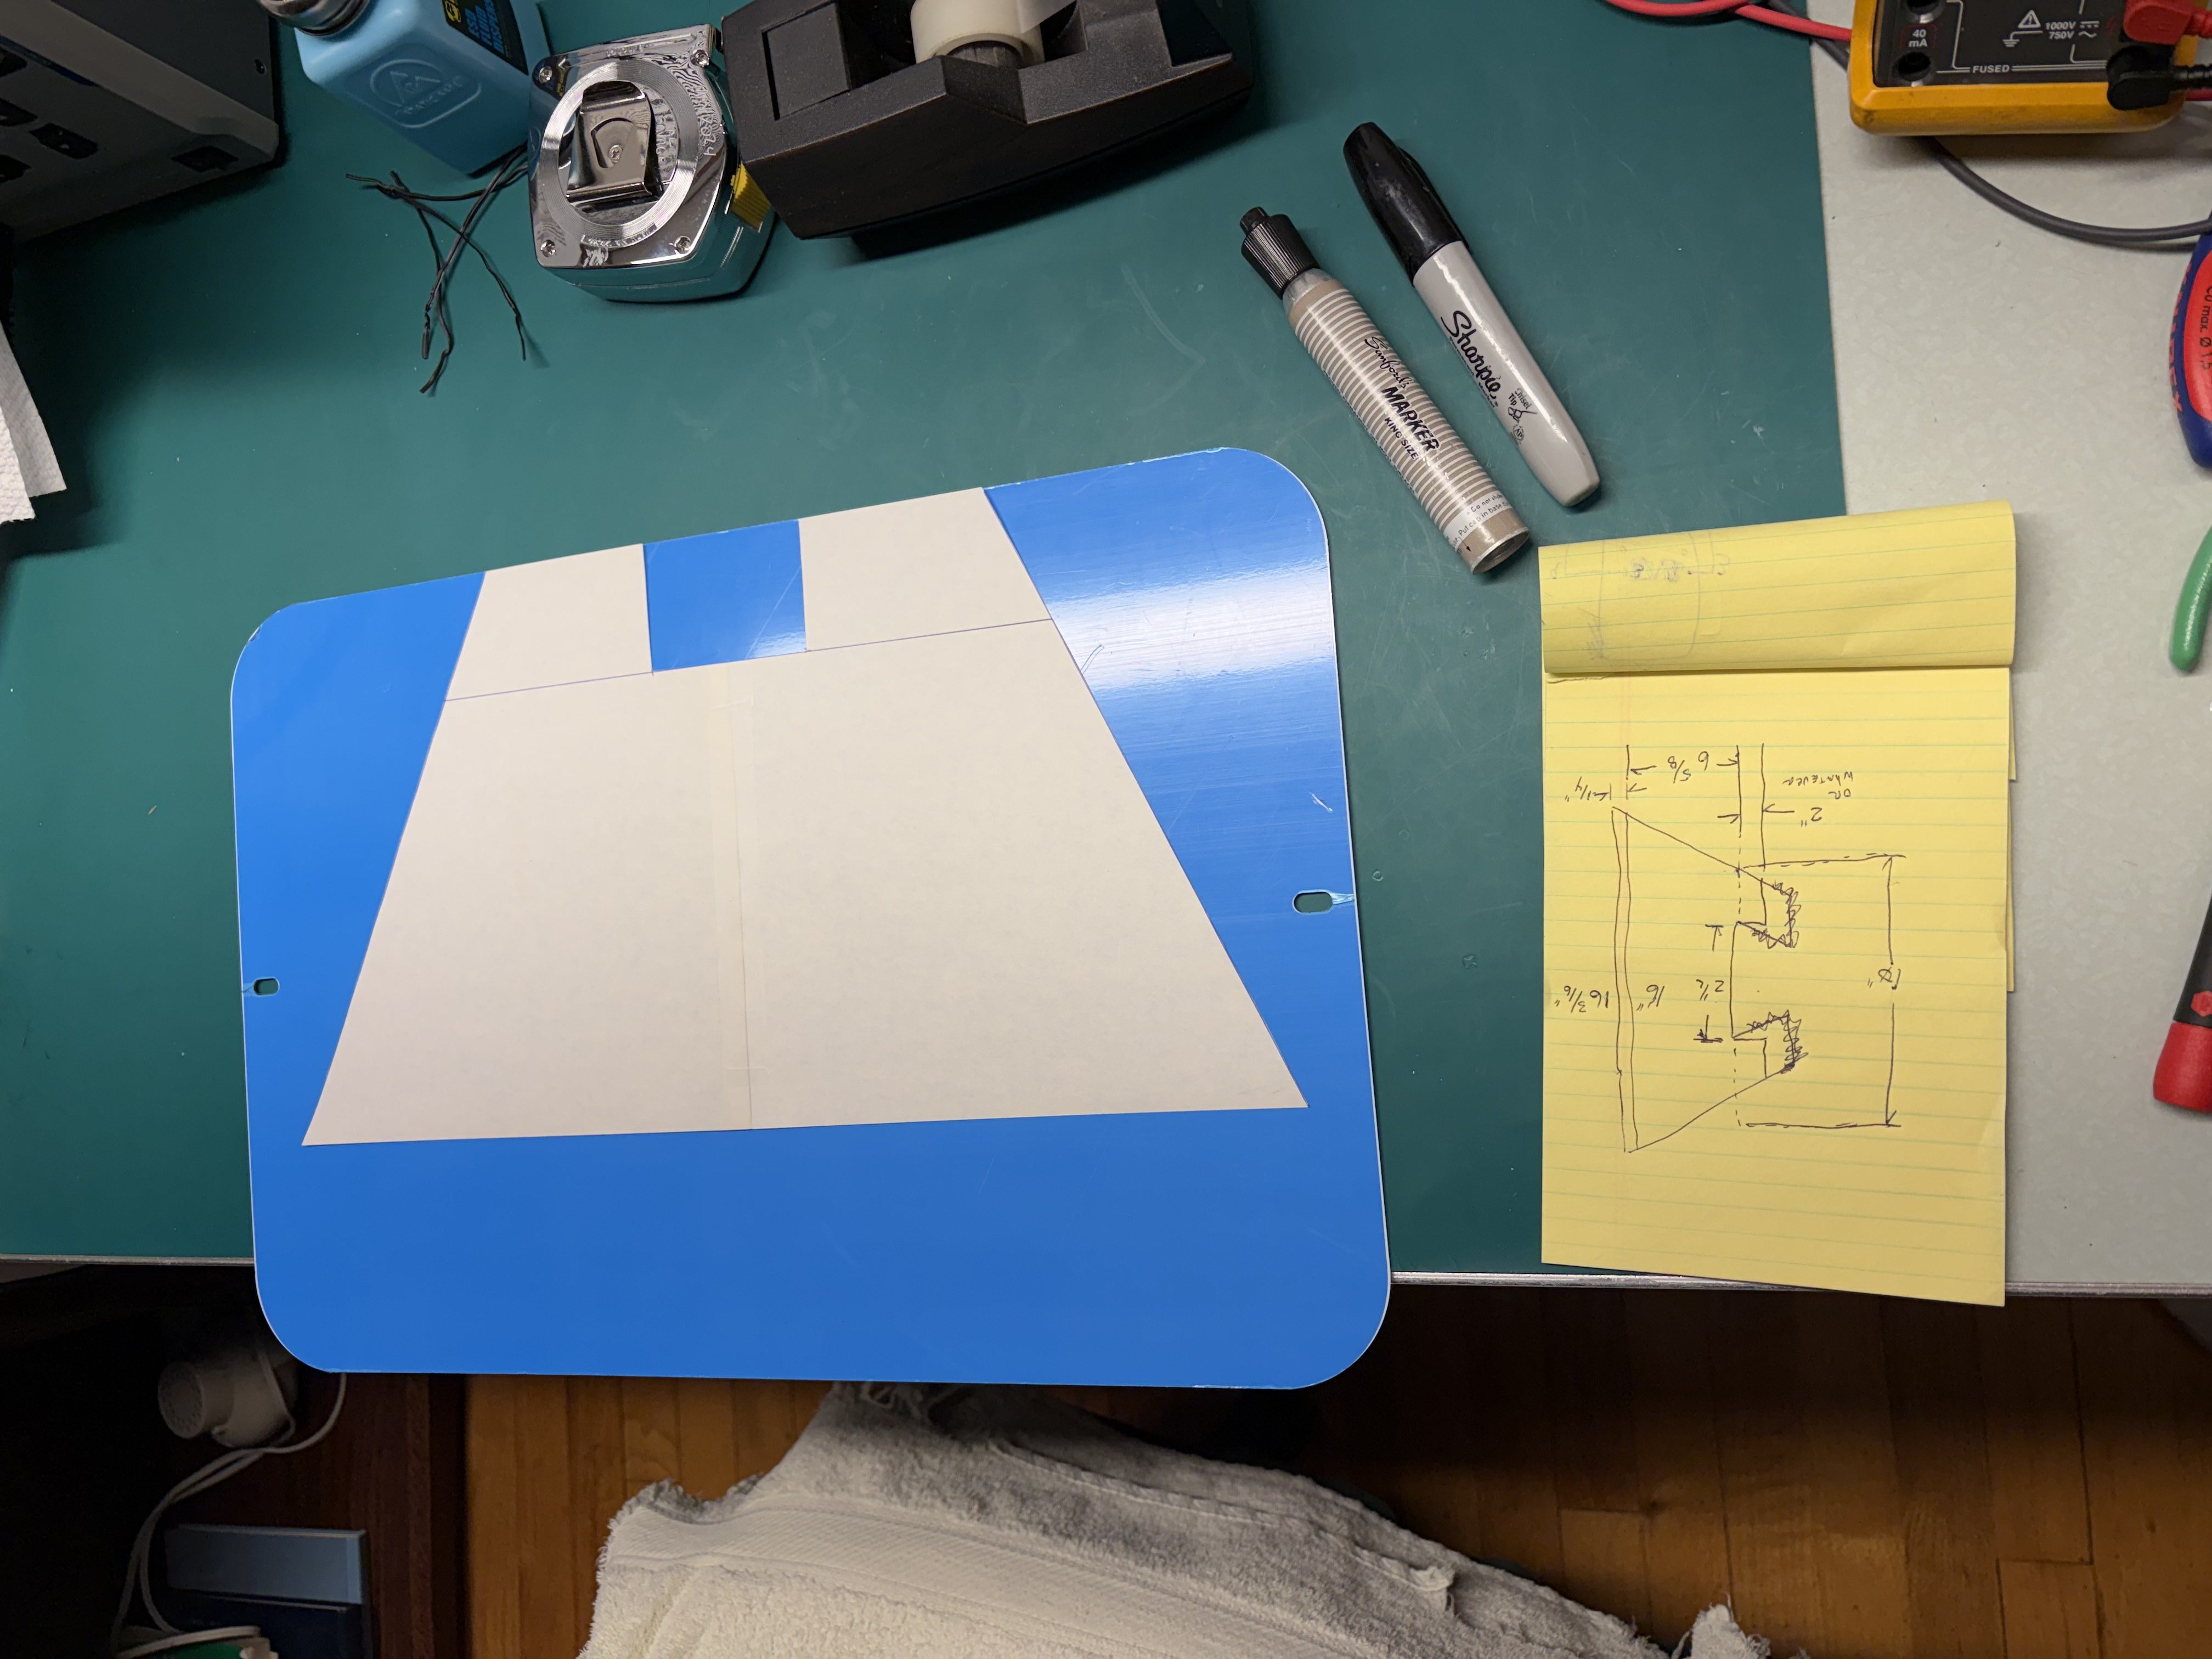
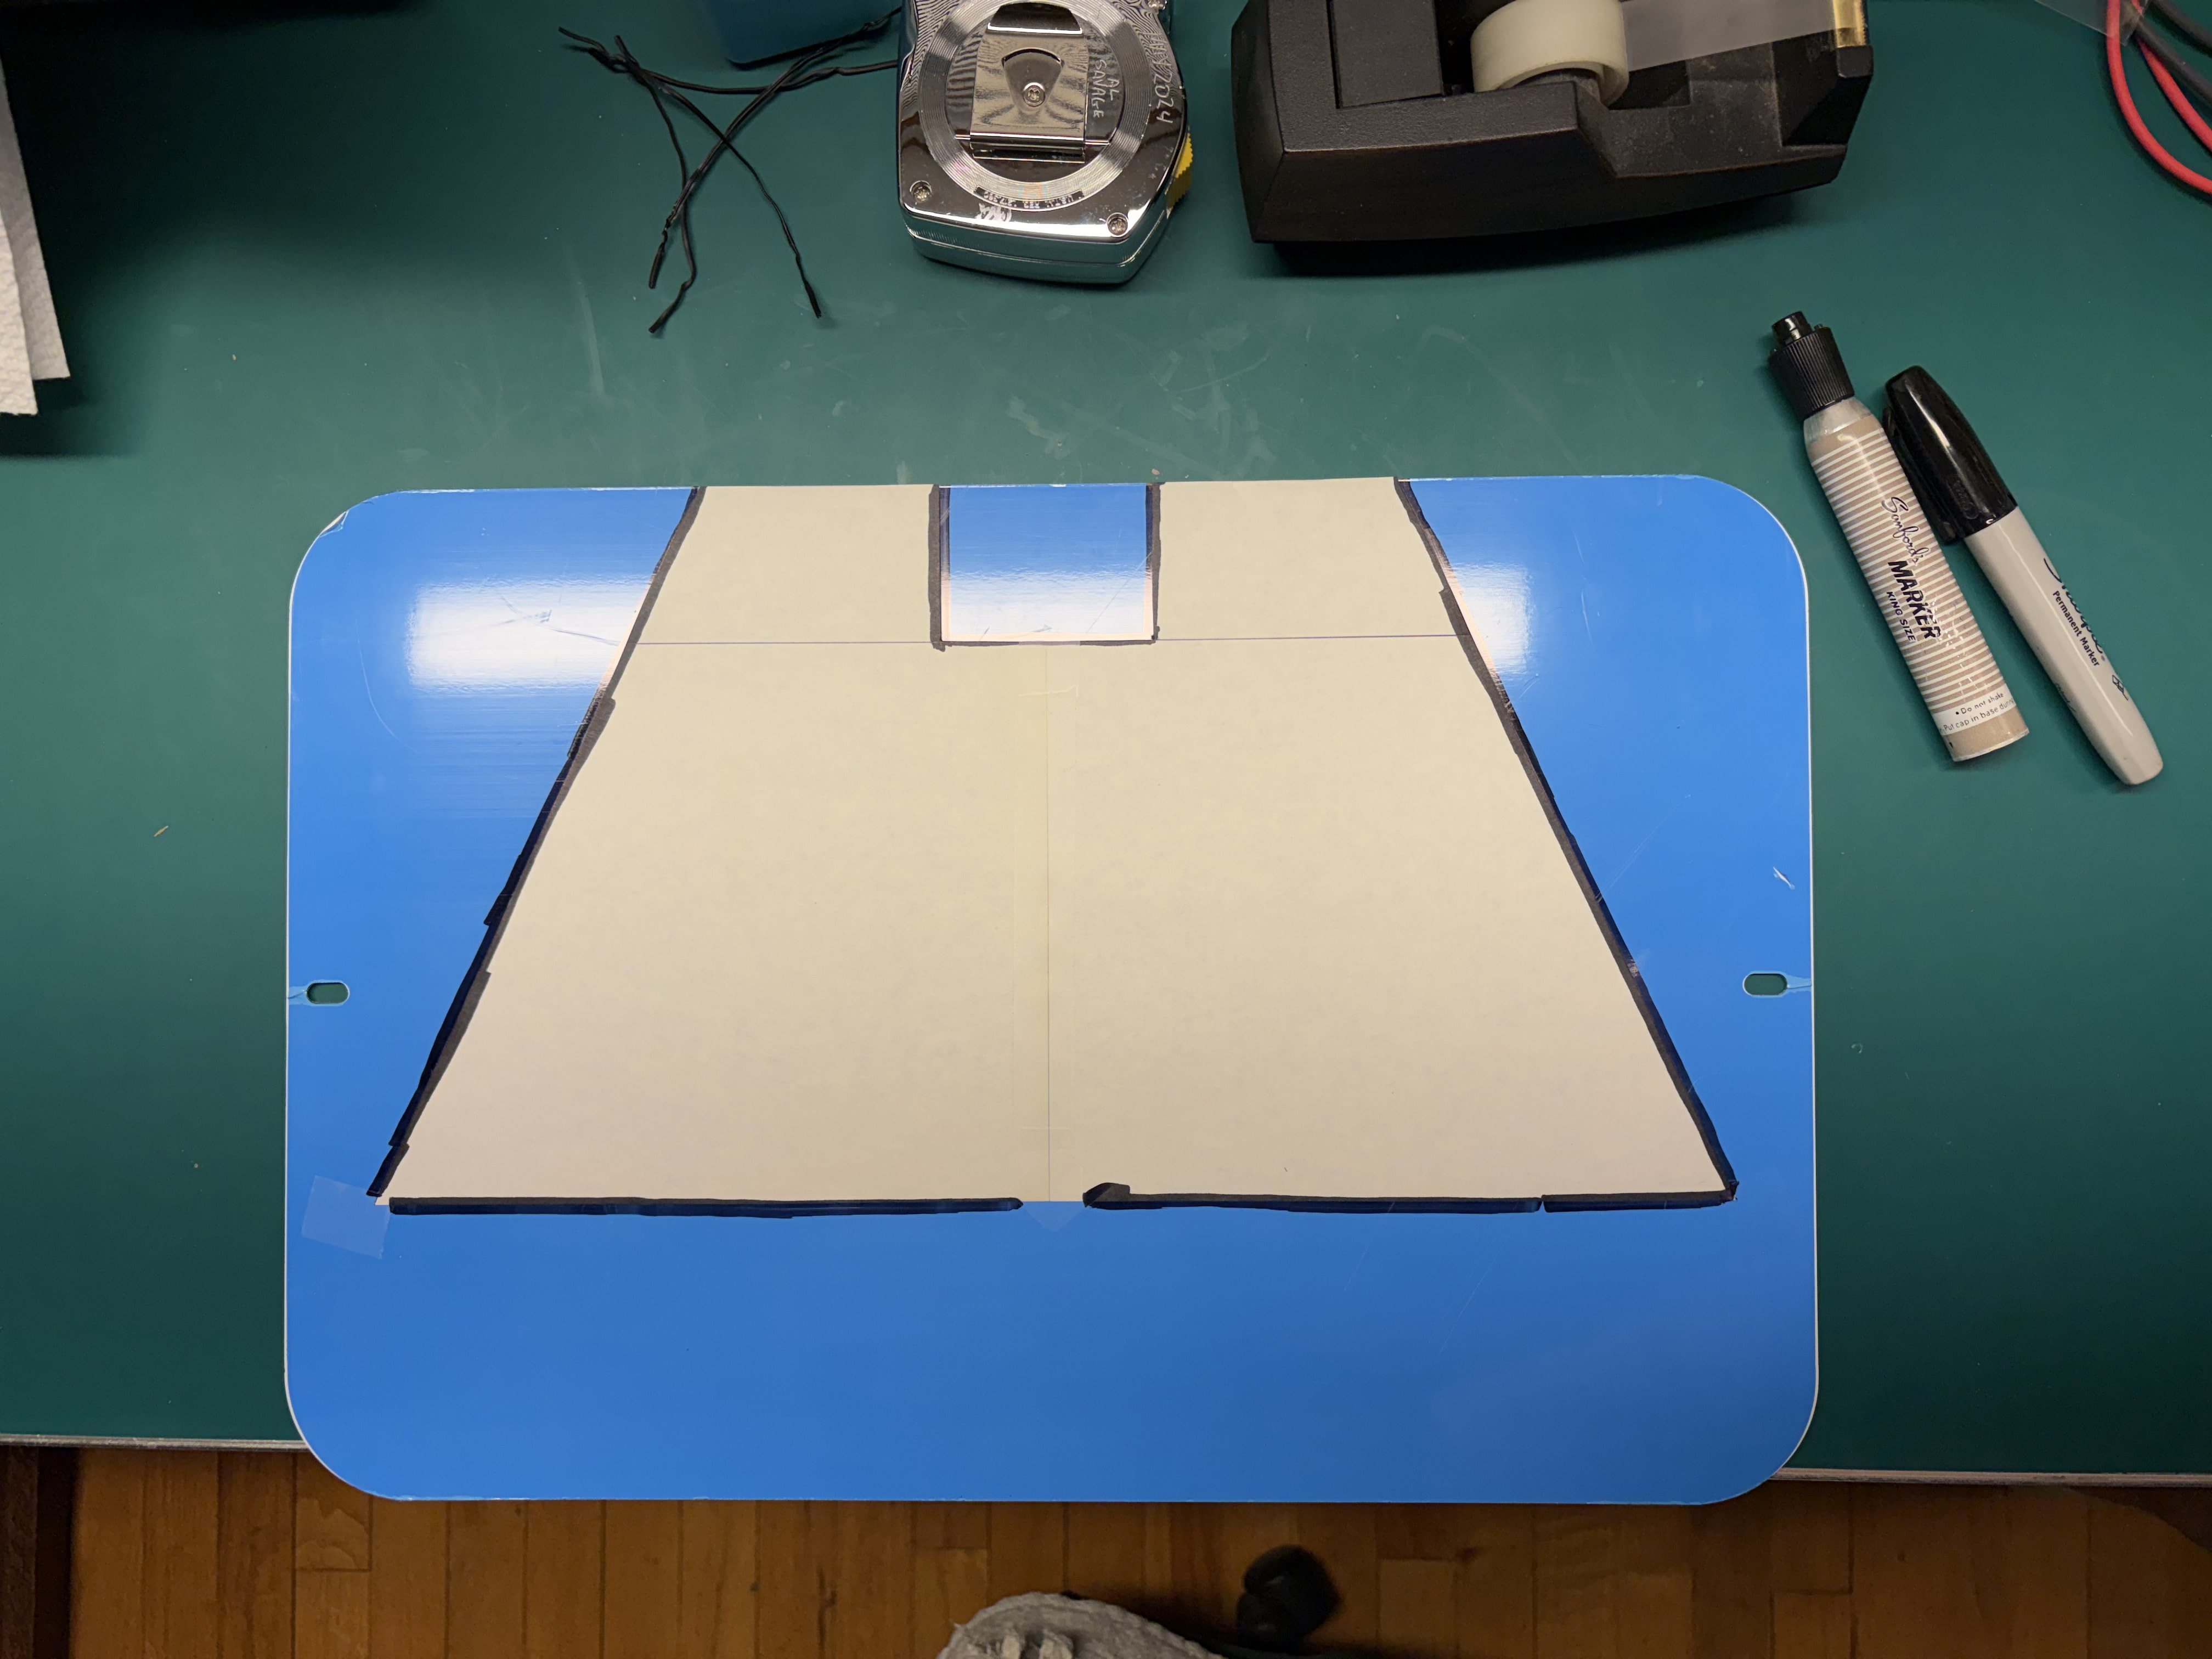
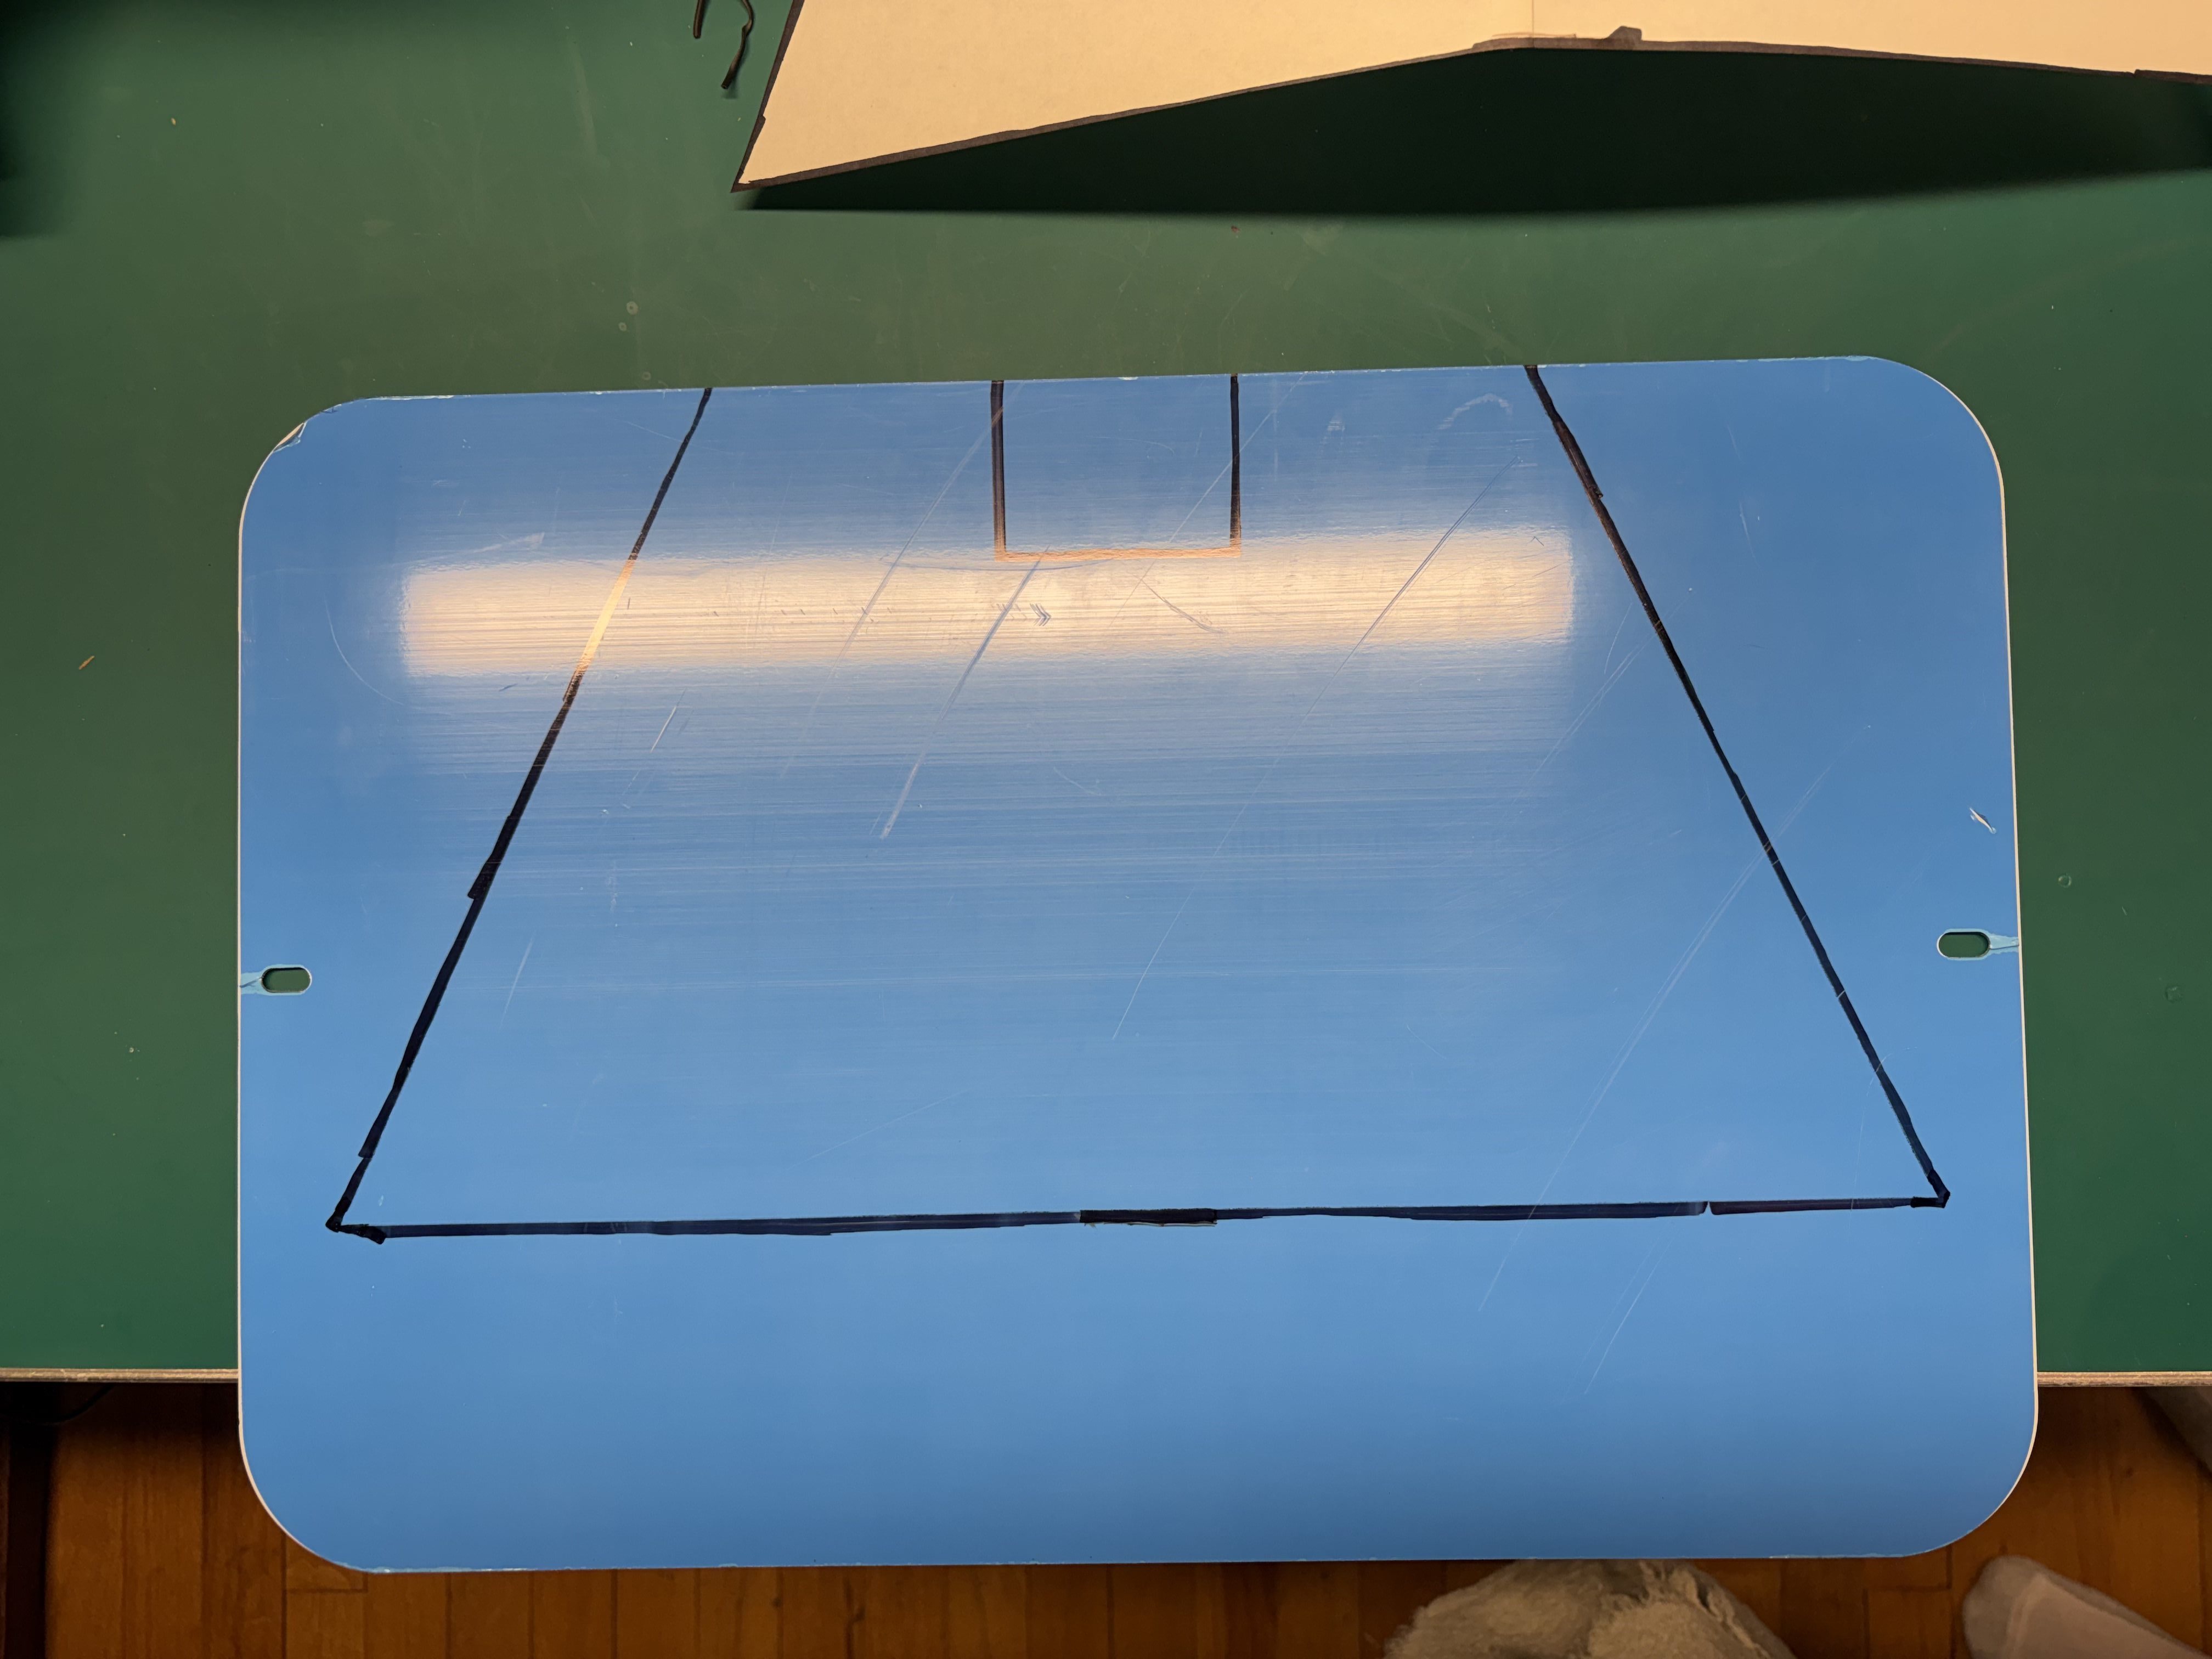
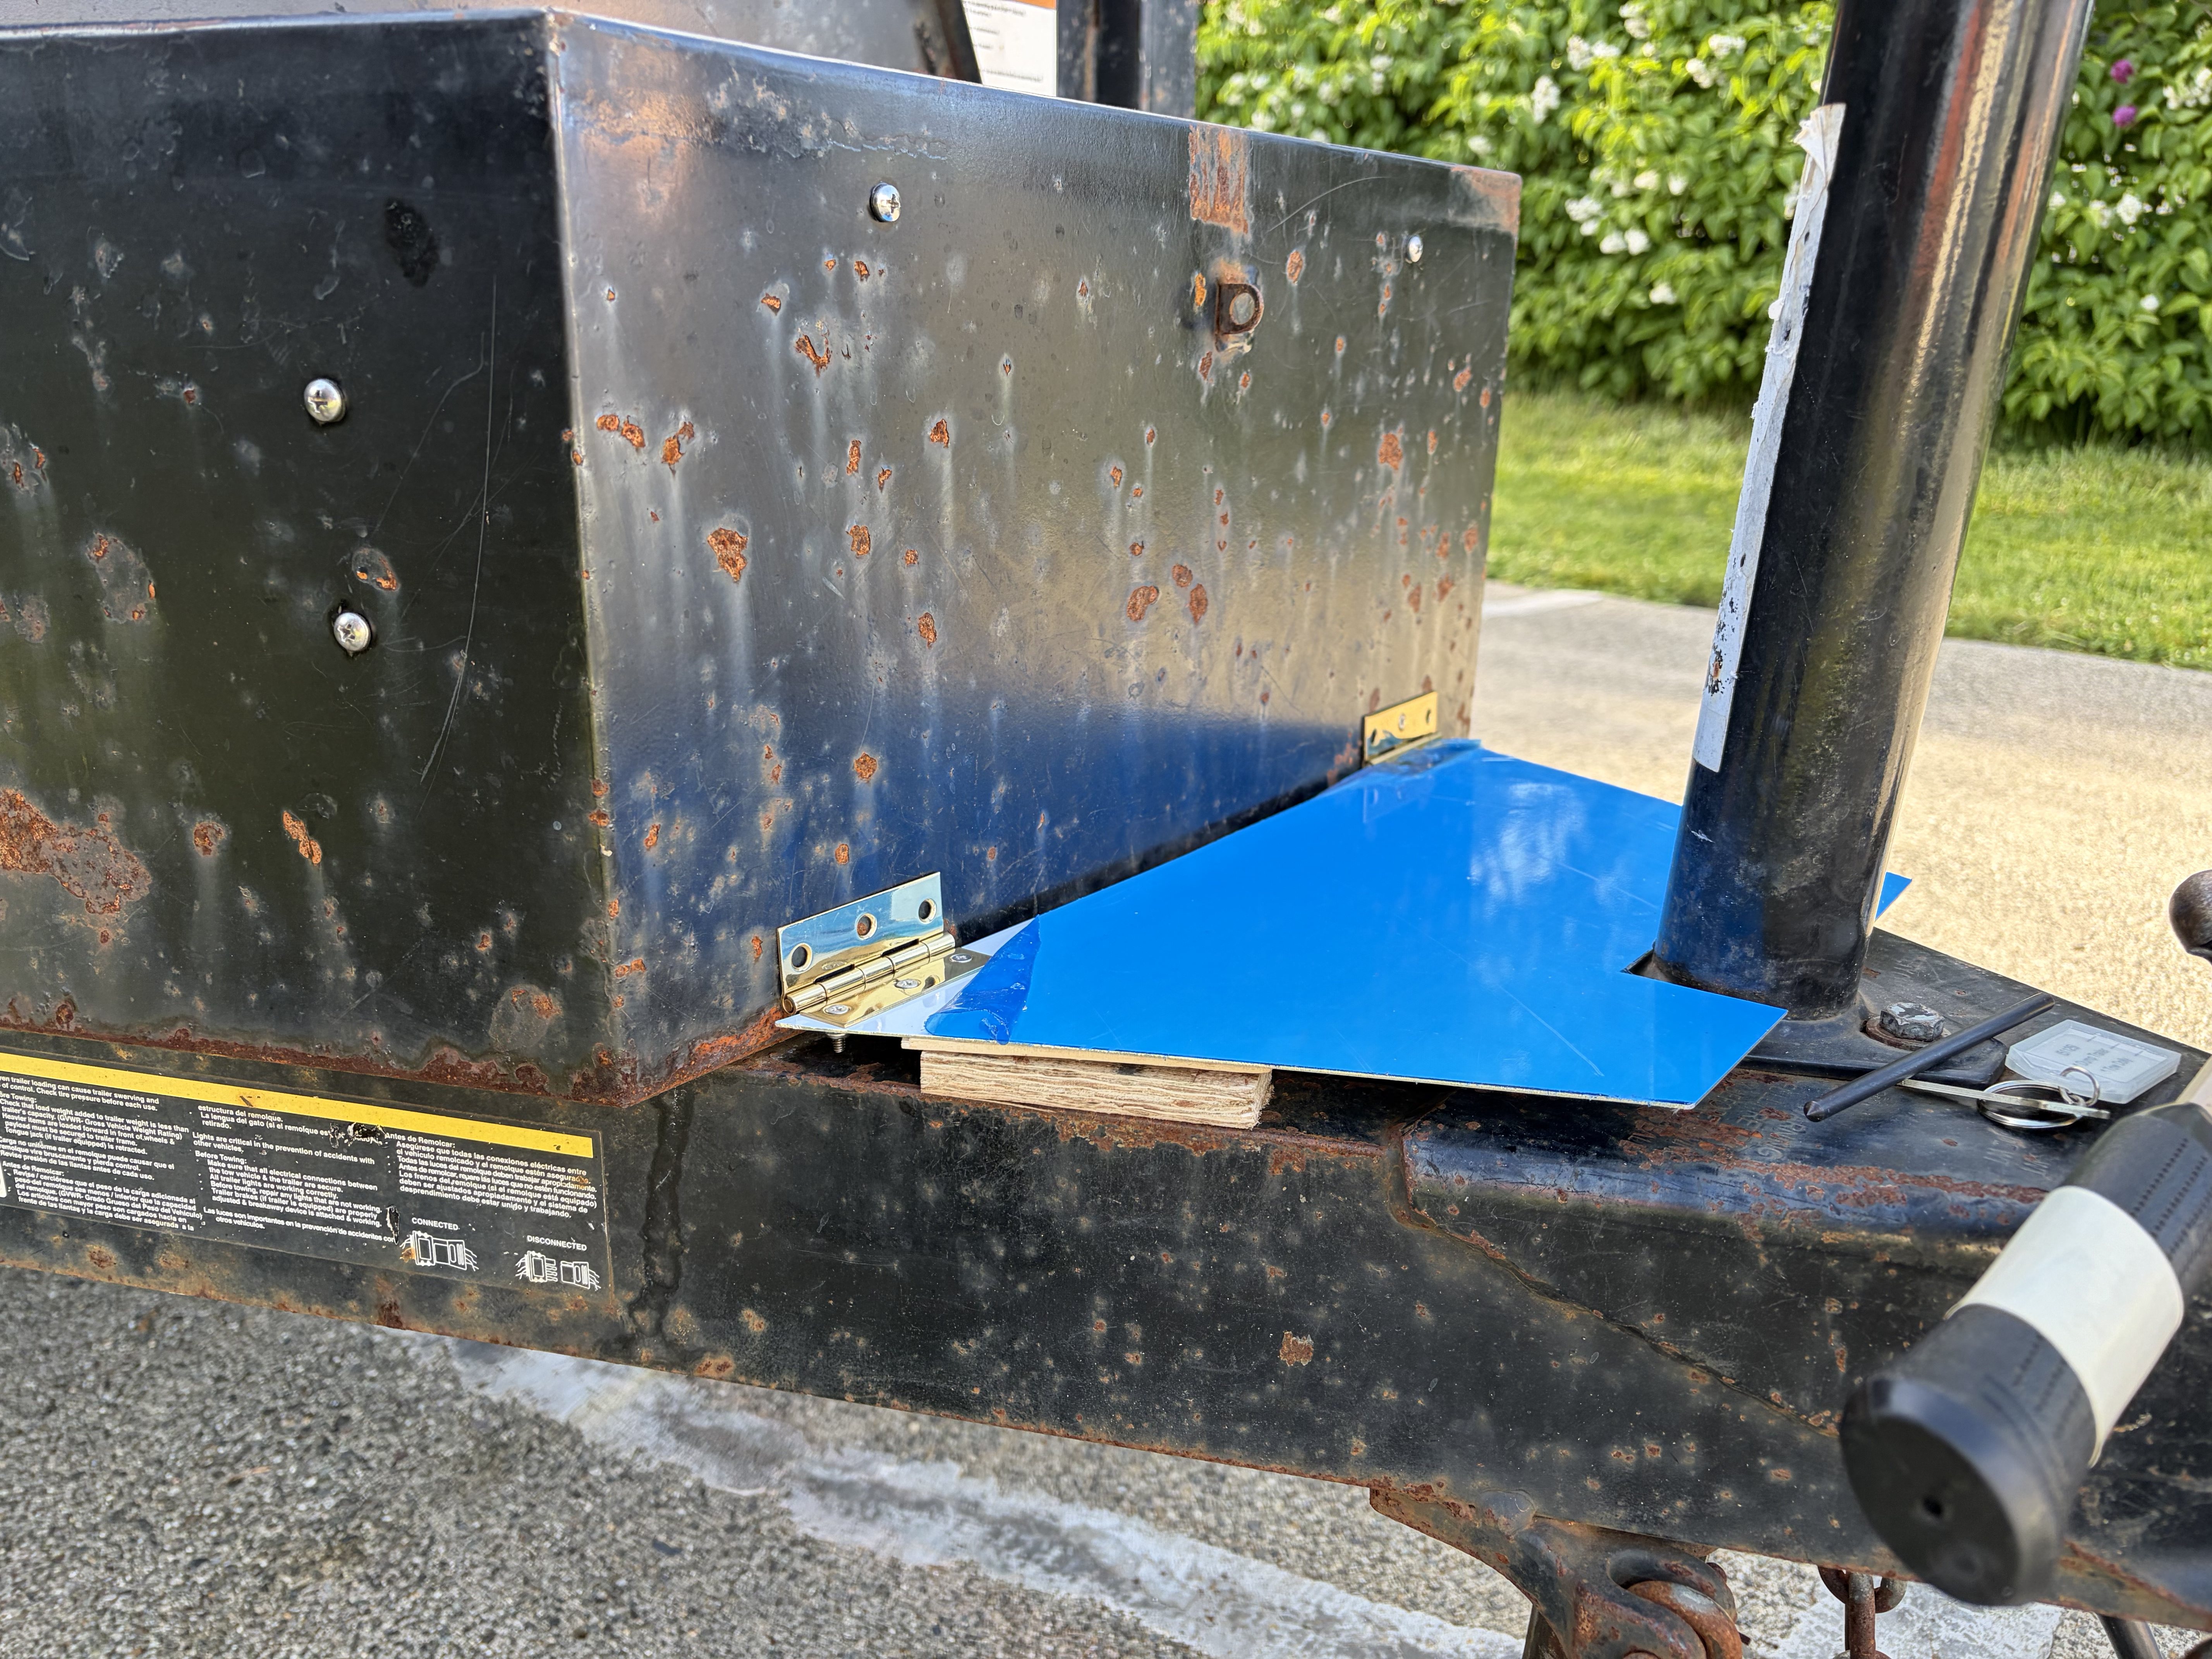
. . . because I didn't like that horizontal junction box layout for weather. It's not a gasketed box and water would run
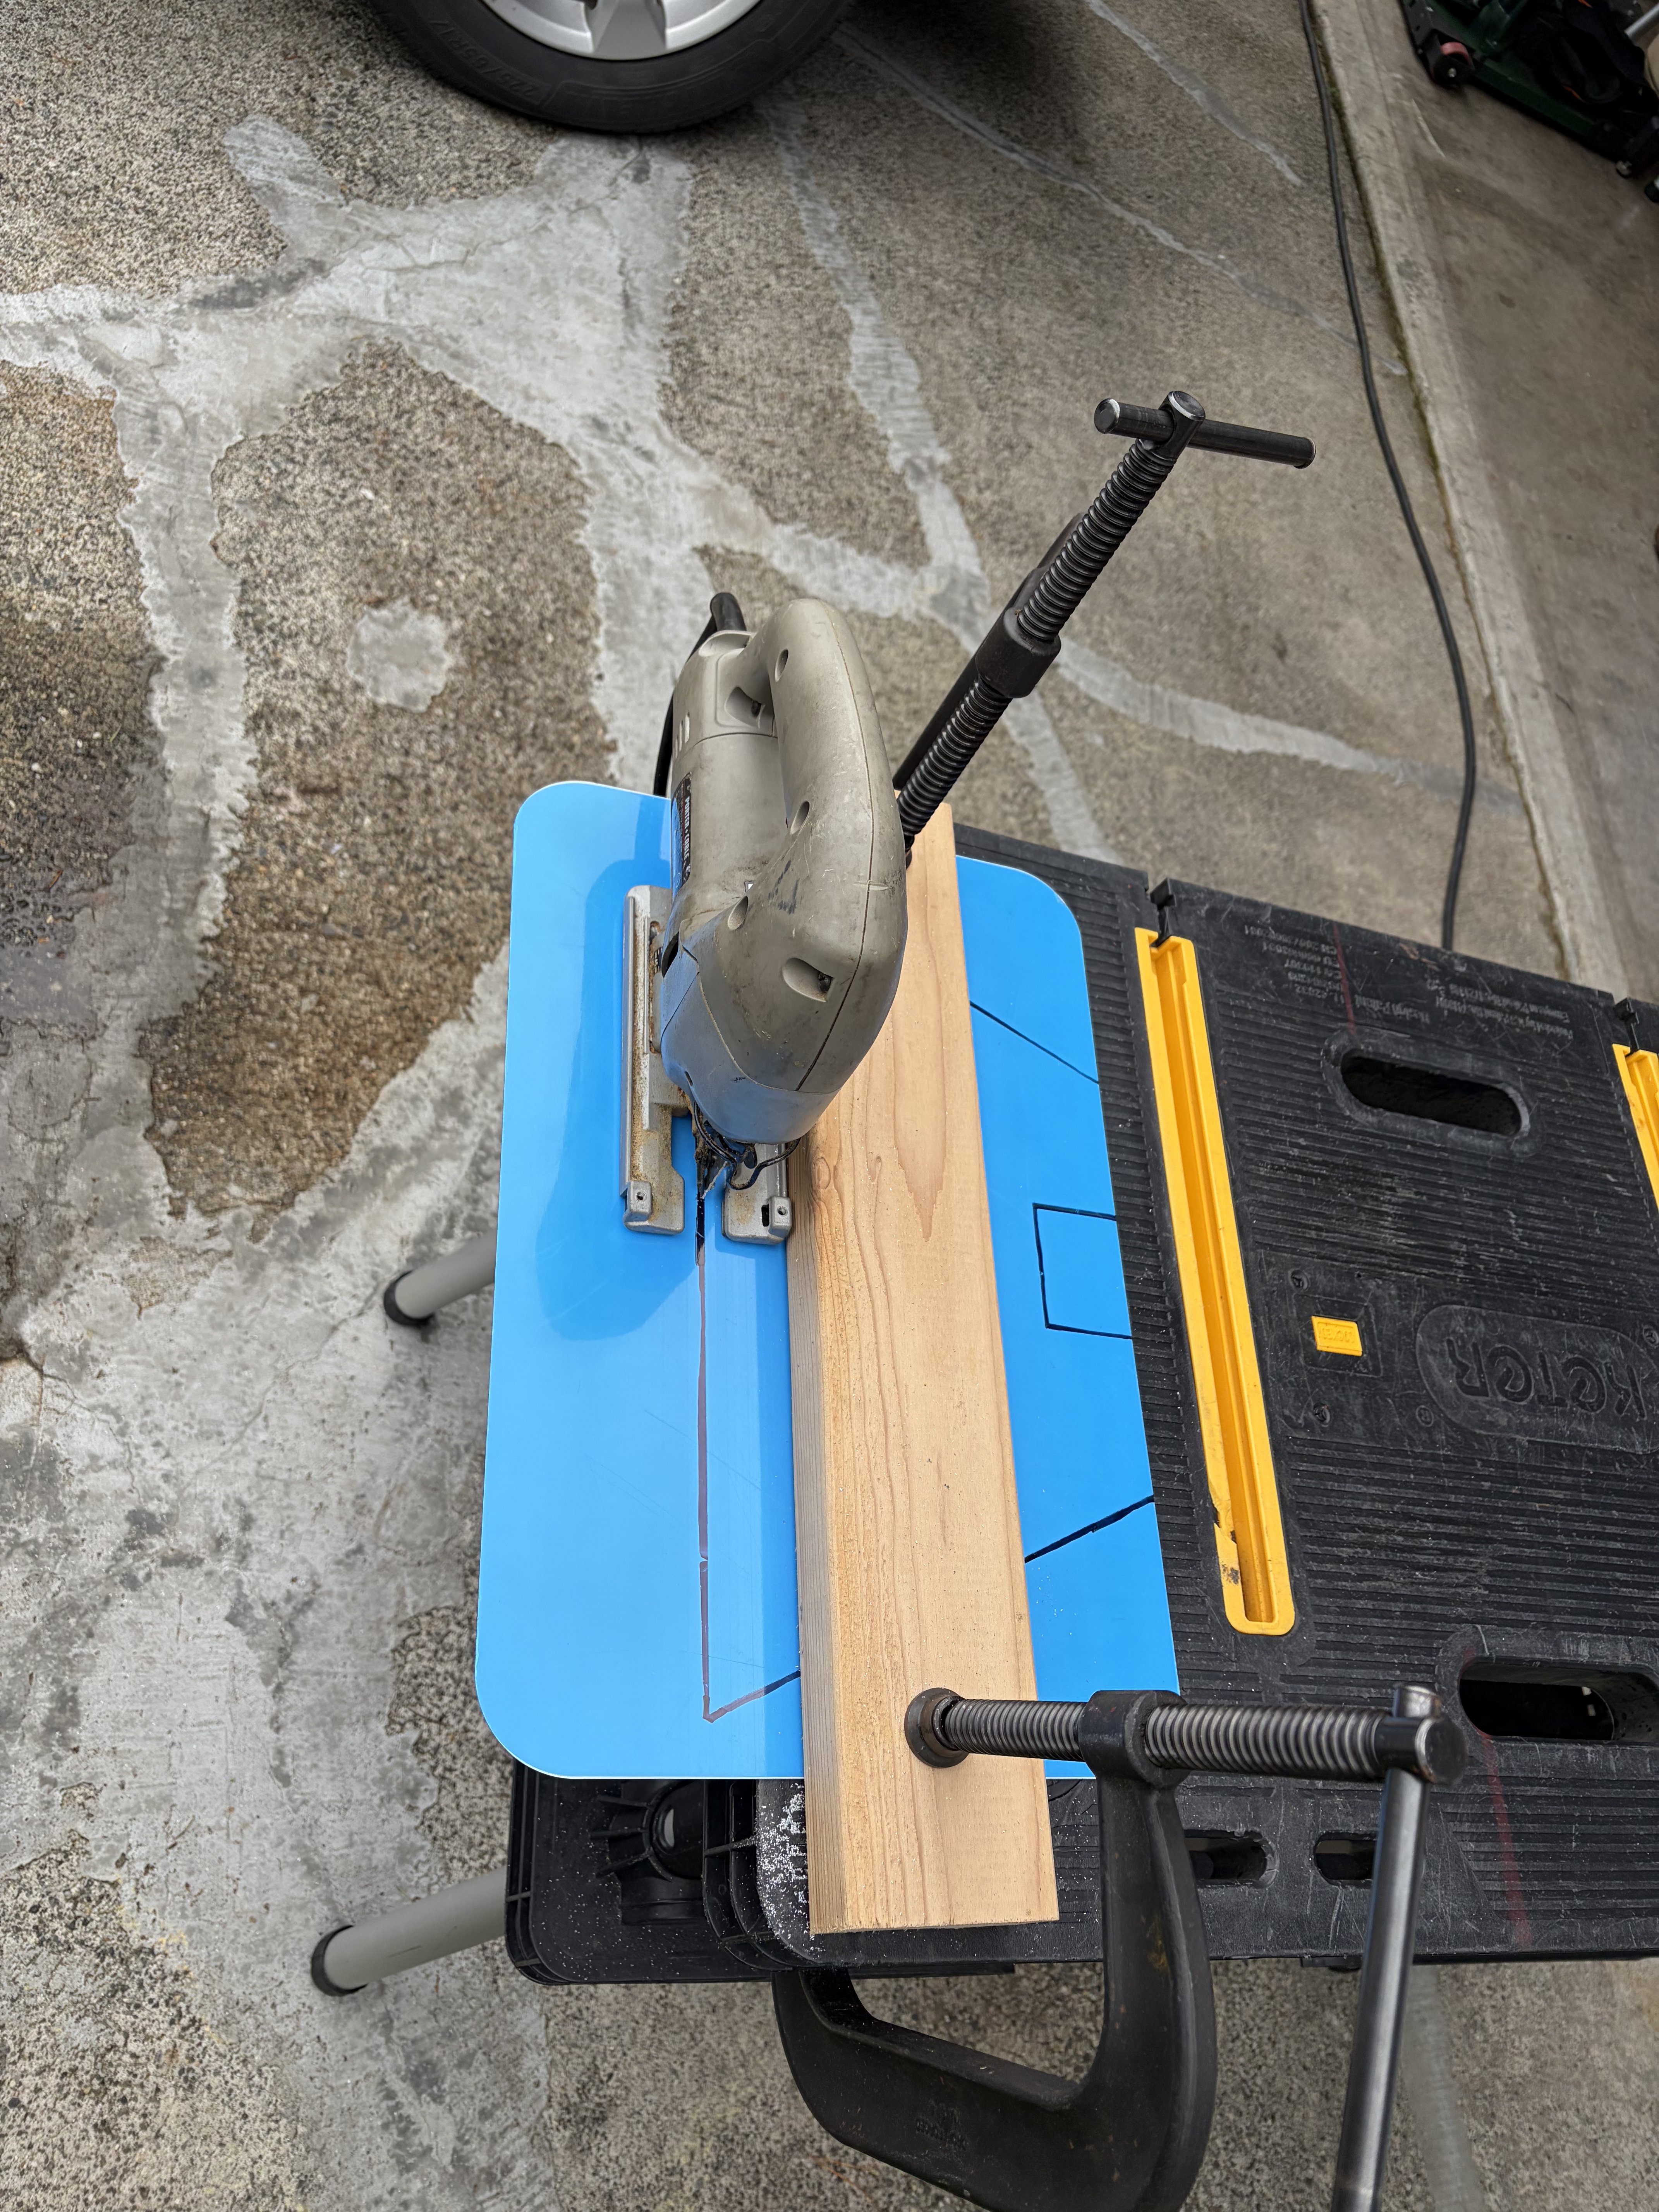
down the pigtail into the box. So I fashioned a cover, hinged and with magnets. The cover is aluminum, the hinges brass (not plated), the fasteners SS.
- IMG_032180.jpg (1.22 MiB) Viewed 4301 times
- IMG_032181.jpg (860.86 KiB) Viewed 4301 times
- IMG_032182.jpg (789.17 KiB) Viewed 4301 times
- IMG_032183.jpg (641.7 KiB) Viewed 4301 times
- IMG_032184.jpg (982.83 KiB) Viewed 4301 times
- IMG_032190.jpg (3.11 MiB) Viewed 4301 times
- IMG_032236.jpg (3.2 MiB) Viewed 4301 times
- IMG_032252.jpg (2.86 MiB) Viewed 4301 times
I epoxied some magnet stacks on to the leading edges. This isn't expected to catch a lot of wind, and it's survived a test run:
- IMG_032254.jpg (937.93 KiB) Viewed 4301 times
- IMG_032248.jpg (4.25 MiB) Viewed 4301 times
- IMG_032255.jpg (3.19 MiB) Viewed 4301 times
- IMG_032256.jpg (3.34 MiB) Viewed 4301 times
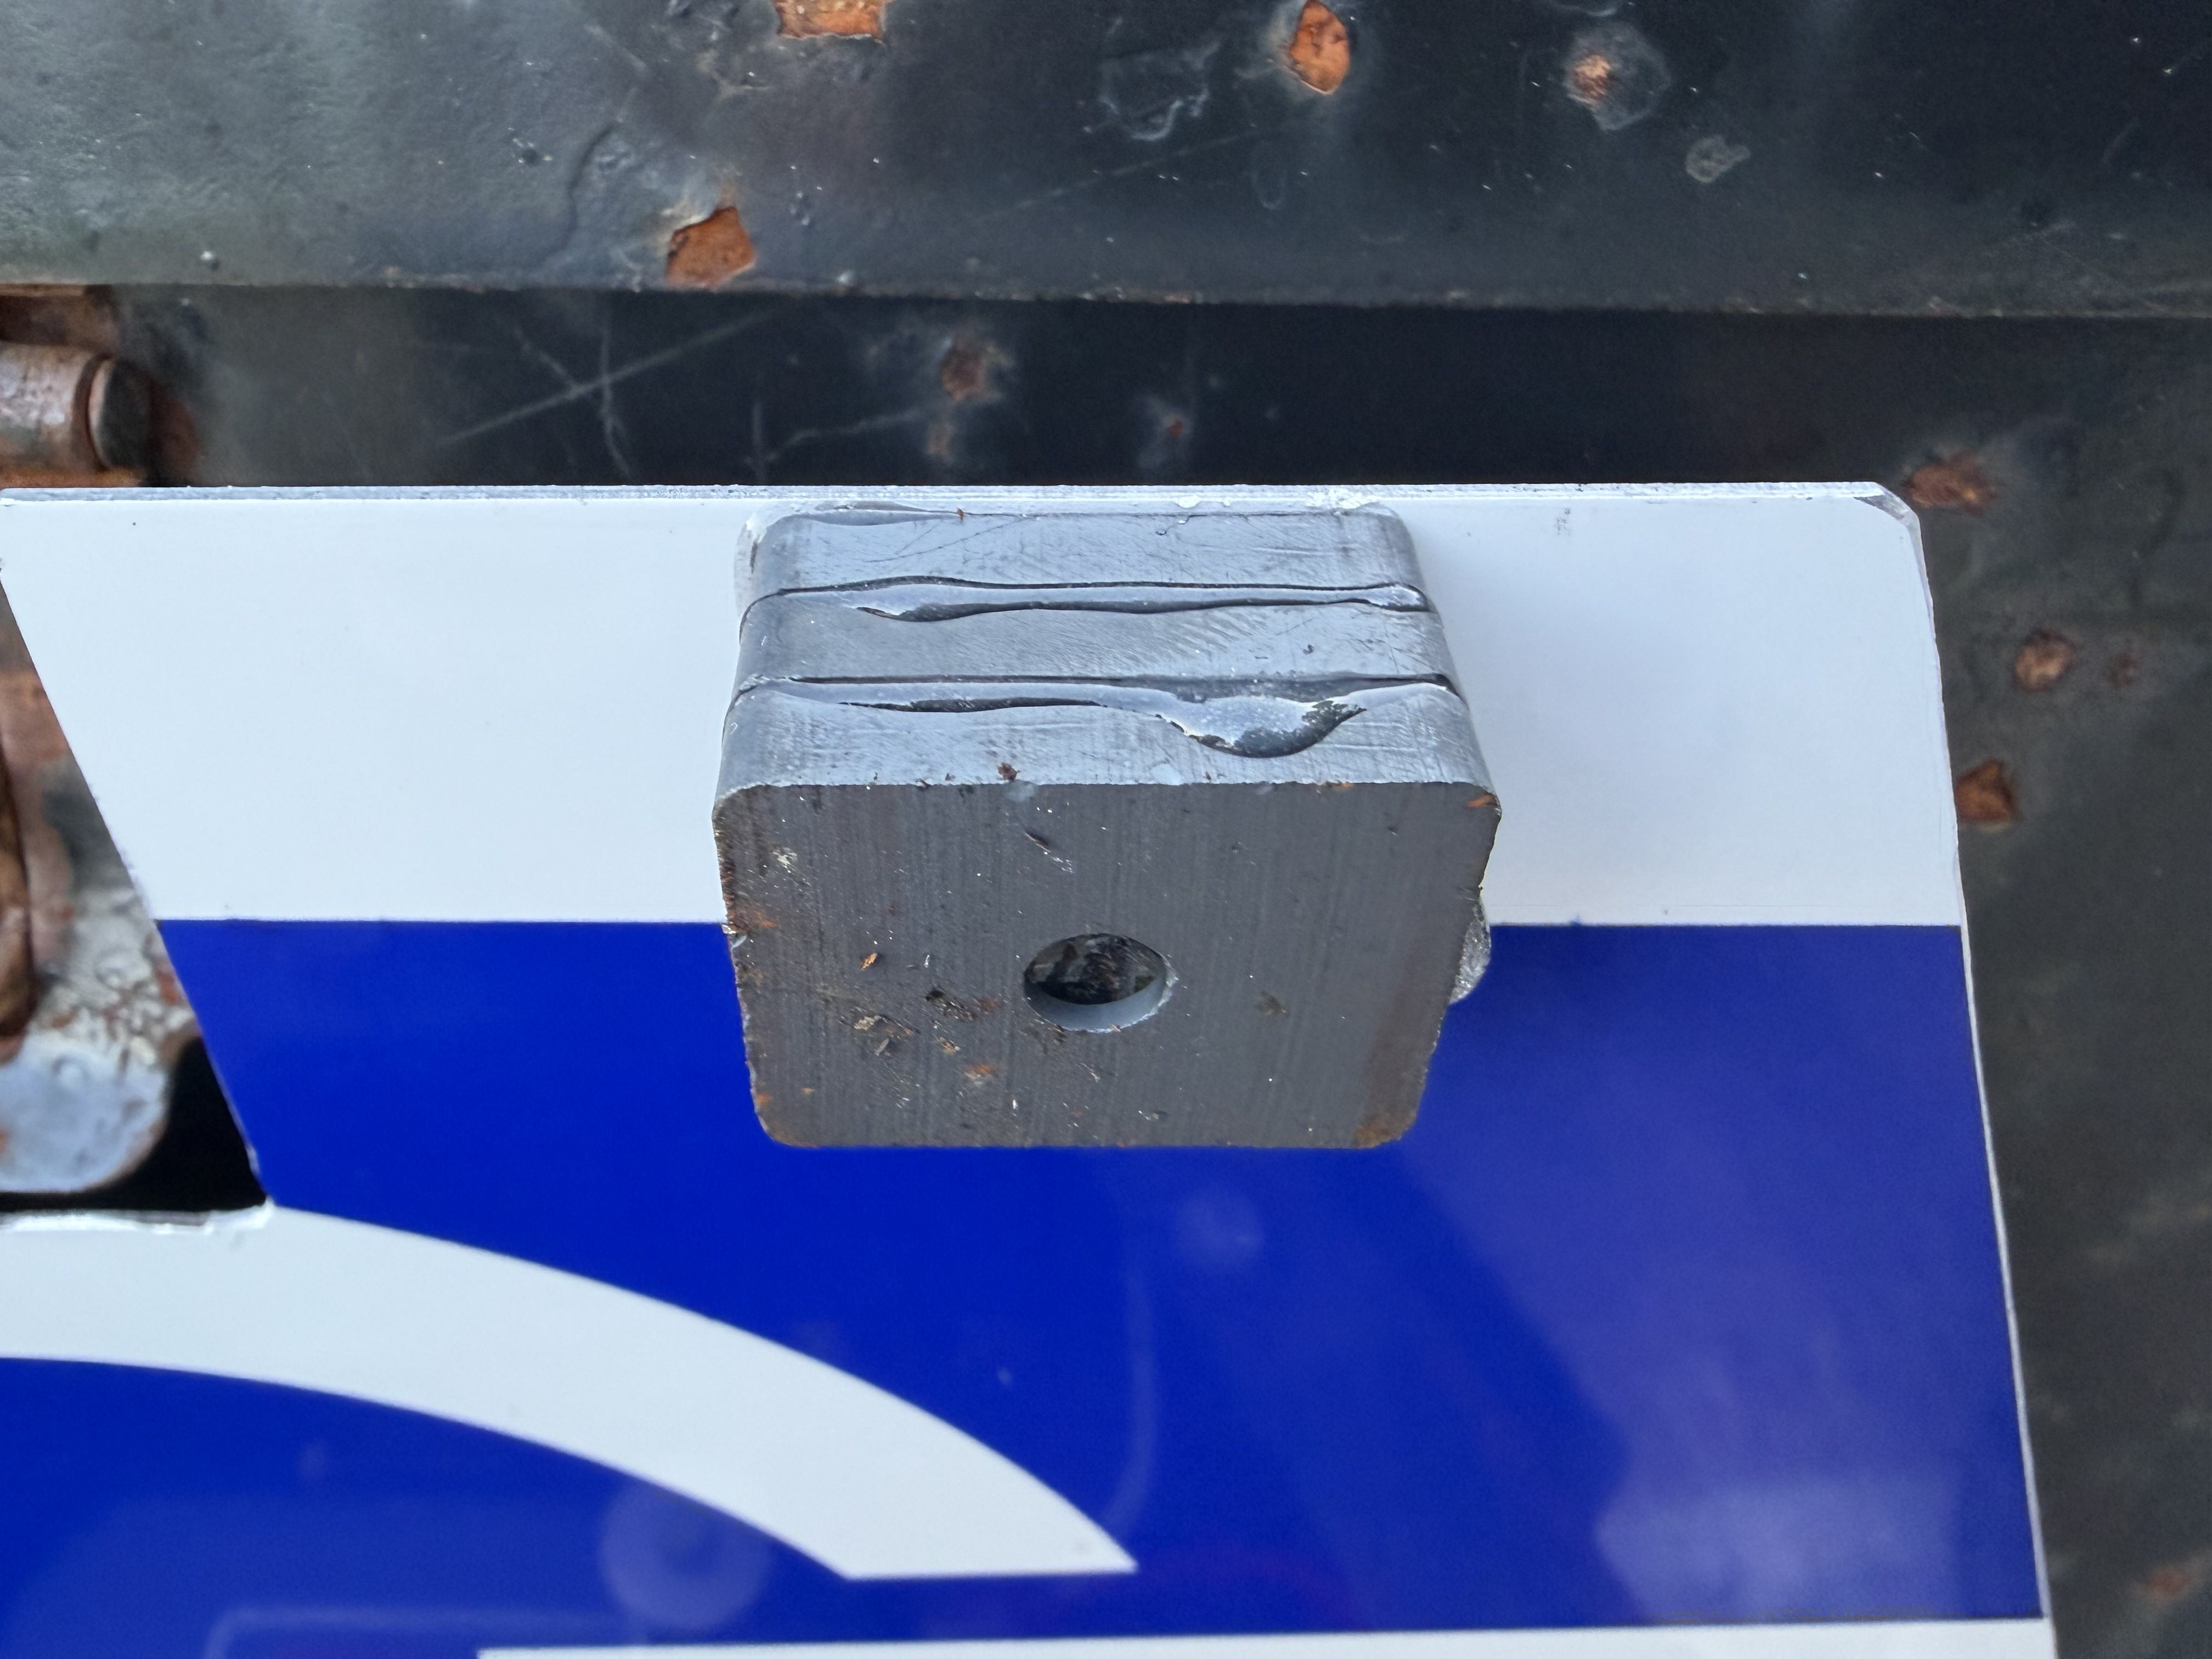
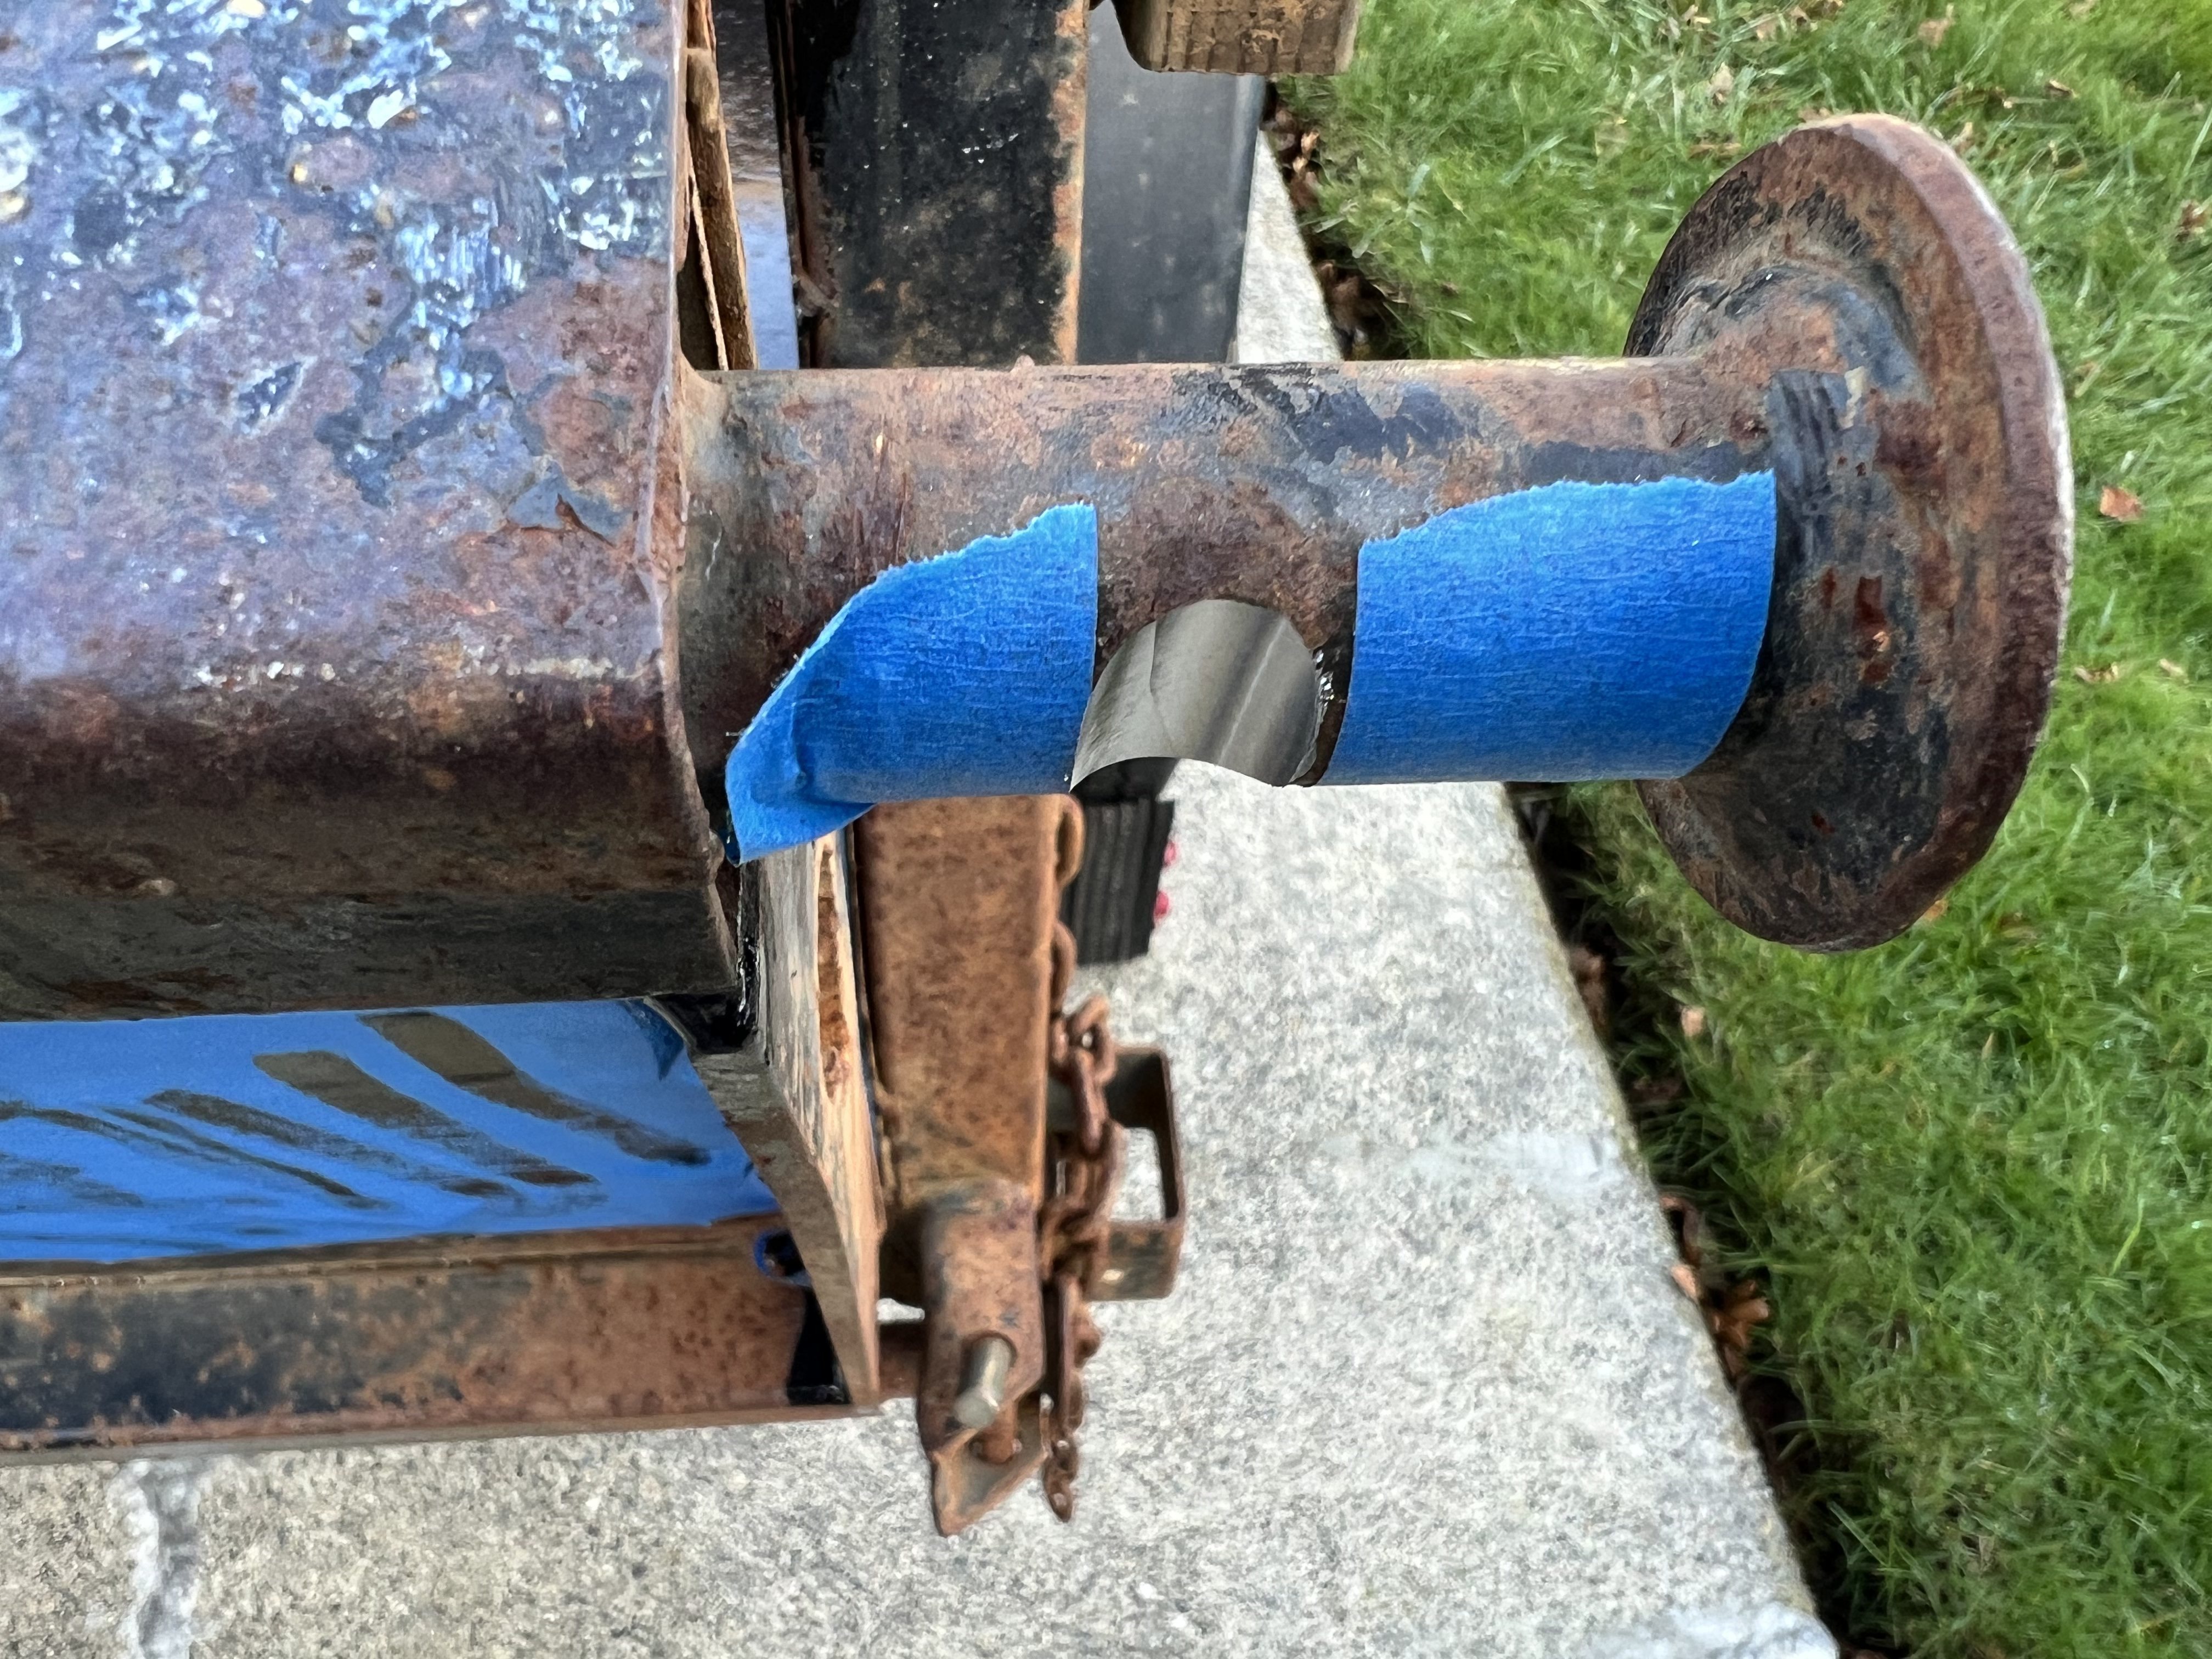
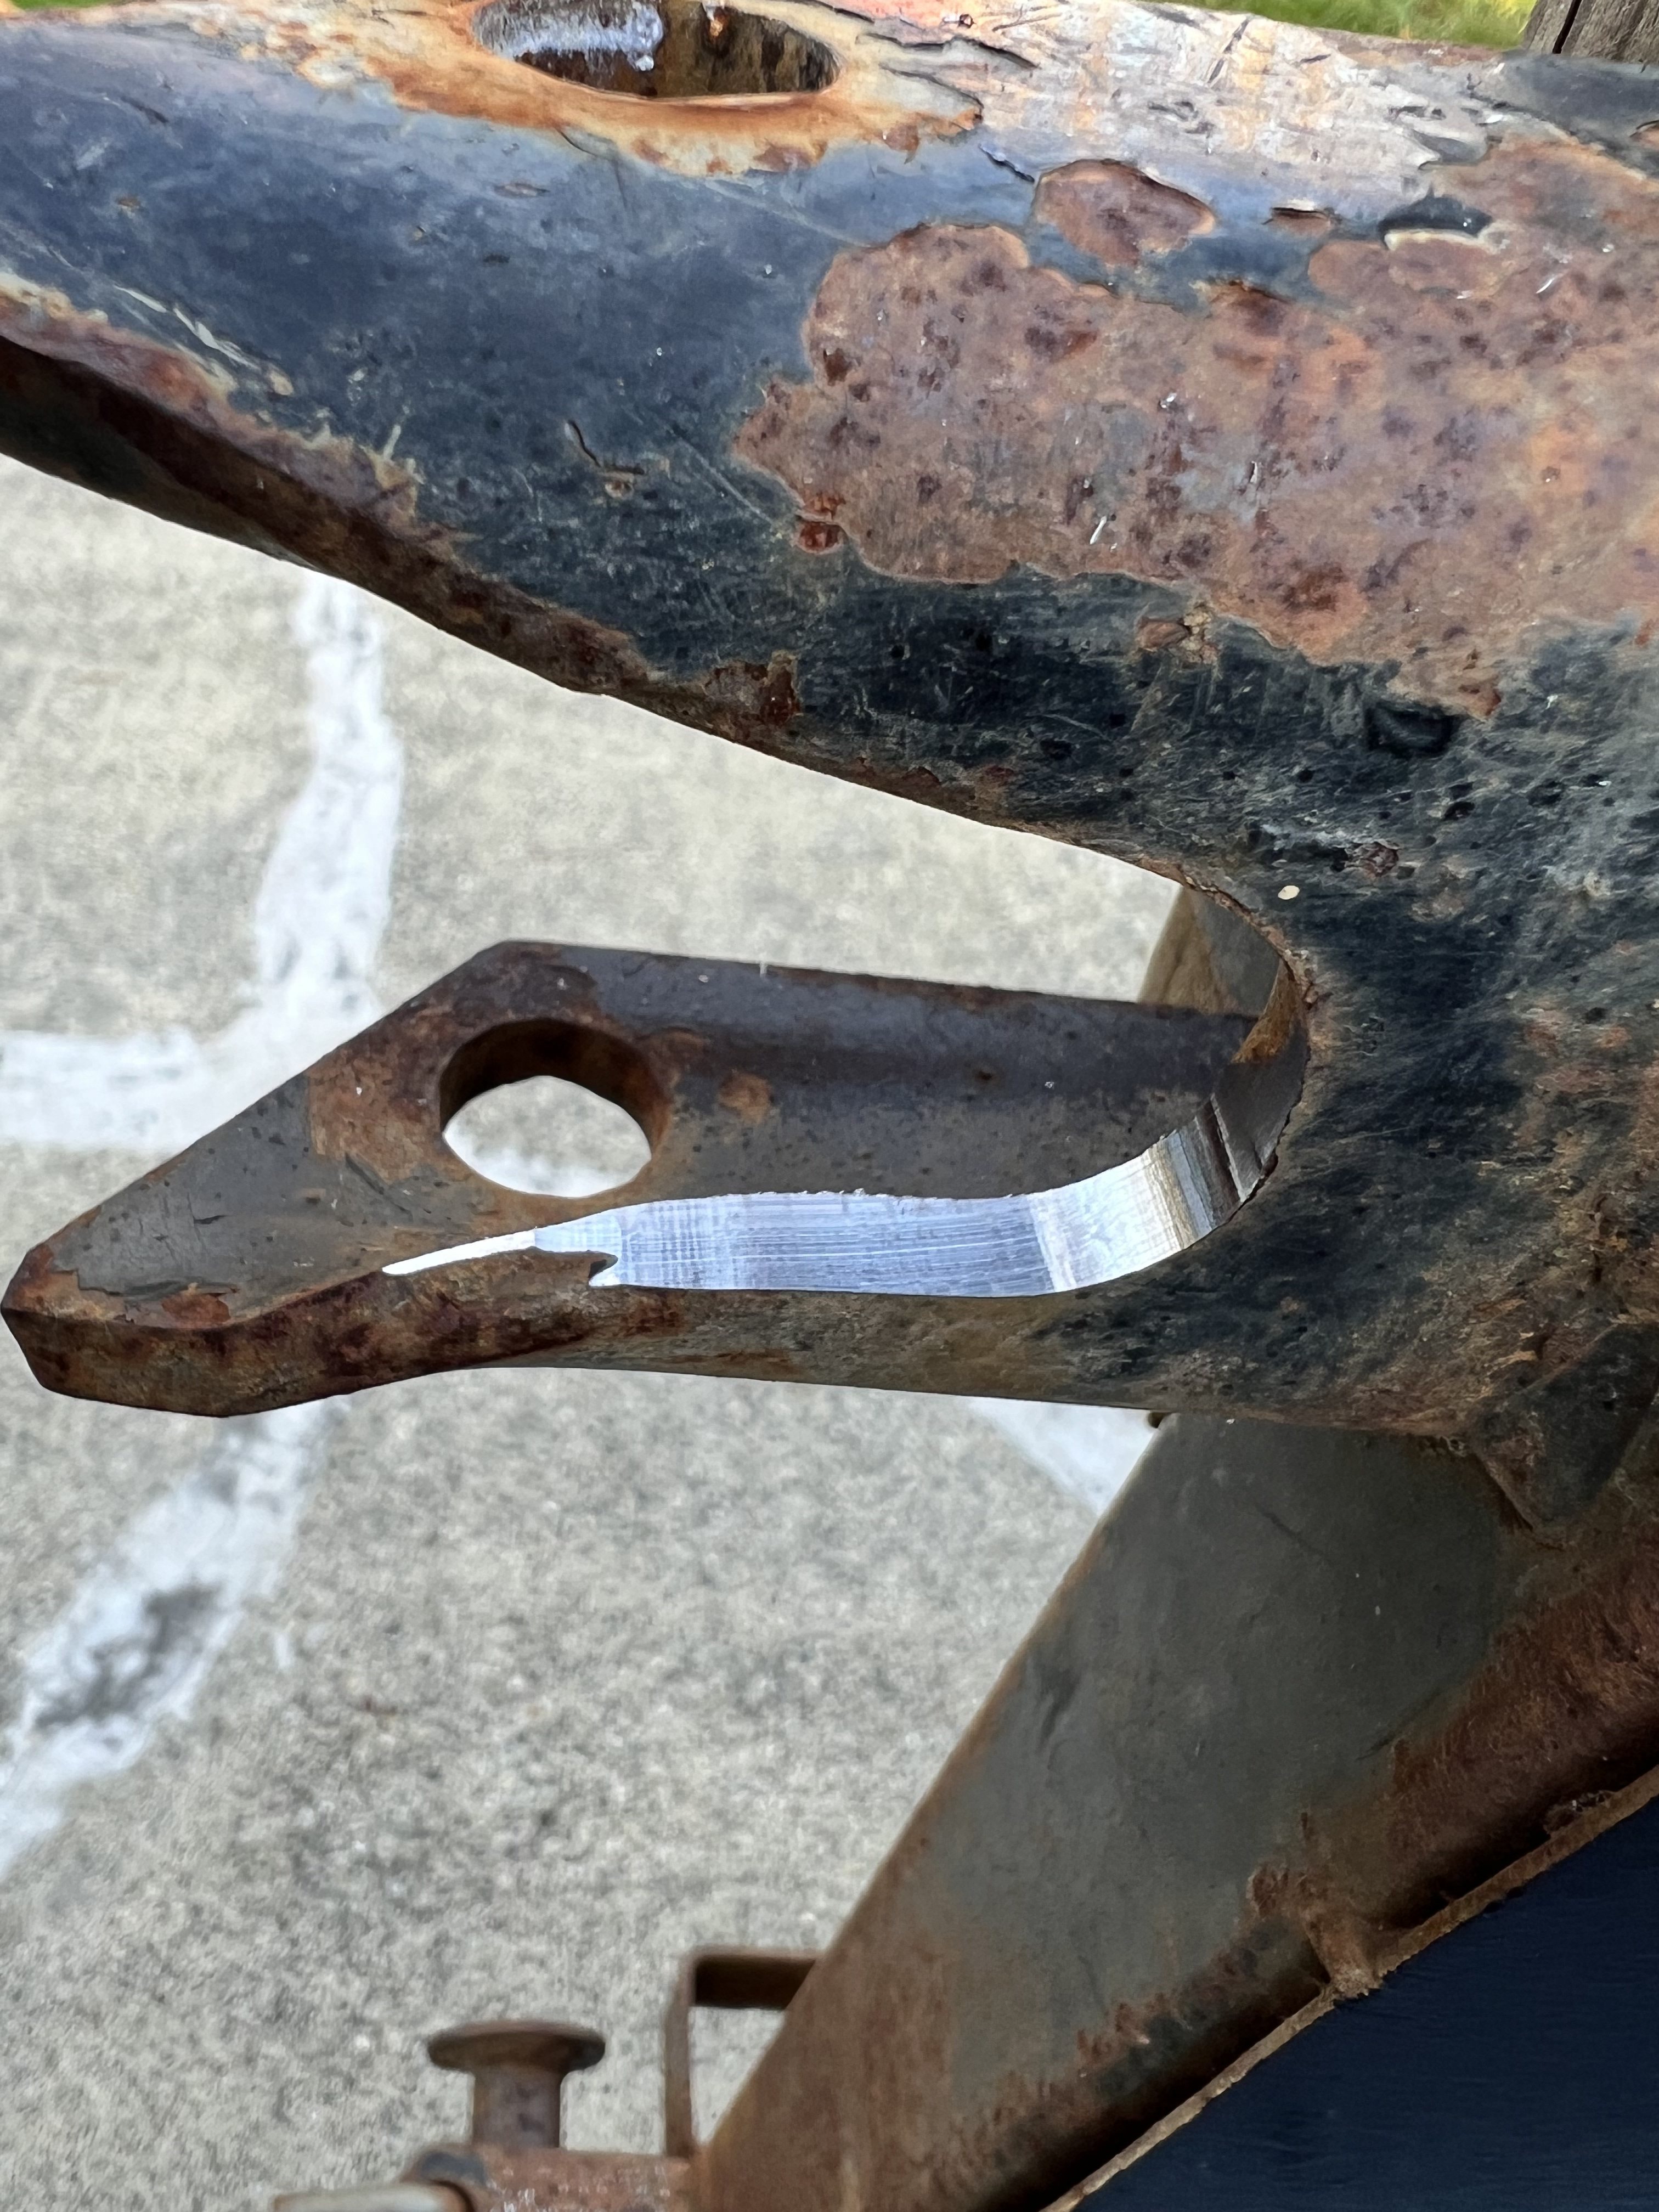
The very heavy tailgate is tweaked a bit and needed some work on the press and welded up a crack, and a bit of die-grinder work to make it possible to get the pins in:
- IMG_024970.jpg (1.7 MiB) Viewed 4242 times
- IMG_024971.jpg (1.63 MiB) Viewed 4242 times
- IMG_024972.jpg (1.72 MiB) Viewed 4242 times
- IMG_024973.jpg (1.38 MiB) Viewed 4242 times
And I had to install a trailer brake controller in the Sienna, as this thing is definitely too heavy (loaded) to be muscling around via minivan without its own brakes helping out.
viewtopic.php?t=4239