In order to add this stator tap, you should have the rotor oil seal in hand before beginning. It should always be replaced. I would generically recommend brushes replacement too, because they're cheap and you have to R&R them anyway.
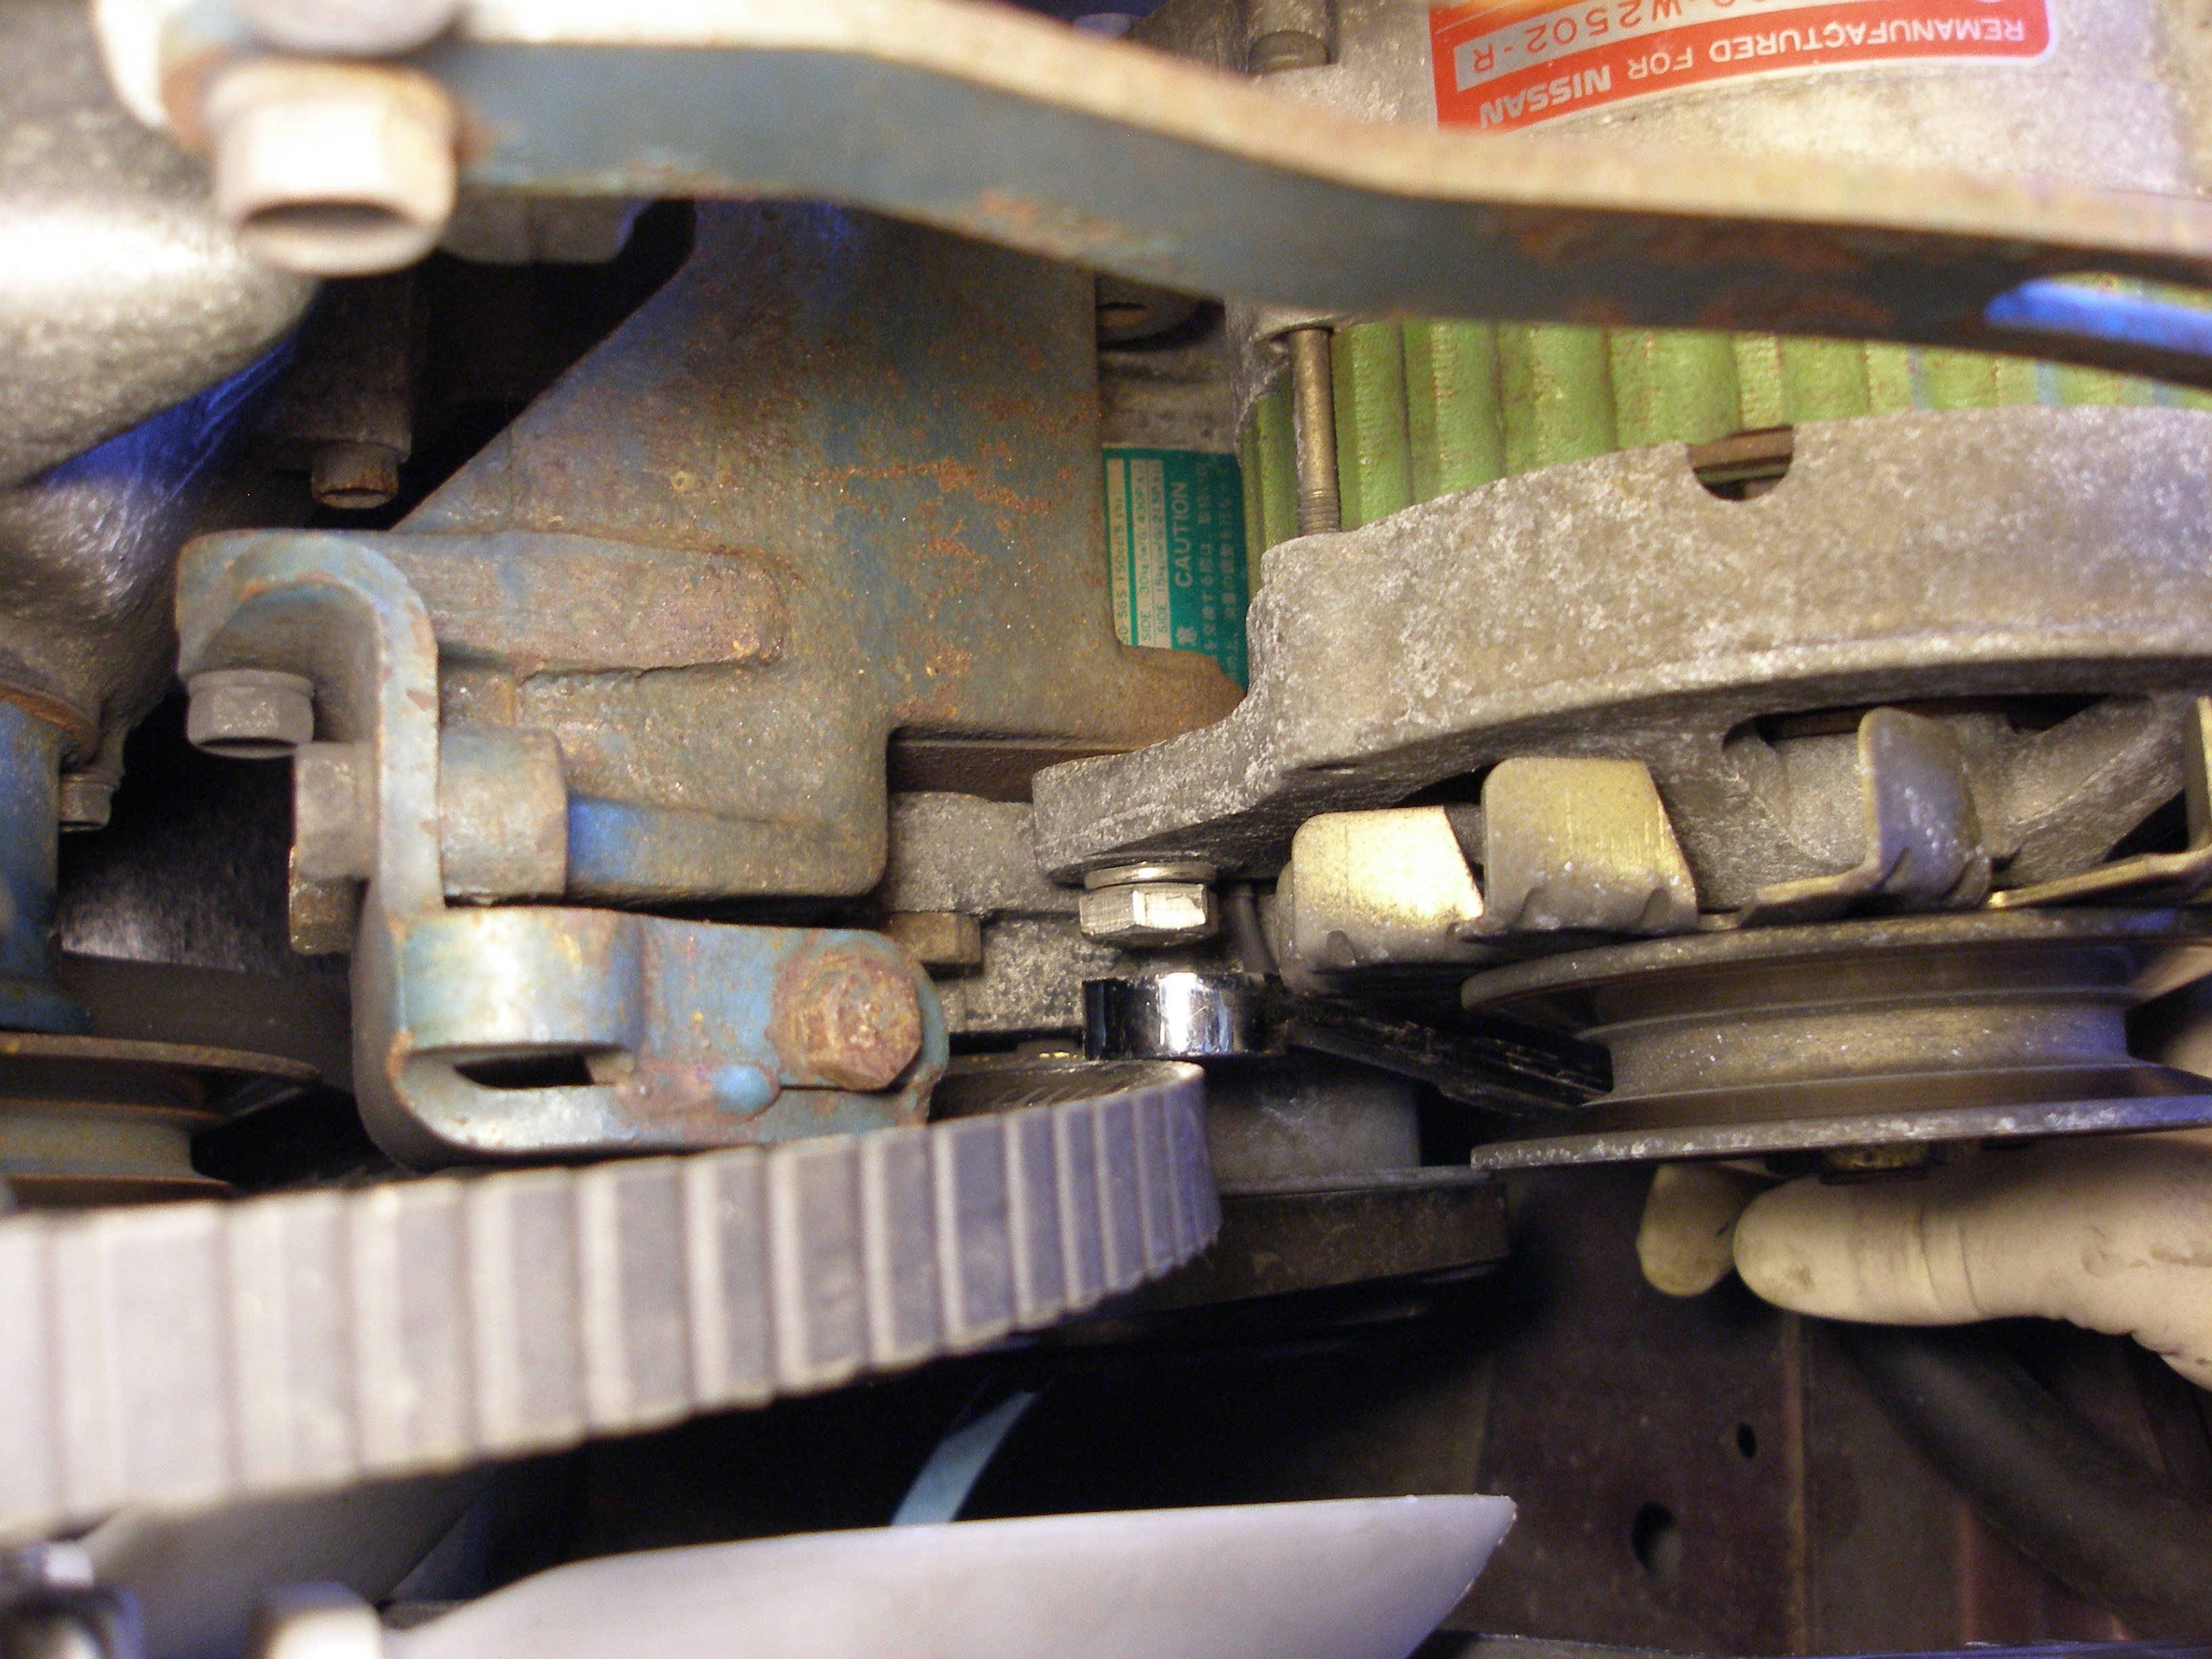
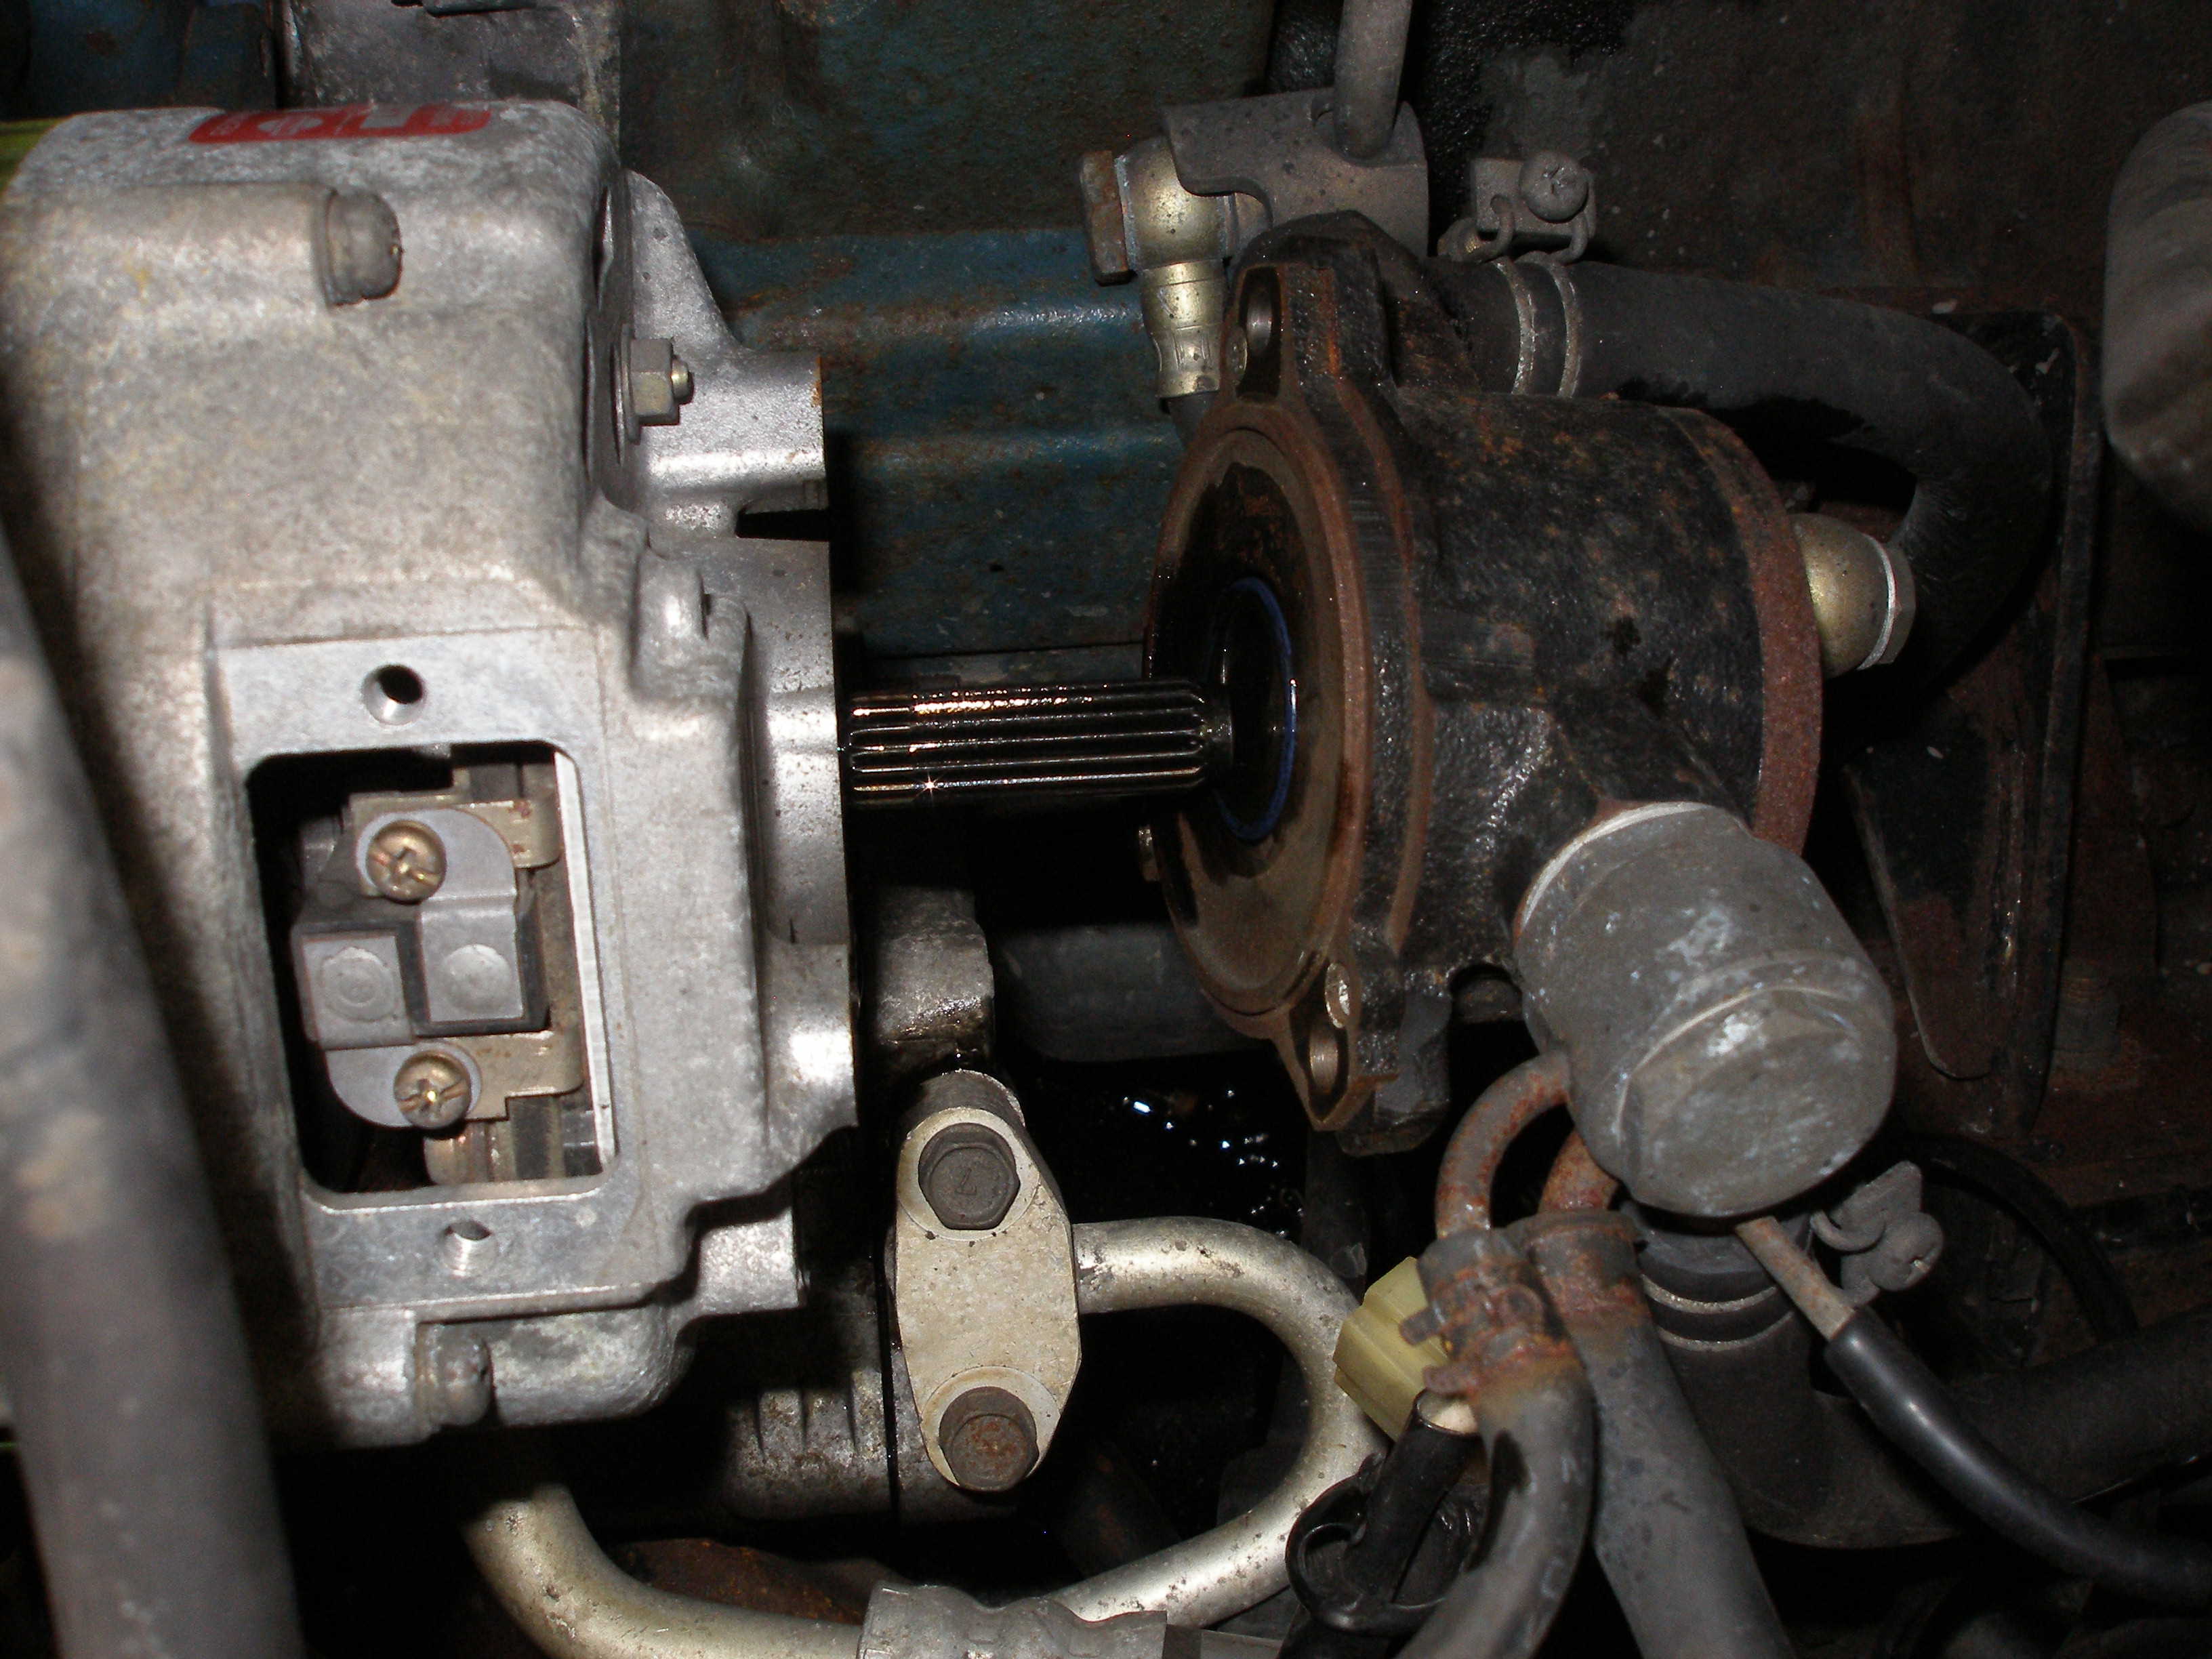
Getting the alternator out of the car (ie unbolting the vacuum pump from the alt's rear housing) is the worst of it. I'm lucky in that when I took it apart years ago, I installed socket-head 6mm bolts instead of phillips head, so I can use an allen wrench to remove the three horizontal bolts. If you can remove those three screws, leave the vacuum pump in the car, and leave all the oil and vacuum lines alone, it's a lot easier. But if the three phillips head screws won't come out, you'll have to disconnect the (5?) vacuum lines and both oil lines and take the thing out as an assembly.
The alt's lower front bolt (17mm head on mine) is easiest removed after slackening the alt belt. But both lower bolts should be tightened on installation.
I have stripped out the threads on the top (belt tension adjusting) hole on two of these things, so I automatically install an 8mmx1.25 helicoil in them while I have them out.
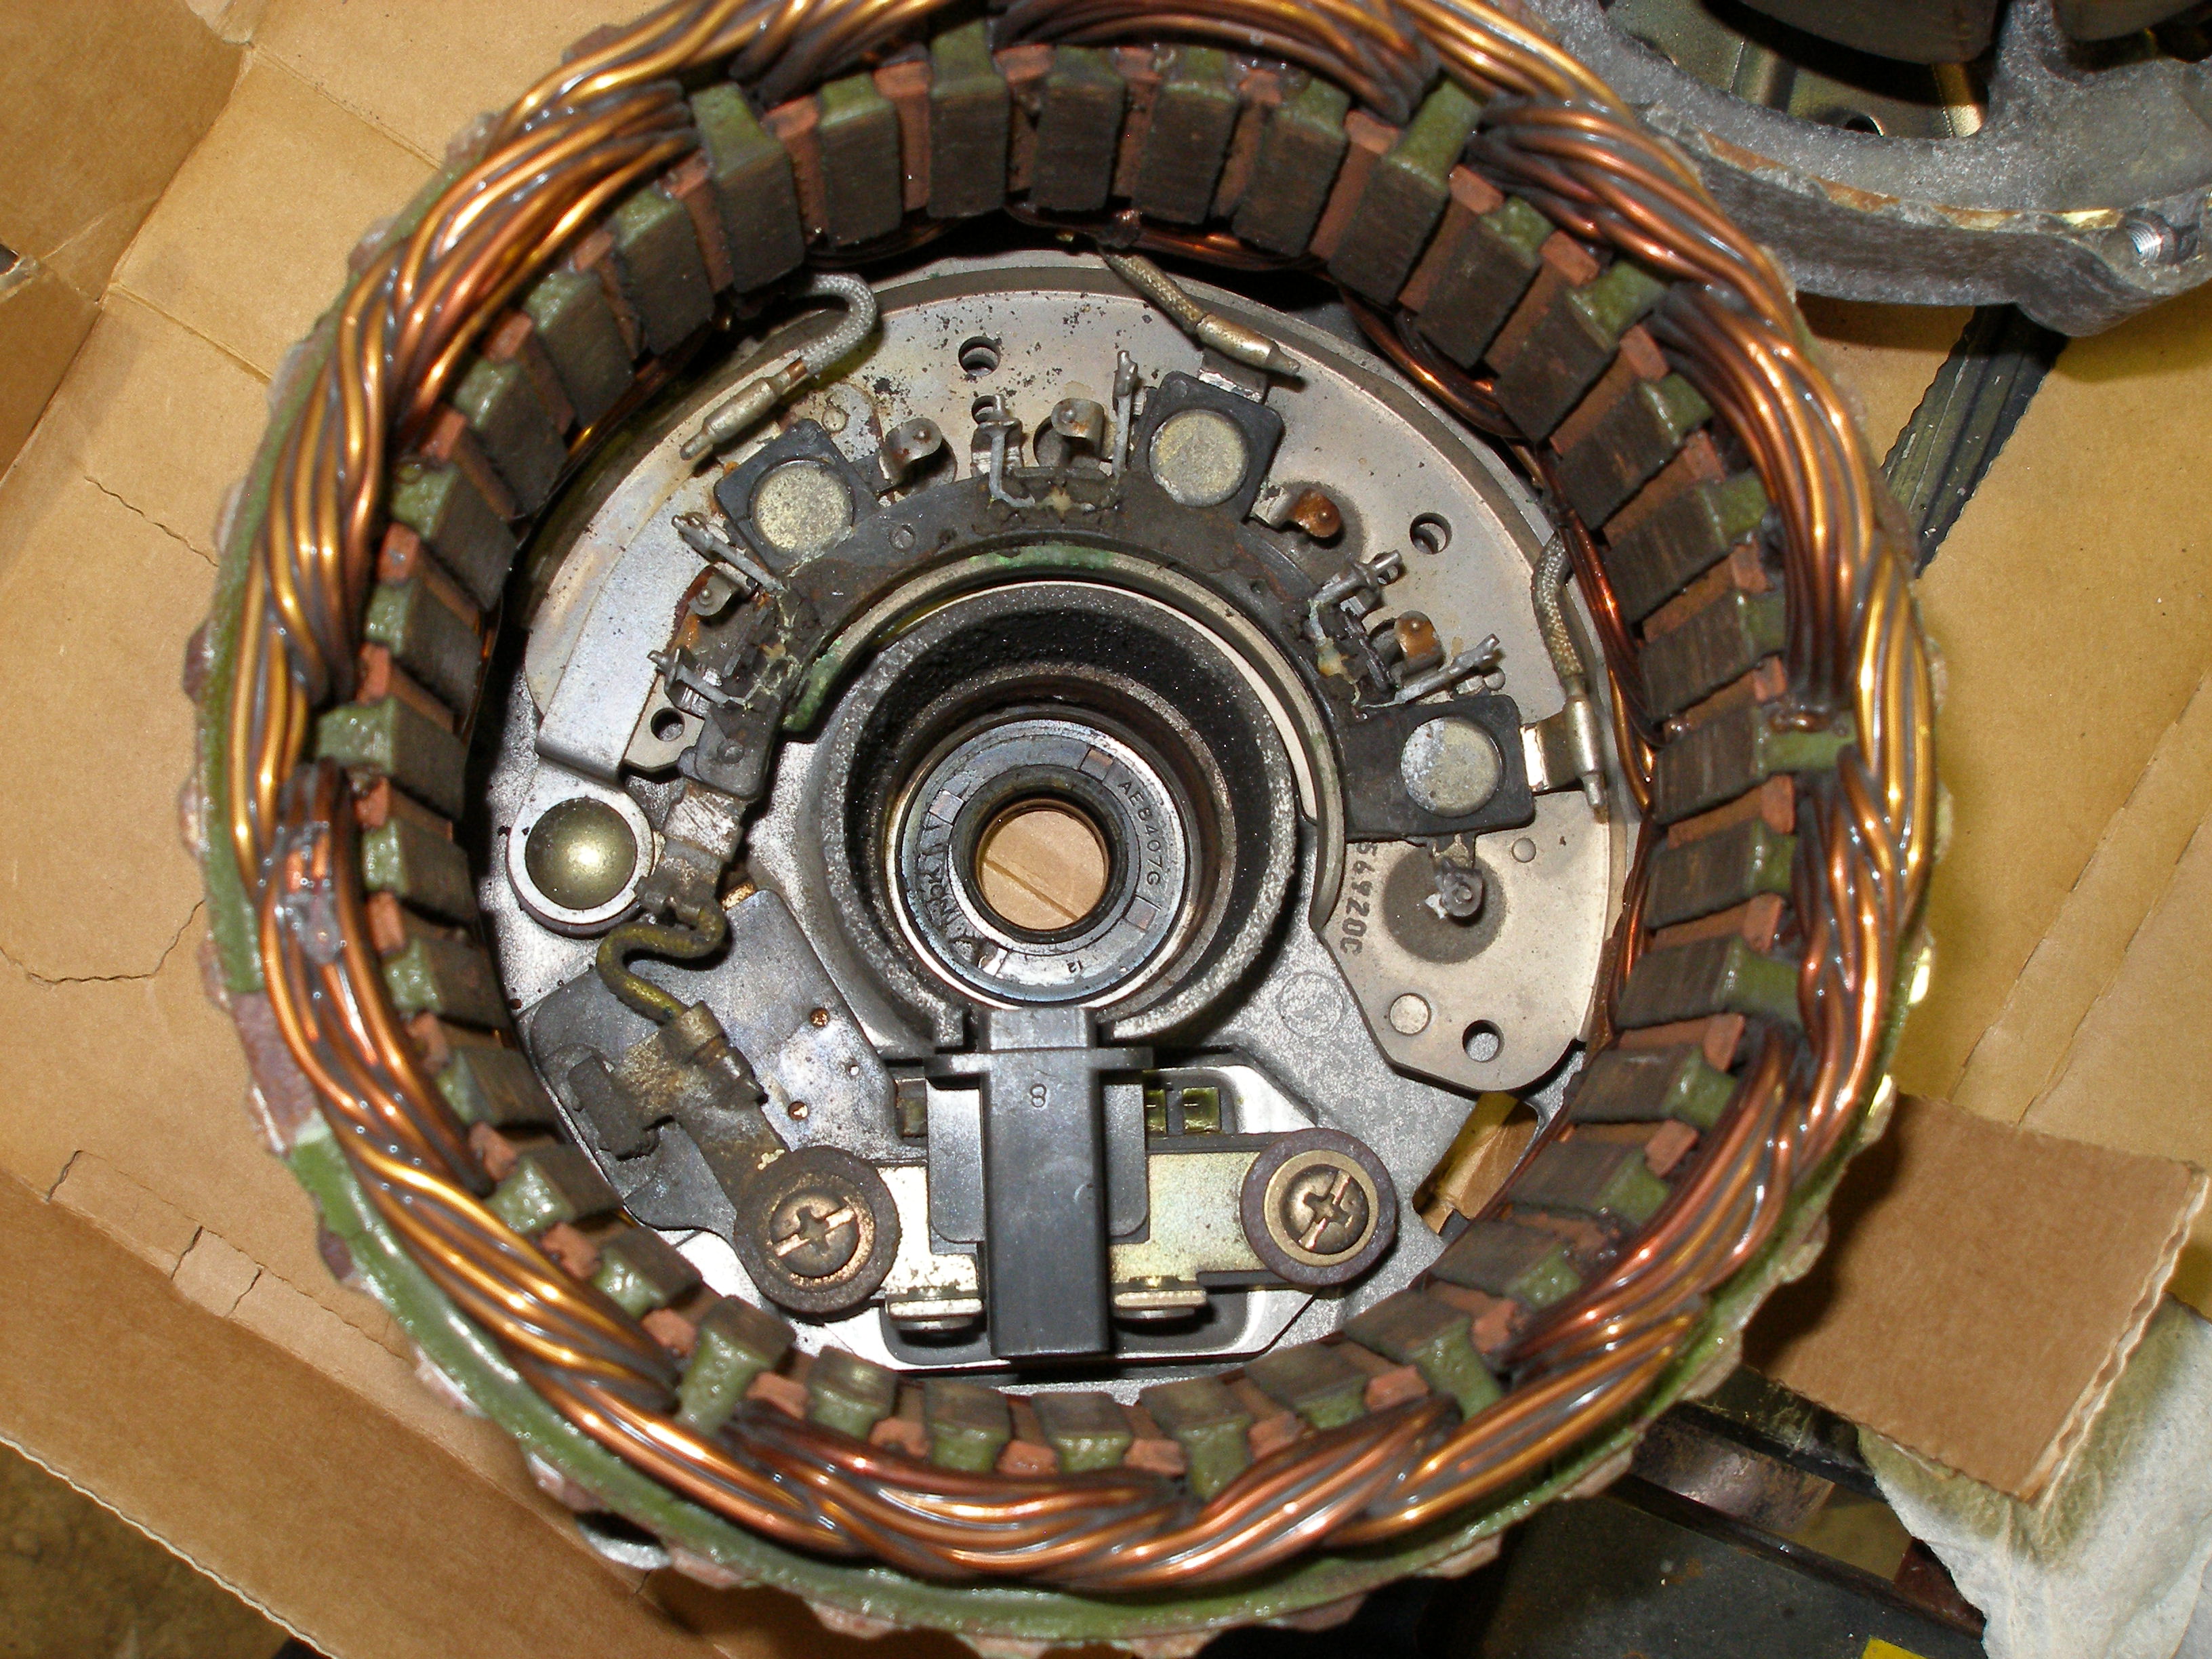
Check the diode pack for burned or broken output diodes (see the diode pictures in this post) . . . never mind, I'll copy the pics here, but the part No. info is there. Next two pics of an LR150 (SD engines):
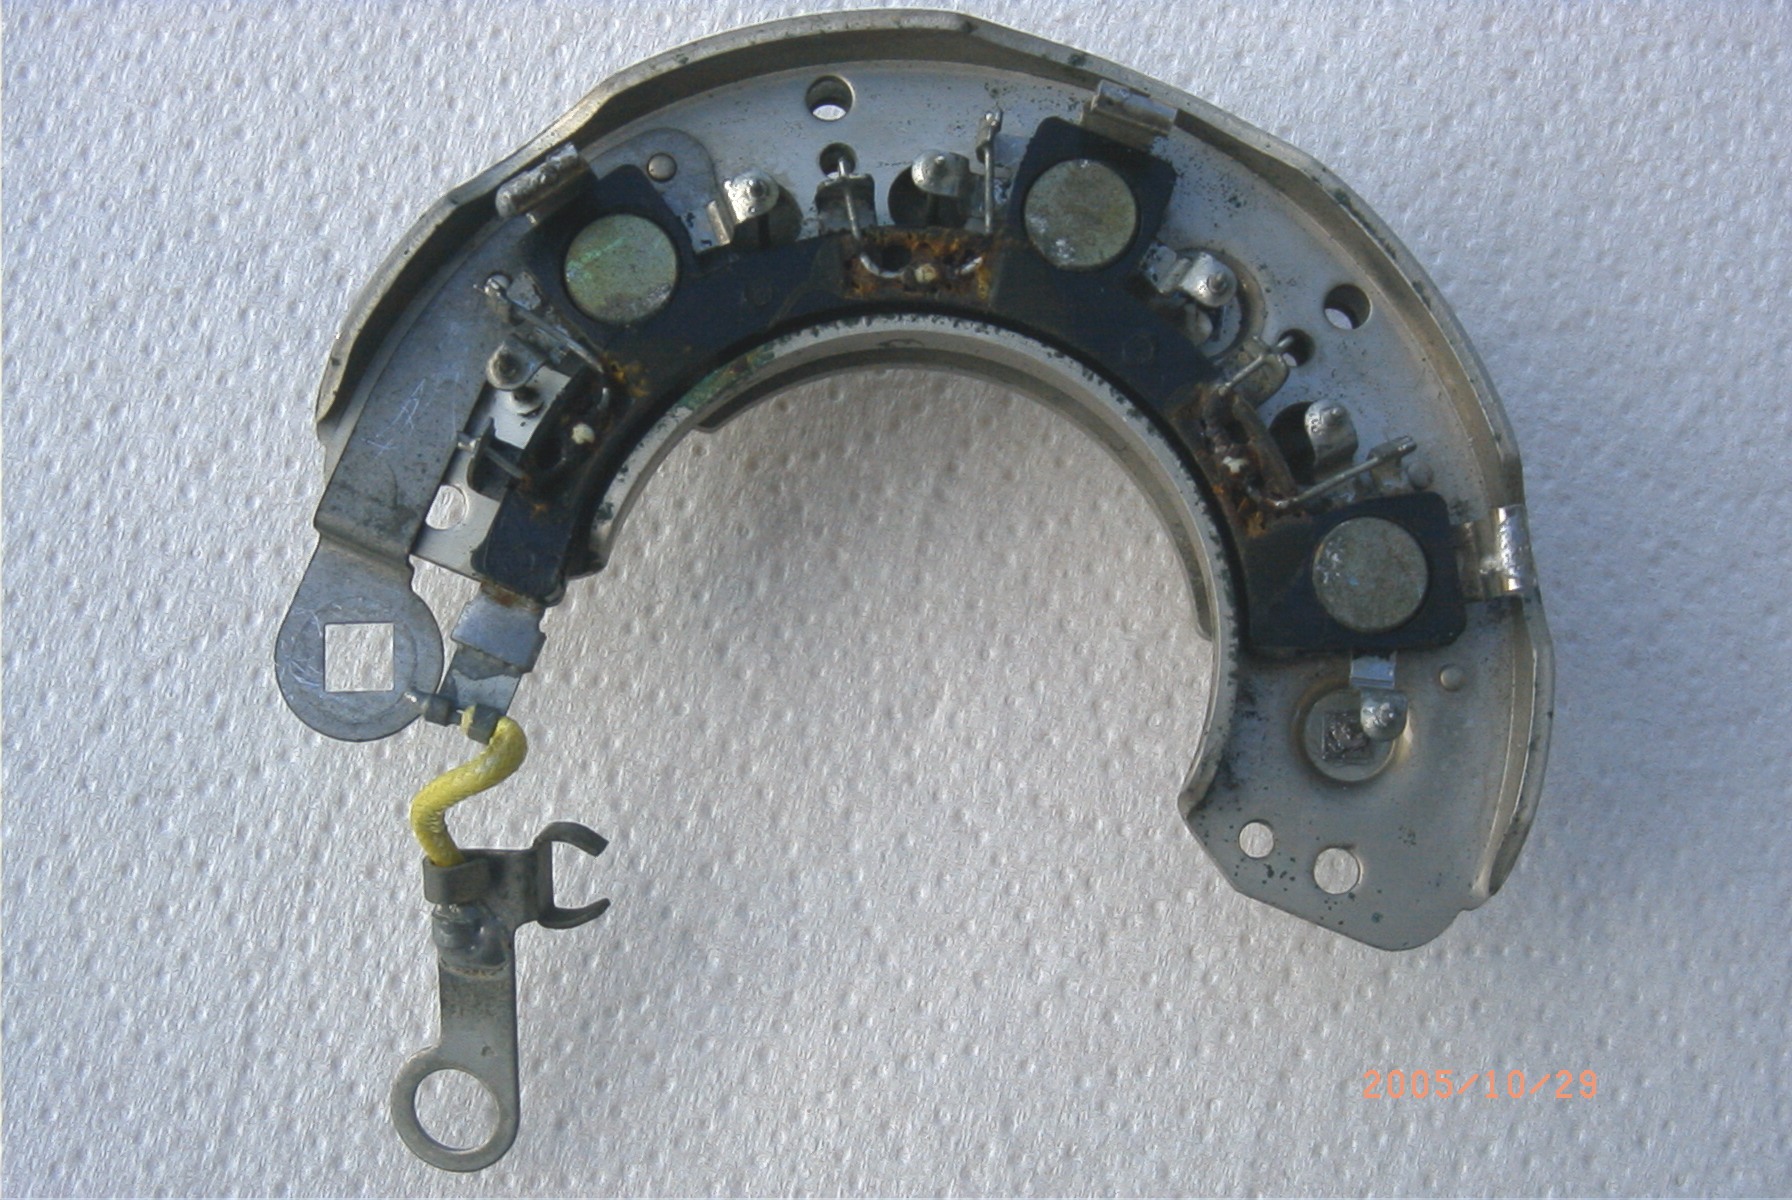

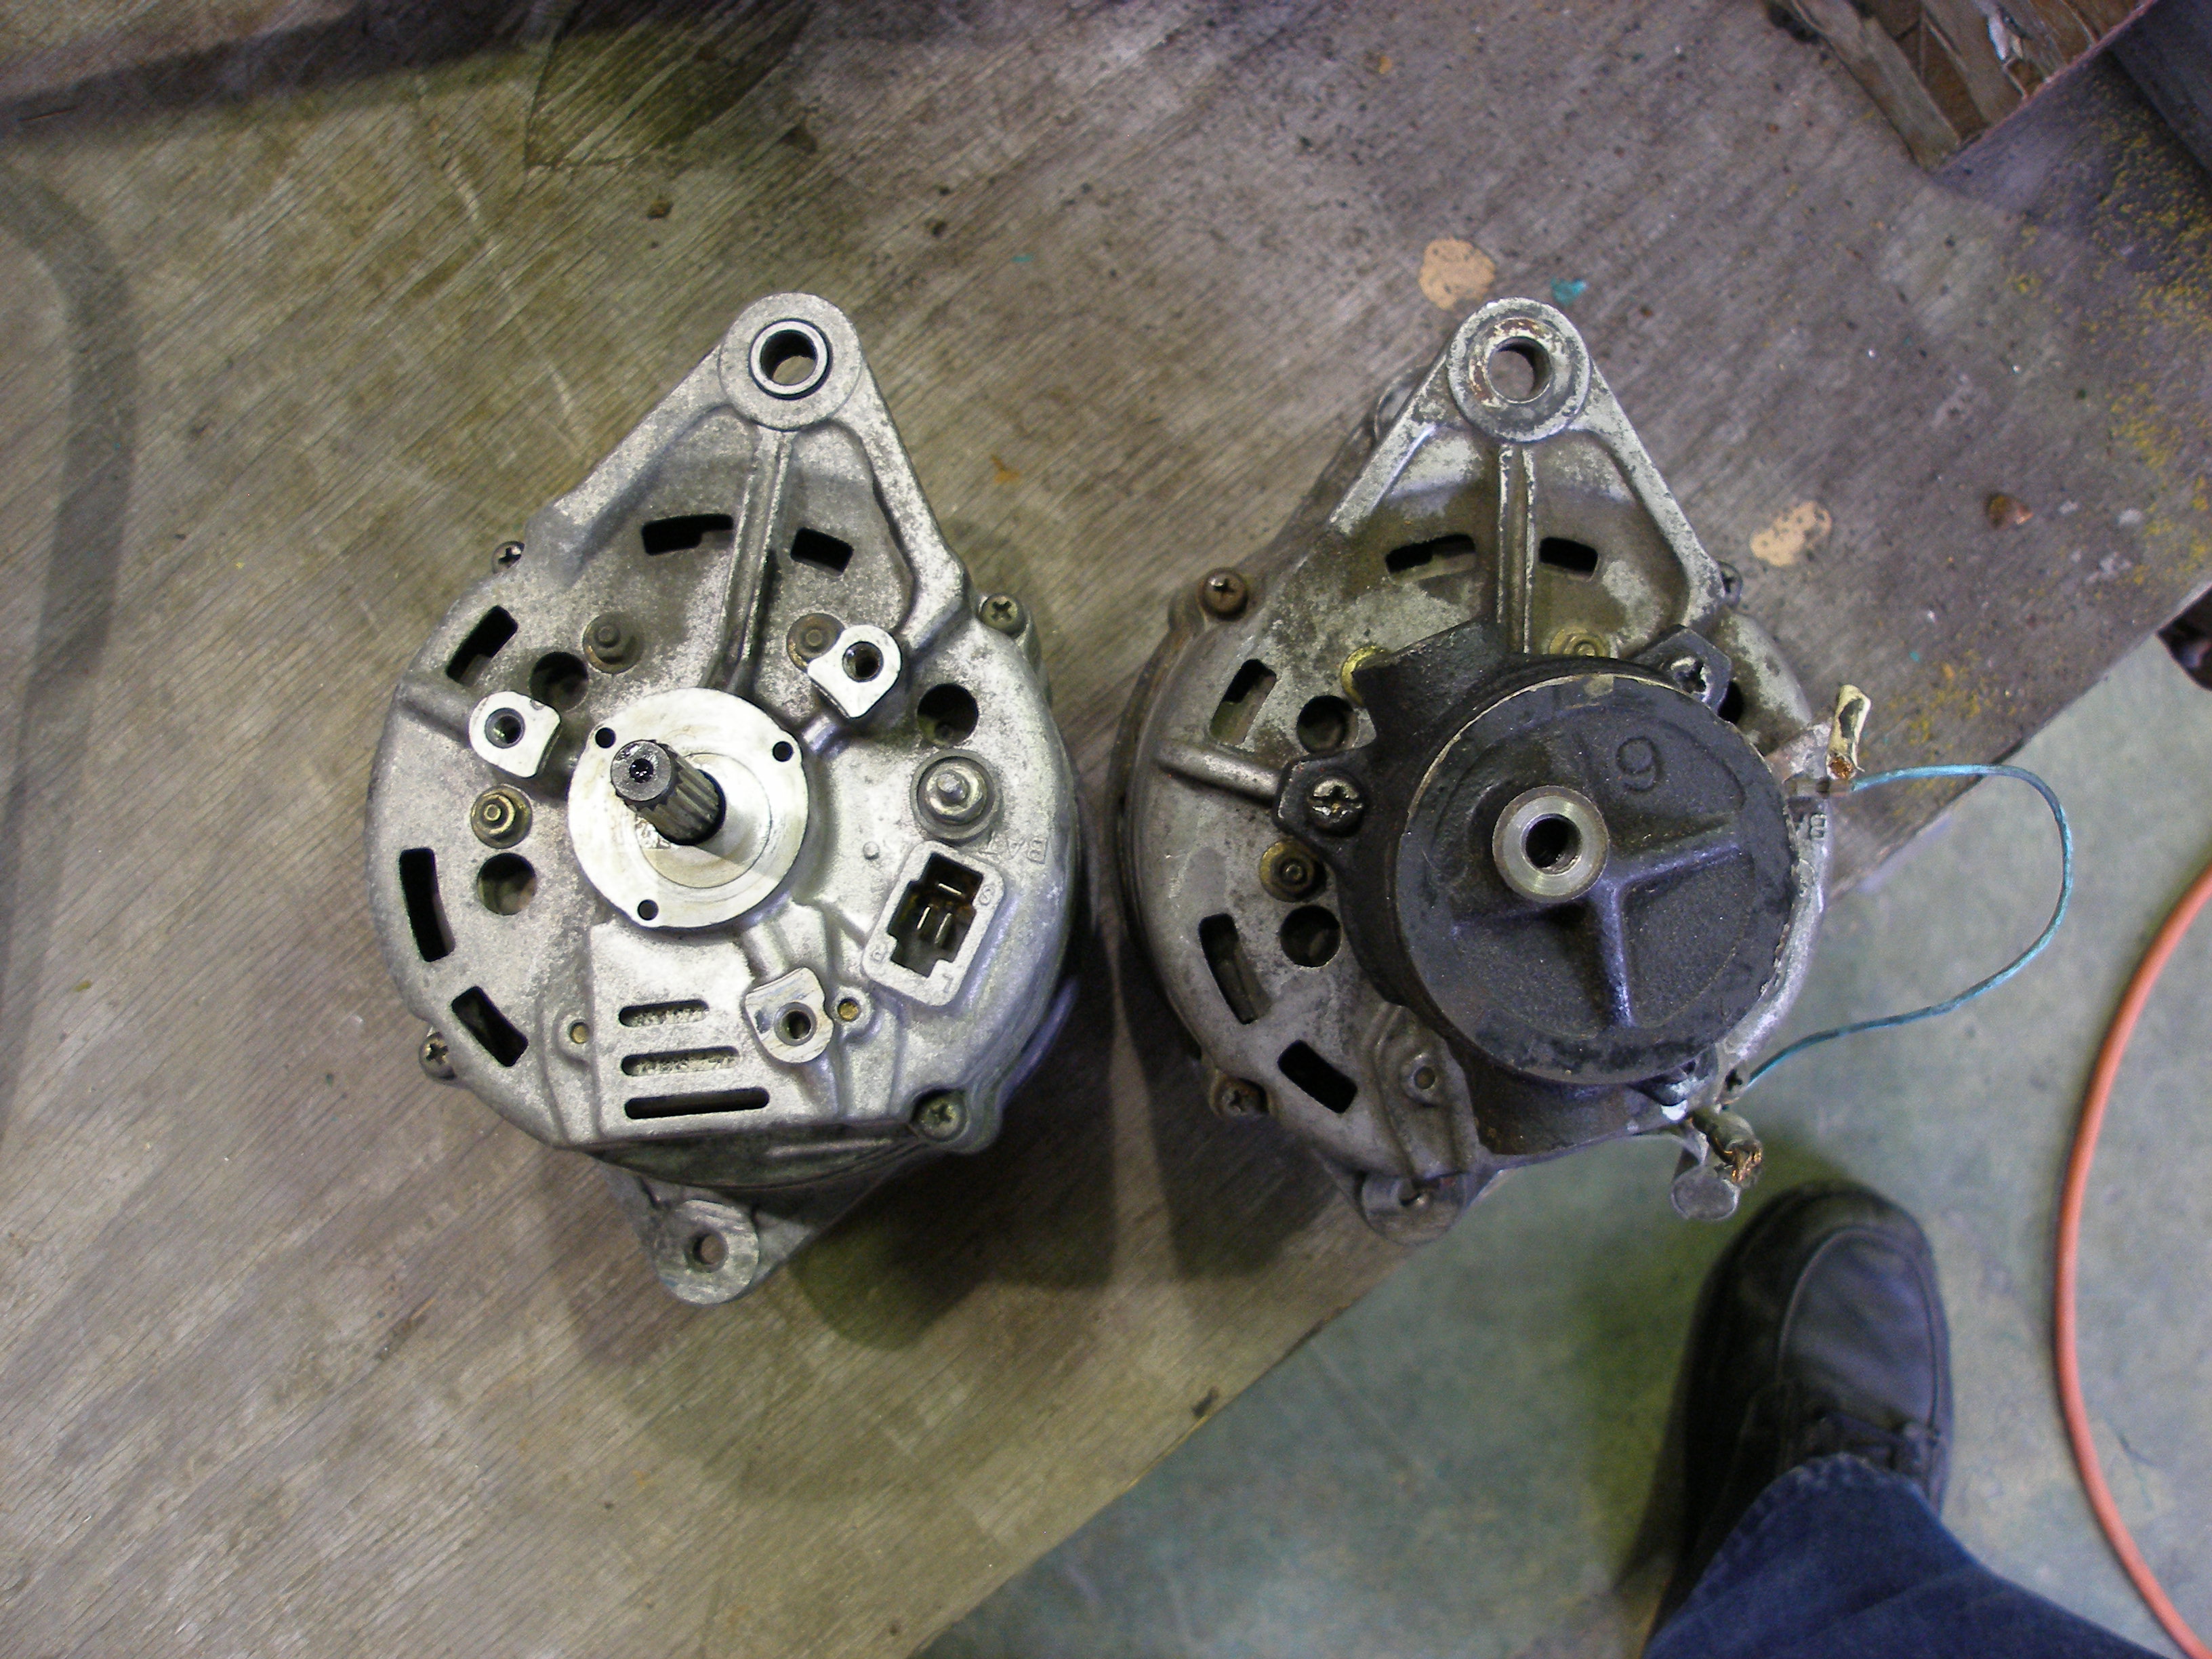
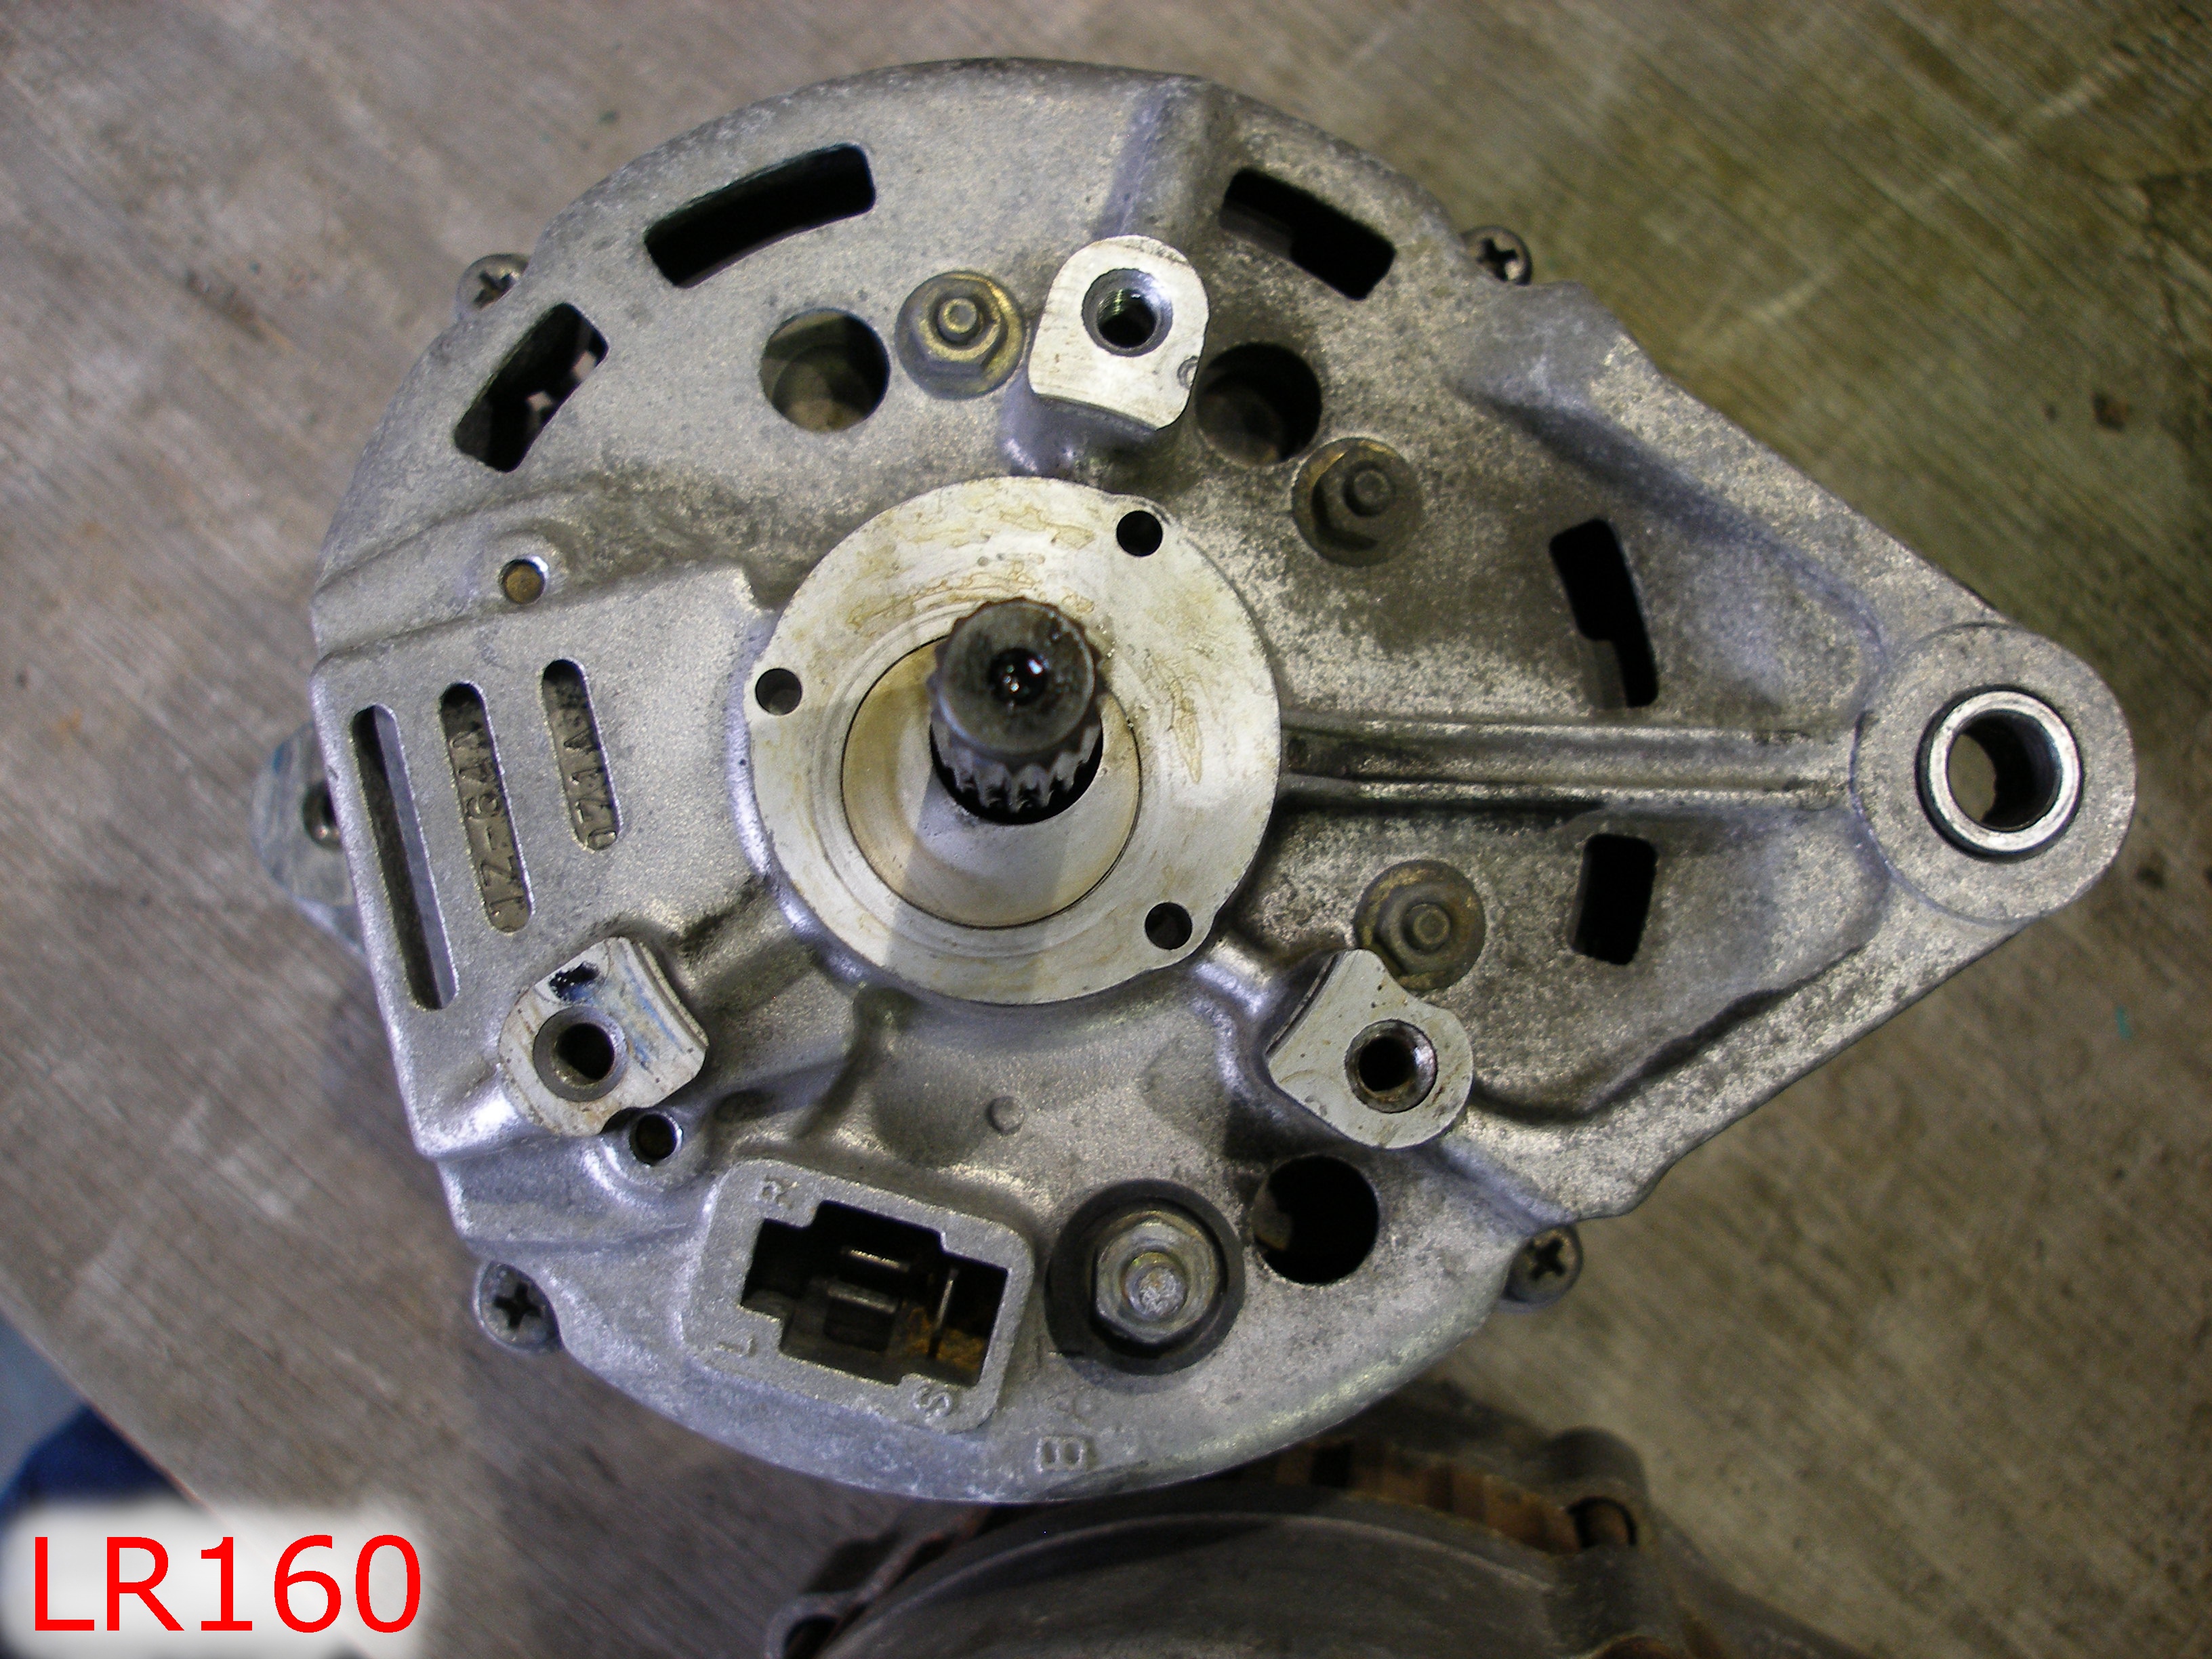
These two pics are from the Nissan-supplied, Hitachi-rebuilt LR160 in my '82 Wagon, which failed about six weeks ago, due to this diode physically failing:
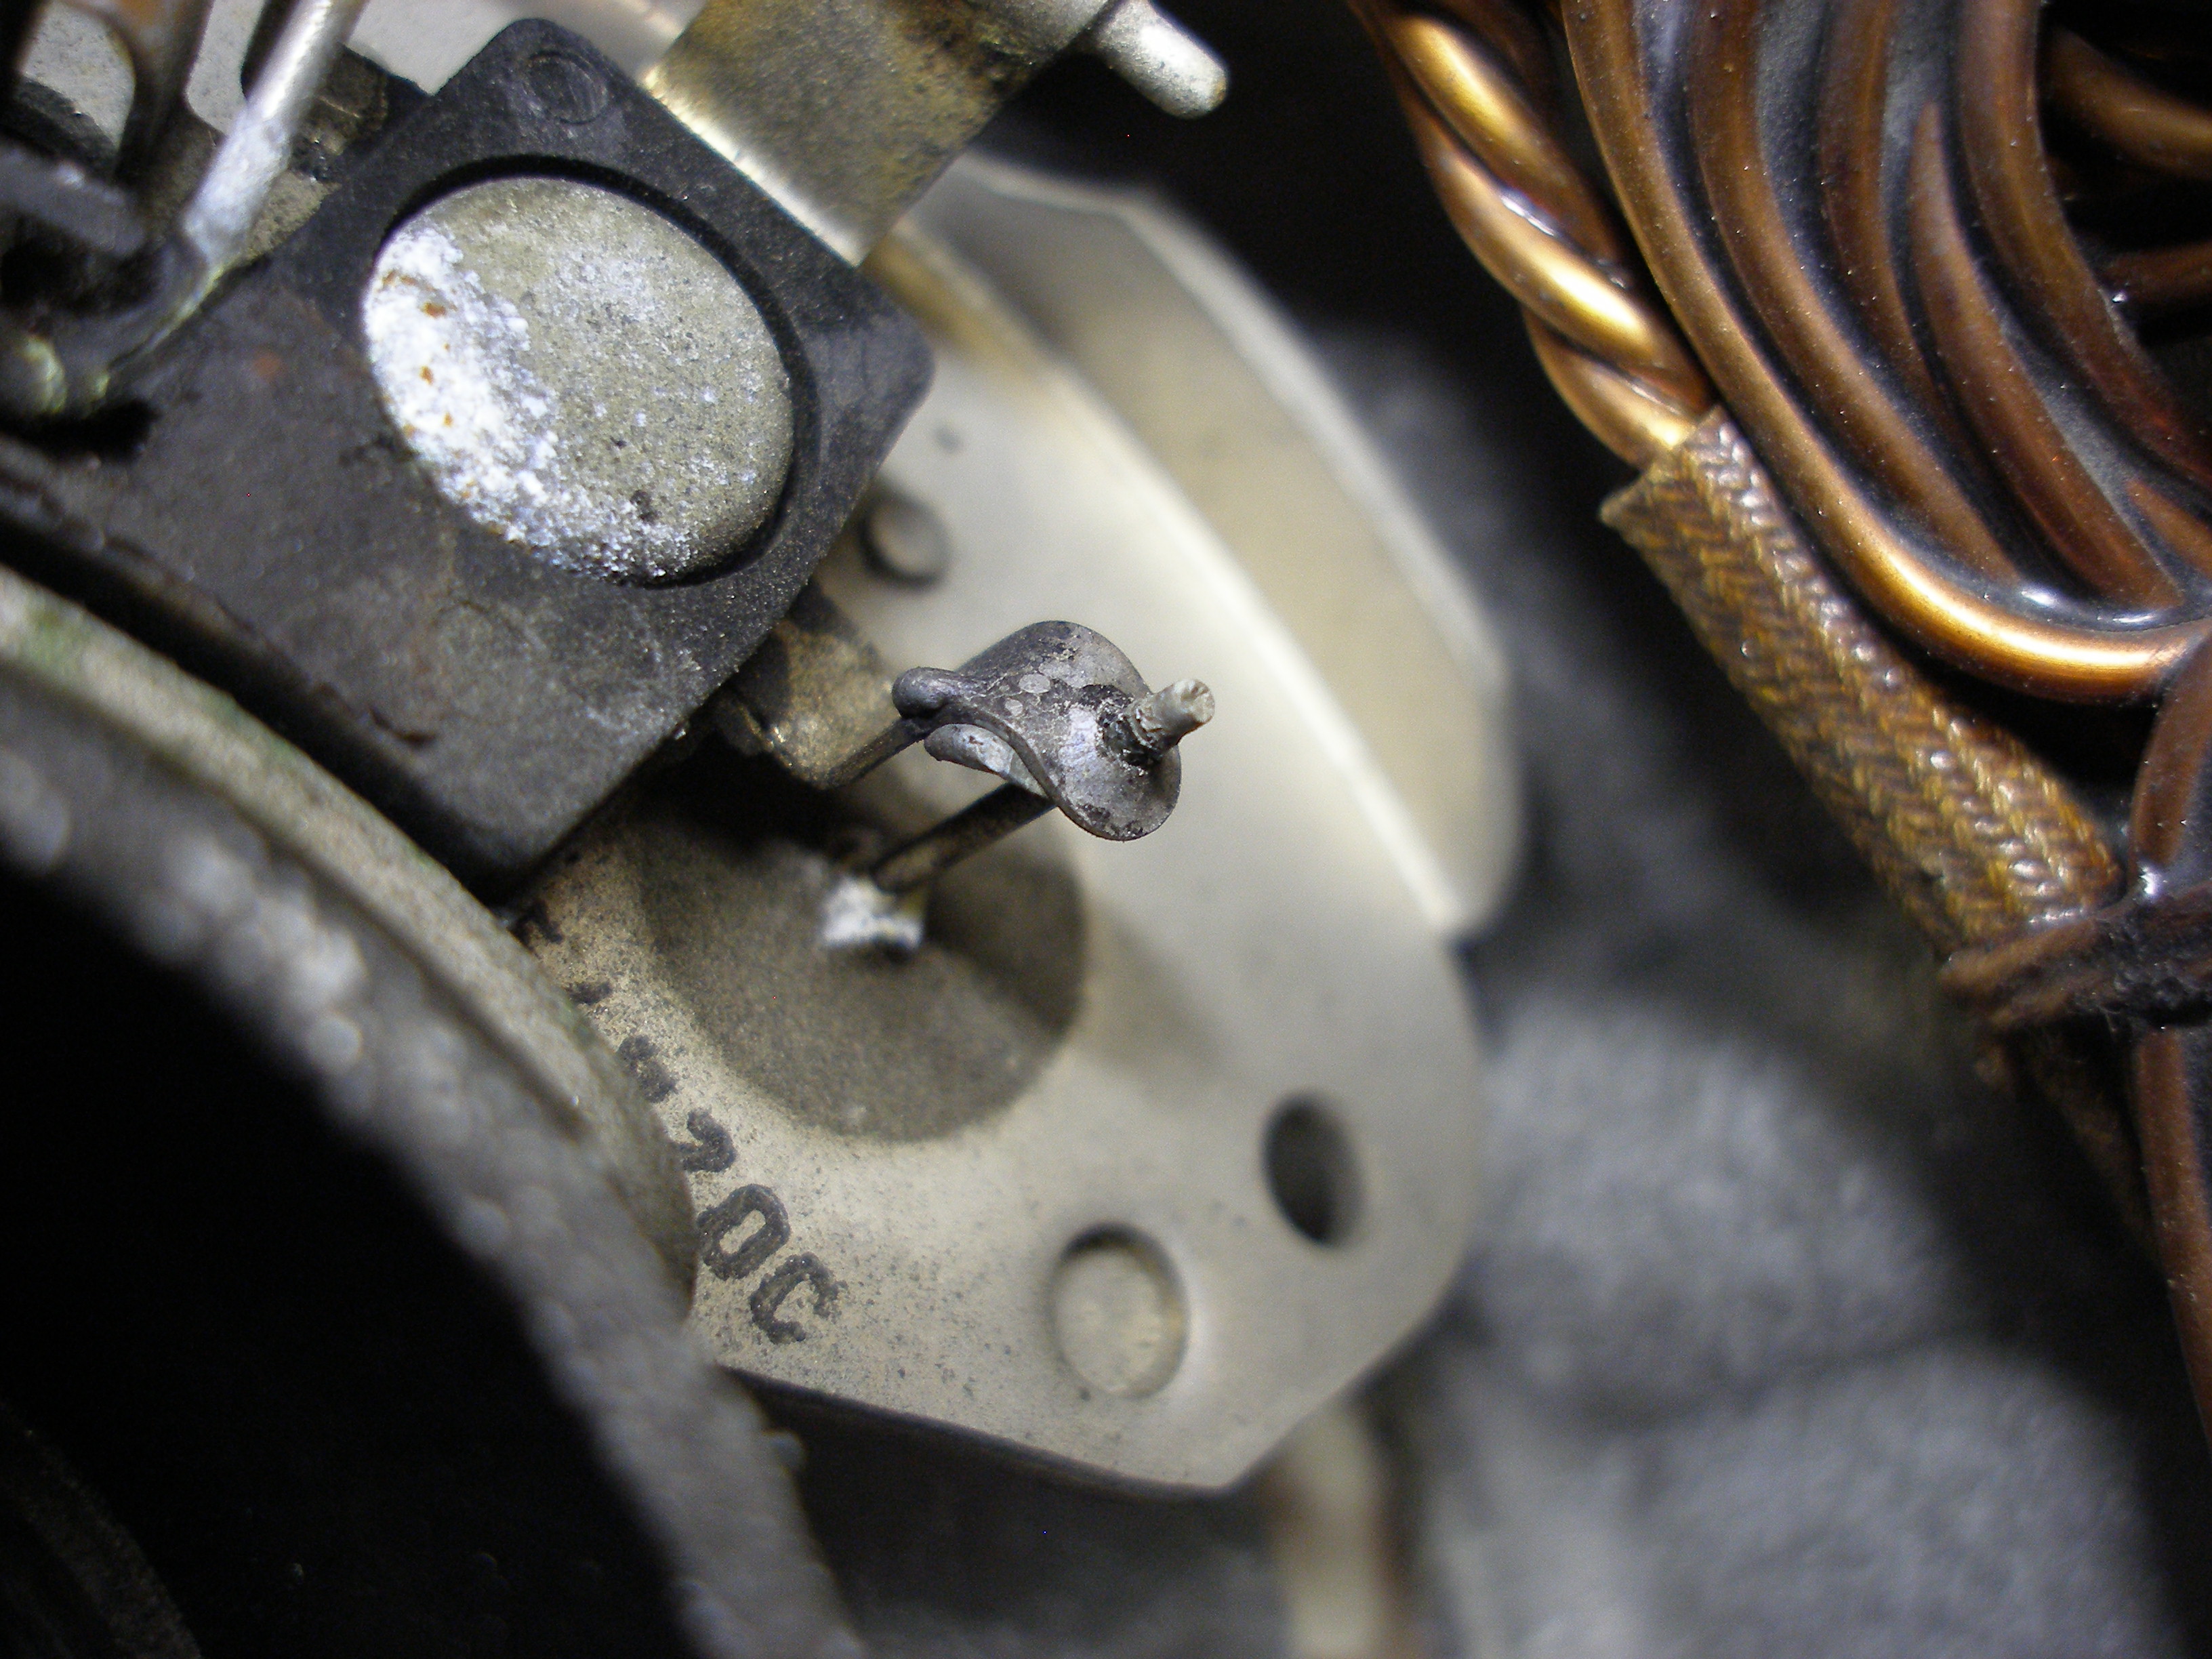
If you have the OEM diodes, strongly consider replacing it for the aftermarket style with more robust diodes (I have pics, but not processed yet; also have aftermarket part No.).
If the alternator's been rebuilt by someone other than Hitachi, it'll probably have the better diode assy.
On installation, the vacuum pump's rotor wants to slide out of position, making insertion of the rotor's splined shaft difficult, even though it's chamfered. I've found that rotating the rotor while inserting seems to spin the pump's rotor up into position and align the splines. Moderate pressure during insertion seems to help.
Every Hitachi LR series alternator that I've worked with seems to have some kind of bastard/universal noise suppression cap on the B+ terminal. I say "bastard" because the cap's ground fork doesn't seem to fit well no matter how you place it. I cut off the last 1/2" so the fork fits over the brush cover screw shank well. The chassis ground wire's lug also mounts to the same screw. If the ground lug is broken, don't neglect to install a new one; this is one of the body-to-engine grounds that keep the more sensitive electrics working correctly -- such as the temp gauge.


