Acquired 28-Oct-2006
Model: 4.0 BFA 1R/16004A
Serial: L78xxxxxxxxxxx (built Oct-1978)
120v only, 30a breaker, 33a max.
1800 RPM
Onan made a lot of horizontal-opposed twin engines (CK, CCK(x), BF, BG, NH), and they're all different.
Previous owner bought it for about $700, paid $278 to have a "doghouse" constructed for it -- I have the receipts. I paid PO $300 and took his word that it was working OK. Bought it two weeks ago. These are the pics from the CL ad:
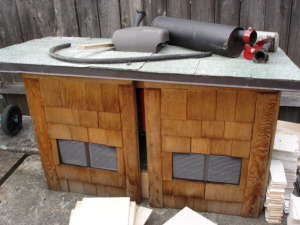

And the CL text:
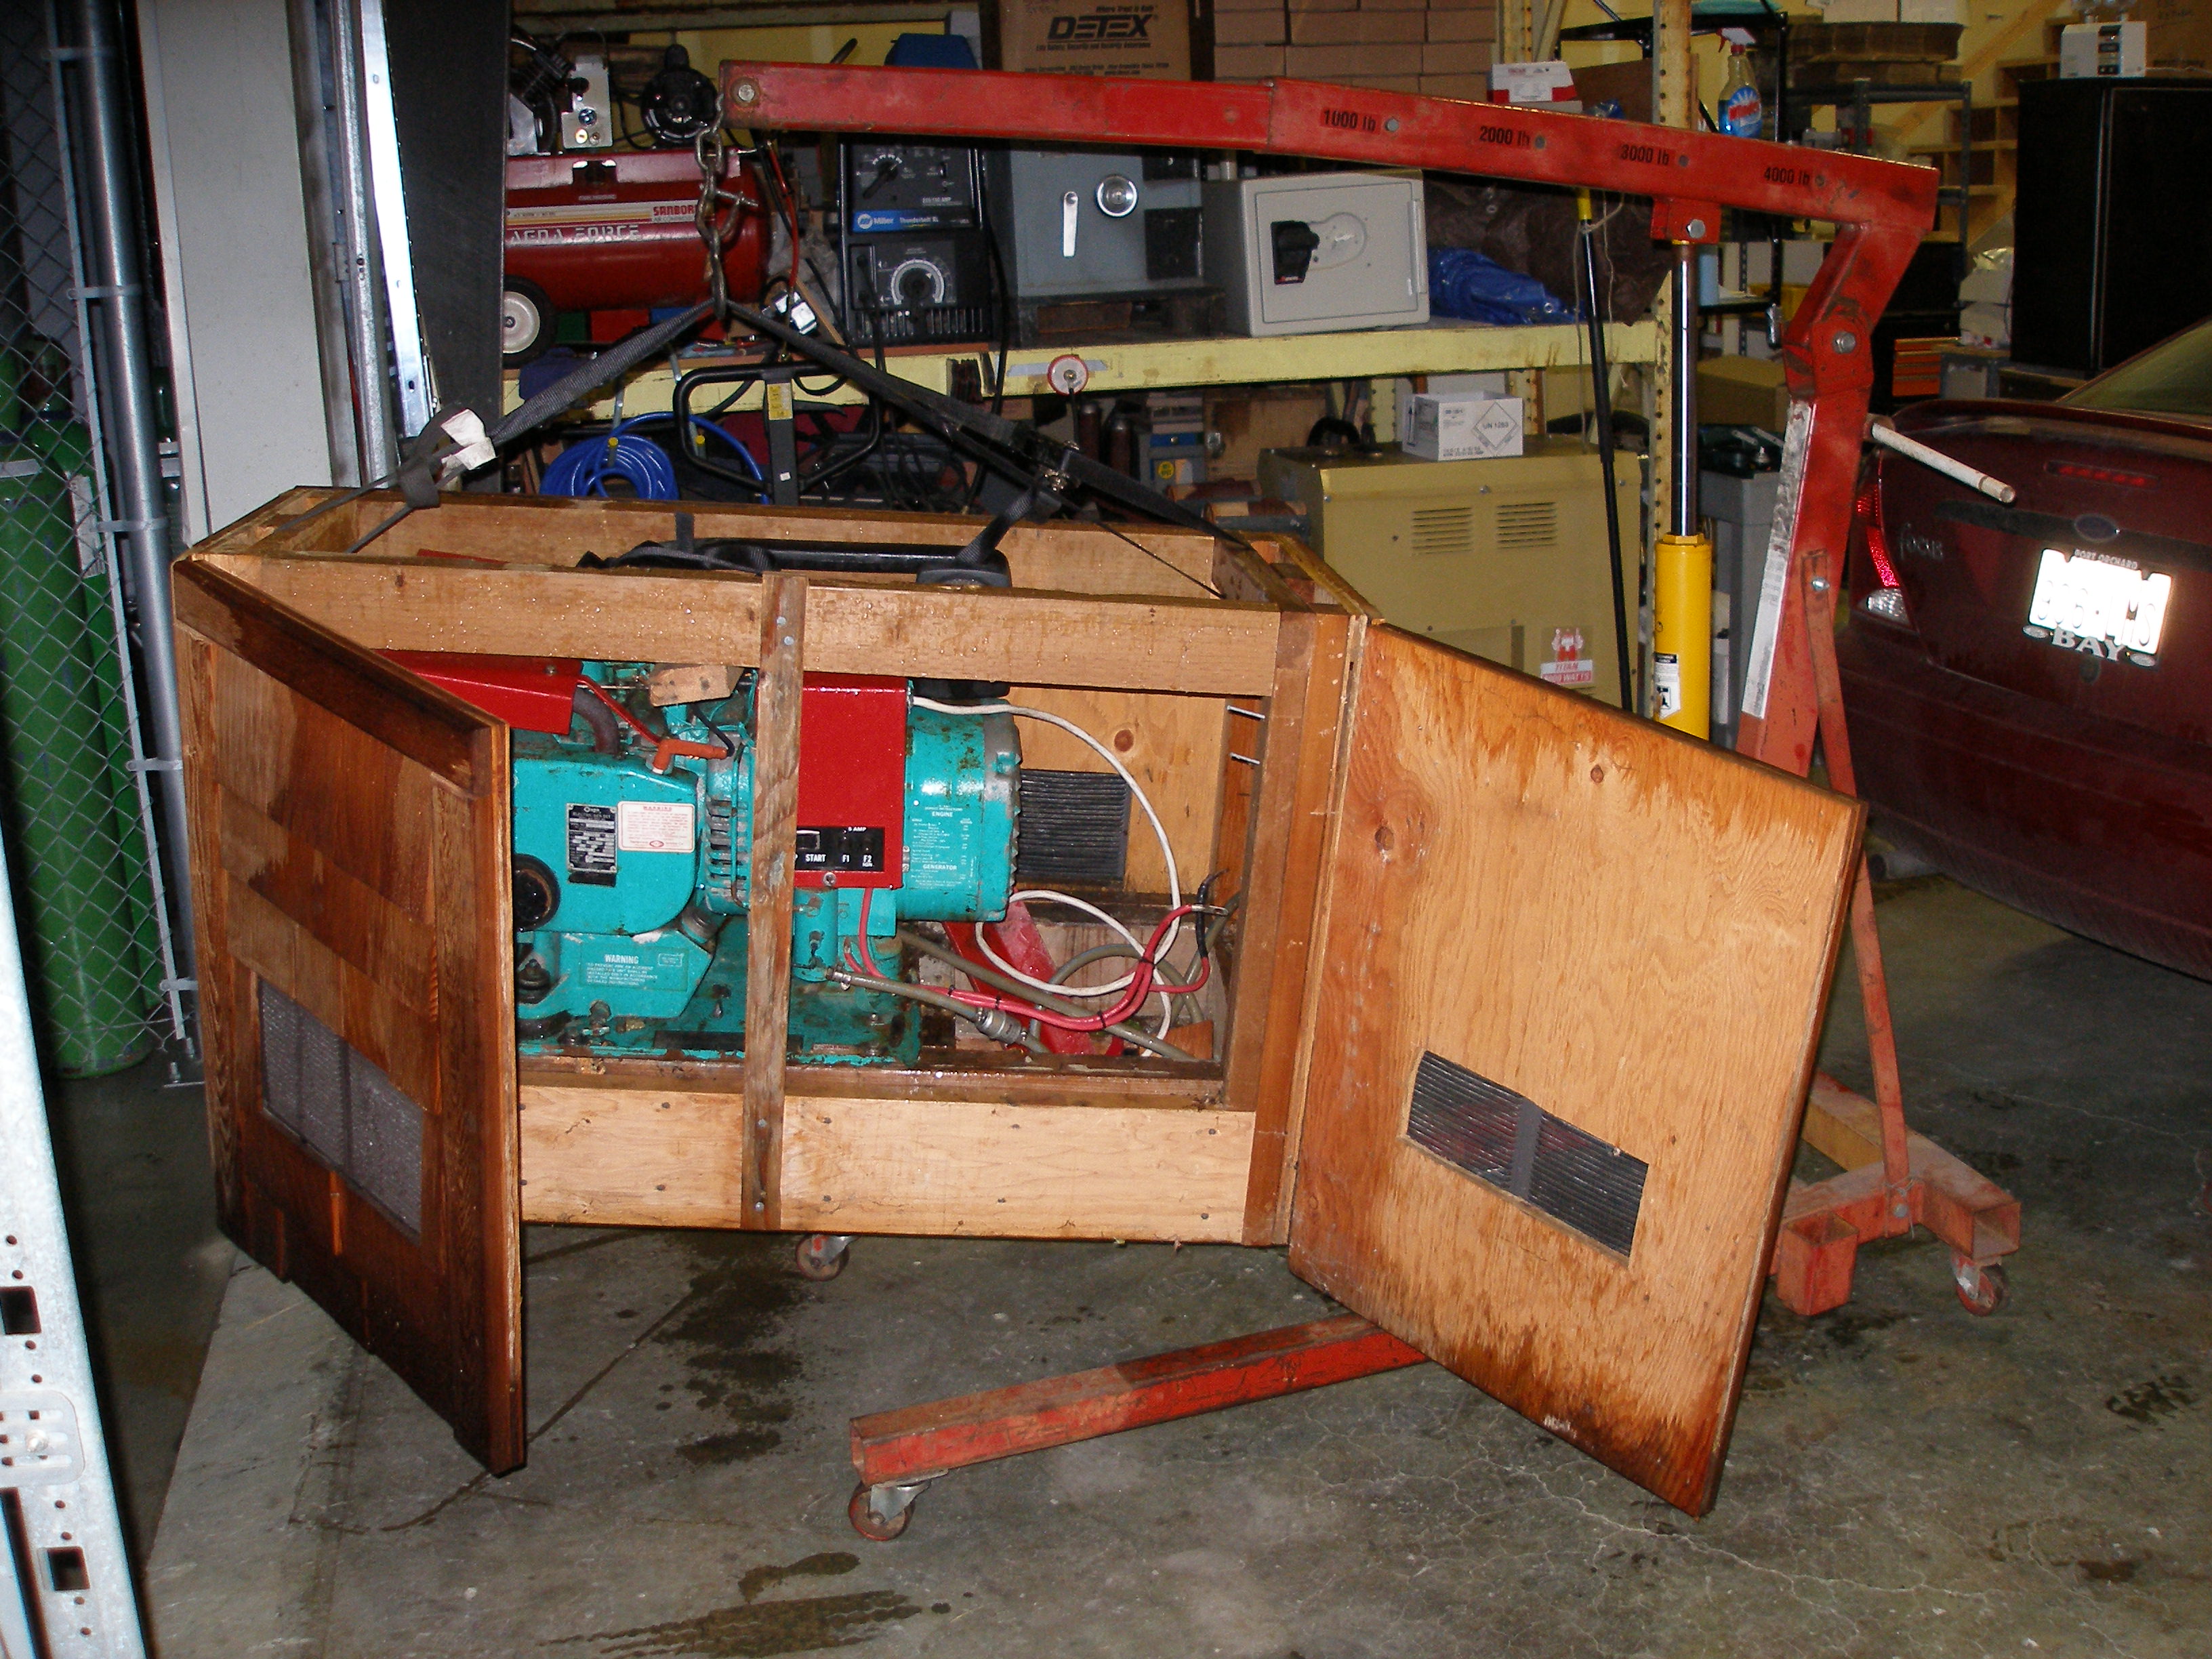
Some explanation: the PO had it very close to his neighbor's garage, so he had it plumbed with two mufflers ("dual exhaust"), but in series. The muffer you see laying upon the (removeable) roof above actually sits vertically behind the doghouse, and plugs in to the OEM muffer that exits horizontally out the back.ONAN Cummings Push Button Start GENERATOR, DUAL EXHAUST - $350
Reply to: sale-225212317@craigslist.org
Date: 2006-10-24, 2:24PM PDT
4KW ONAN/CUMMINGS Push Button Start GENERATOR, DUAL EXHAUST
This is a 4KW, or 4,000 watts Onan/Cummings Gennie. It's been used at our house only once, and is in AMAZING condition. It's push button start and dual exhaust system make it a REALLY NICE (and quiet) unit. The house that we built for it has cedar shakes and a great roof so it won't get wet if you are putting it outside.
Please call (xxxxxxxx) to come and get it!
* this is in or around Des Moines
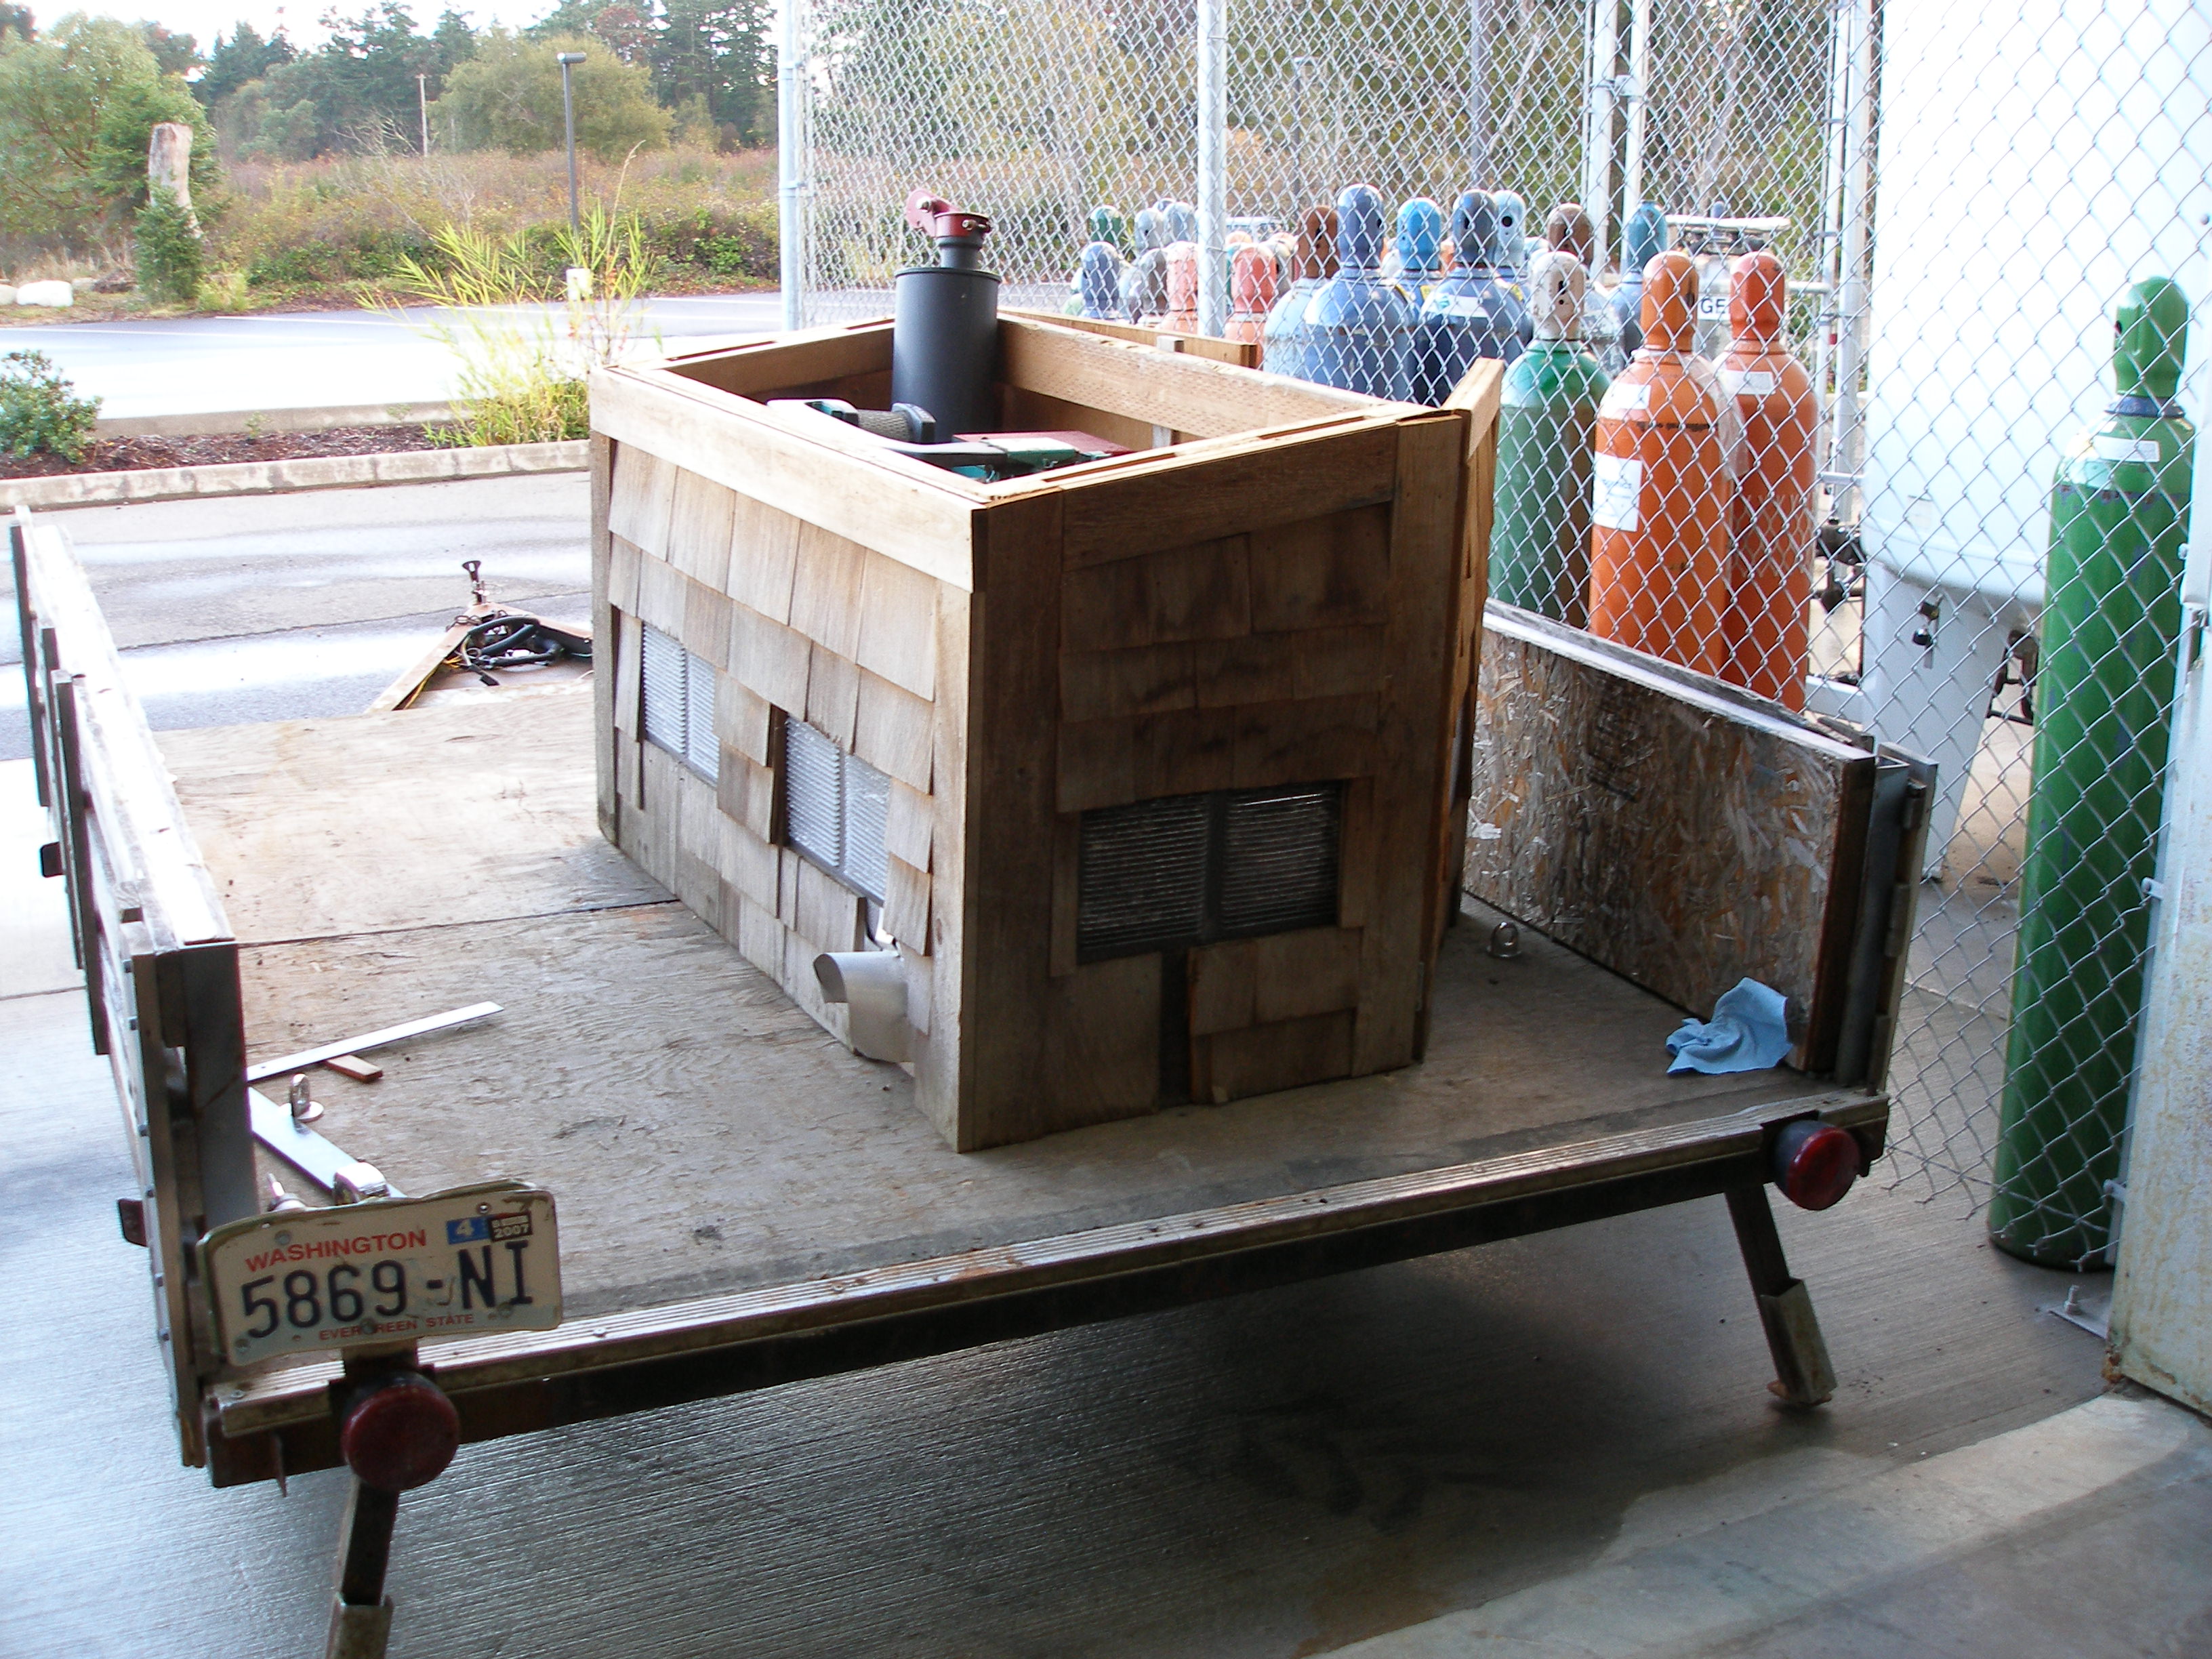
Loading it was a bear: it's heavy! But I had help of the PO and his son.
However, at my end, I was alone -- and it began to rain, of course. The engine hoist would pick it up, but just barely, and then only if I provided ballast (ie I had to sit on the back of the hoist).
First order of business was to casterize it: build a piano dolly for it so I could work on it in our shop and be able to stow it out of the way during this phase.


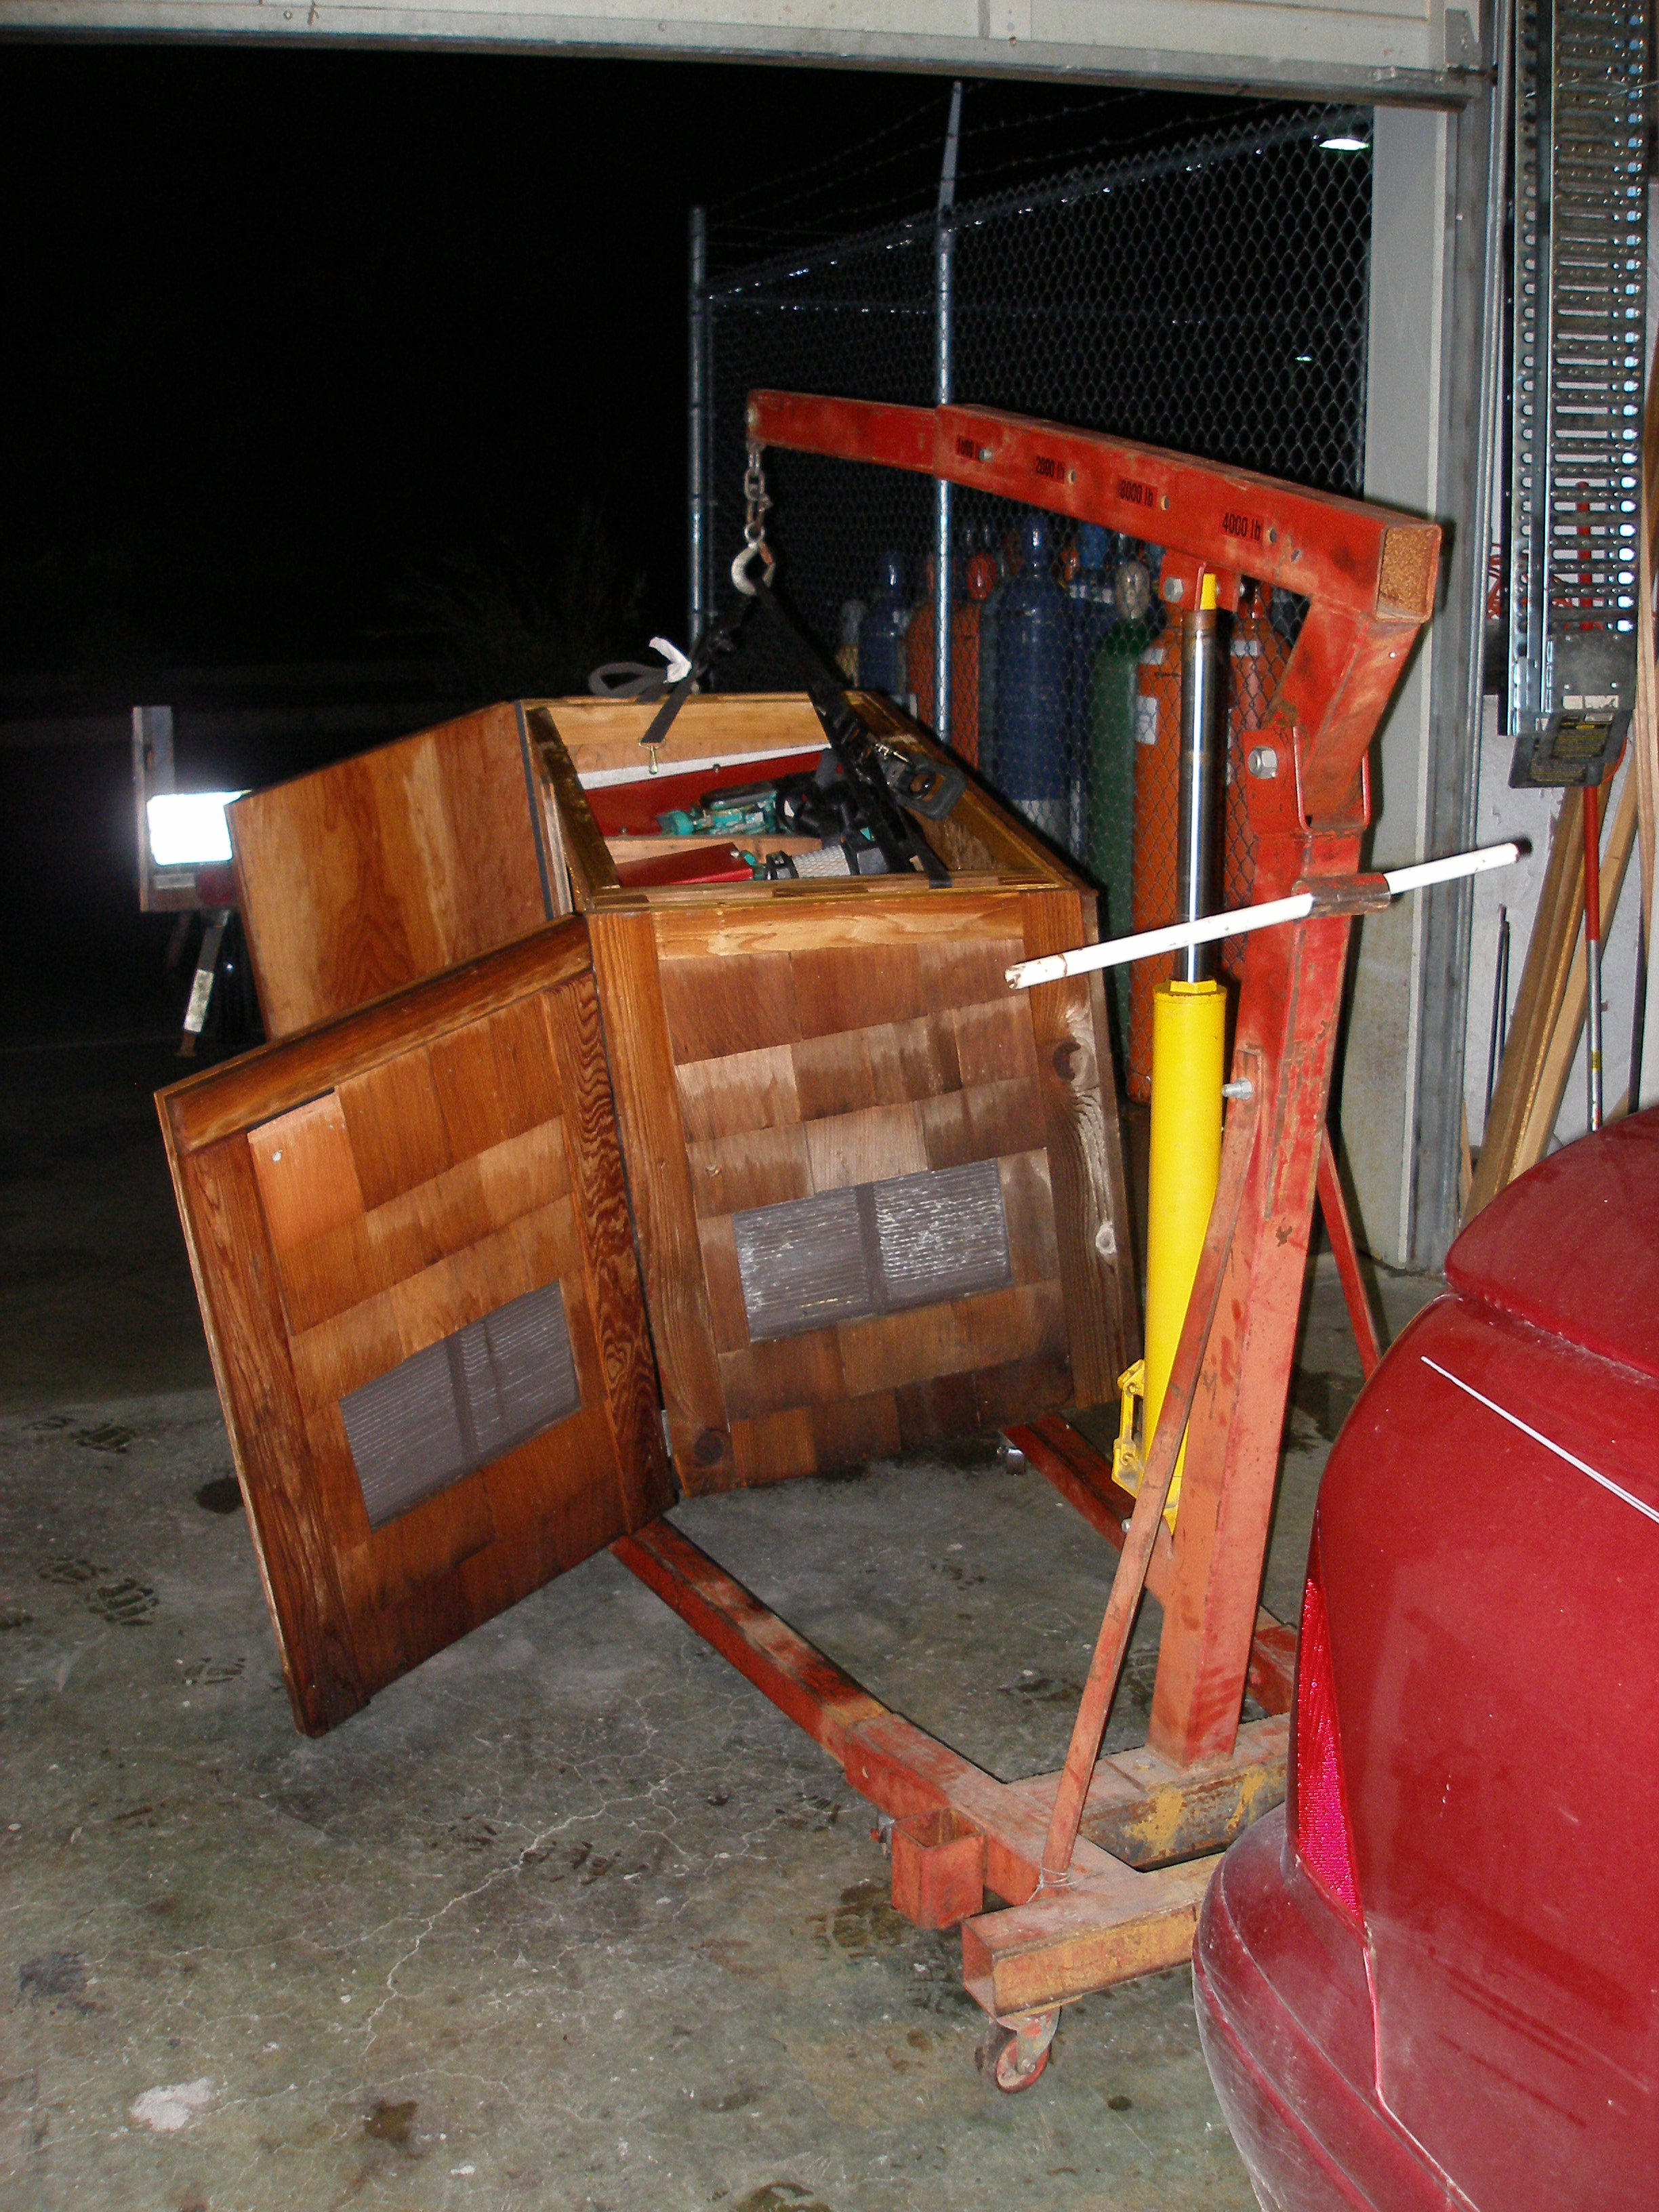

And even with the piano dolly, it wouldn't clear the legs of the engine hoist, so I had to get creative . . .
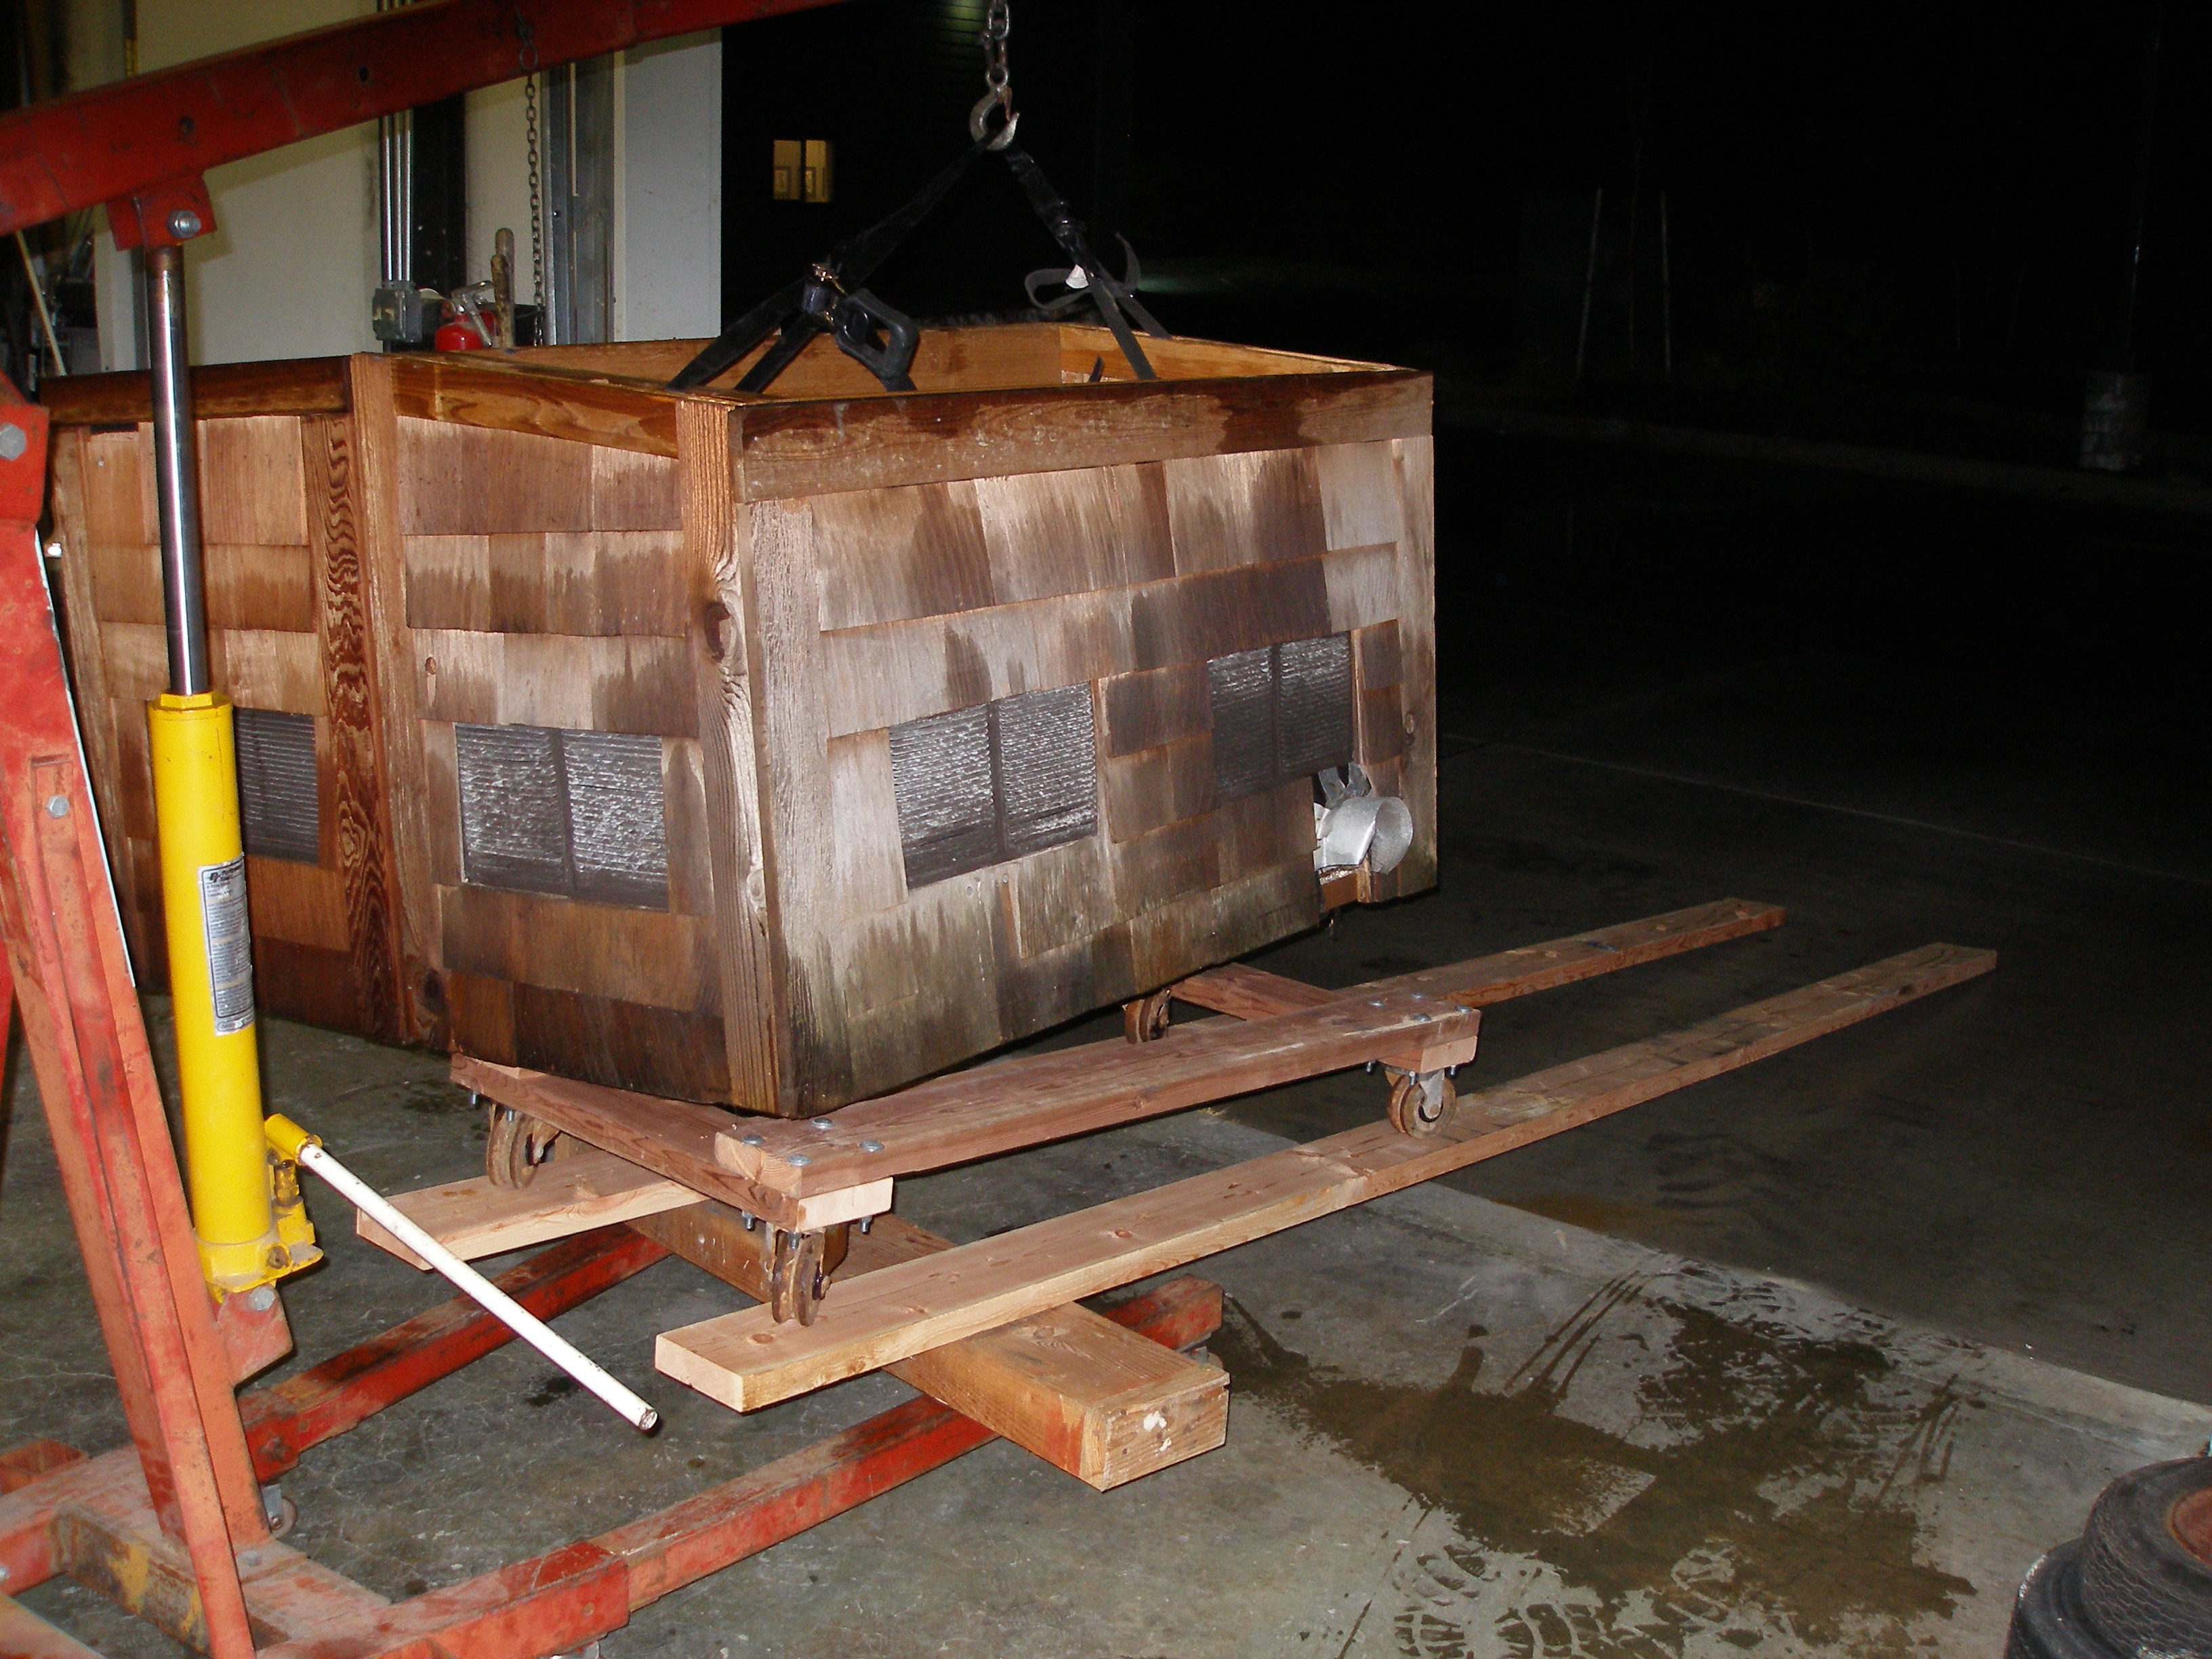
Believe me, that was not fun doing alone.
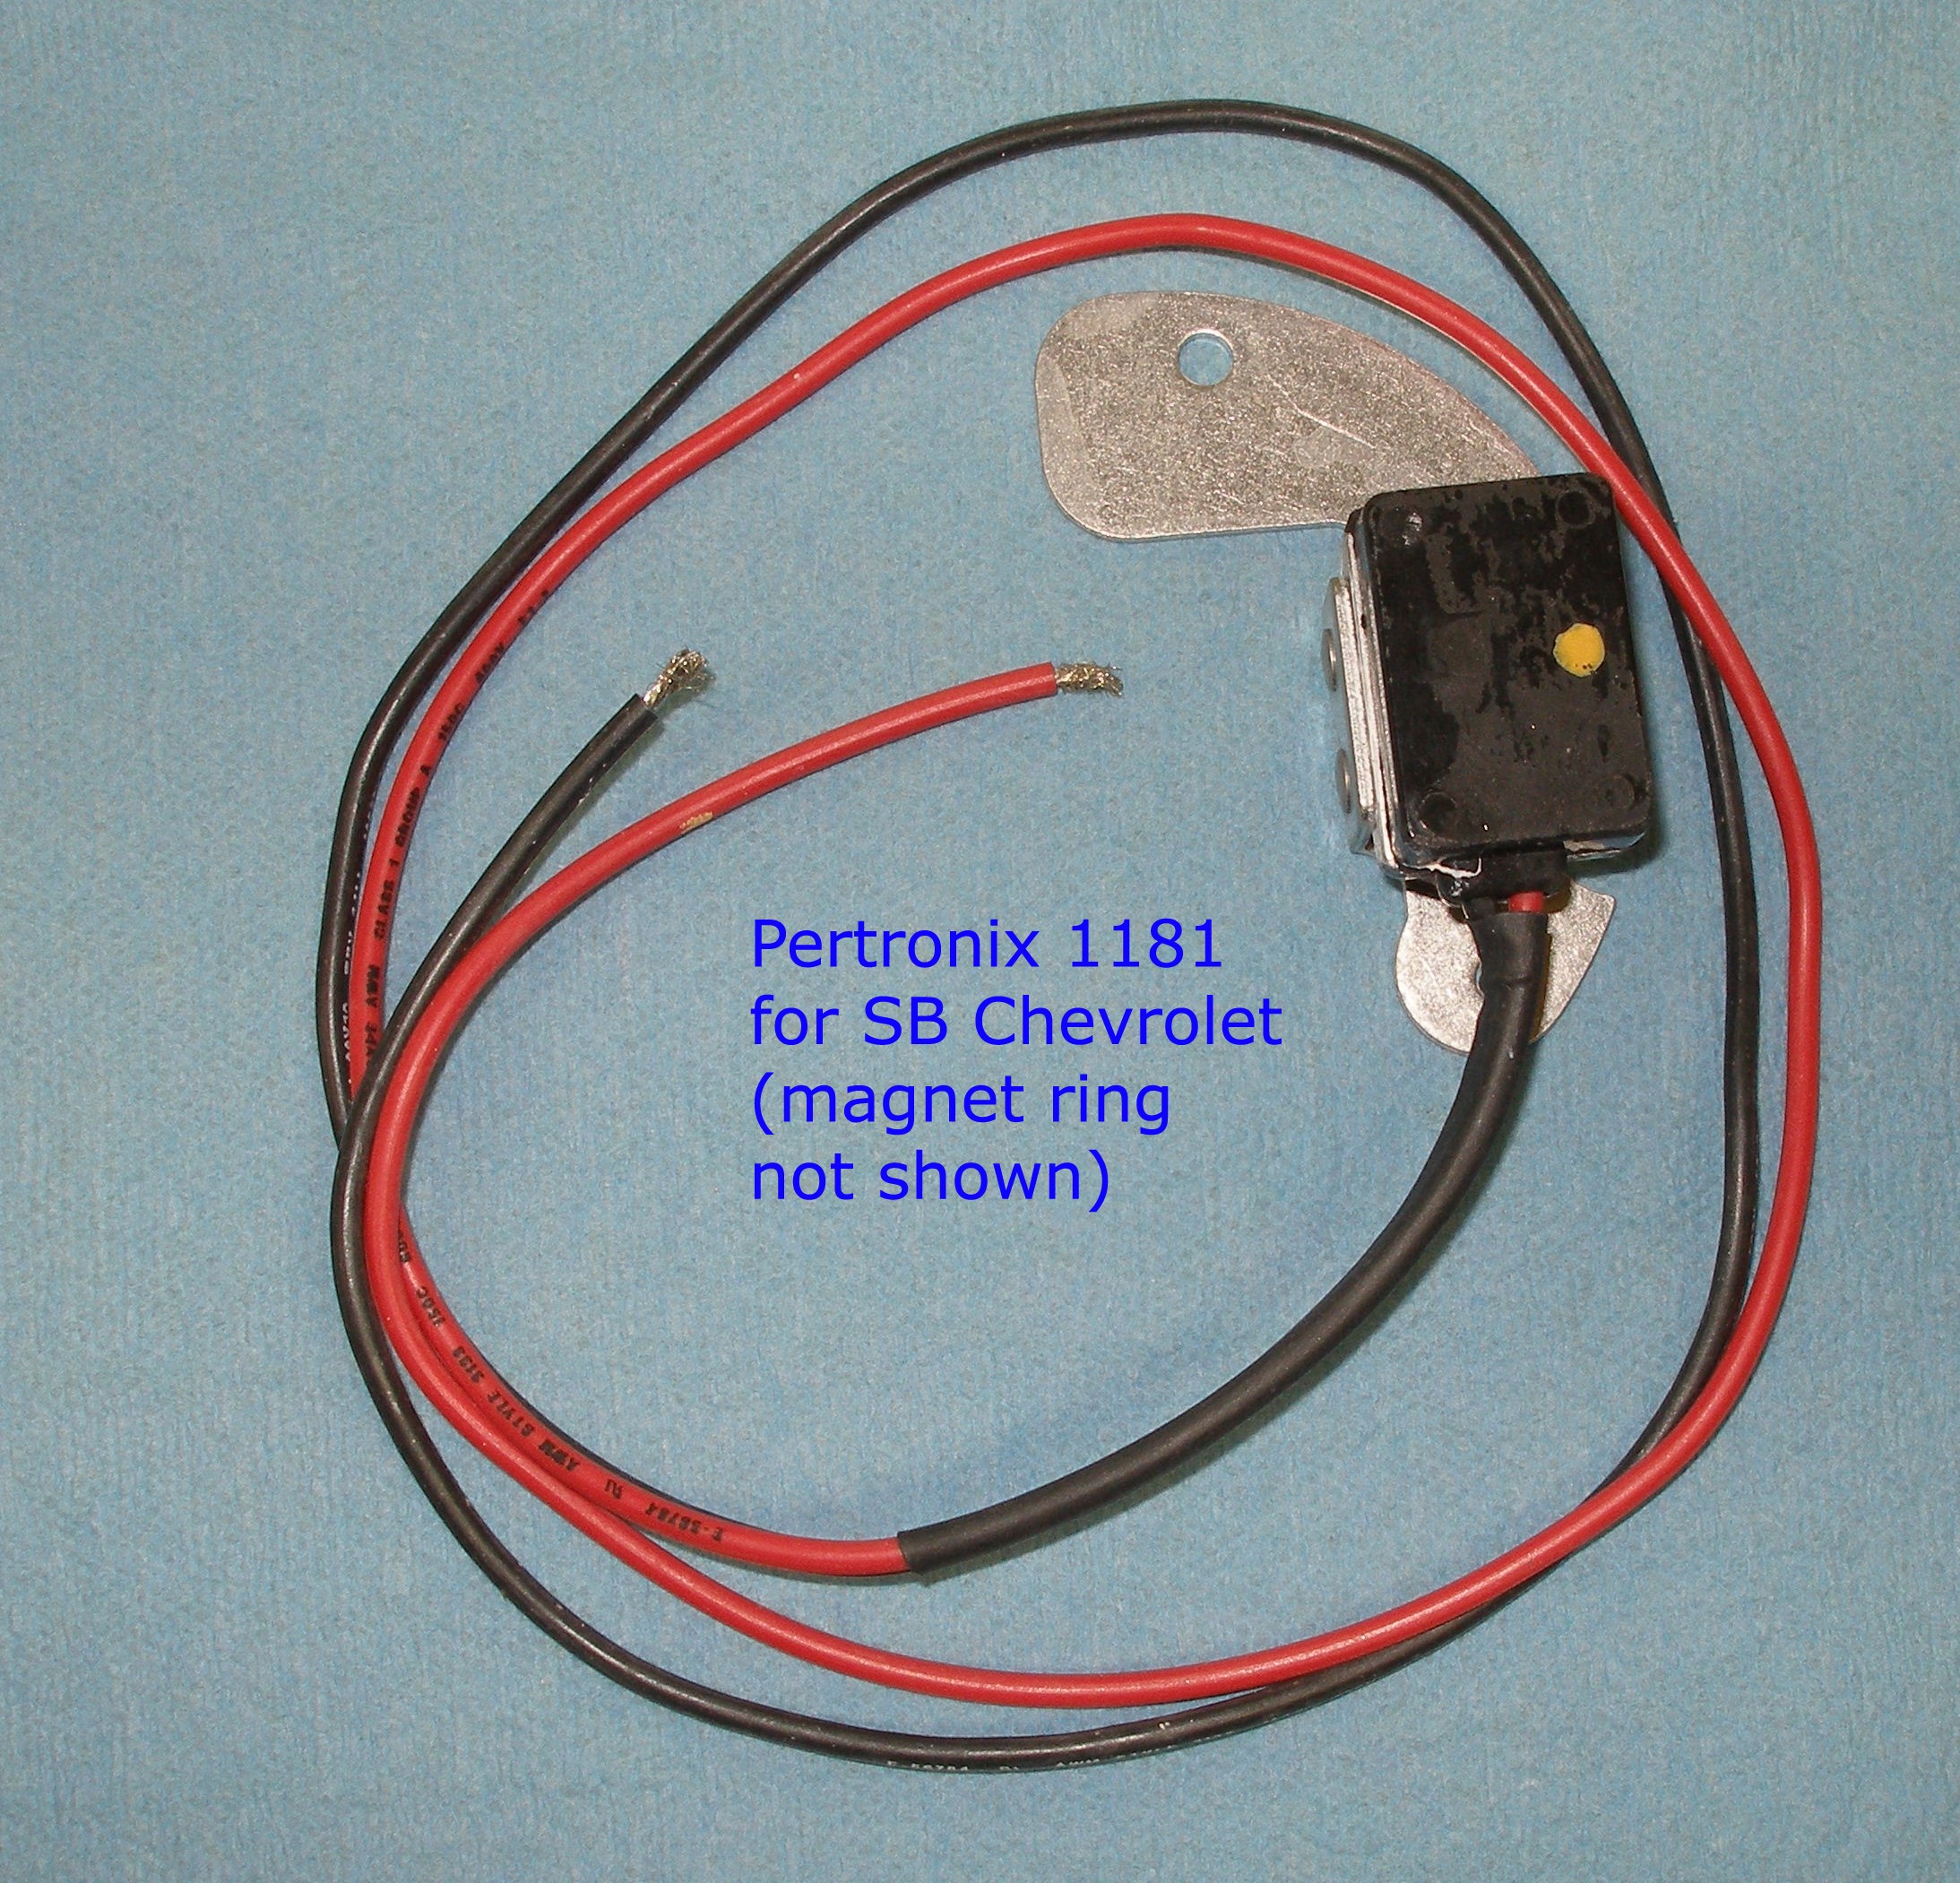
So, it sat in the corner for the past two weeks, while the electronic ignition conversion parts arrived from eBay. Actually, a Pertronix 1181 kit for SB Chevy. This particular path has already been beaten for me, by two others, though neither did a BF series.
CCK: Vaugh Simon
NH(?): Ken Henderson
So, armed with their photos & notes, I ordered a couple Pertronix 1181s (I have more than one of these beasts). Today, I got serious about doing something about installing them.
For now, I'm just going to throw a bunch of photos up. Later, I'll edit them and include dimensions and such.
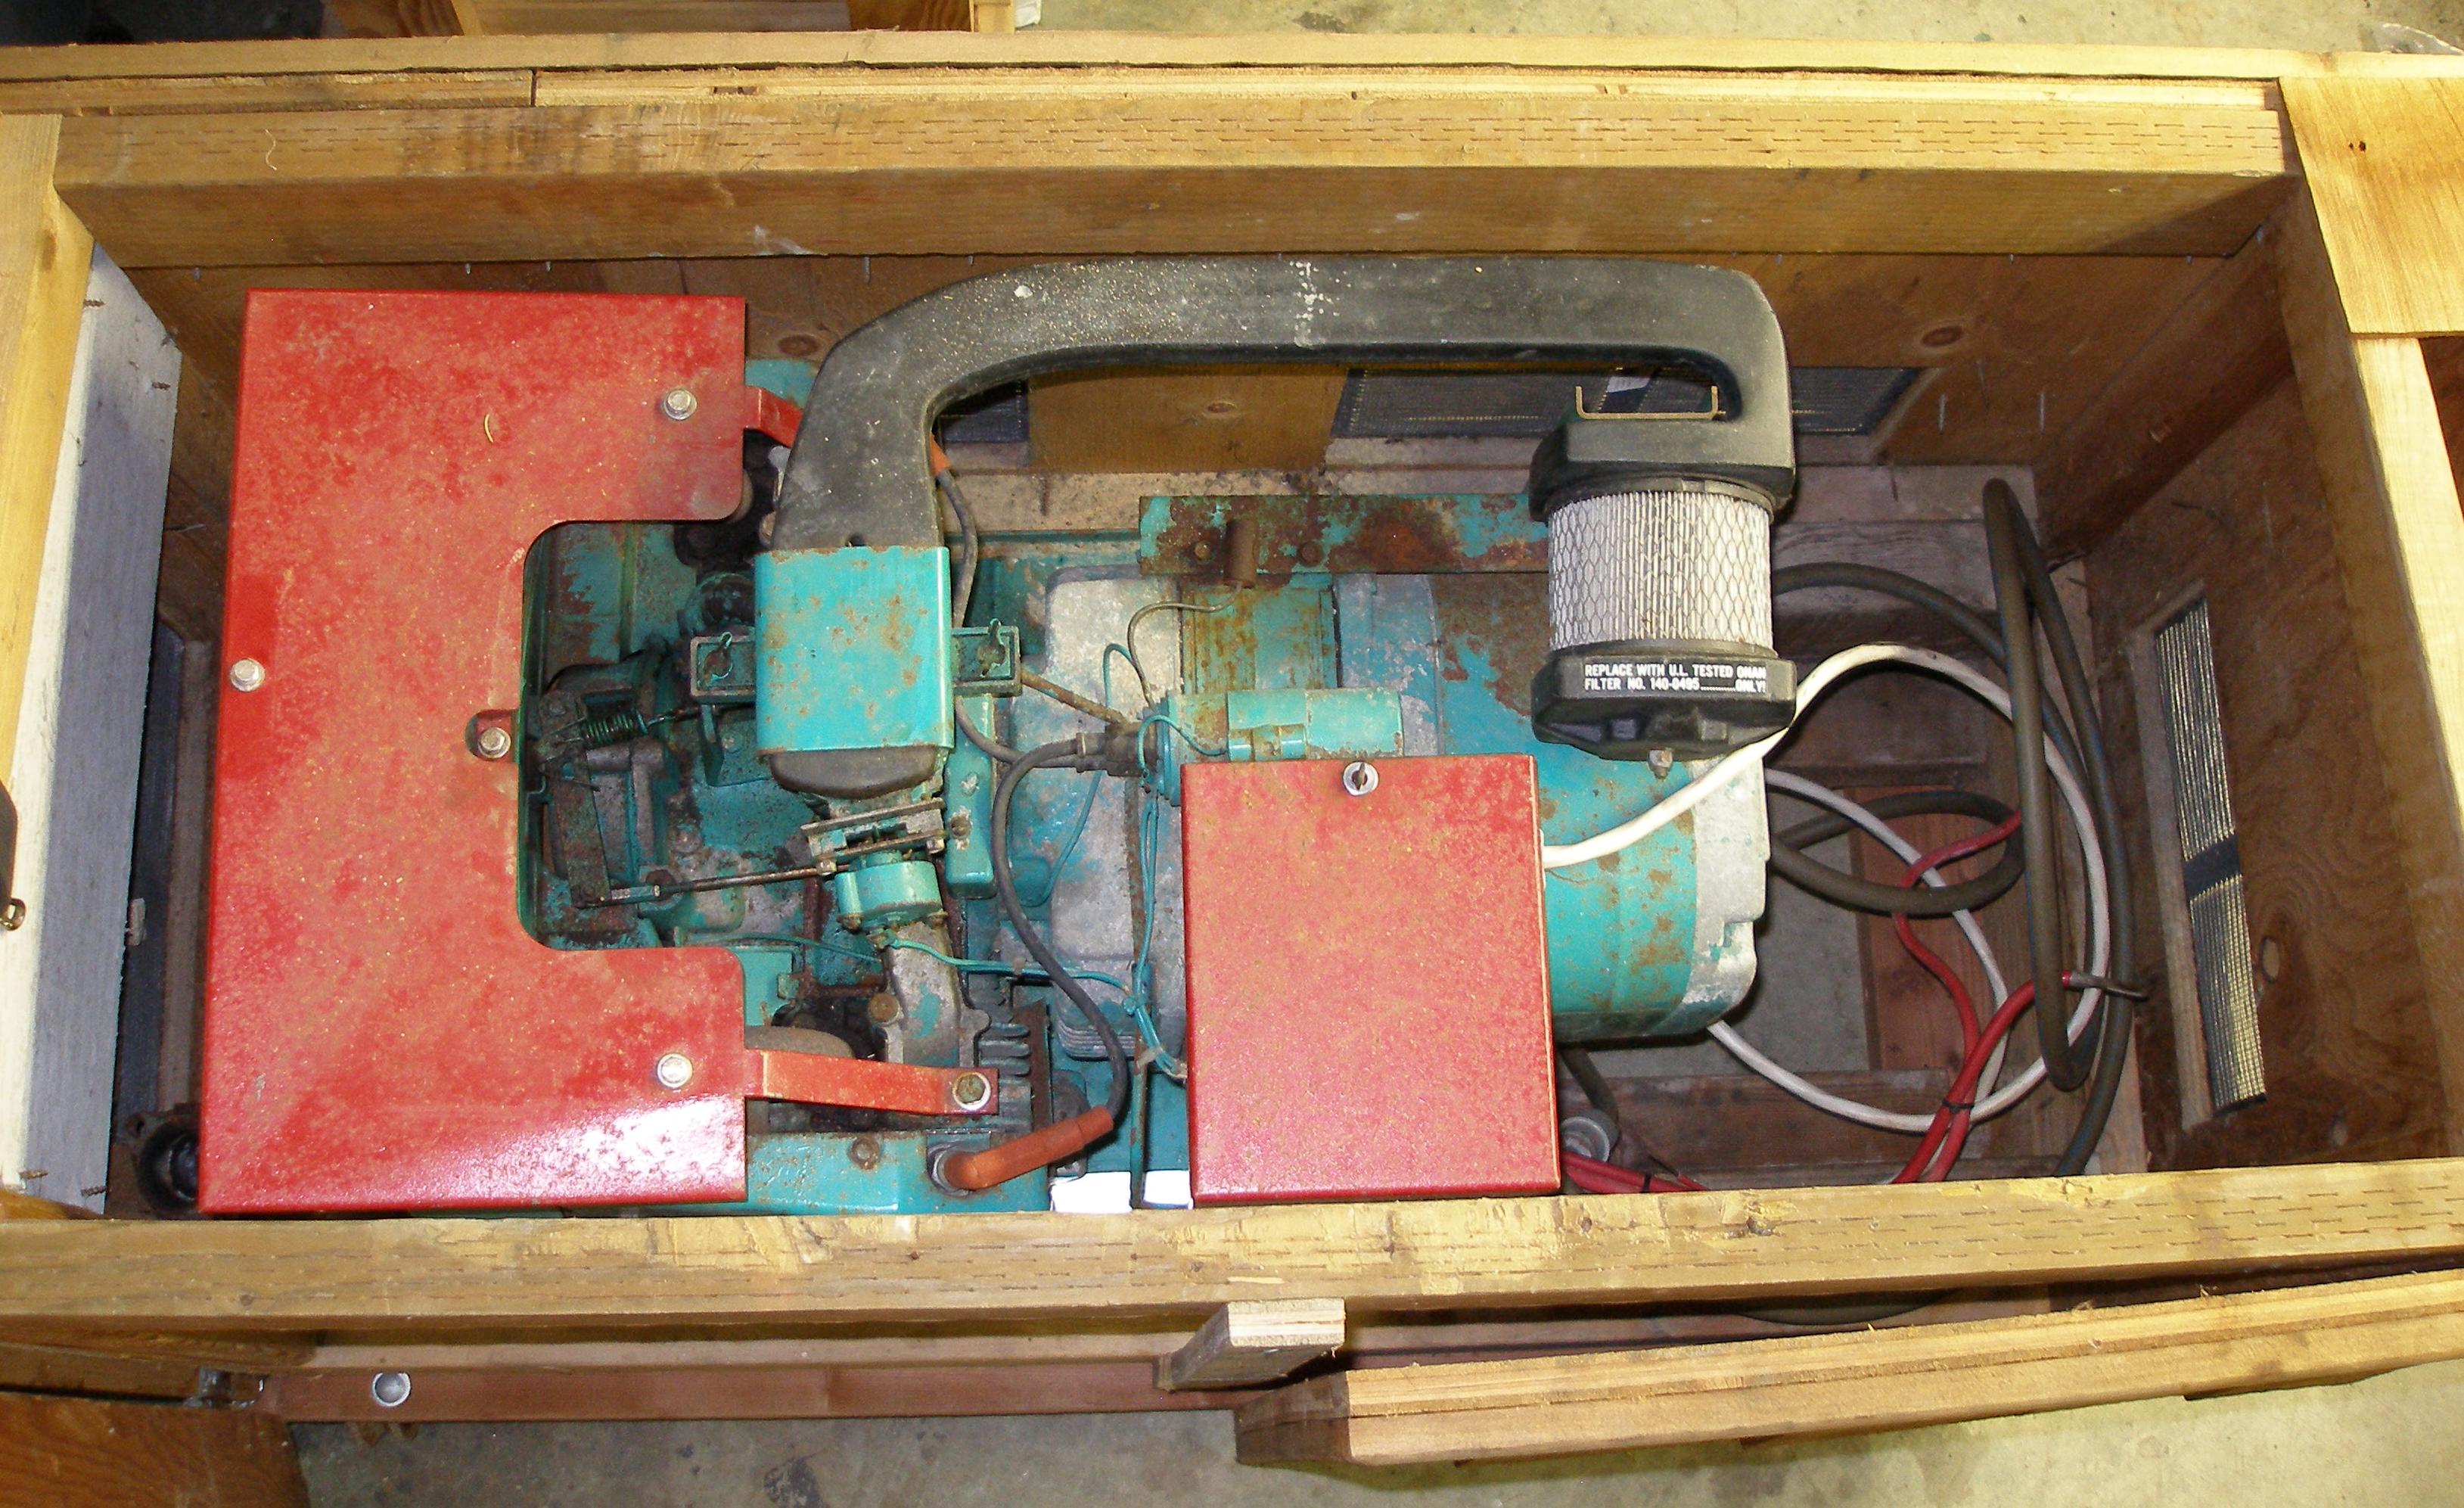
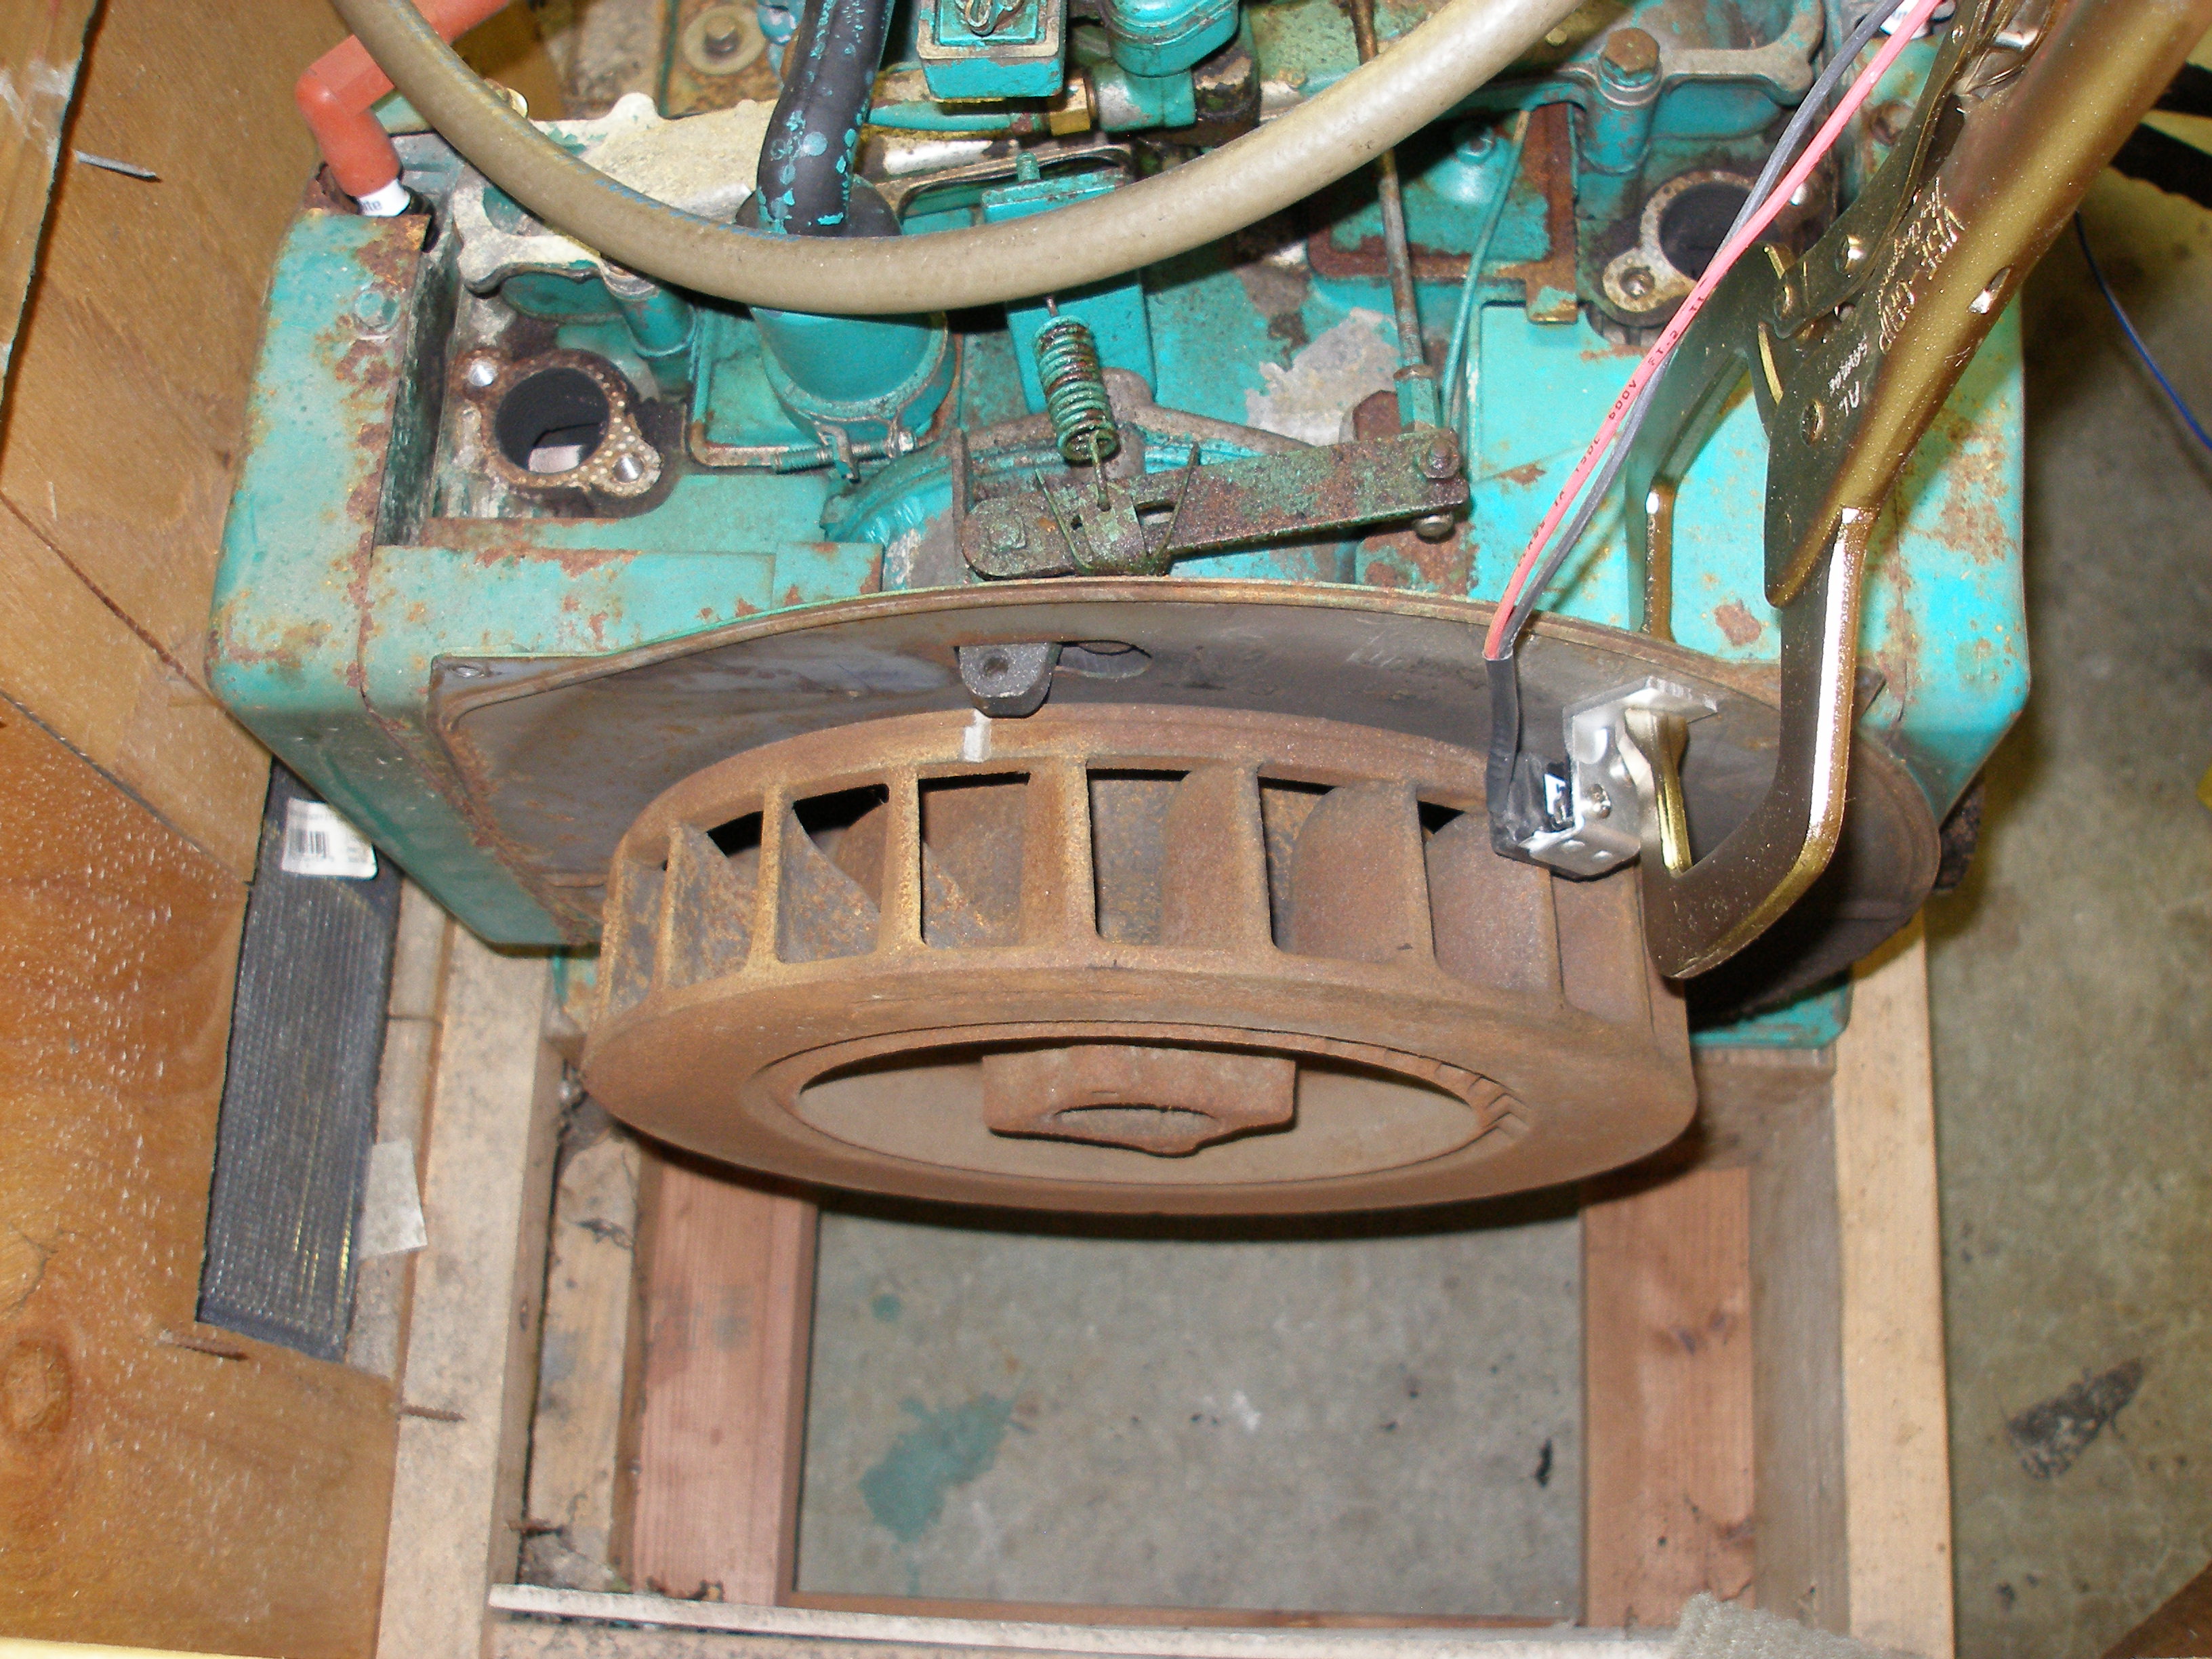
No mufflers; heat shields still installed.
Heat shields off.
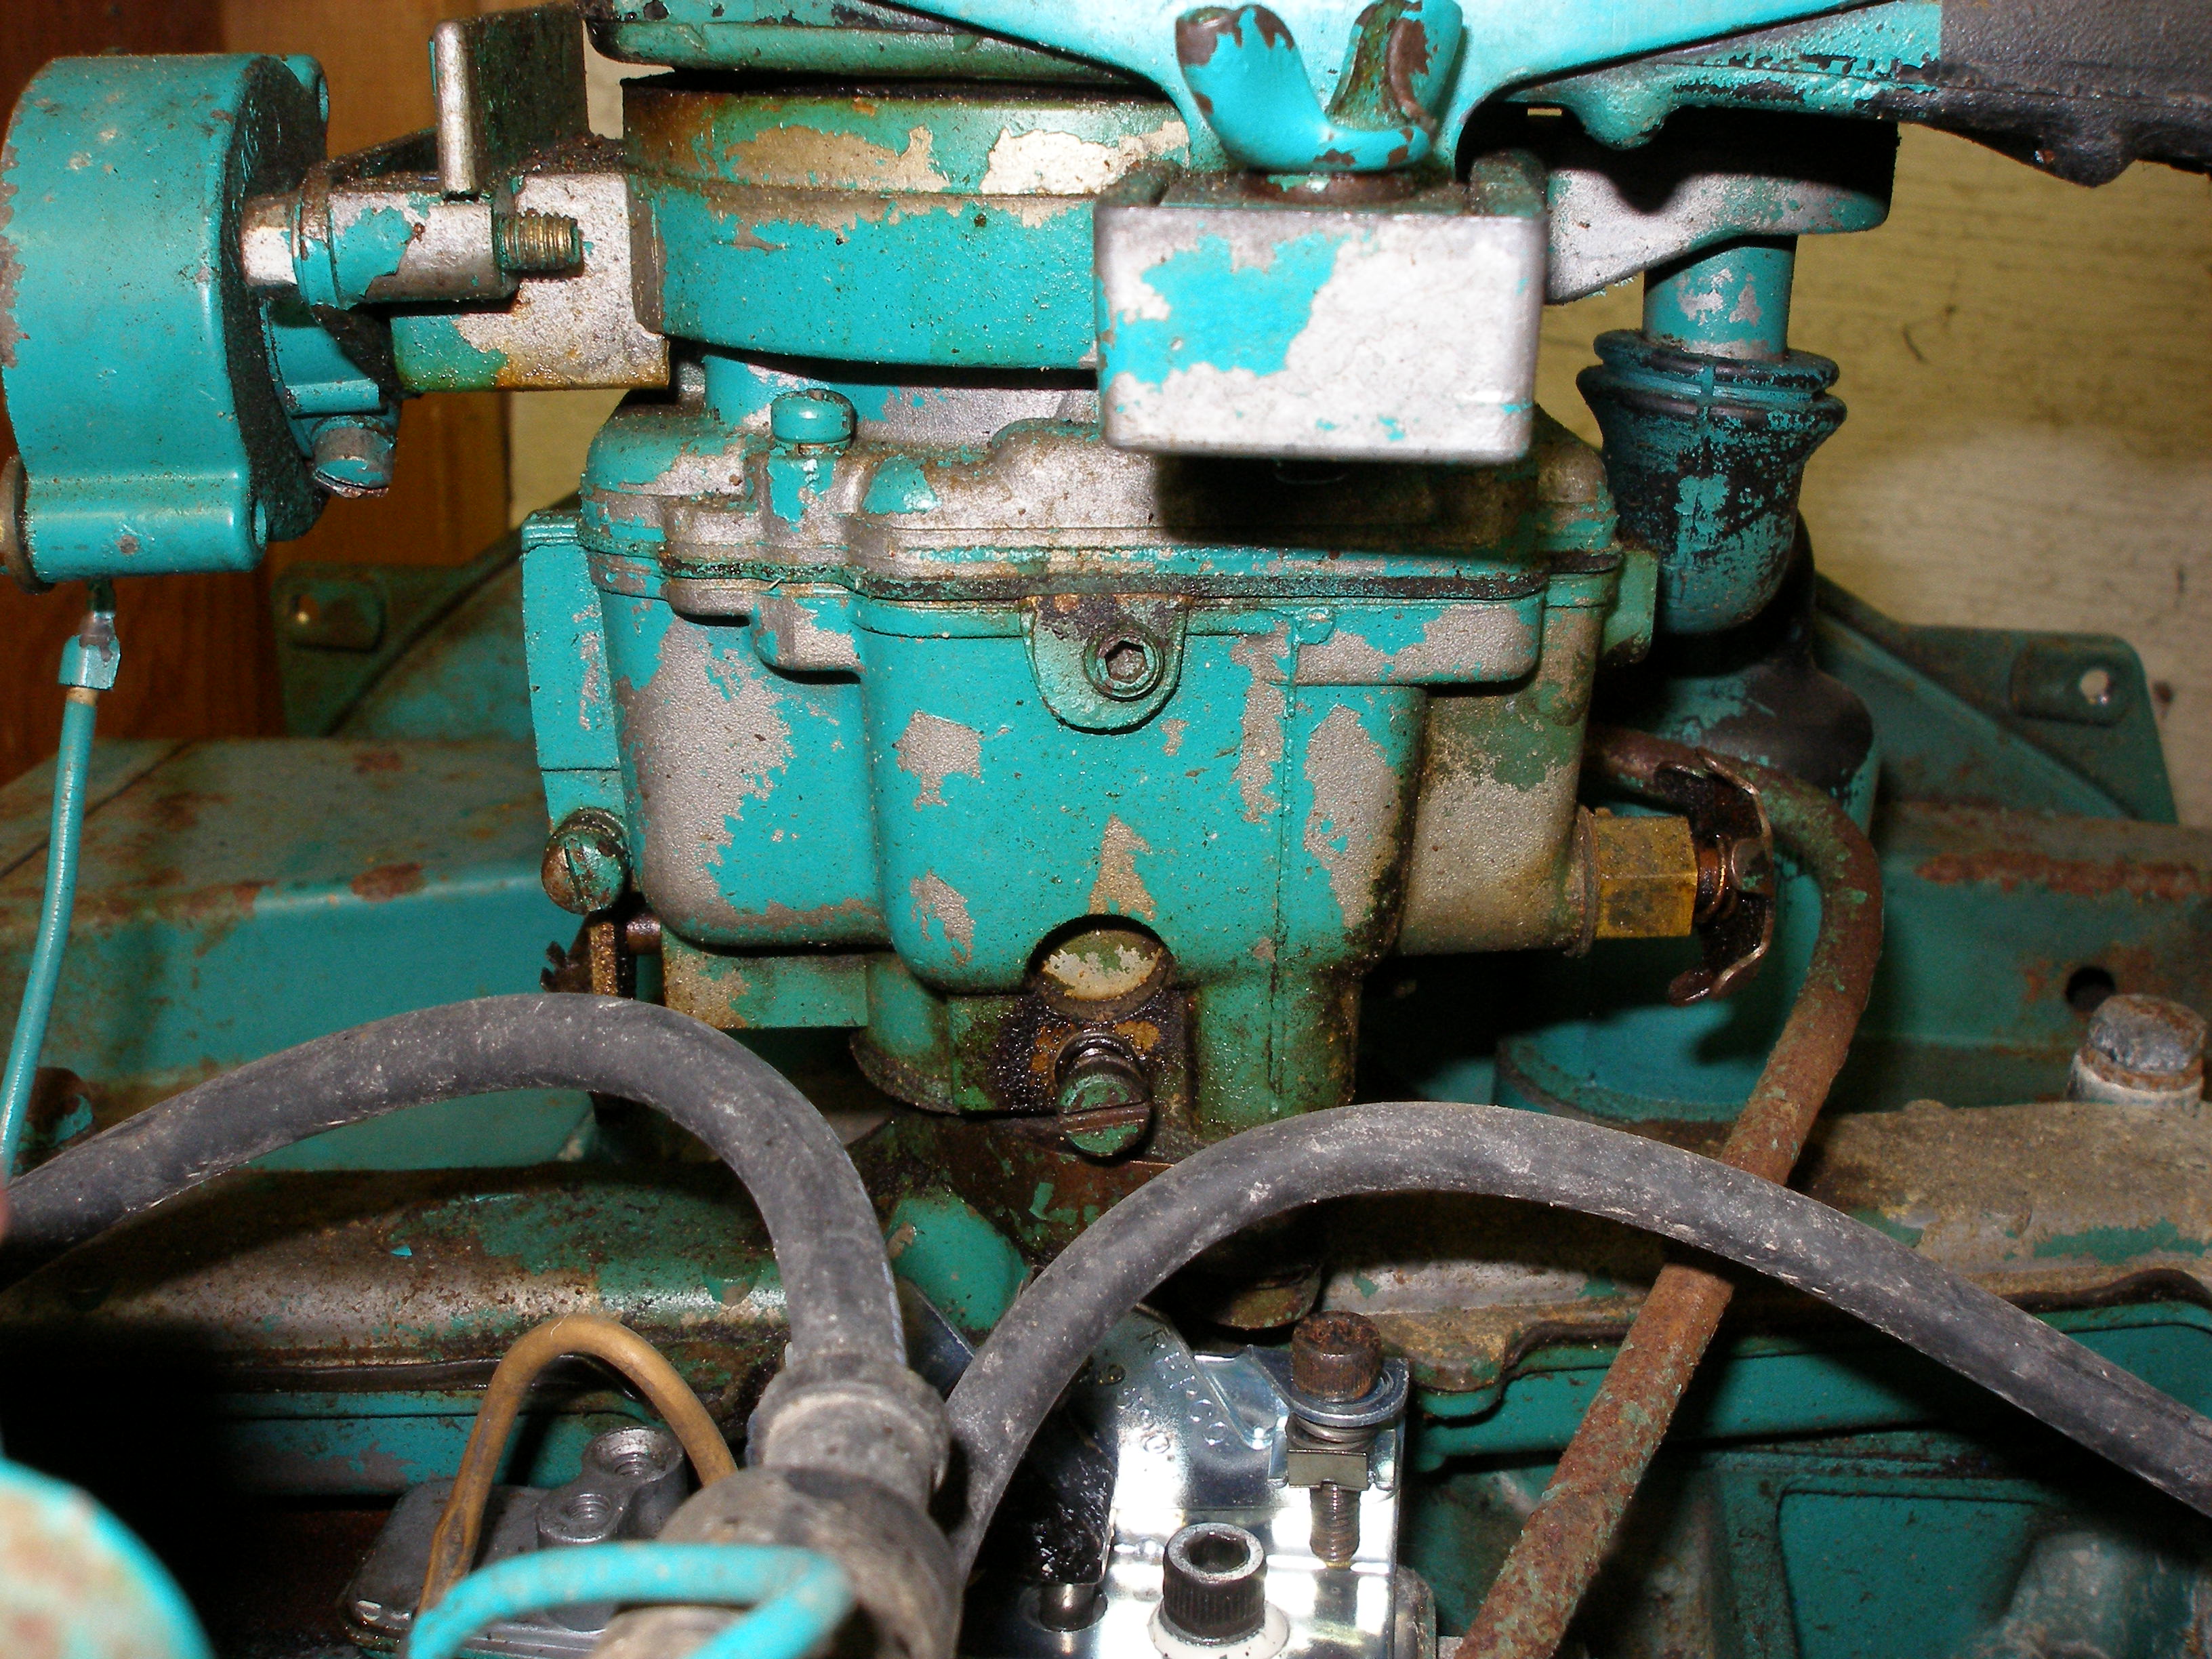
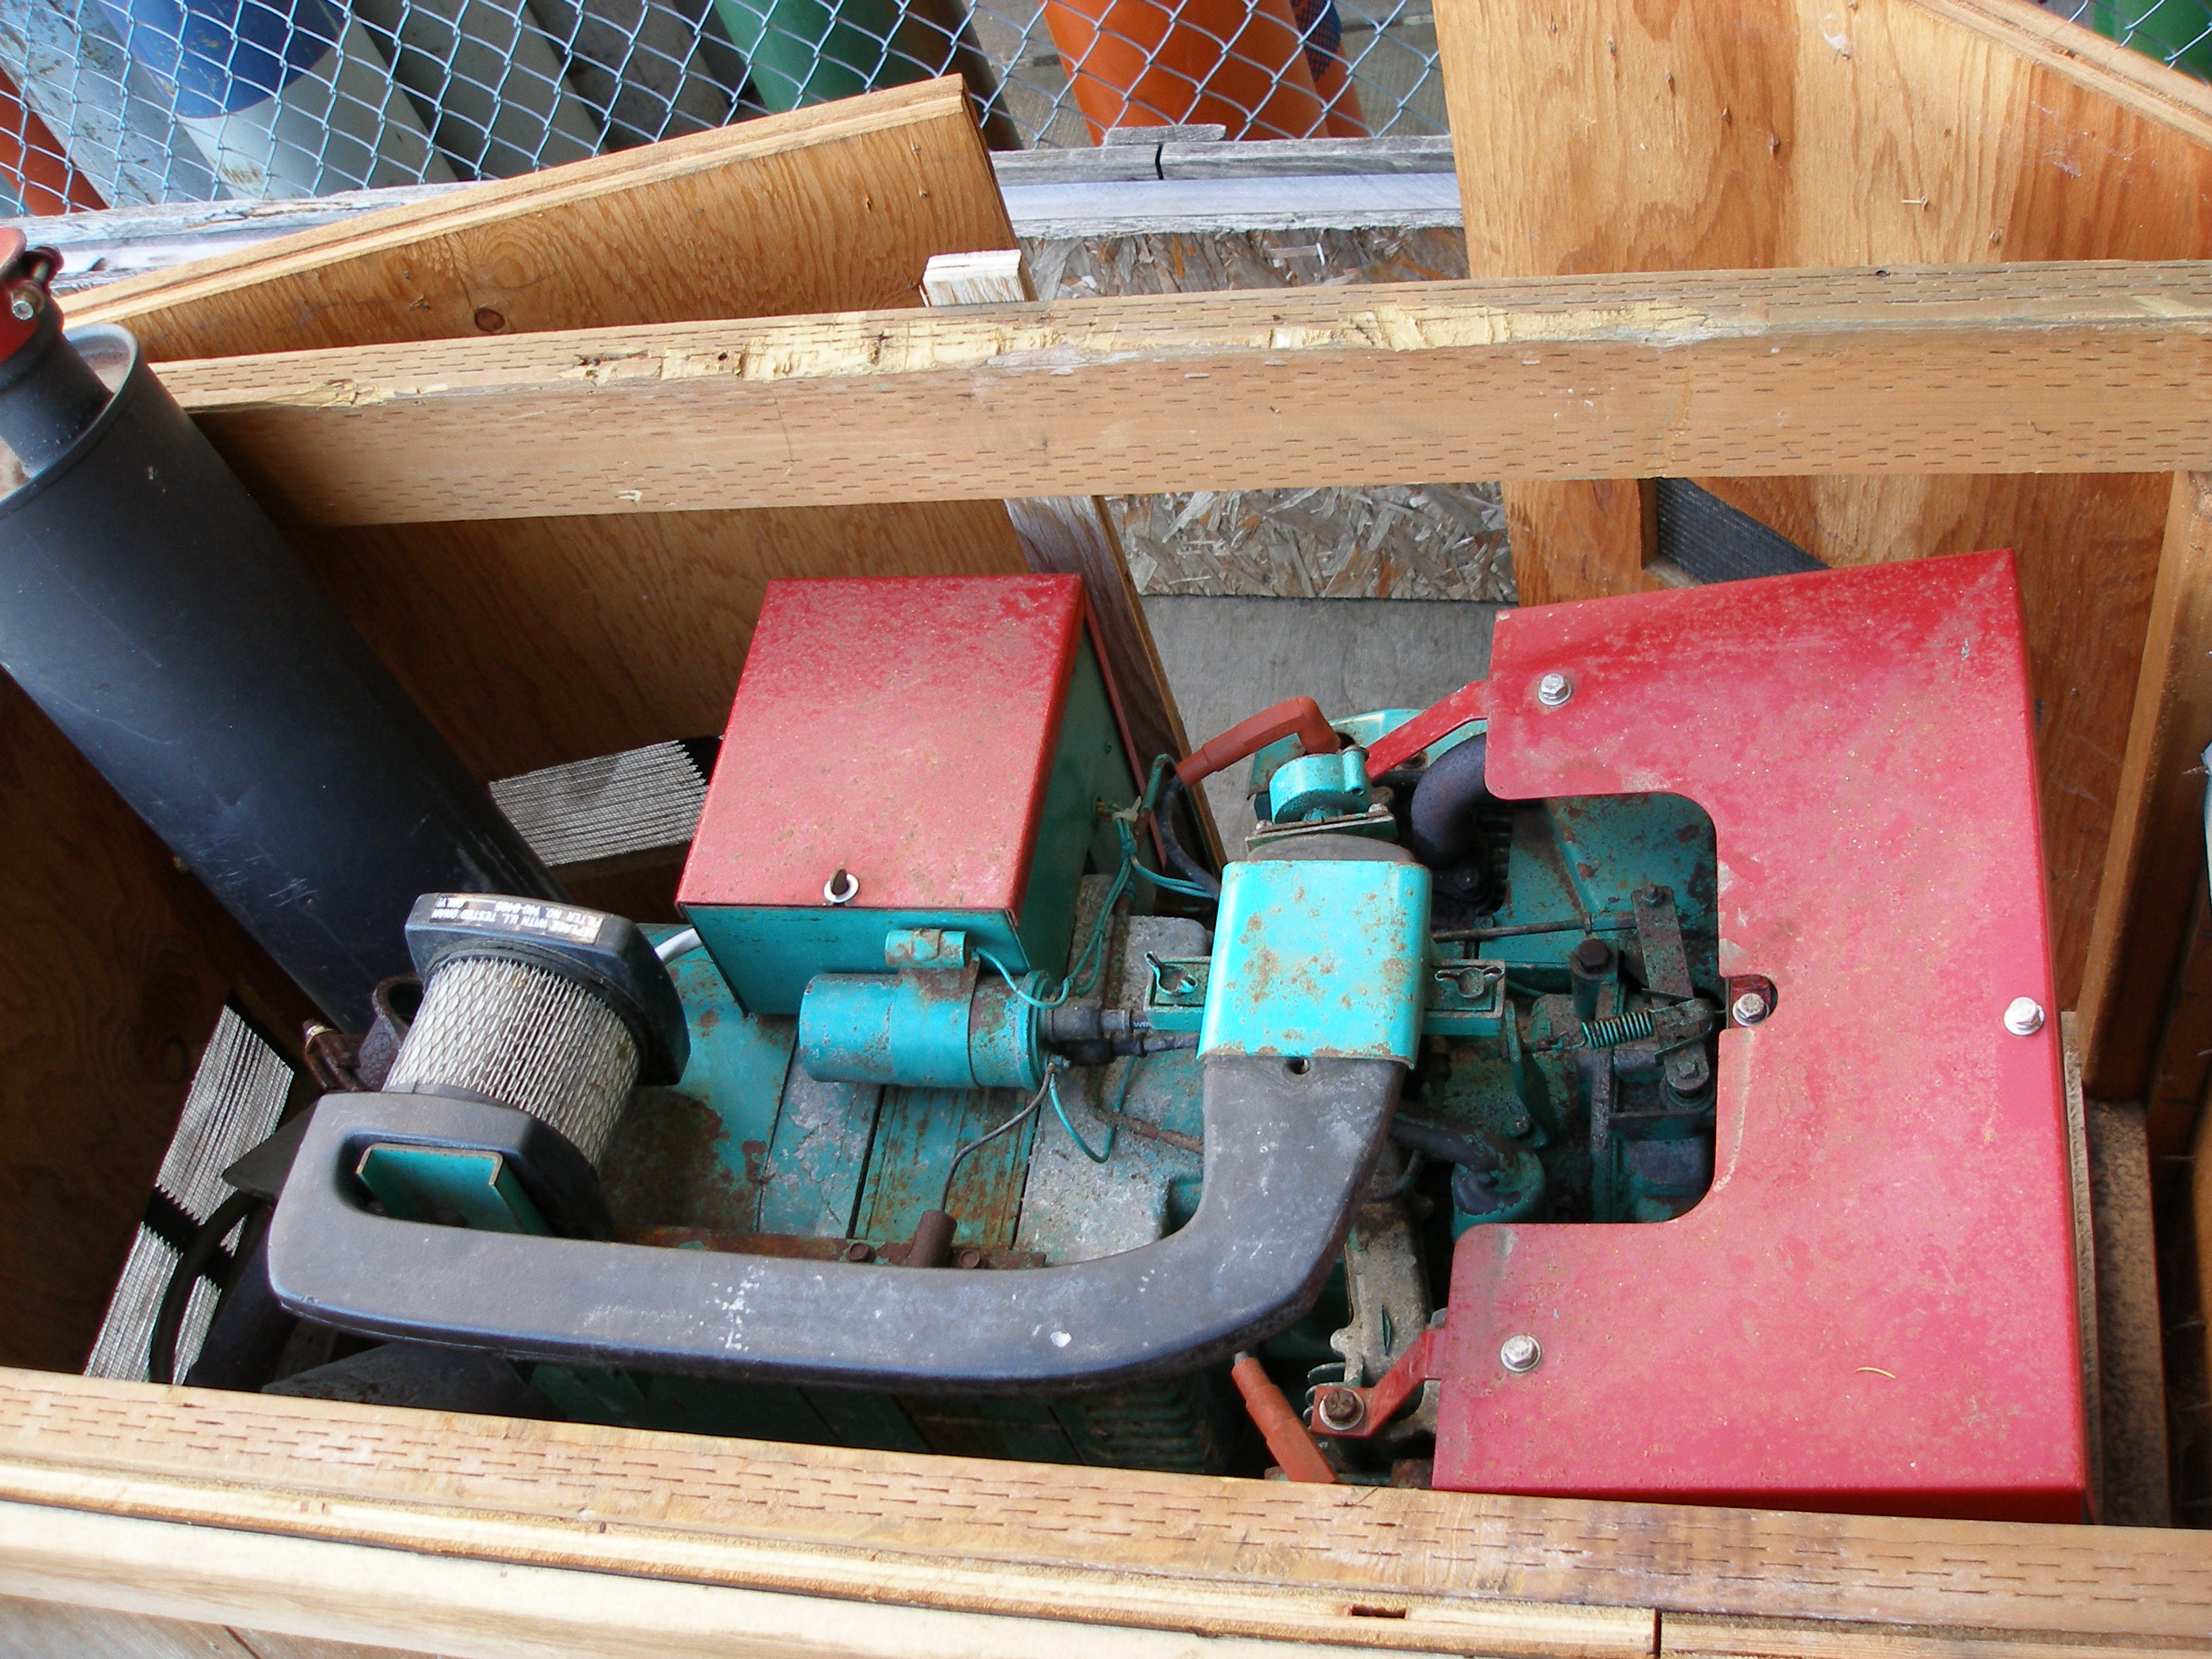
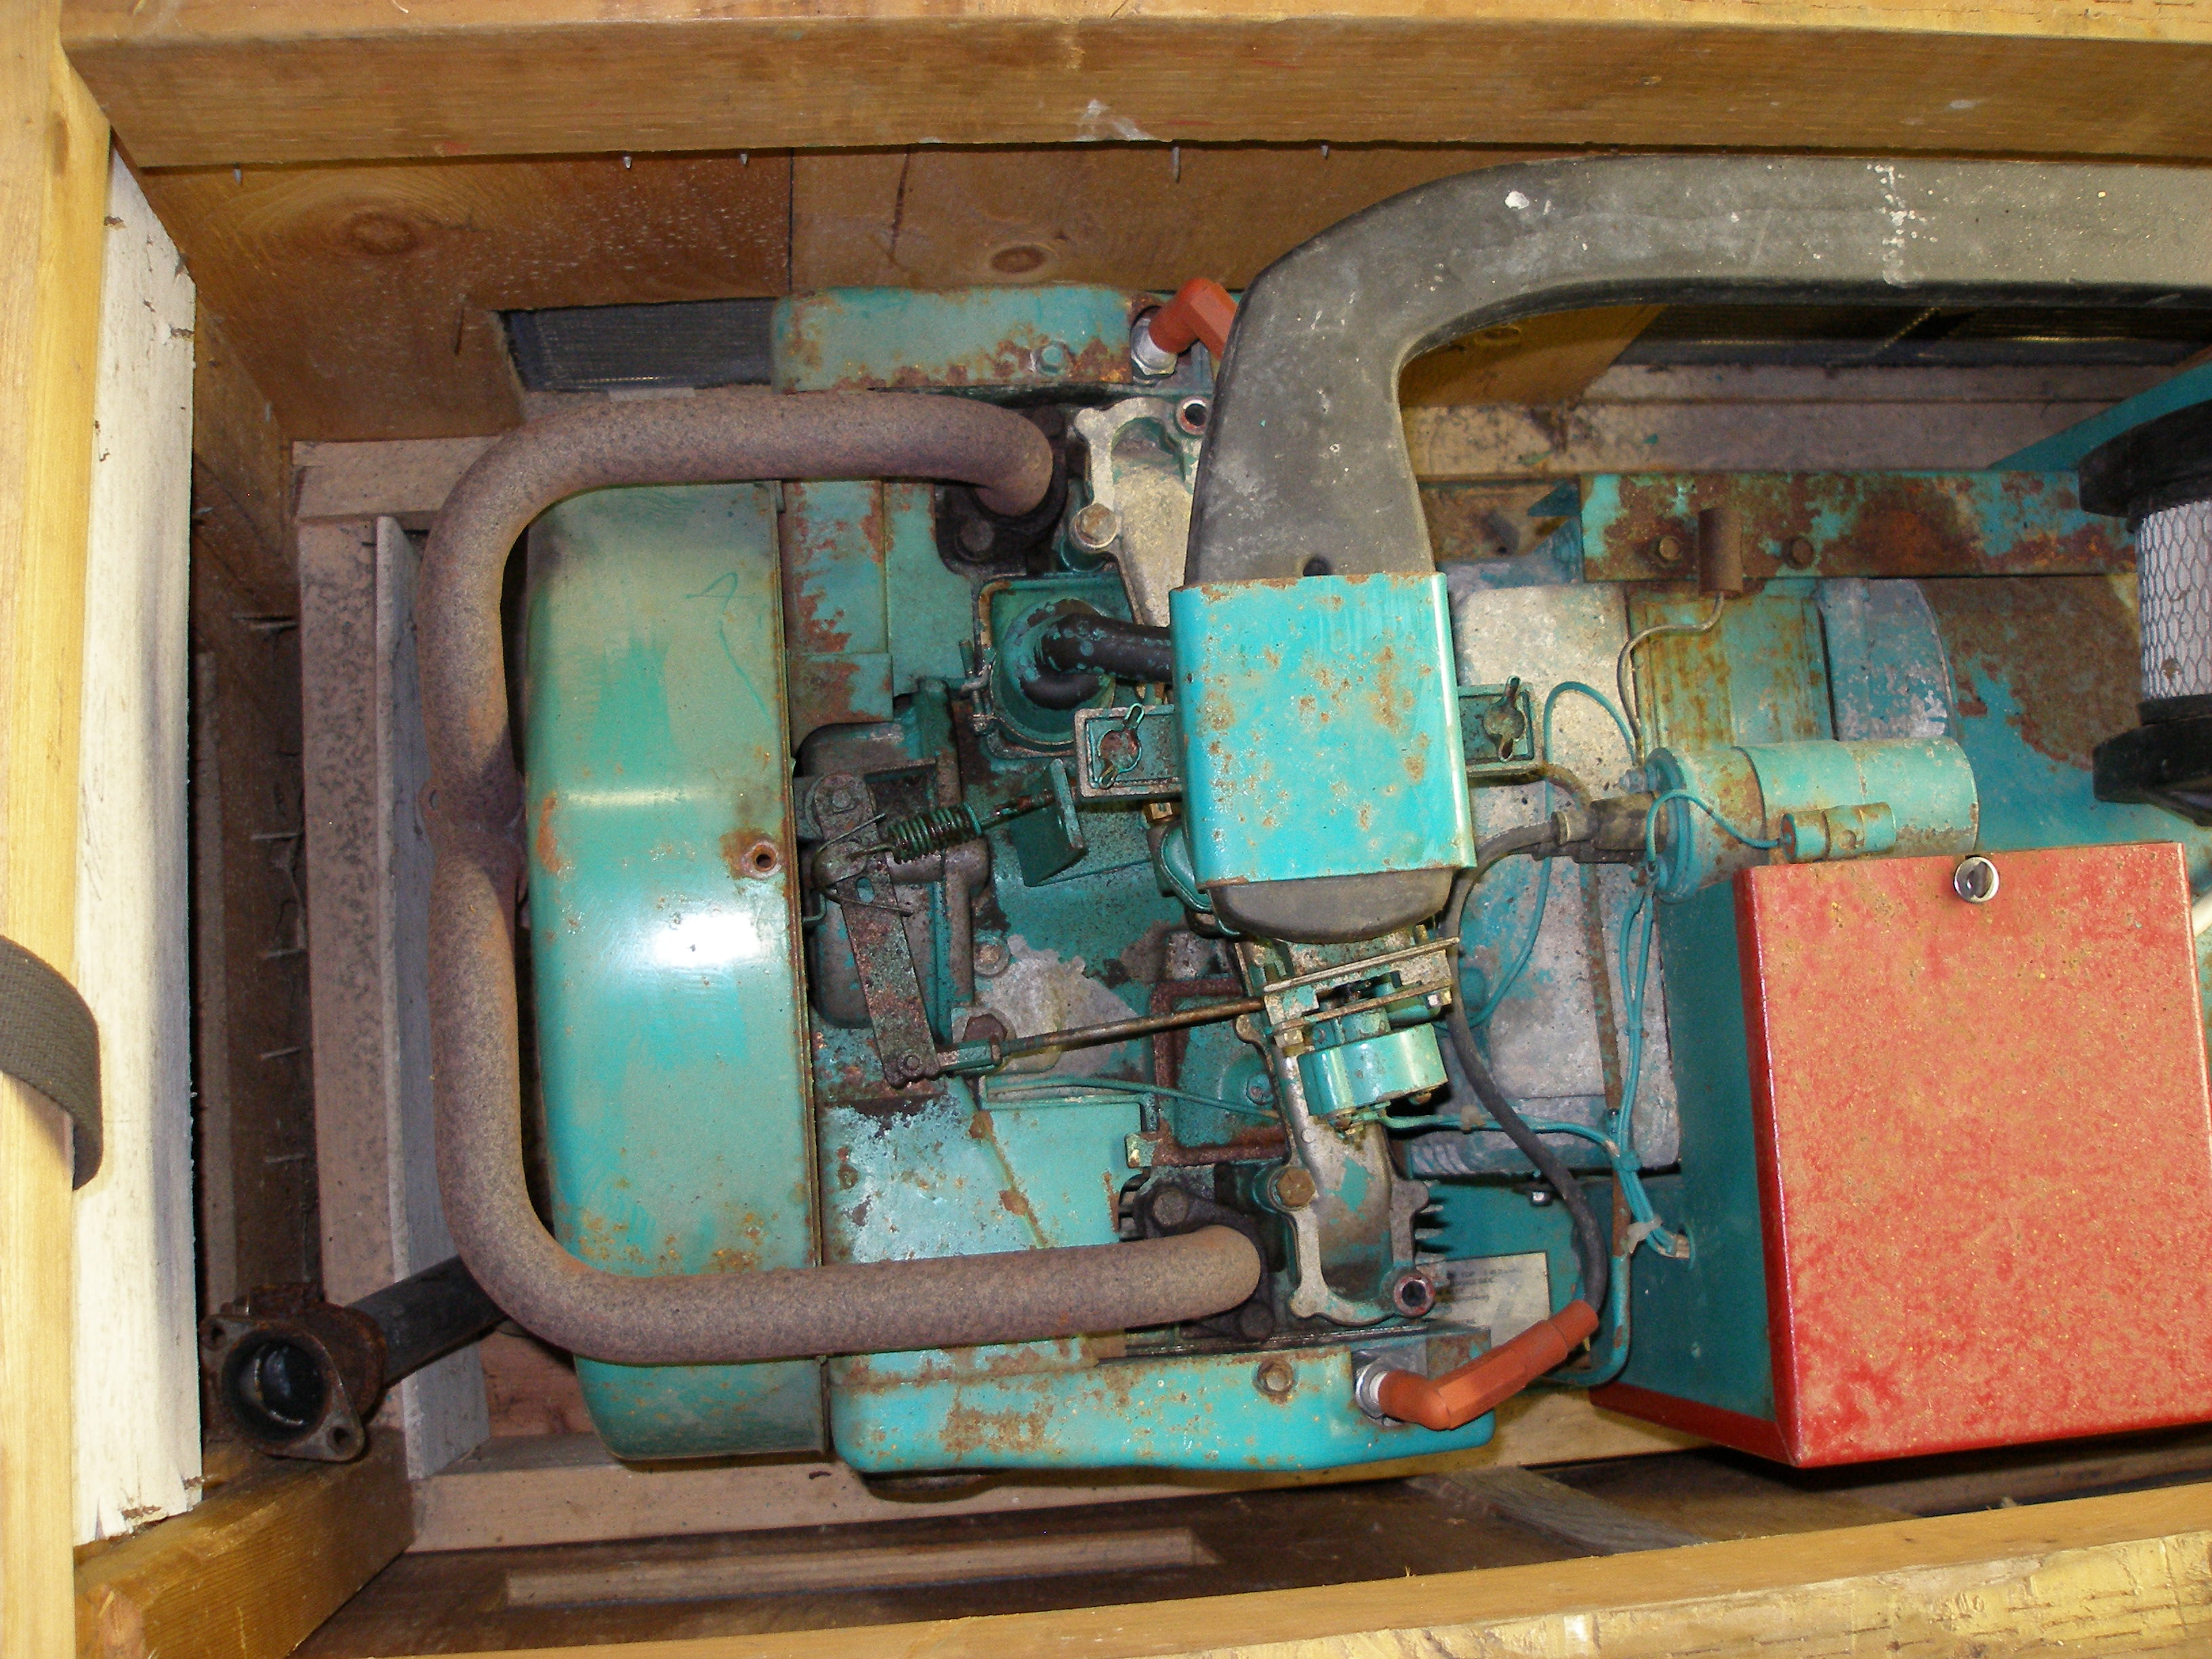
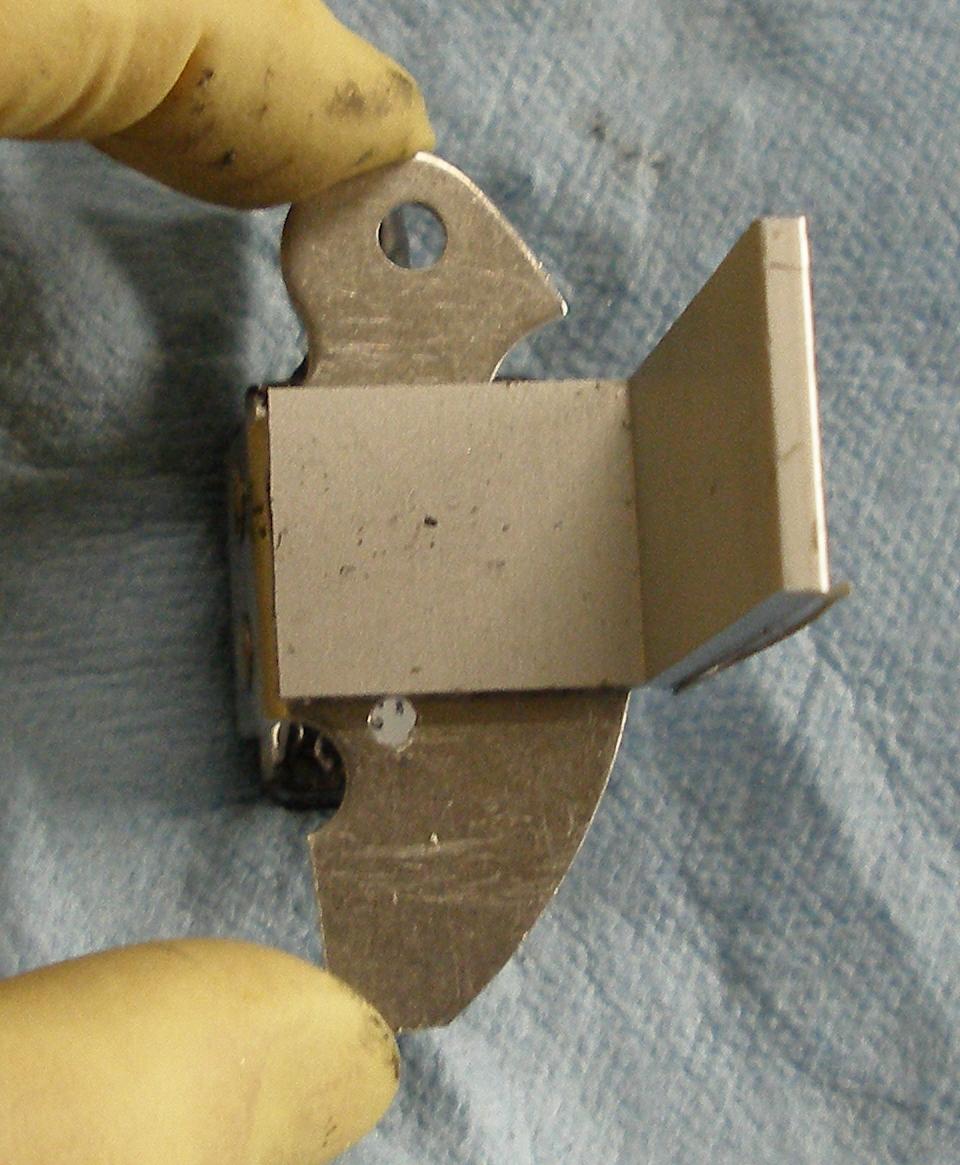
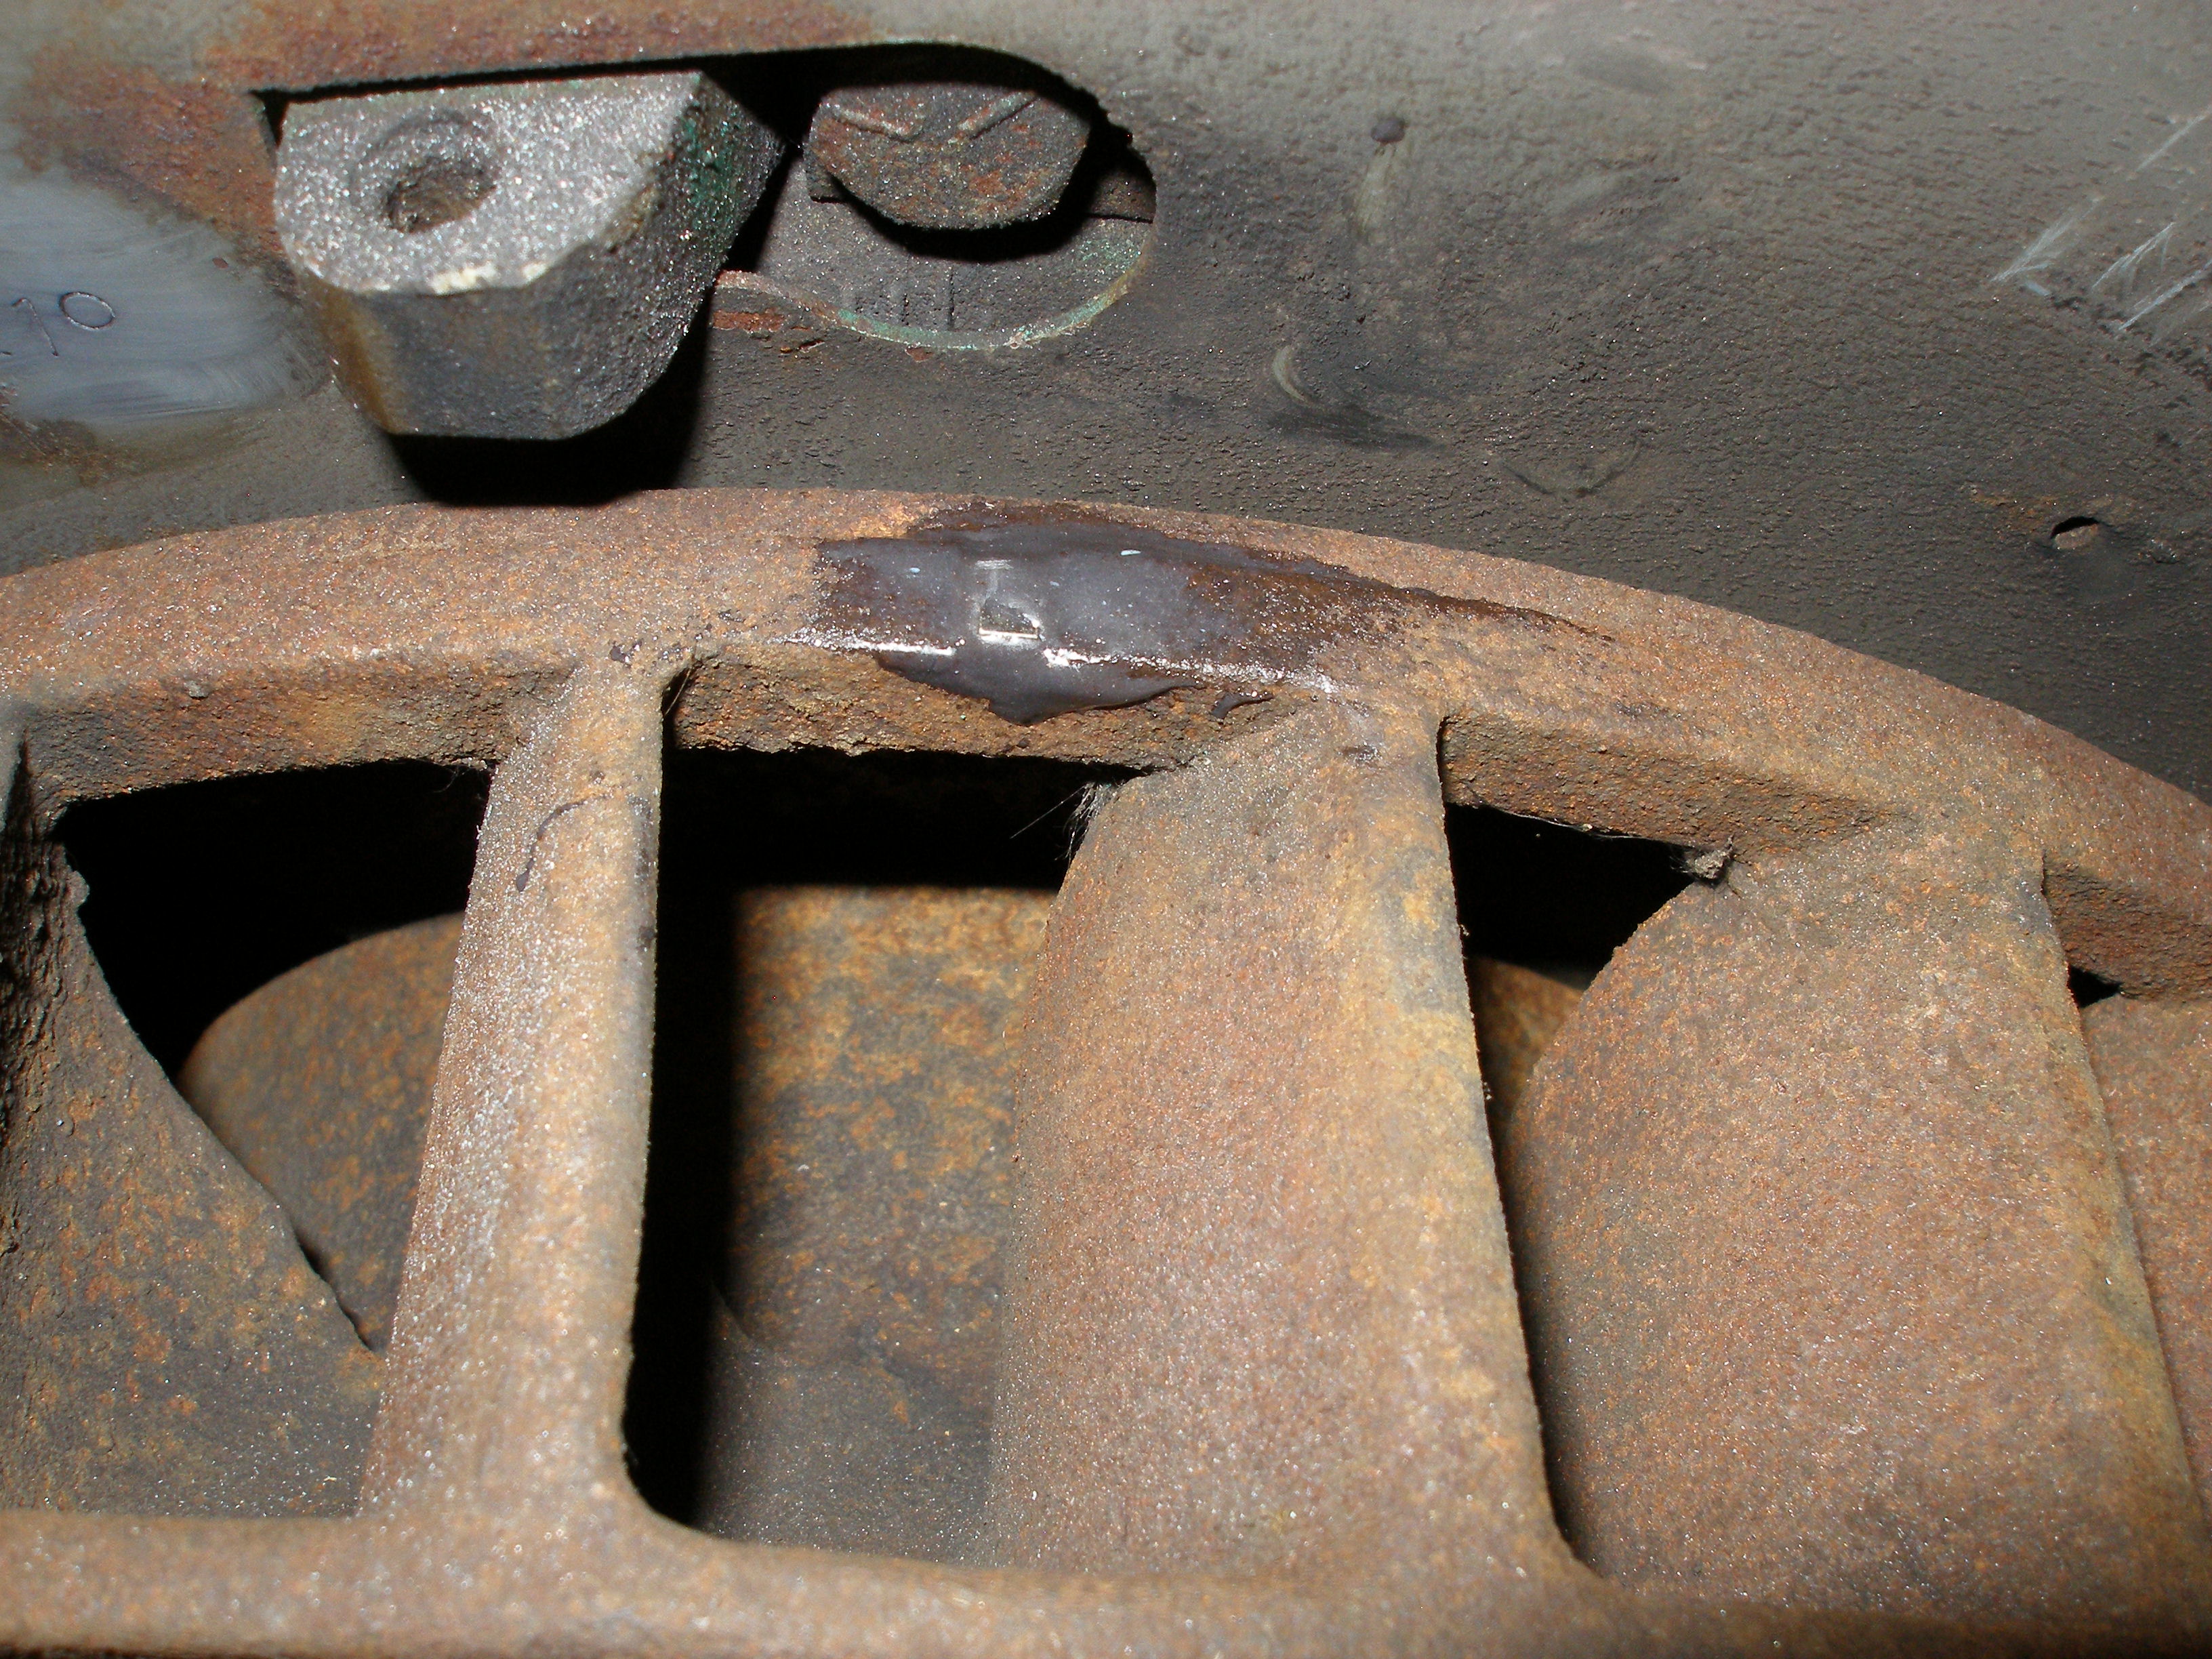
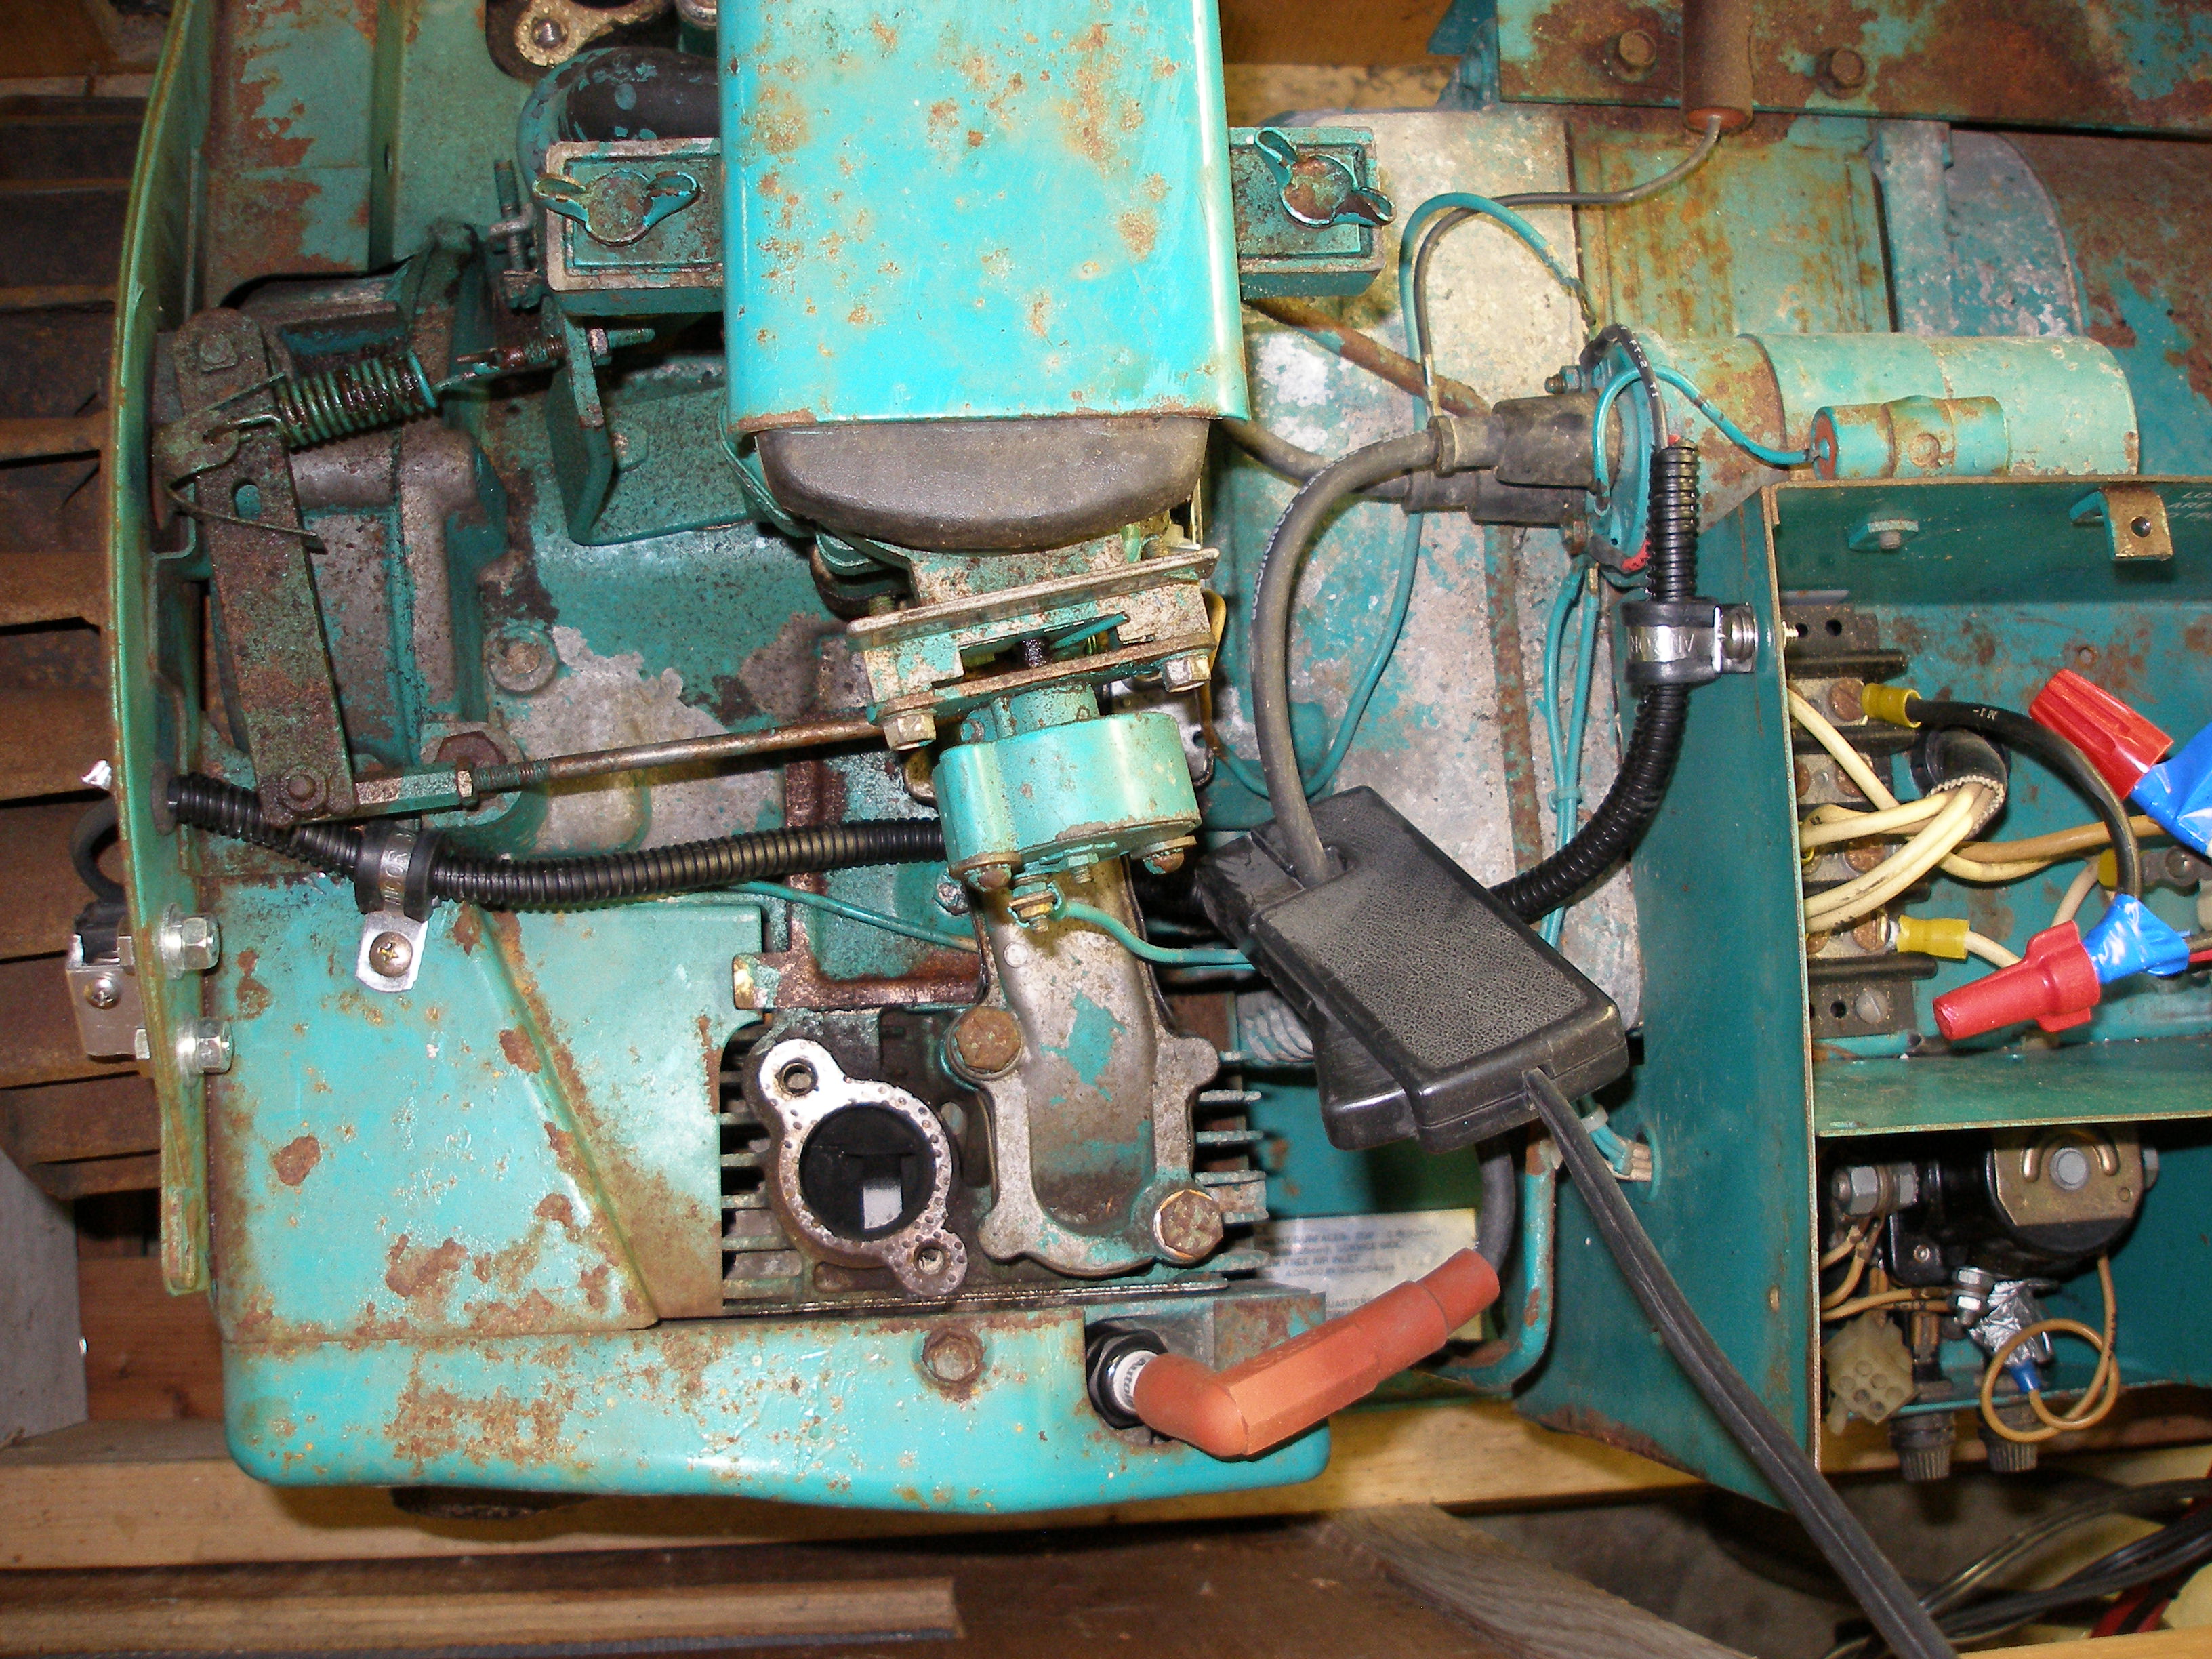
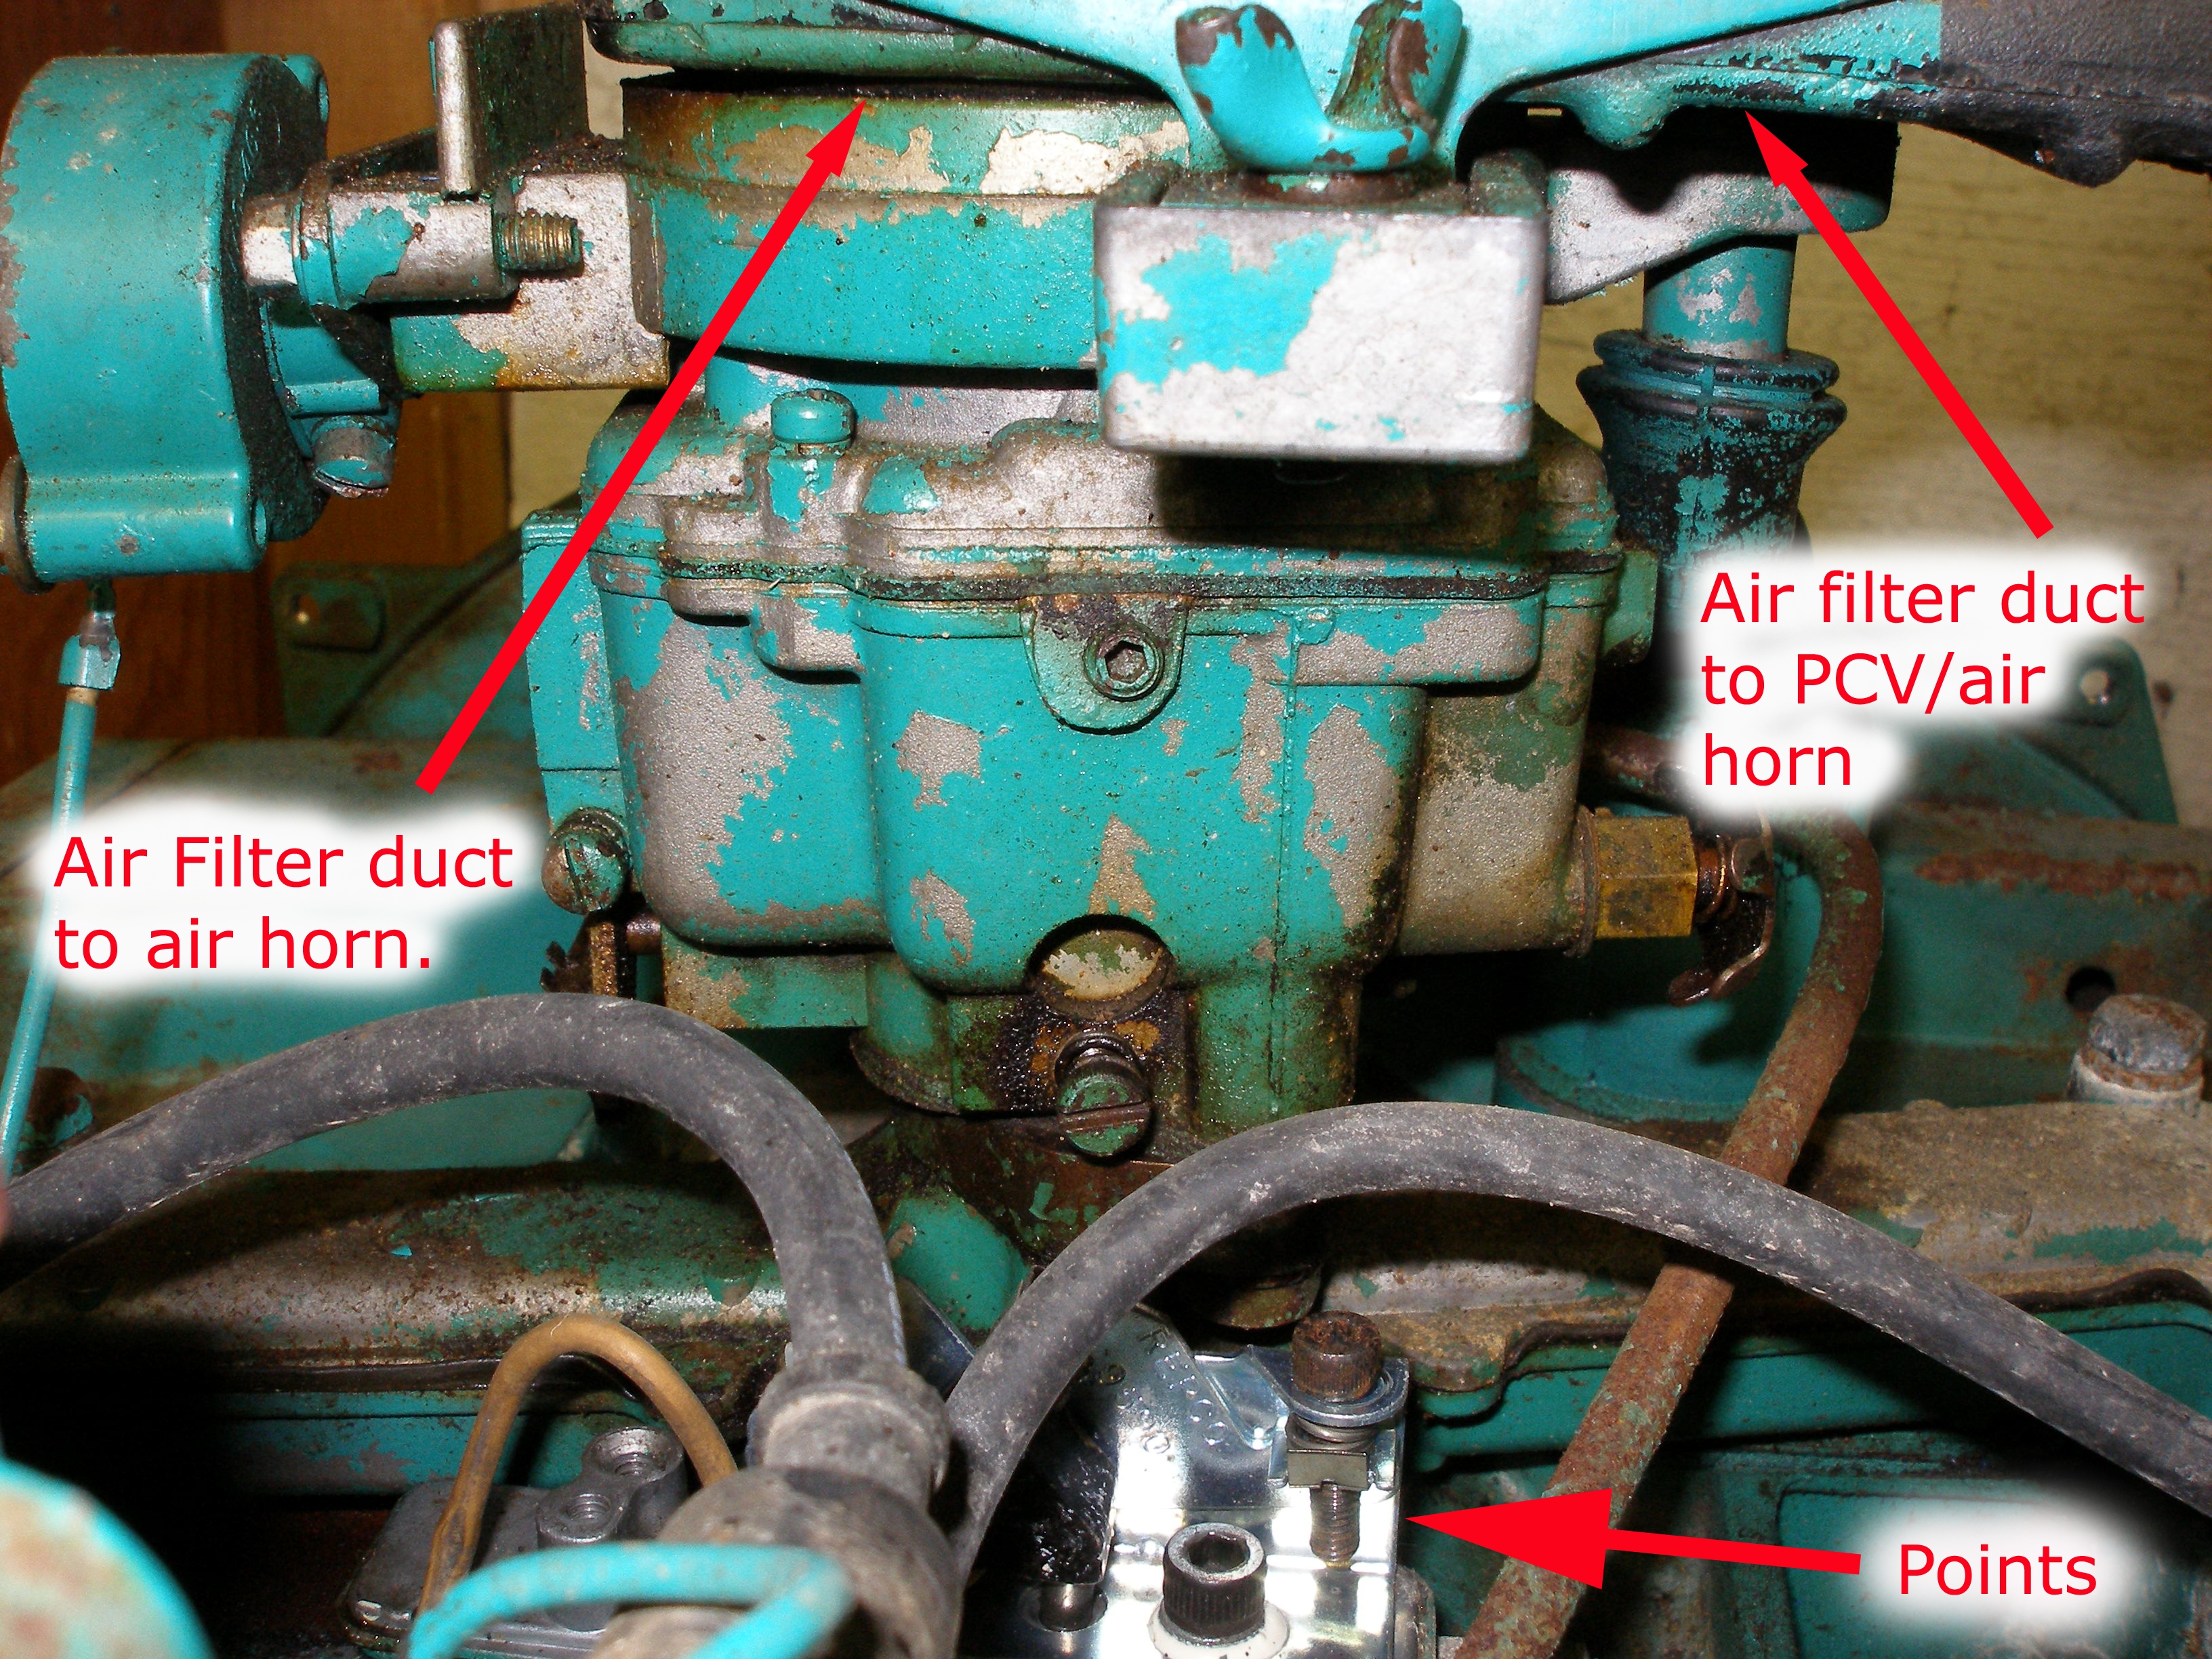
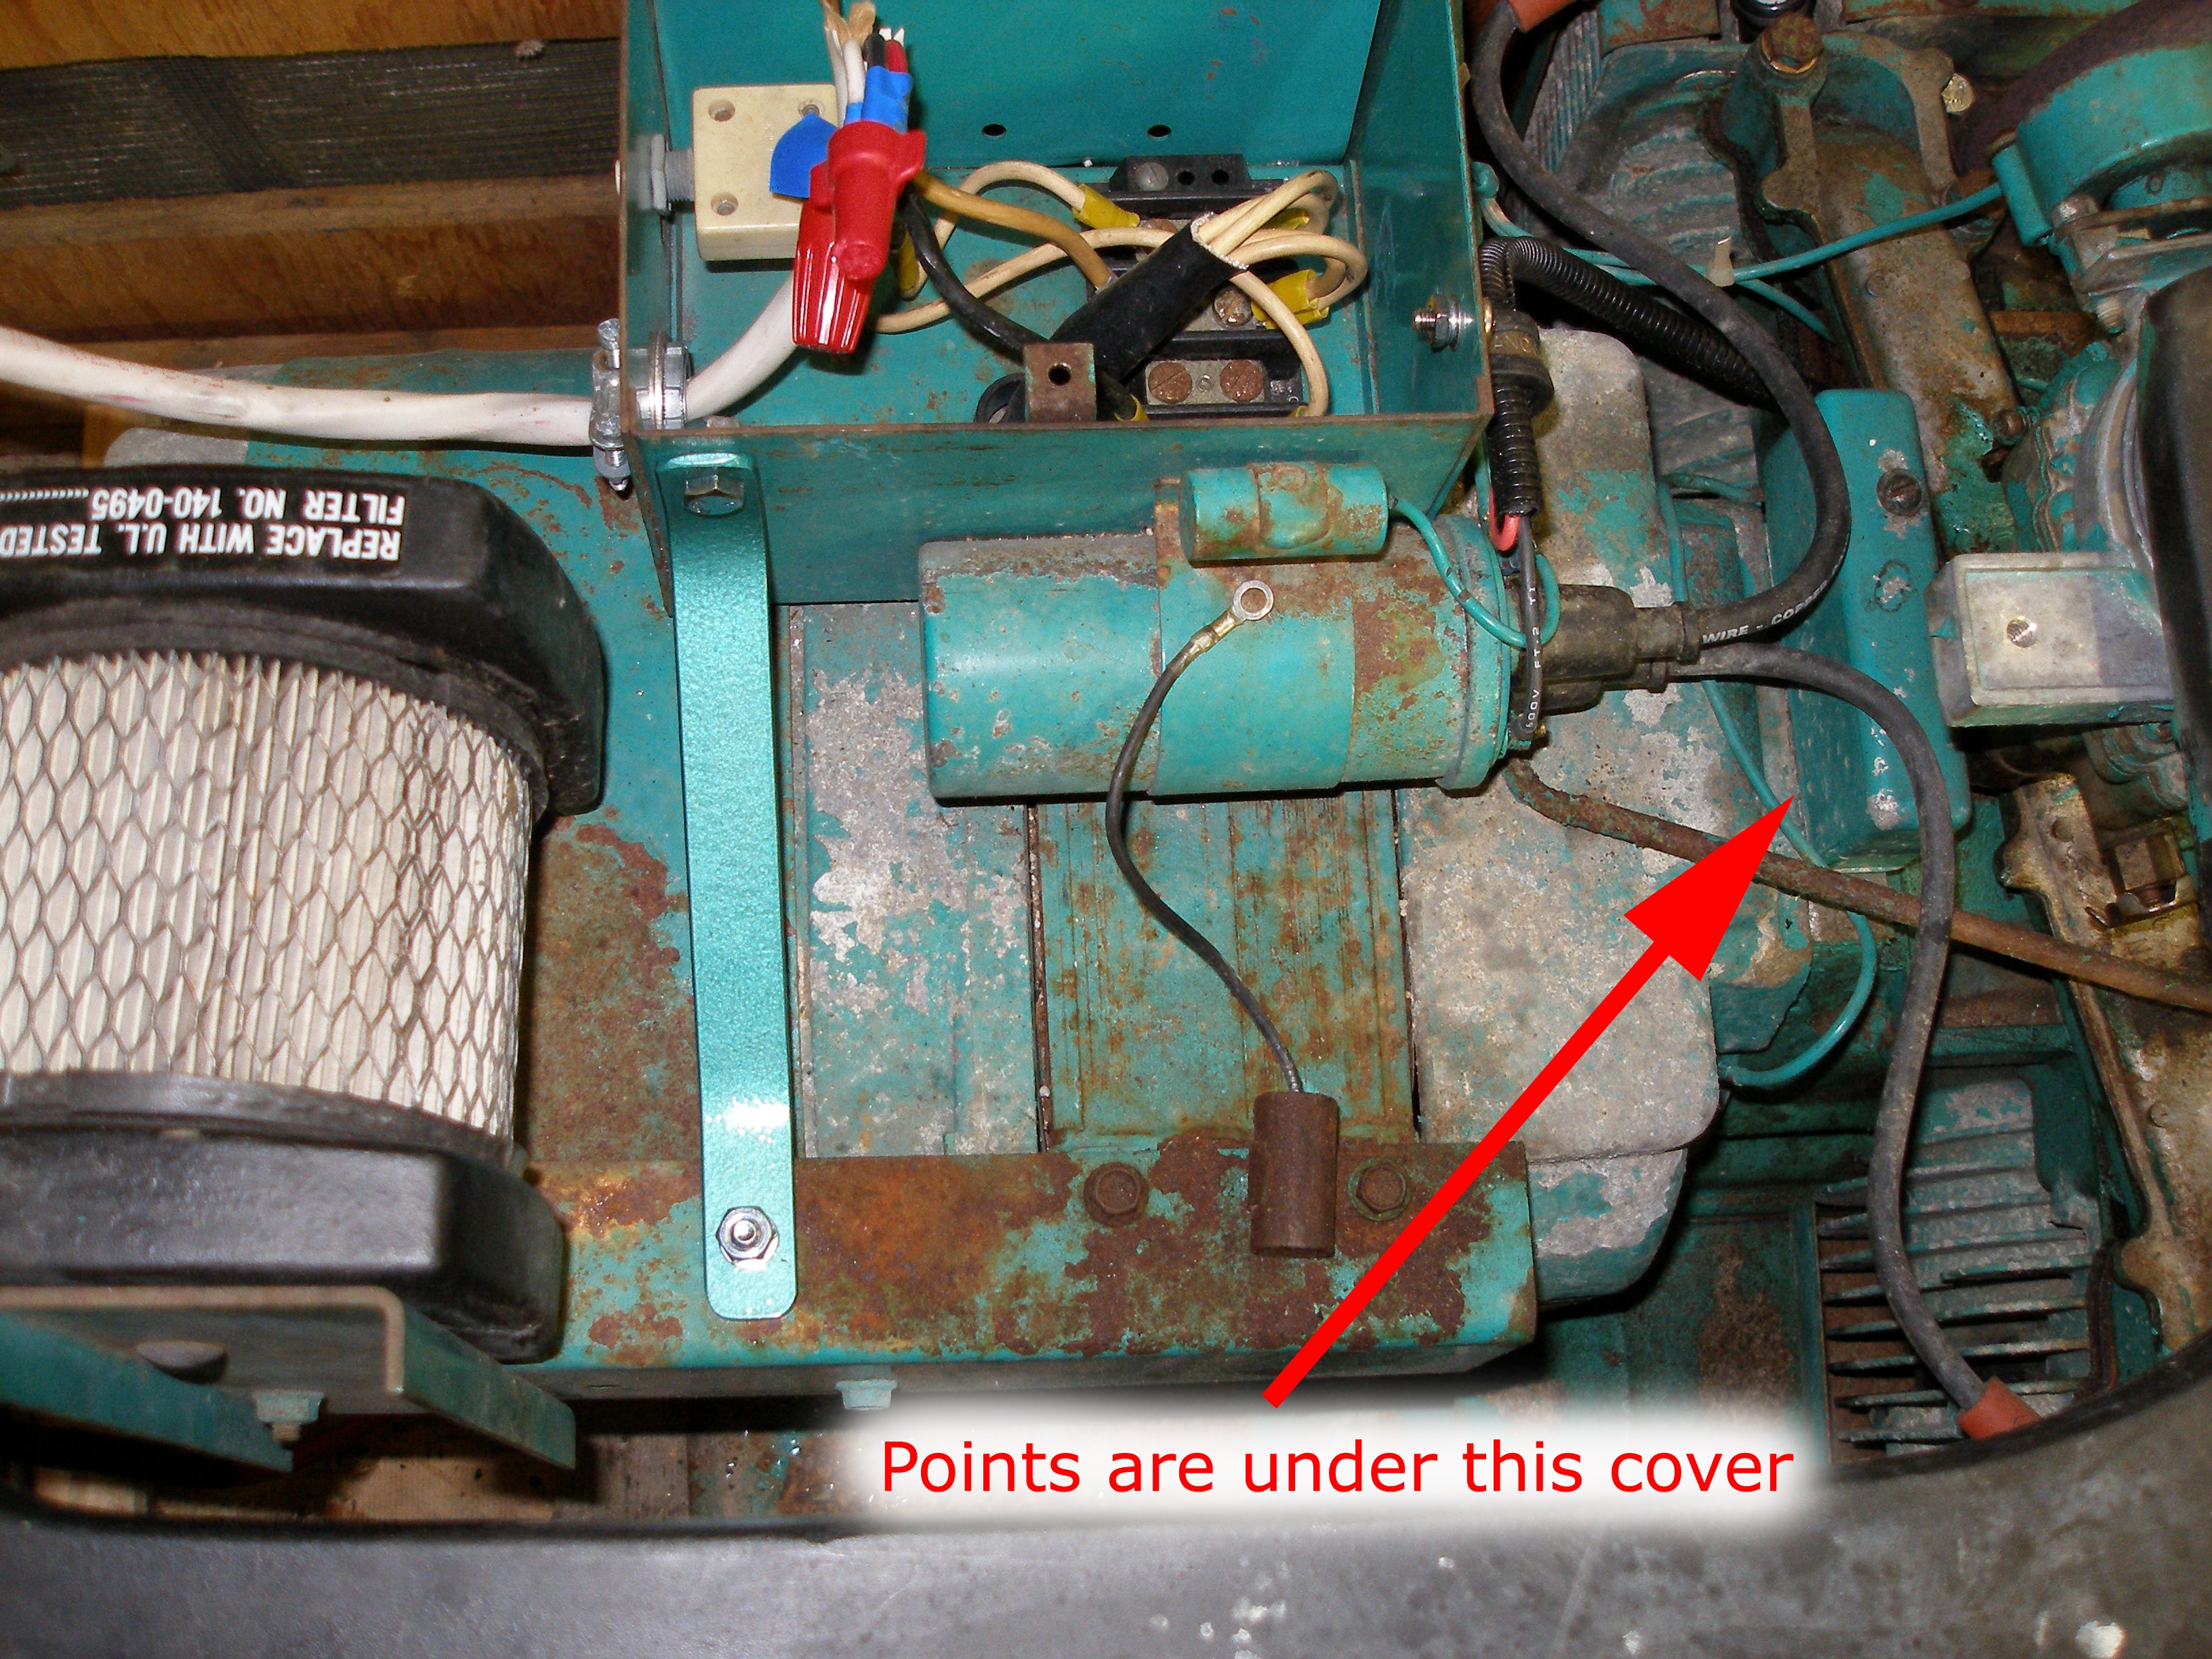
Carb, with points box below it (points cover removed).
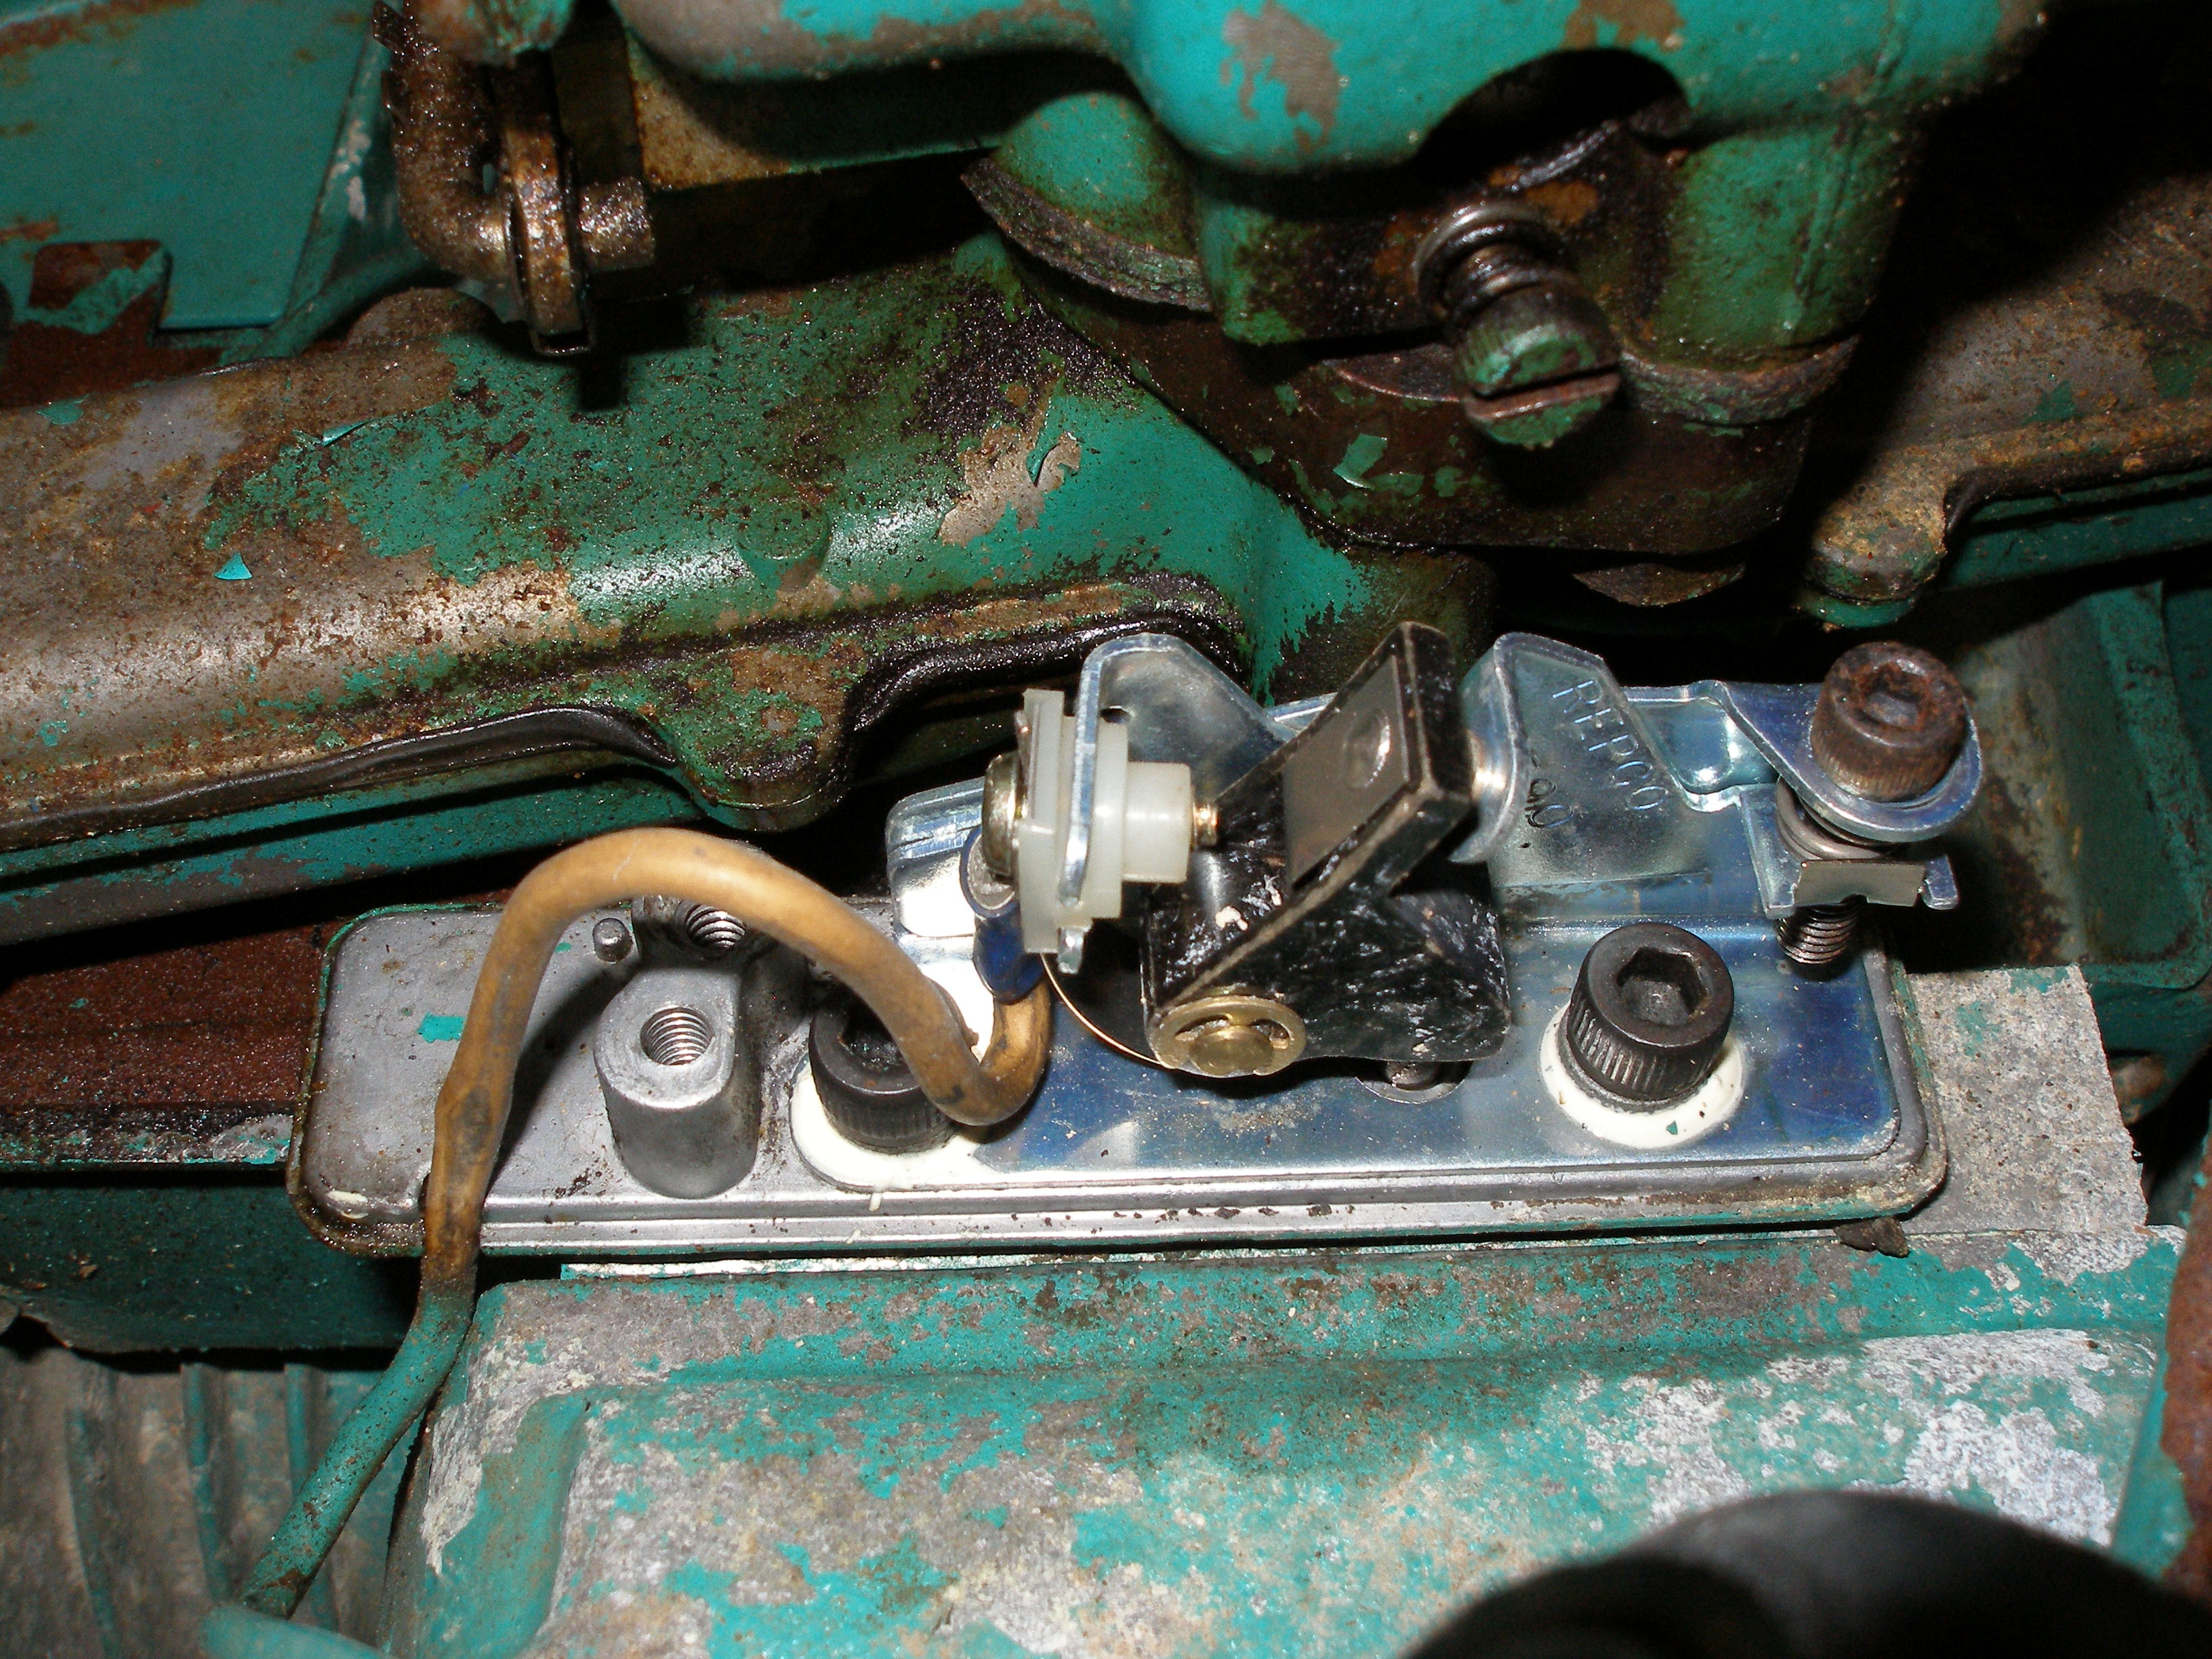
Stock points setup (cover removed).
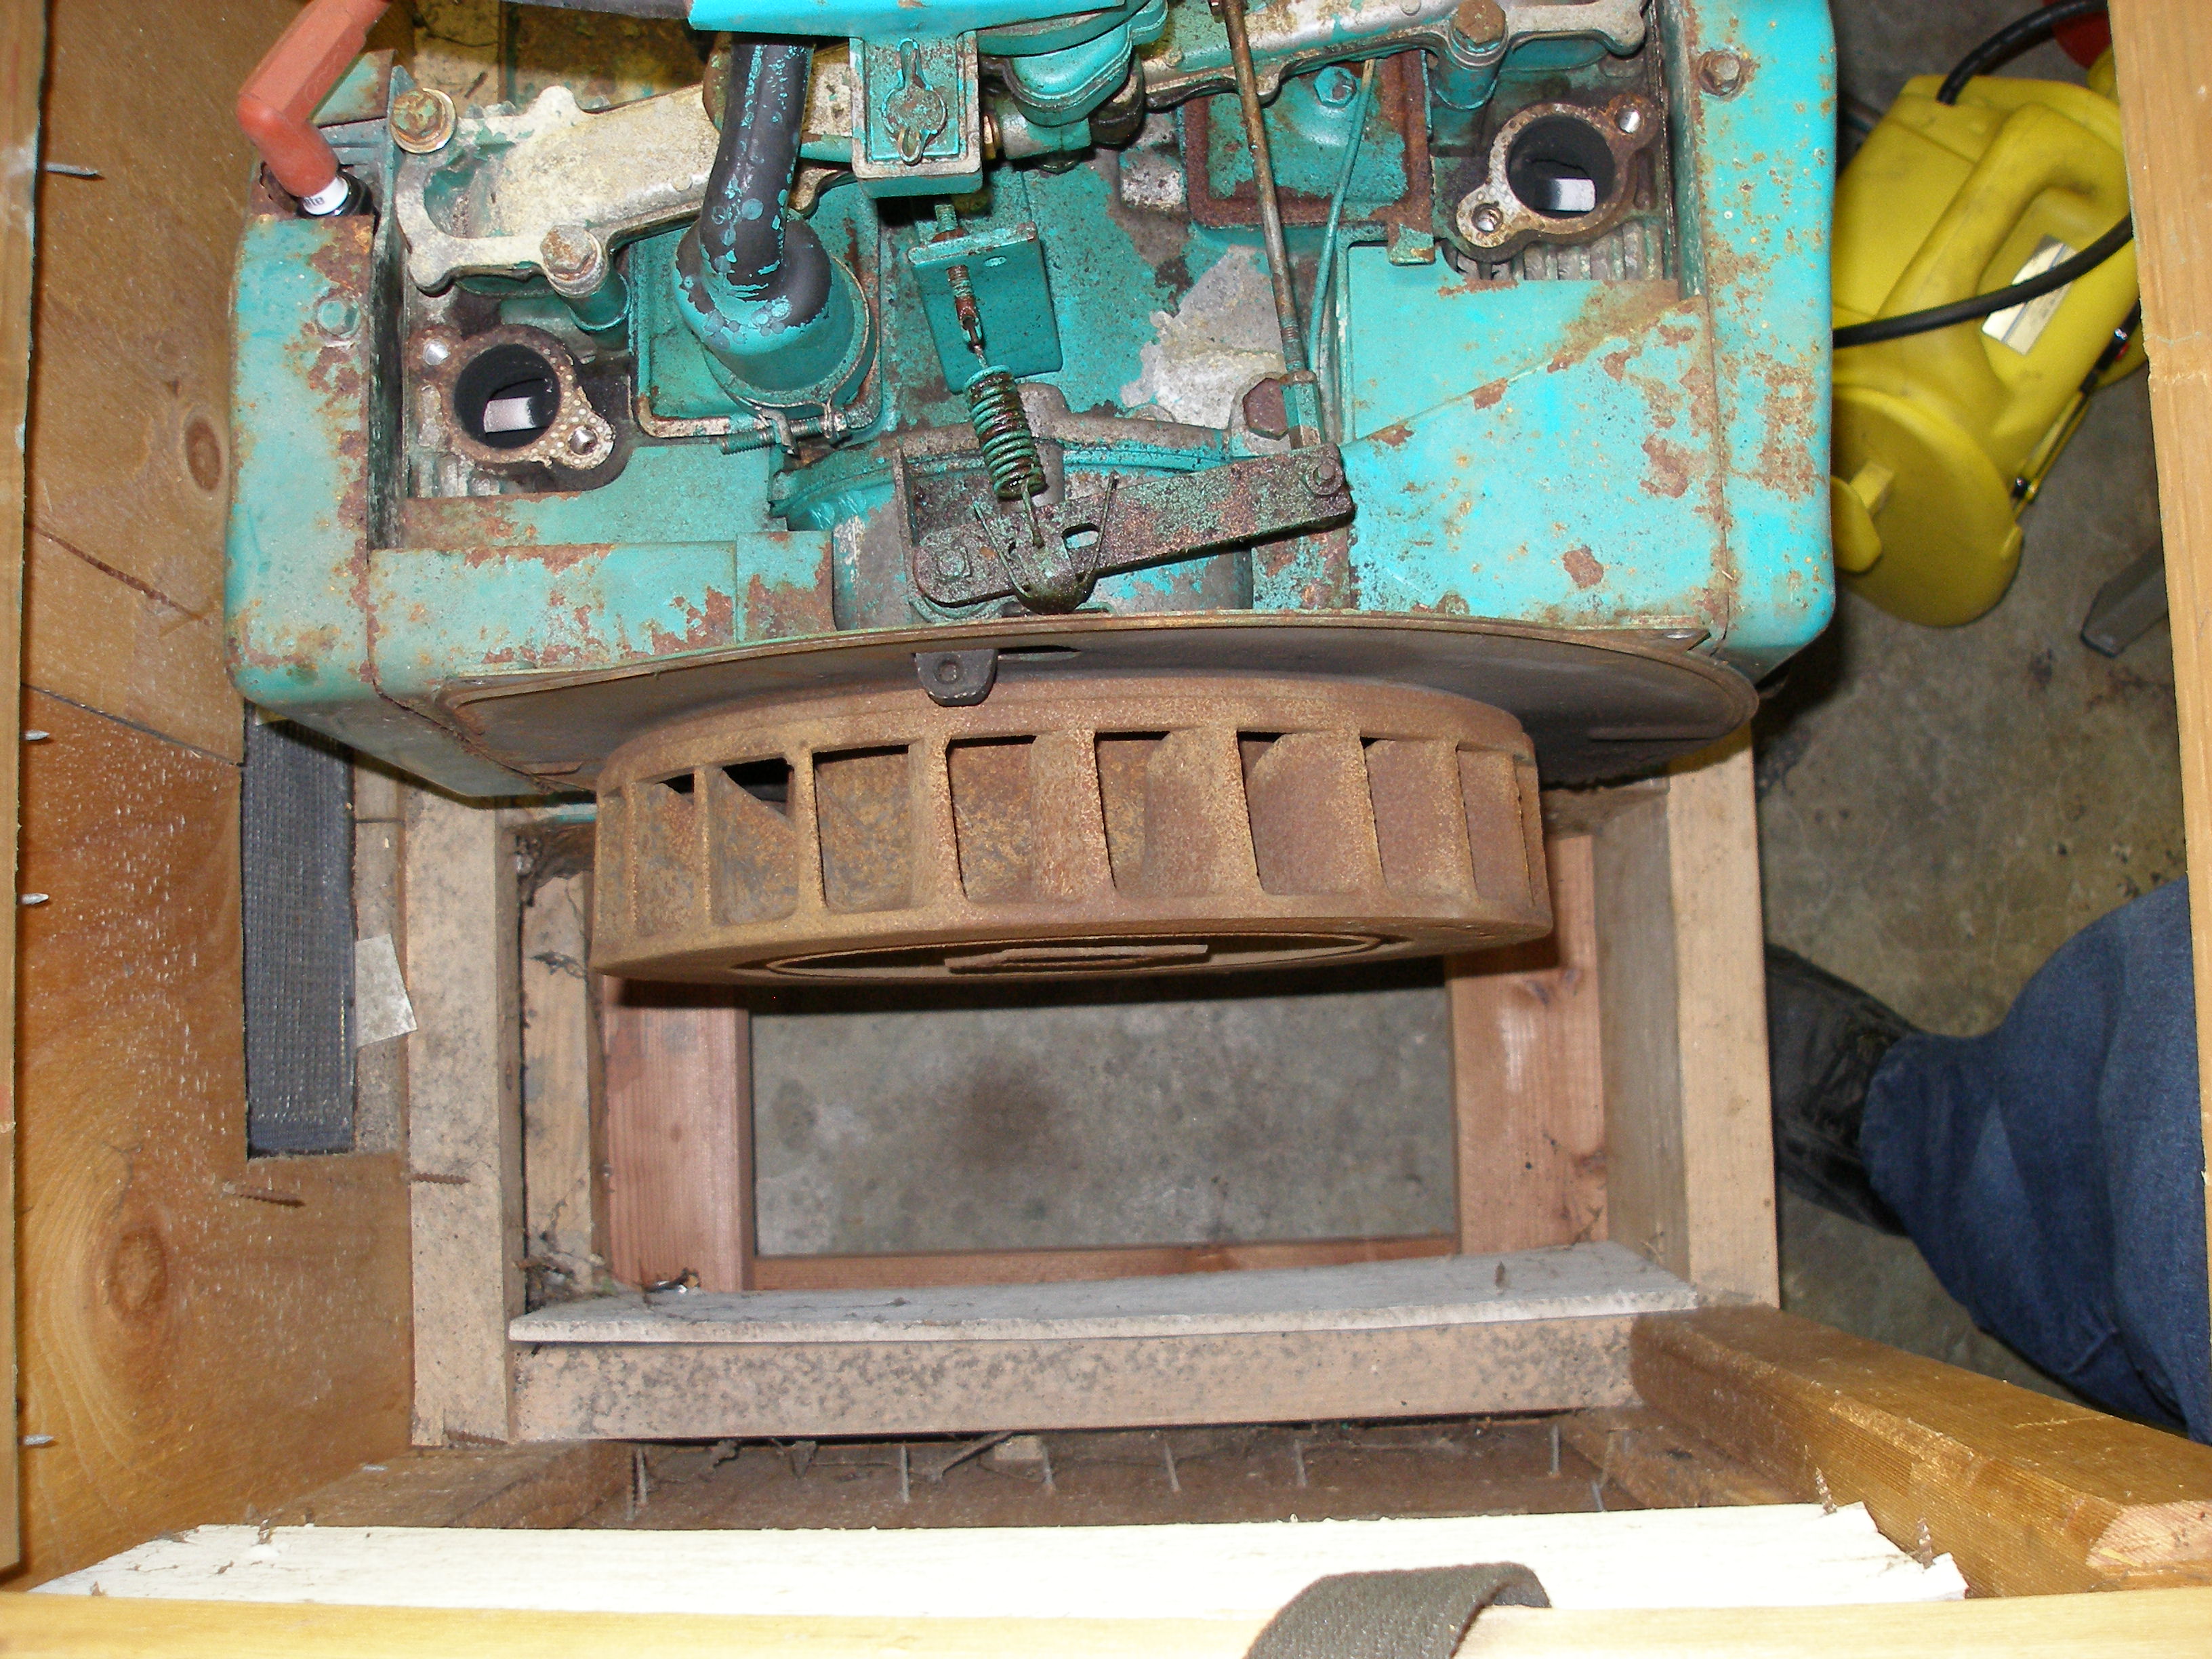
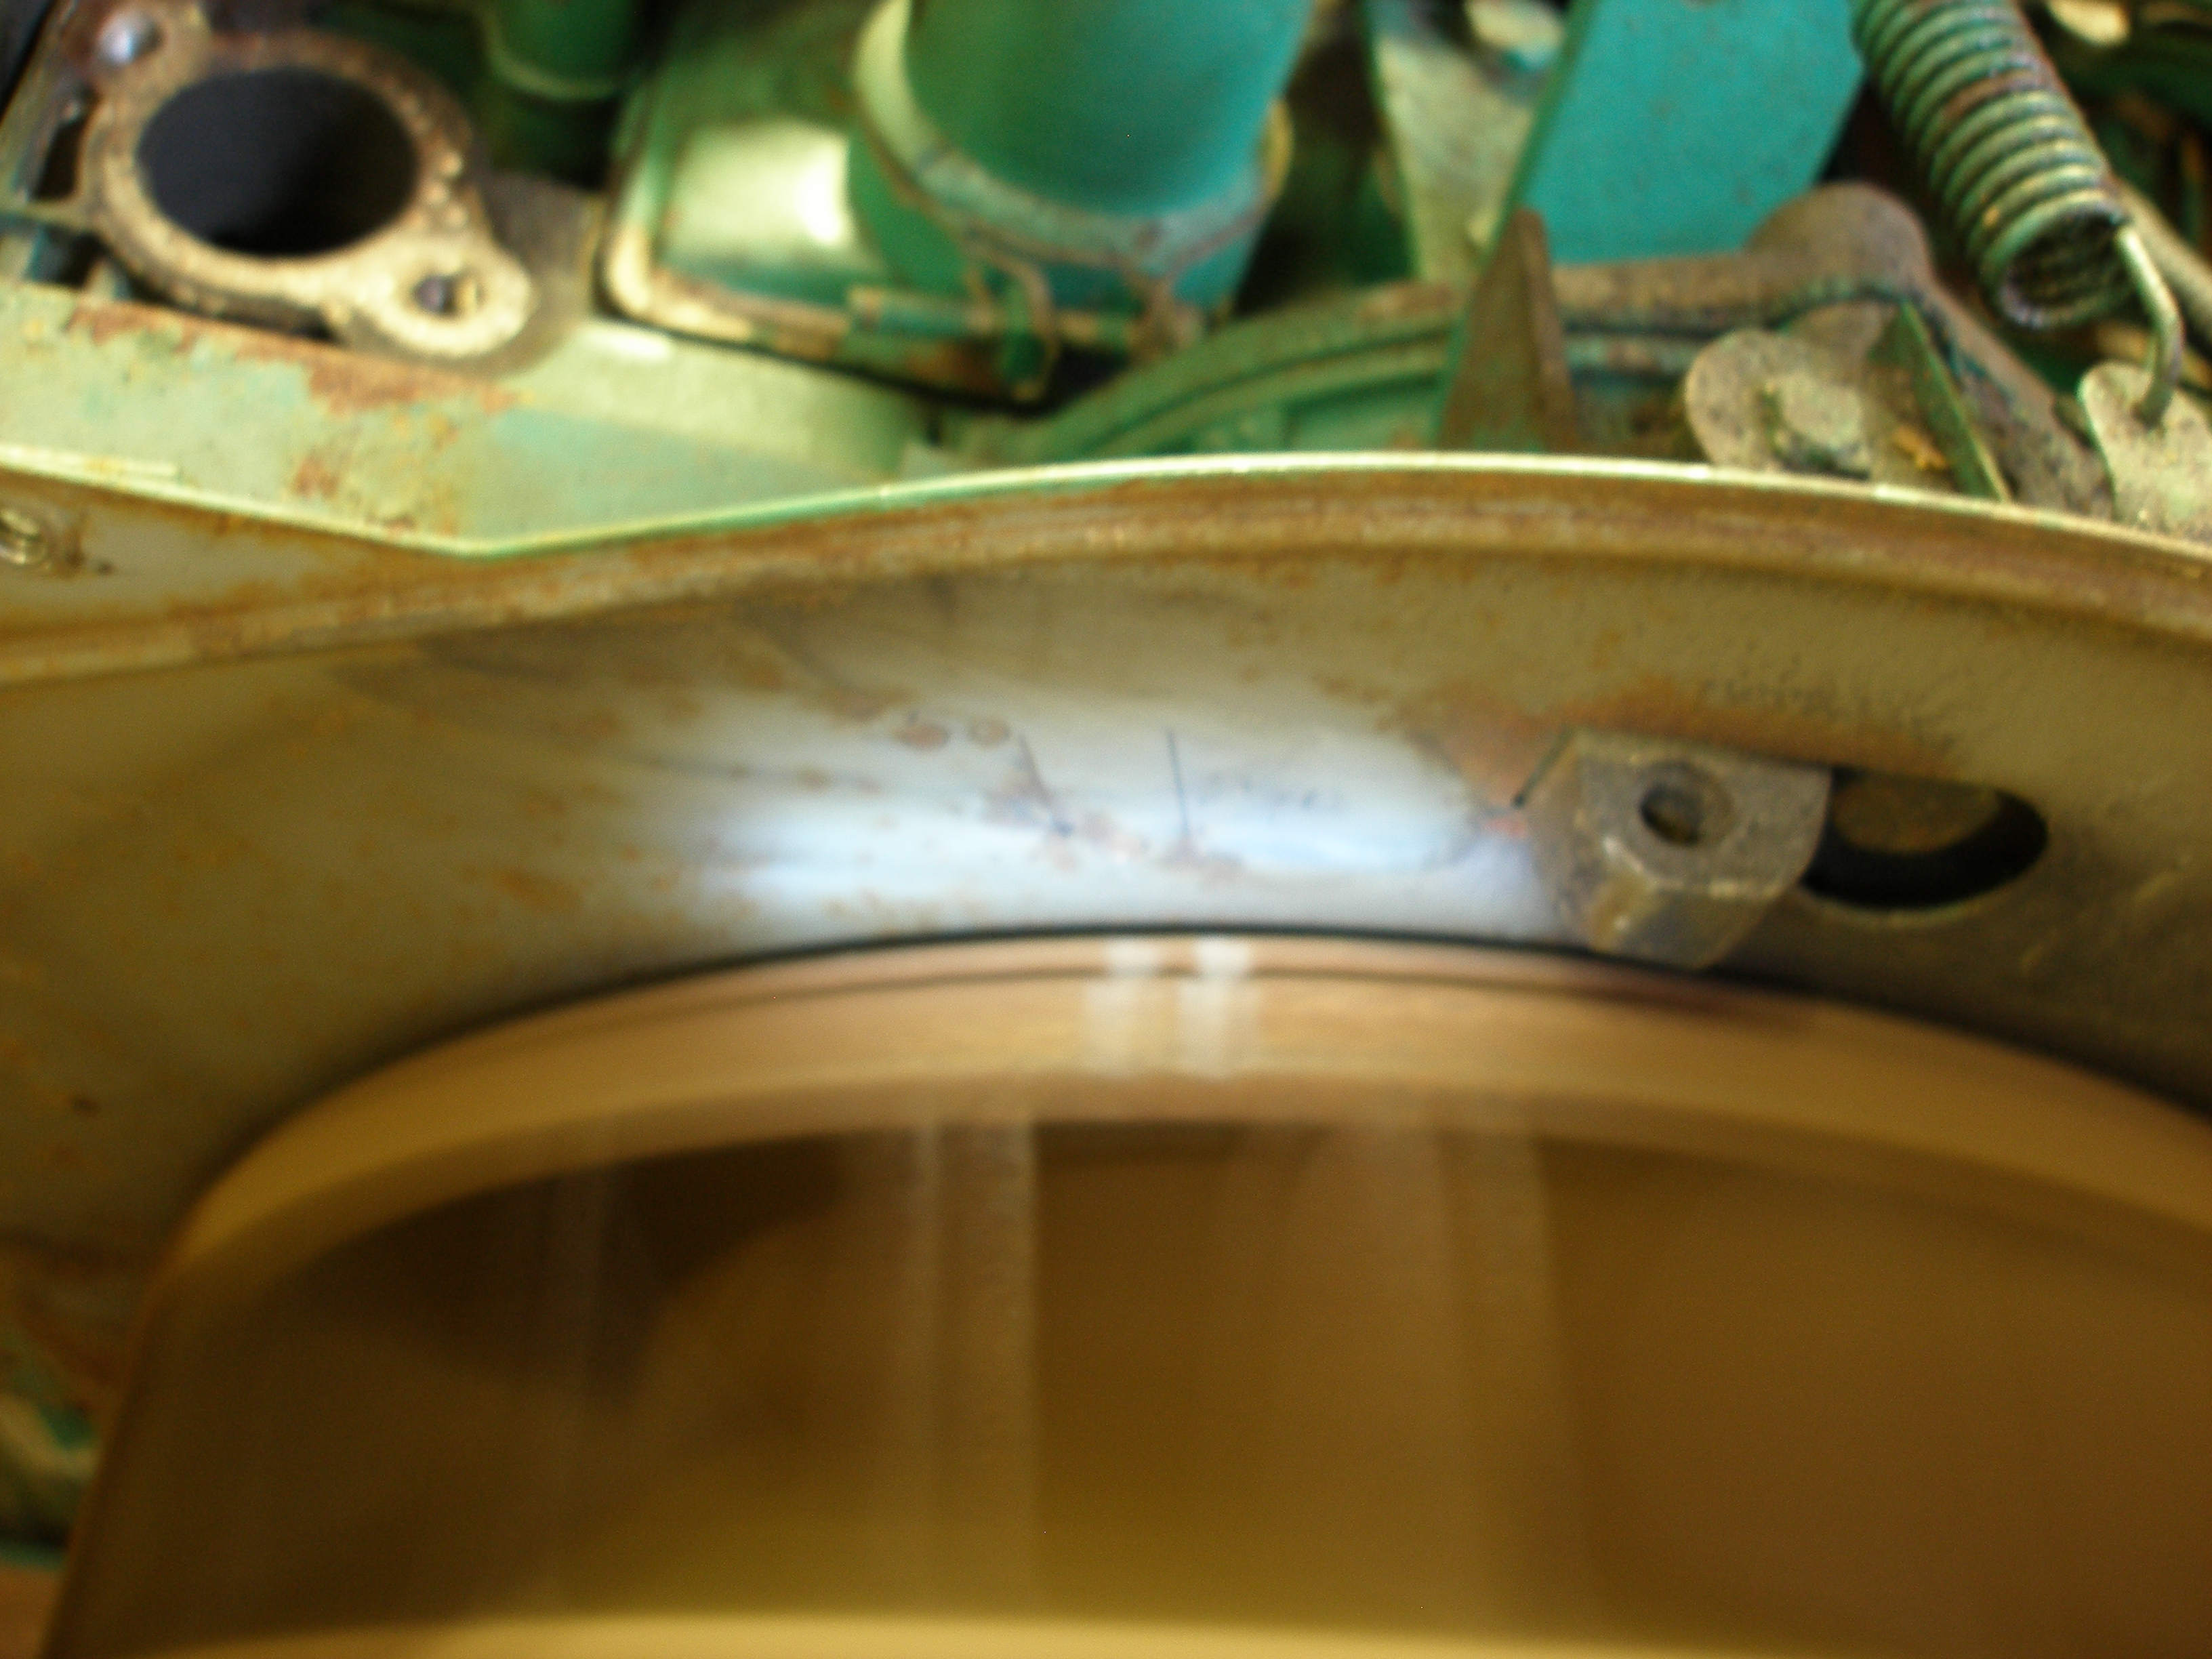
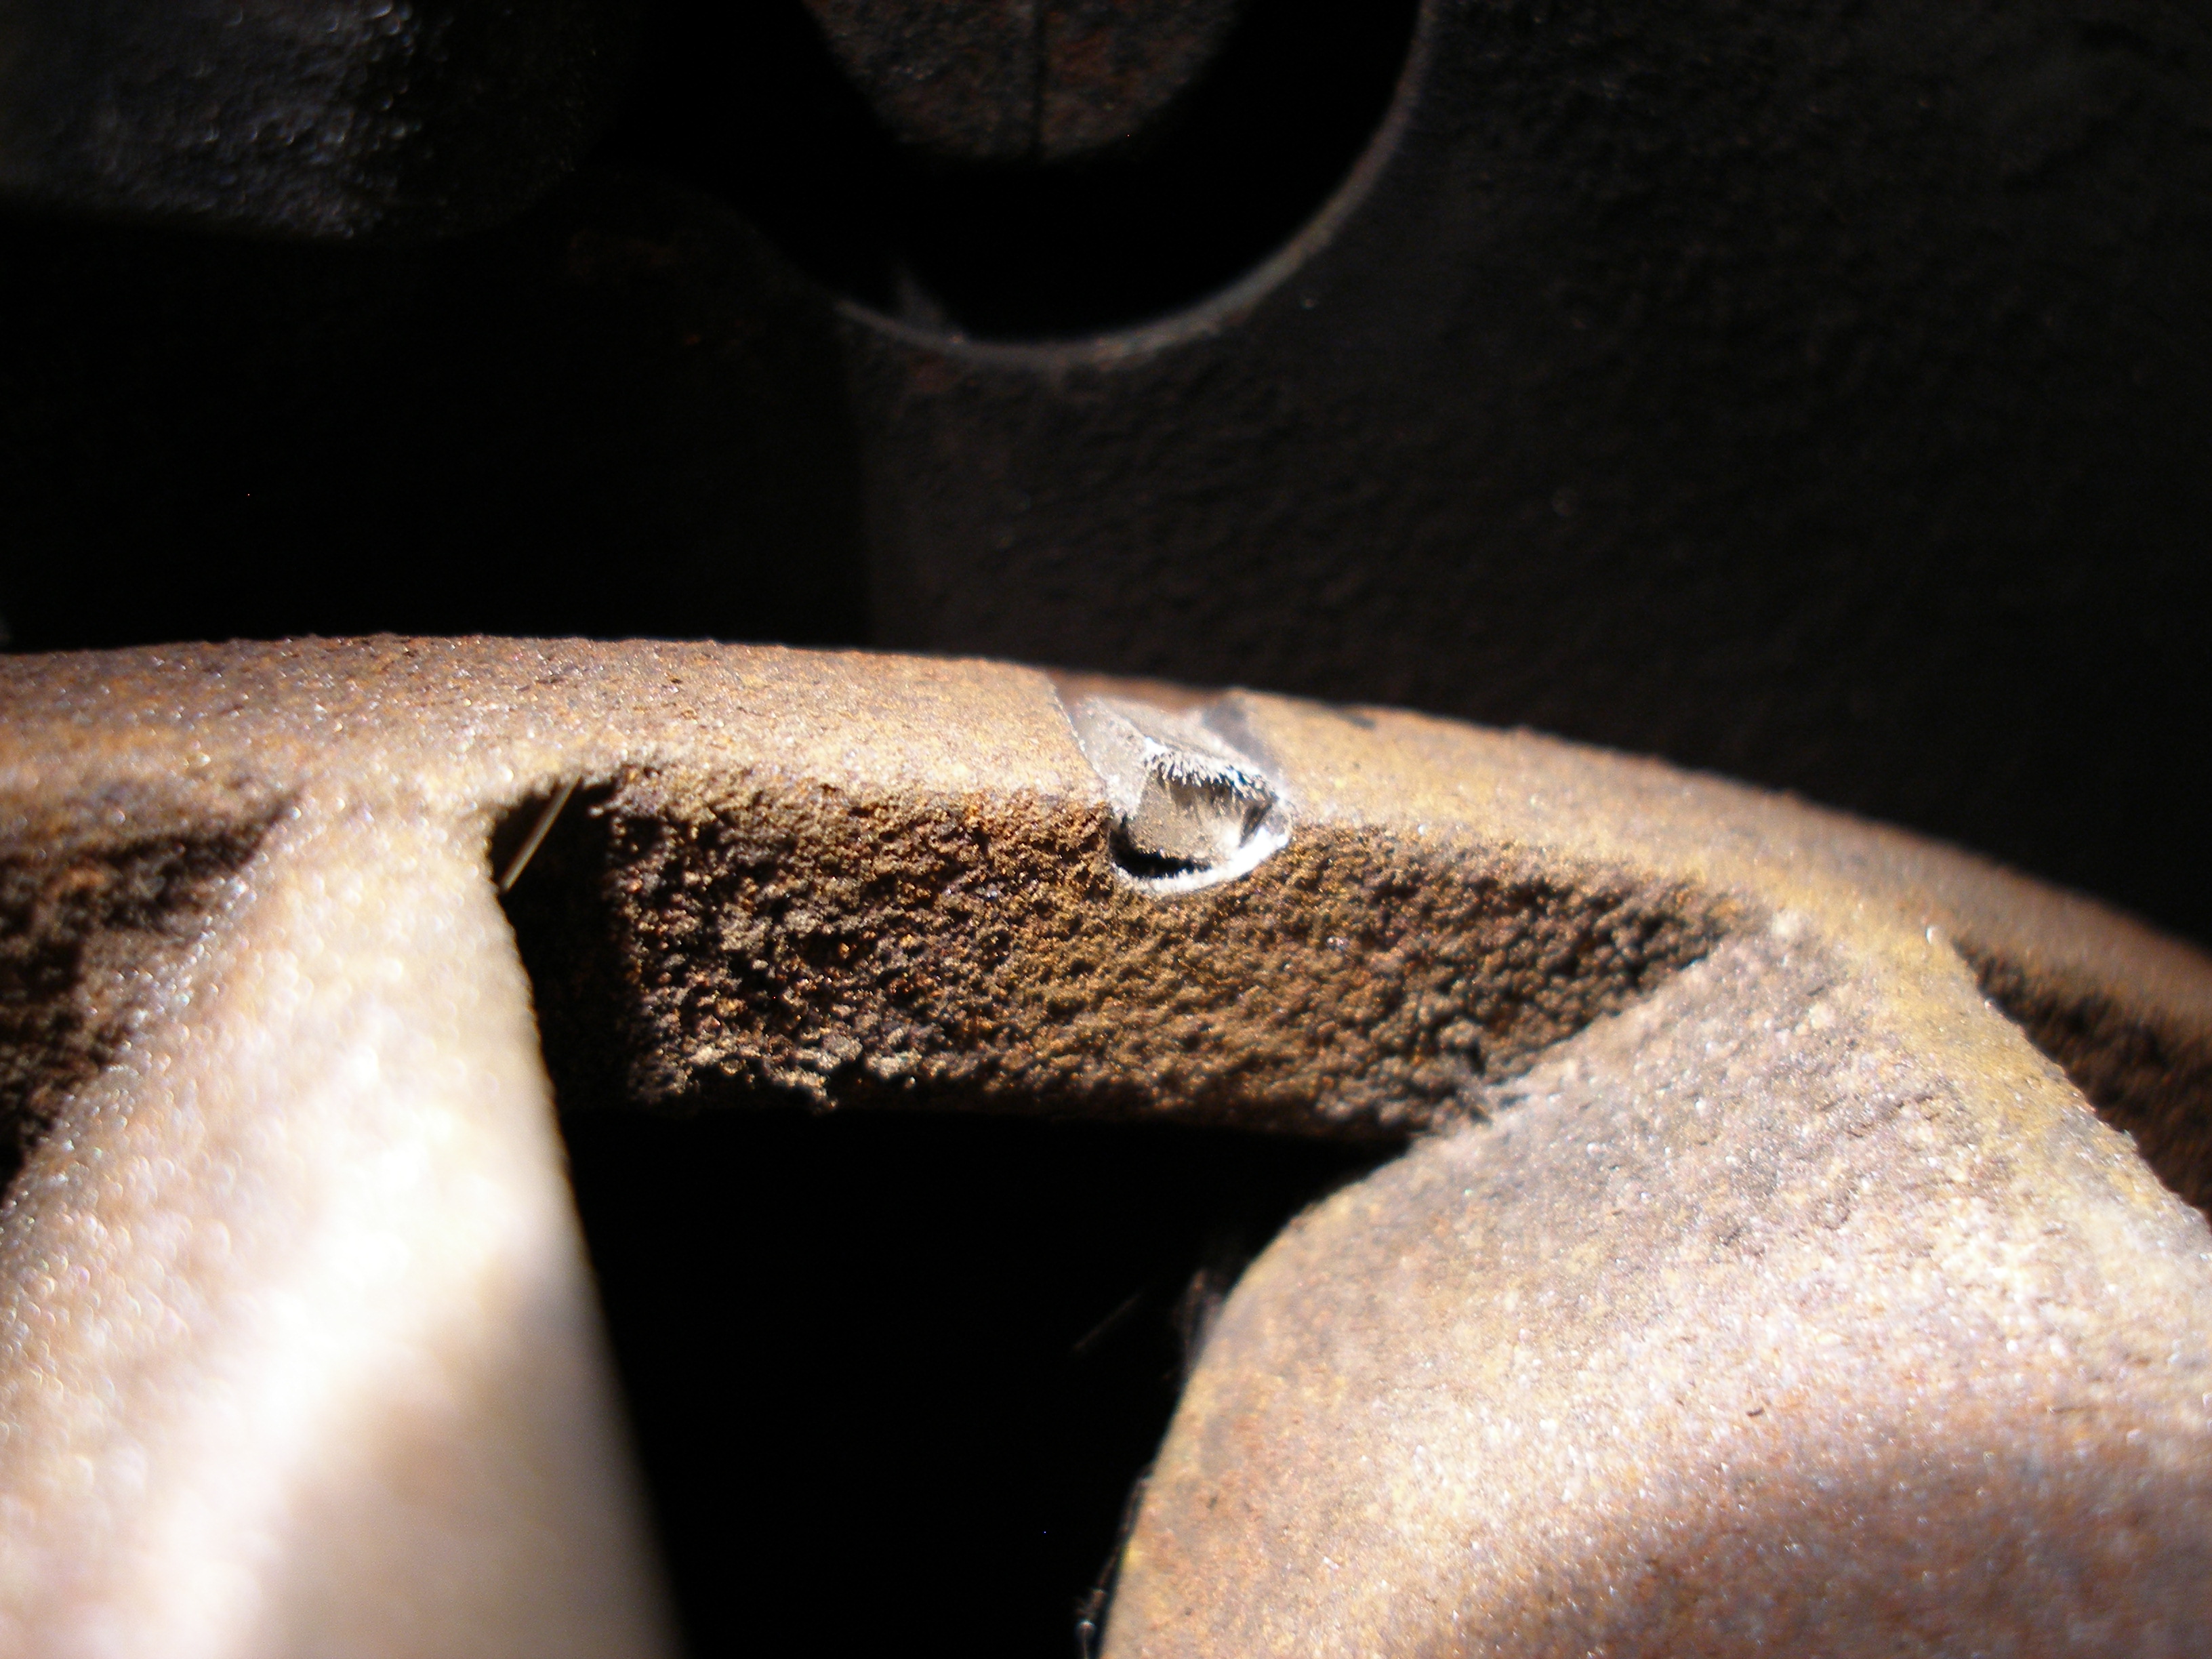
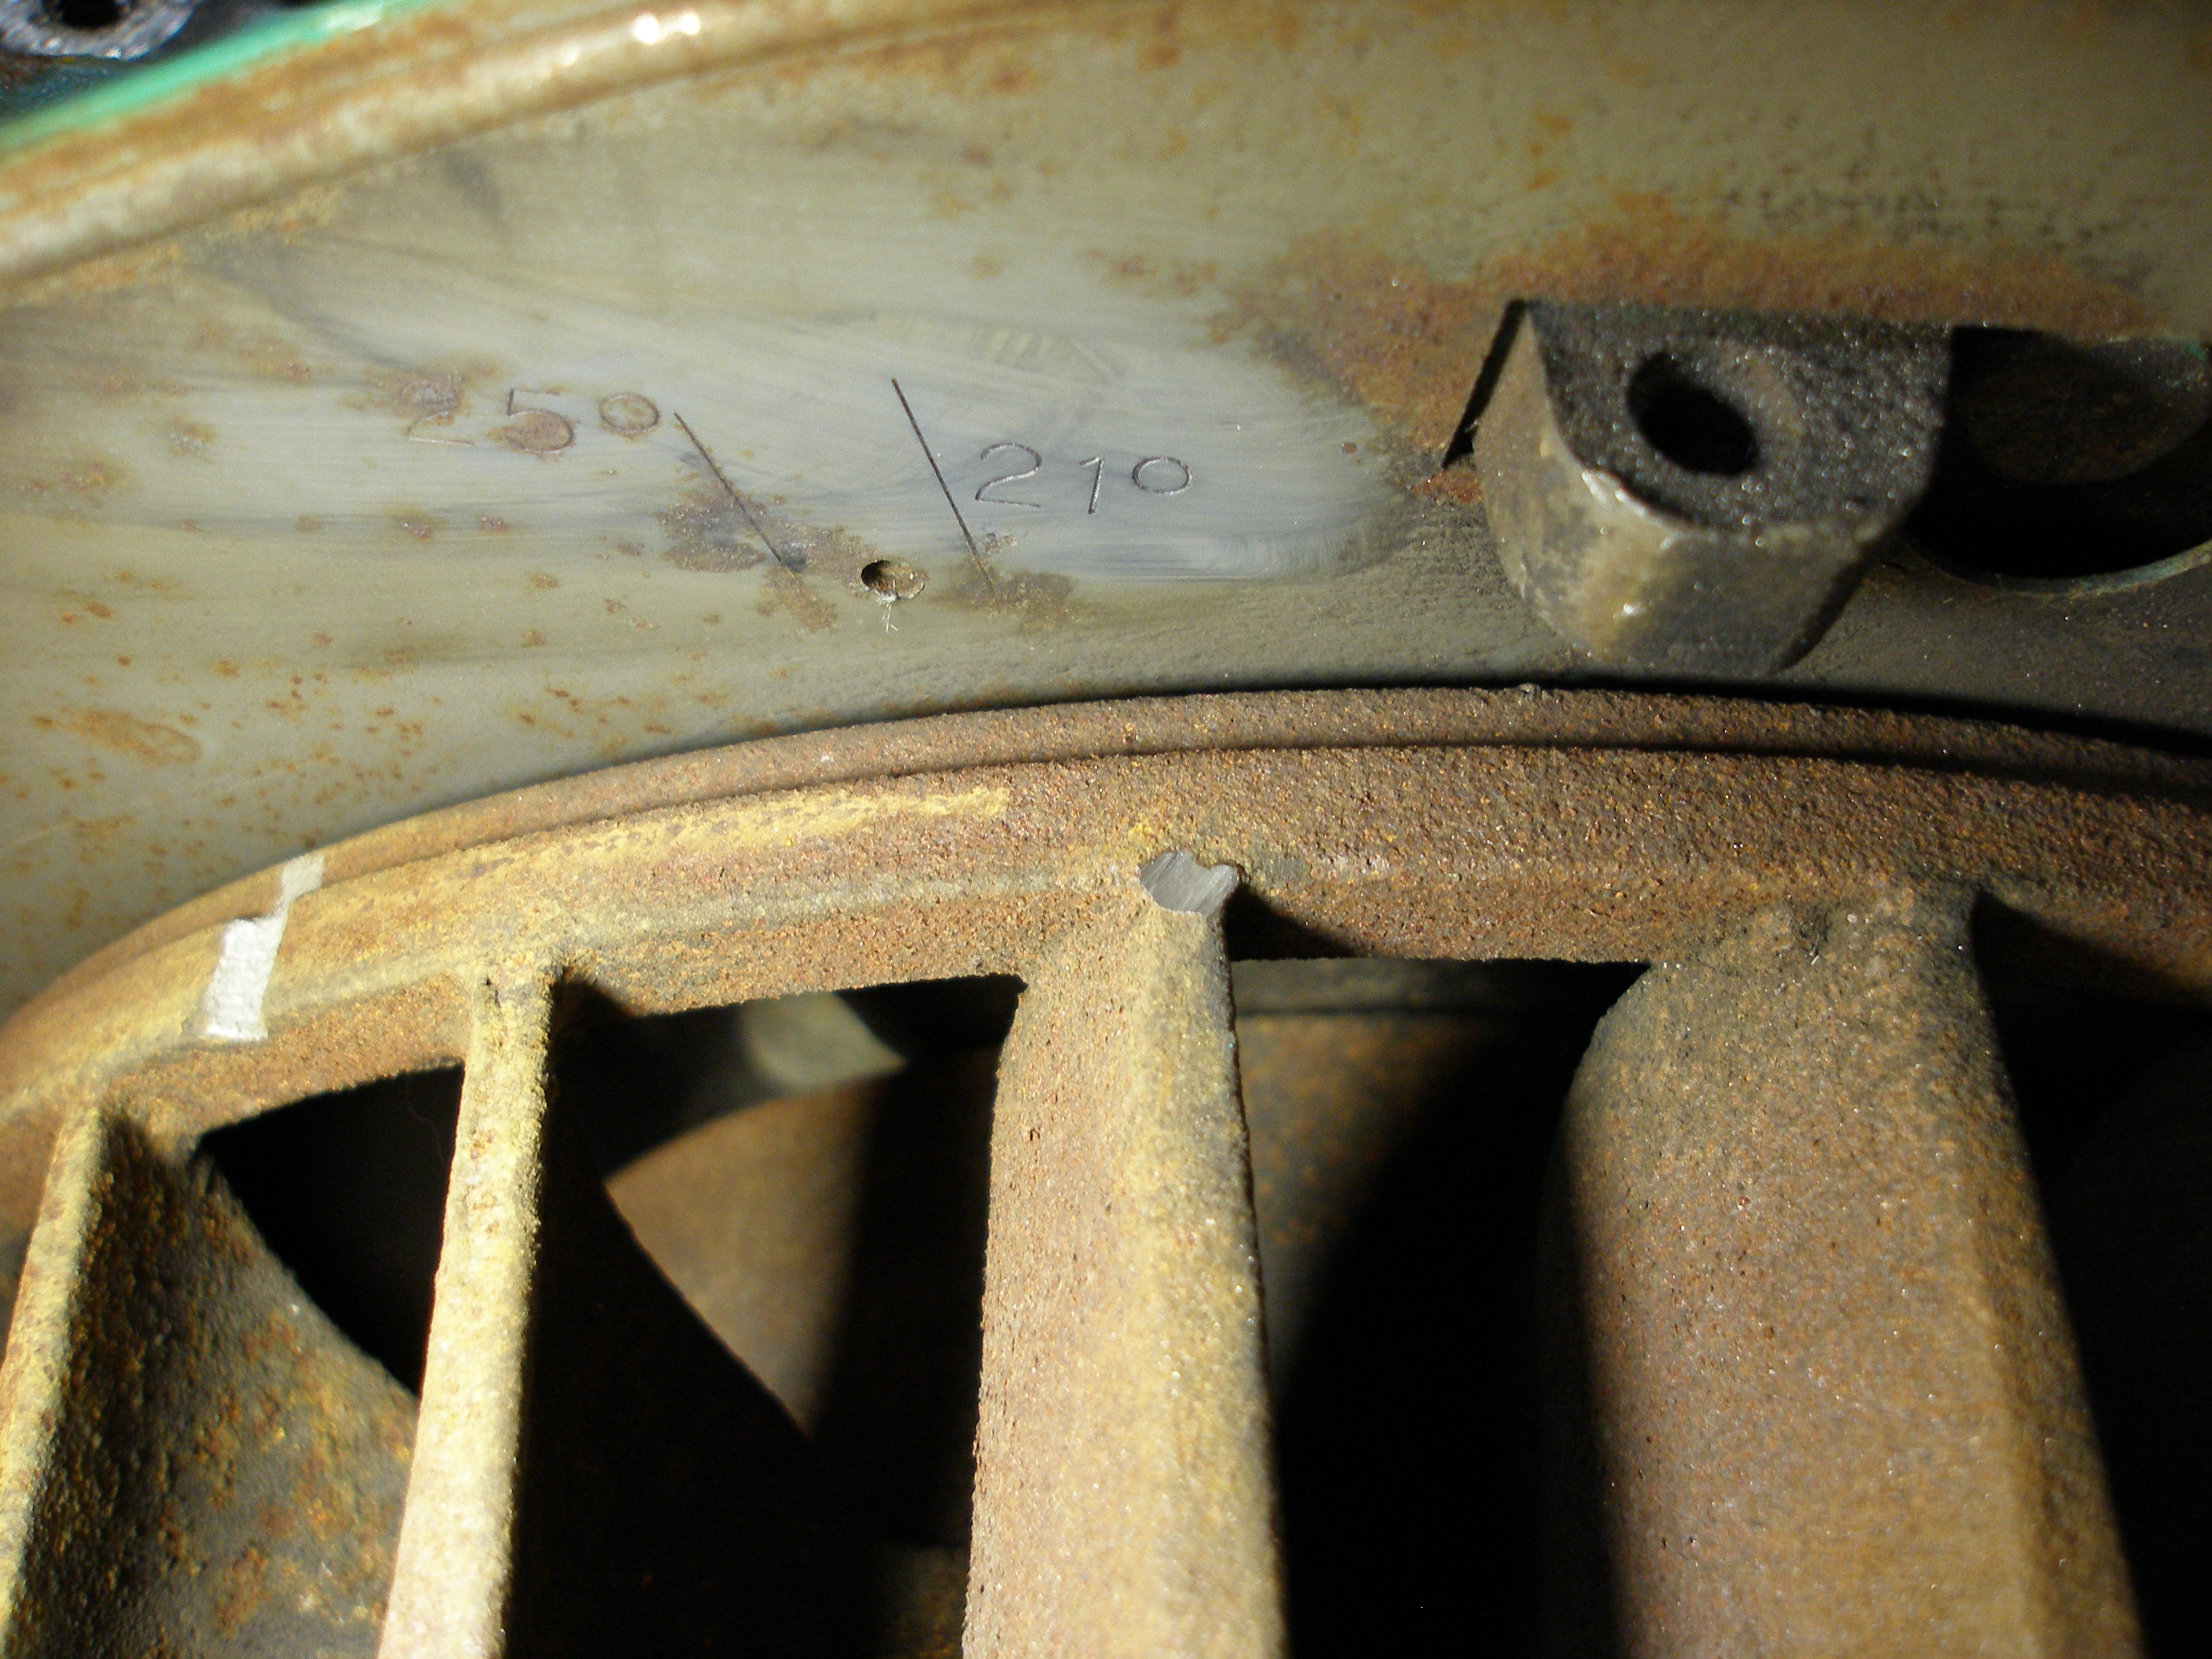
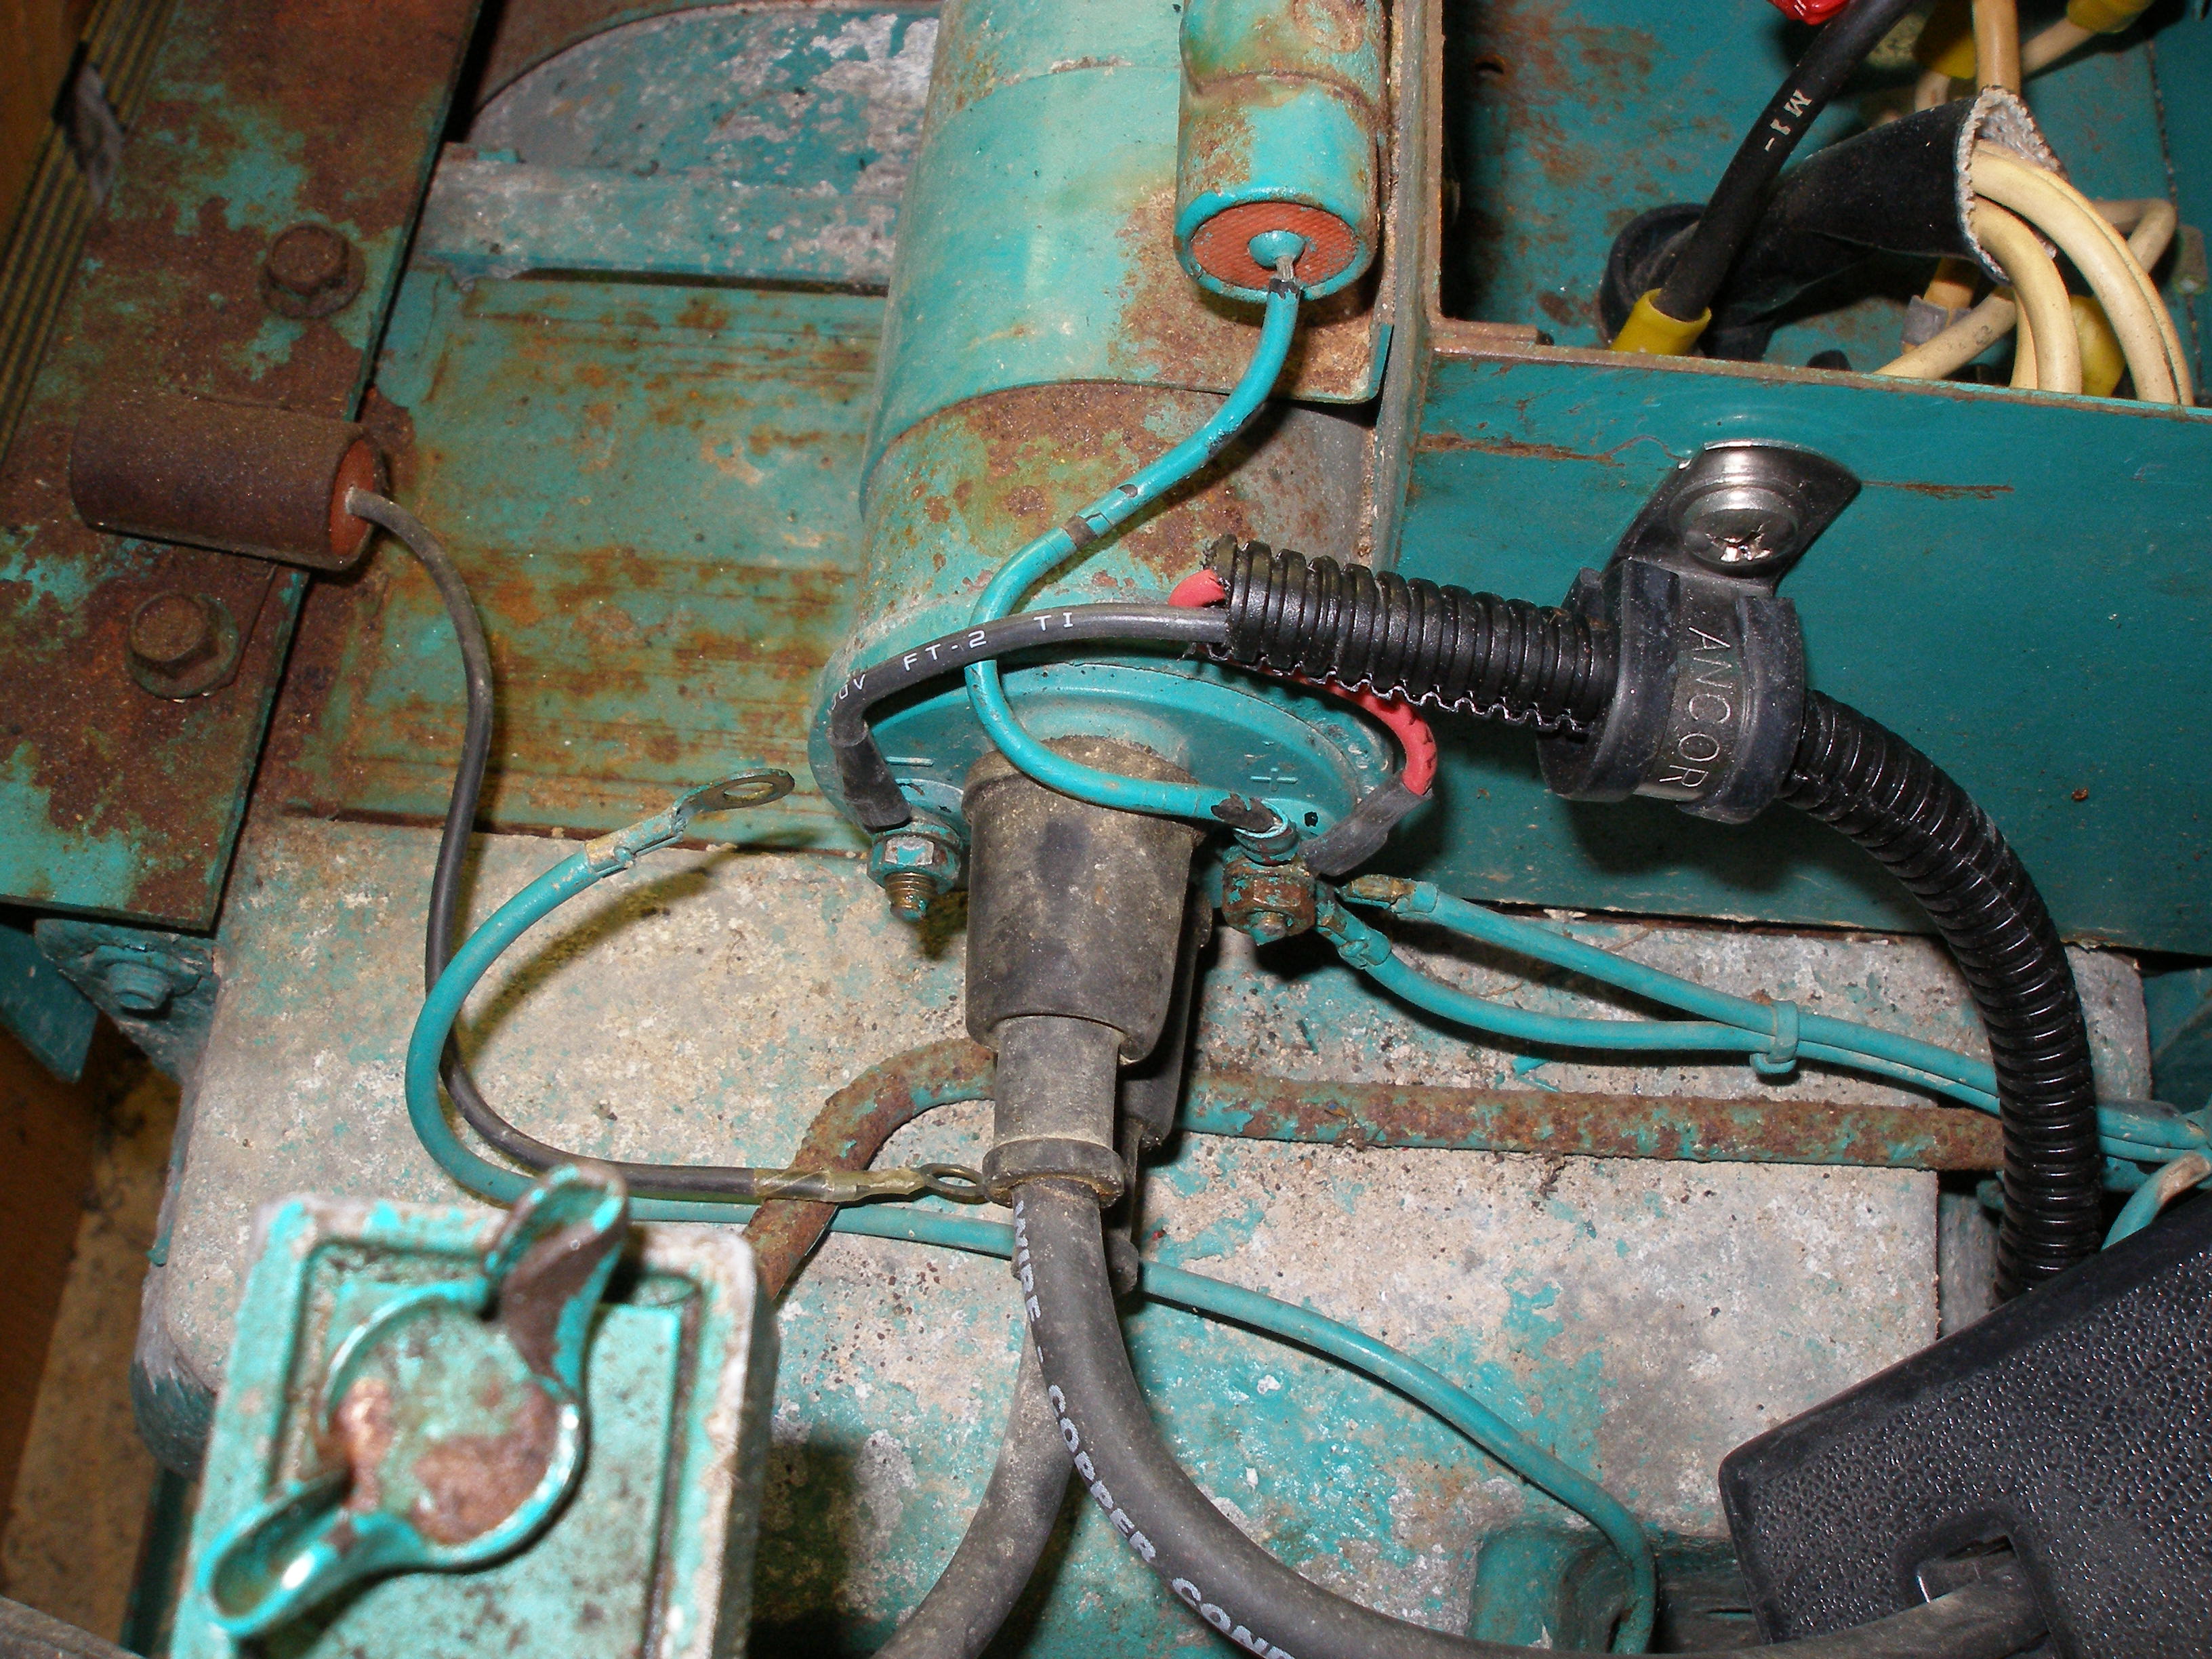
Exhaust wye pipe removed, fan shroud removed. Crank turns clockwise, and despite the forward curvature of the fan fins, air is pulled over the engine and expelled out the fan shroud. This is the Onan "Vacu-Flo" system for RVs.
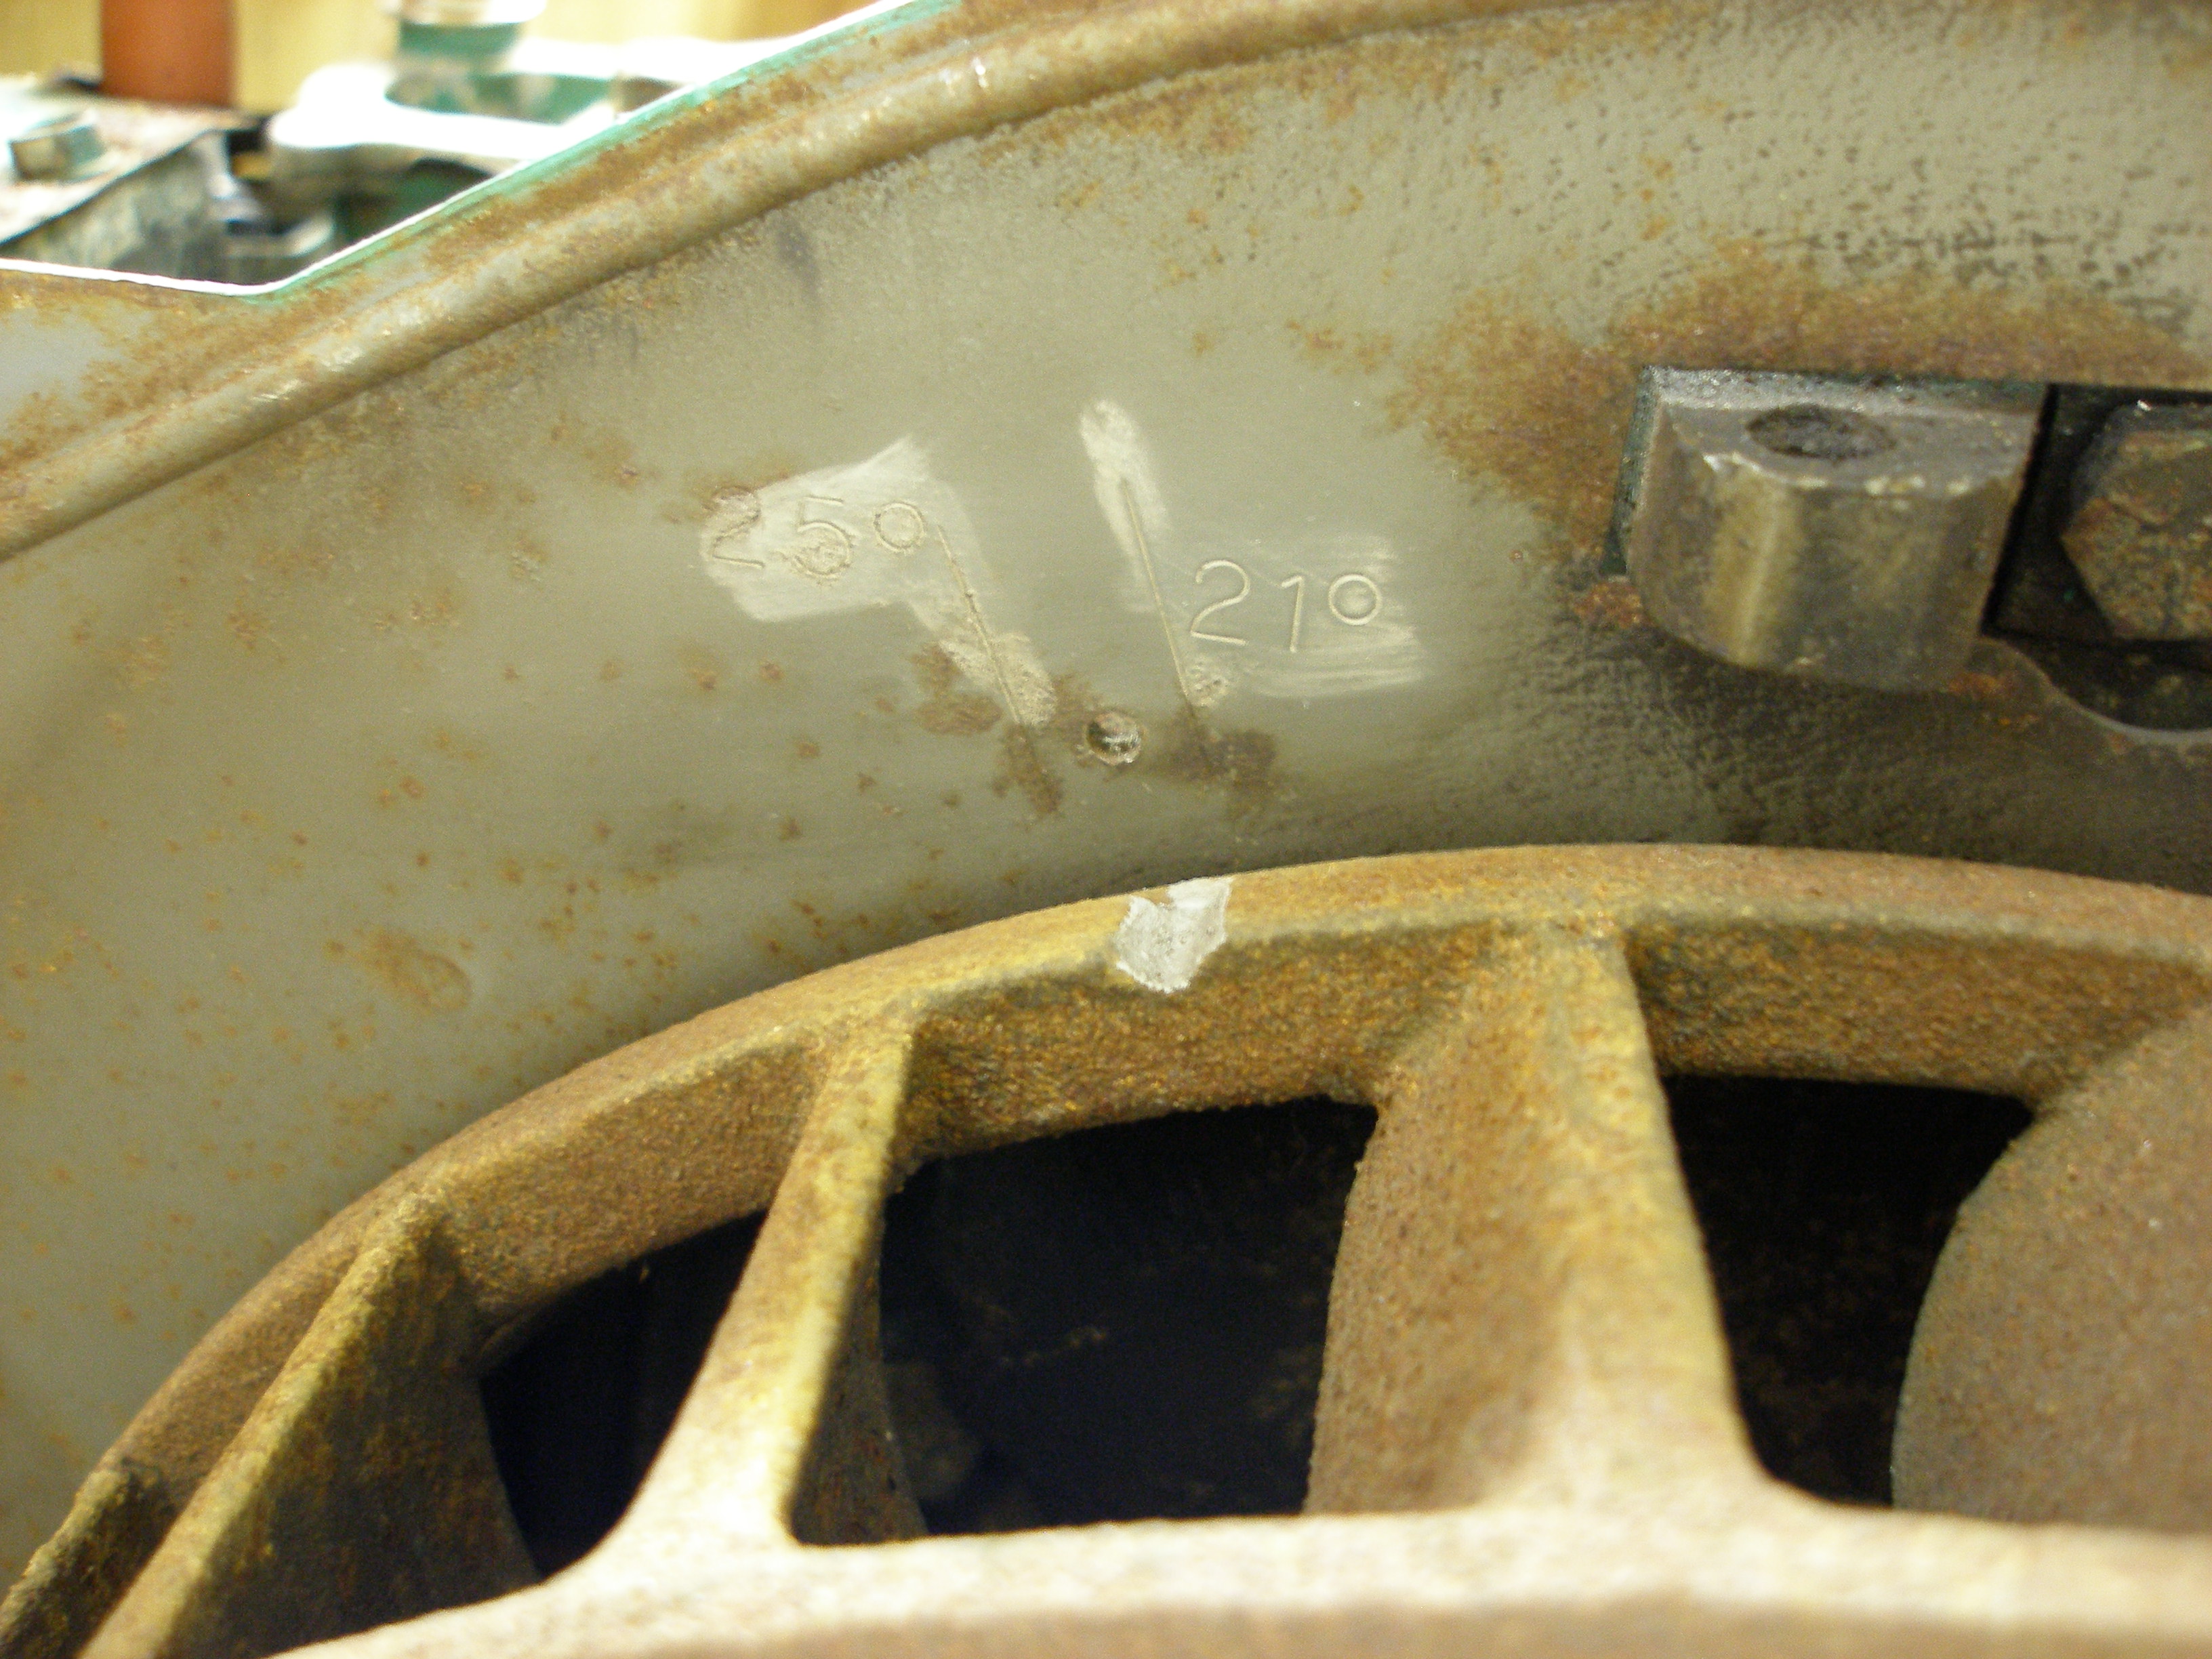
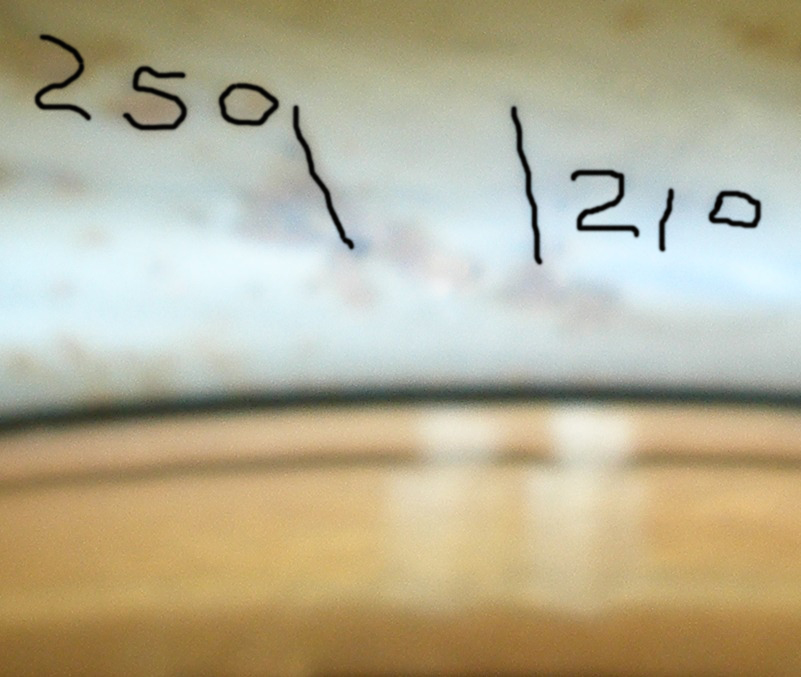
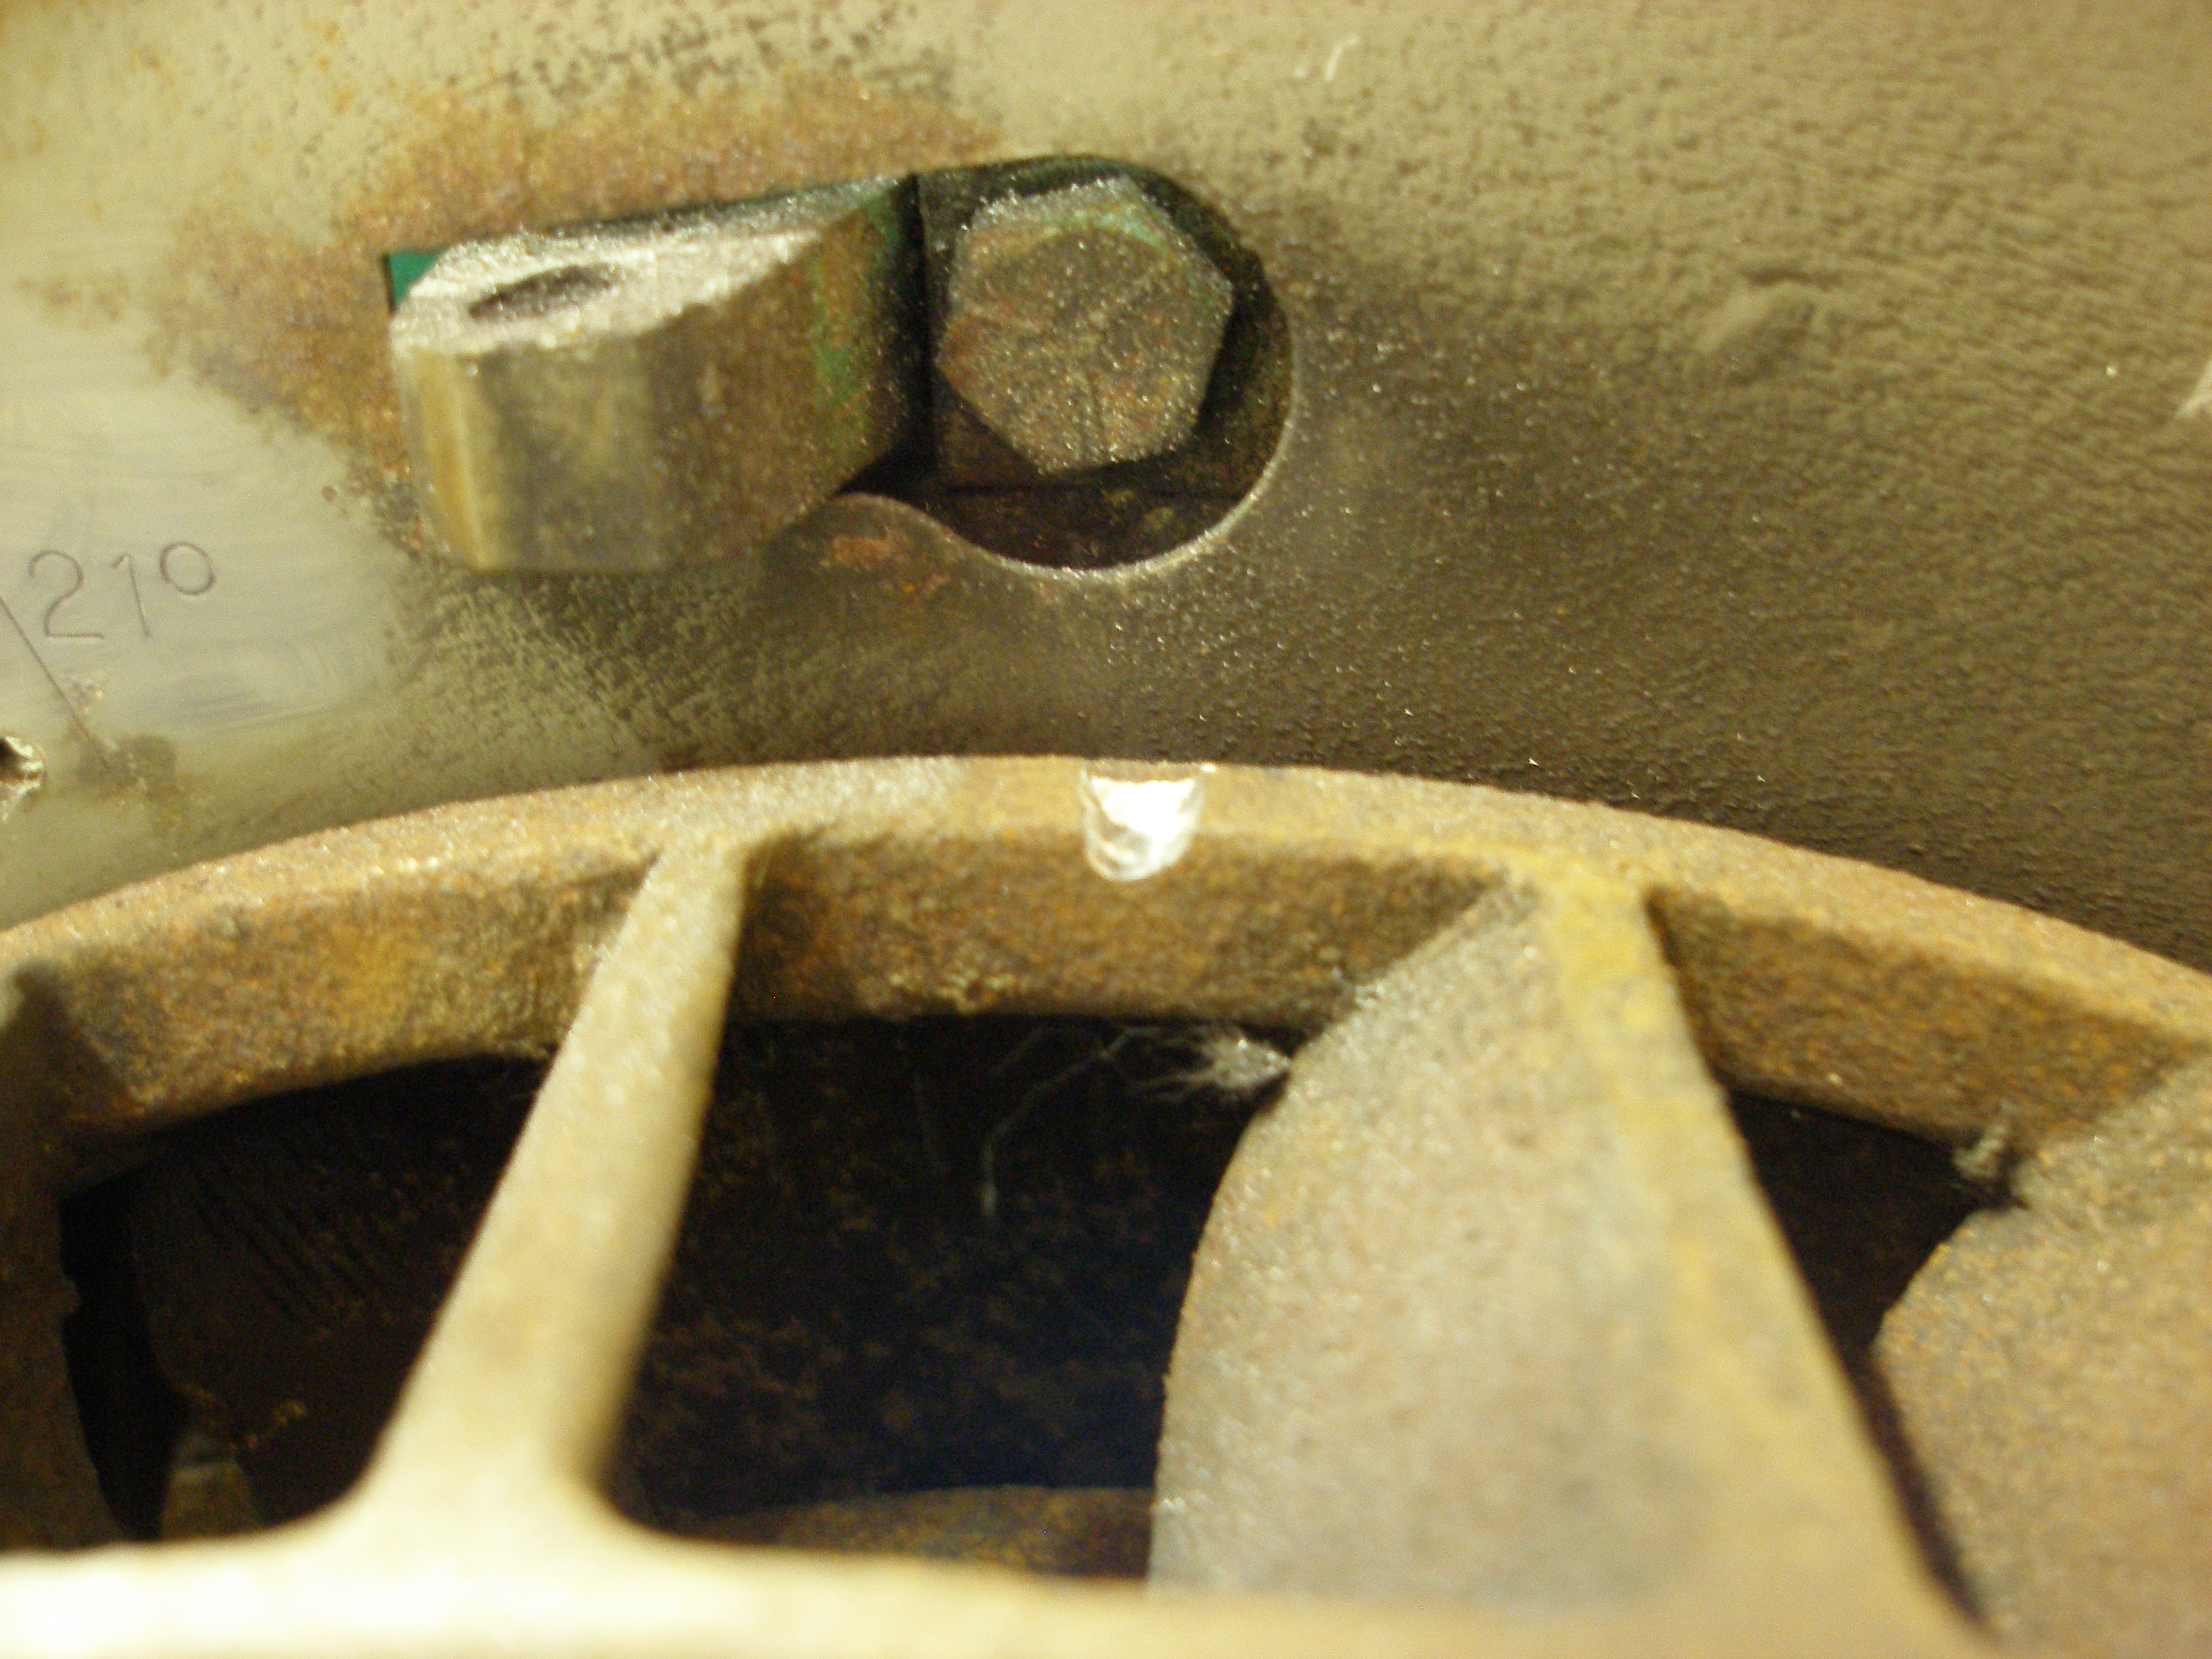
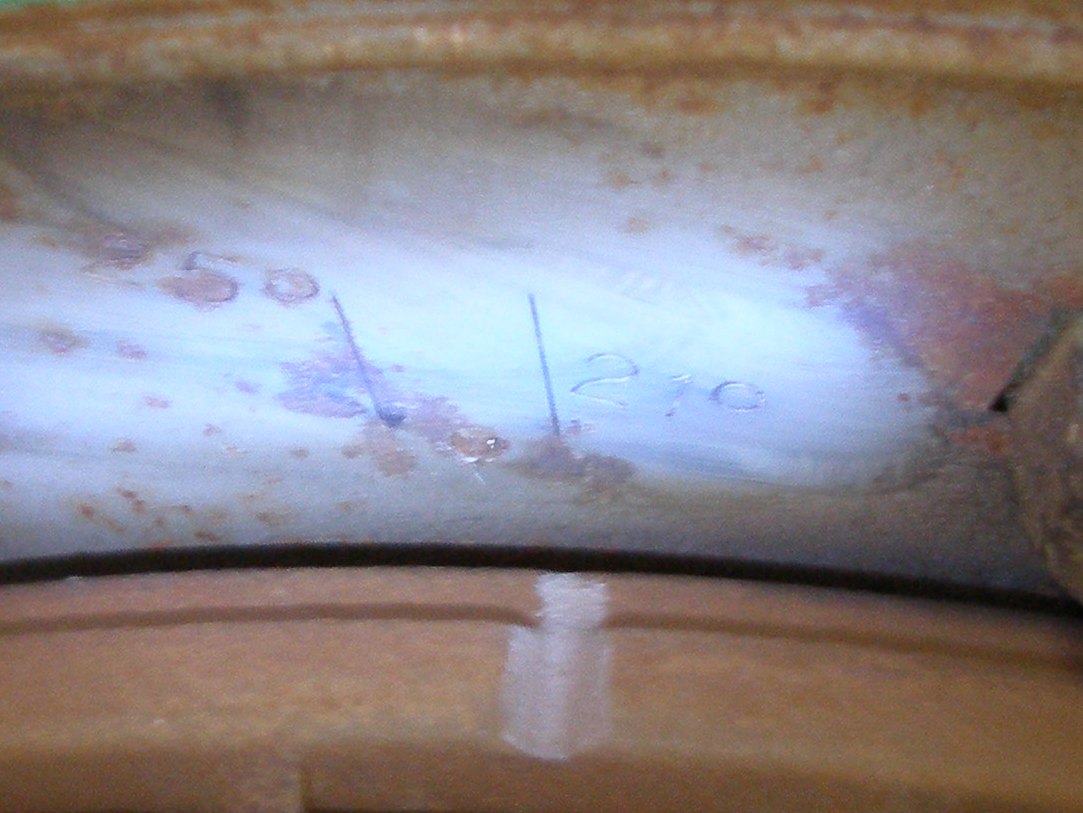
Timing marks: 25° (presumably for Natural Gas or LPG) and 21° (for gasoline). The divot in the flywheel is stock, I just put a little silver paint in it. Connected a timing light, with the stock points I get two readings: about 23° and about 20°, alternating regularly. Seems there's a bit of slop in the engine and mechanism that triggers the points. One cylinder gets 20°, the other gets 23°.
That's gonna change!
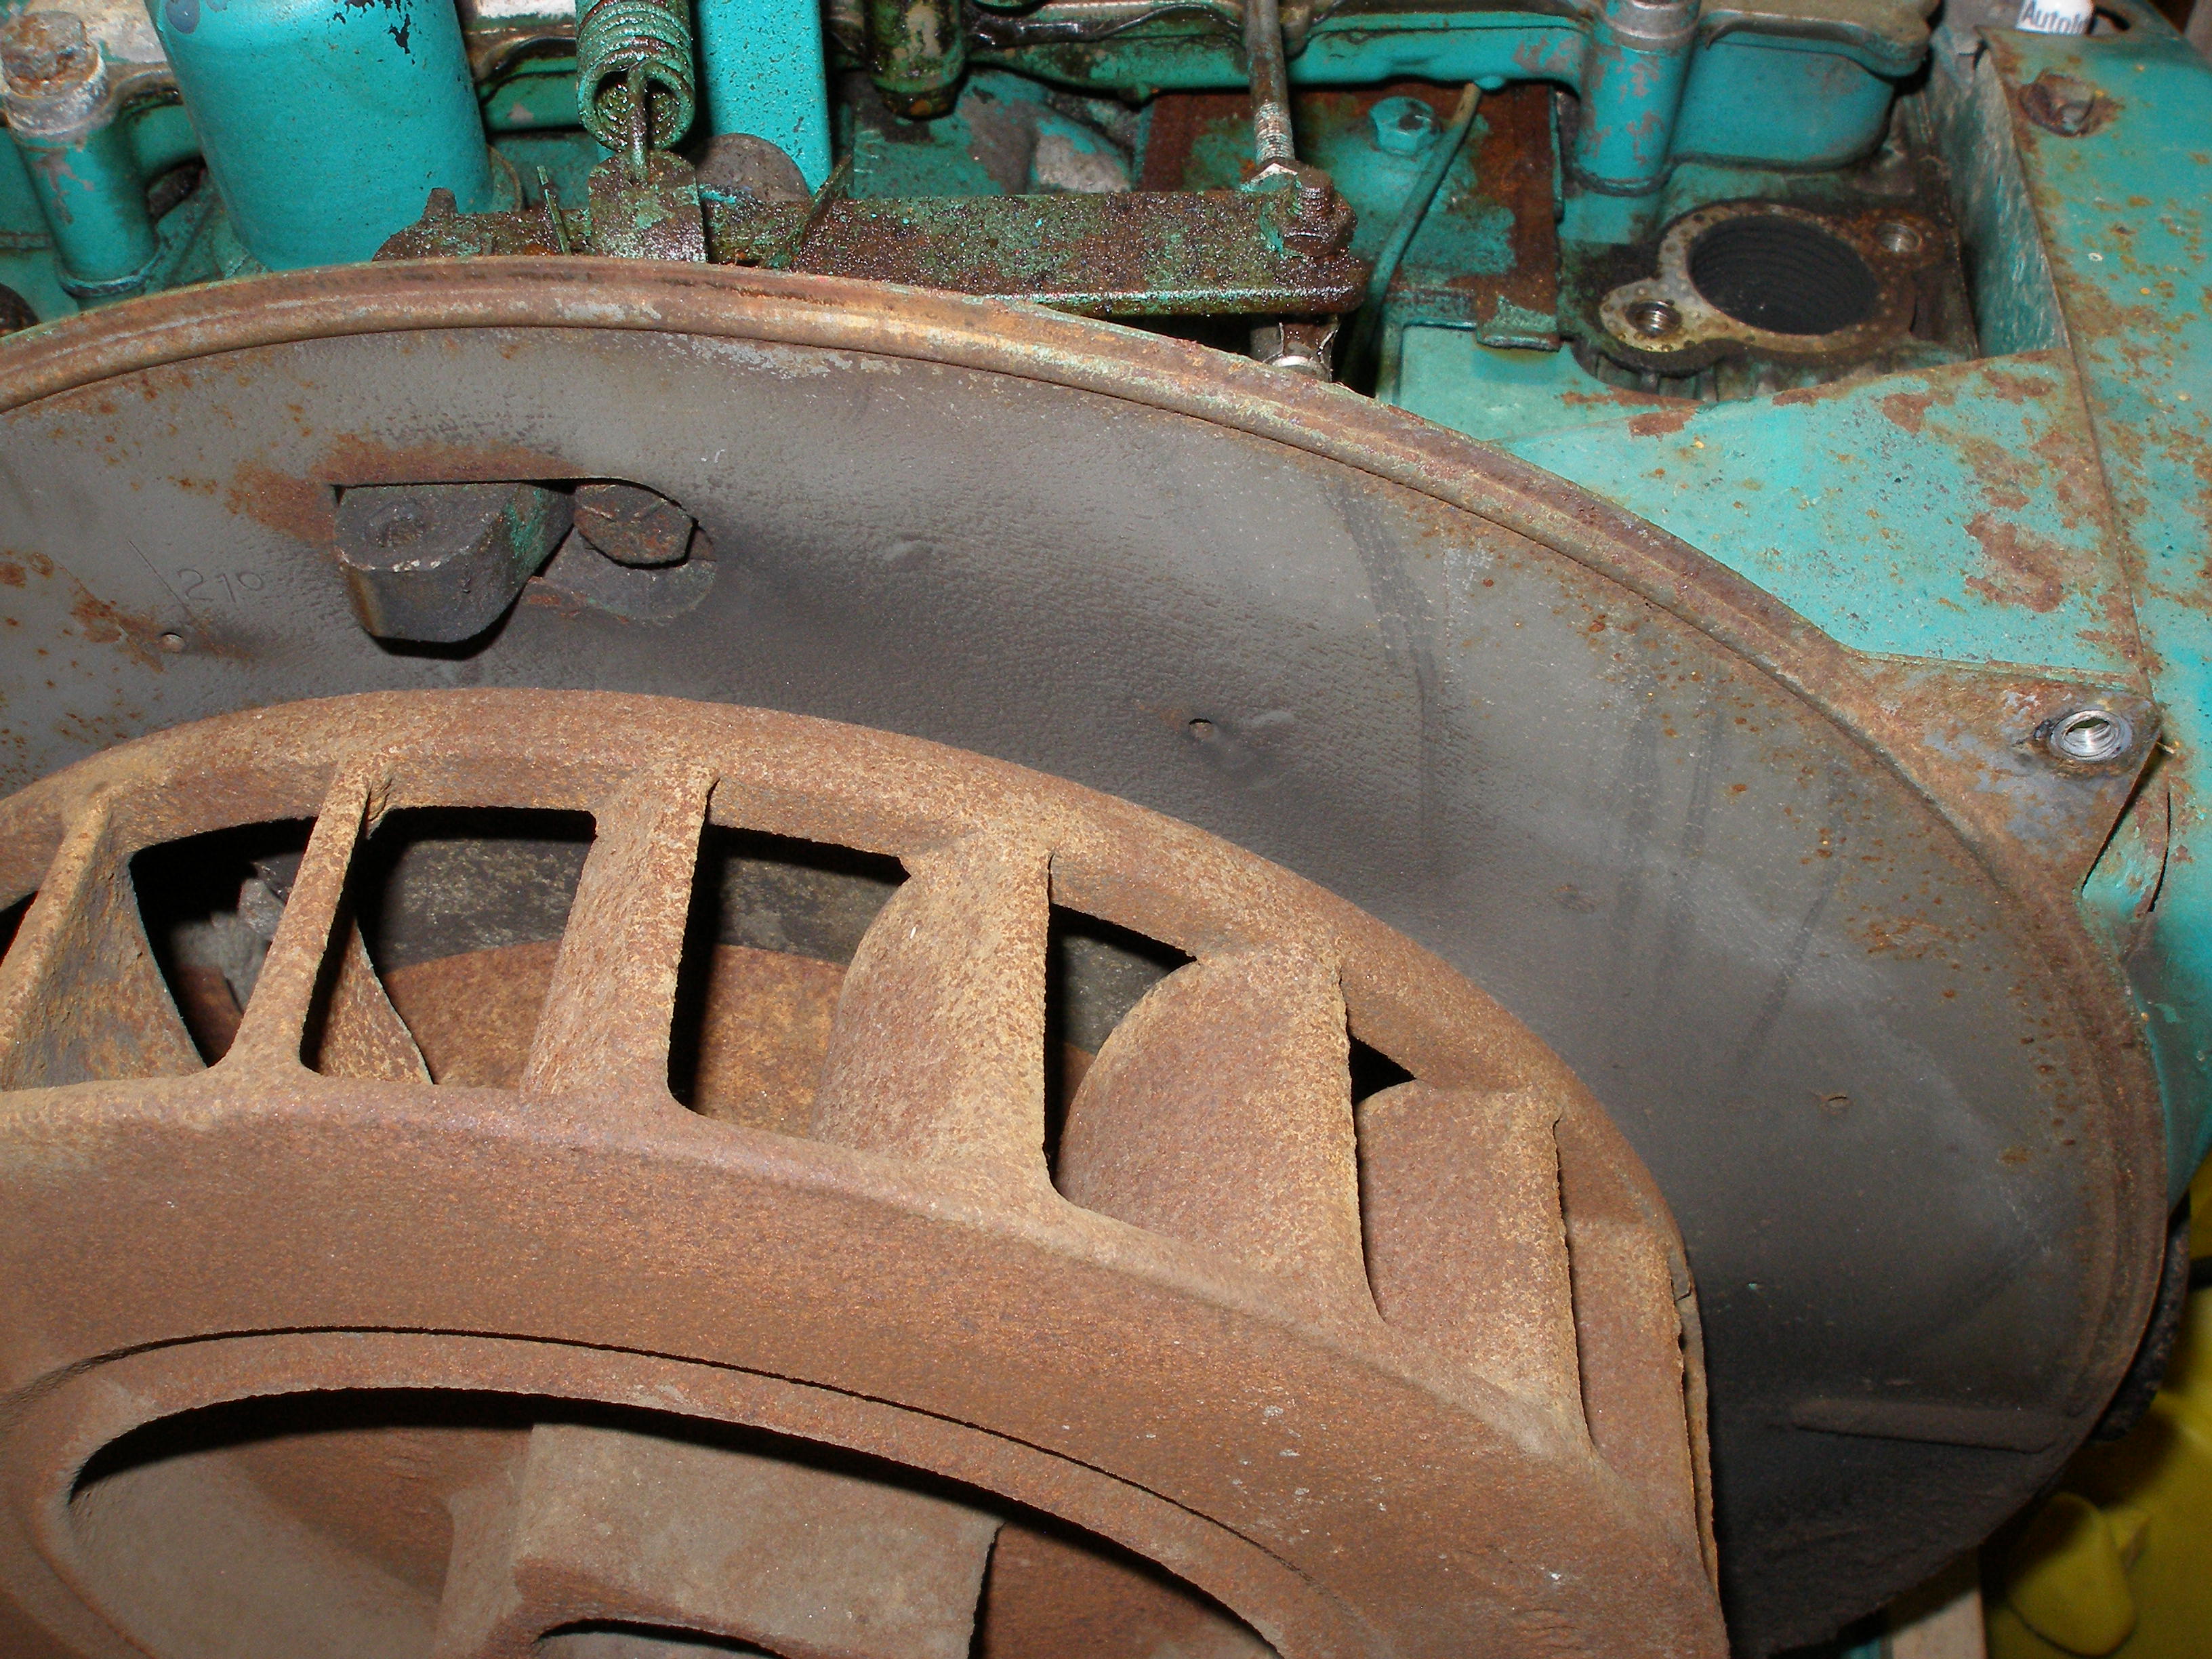
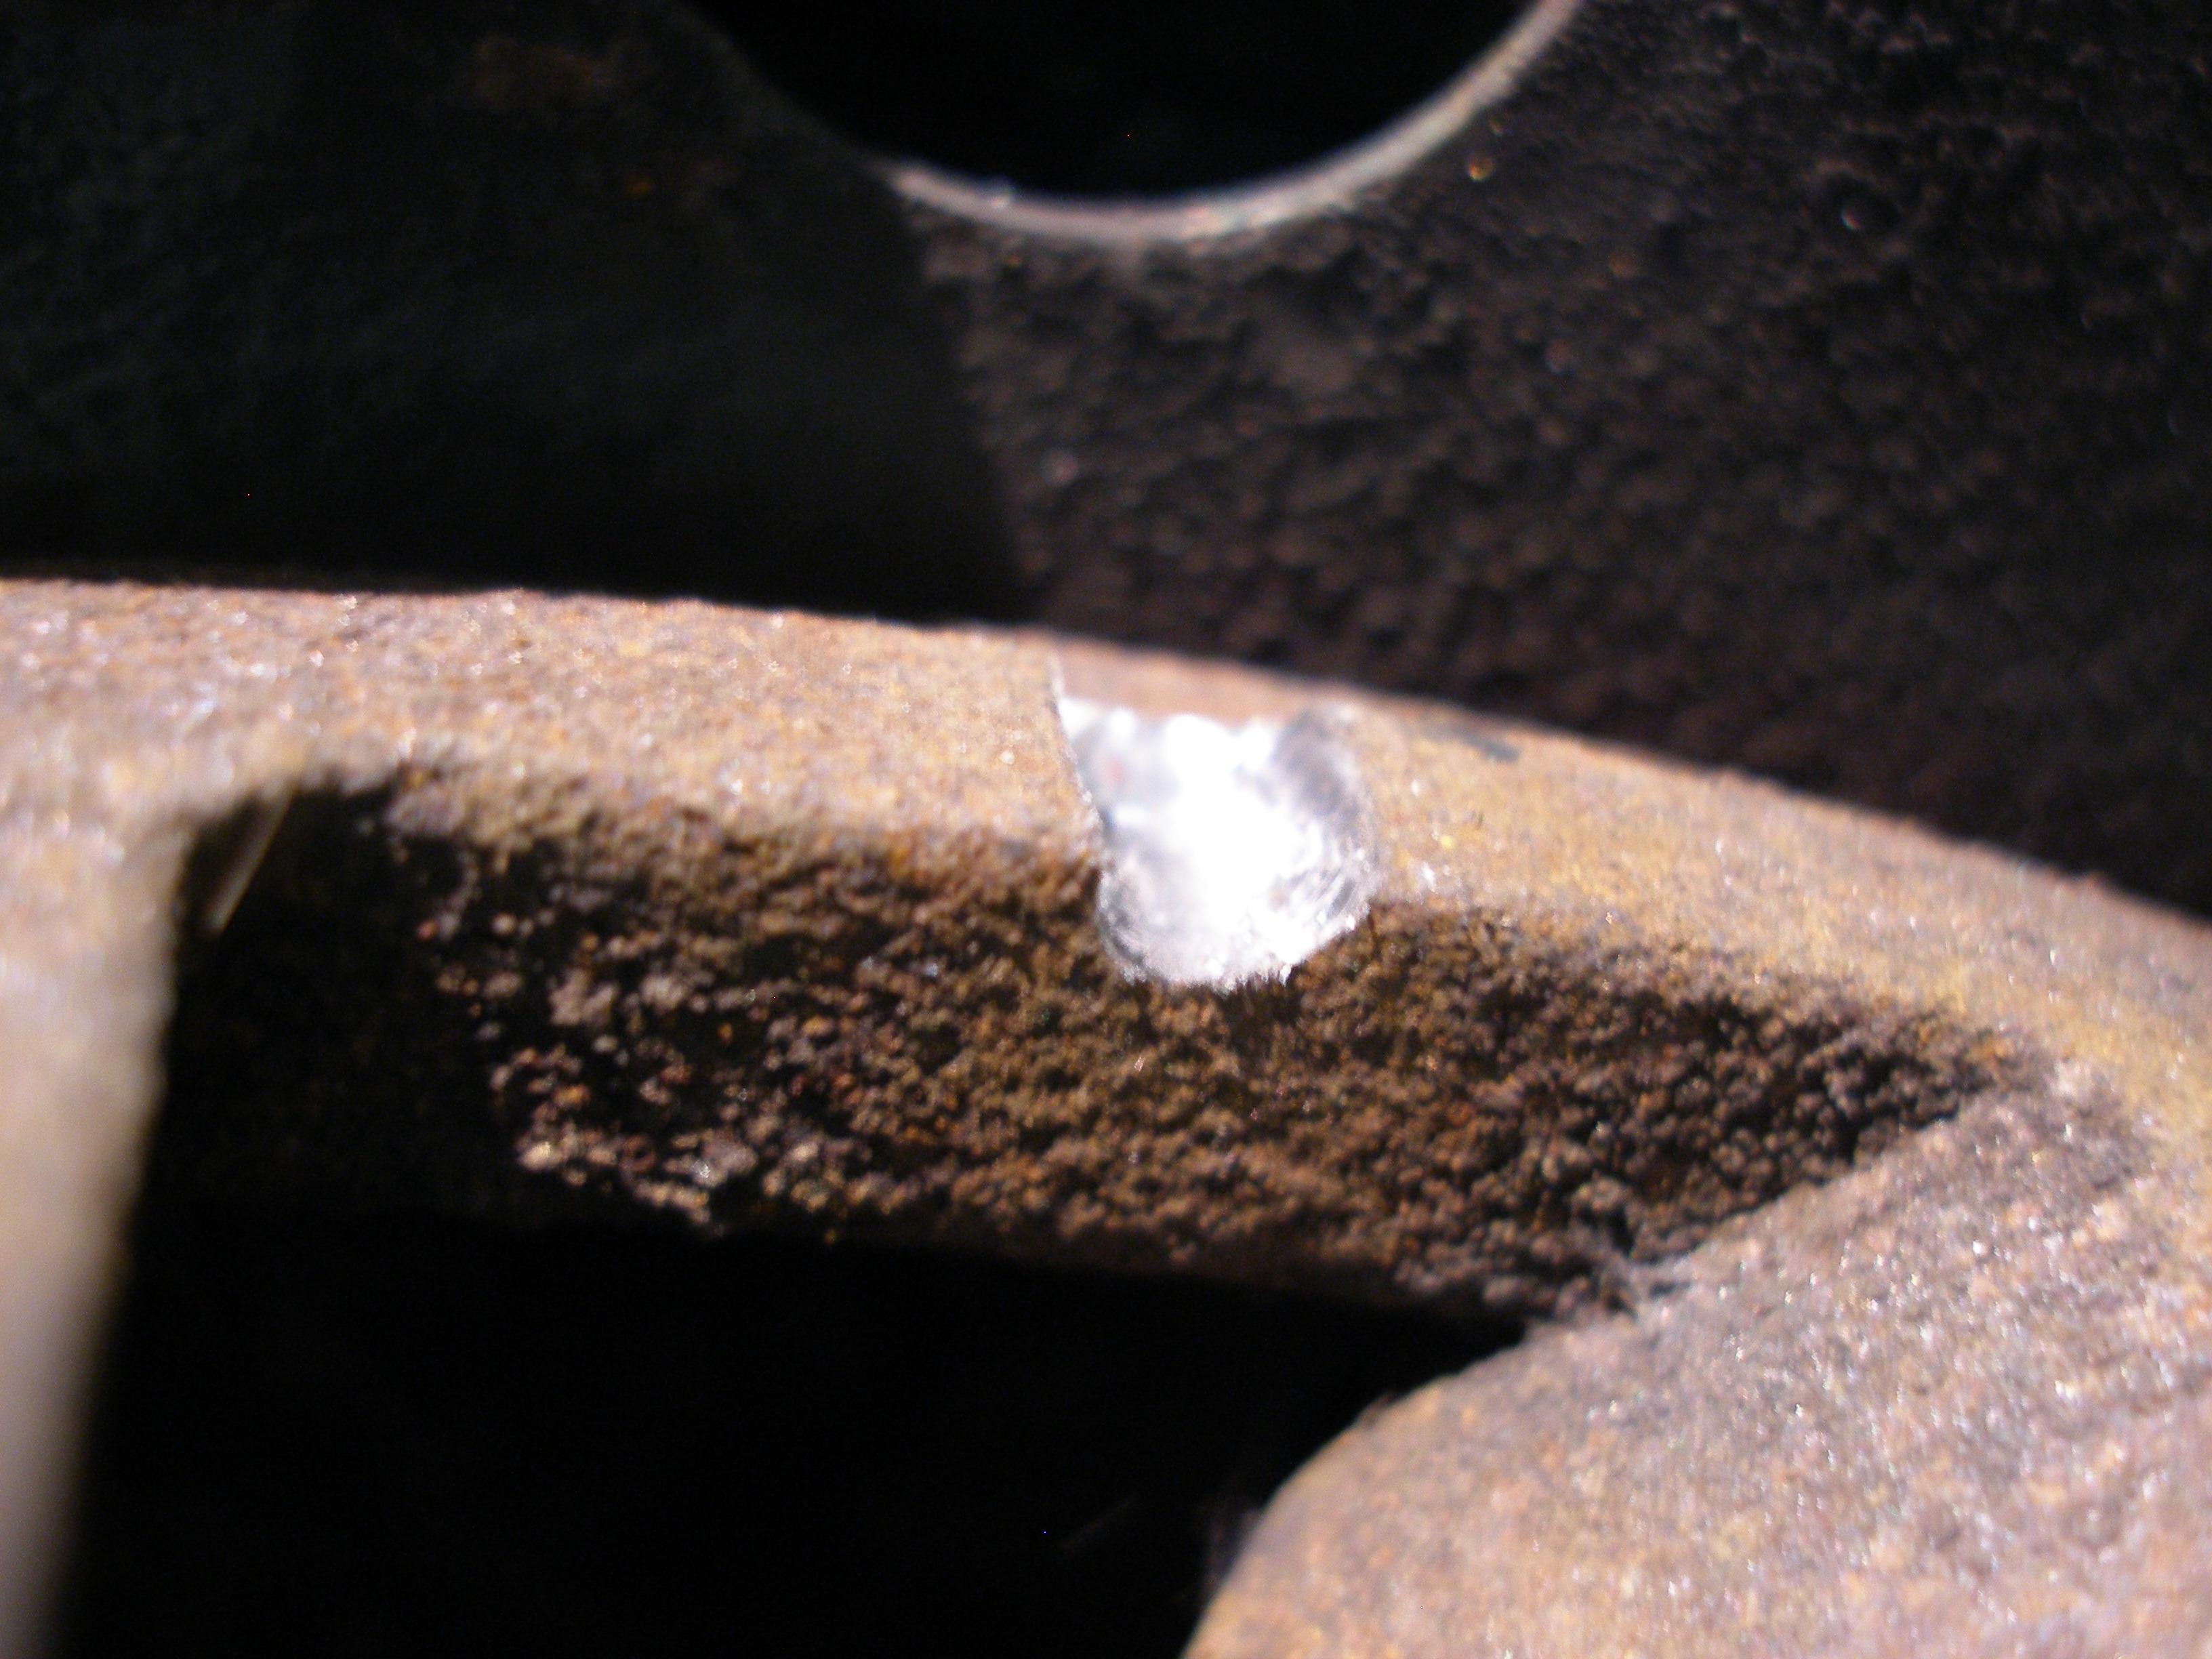
A picture to show that the OD of the flywheel is not perpendicular to the shroud's backing plate, nor parallel to the crankshaft. This is important, and impacts the Pertronix installation and magnet mounting.
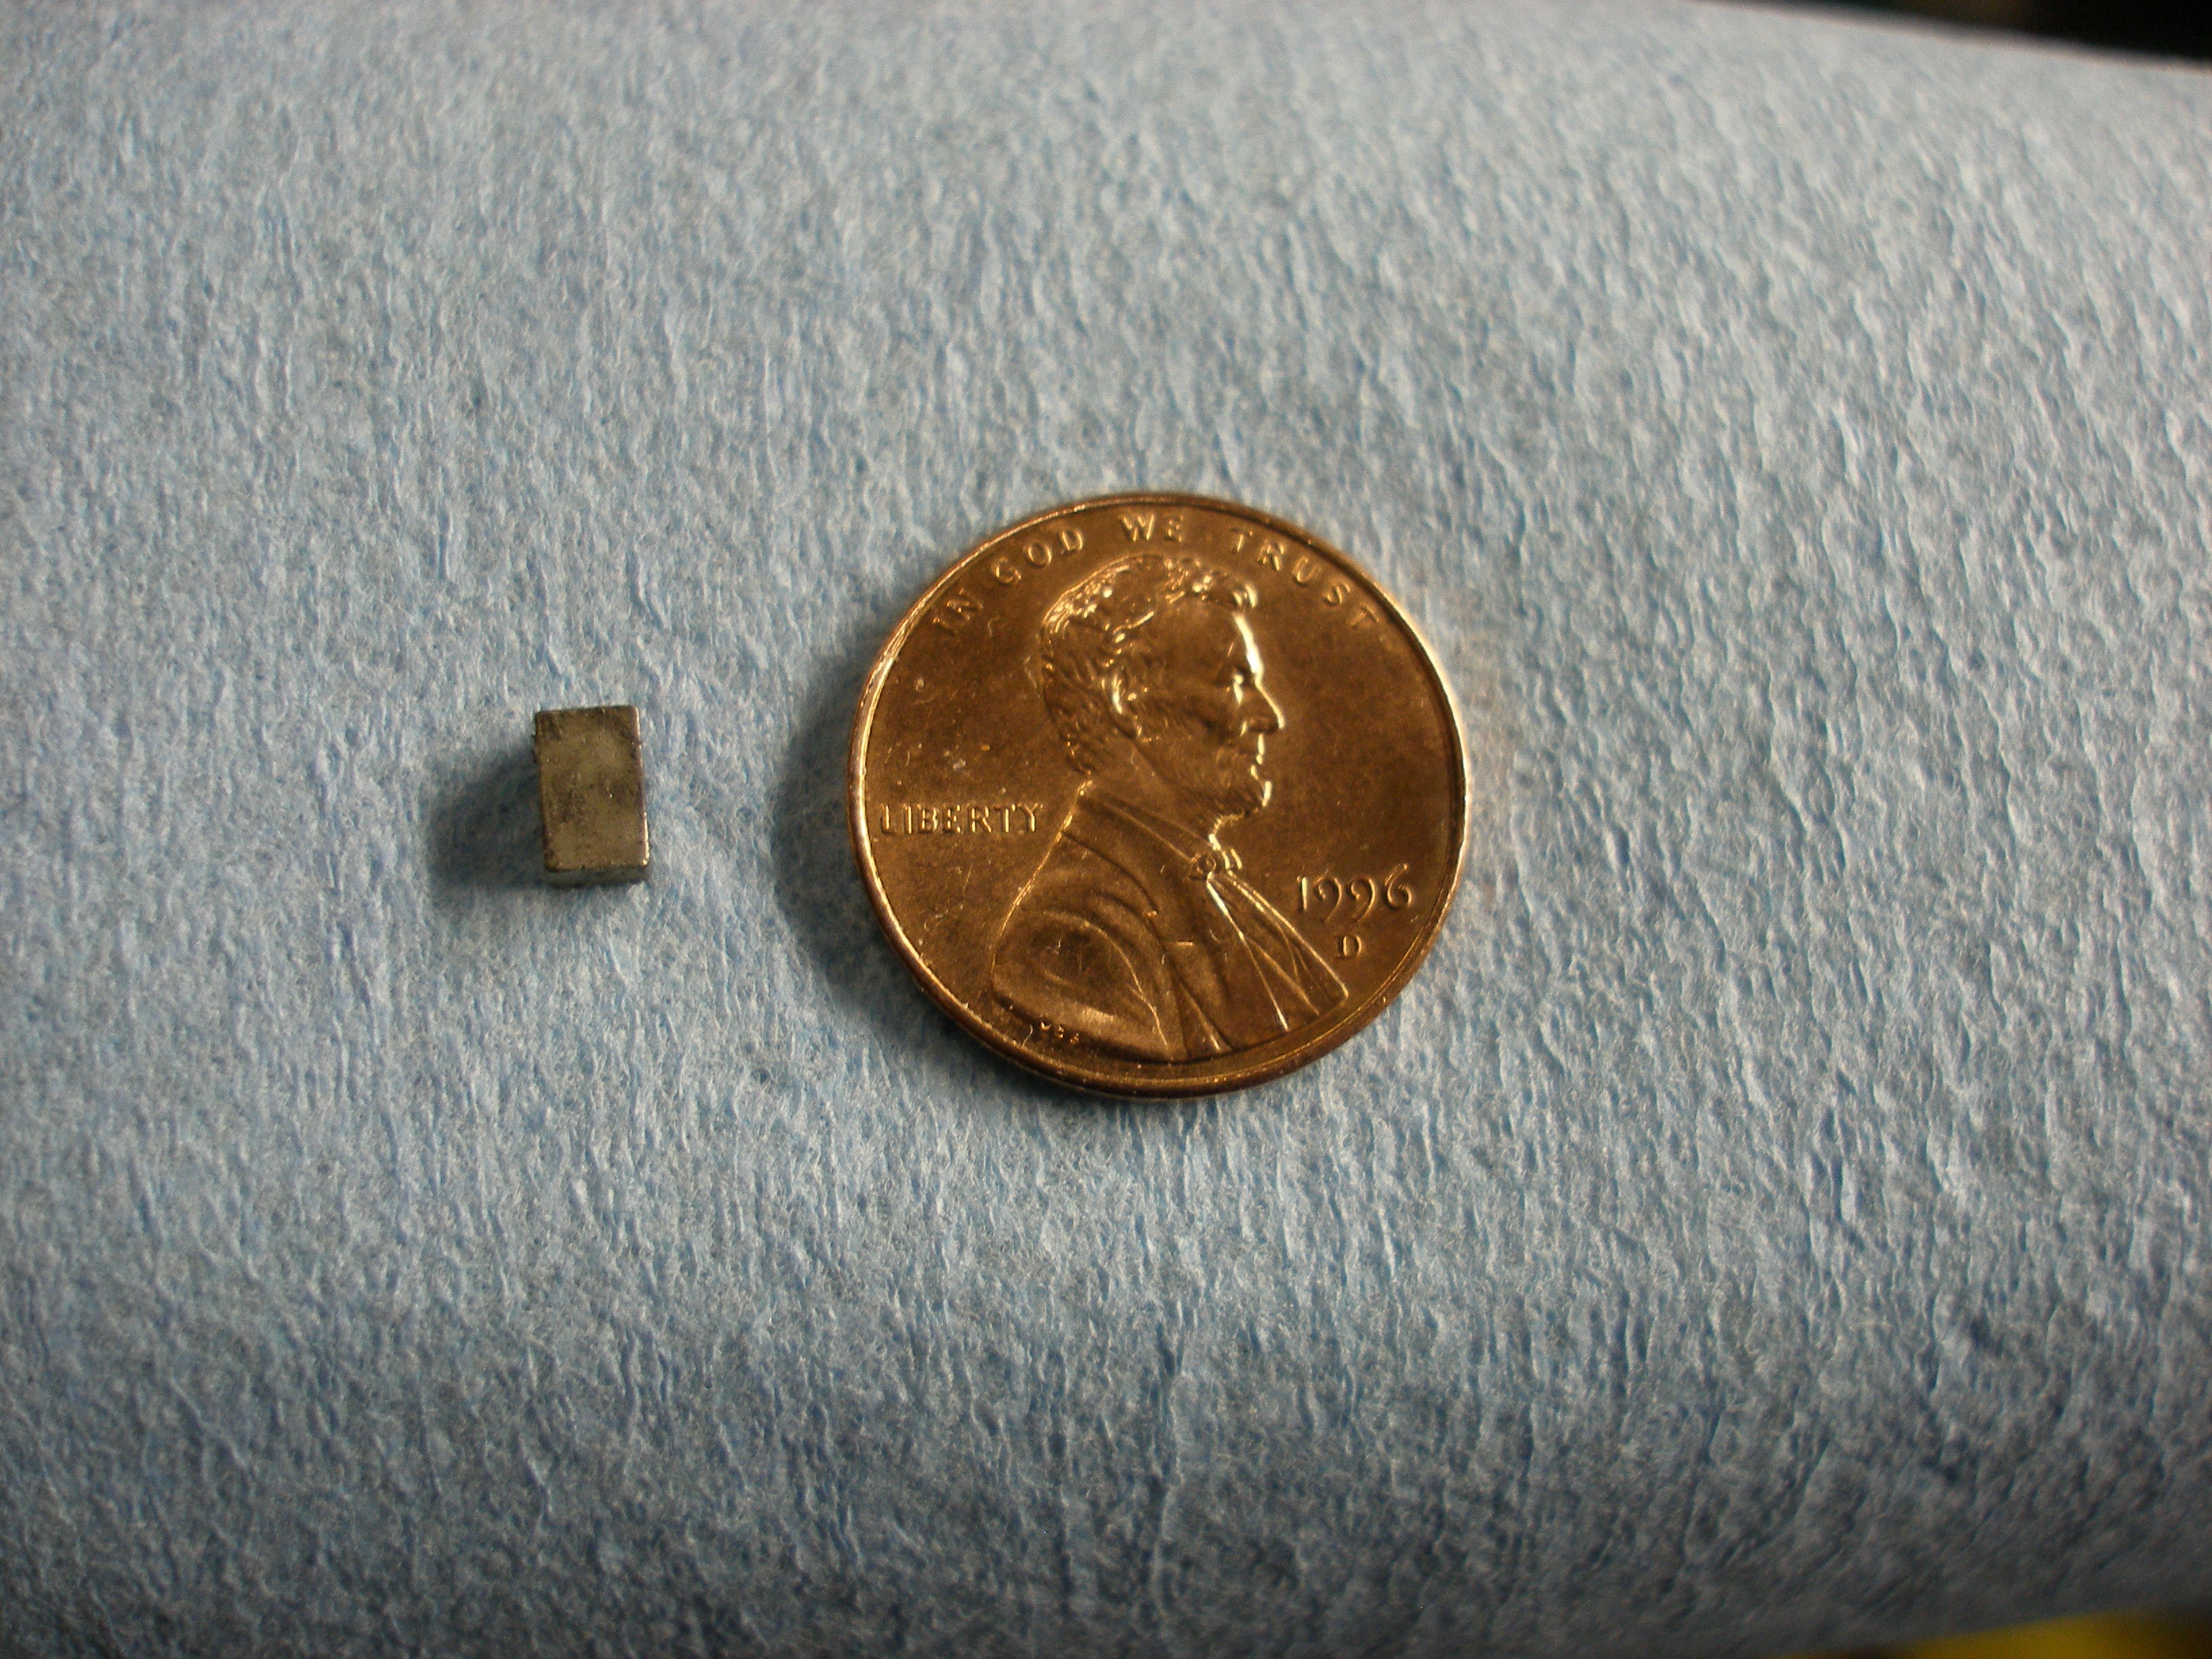
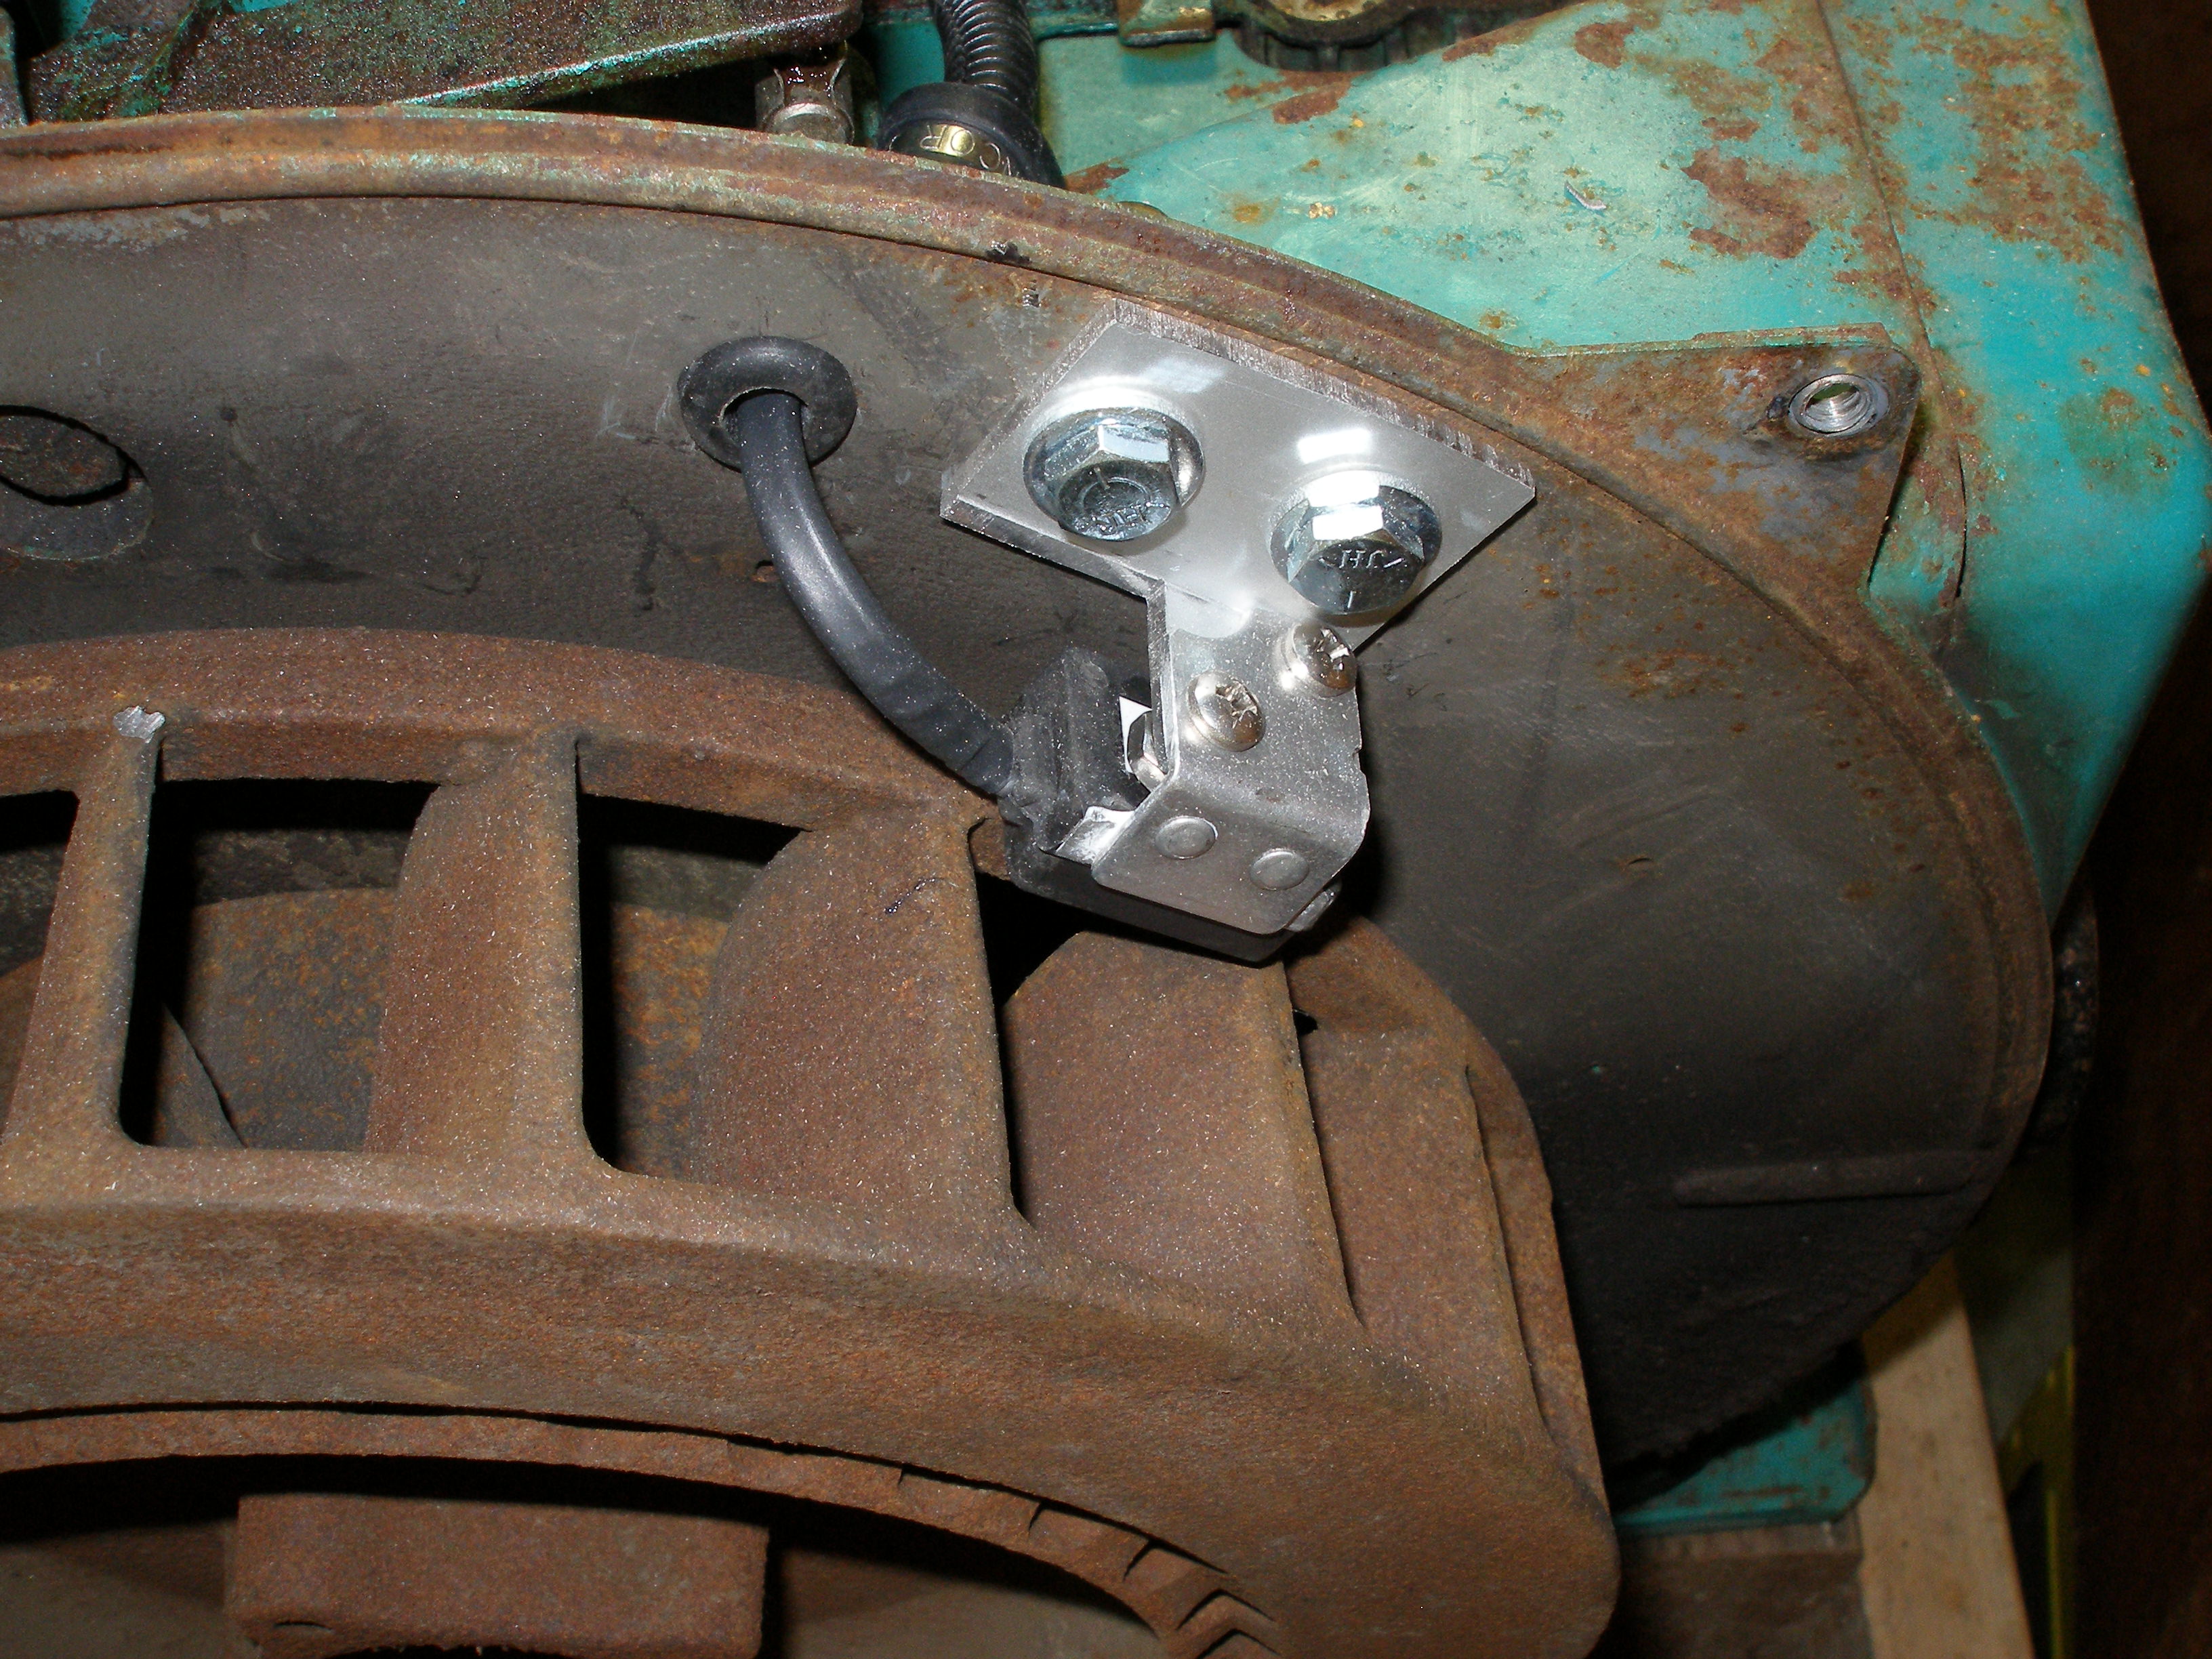
The SBC Pertronix kit comes with a ring of eight magnets embedded in plastic. I Dremeled one of them loose for this project.
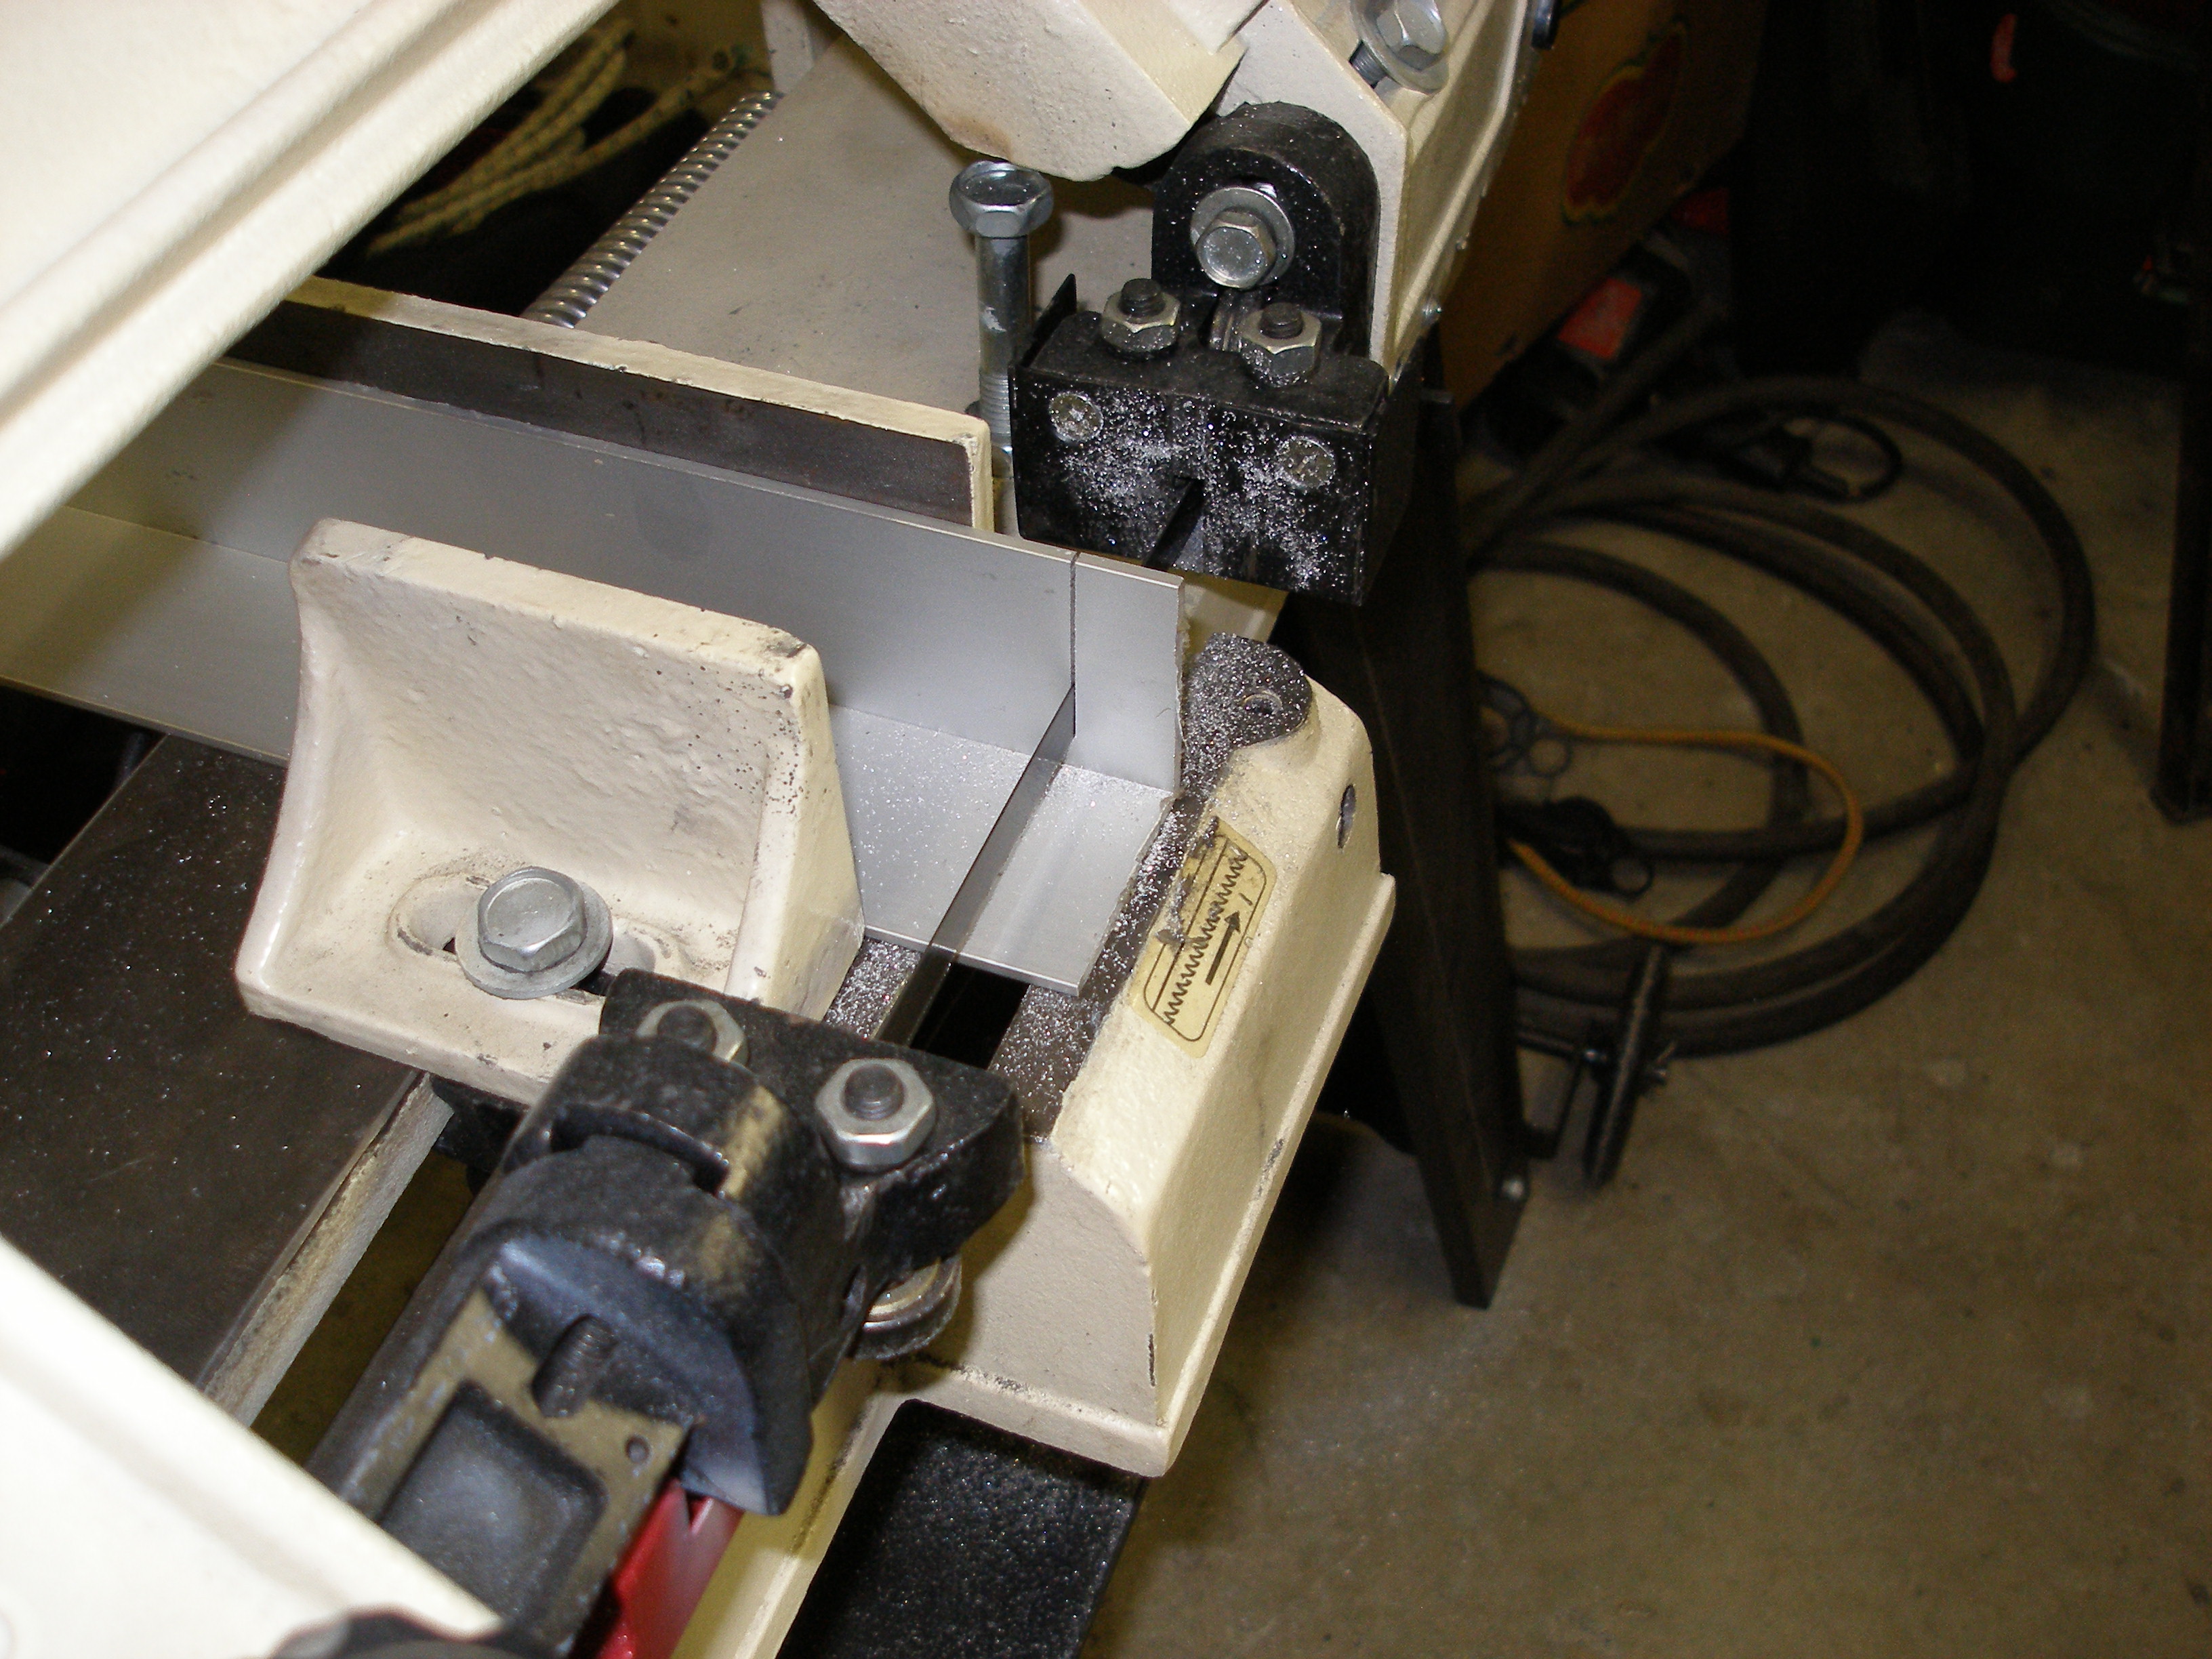
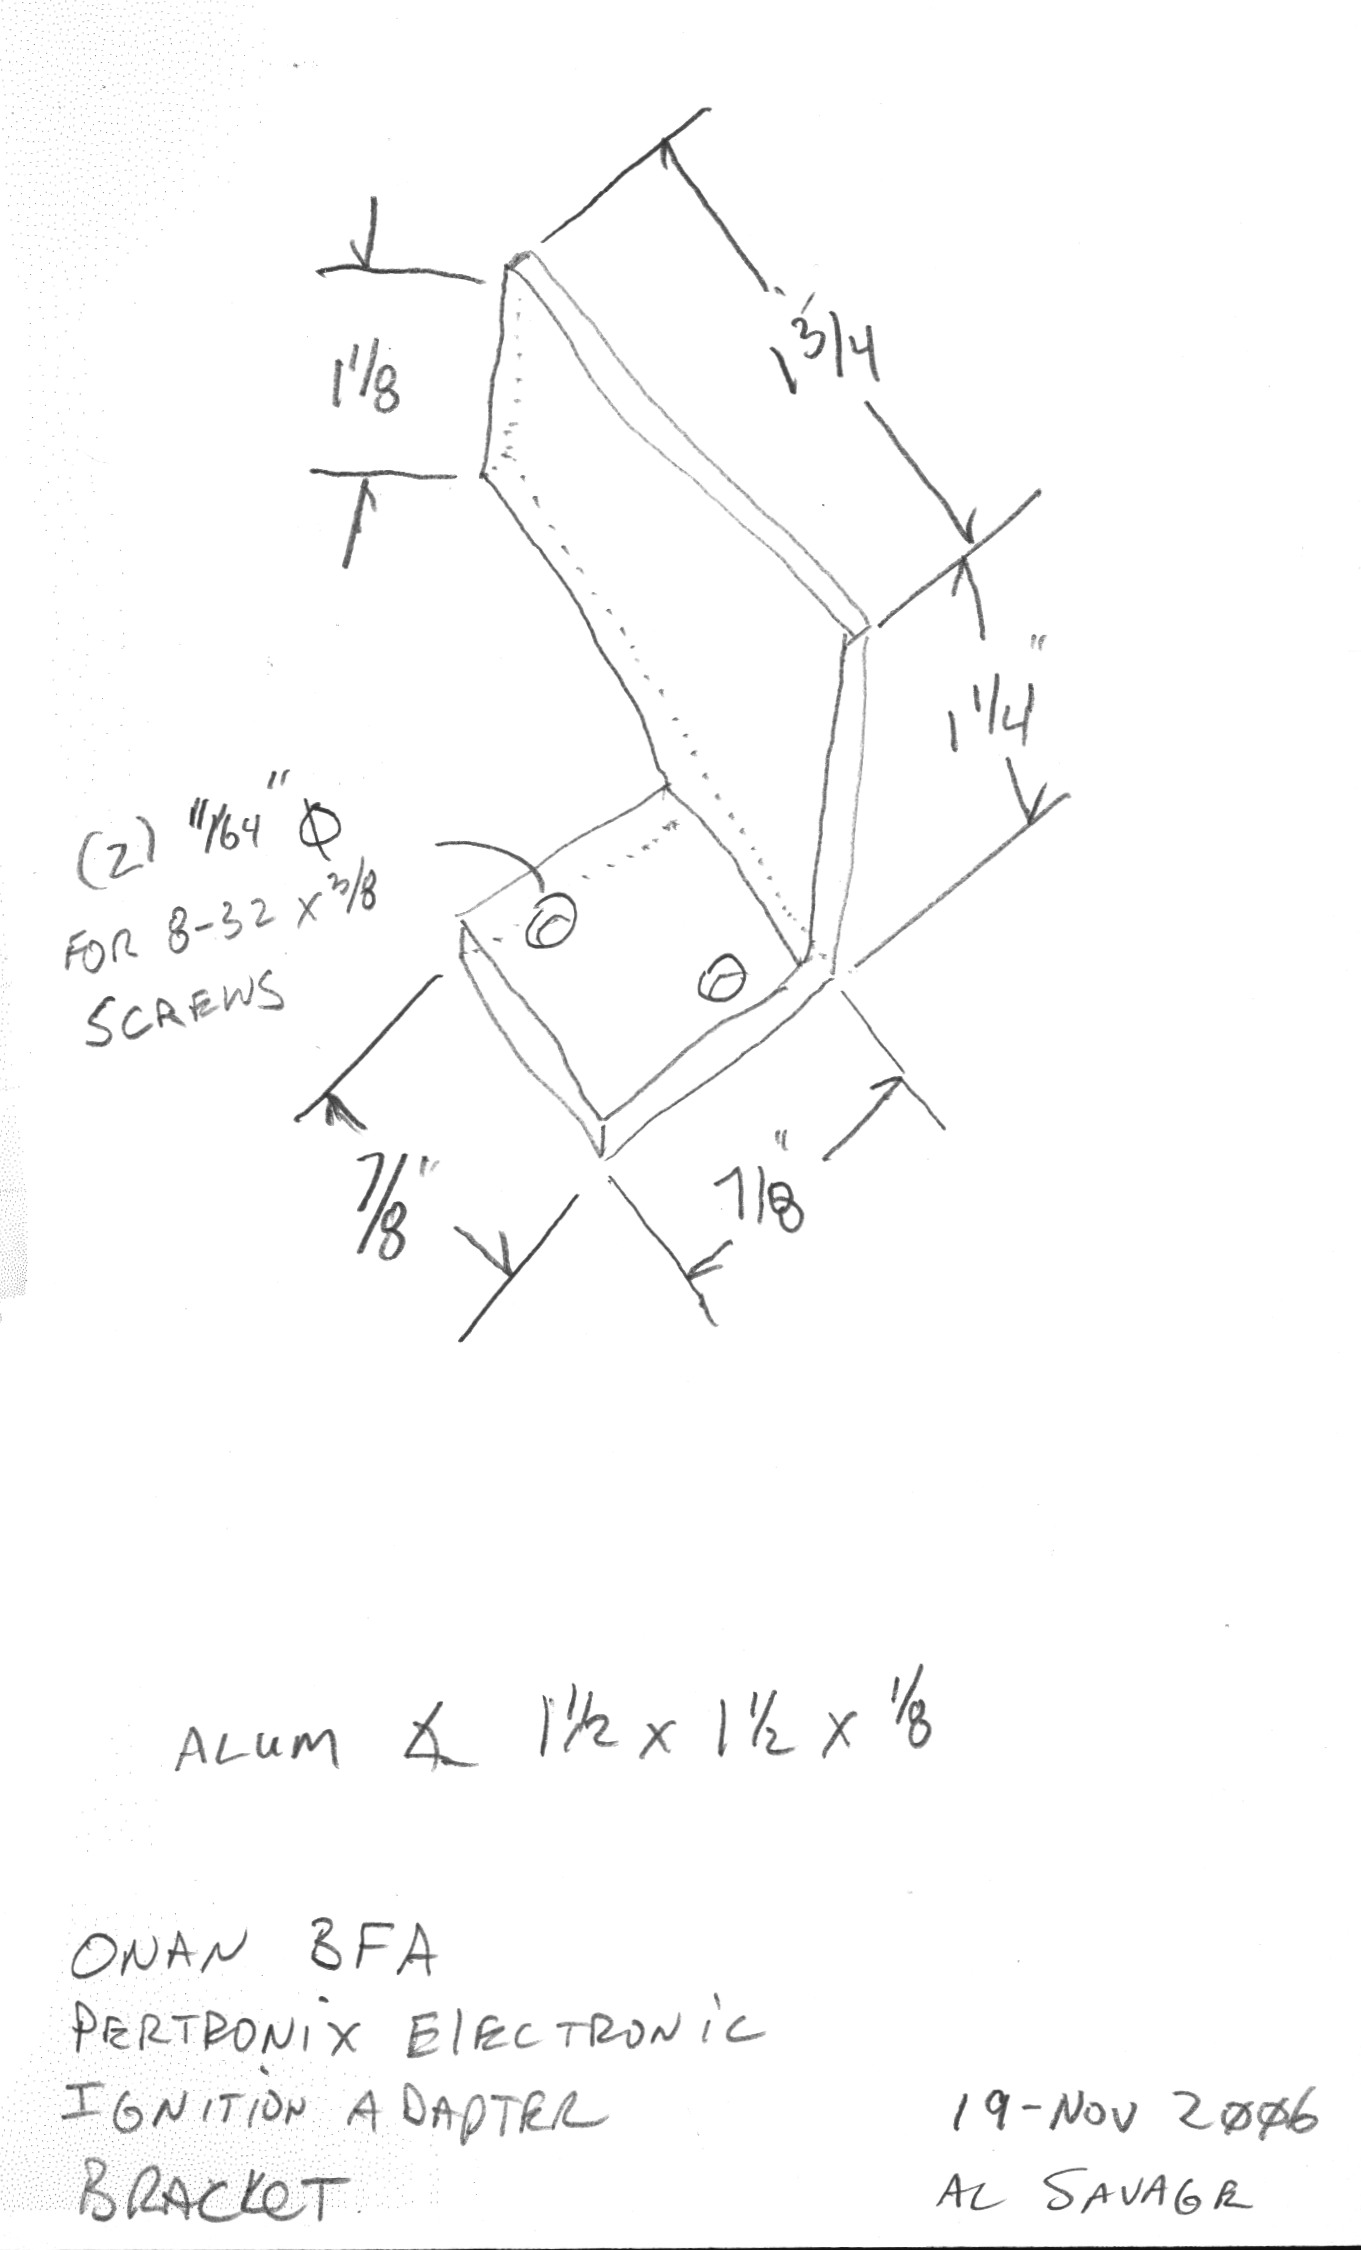
Fire up the Chinese bandsaw. Cut off a section of 1/8"x1.5"x1.5" anodized aluminum angle.
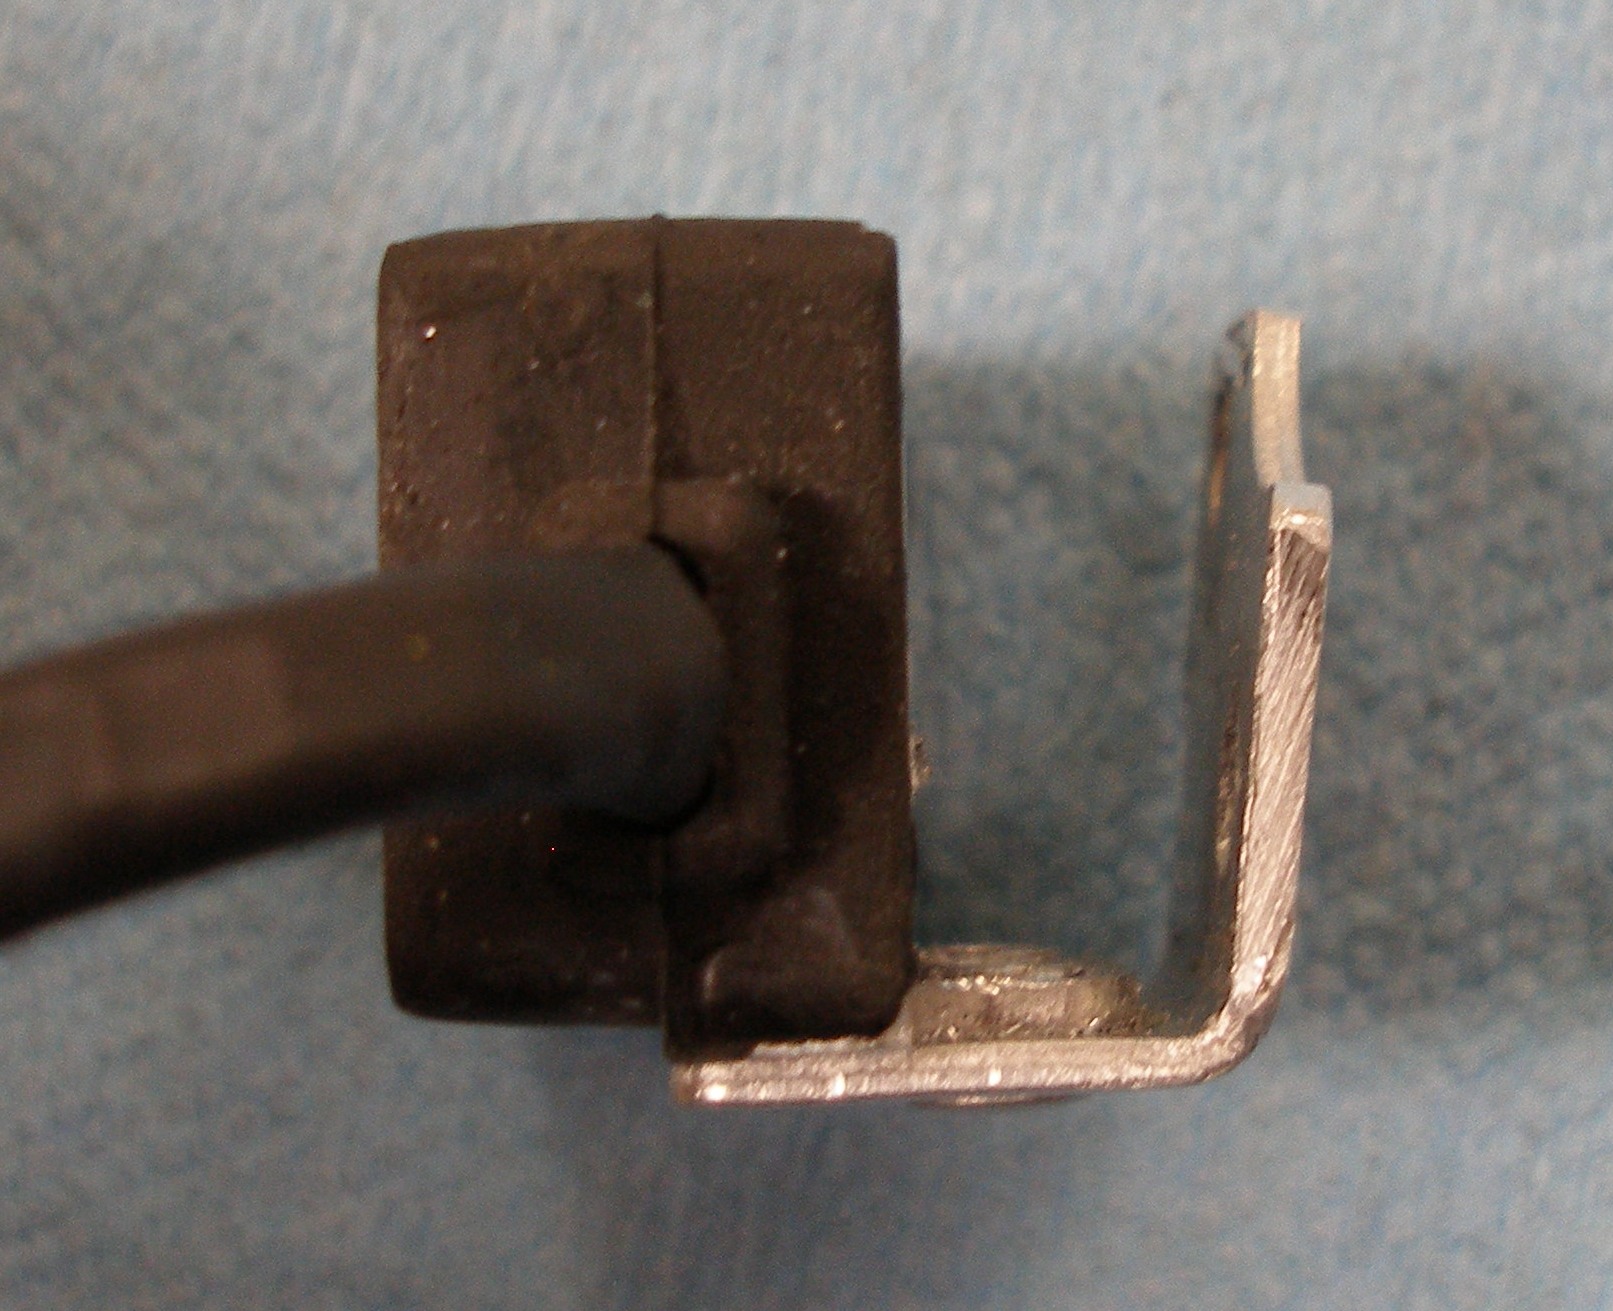
A bit of crude measuring and I was able to trim the first leg of the bracket, good enough to be able to know where to lop off the excess mounting plate from the 1181.

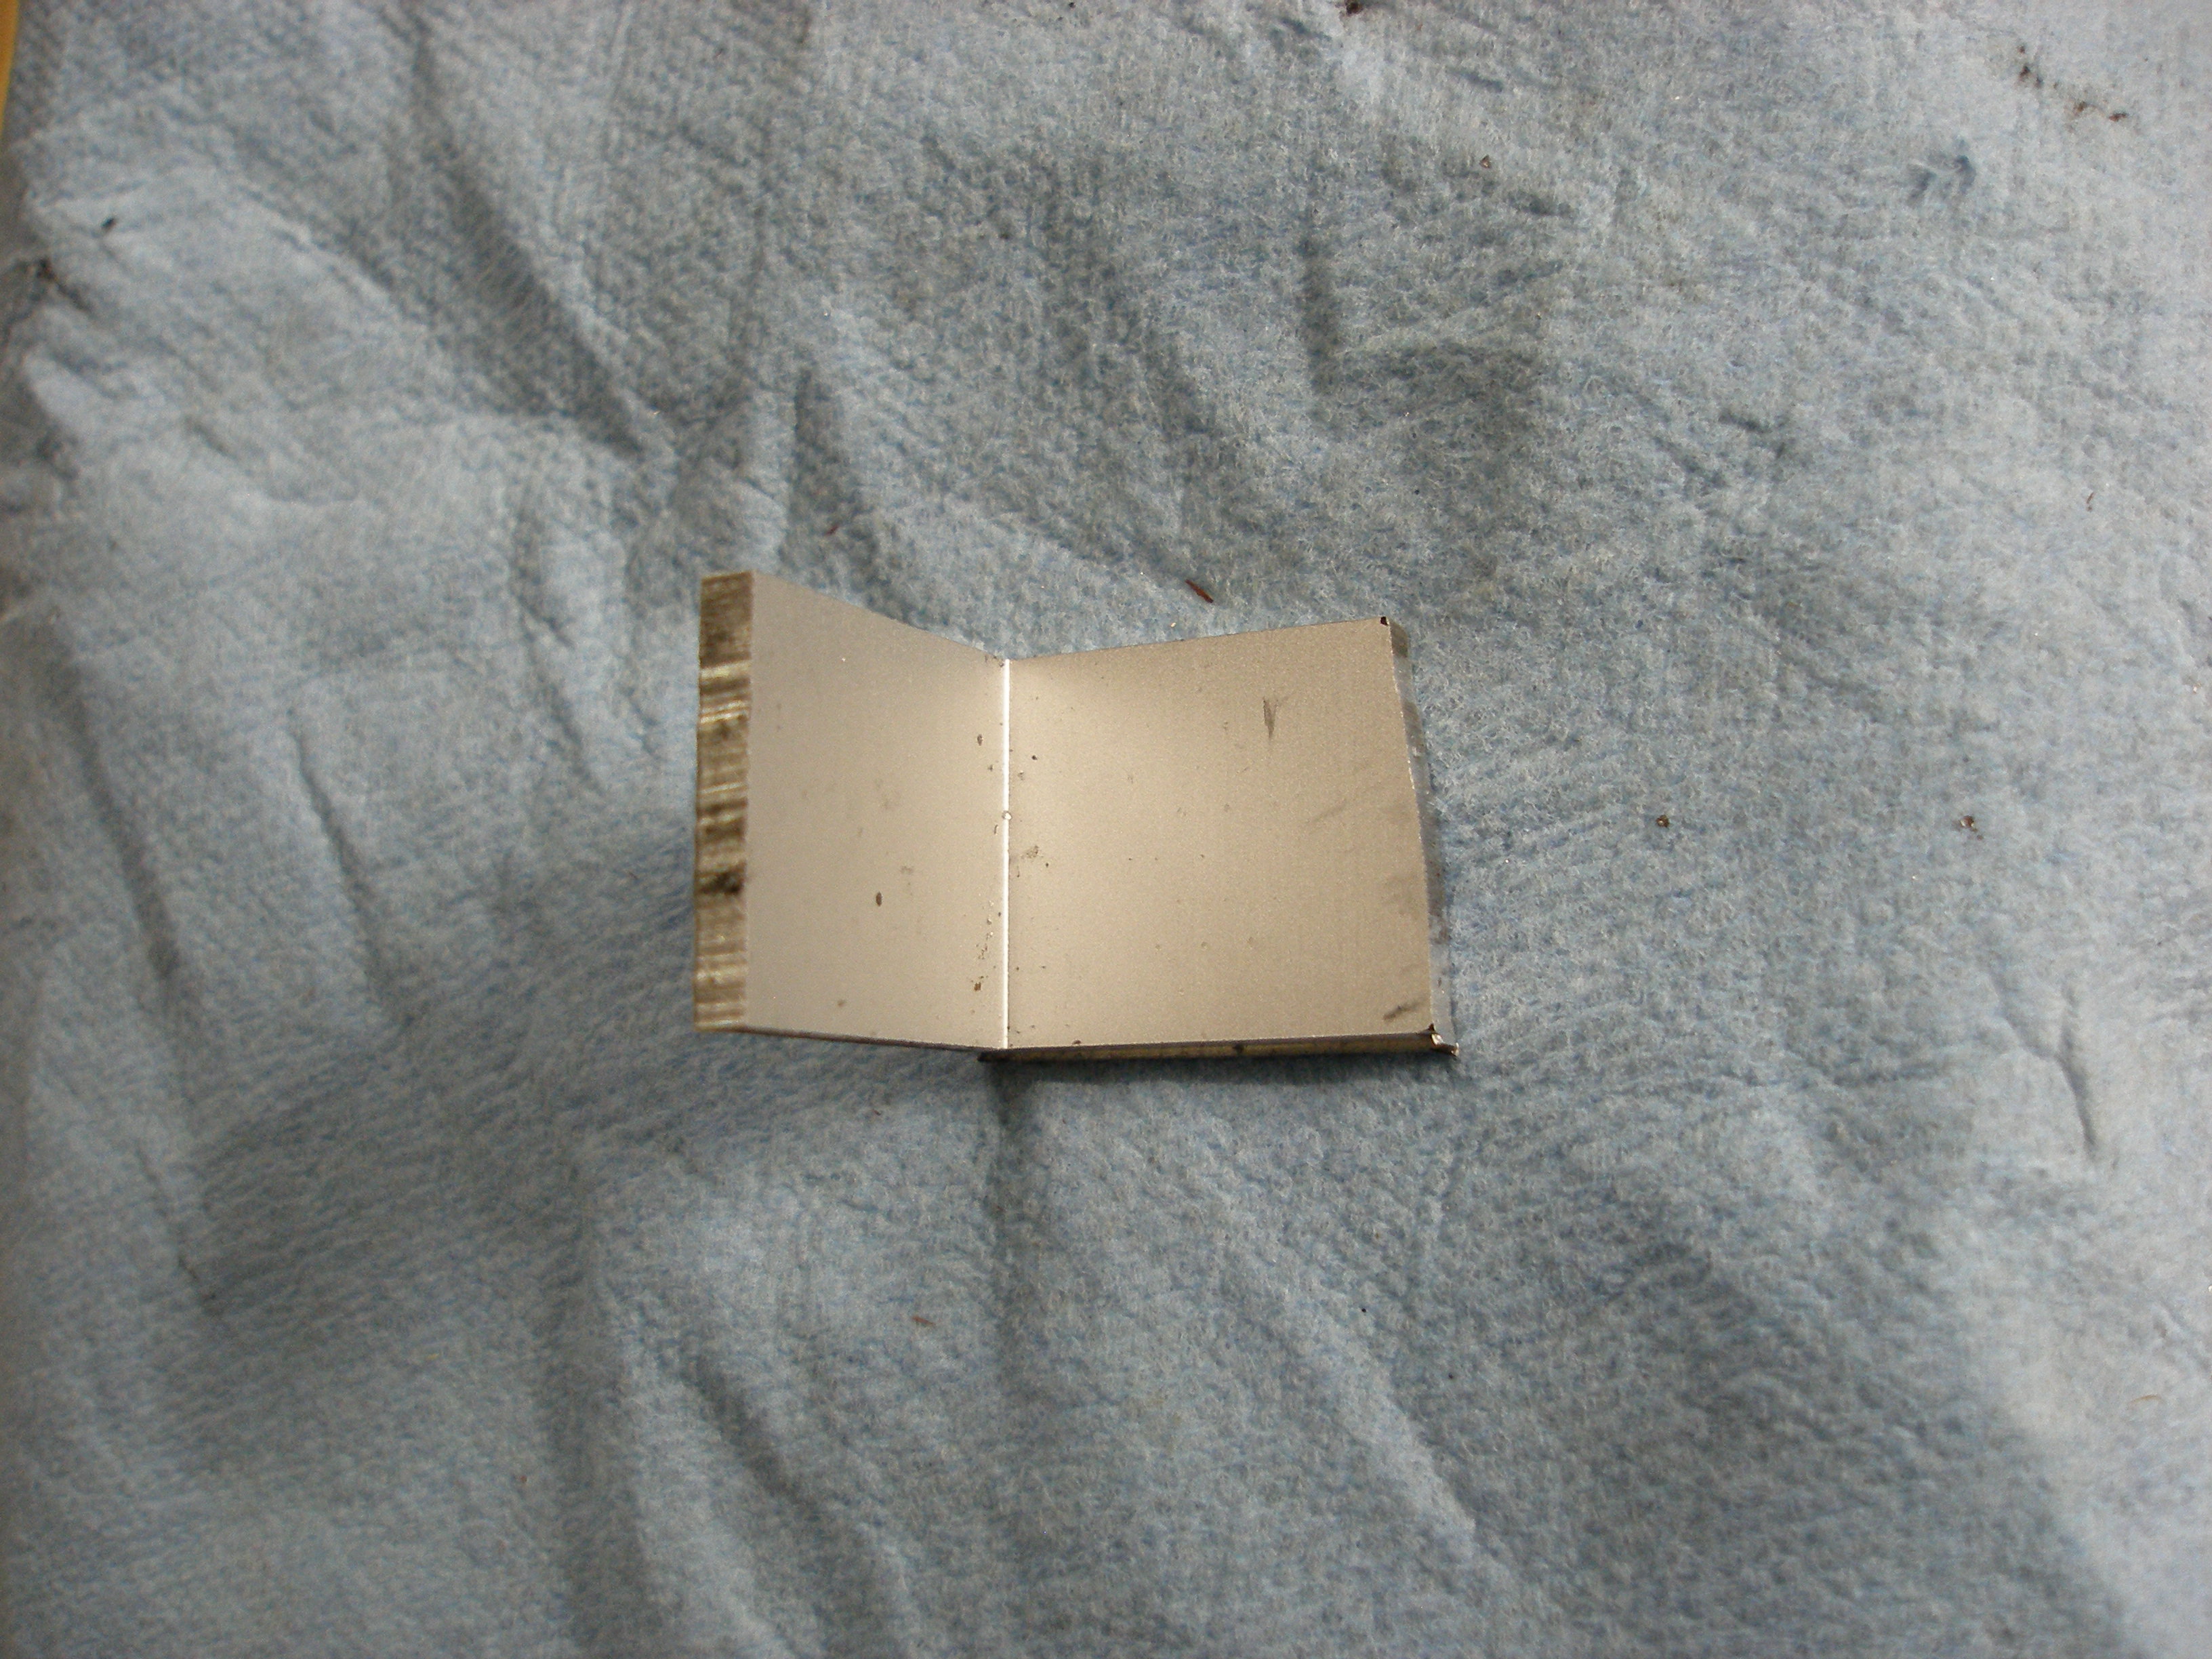
Then I cold rough-cut the leg that mates to the fan shroud backplate. Note the unequal height: about 1/16" difference matched the OD of the shroud circumference fine. I could have just hacked it off square to the shorter dimension too.

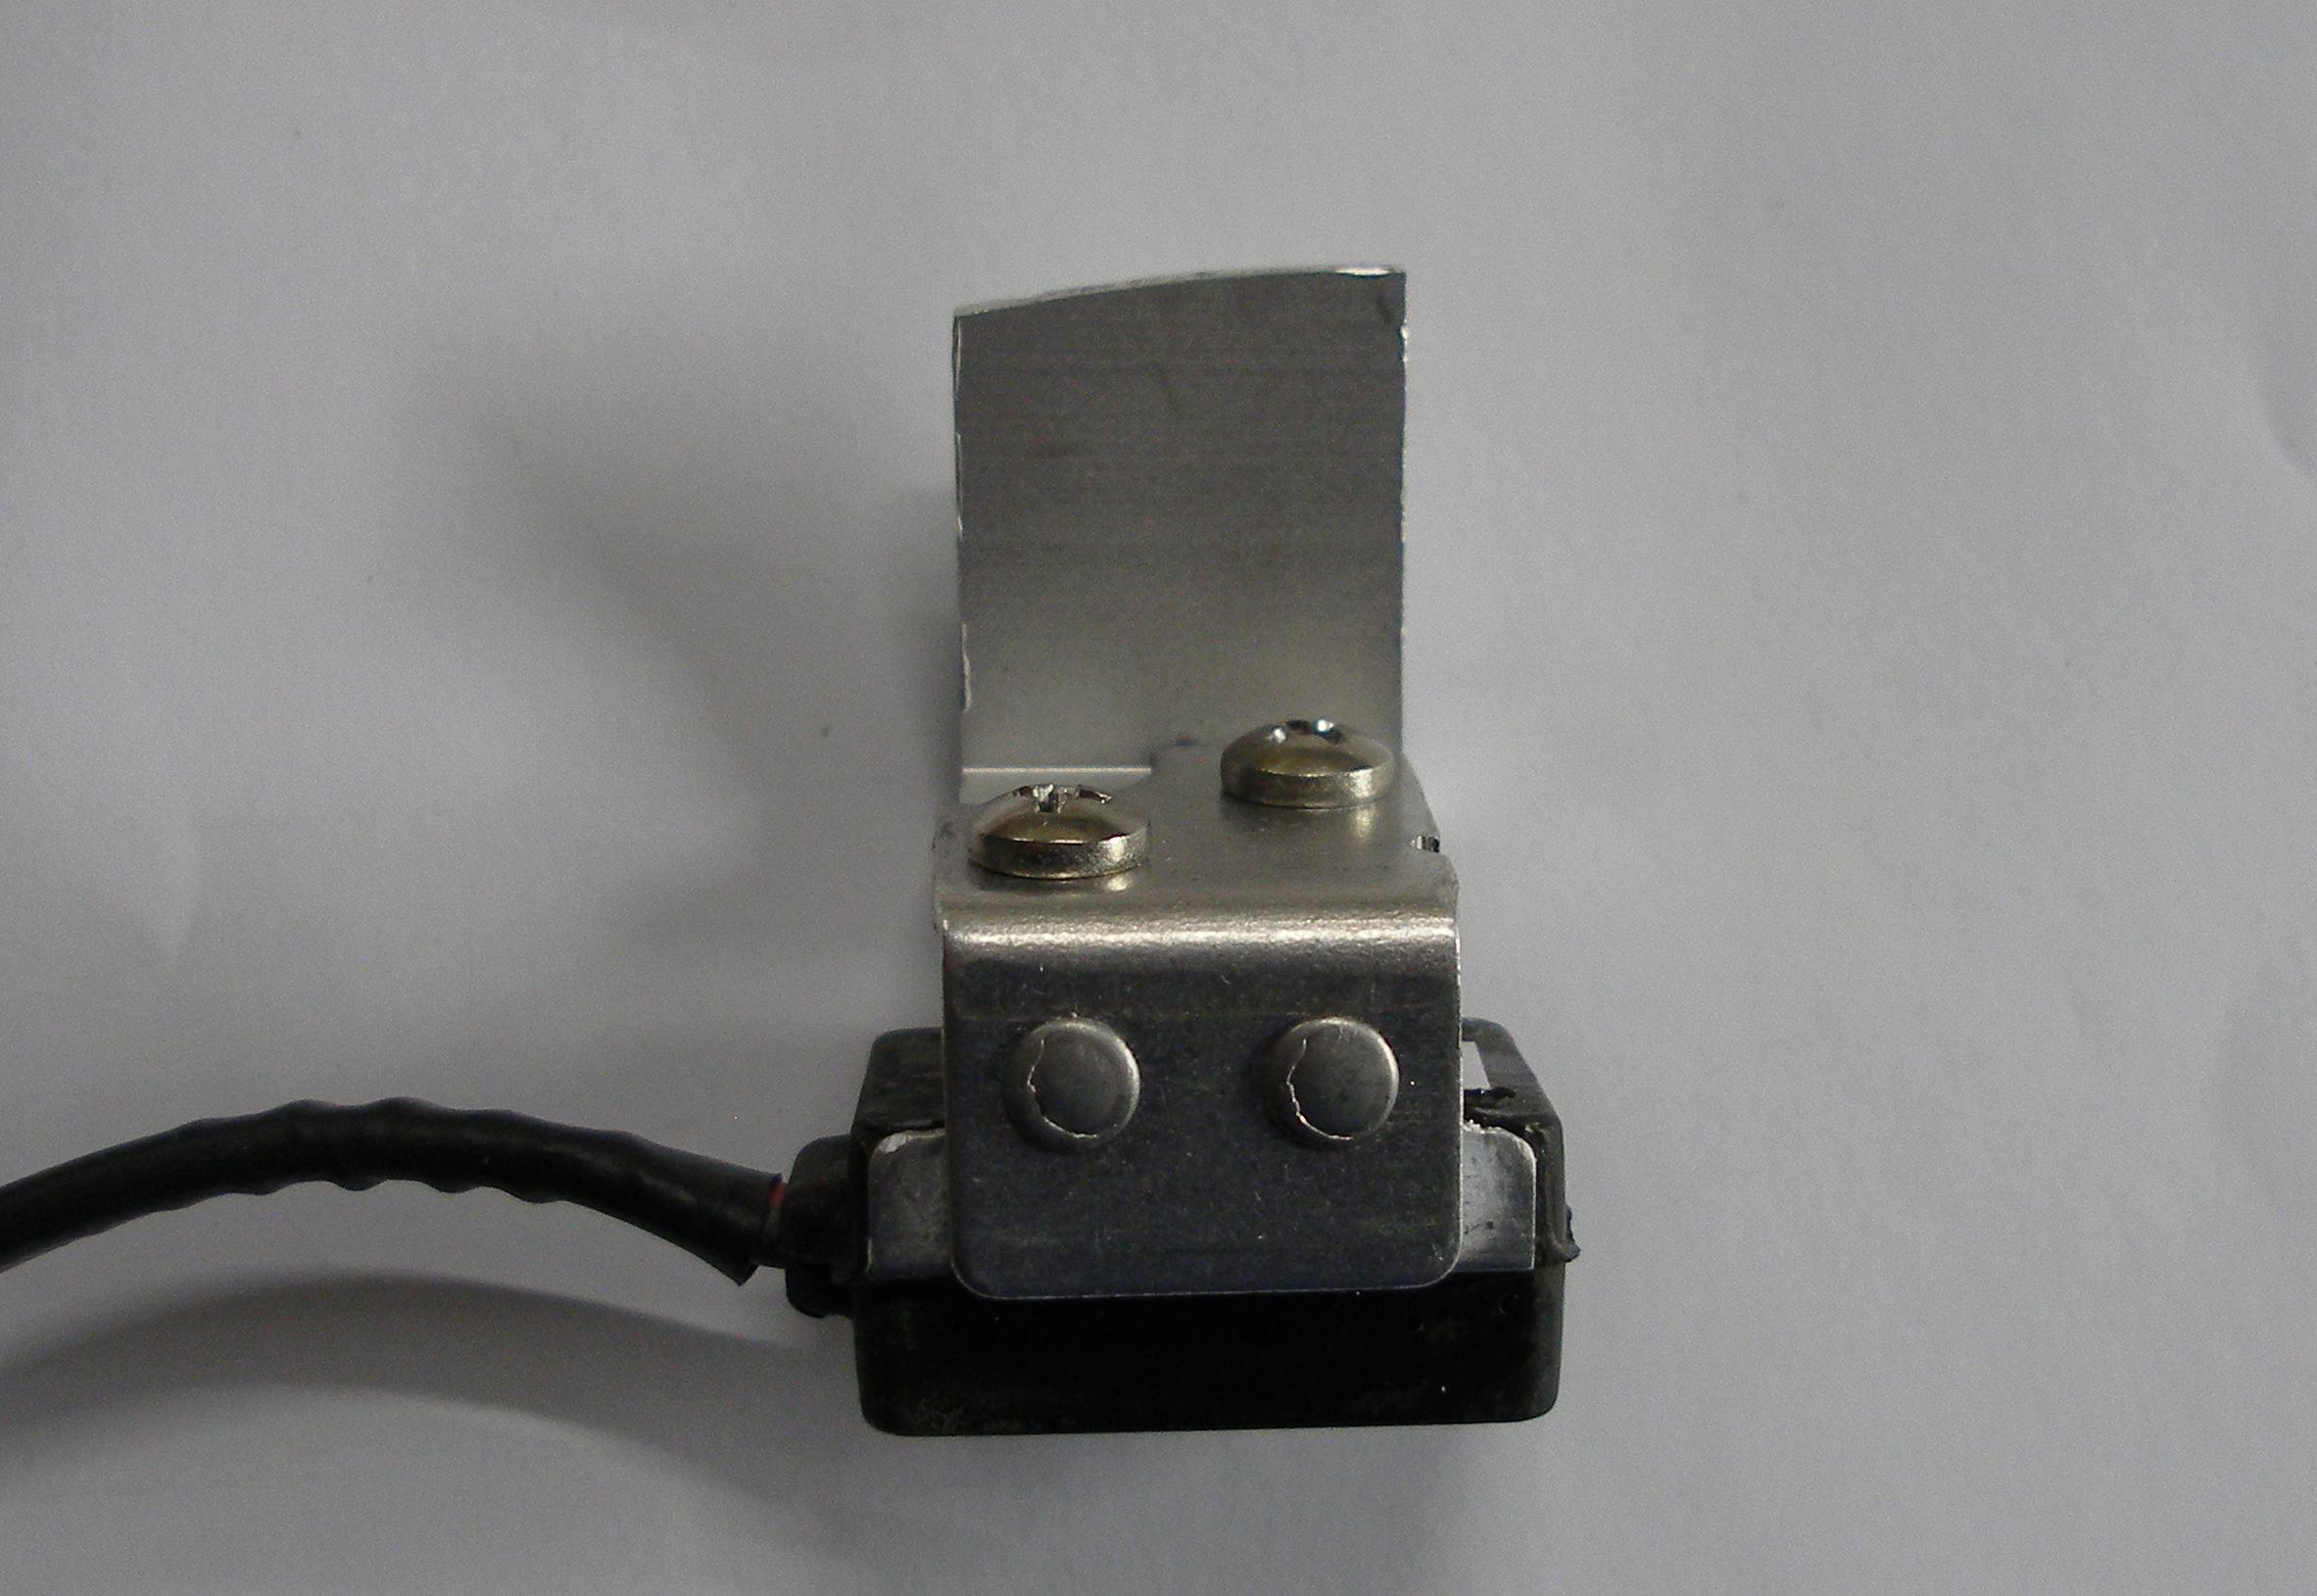
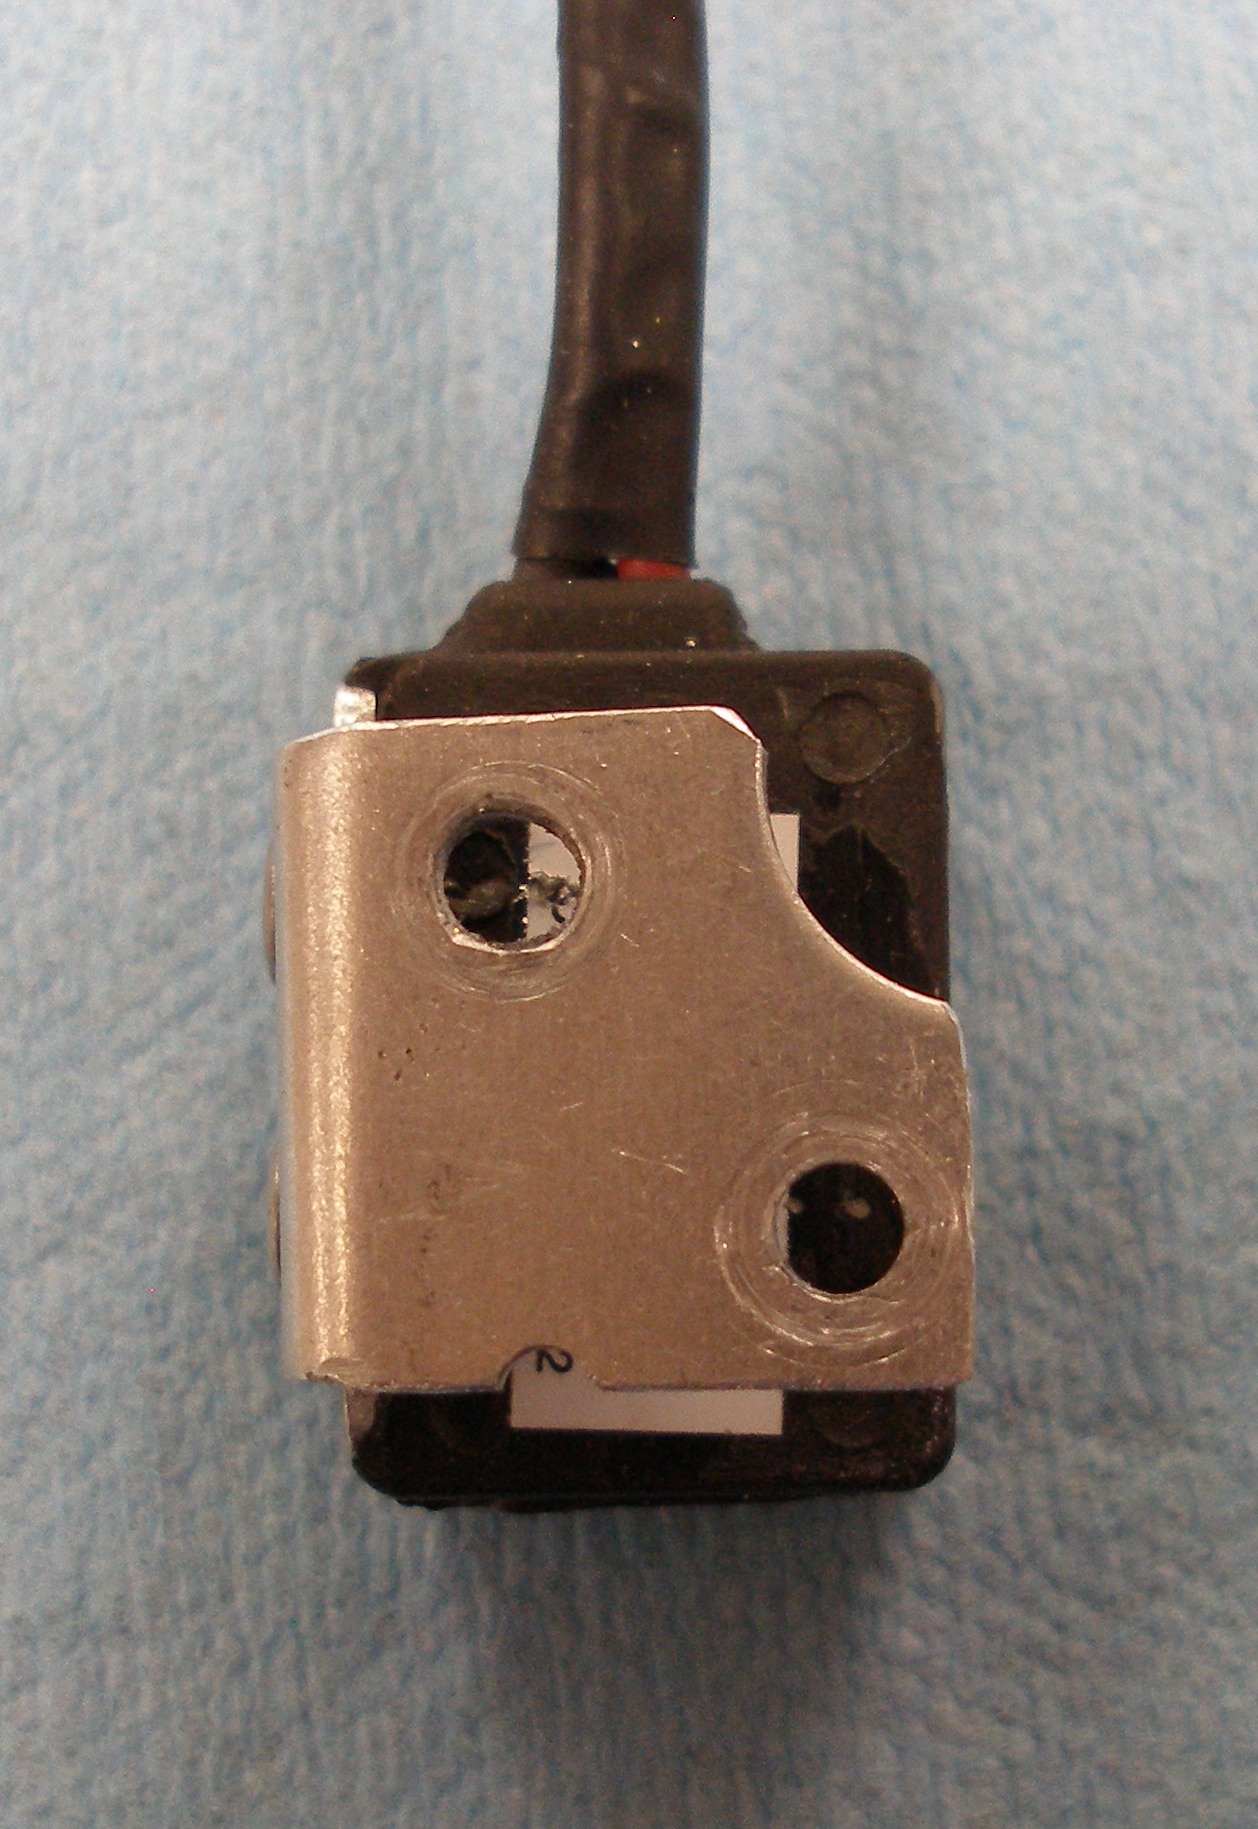
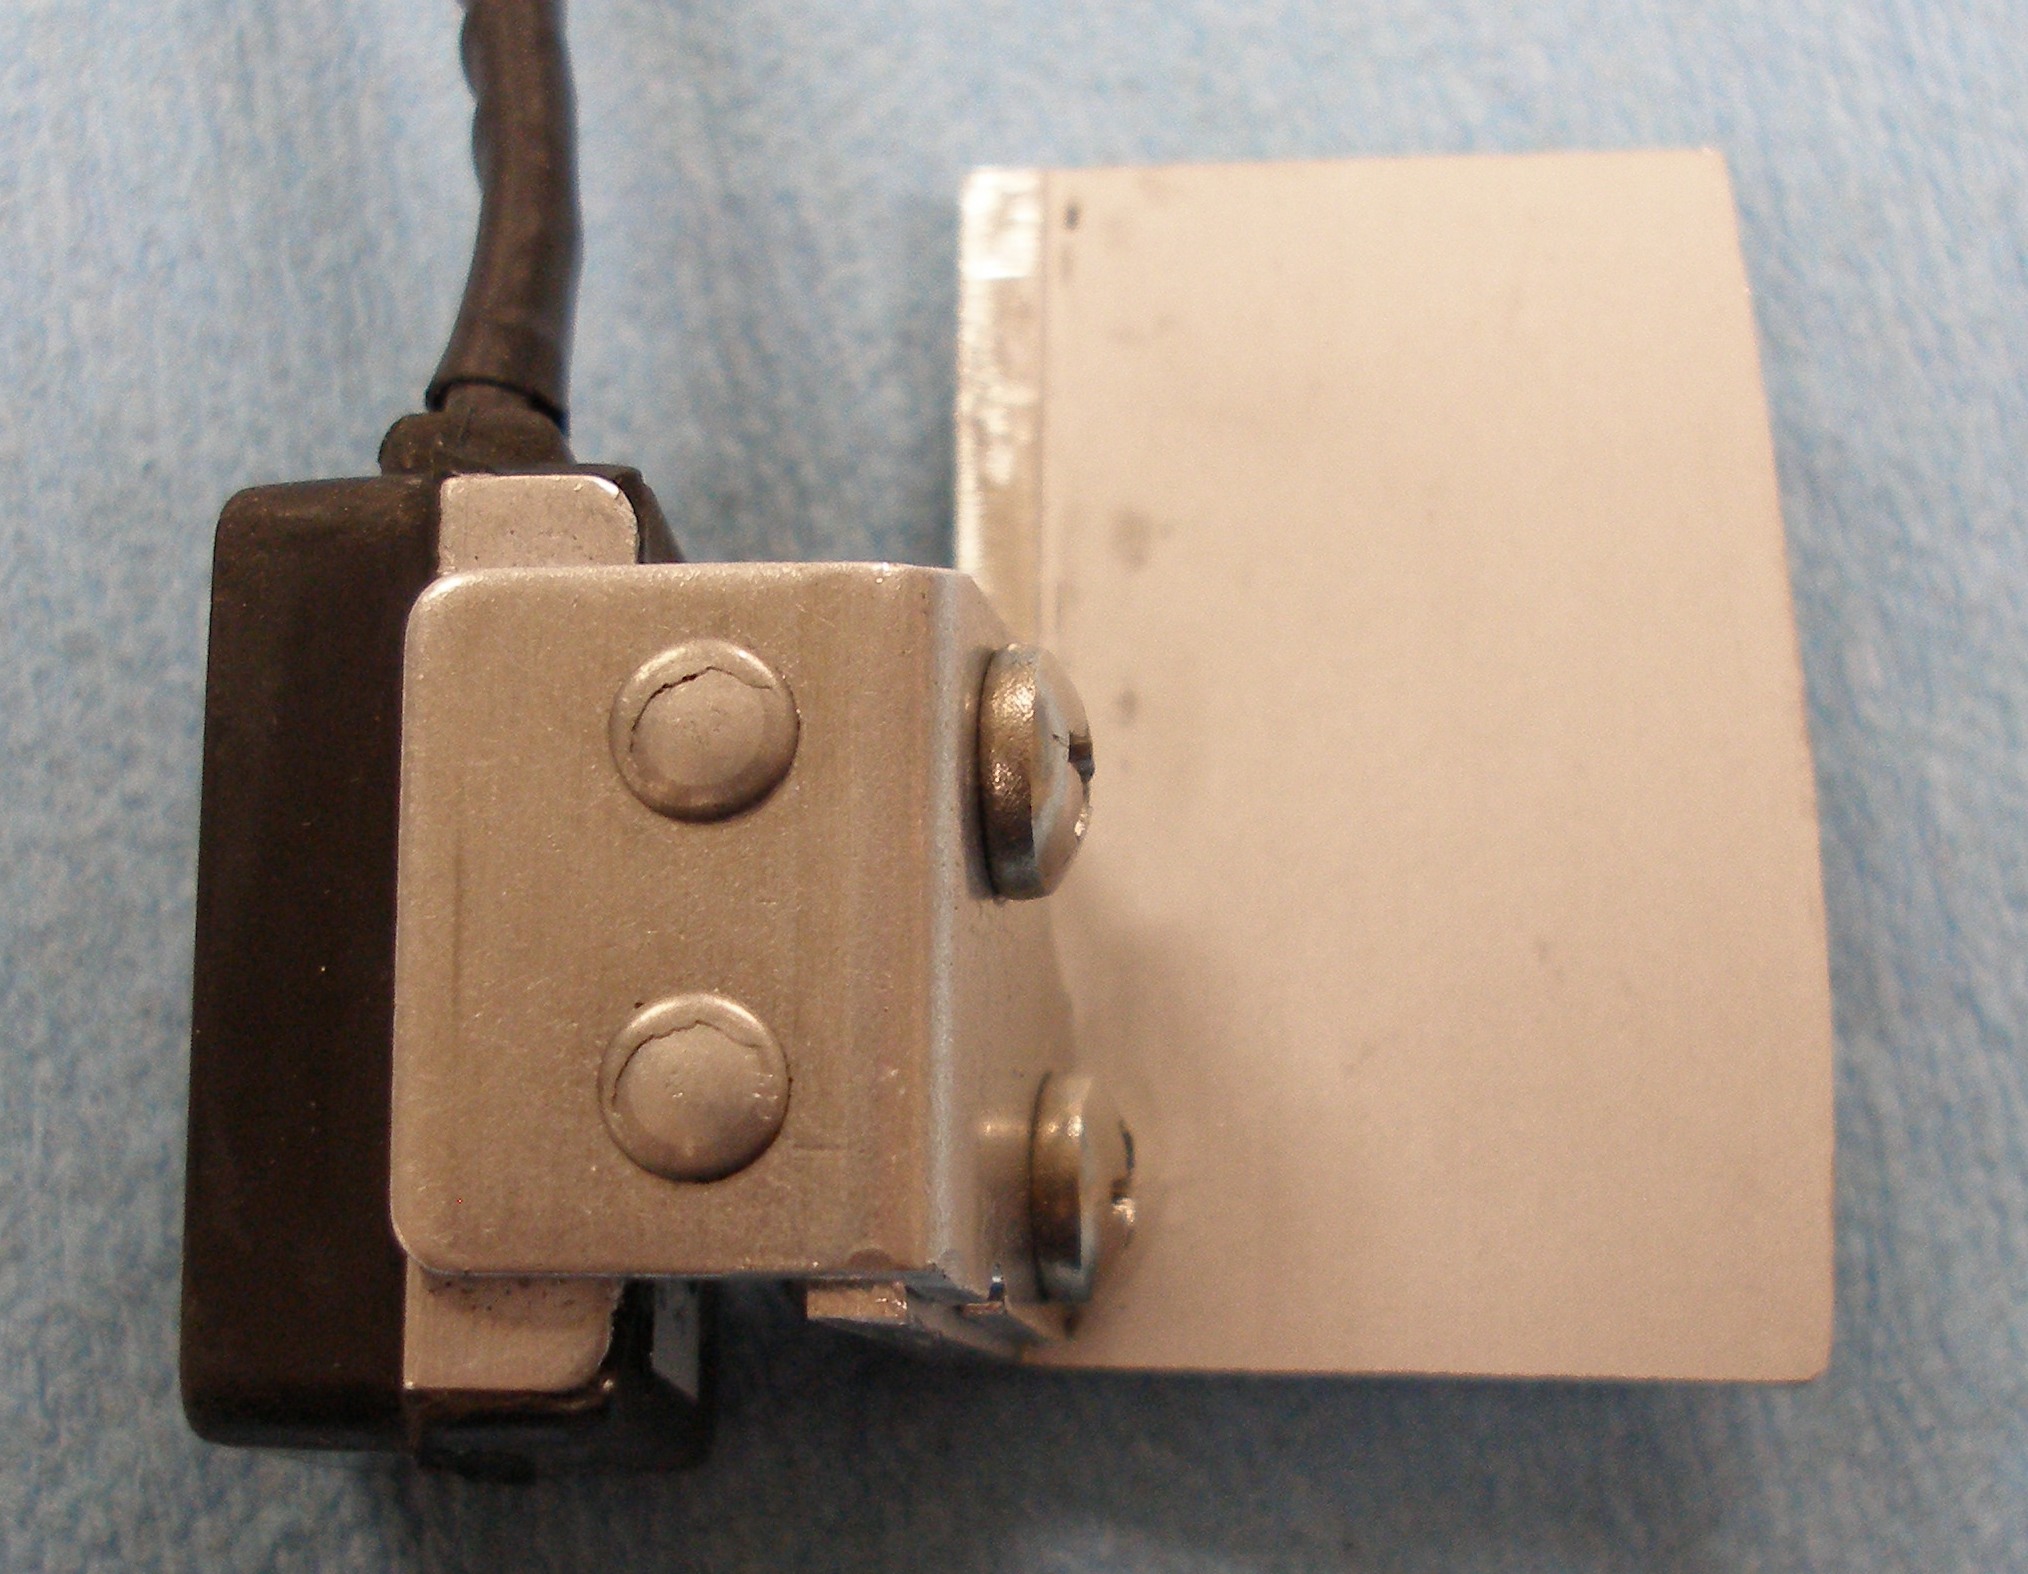
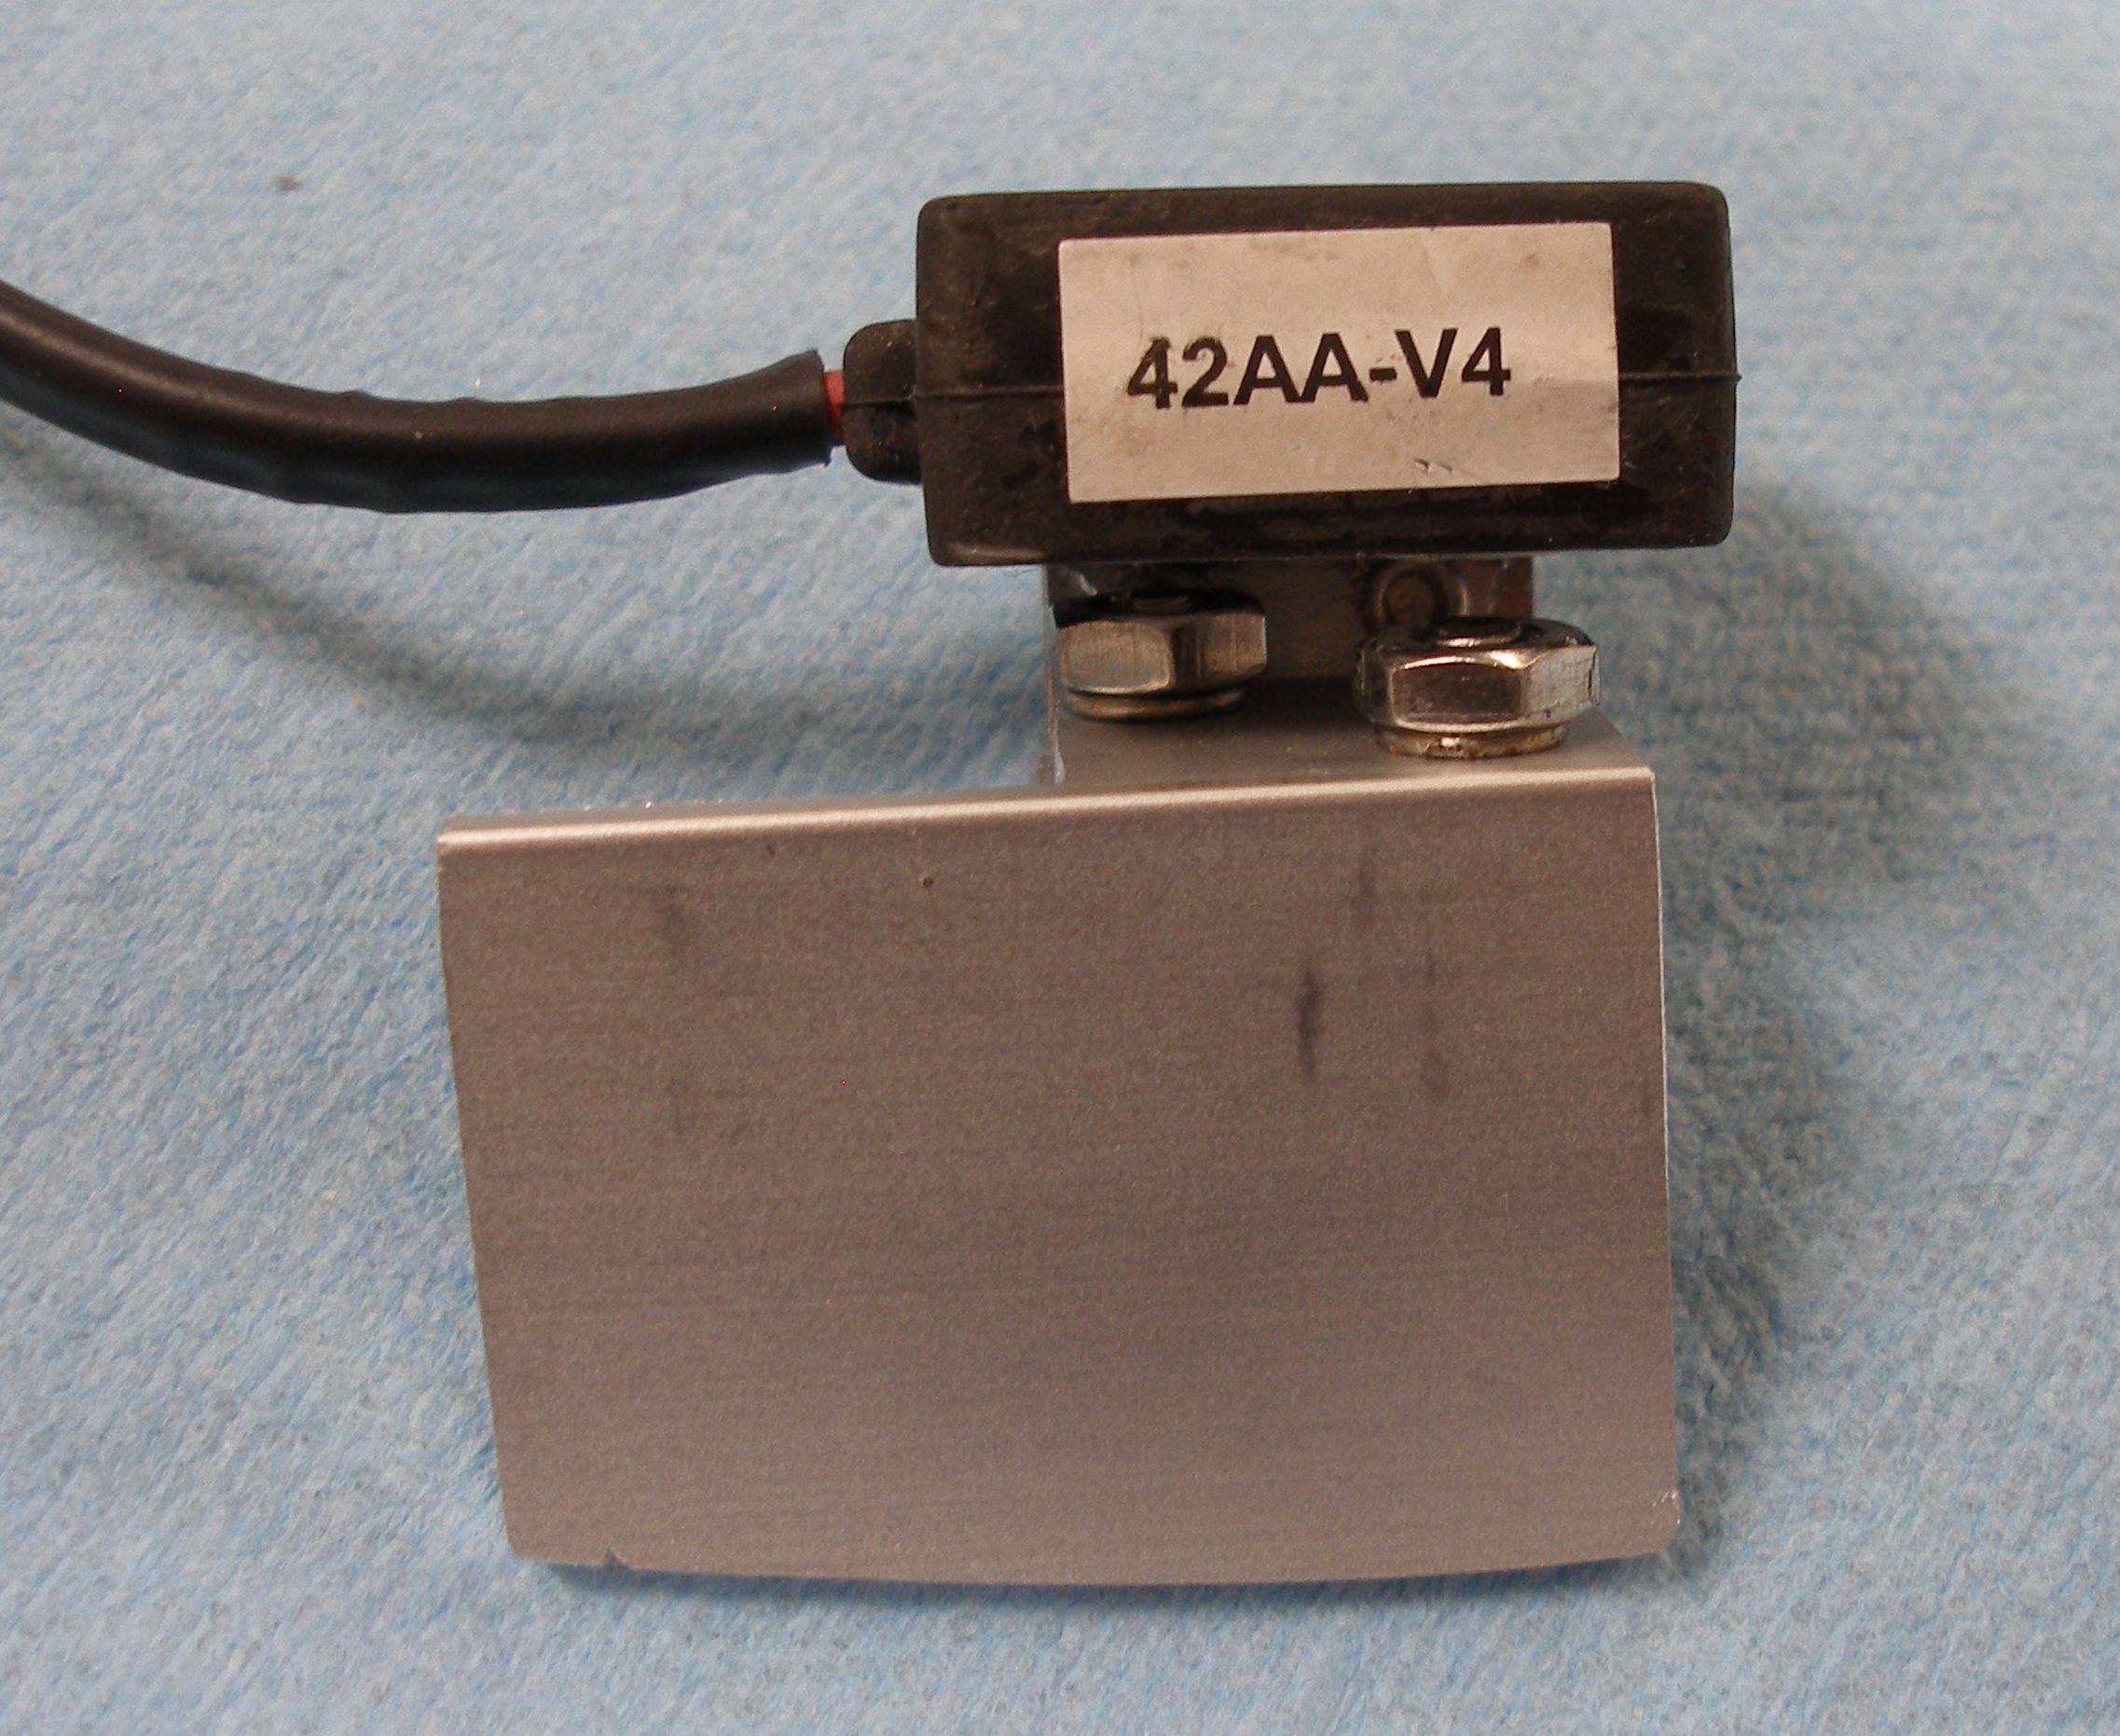
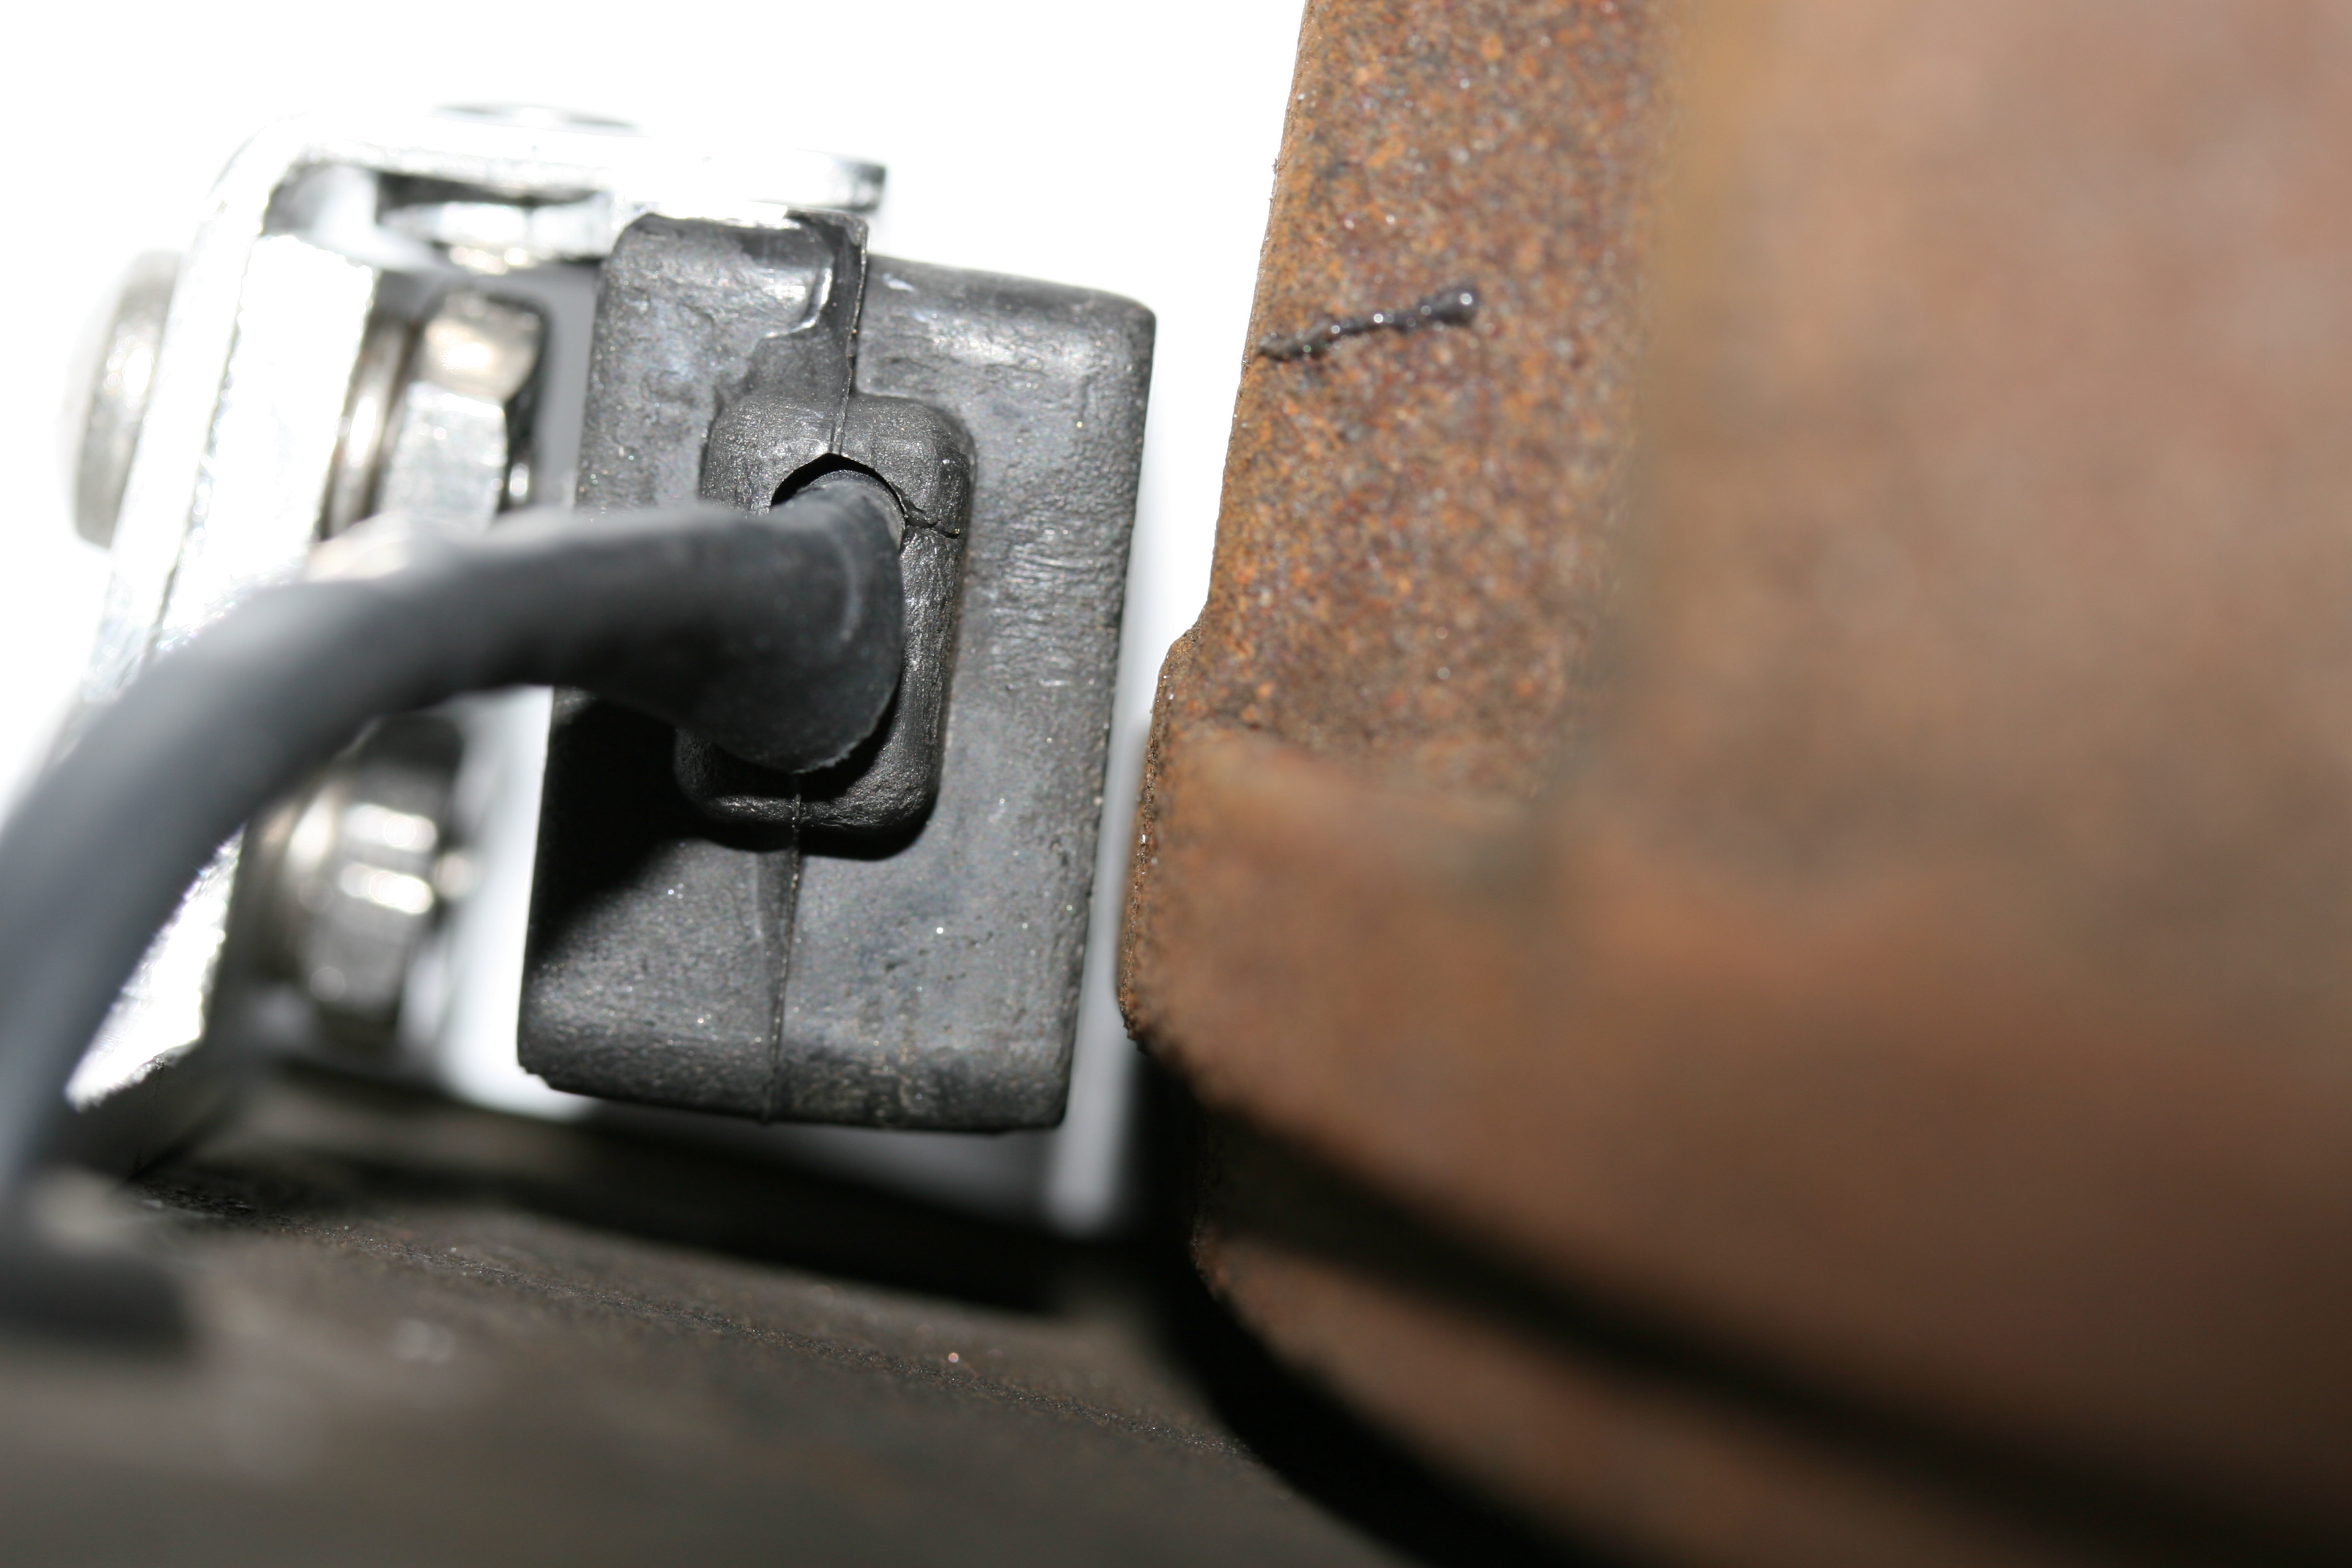
Time to match drill the new bracket to the 1181's trimmed mounting plate. Two 8-32x3/8" pan head screws, SS of course. Locktite + split lockwashers.
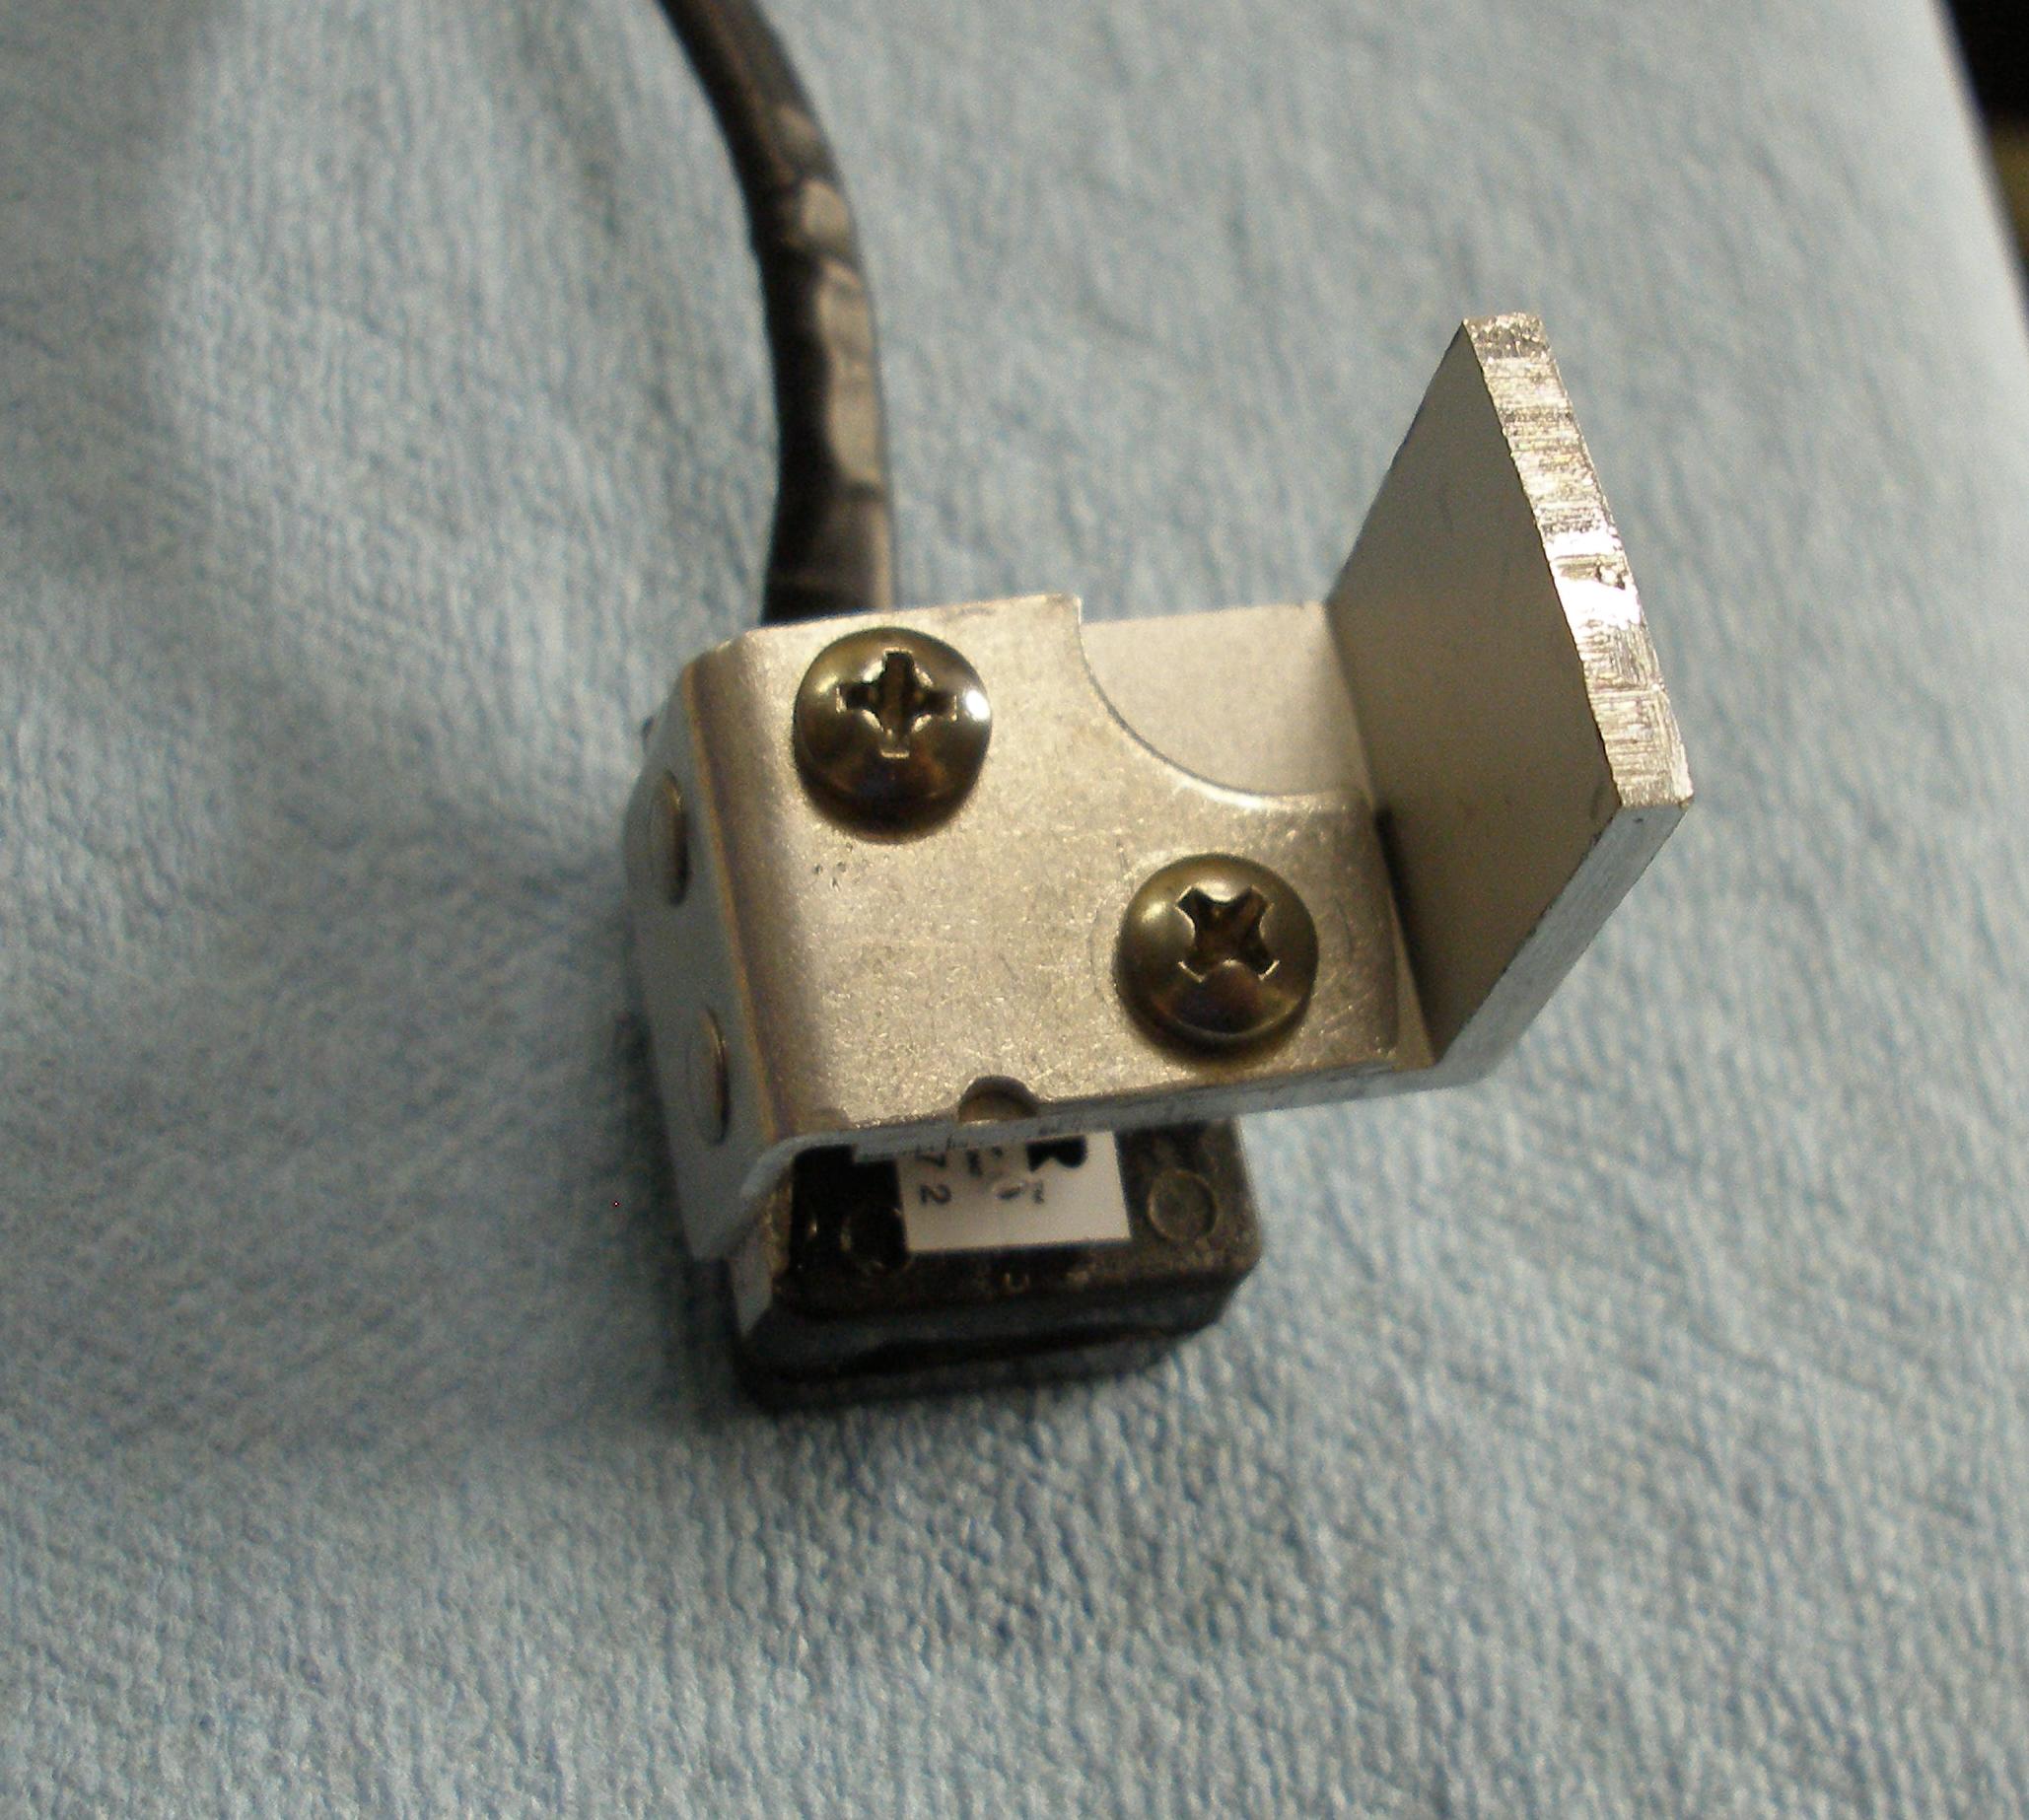

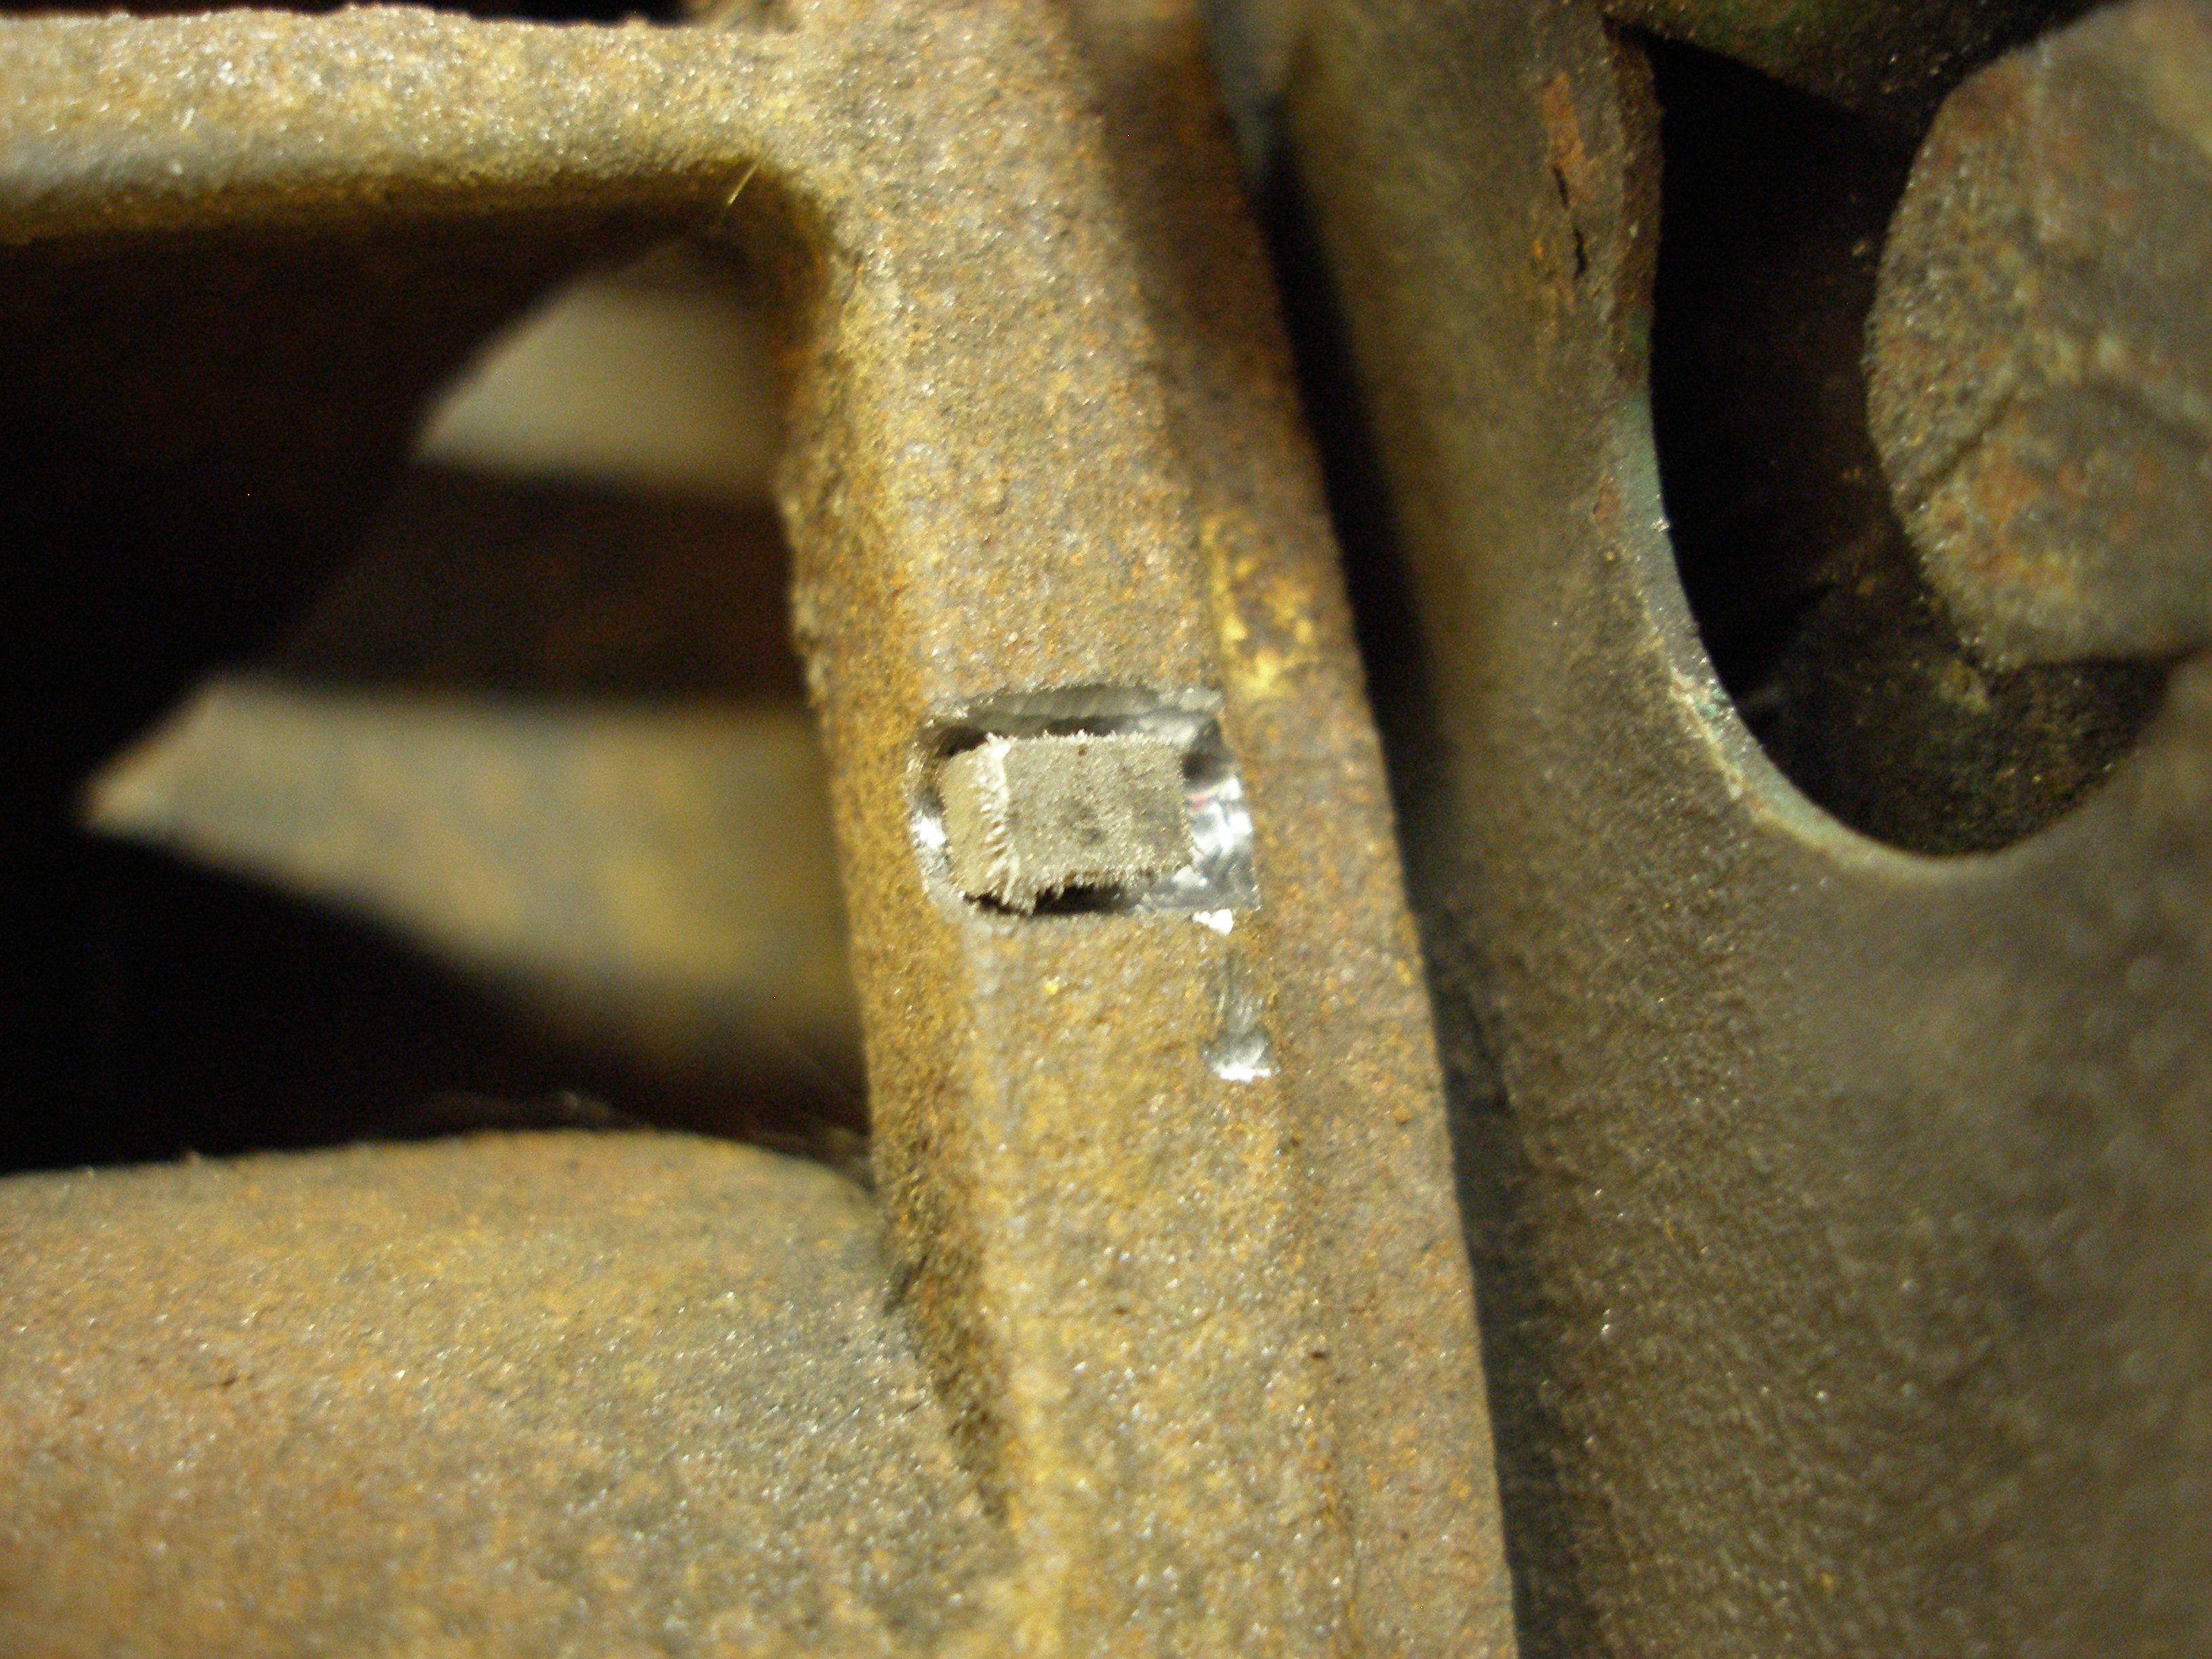
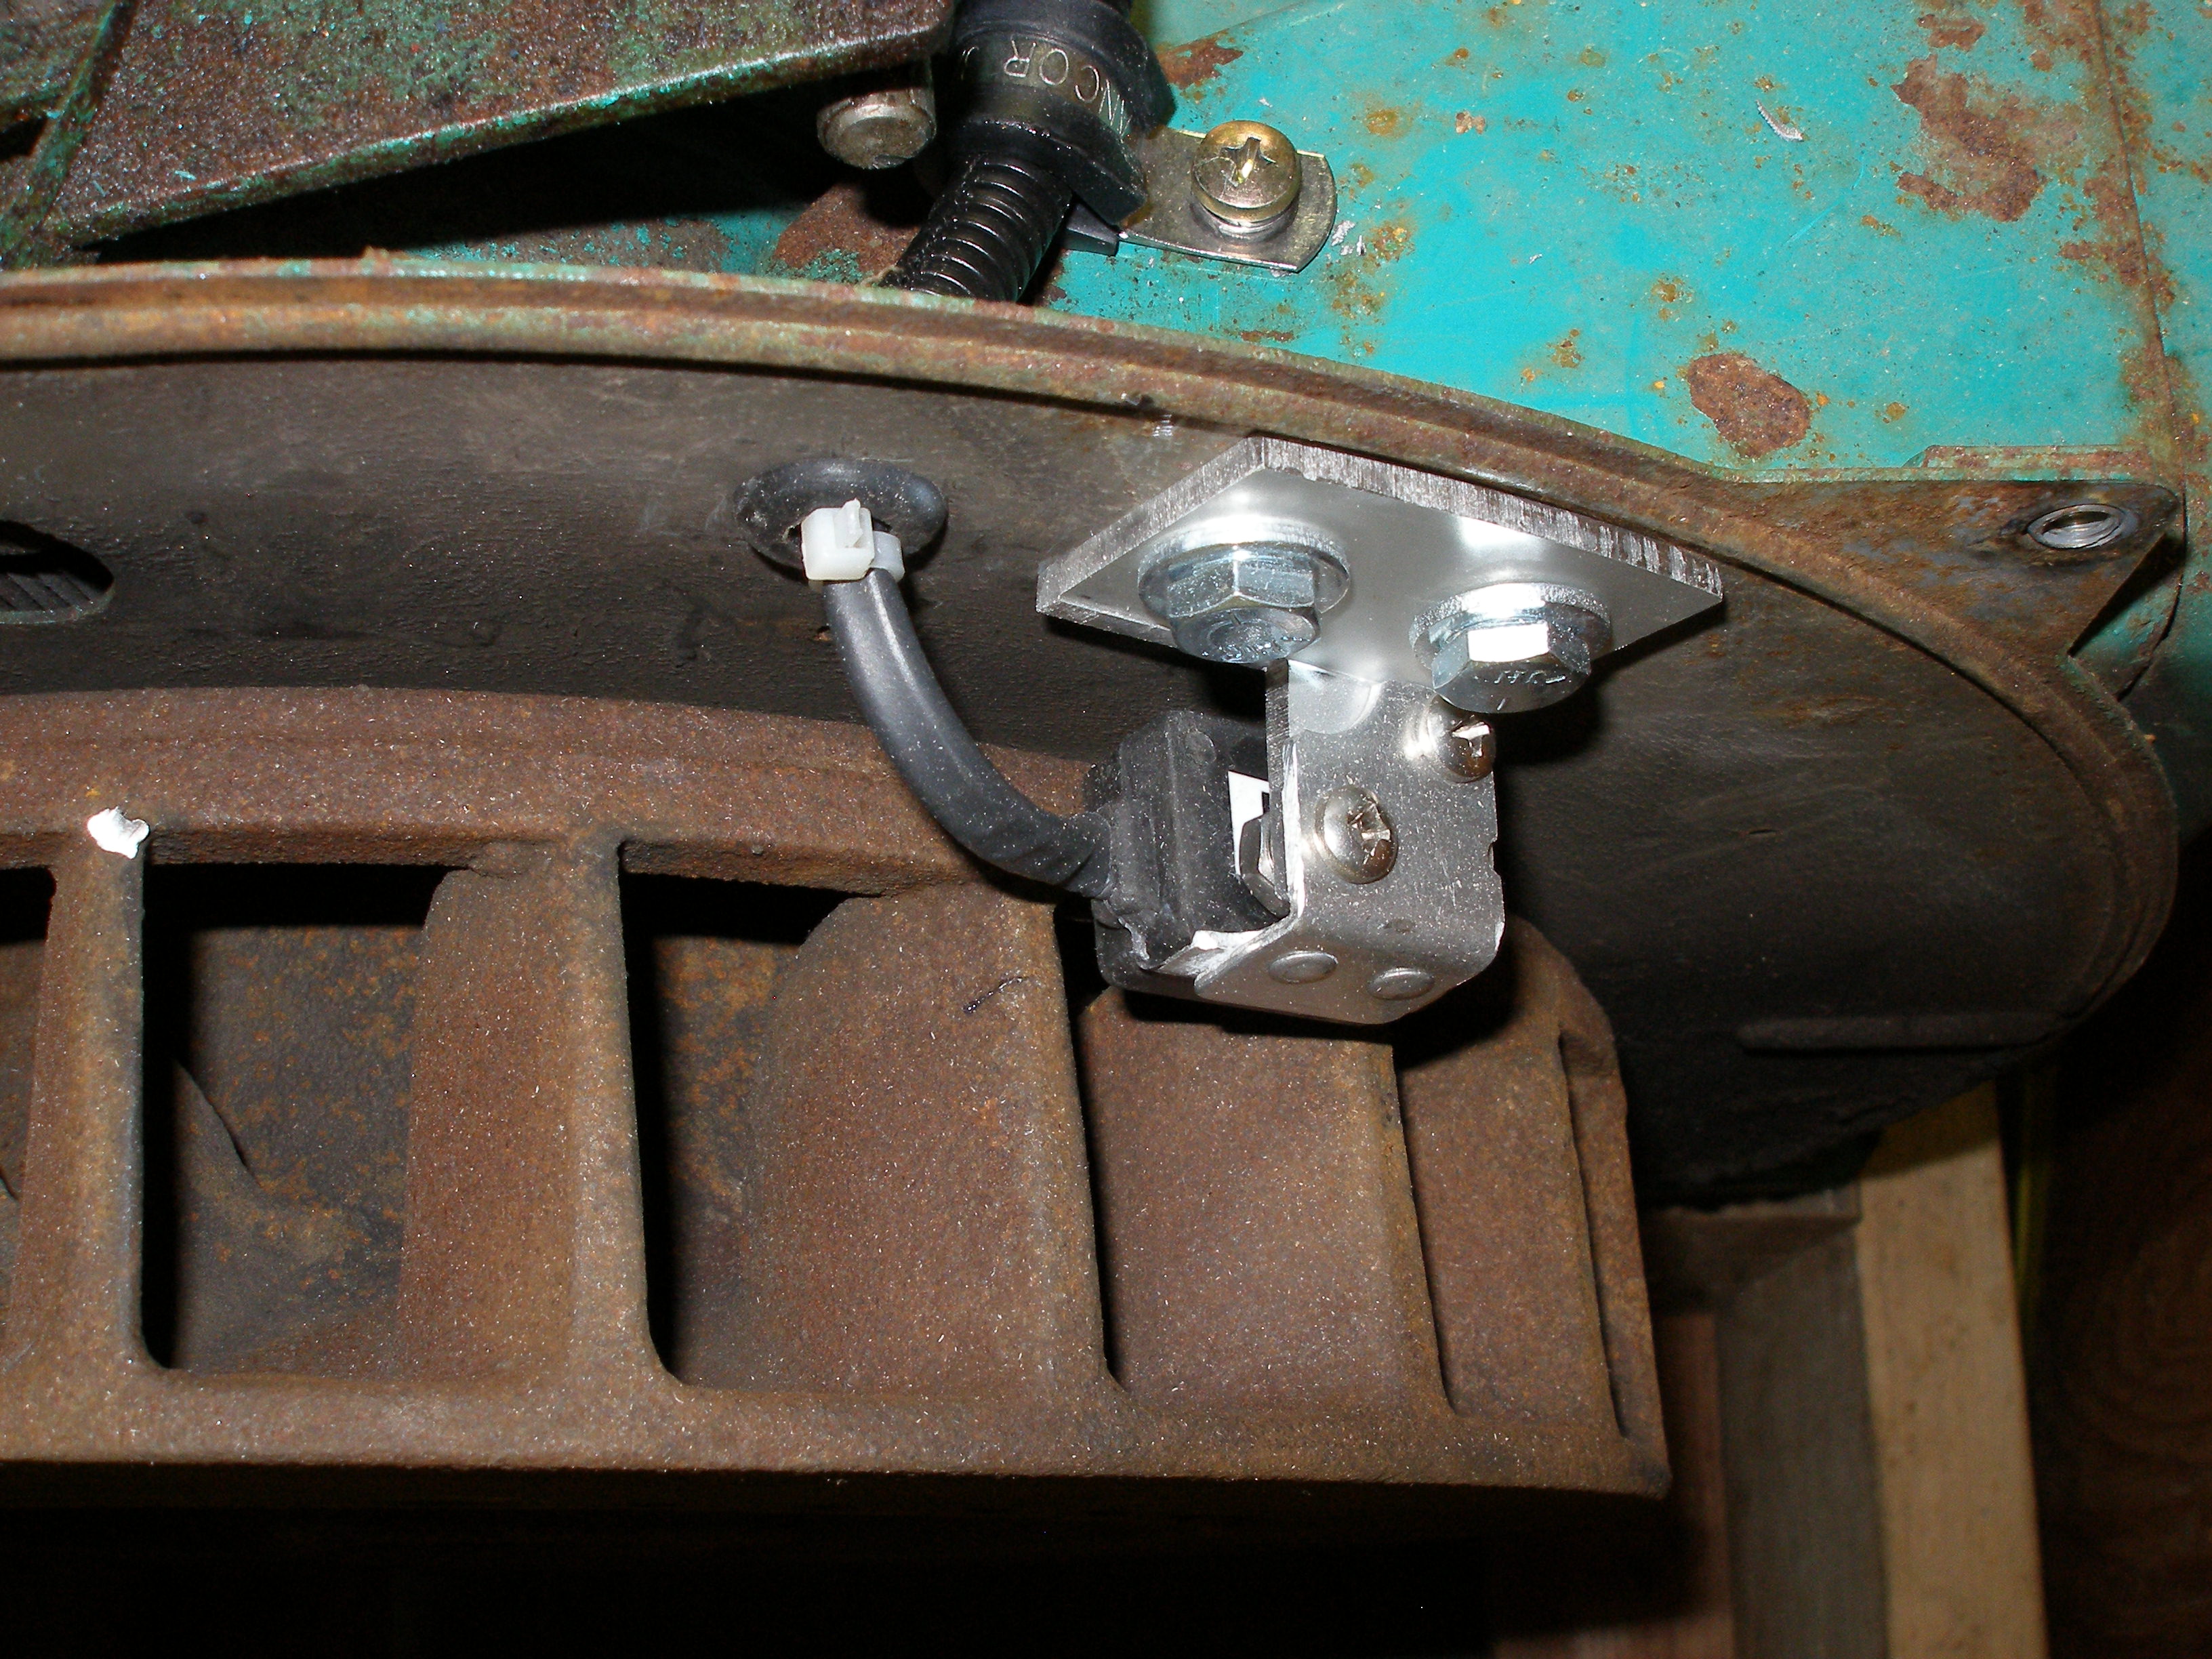
Note the non-parallel fit. I bent ("re-aligned") the 1181's mounting to match the flywheel's OD taper. More or less.
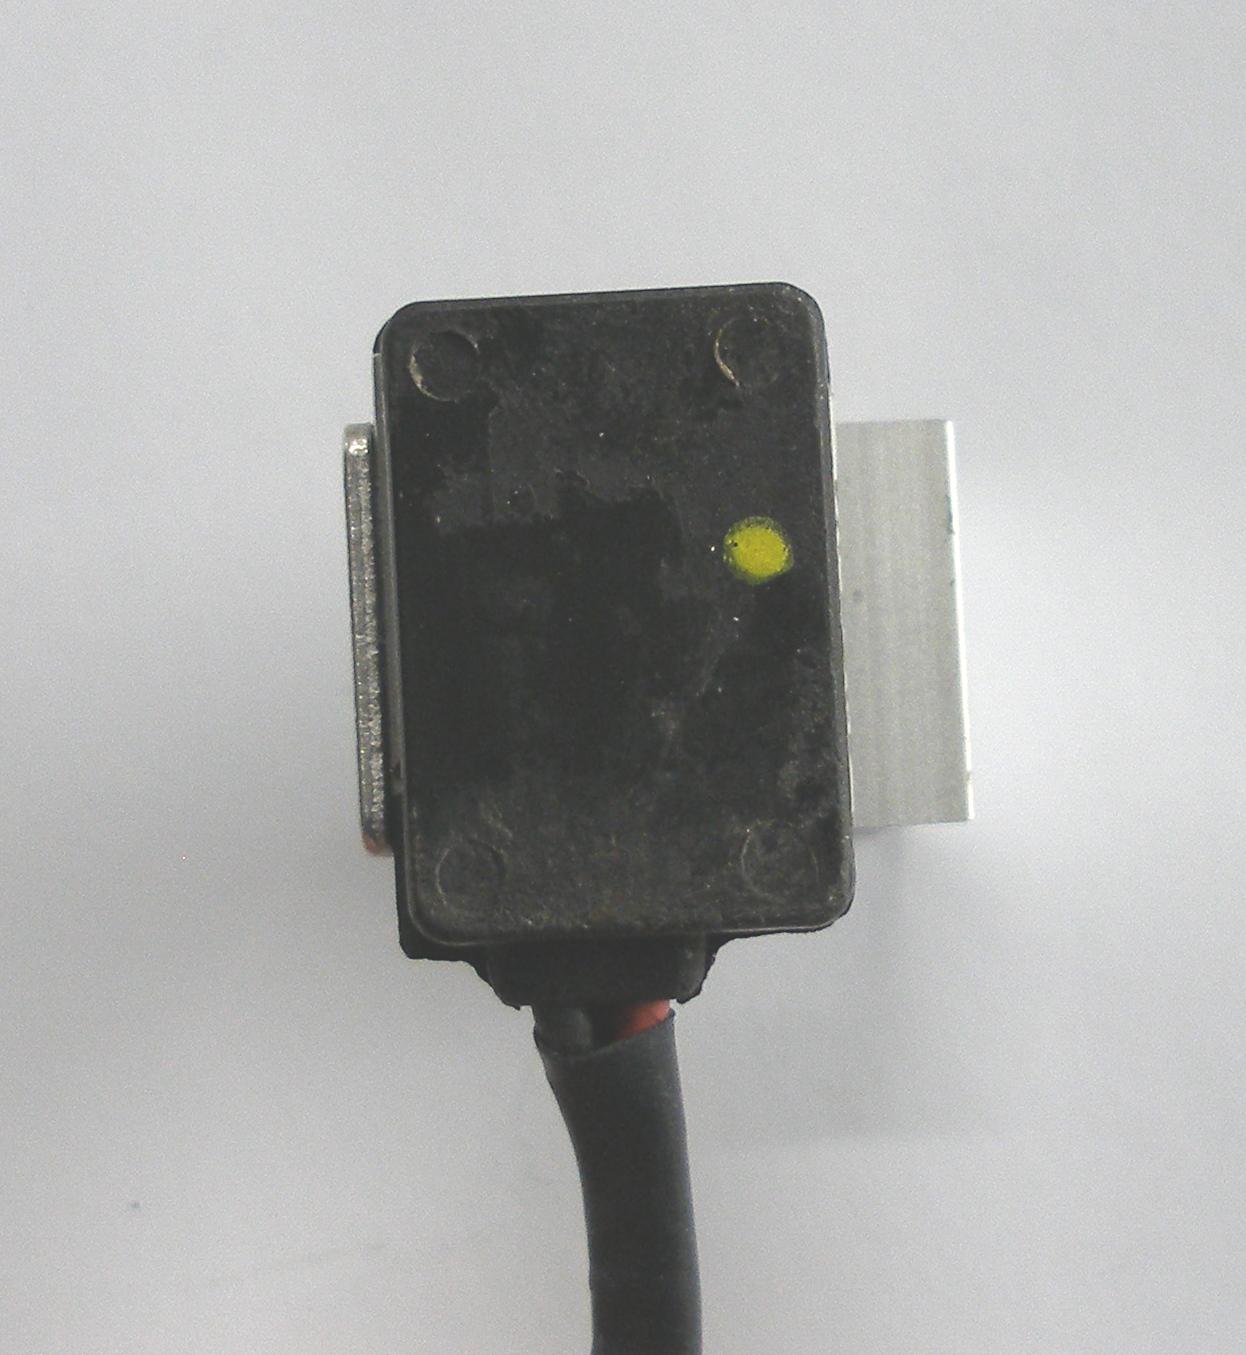
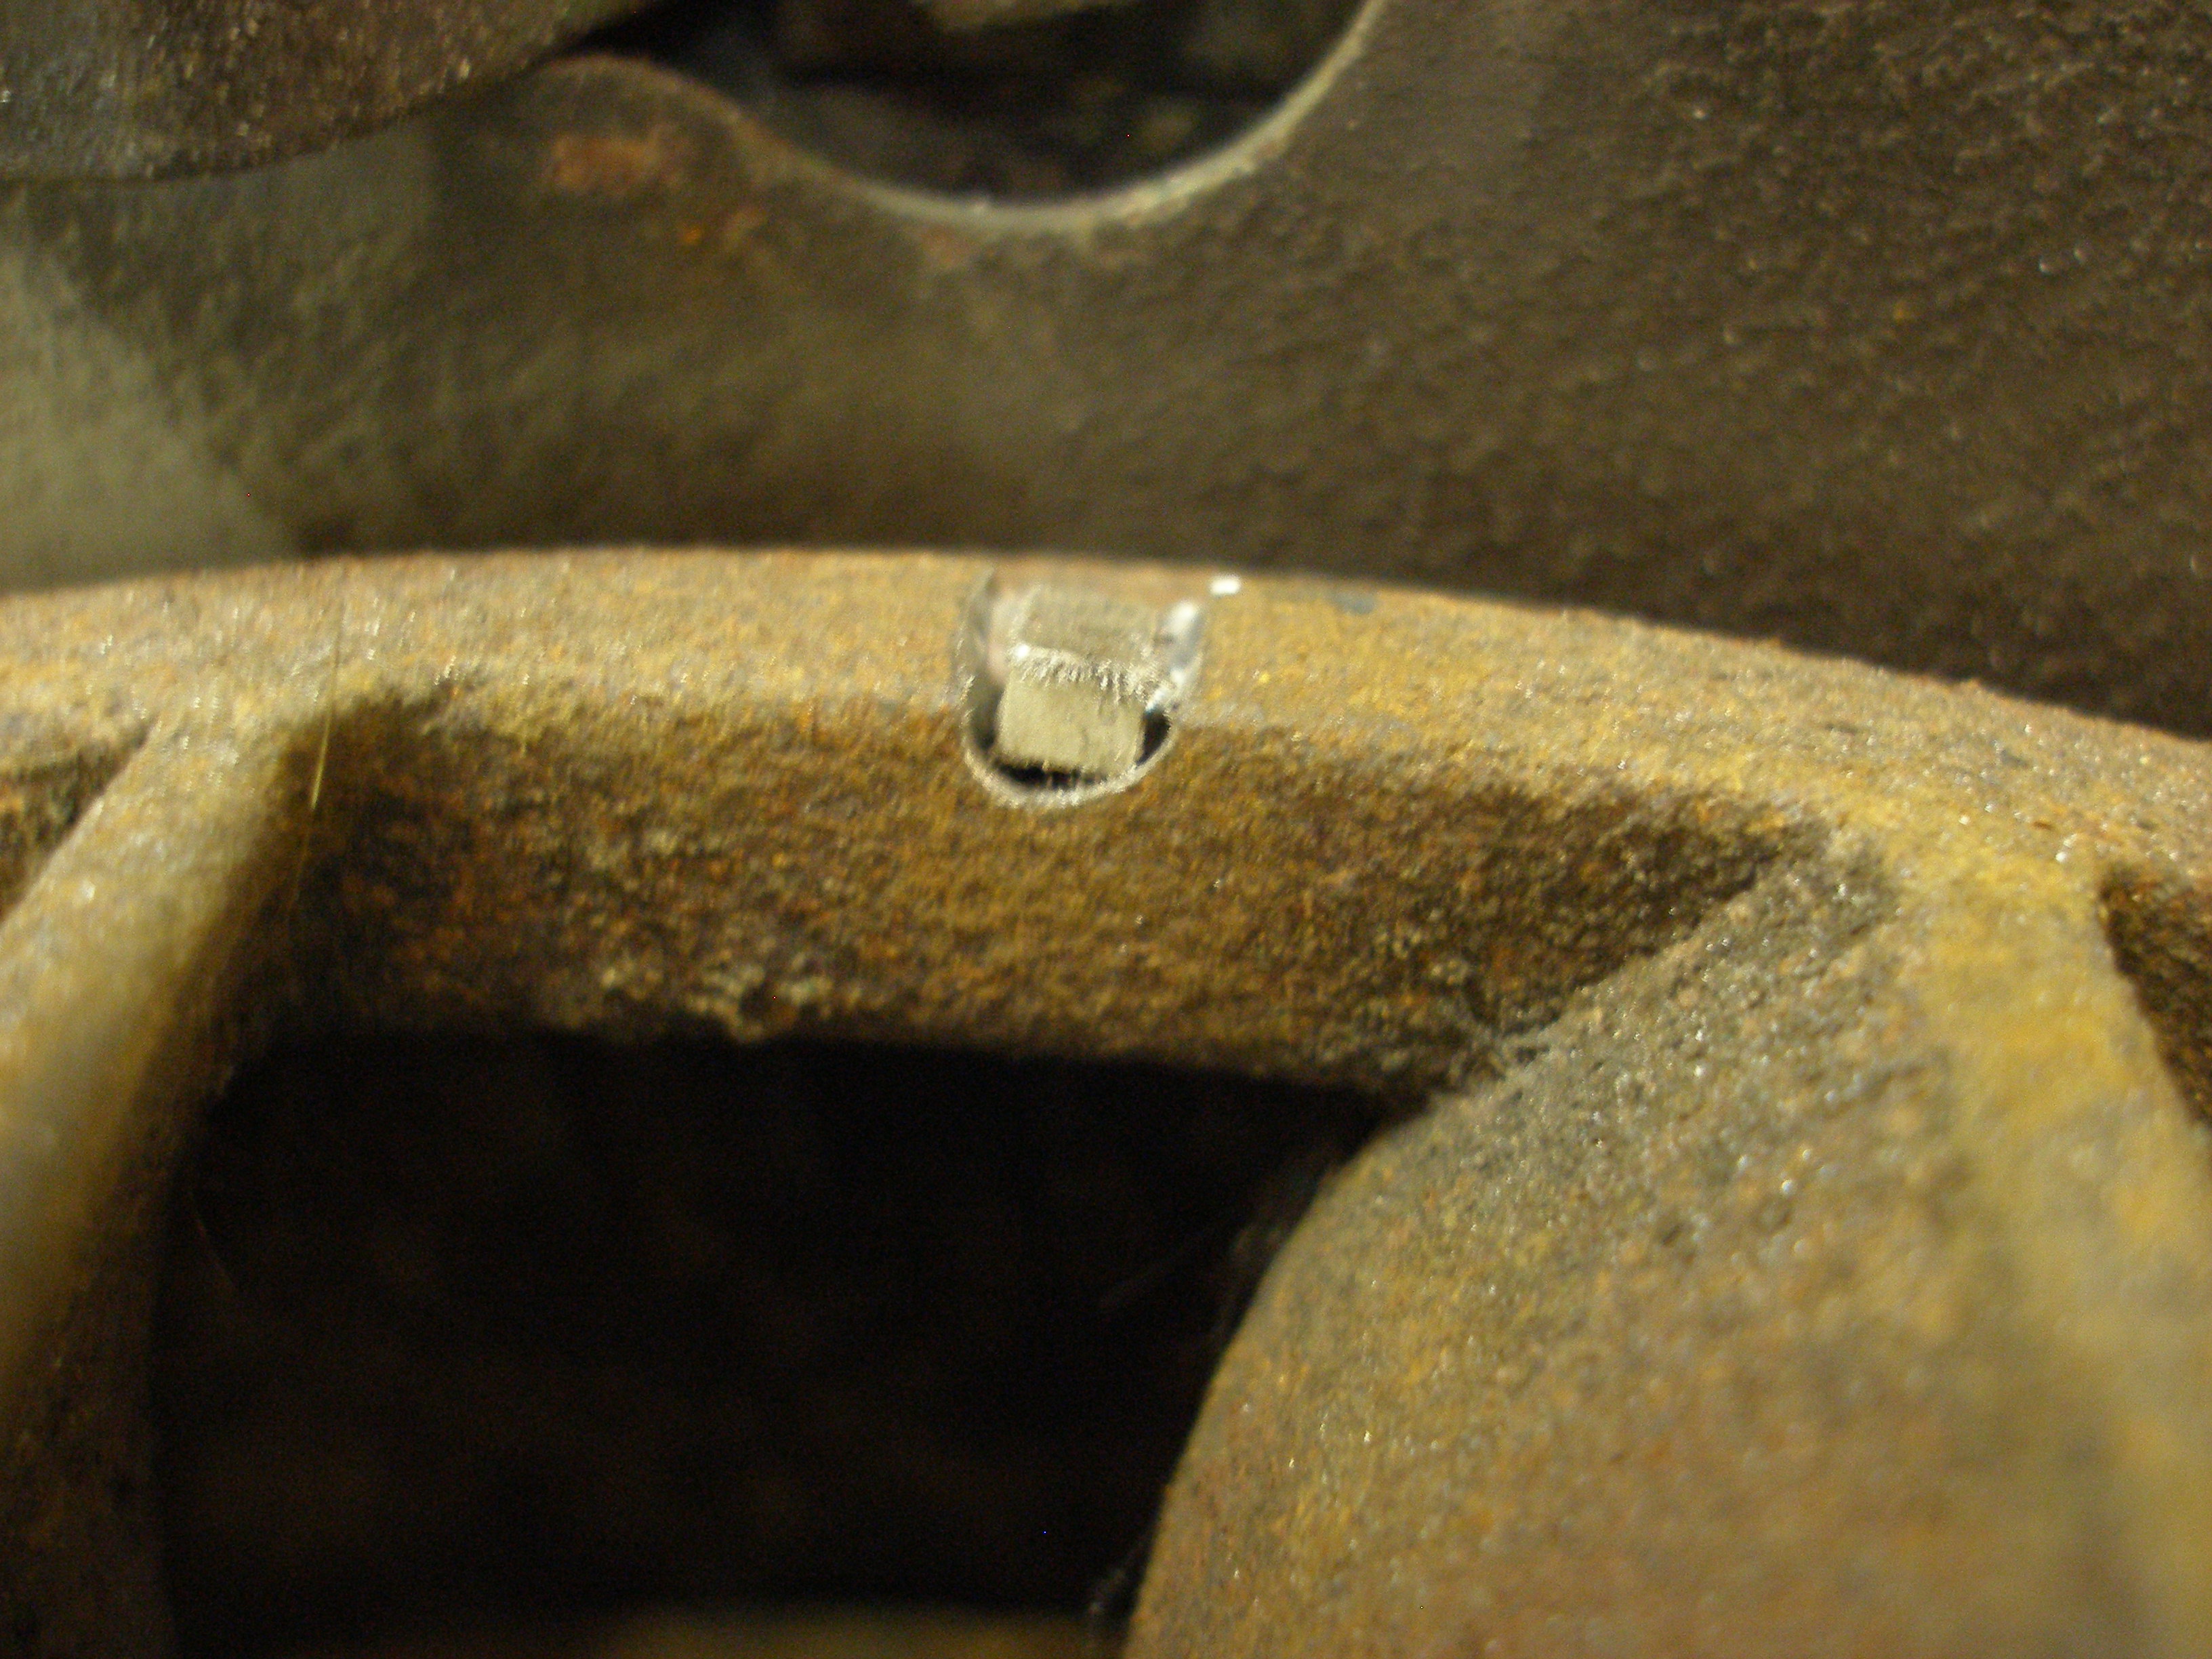
The yellow dot is where the magnet needs to pass by.
Now for the real fun: mounting the magnet.

A bit of Dremel work again, created this nice furrow in which the magnet will be epoxied.
I epoxied the magnet in tonight; more pics later.


