One hurdle I ran into was when I went to upgrade the video card for one application that demands more GPU than the onboard vid can deliver. I was able to physically plug the NVidia GTX260 into the HP's PCIe x16 slot, but then I realized that I don't have the PCIe power supply connector -- the HP was not designed with these power-hungry vid cards in mind.
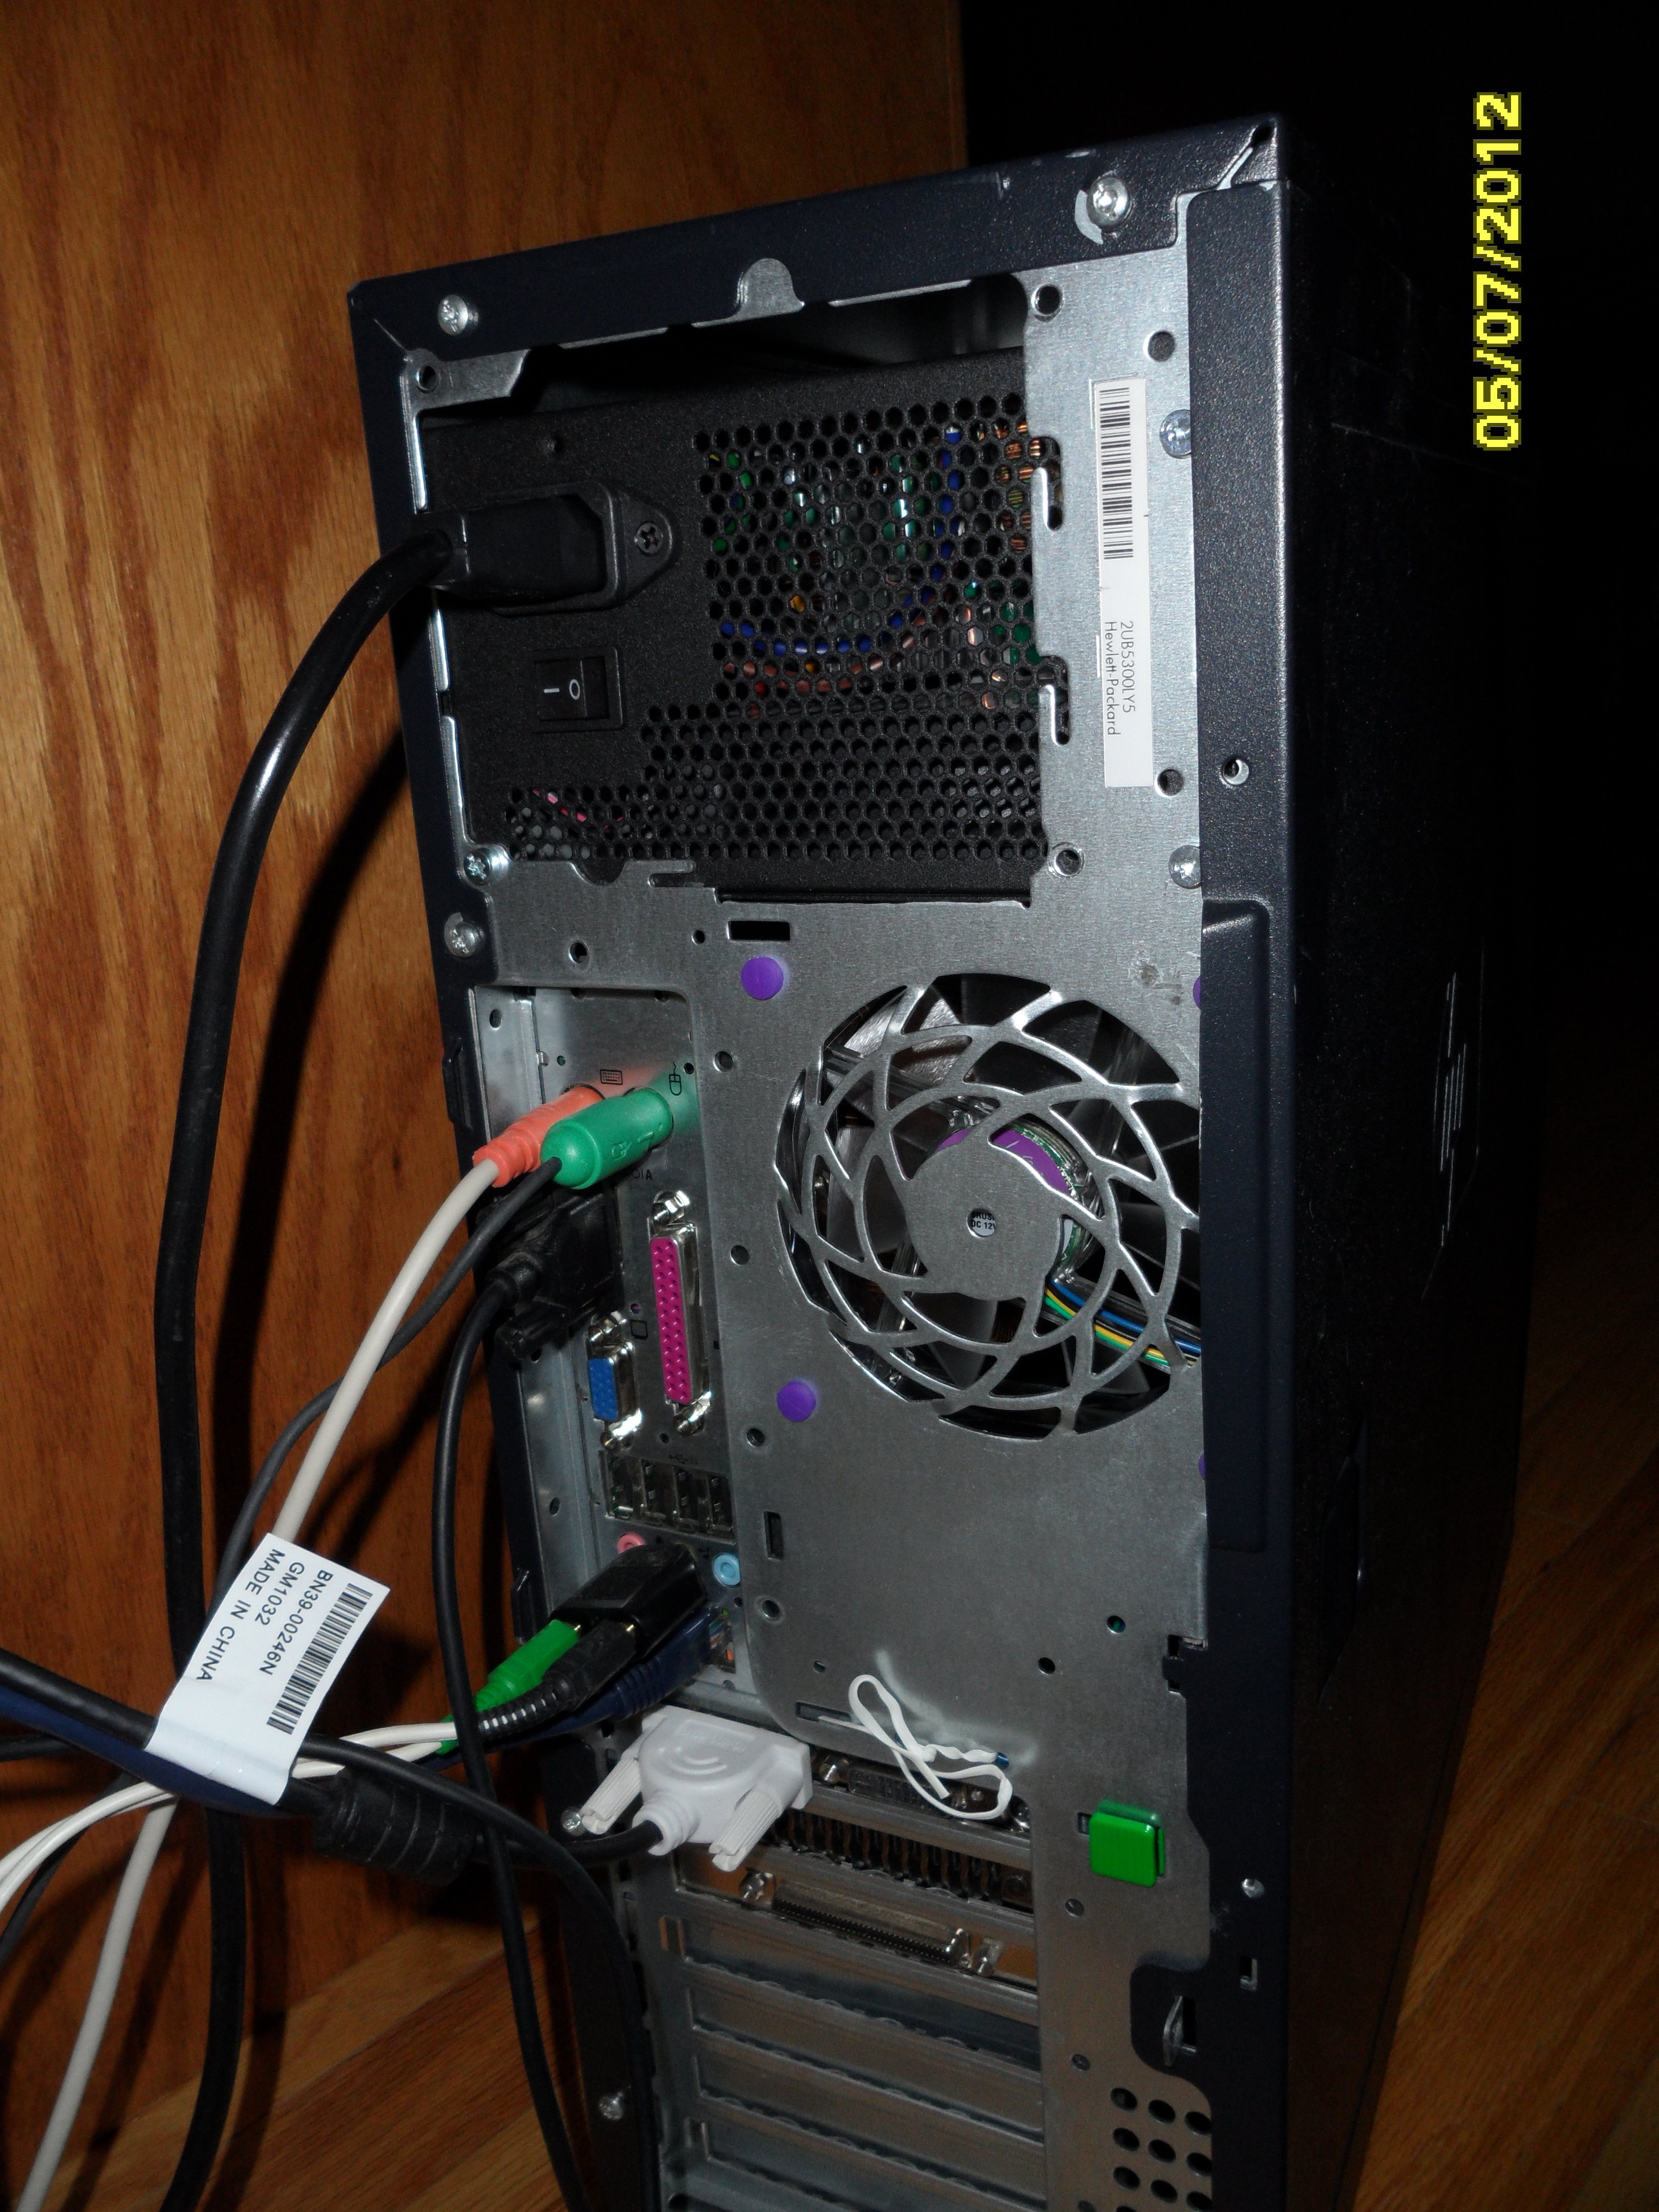
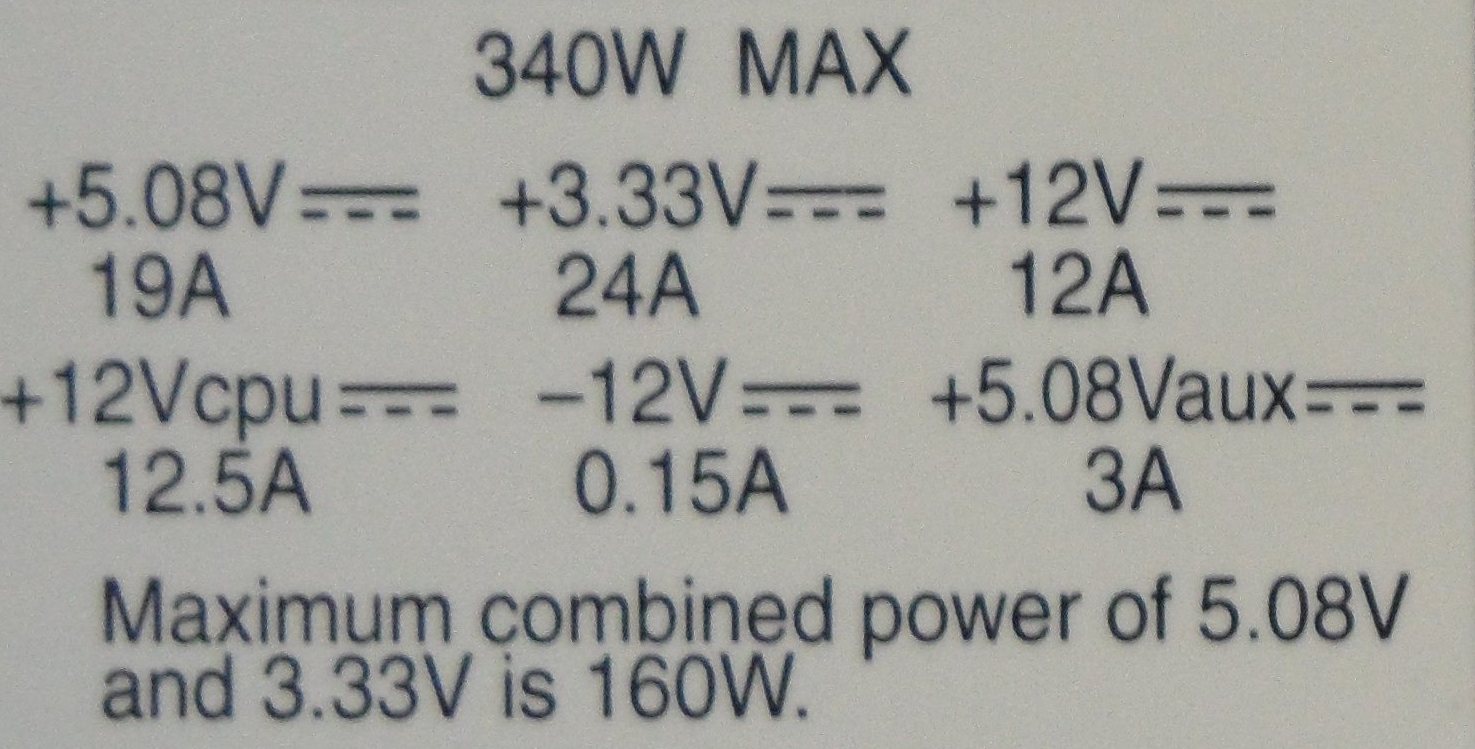
I am well out of the modern PCs, and don't know anything about the modern hardware. At first, I figured I'd just buy a Molex-to-PCIe power adapter -- these things do exist. However, then I realized I had a larger problem: the HP's power supply (for the search engines: Part No. 349774-001, Spare No. 349987-001) is rated for 340W, and NVidia's recommendation is for a 500W minimum, with most of that available on a single 12v rail -- which is not the way old PC power supplies were designed. The GTX260 wants a max of 36A at 12v.
(click on any image for larger)
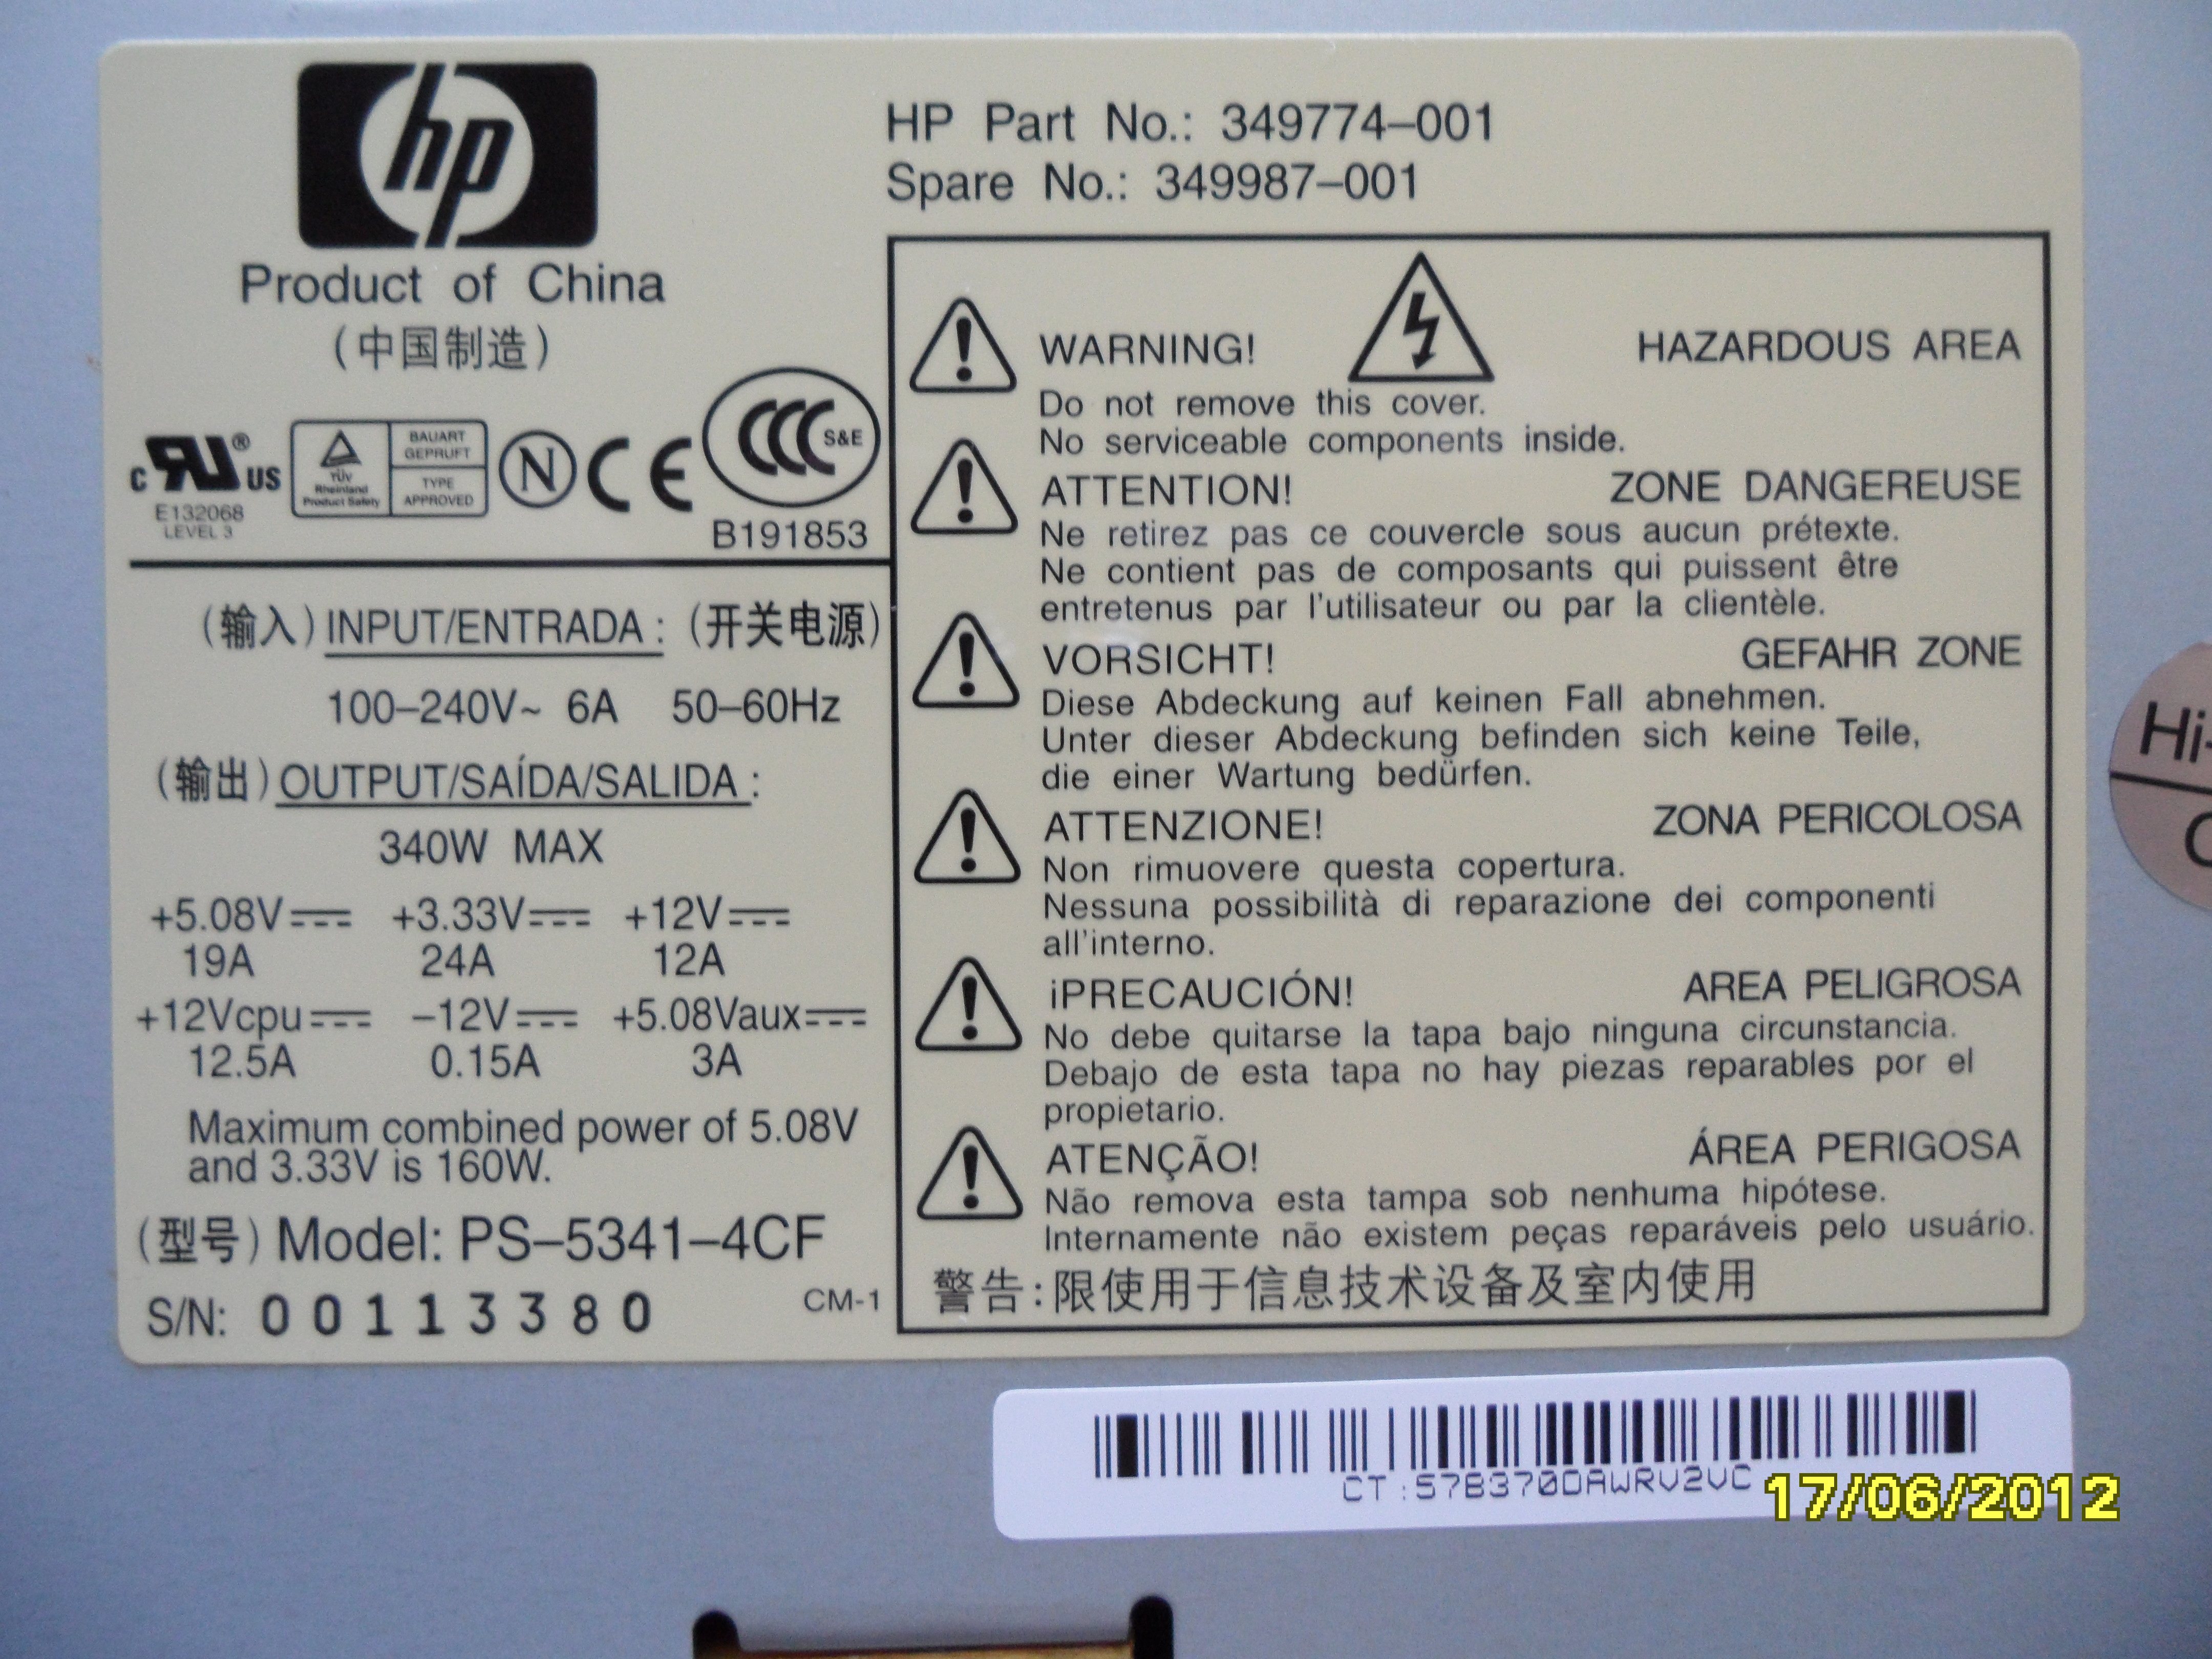
After a bit of research, I confirmed that the 340W supply that I have is the highest-capacity available from HP, and -- it just figures -- the HP PS form factor is not quite the same as ATX.
I figured out how to fit a modern 600w ATX PS in my DC7100's case. It wasn't that hard, given a Dremel, a good drill index, and a vacuum cleaner. I removed all the things that metal shavings and grinding dust might harm: mobo, drives, etc.
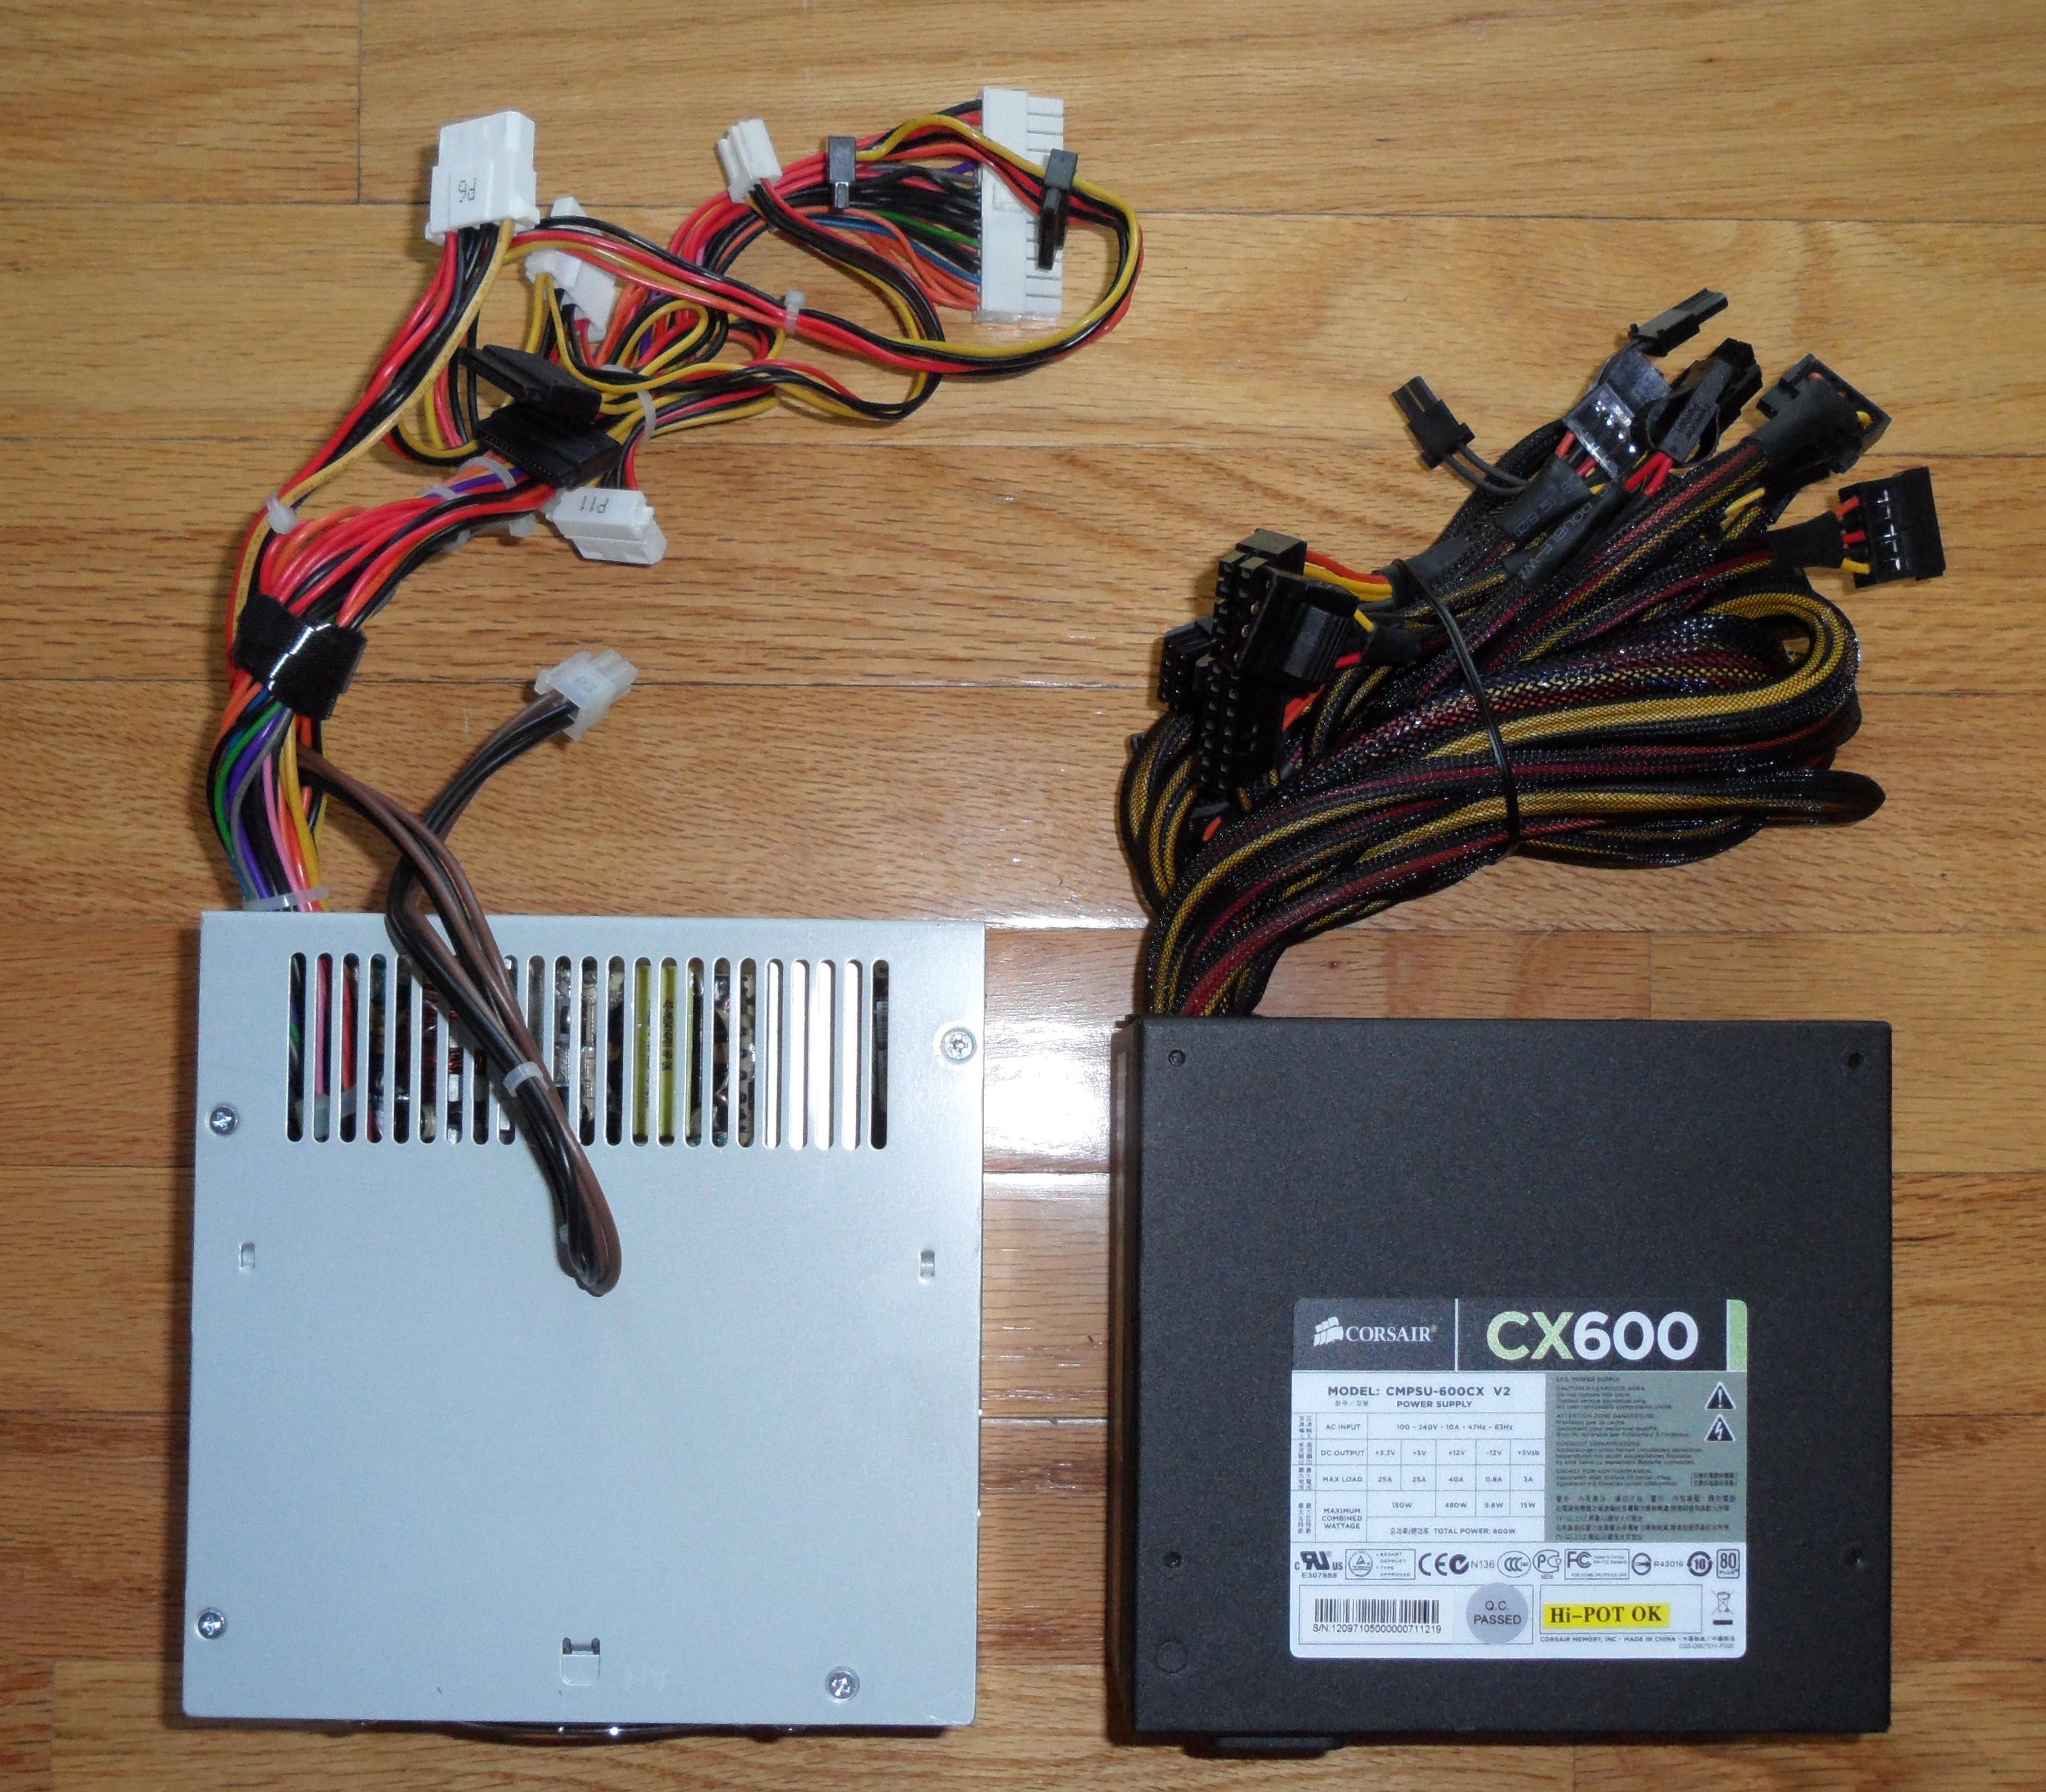
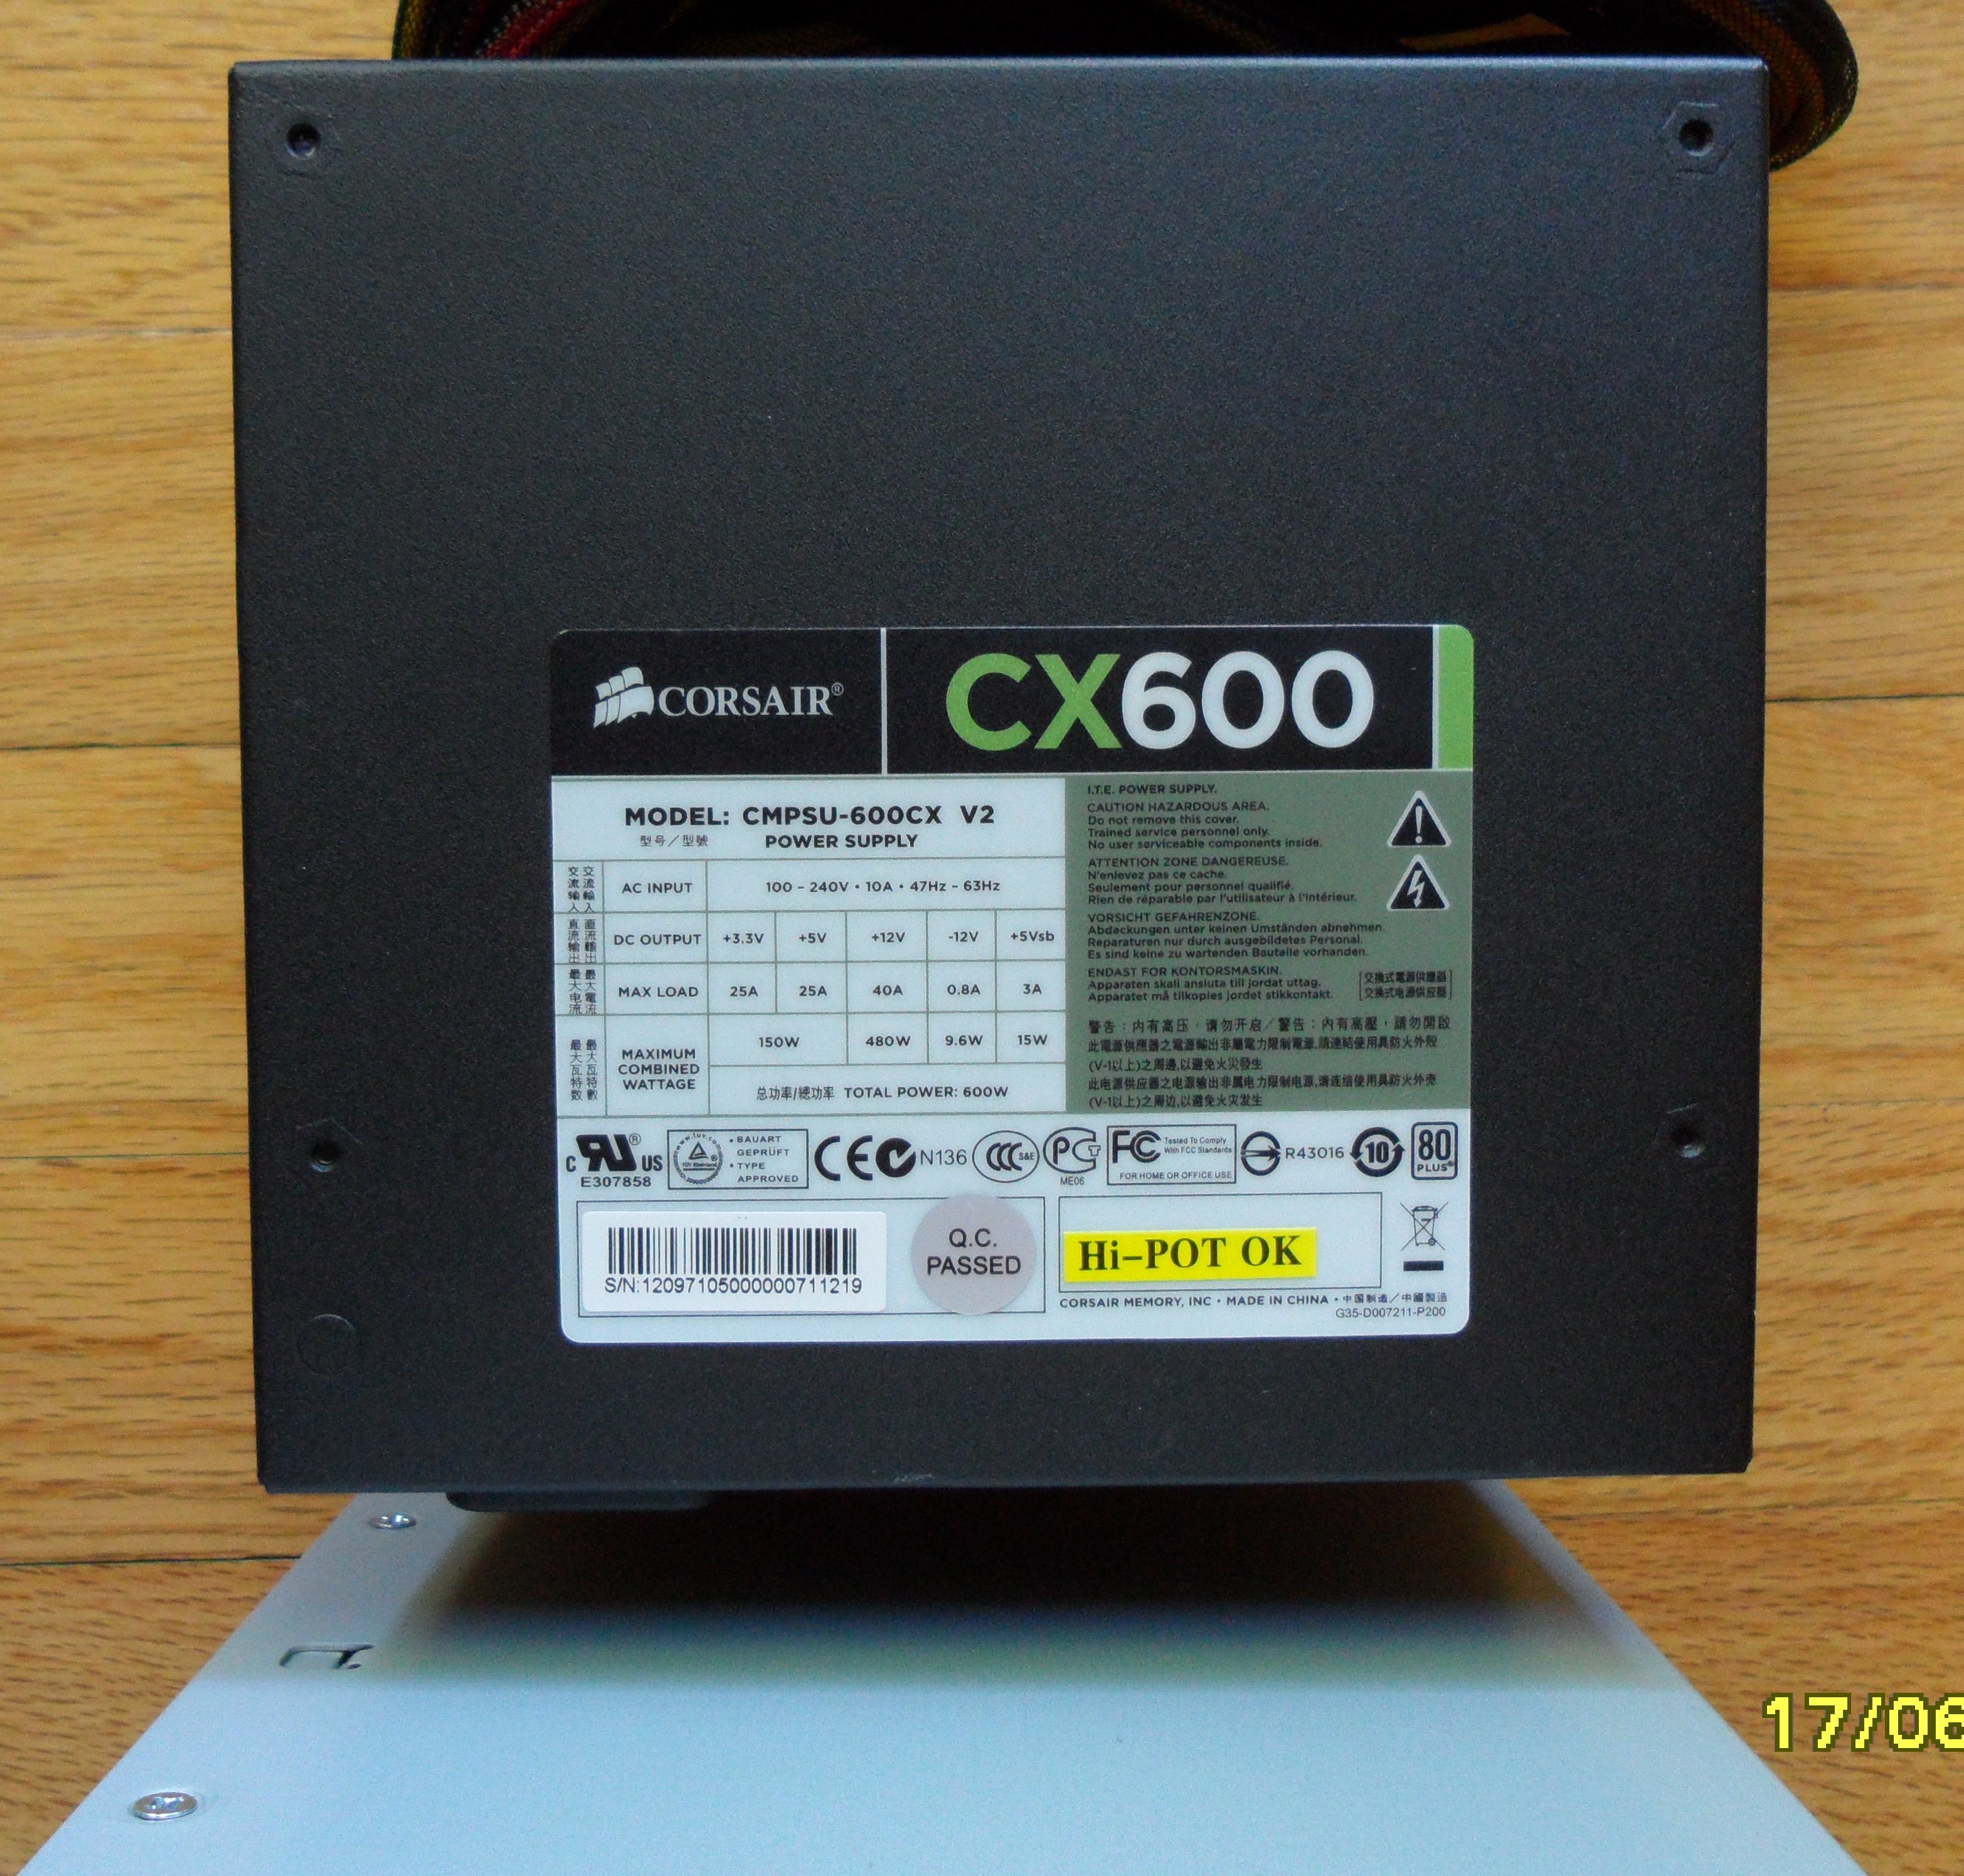
The PS I chose is a Corsair CX600v2. After a modest rebate, it was about $60.

The CX600v2 is a tad shorter than the HP's:
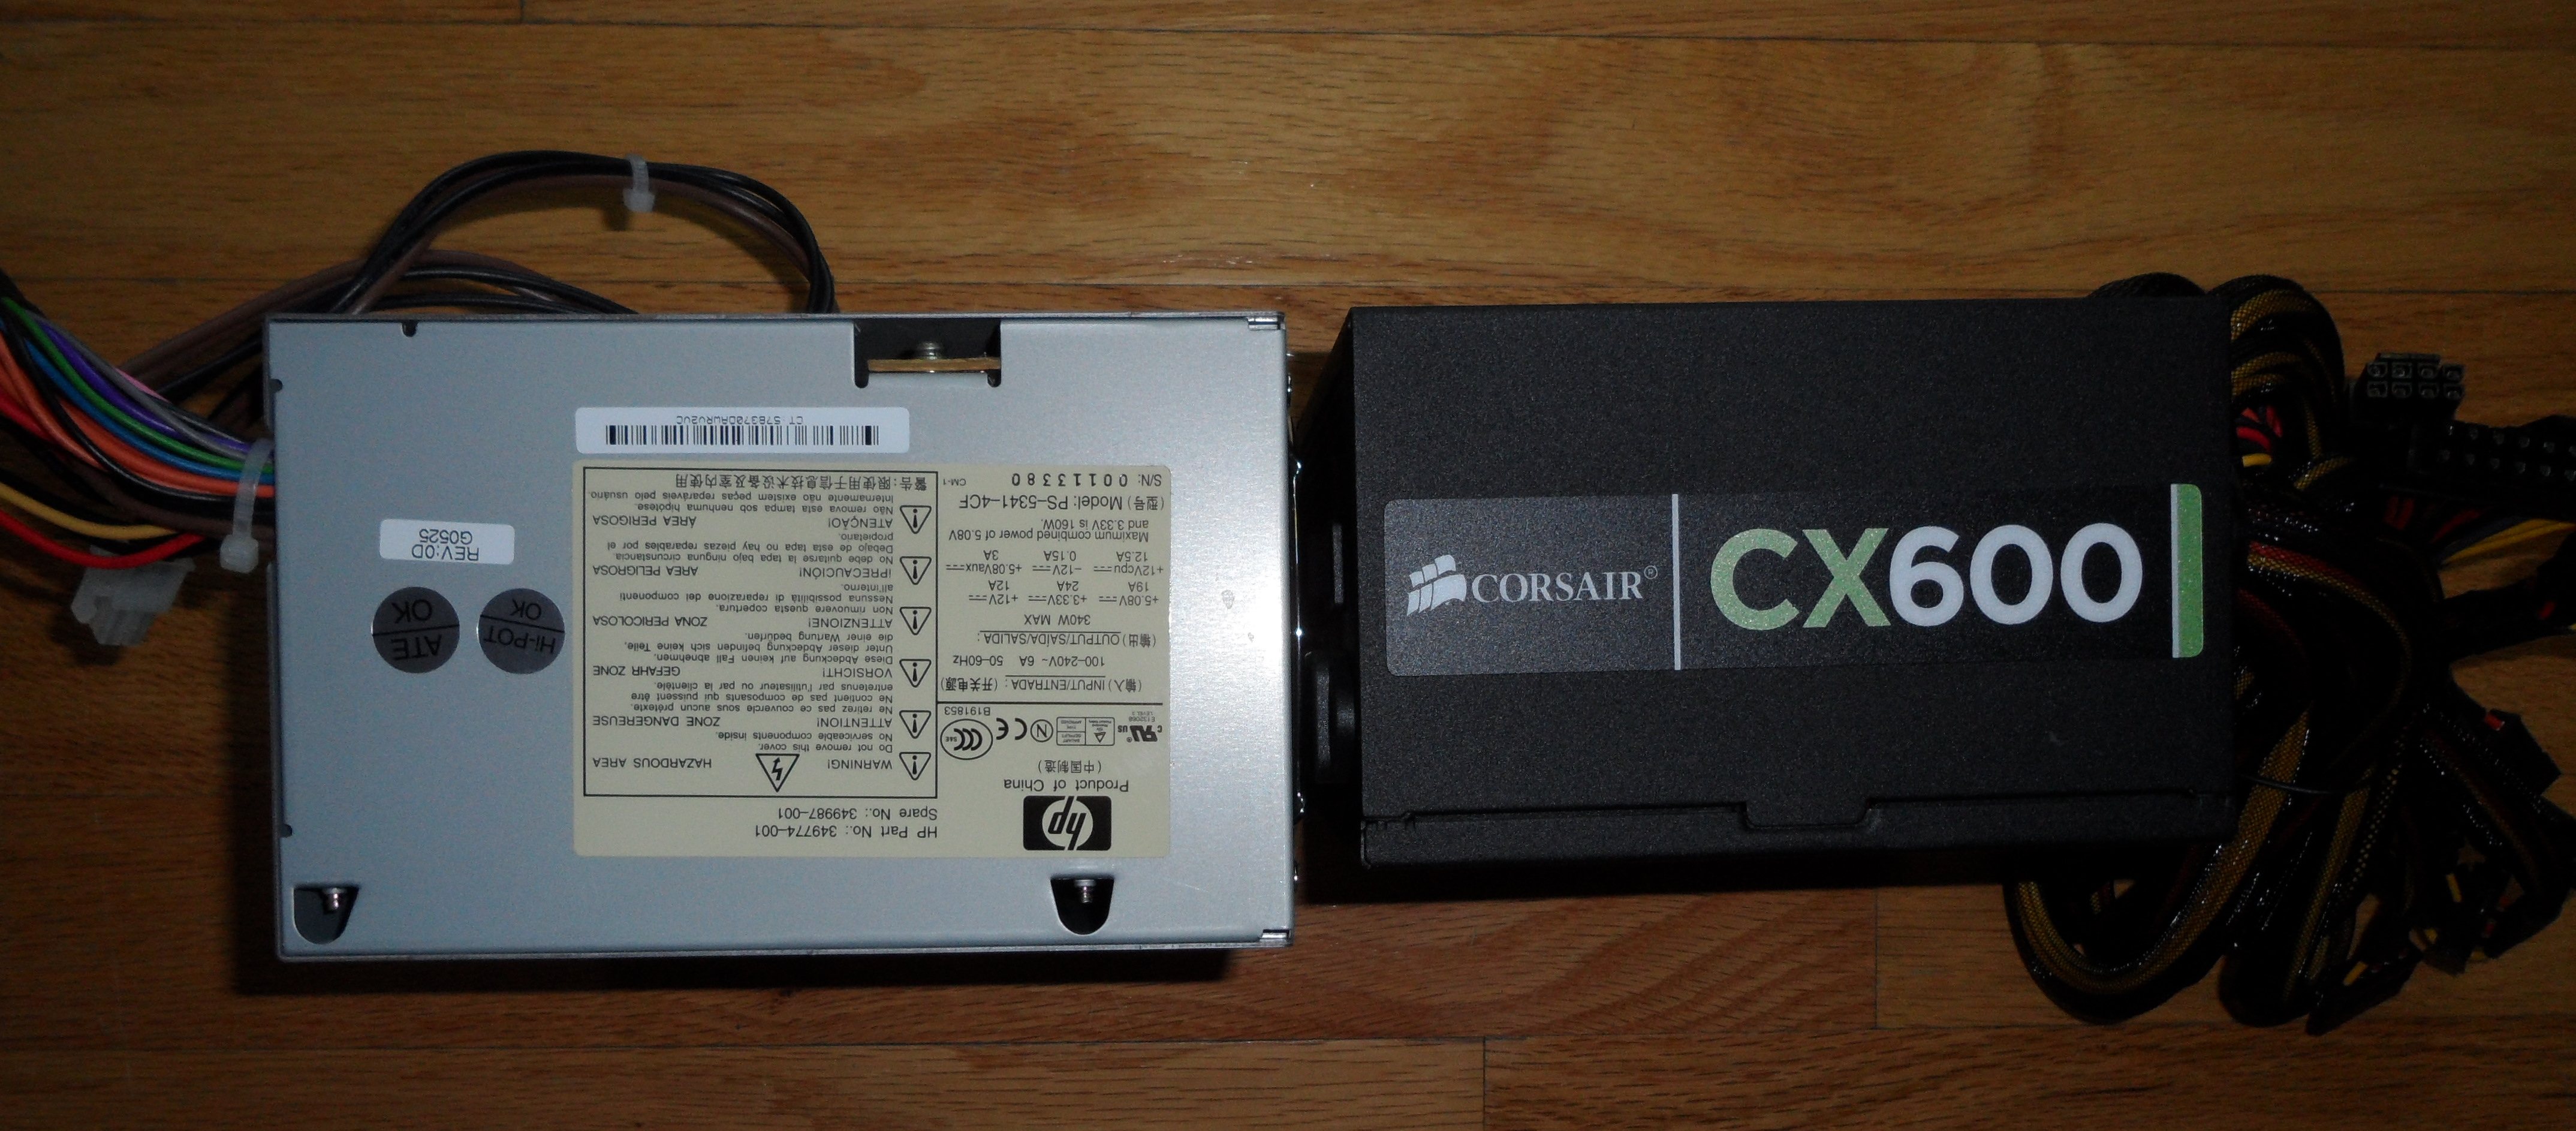
But, it's a bit wider:
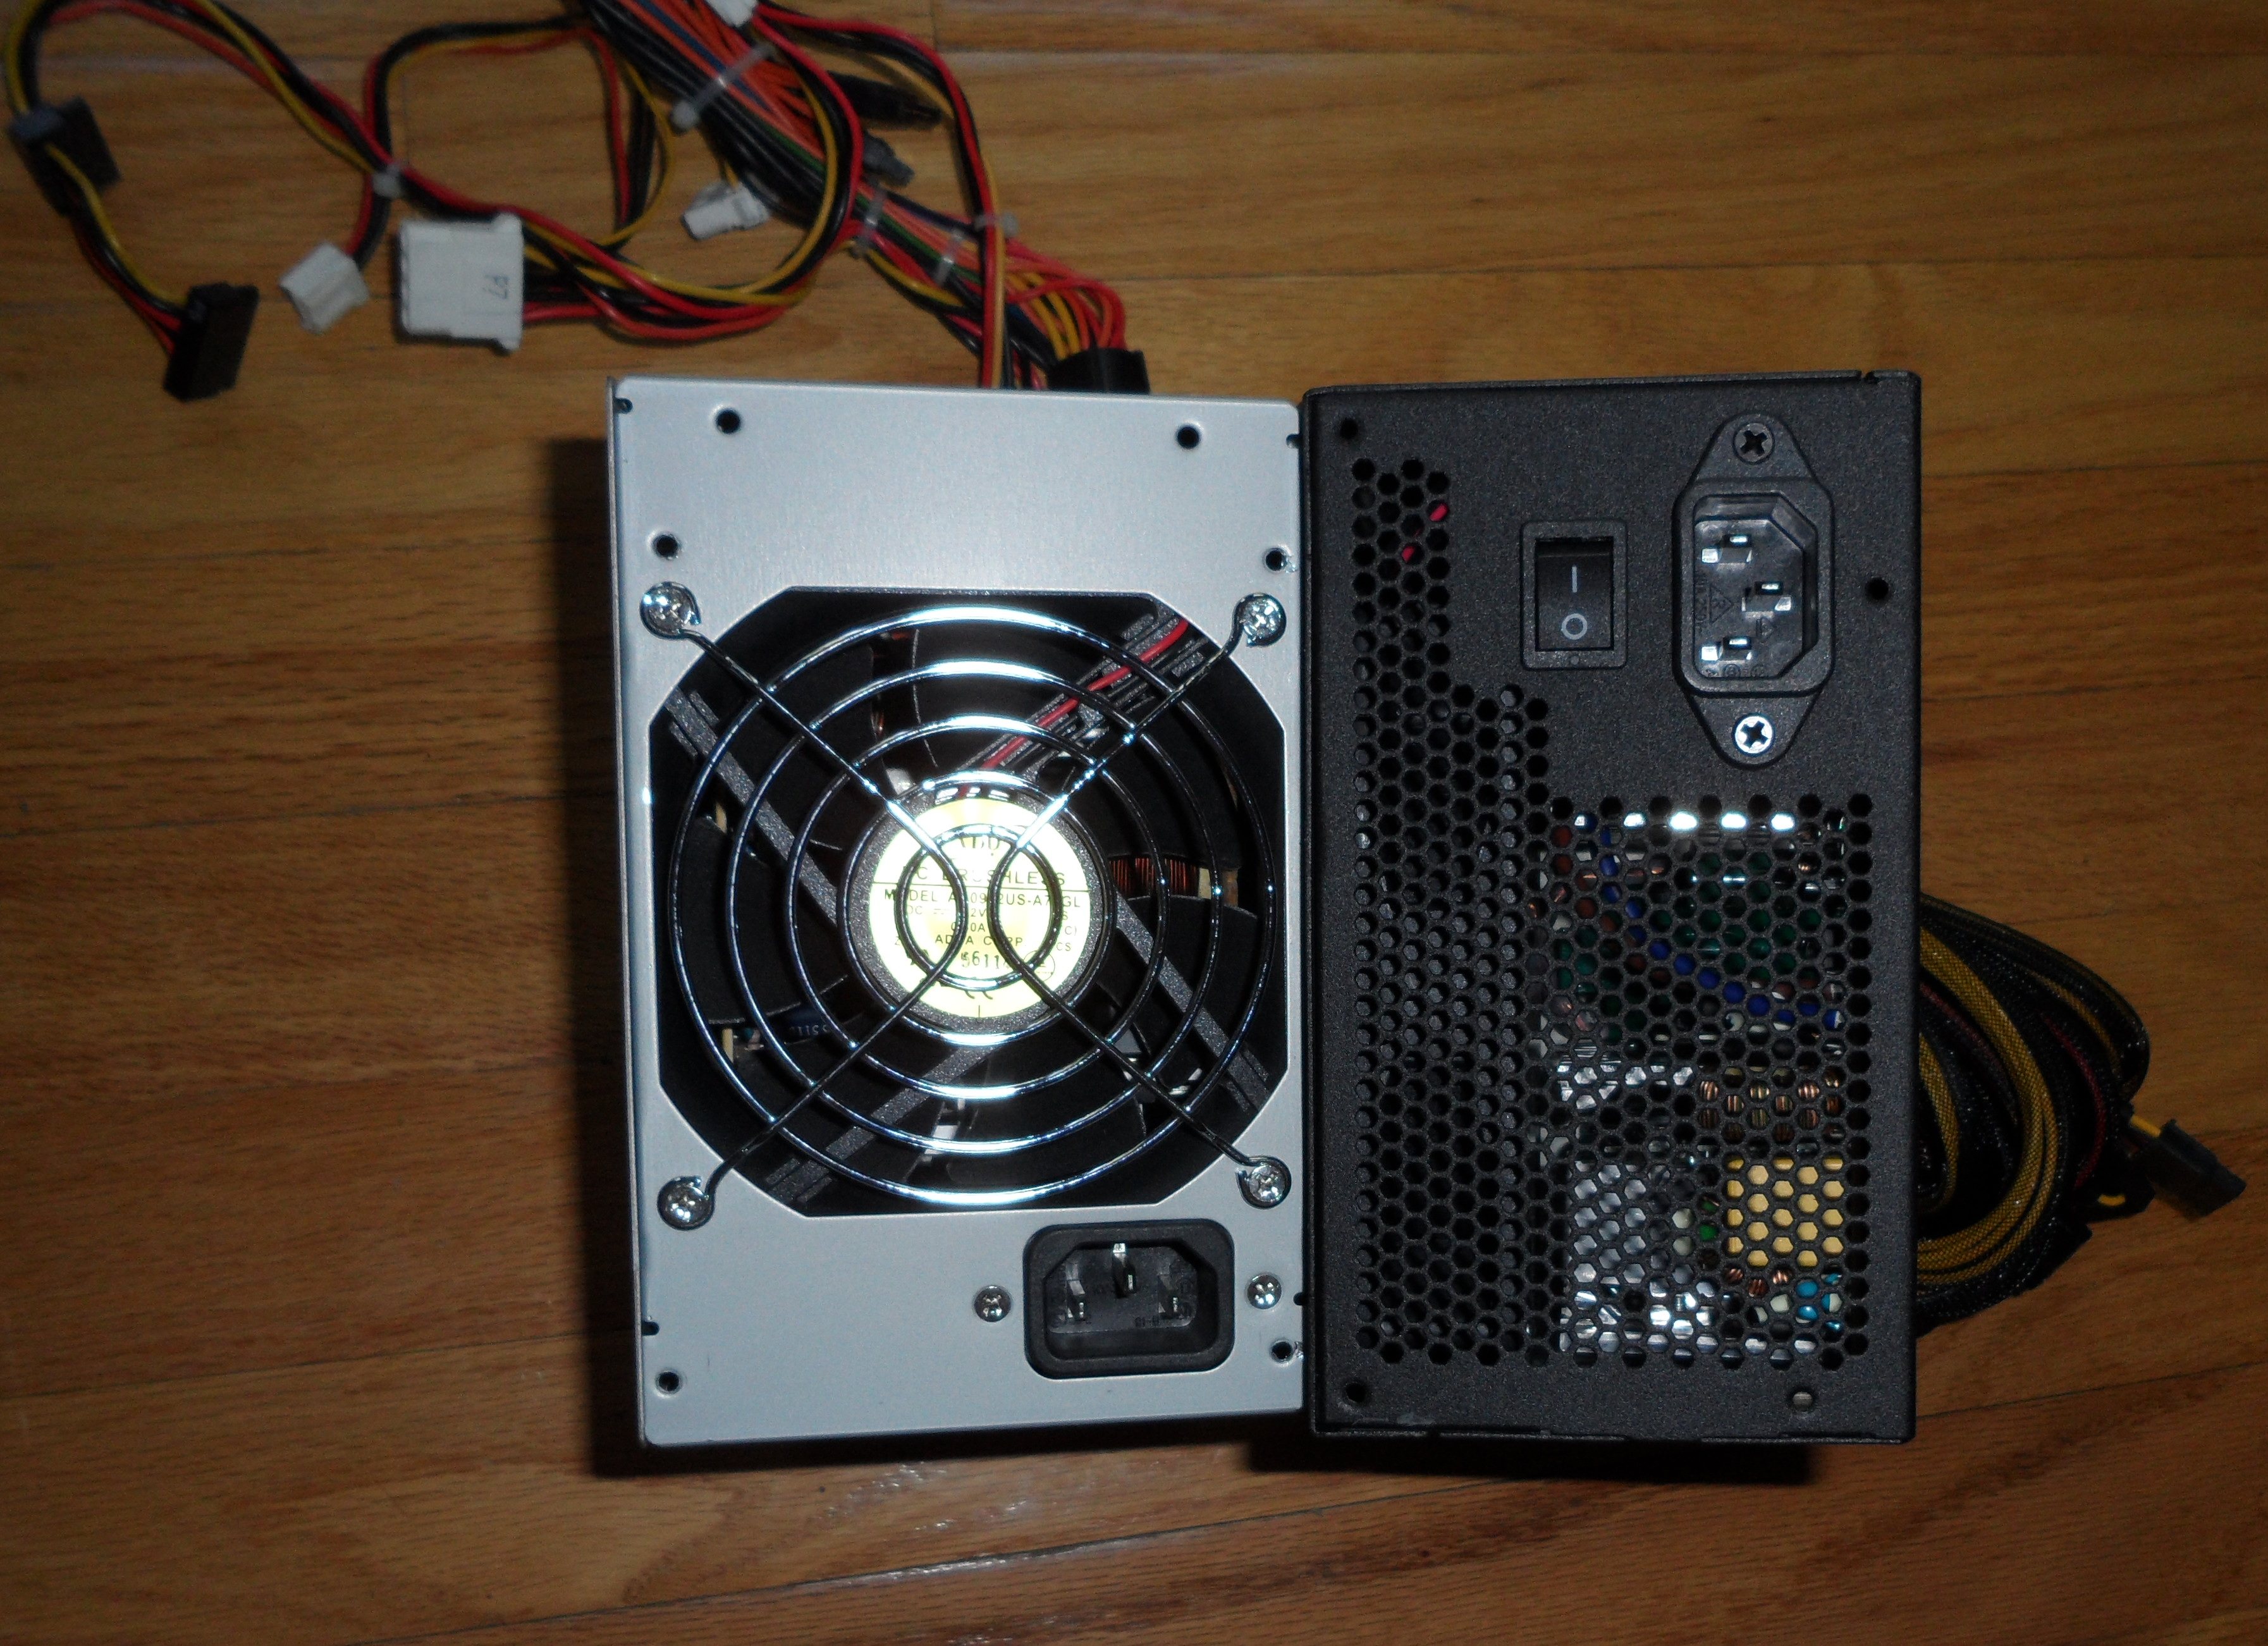
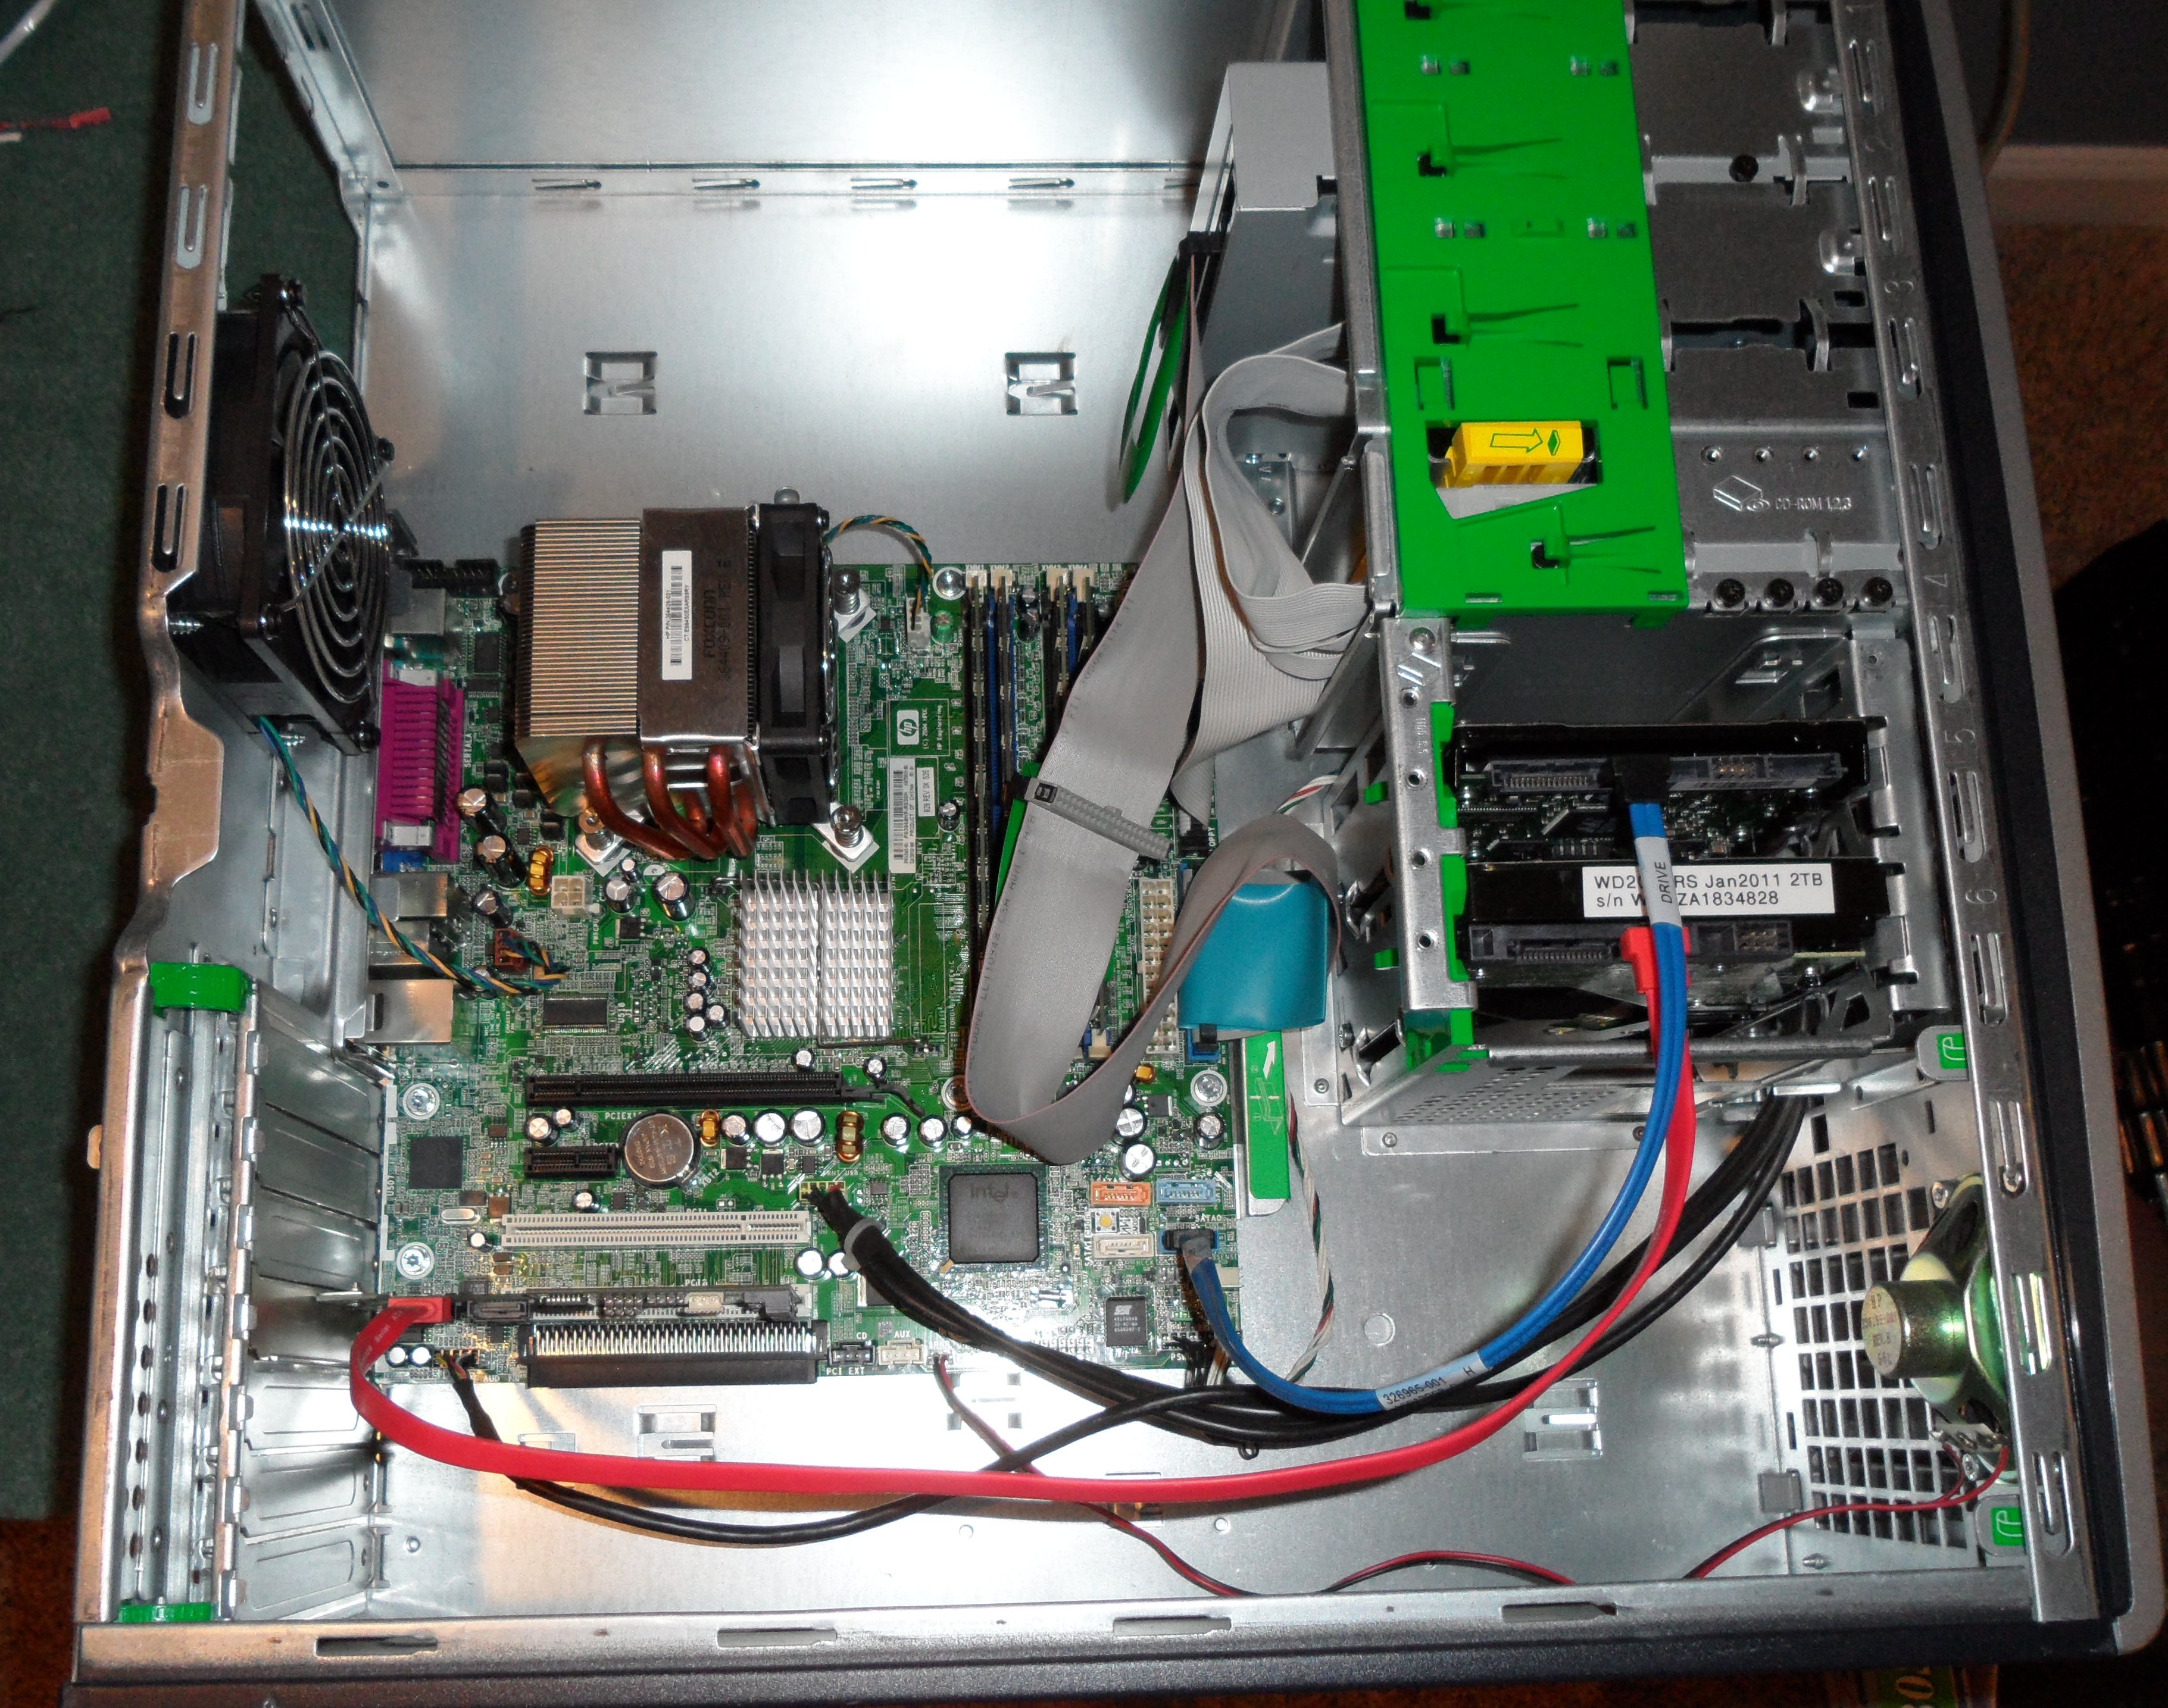
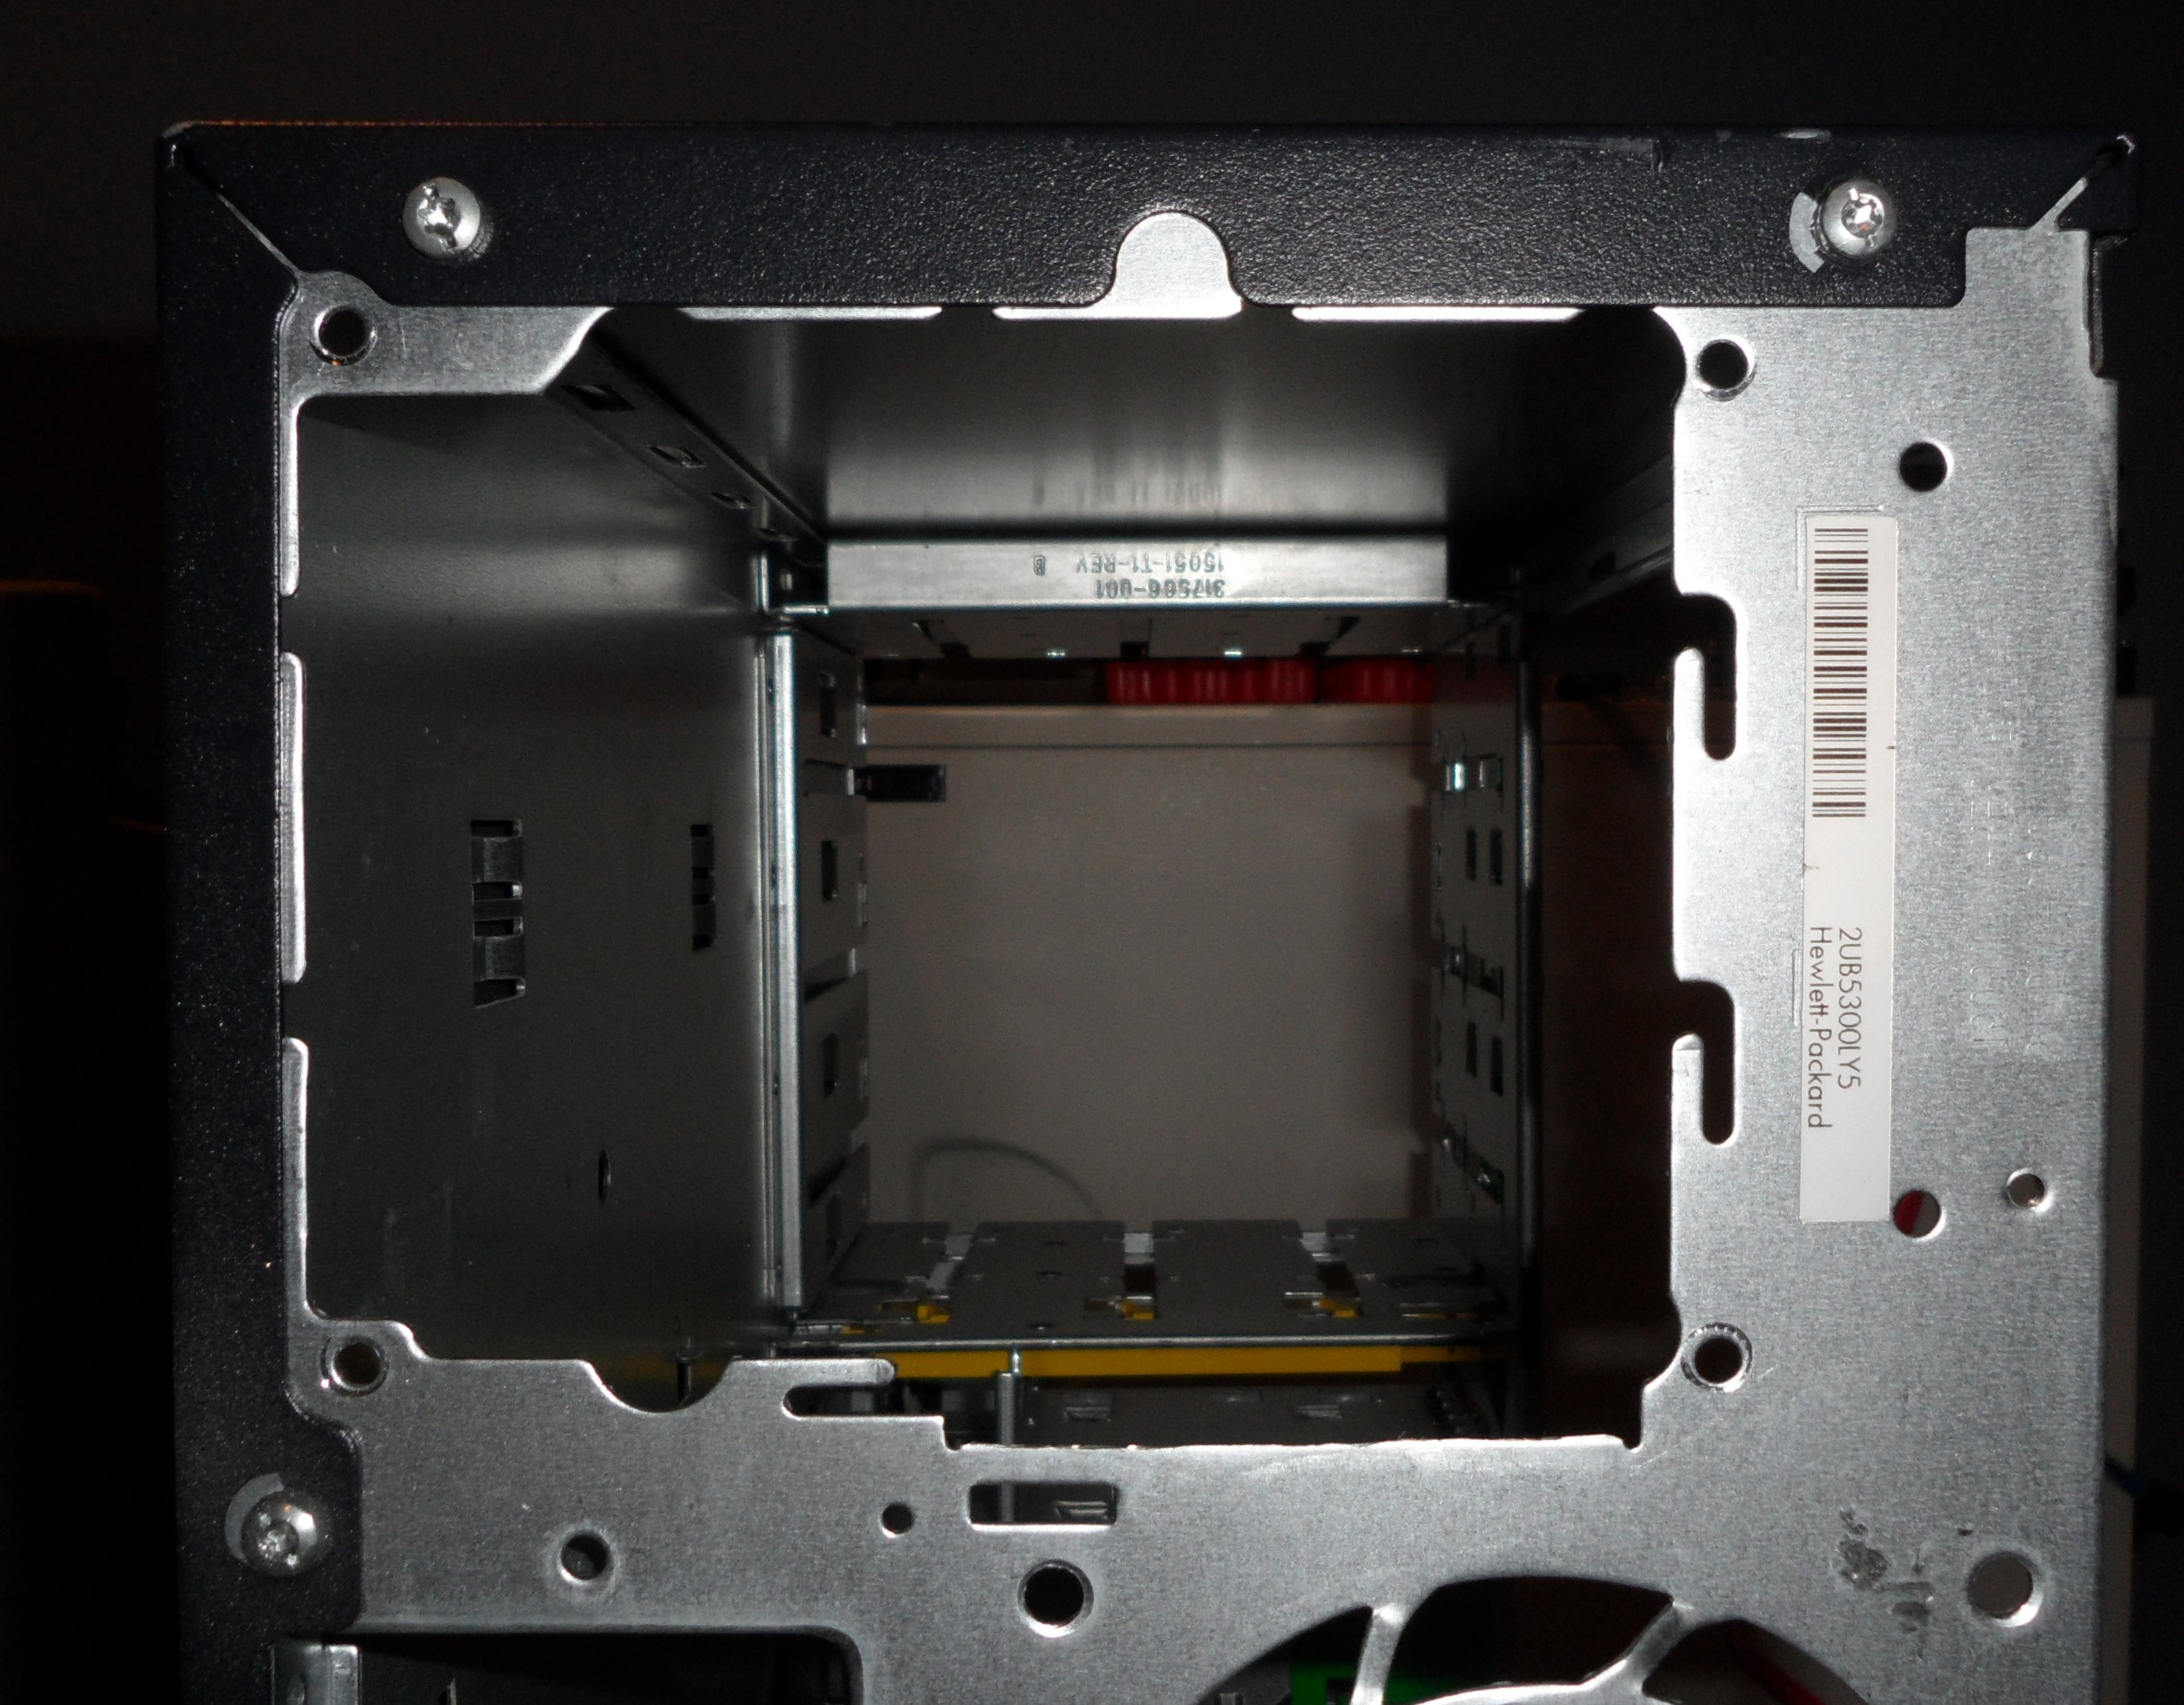
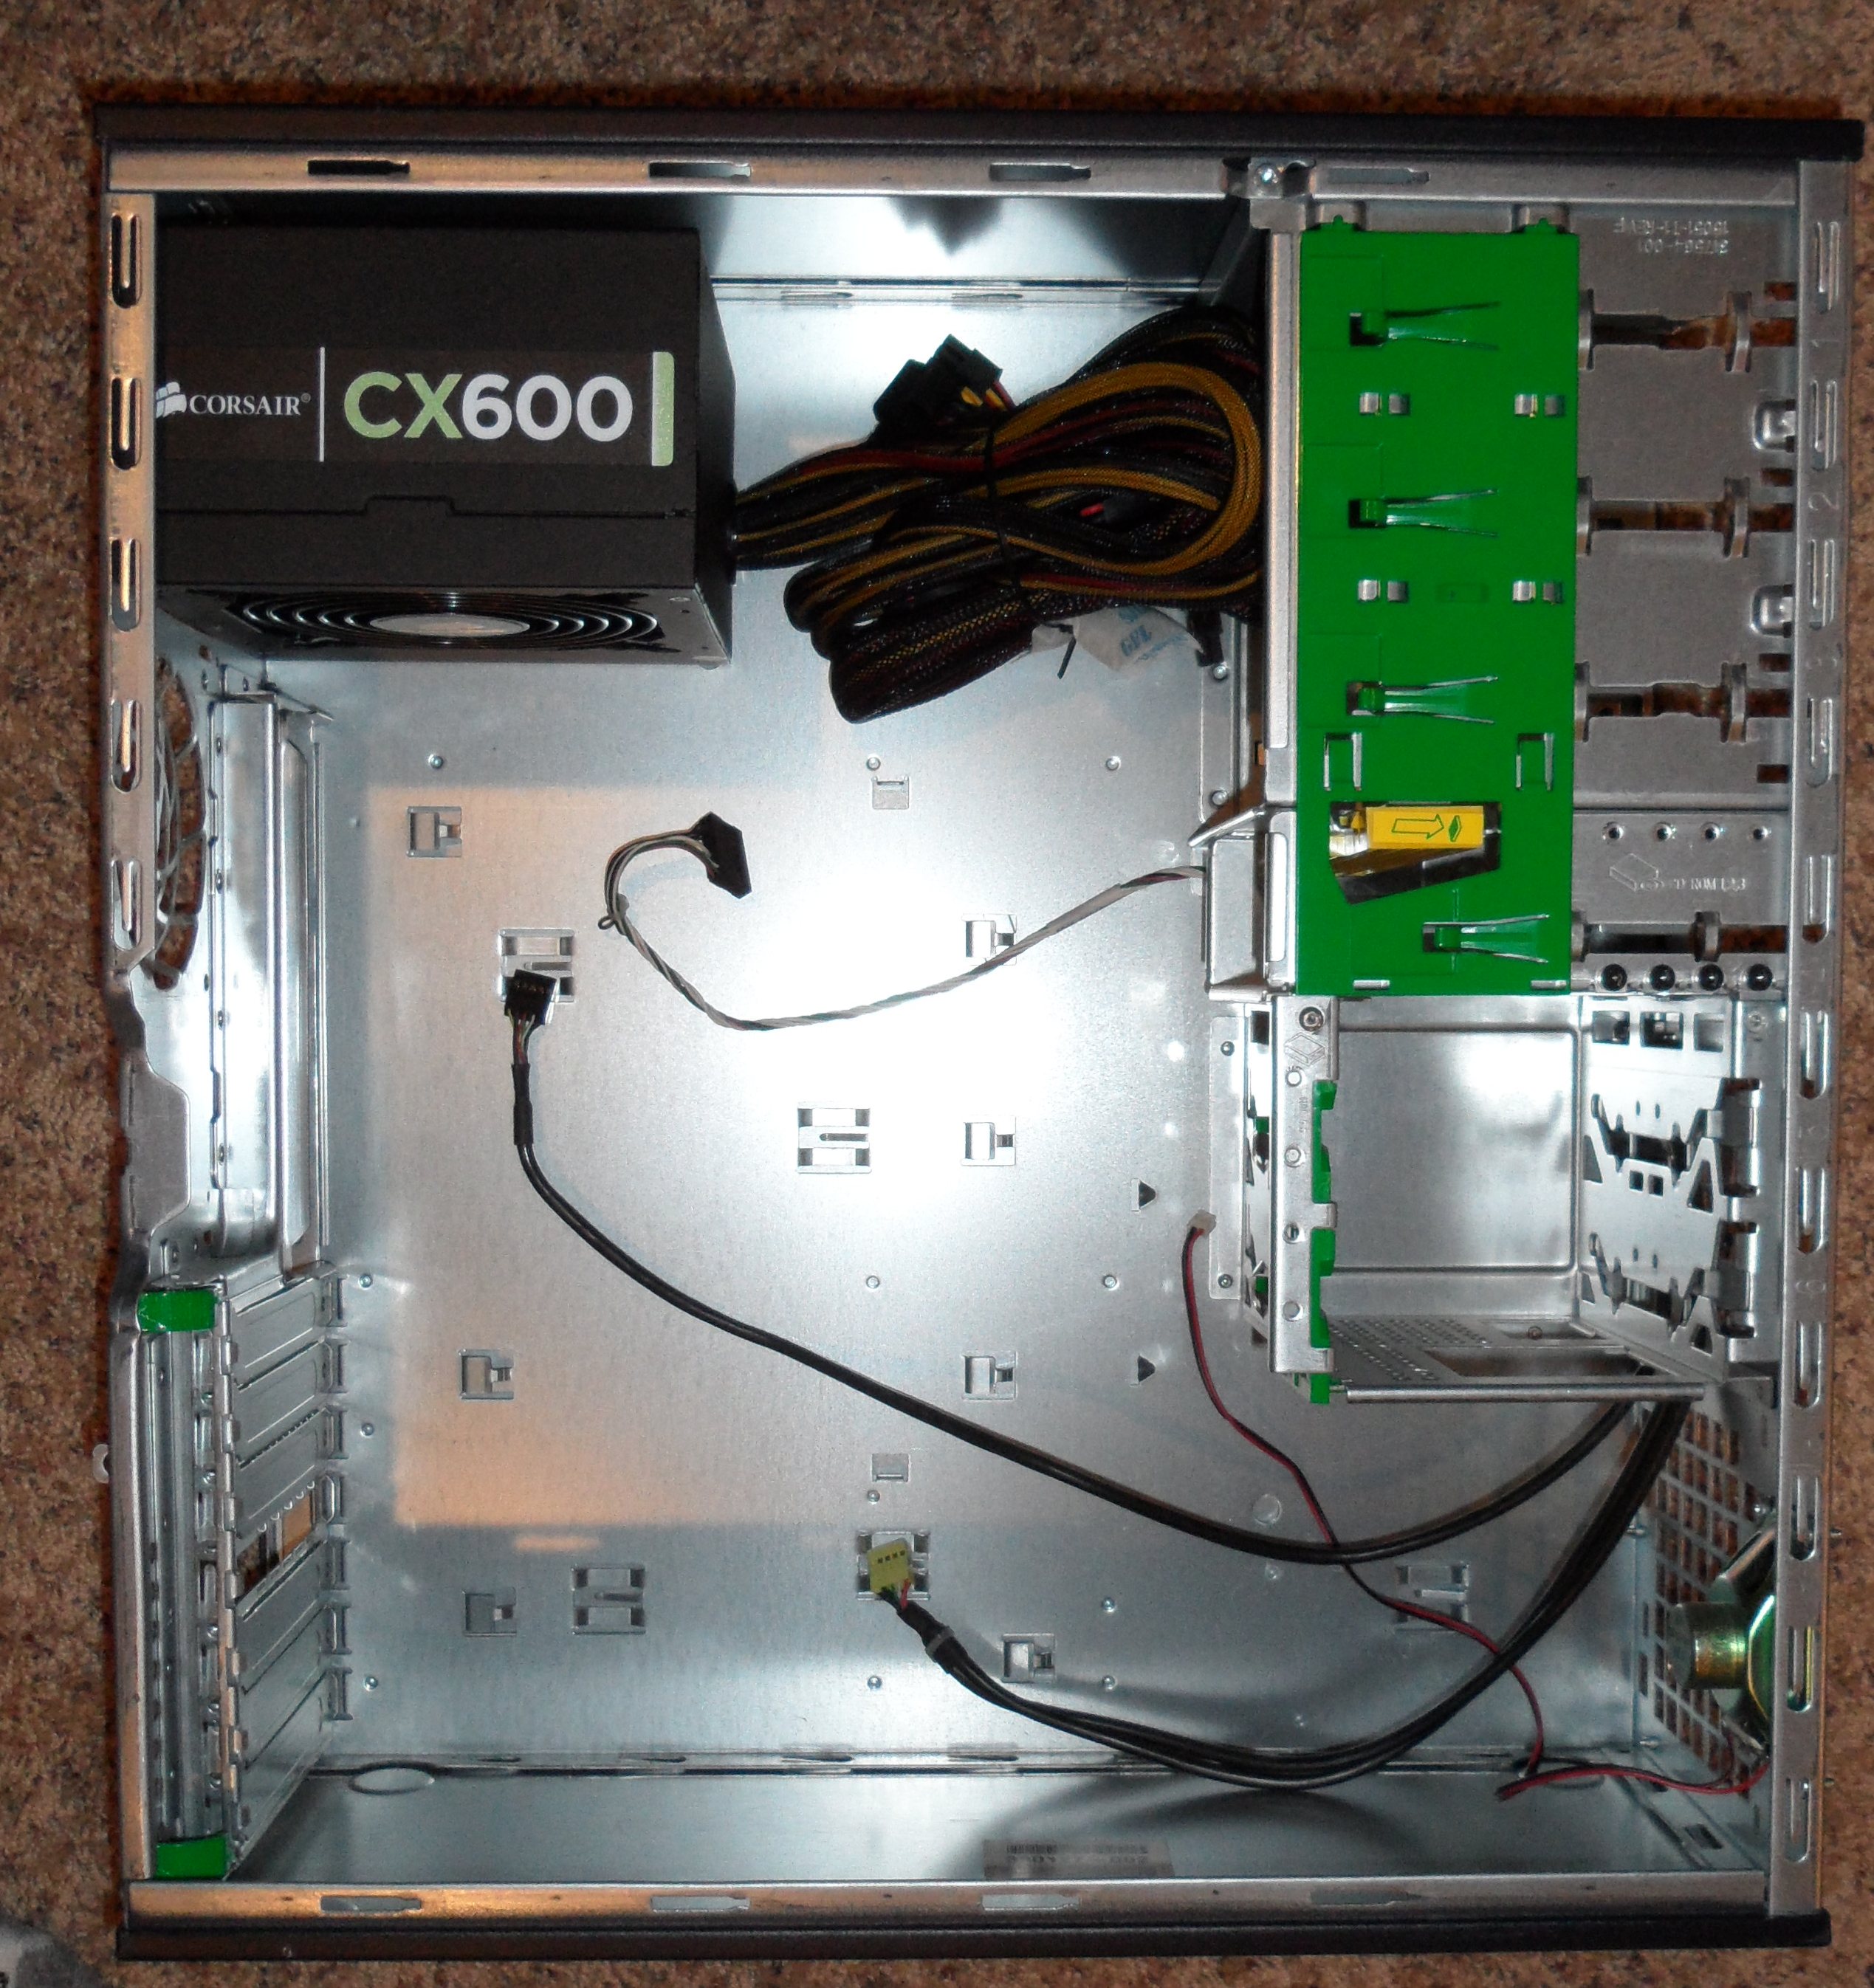
There's plenty of room in the case:
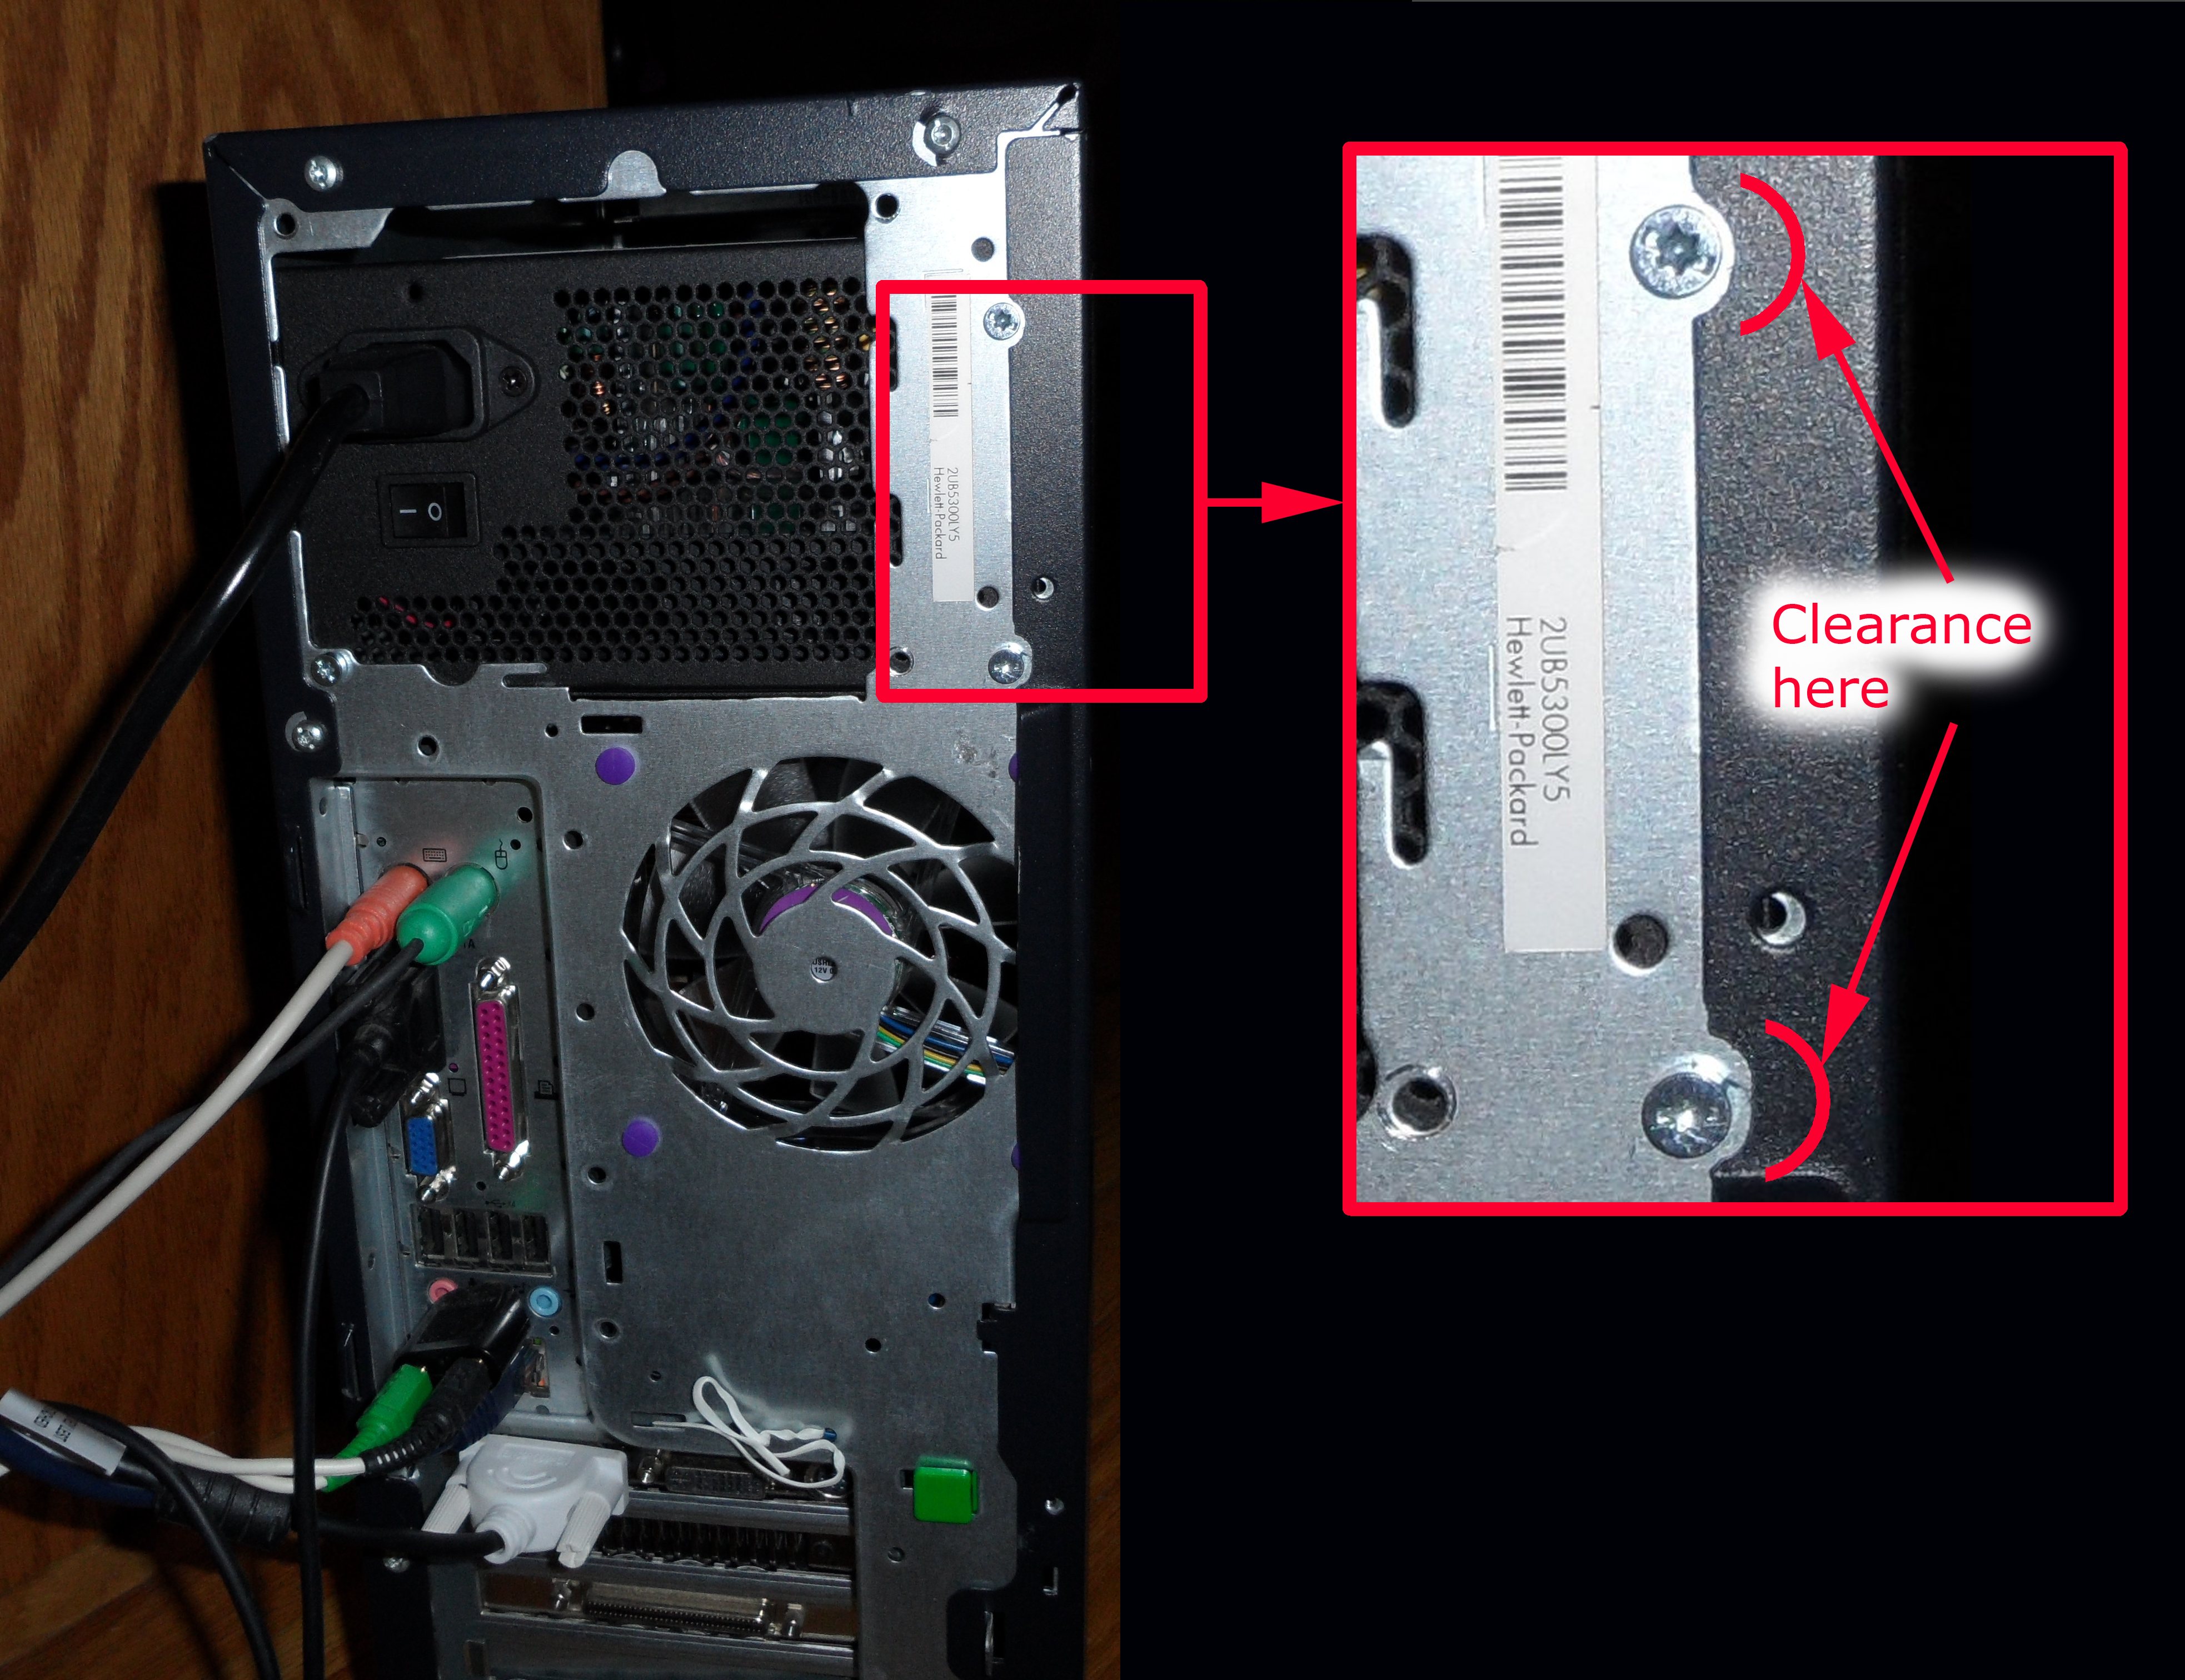
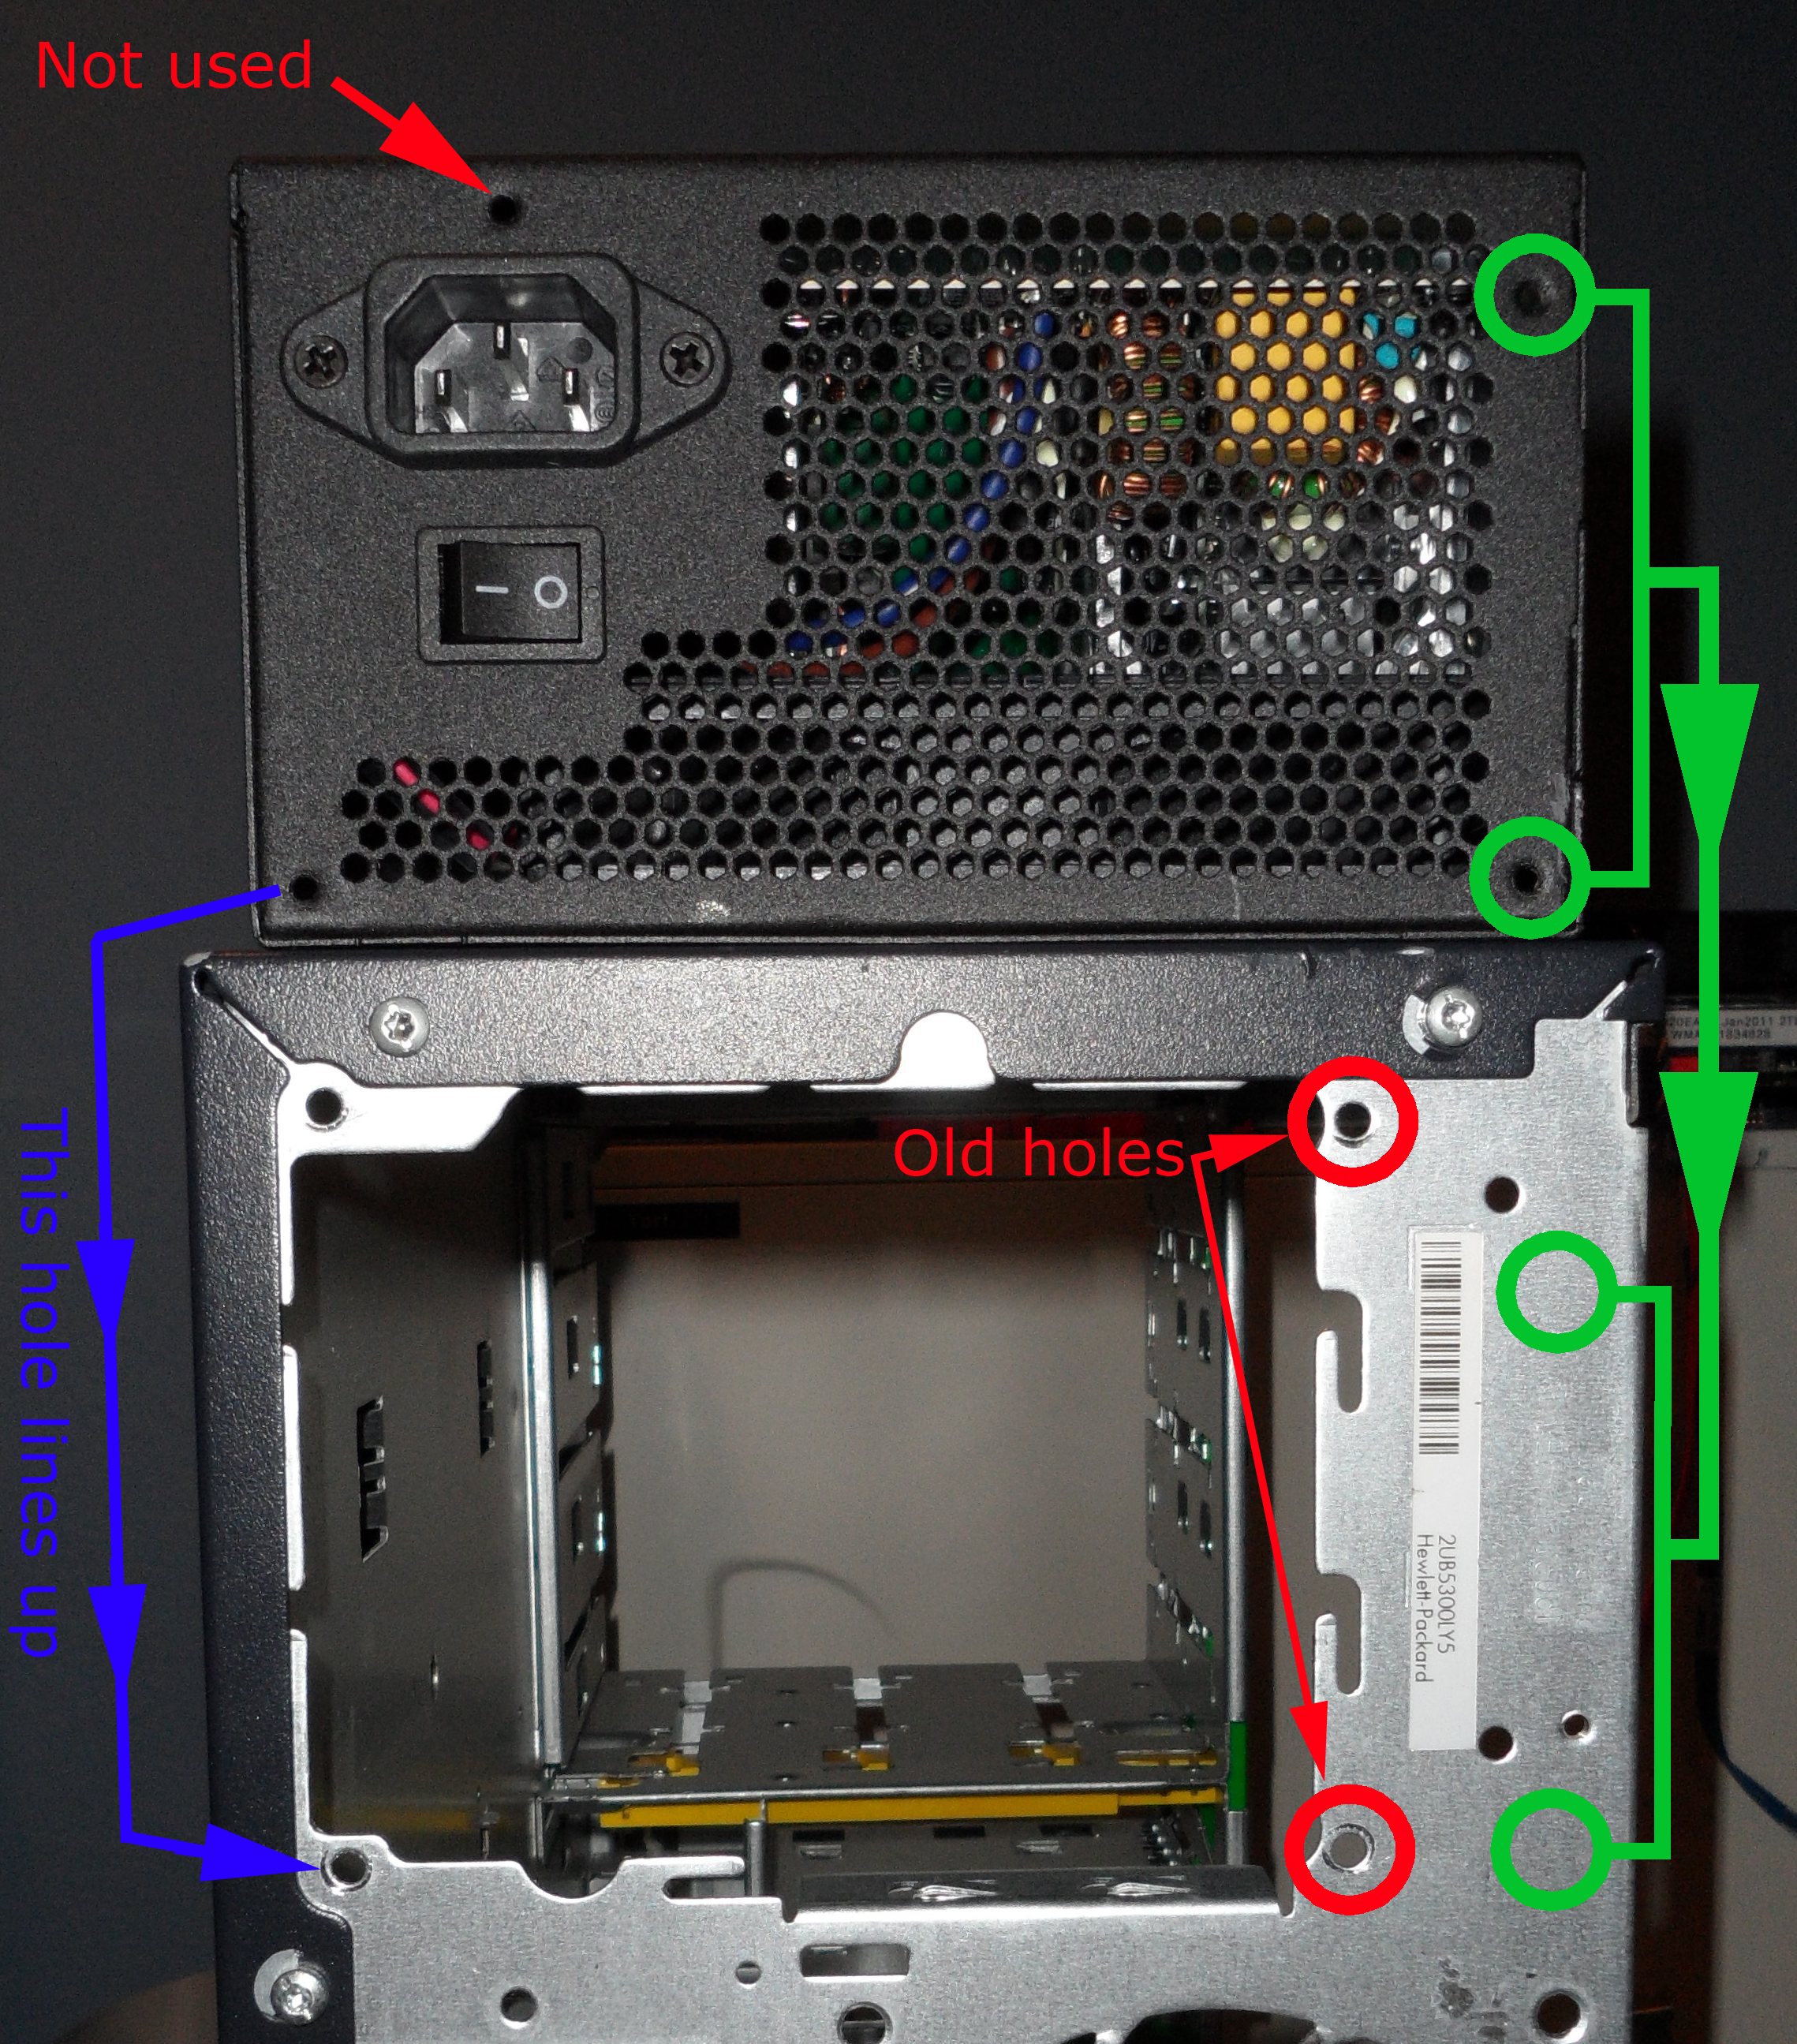
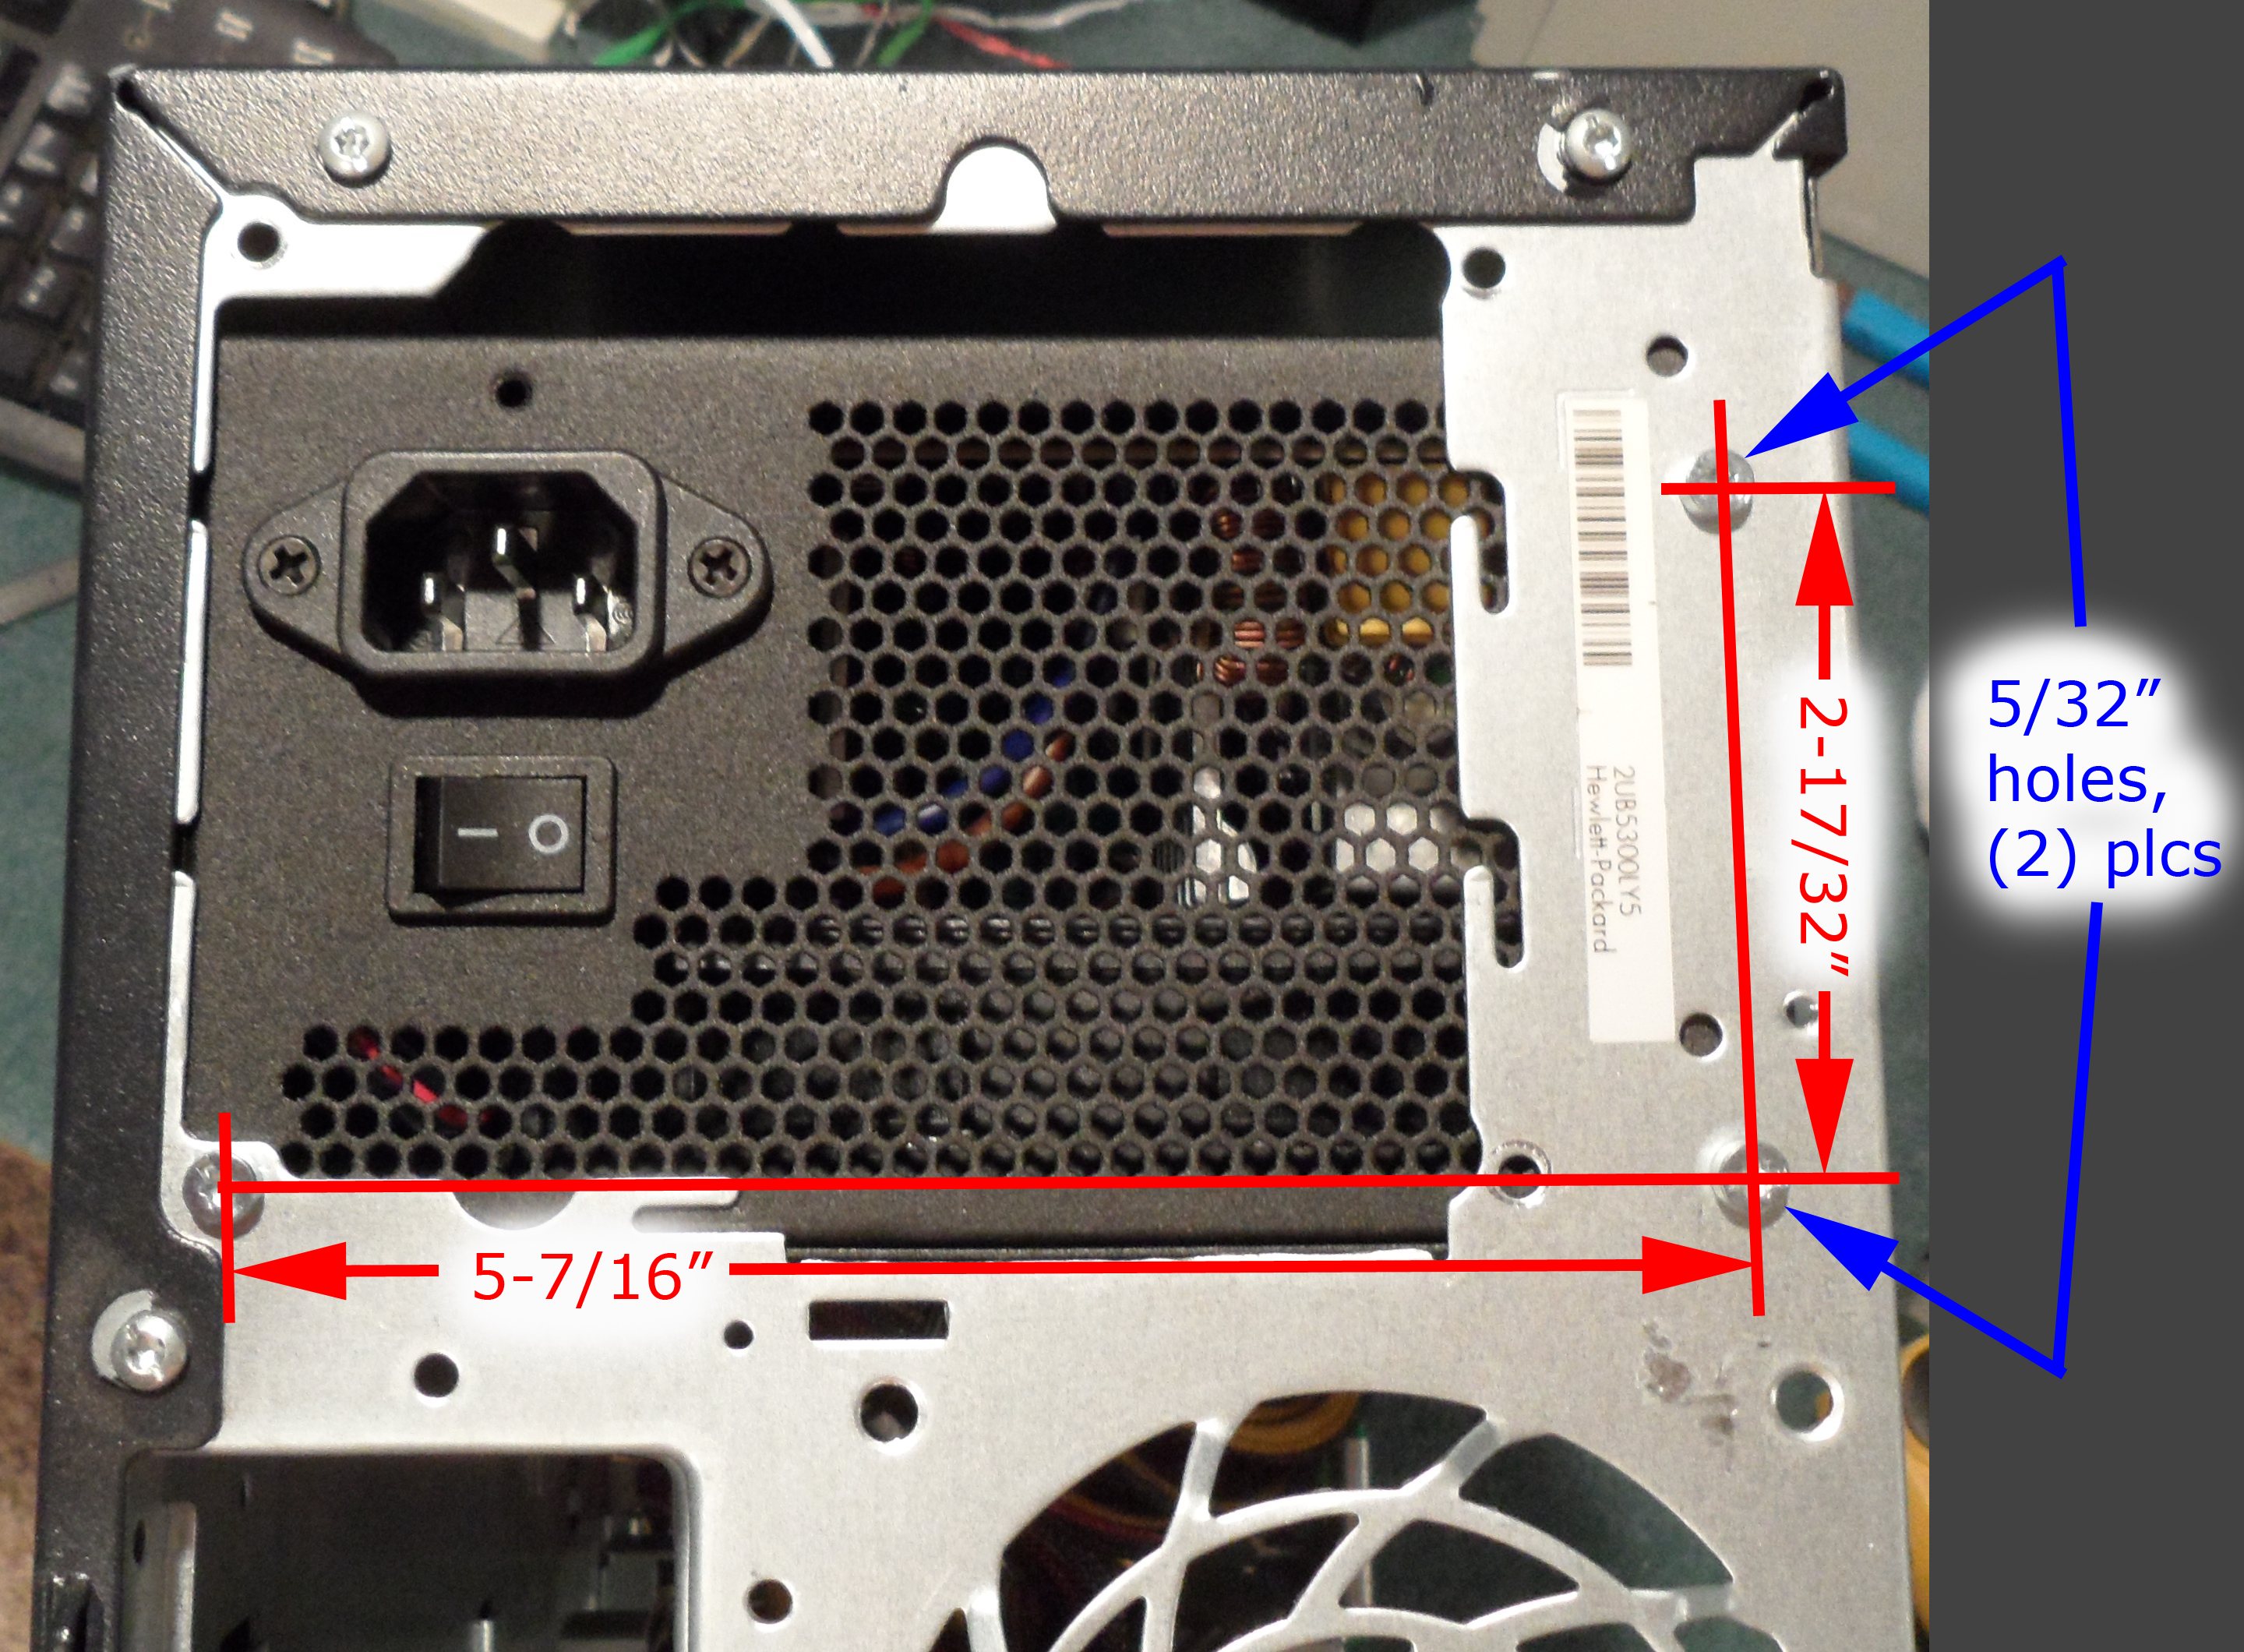
However, at least two mounting holes have to be drilled, and a small ledge in the case must be removed. The lower left hole can be re-used, the upper left hole in the PS is not used, and the two right holes have to be created in the case.
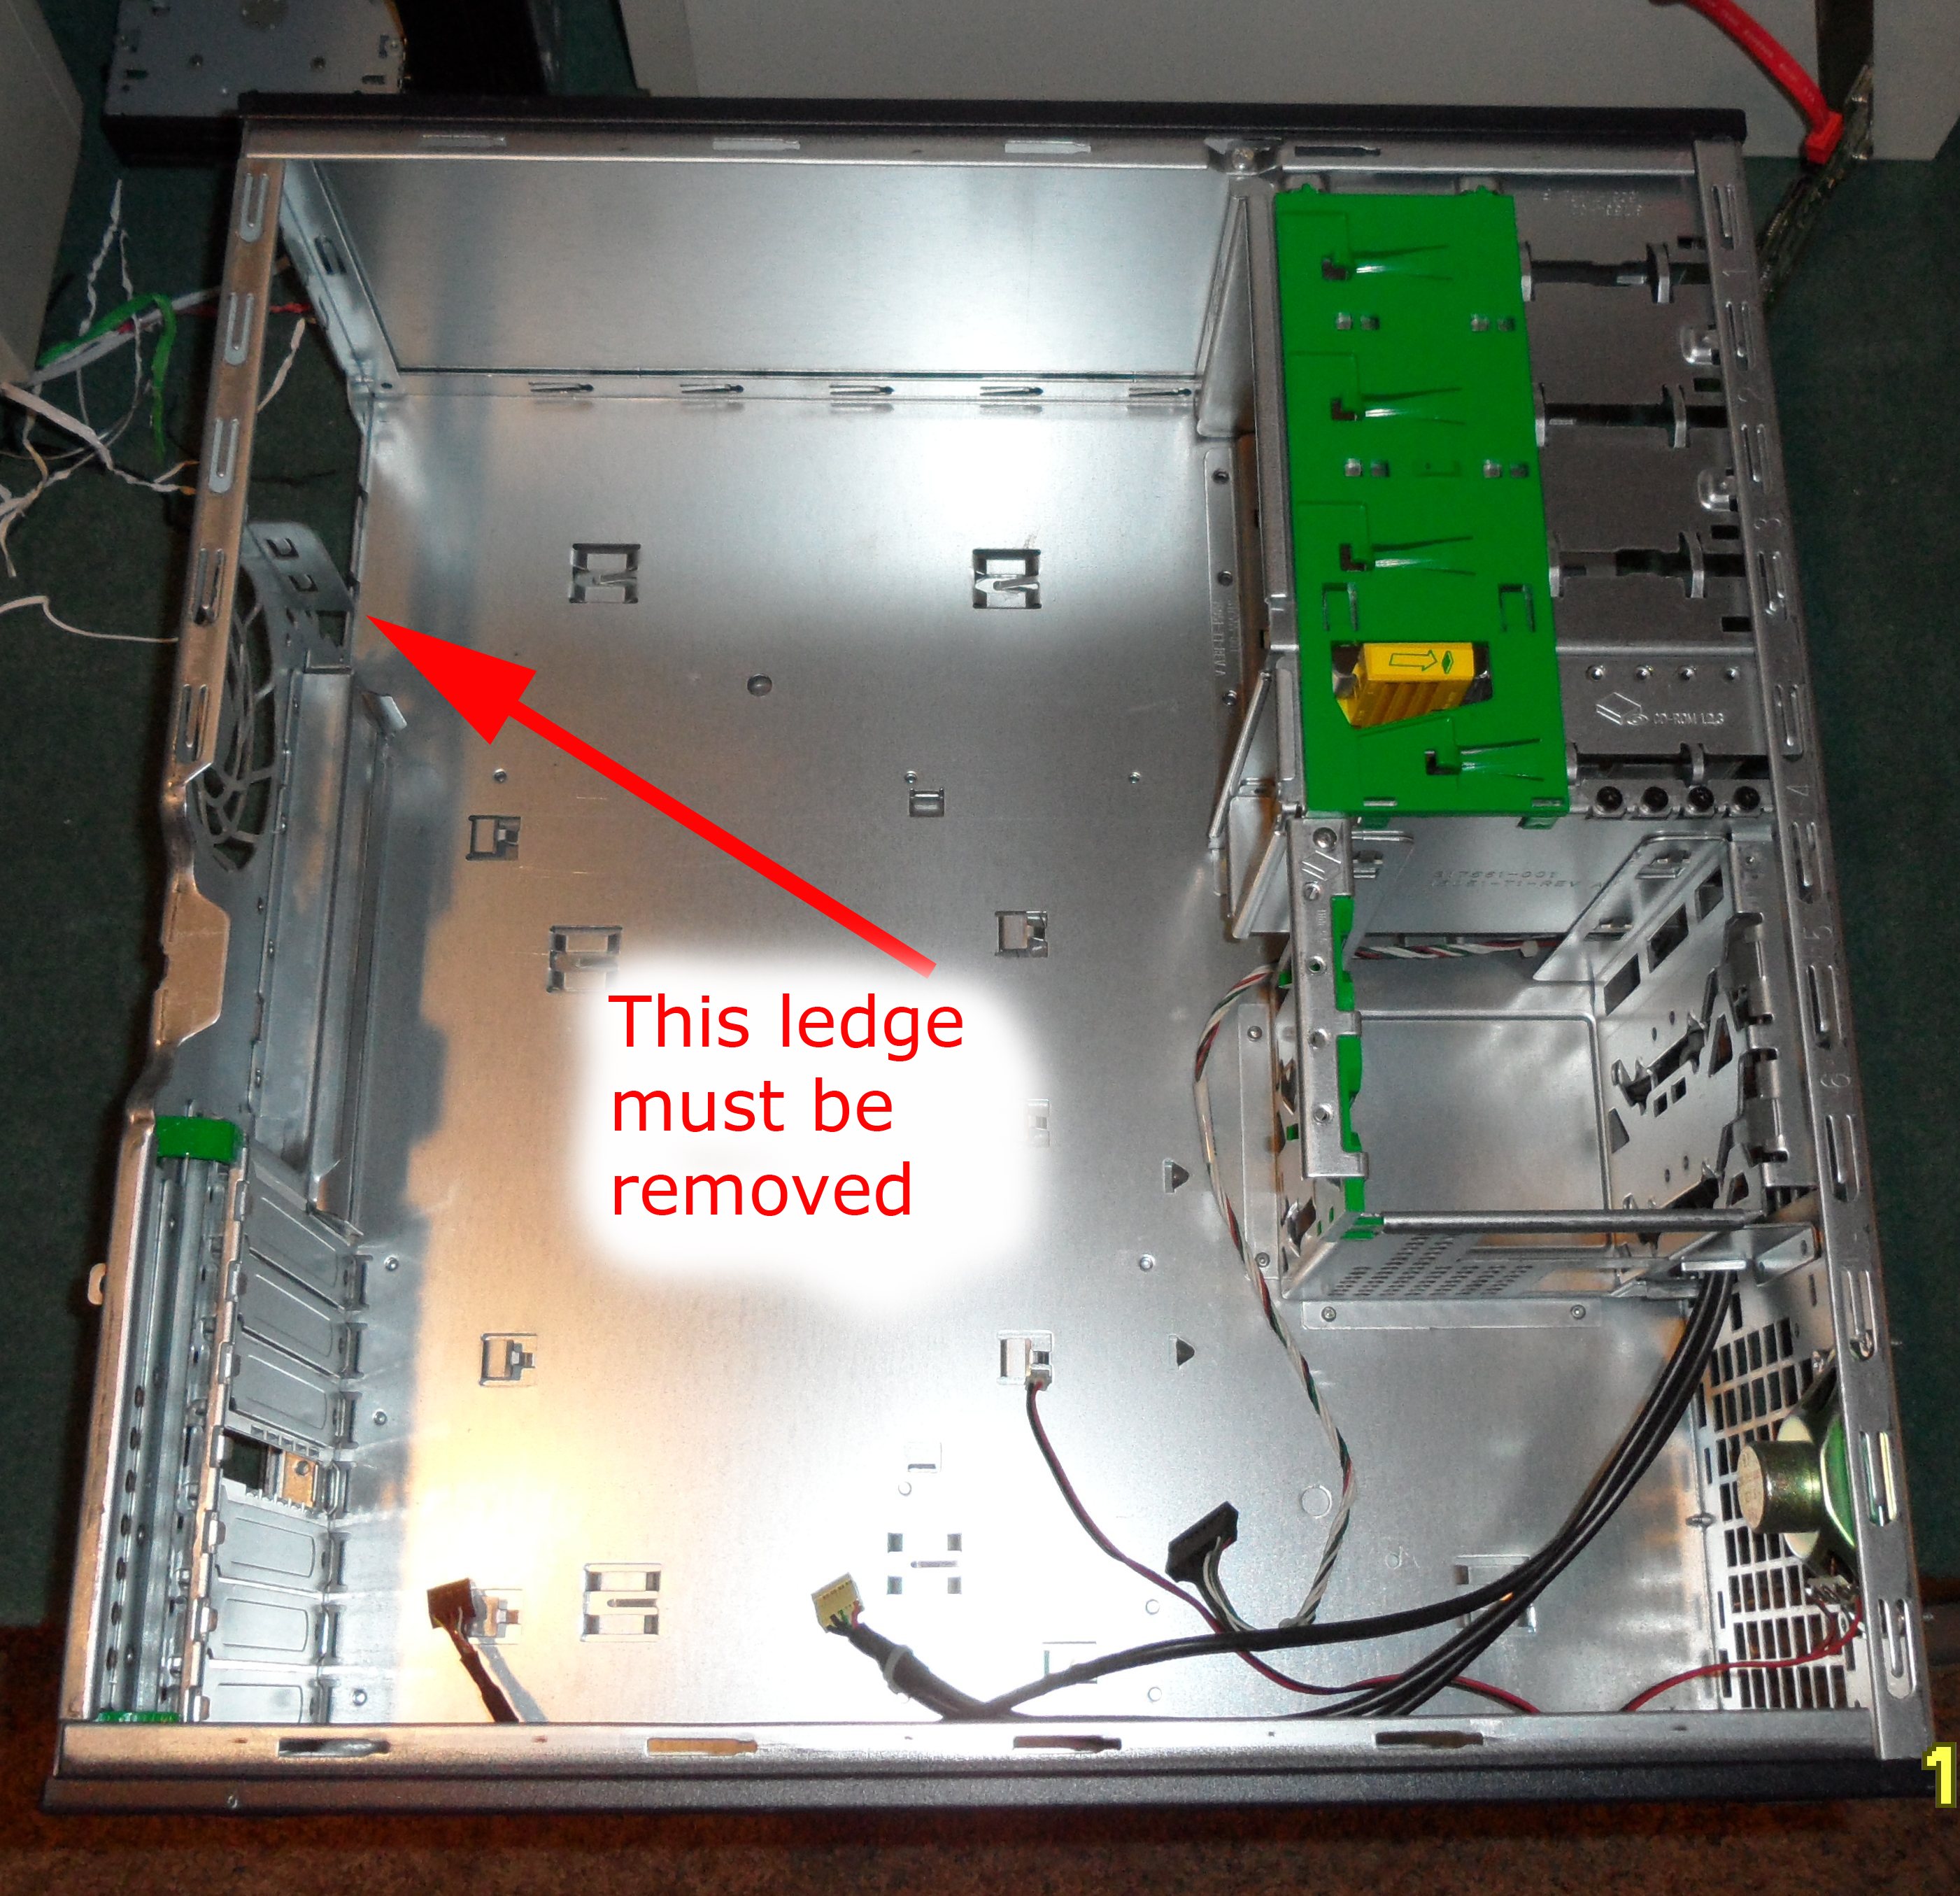
To remove the ledge, I used my Dremel to score it most of the way through:
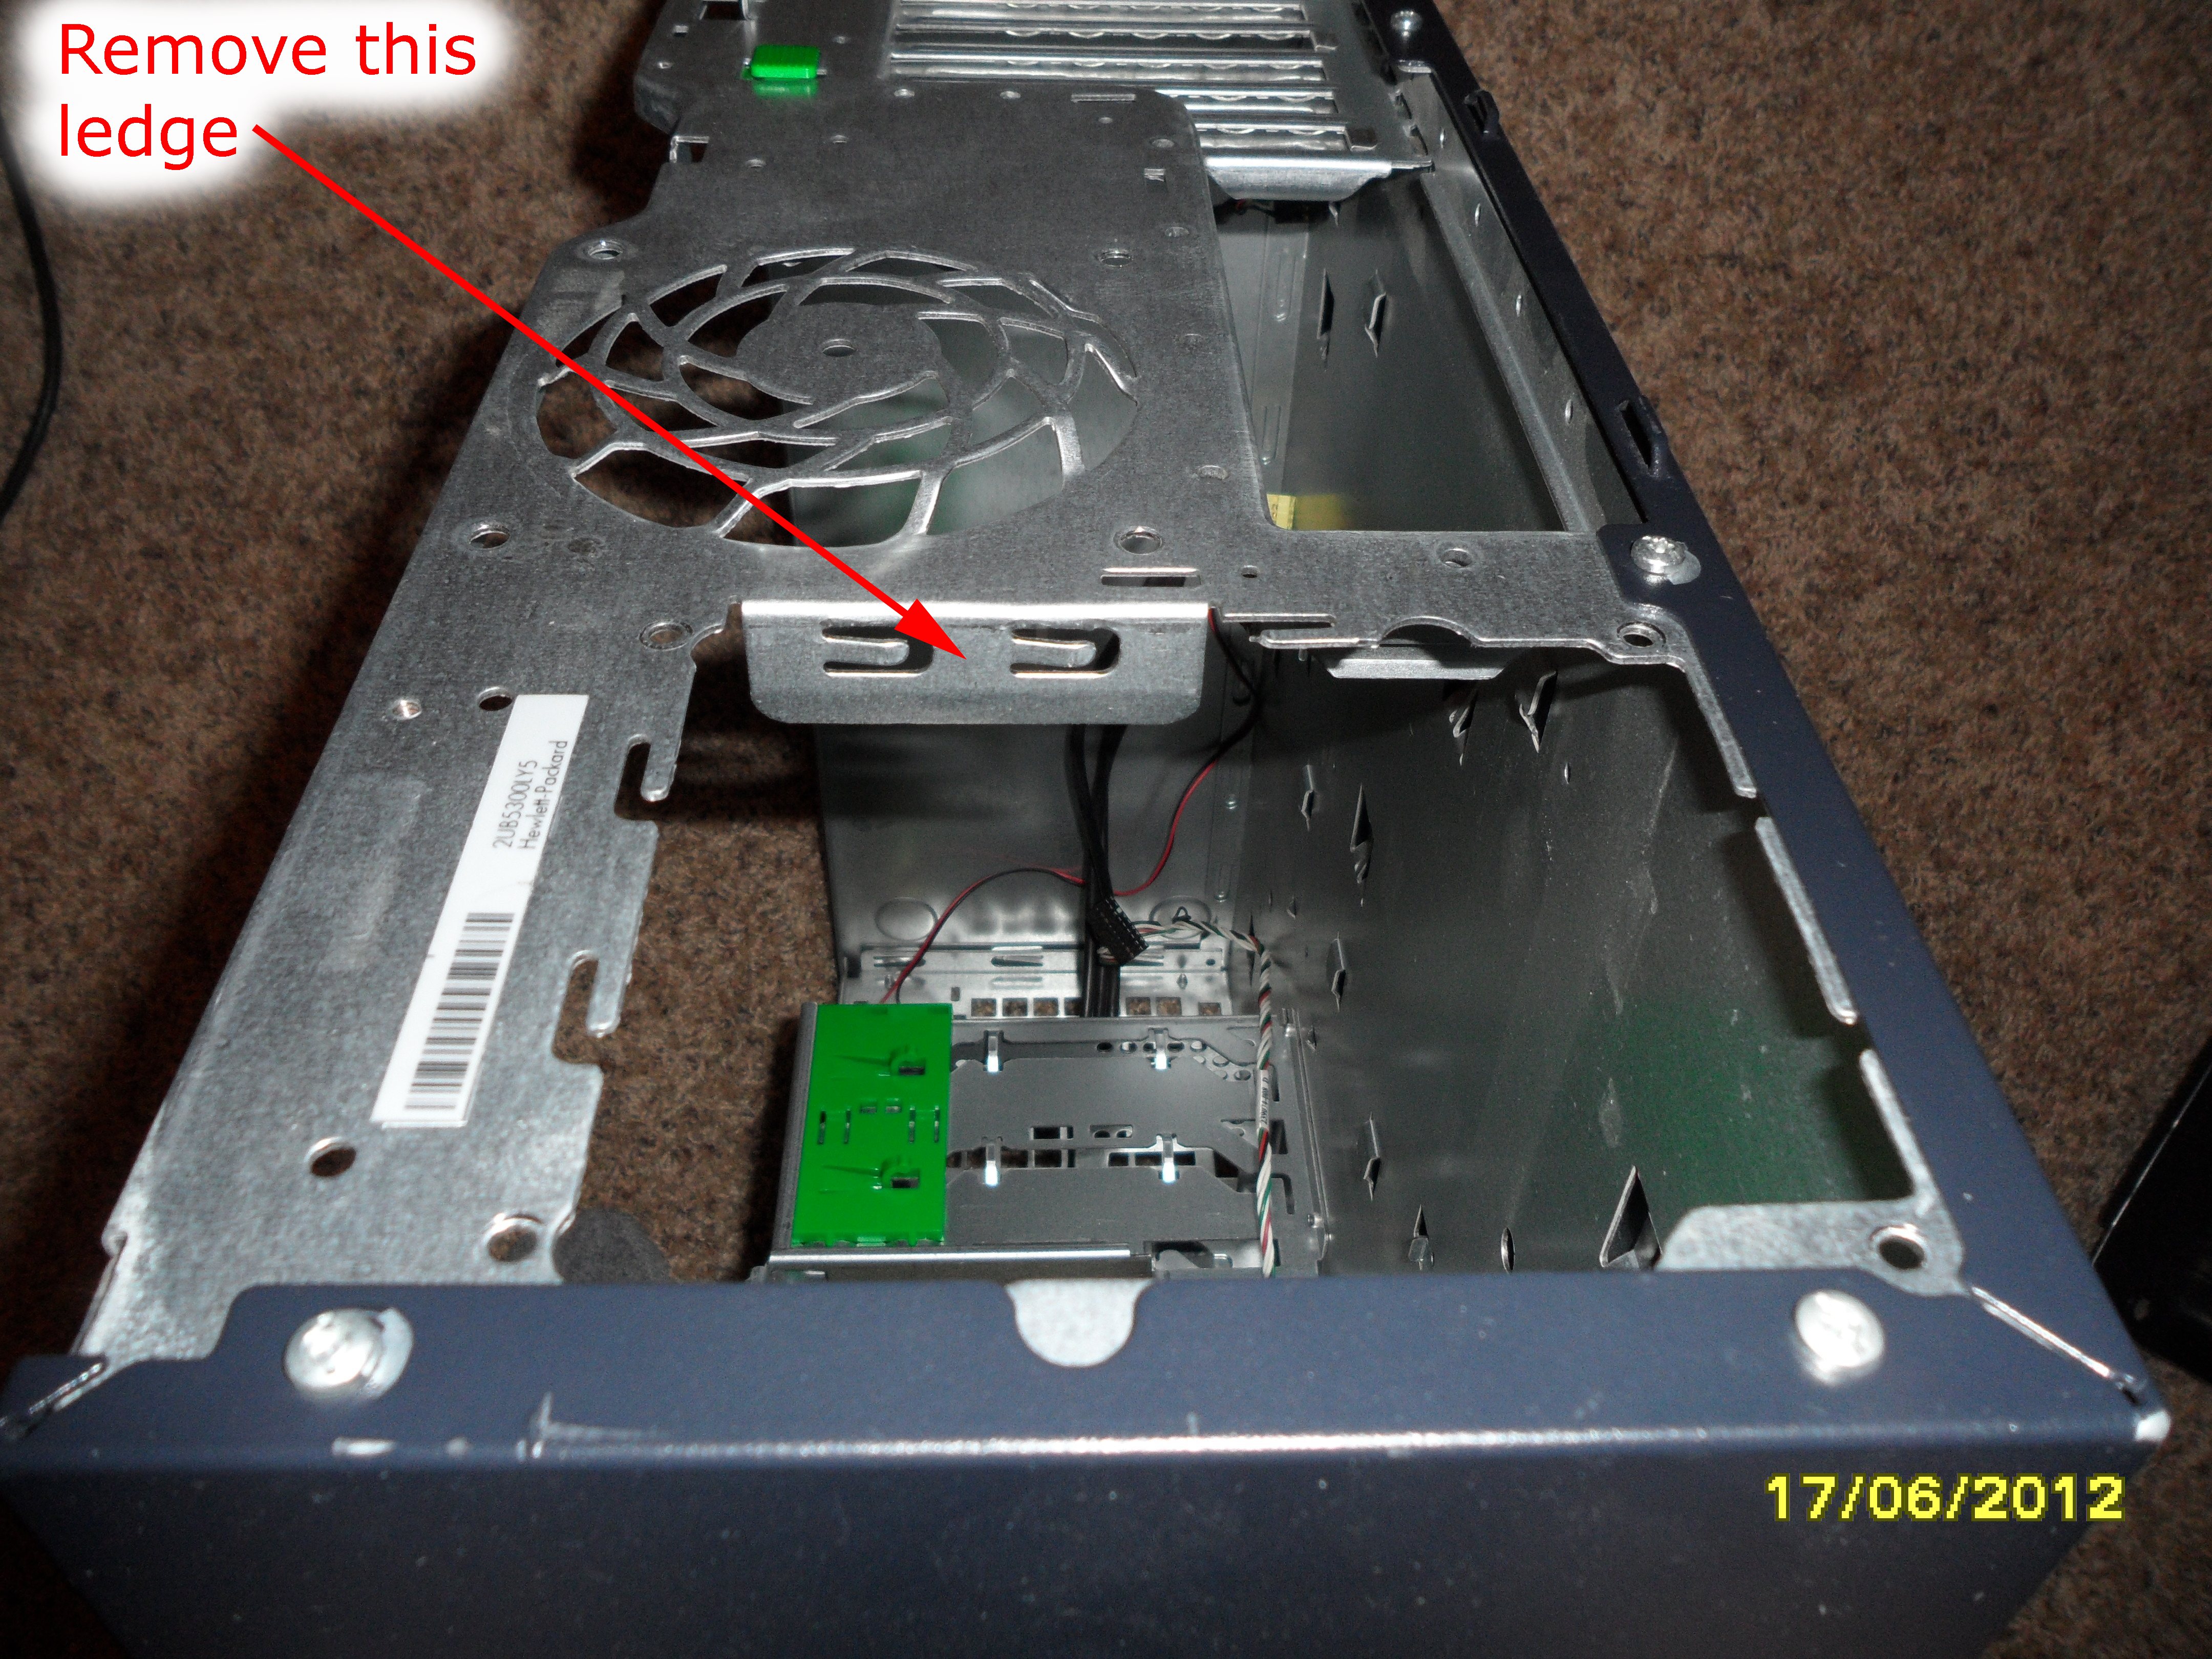

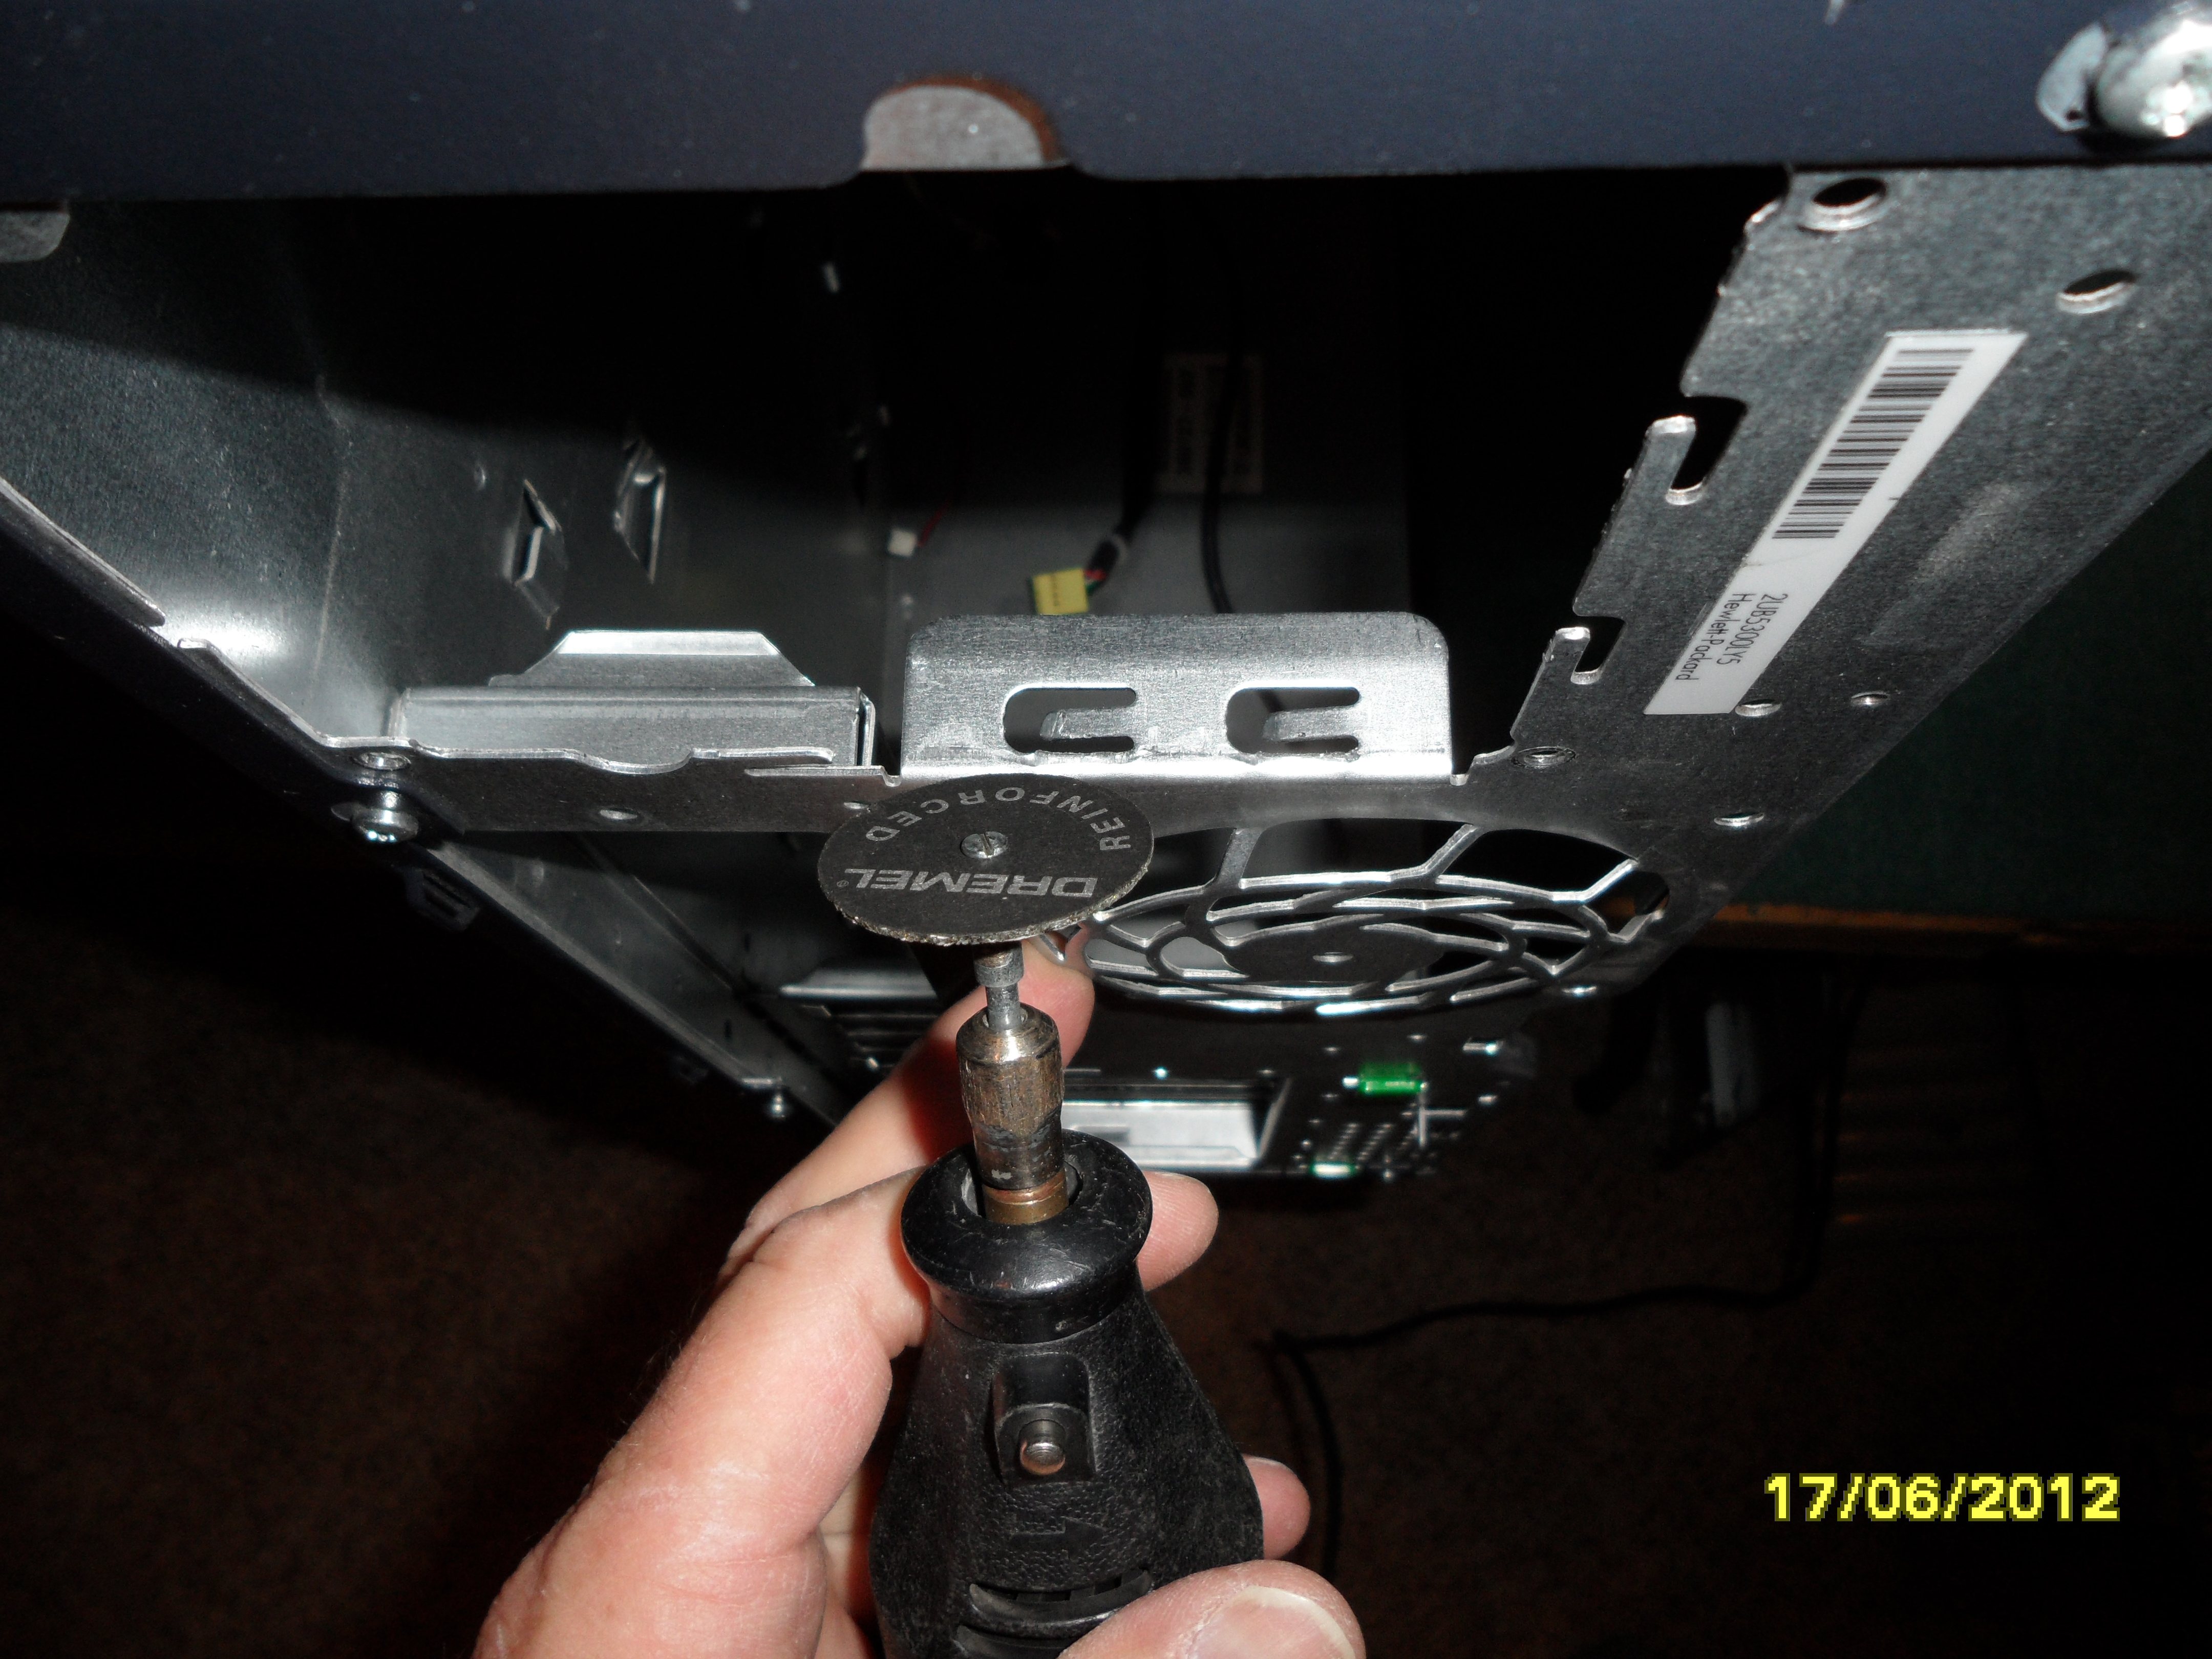

A bit of bending, and the ledge comes off.
The dimensions to drill the new holes. I drilled 5/32" holes, which worked well.
Finished:
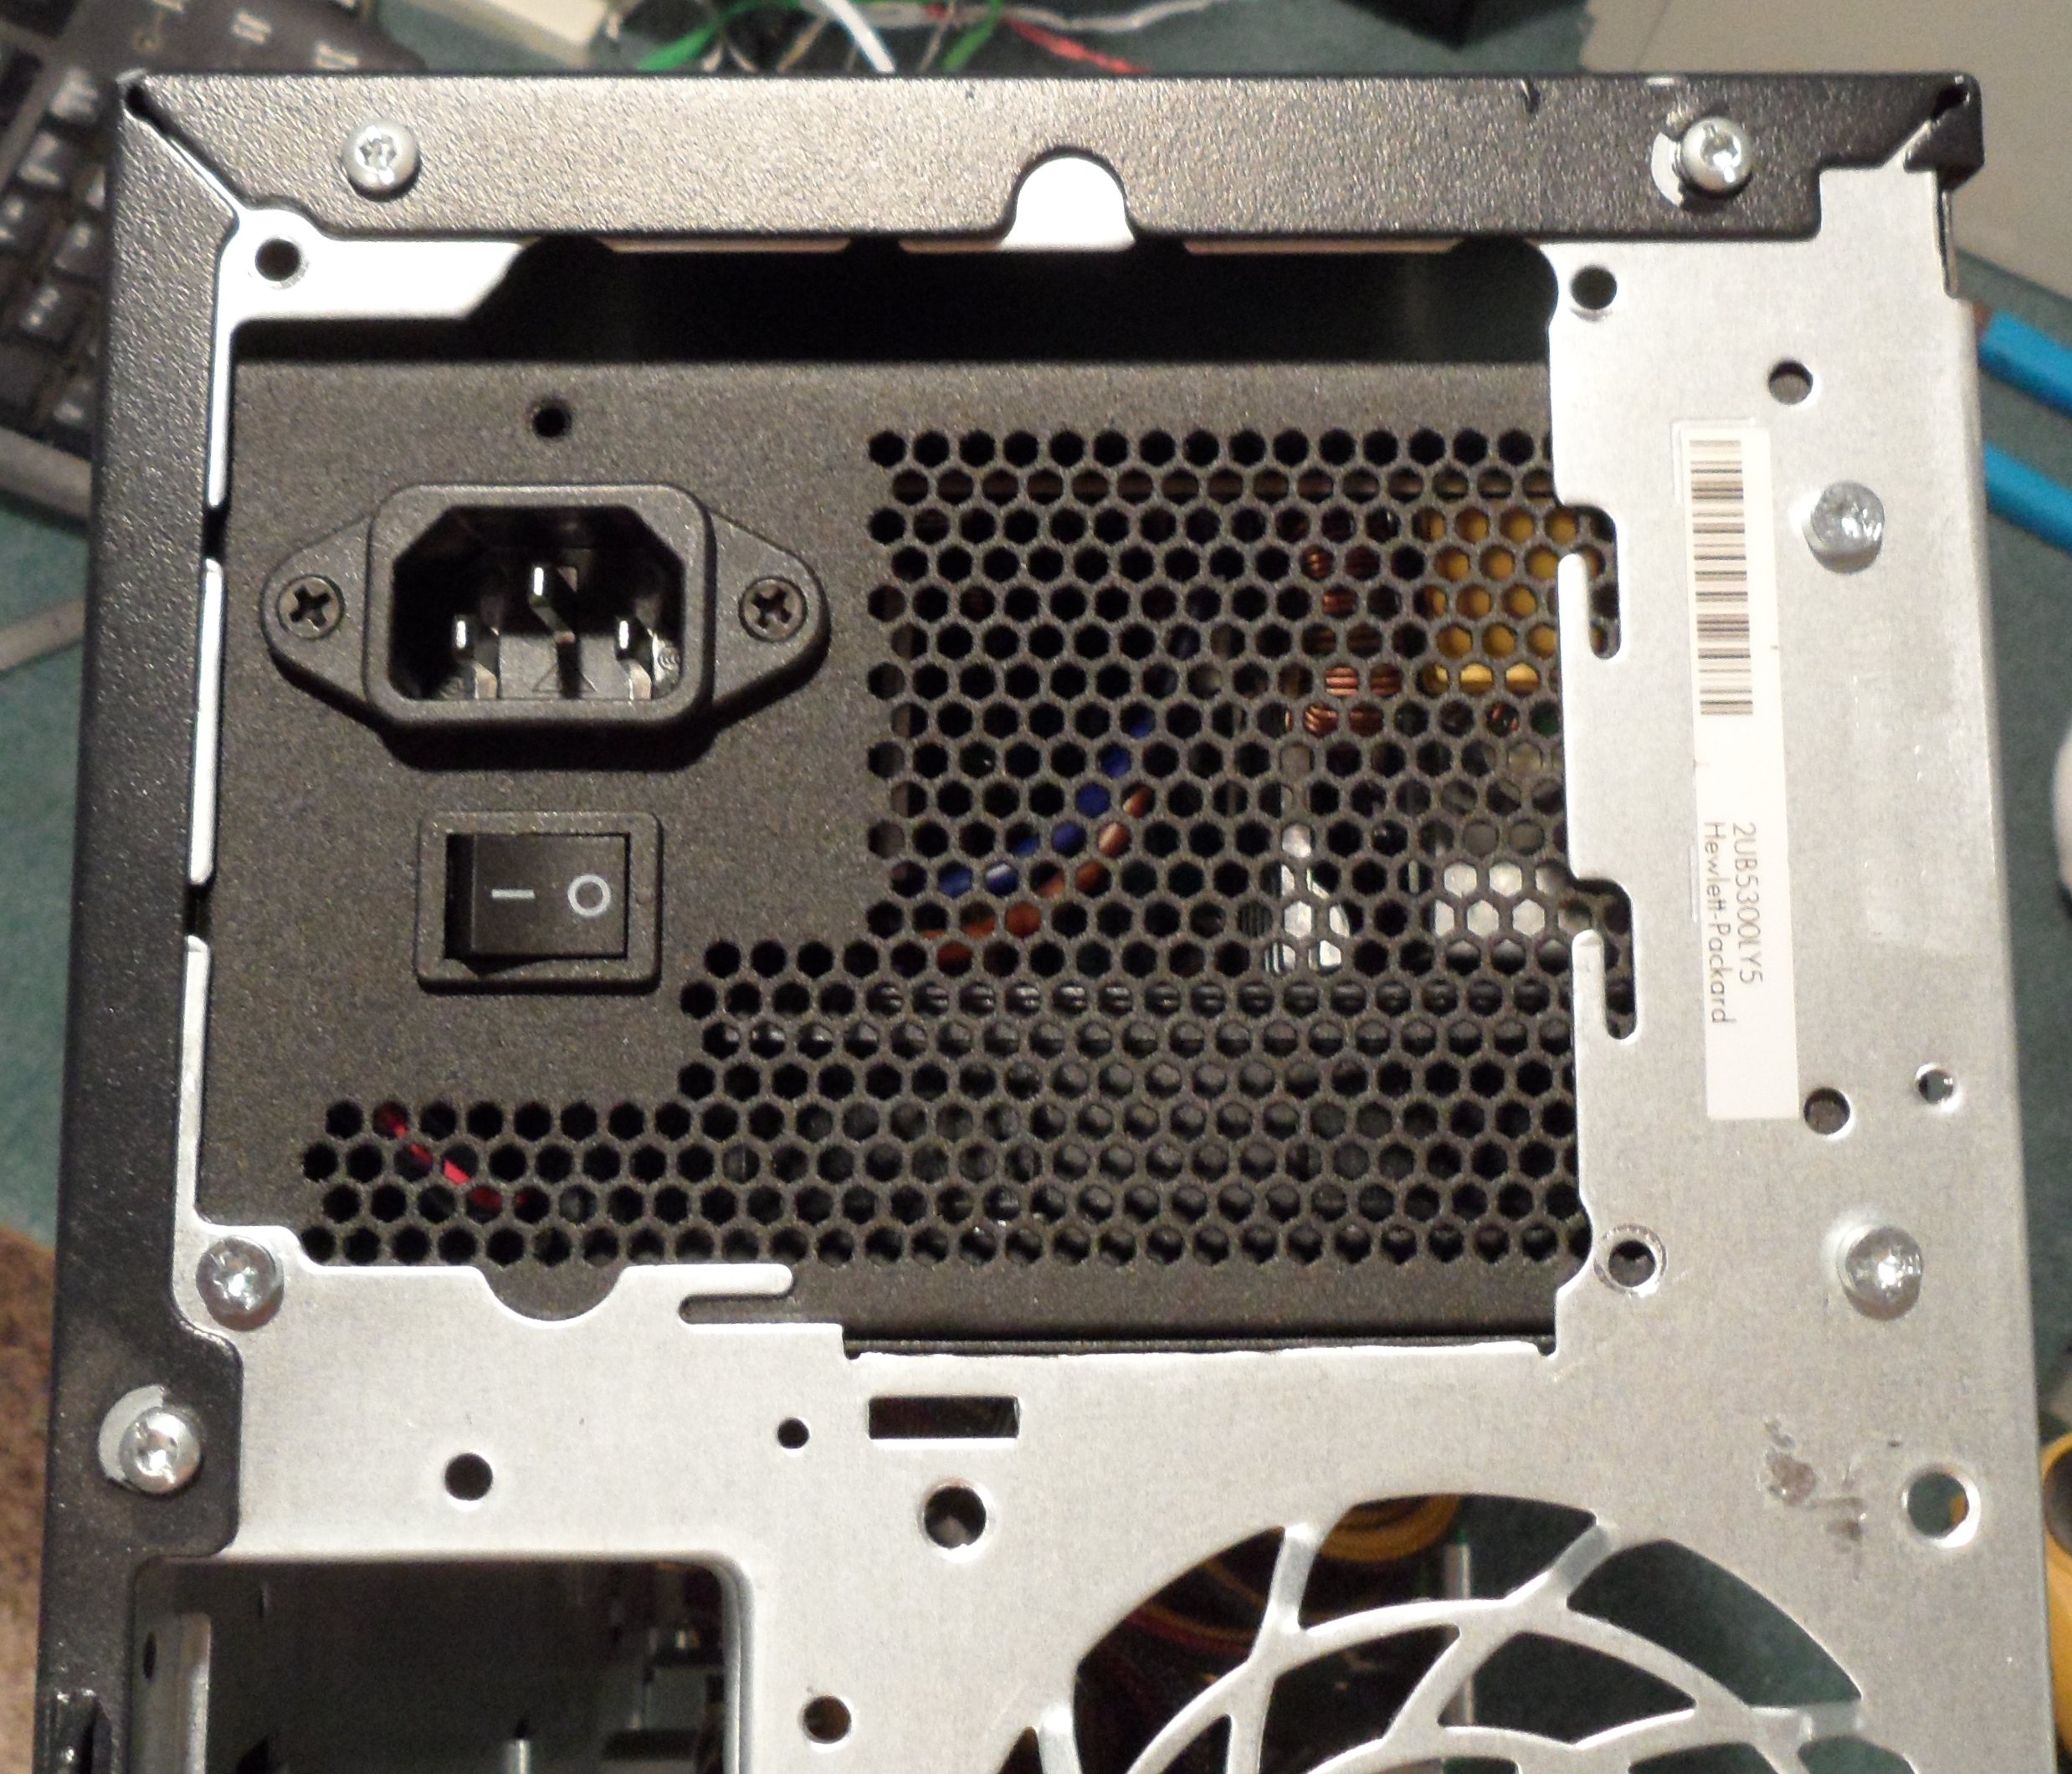
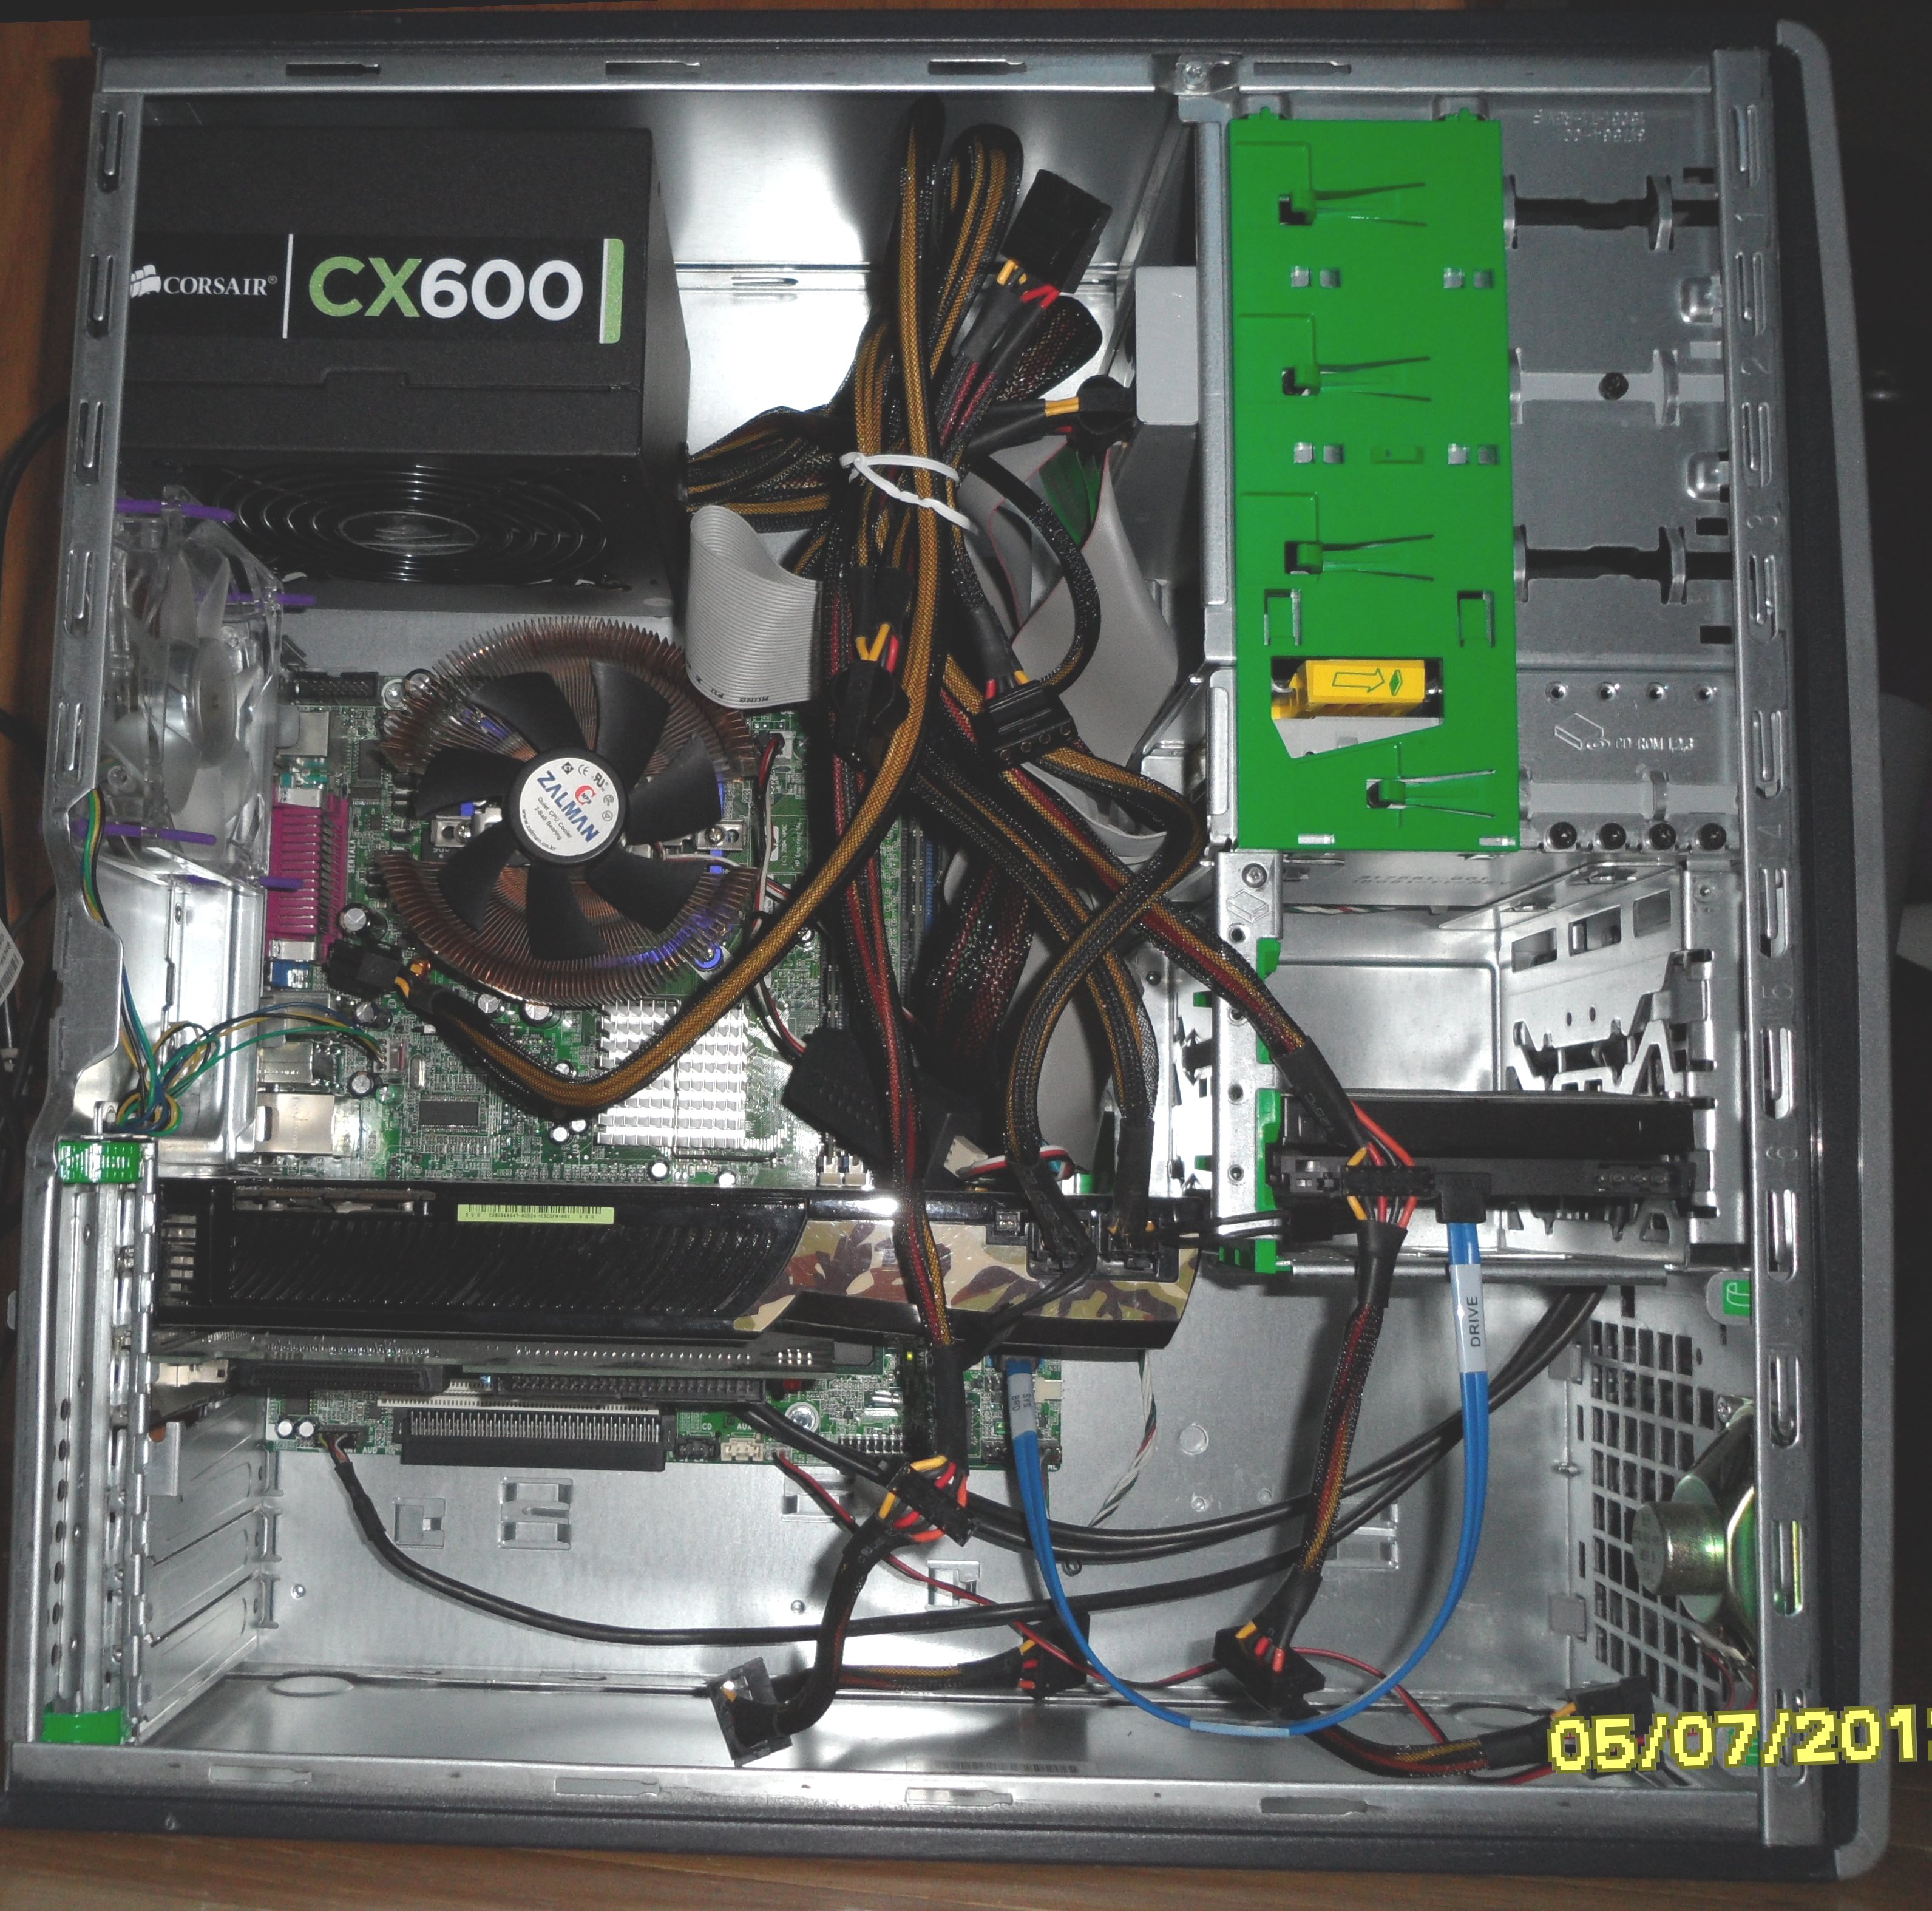
With the bits reinstalled:
The side panel does not clear the two new screws, so I chucked up a carbide burr in the Dremel, and put a couple of semicircles in the end flange: