This is not (yet) a complete, "How to rebuild your alternator" post. Just some semi-organized pics I've taken over the course of the last three LR160s I've had apart.
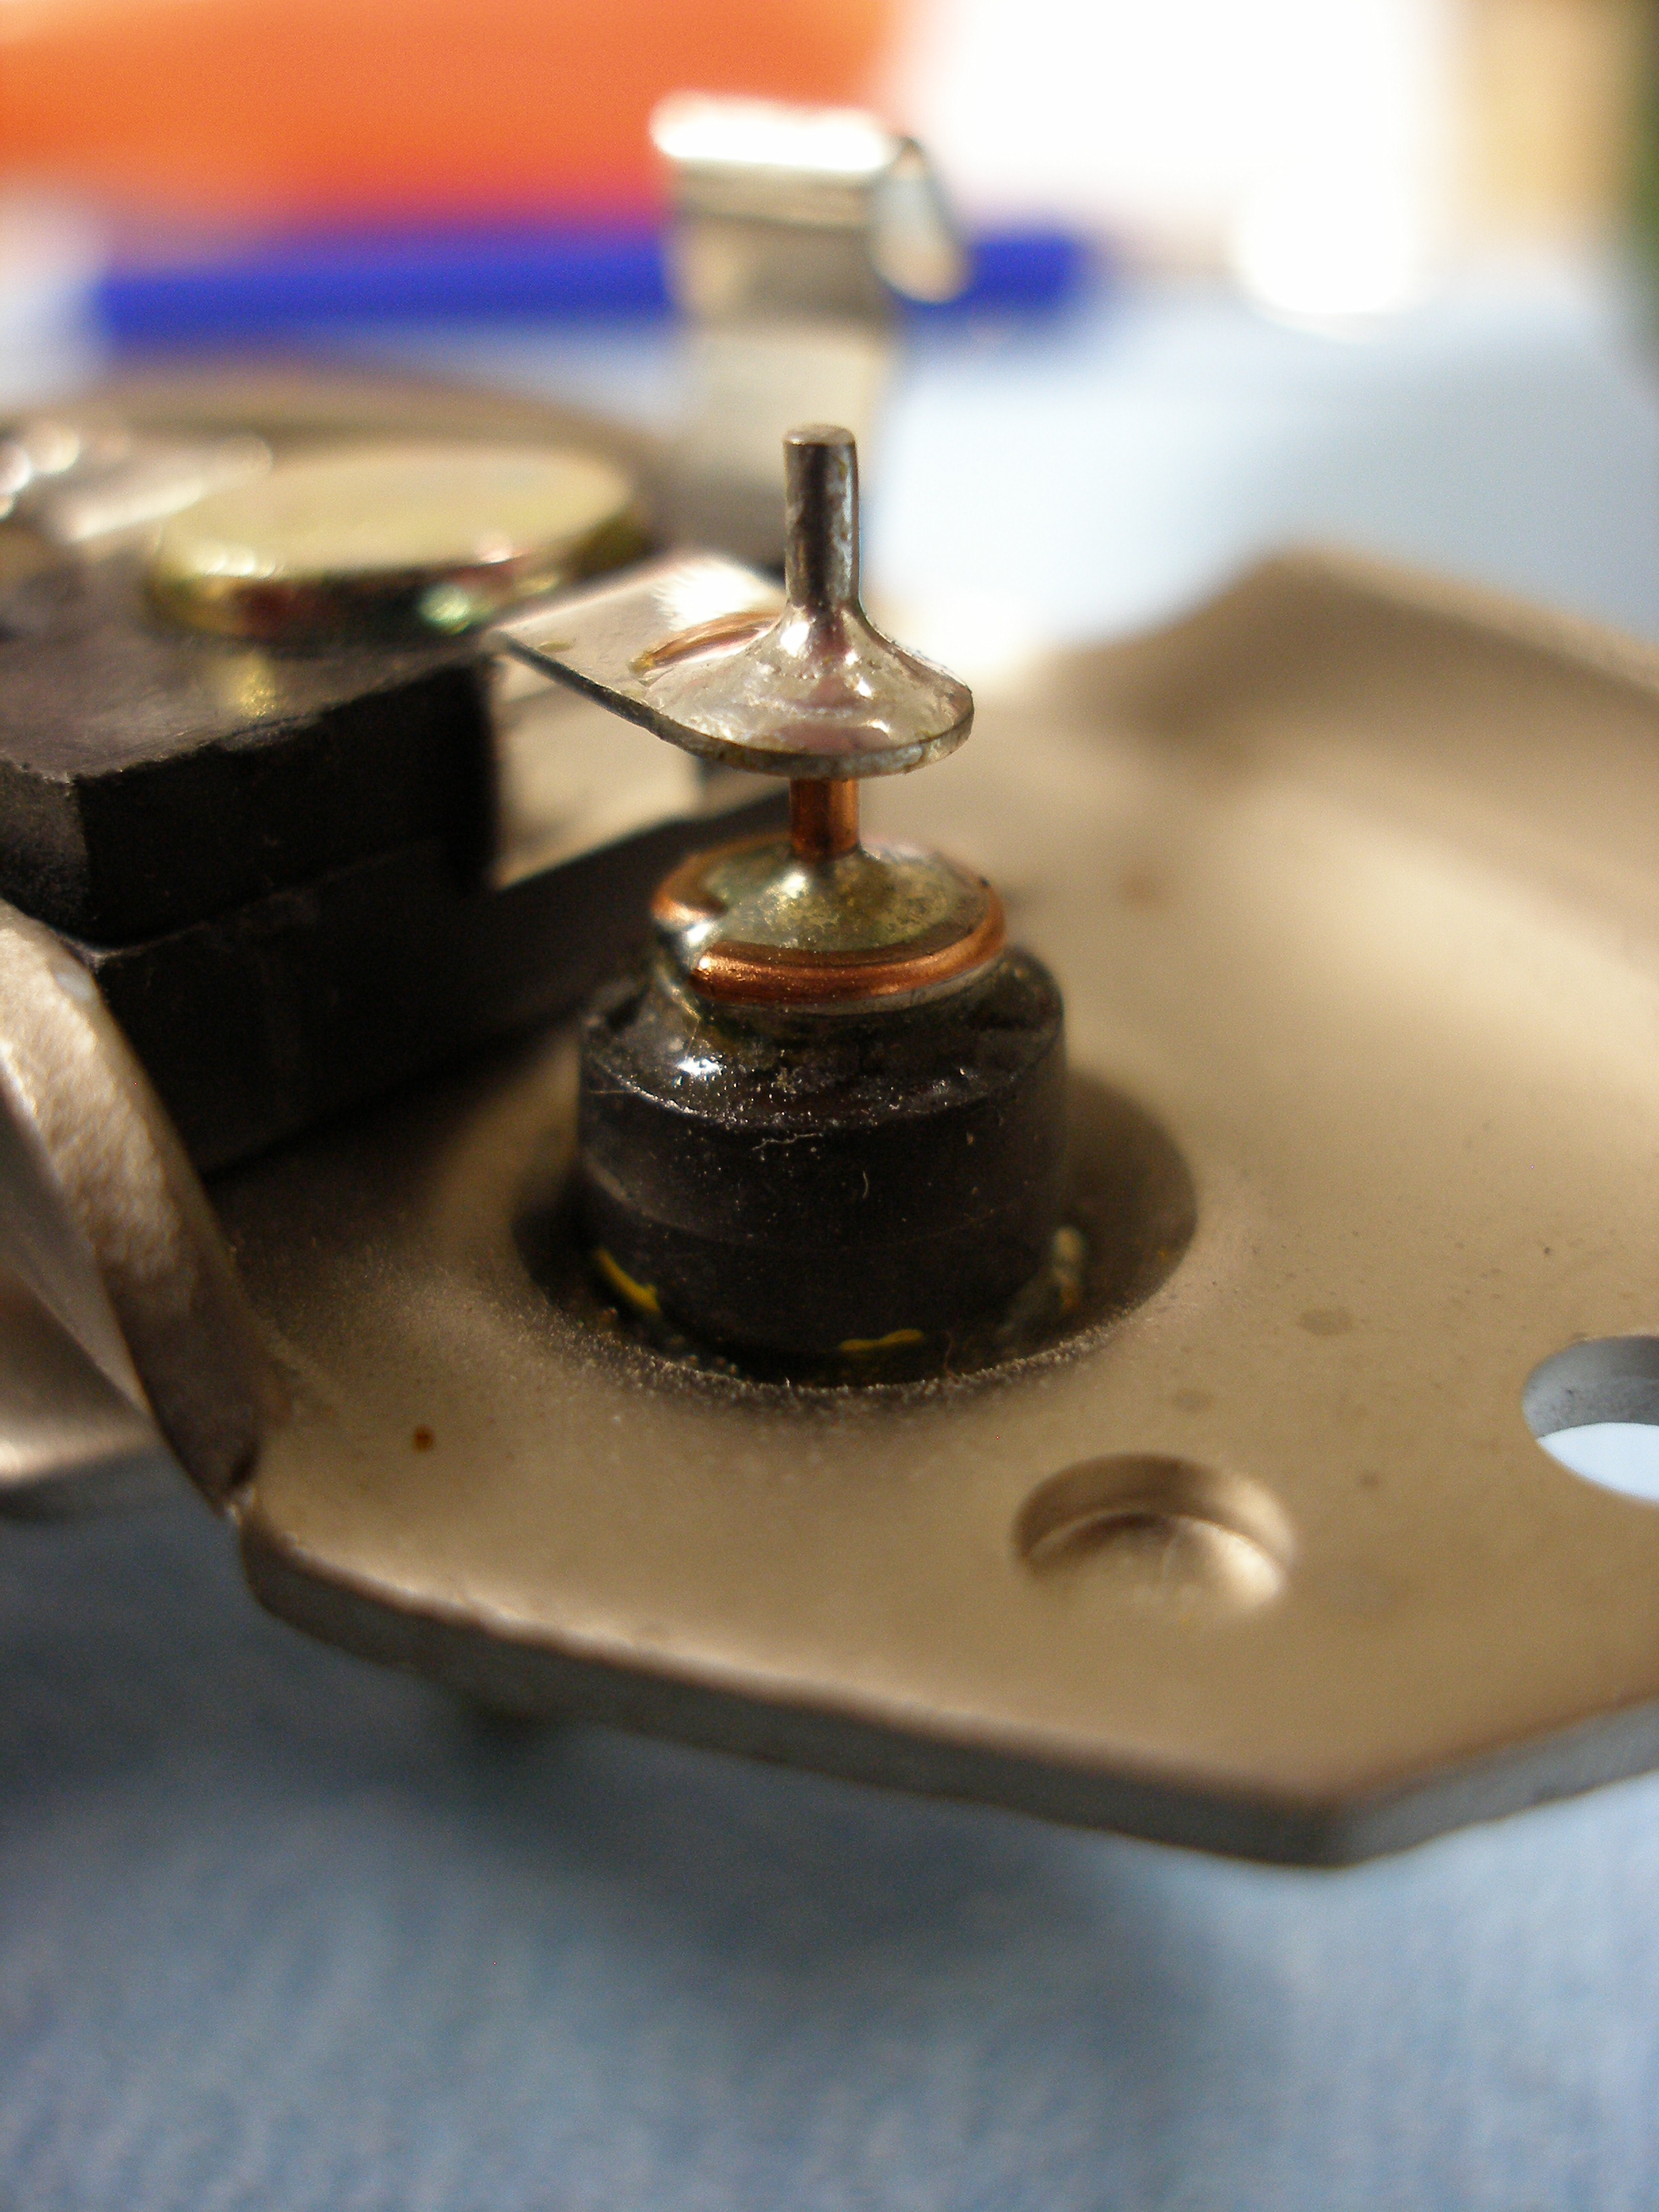
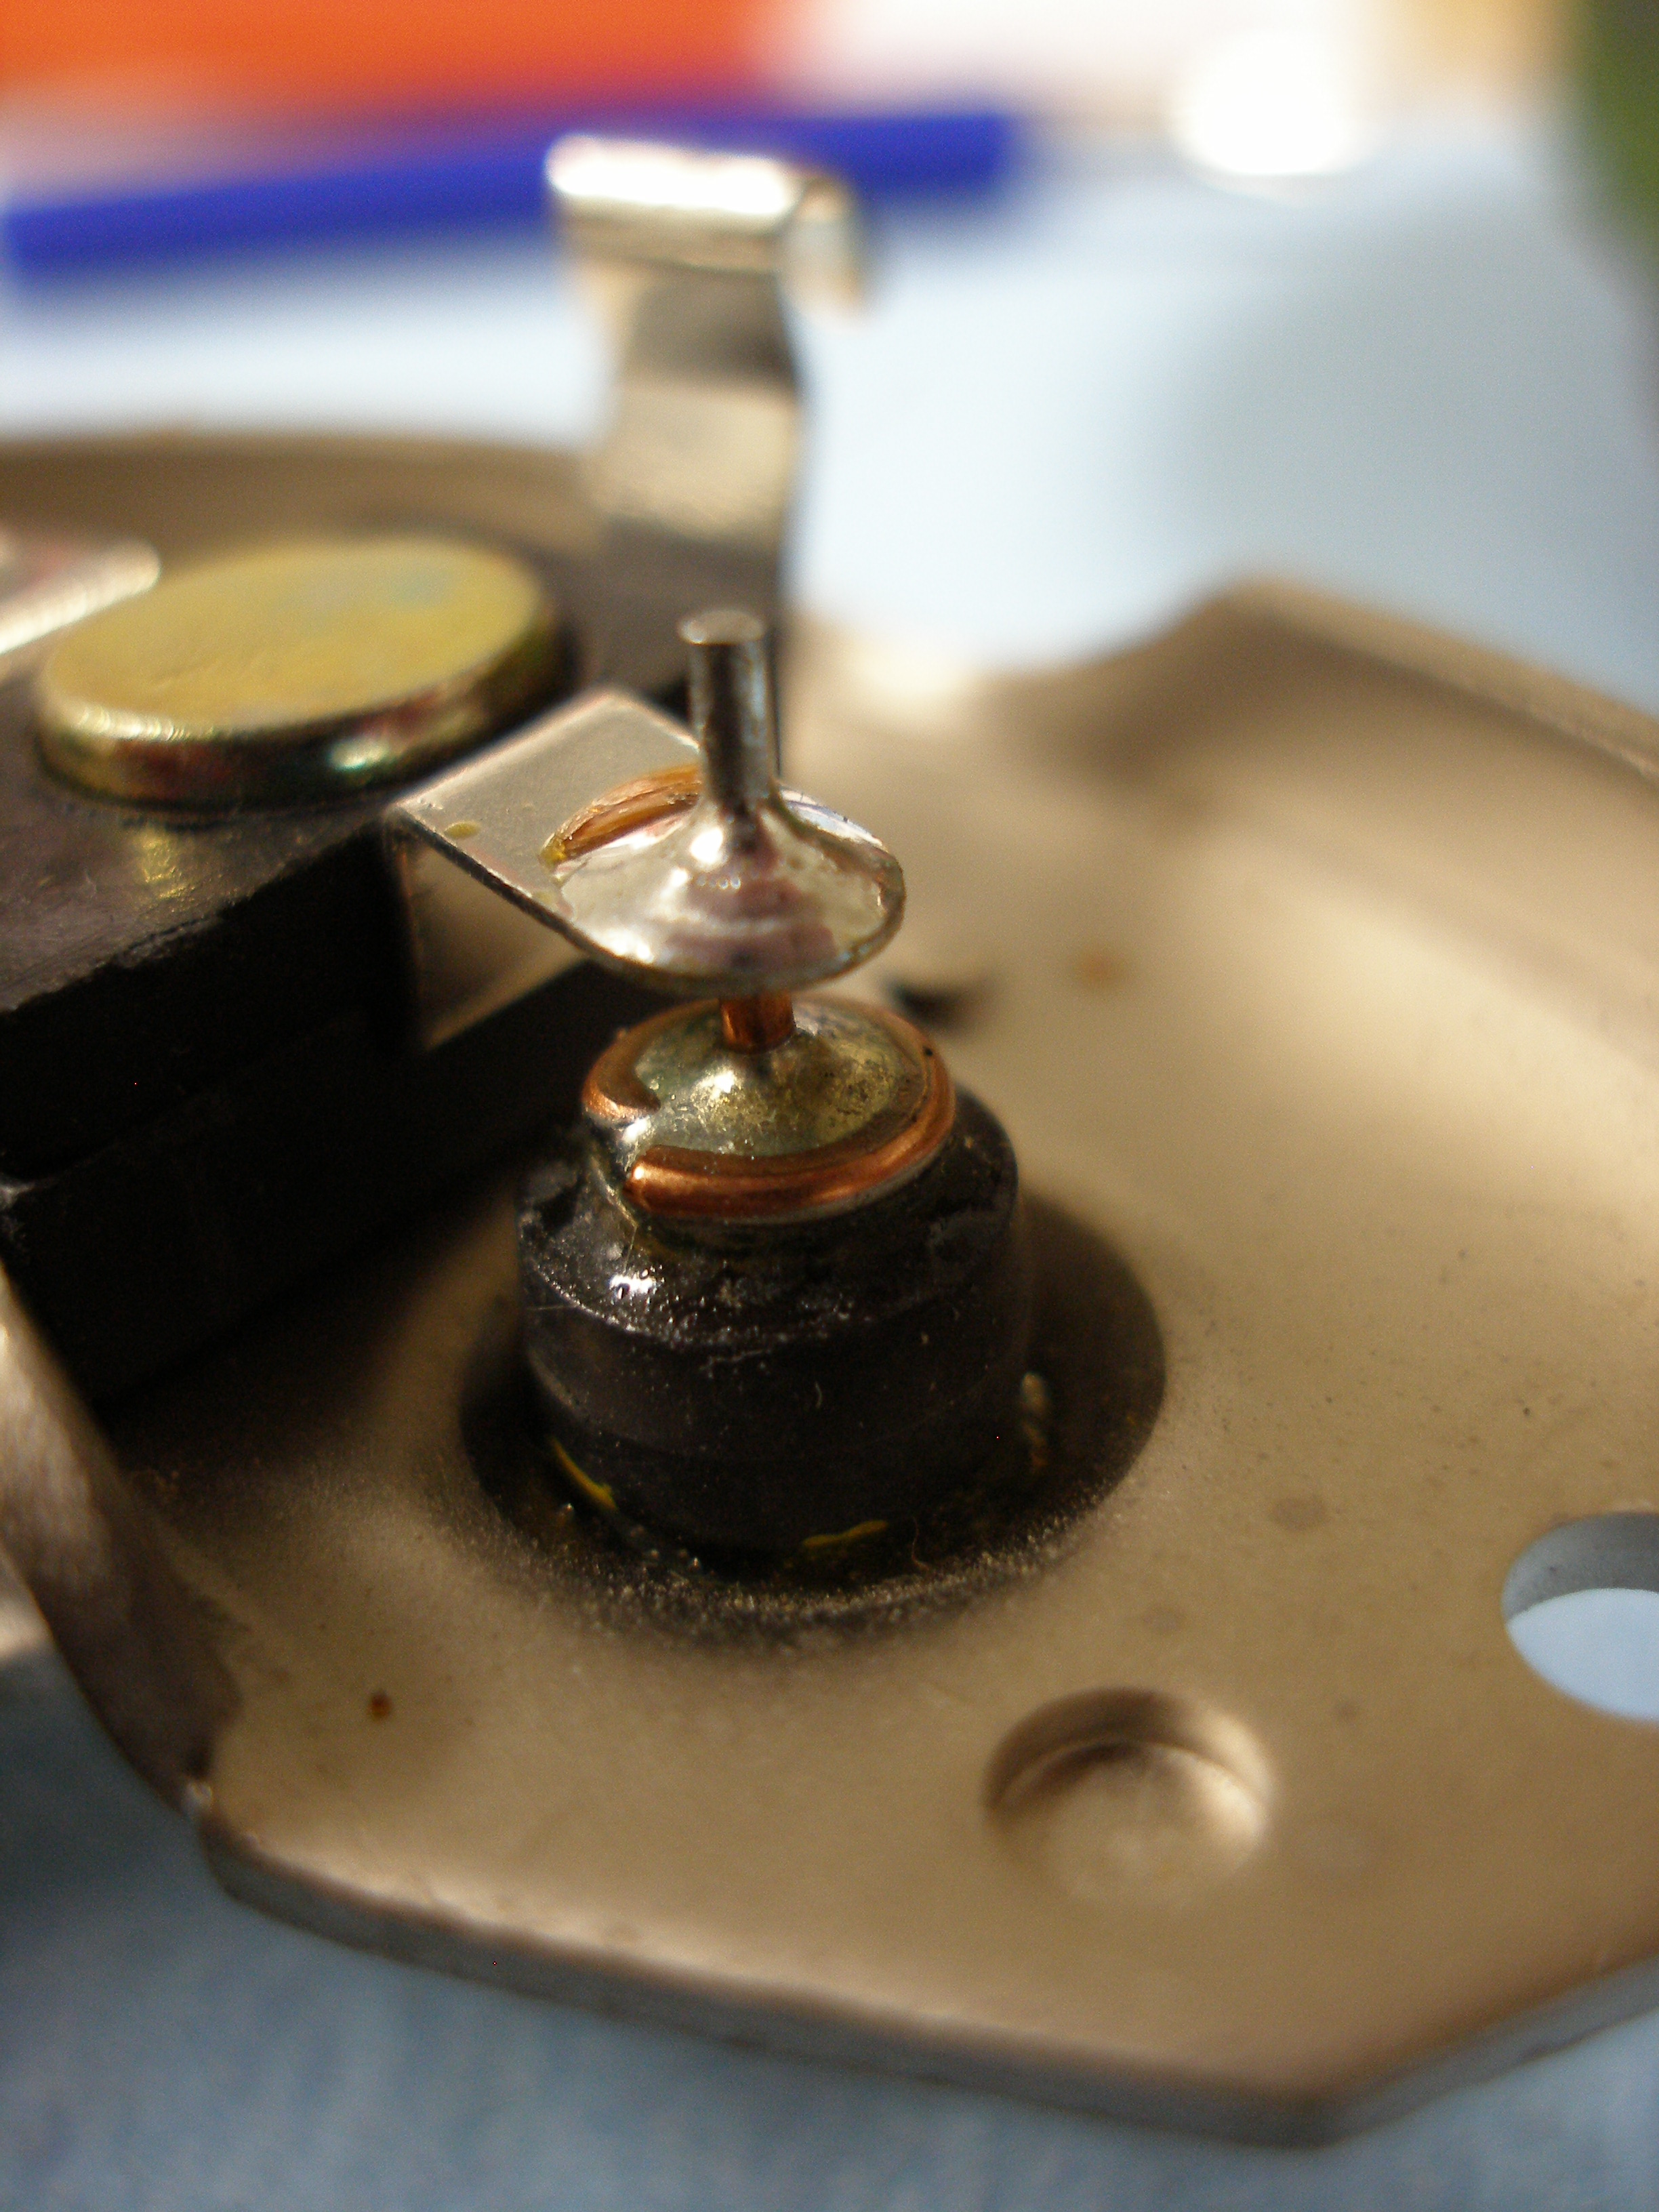
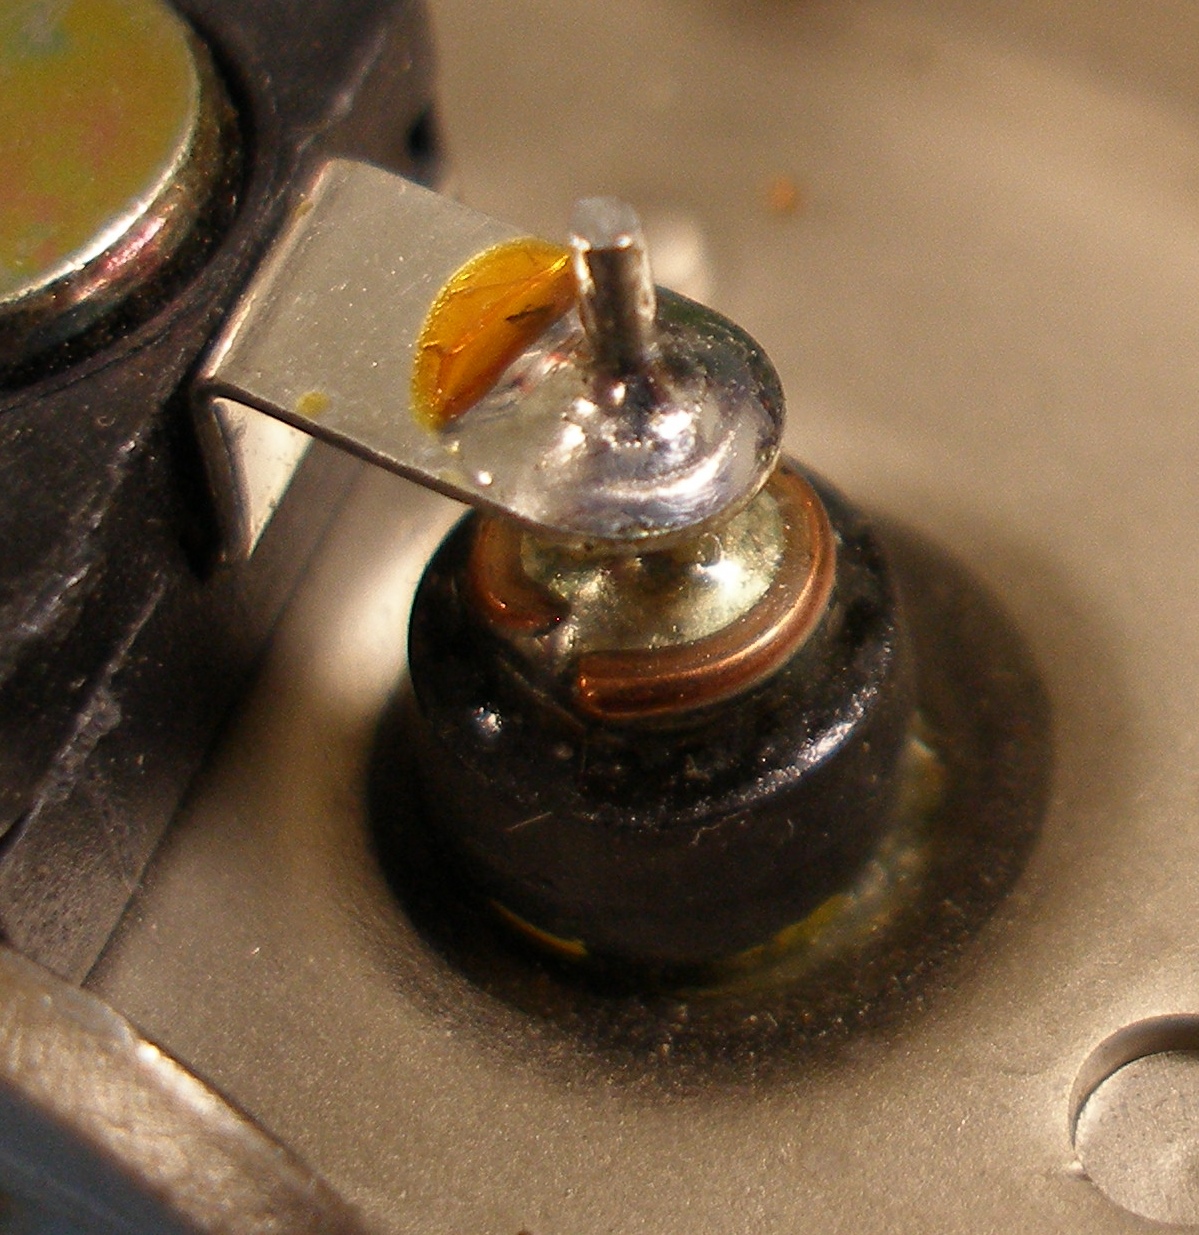
Background: this series of Hitachi alternators (both the 150 and 160) have main diodes that are fragile. The solder joints die, but more often the diode frags and physically comes apart. See the pics in this post, and some close-ups about ten pics down in this post. On the Maxima, the symptom of a failed alternator -- for whatever reason -- is about five of the dash lights lighting up all the time, or in my case blinking on and off in unison. That's due to the way the bulb check system is designed. This will not happen on the LR150 in the 720 pickup, which does not utilize a bulb check relay.
If you have to open up an LR160, you will probably want three things in hand at a minimum (prices are as of Aug08):
- Brushes, bare -- Standard JX118 (NAPA, $5)
or
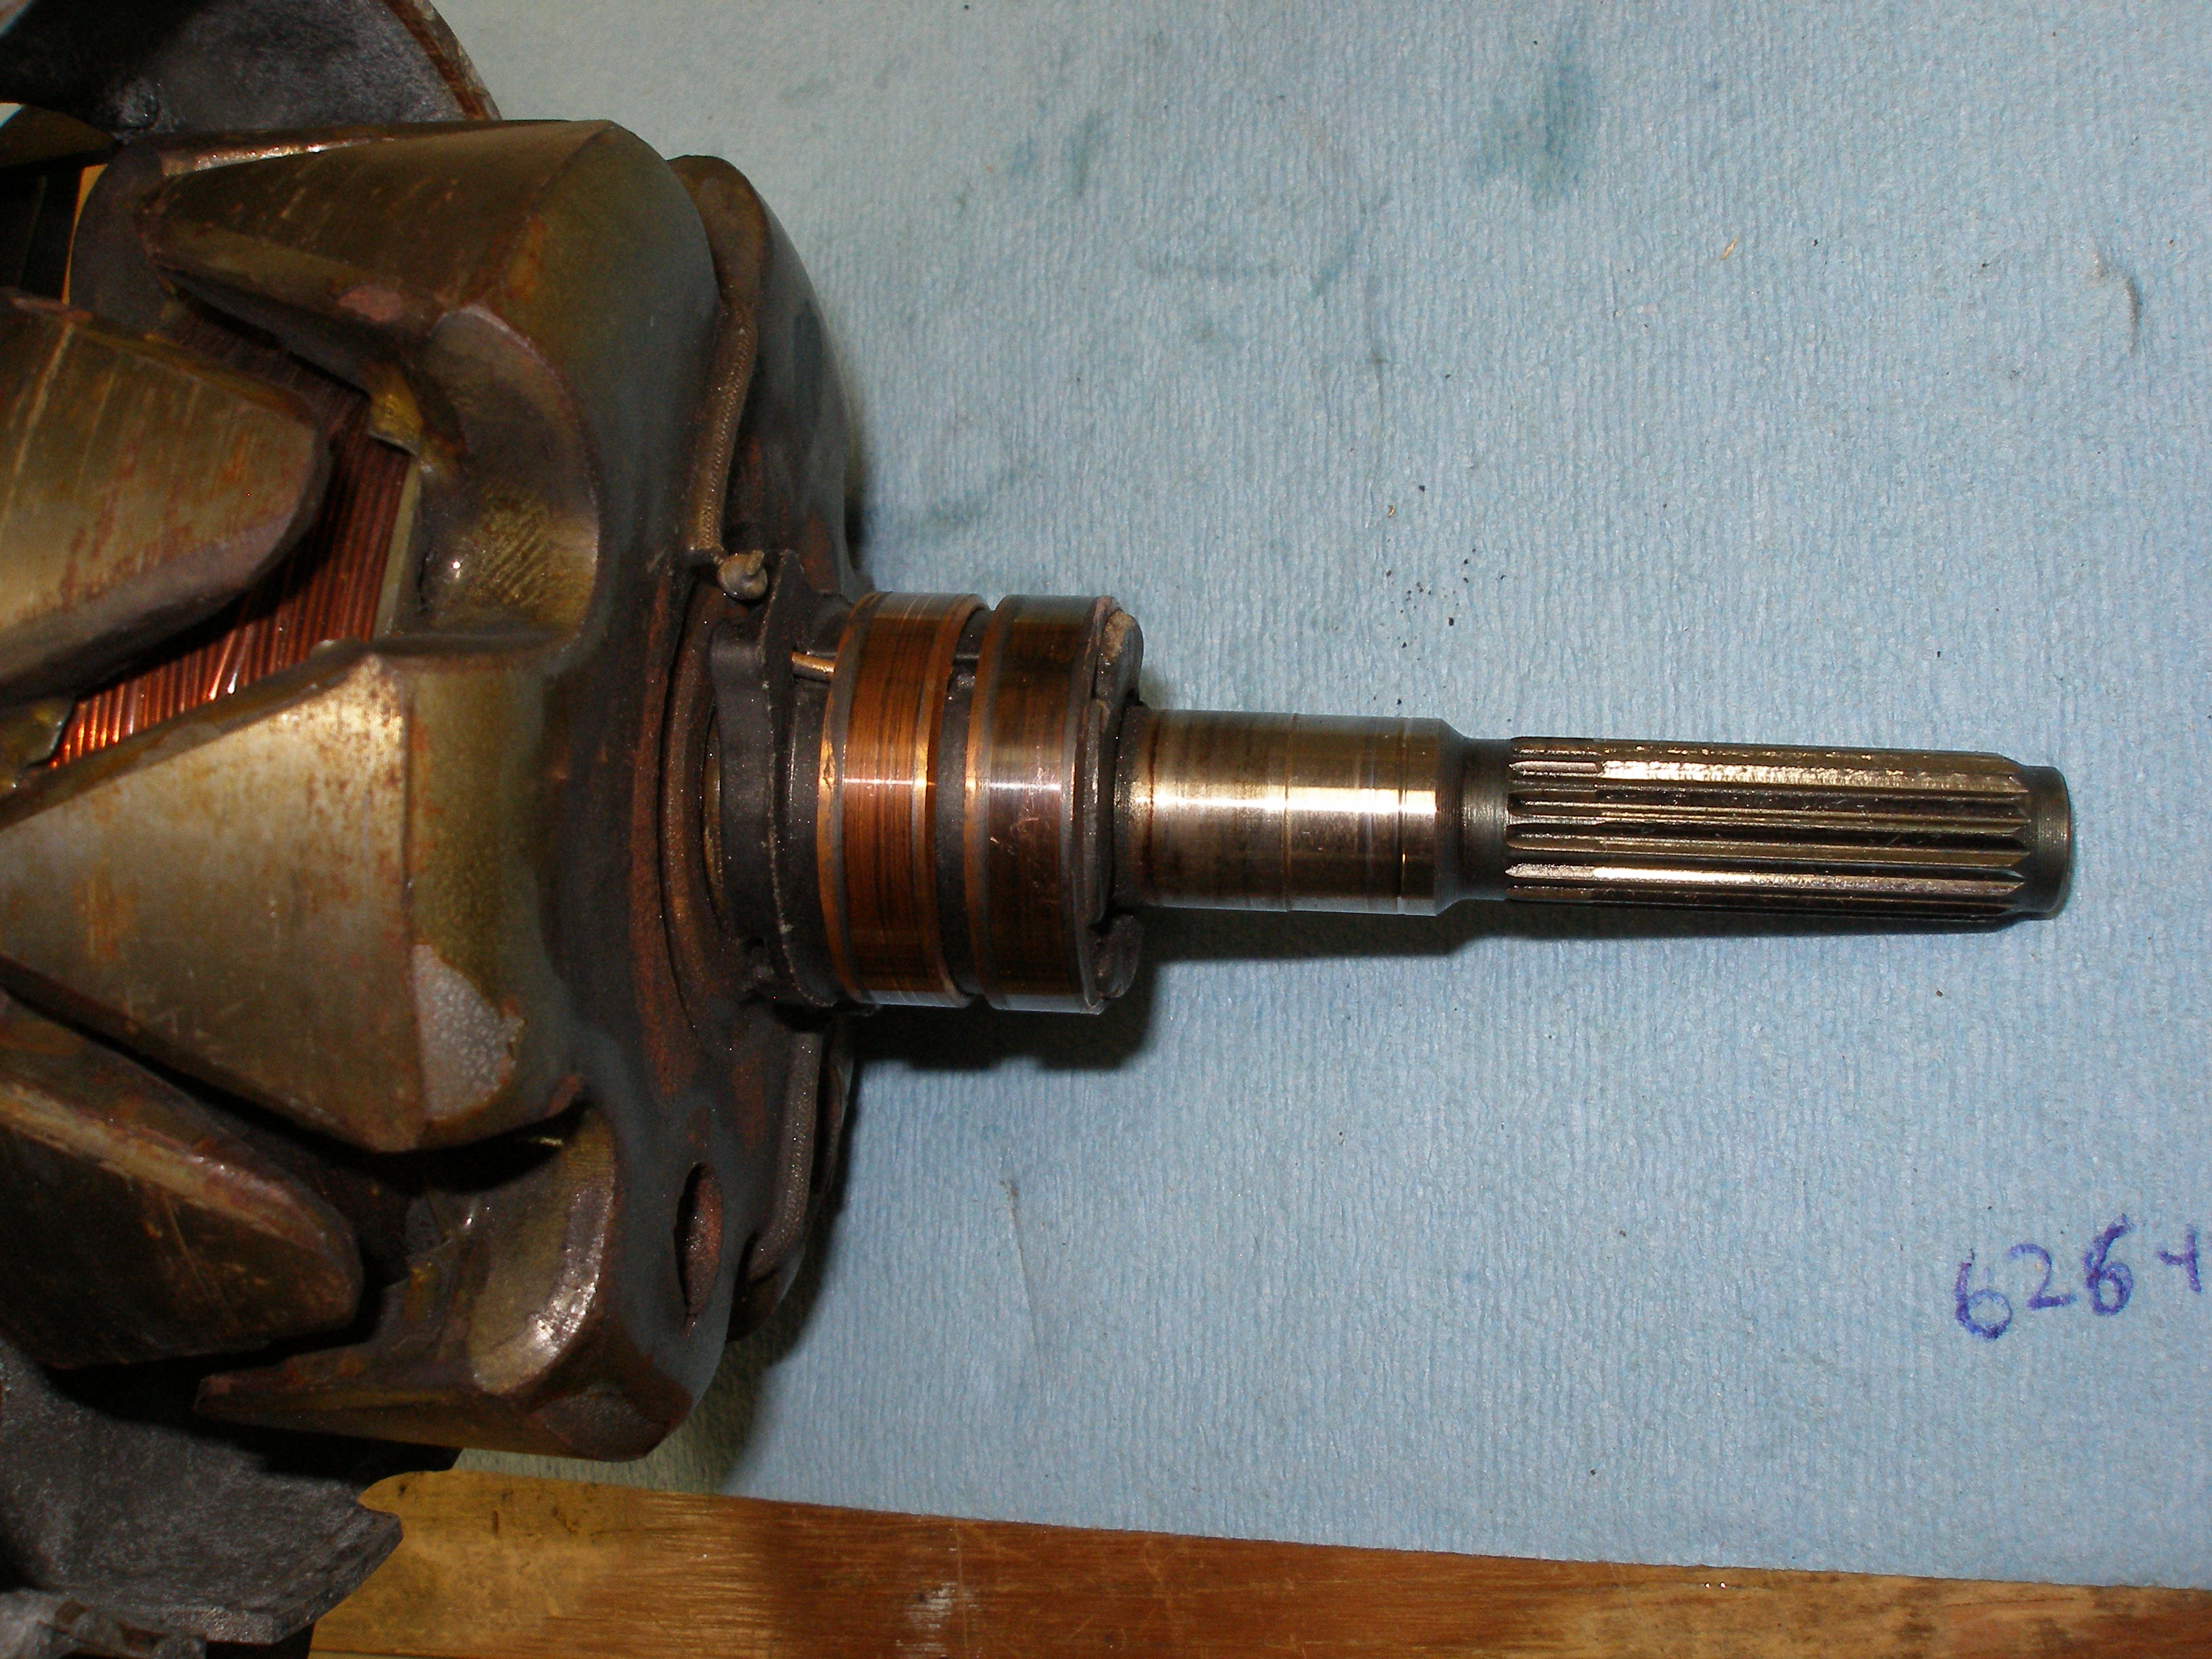
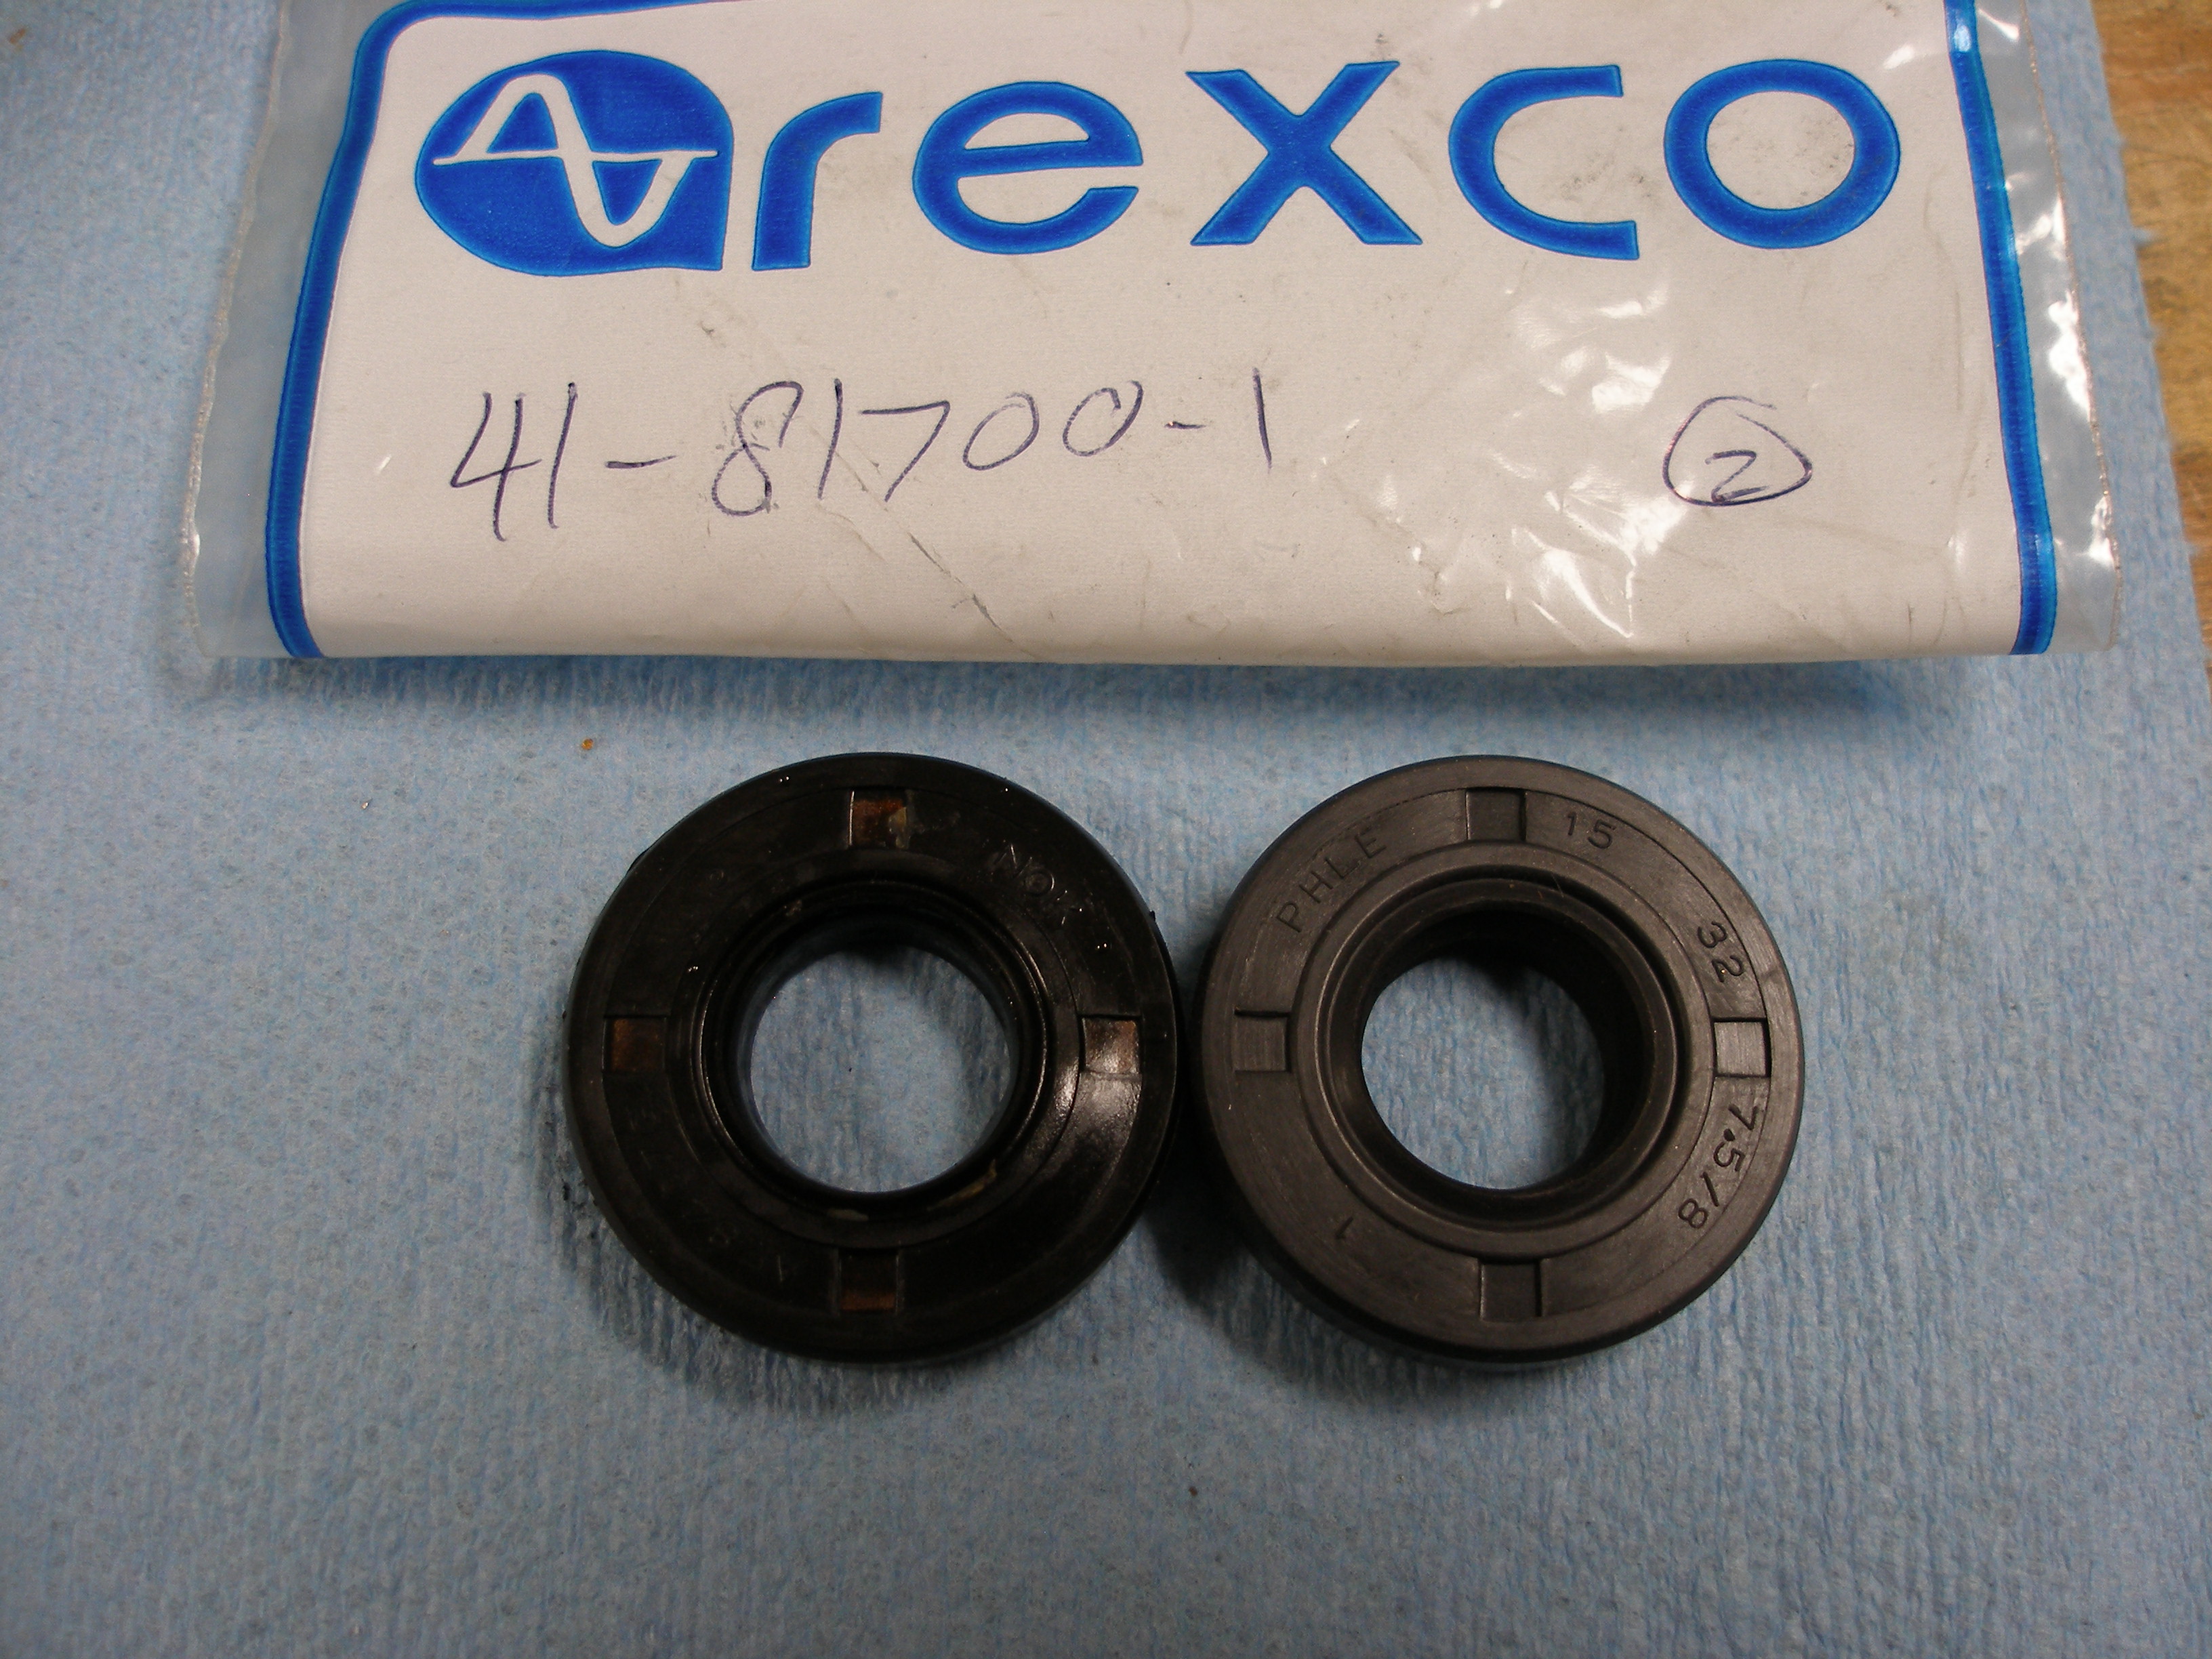
Neihoff WA547 (has un-needed wire insulation) - Rotor oil seal, double-lip -- Rexco 41-81700-1, $5
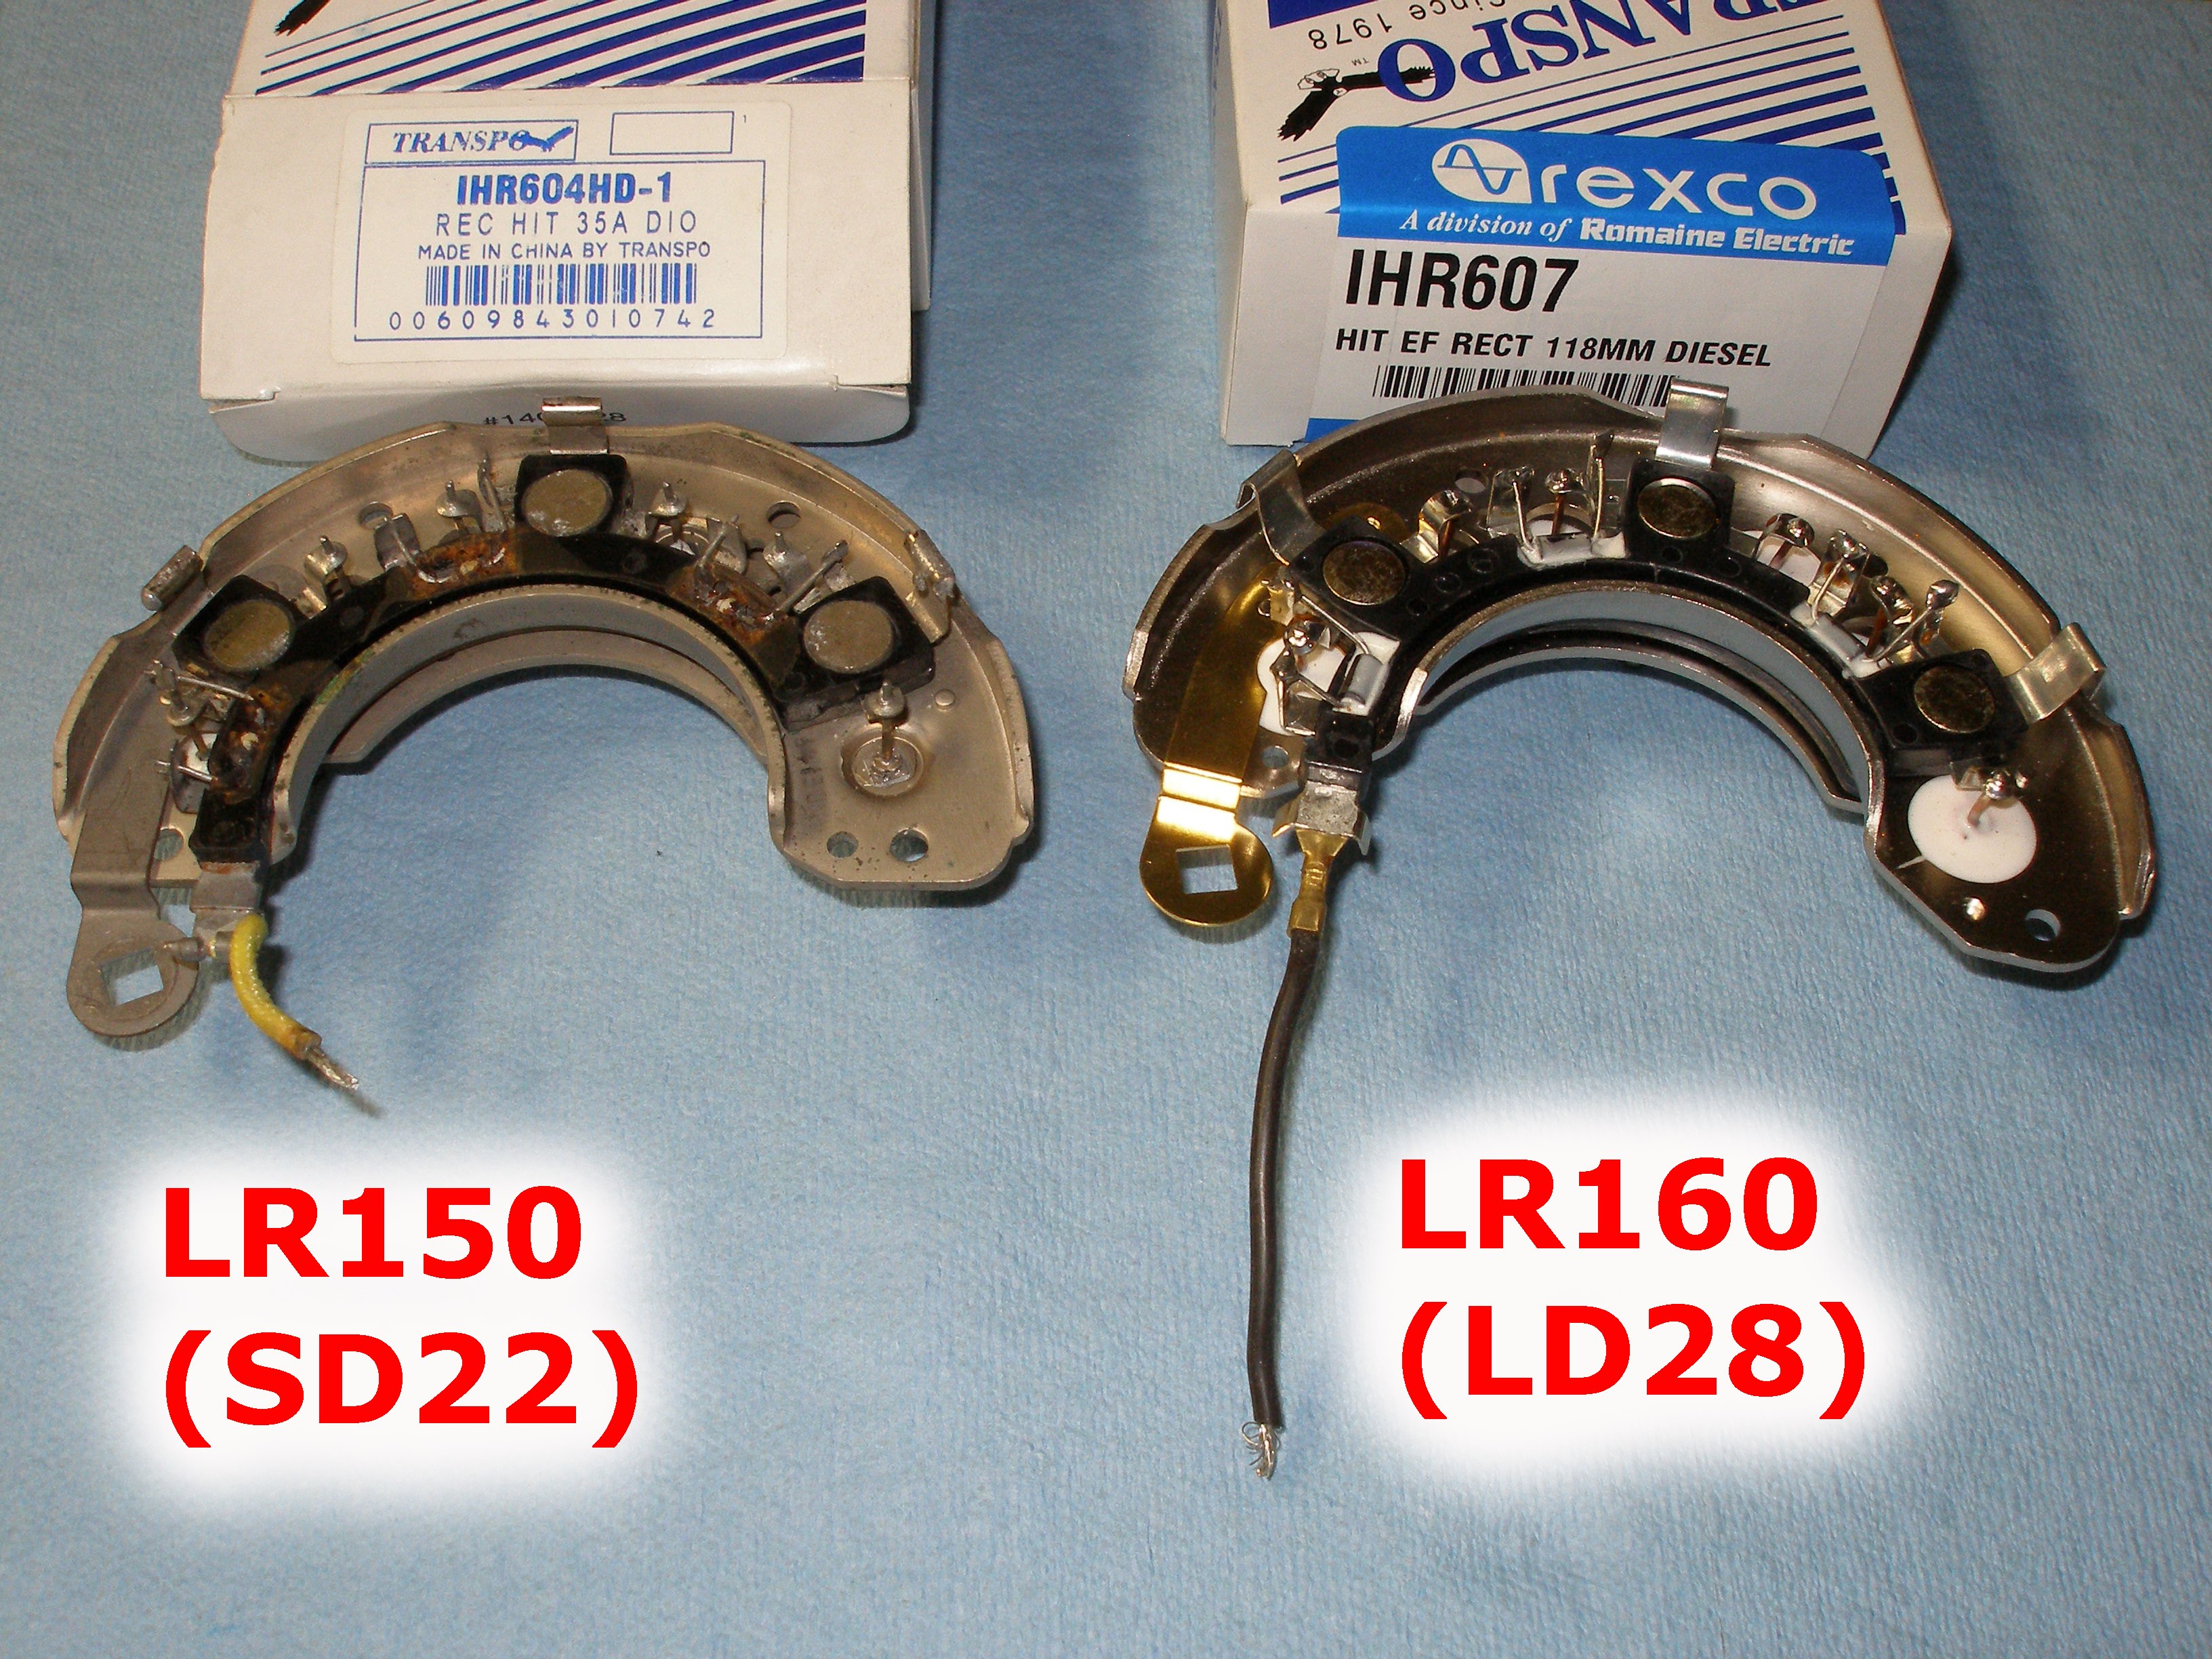
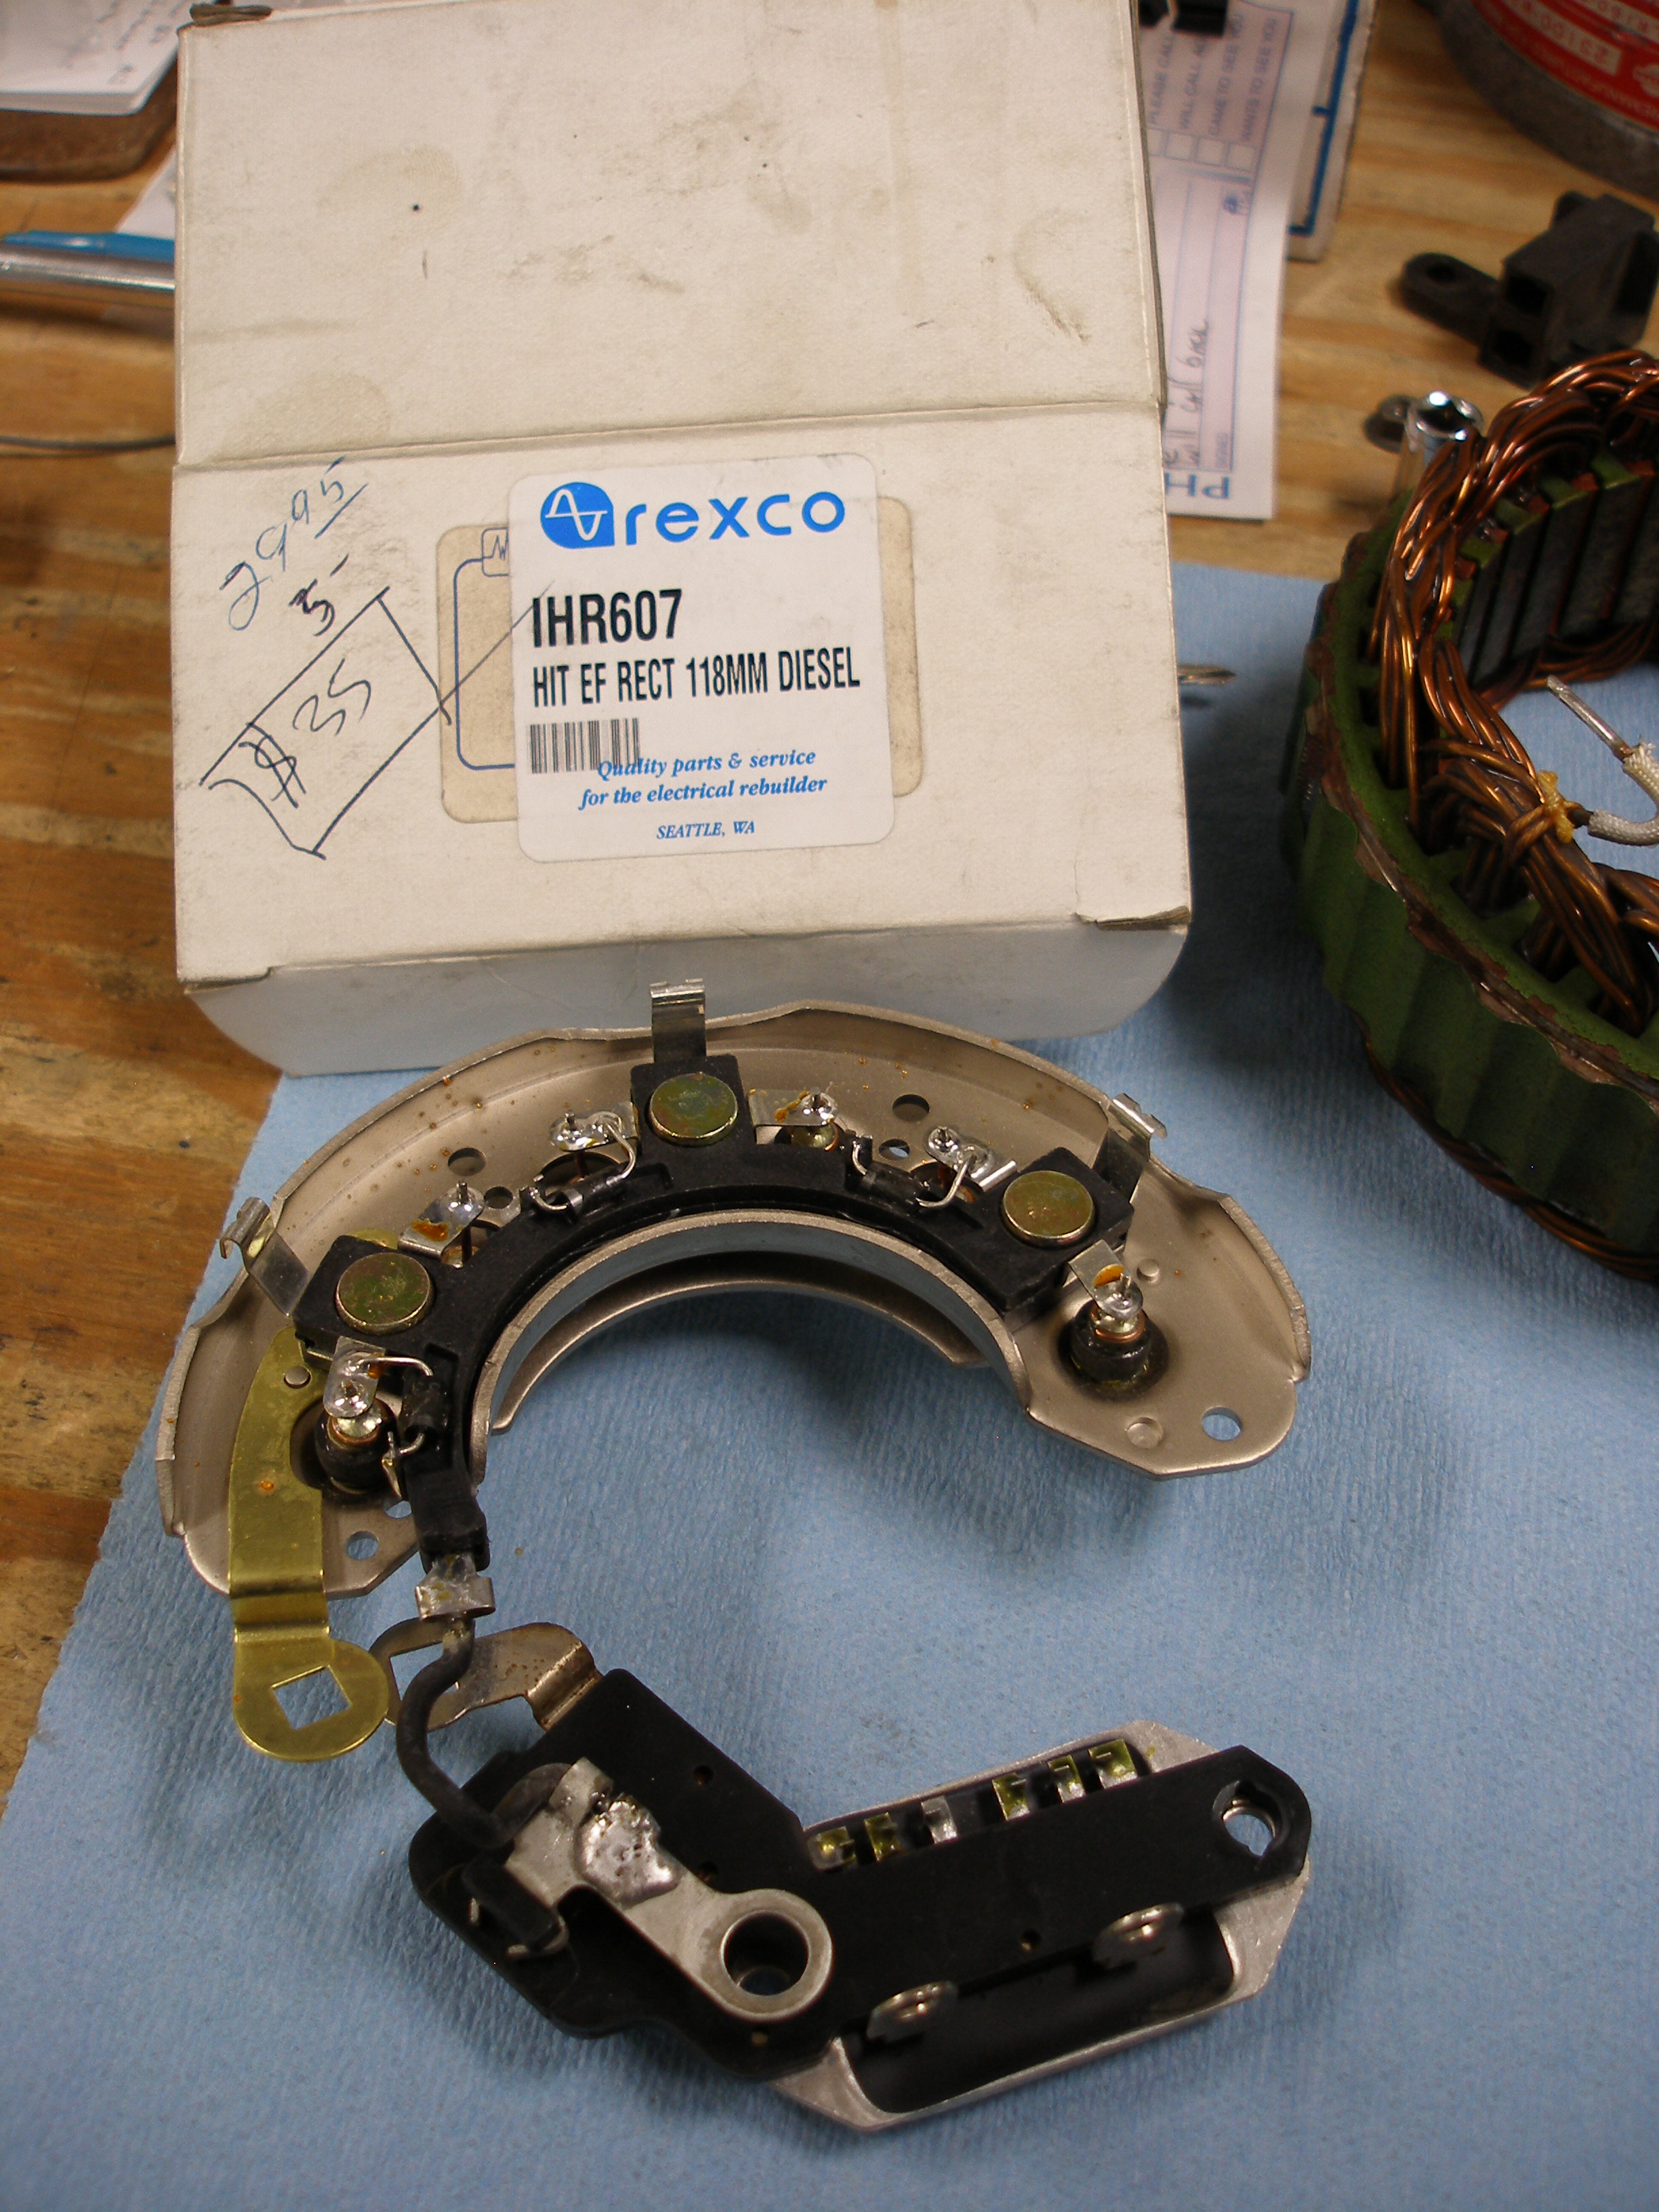
- Diode assy. -- Rexco/Transpo IHR607, $40
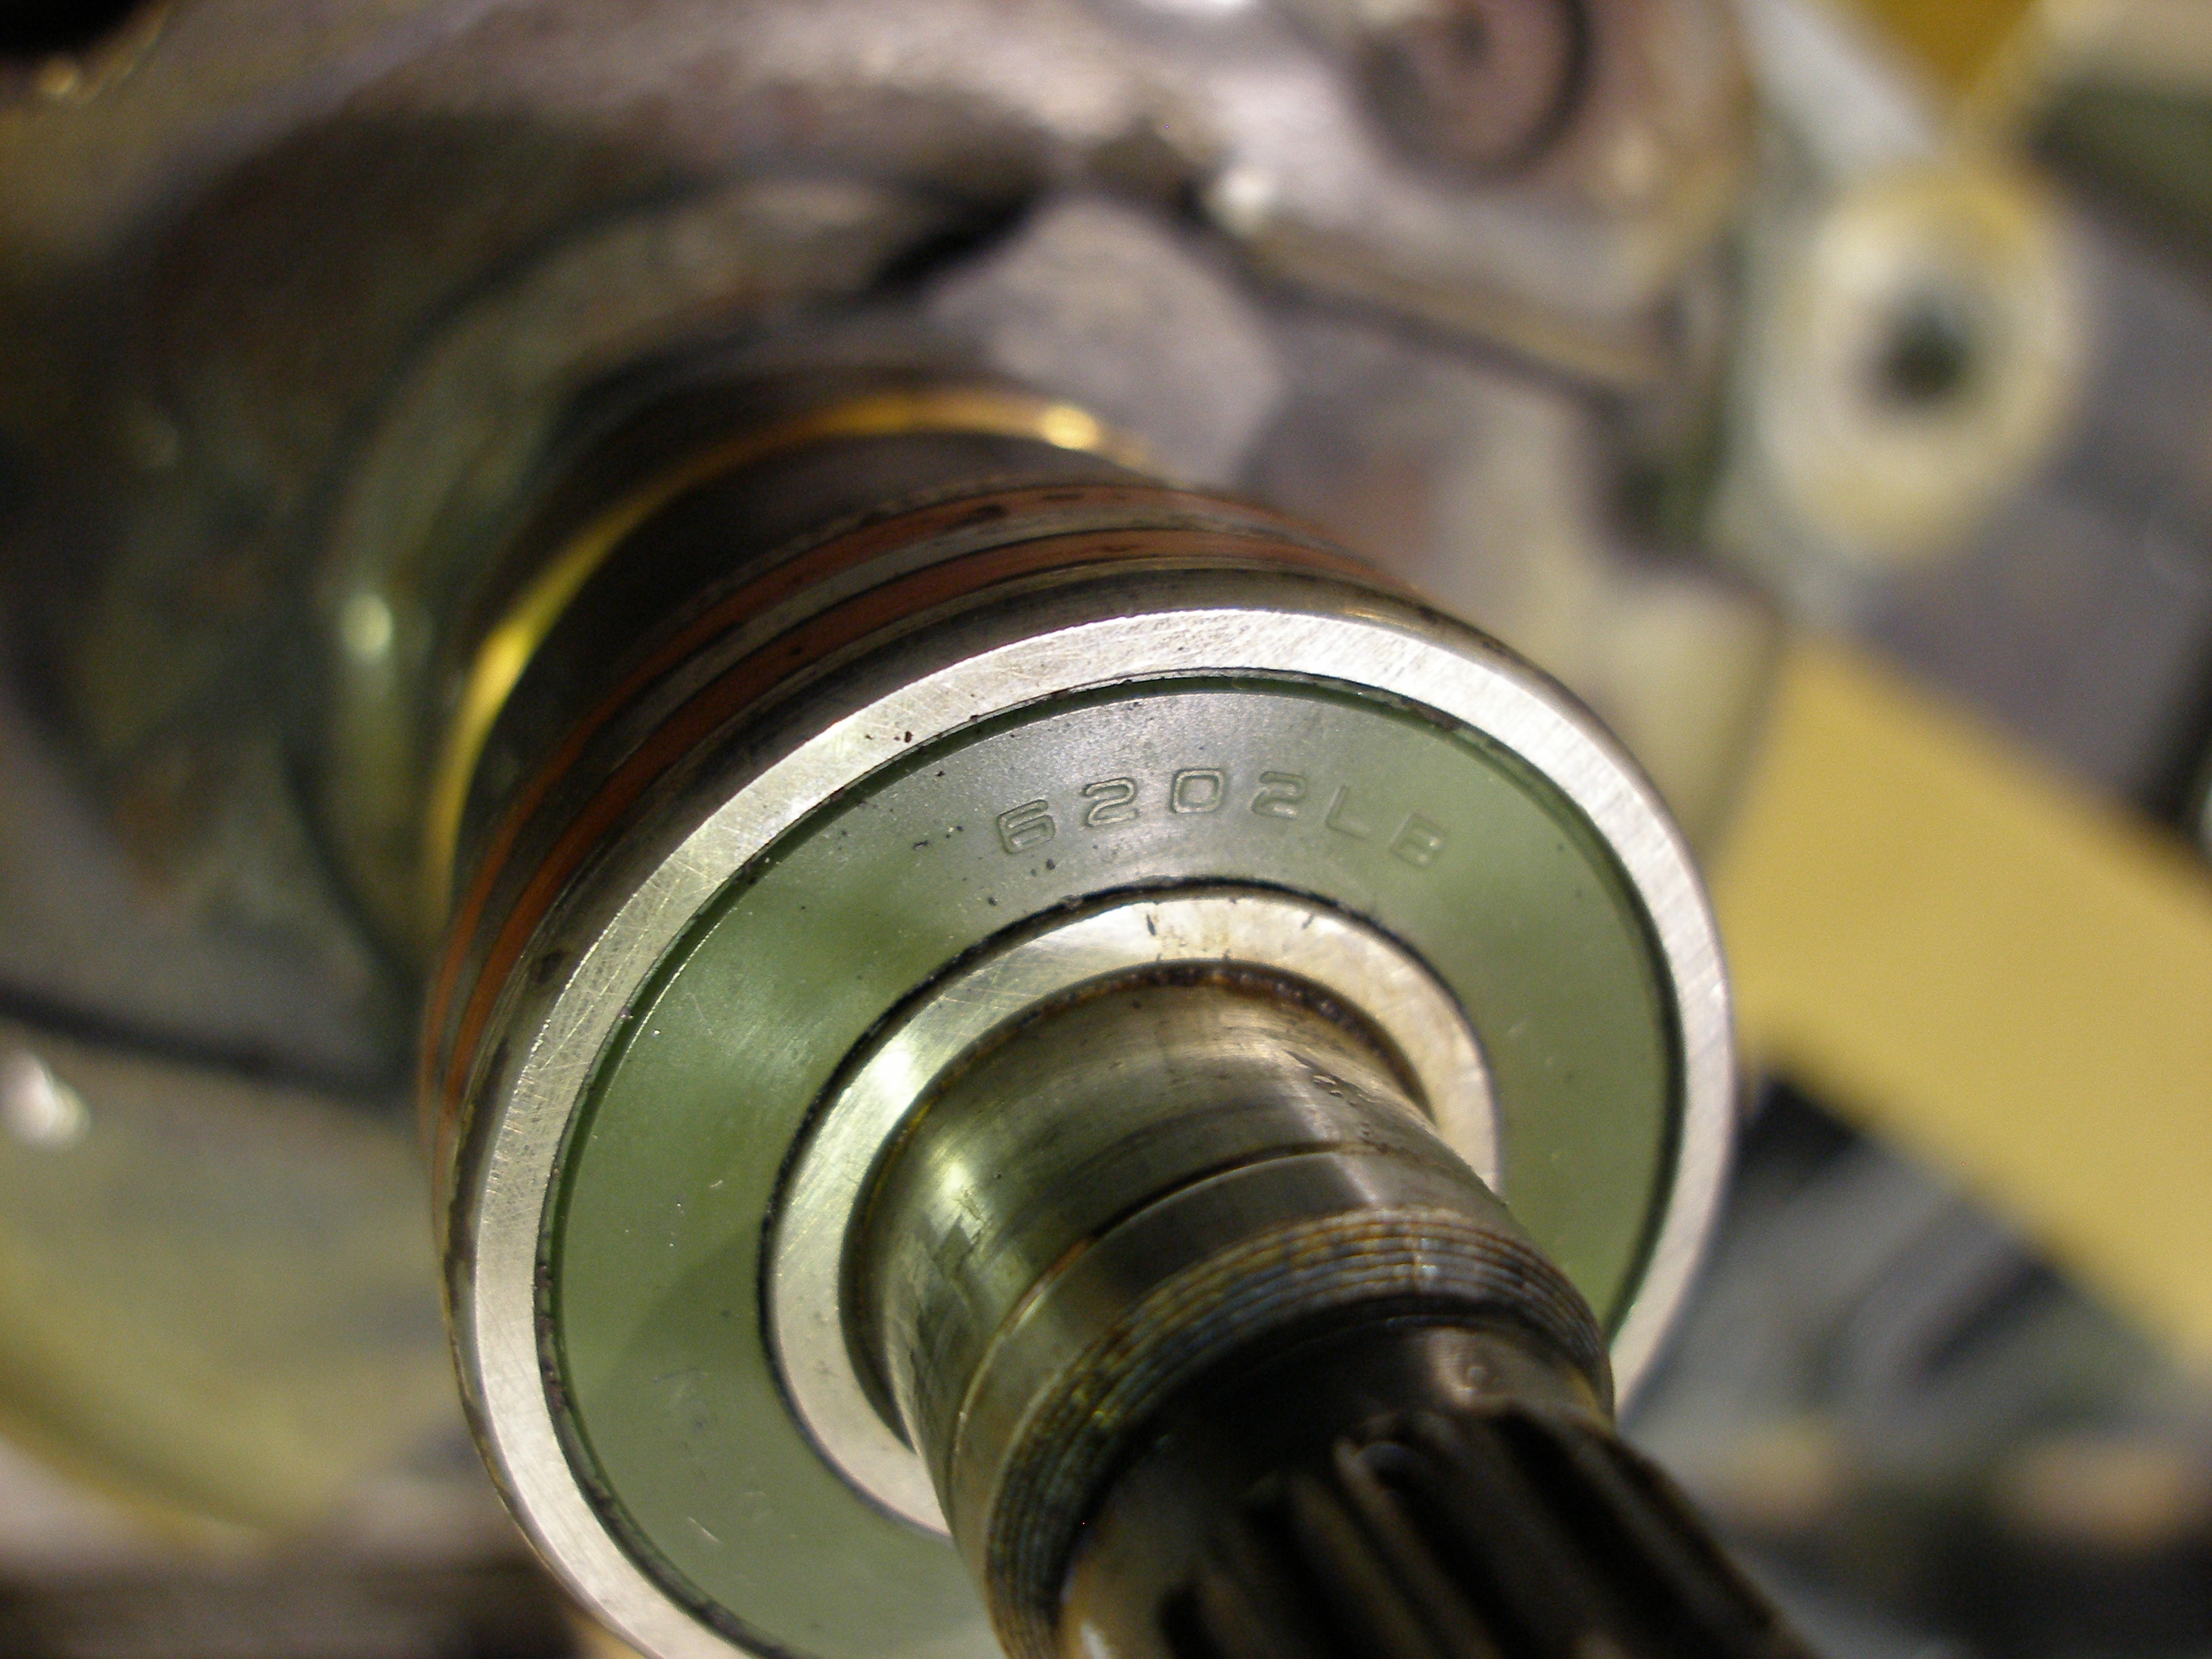
- Front (drive end) bearing 6303-2RS (NAPA - specify "SKF" brand, $33)
- Rear (idle end) bearing 6303-2RS (NAPA - specify "SKF" brand, $8 )
So far, every non-working Hitachi LR alternator I've opened up has had a bad diode assy. Most have needed brushes. Some have needed bearings. And the oil seal is a "replace always" item.
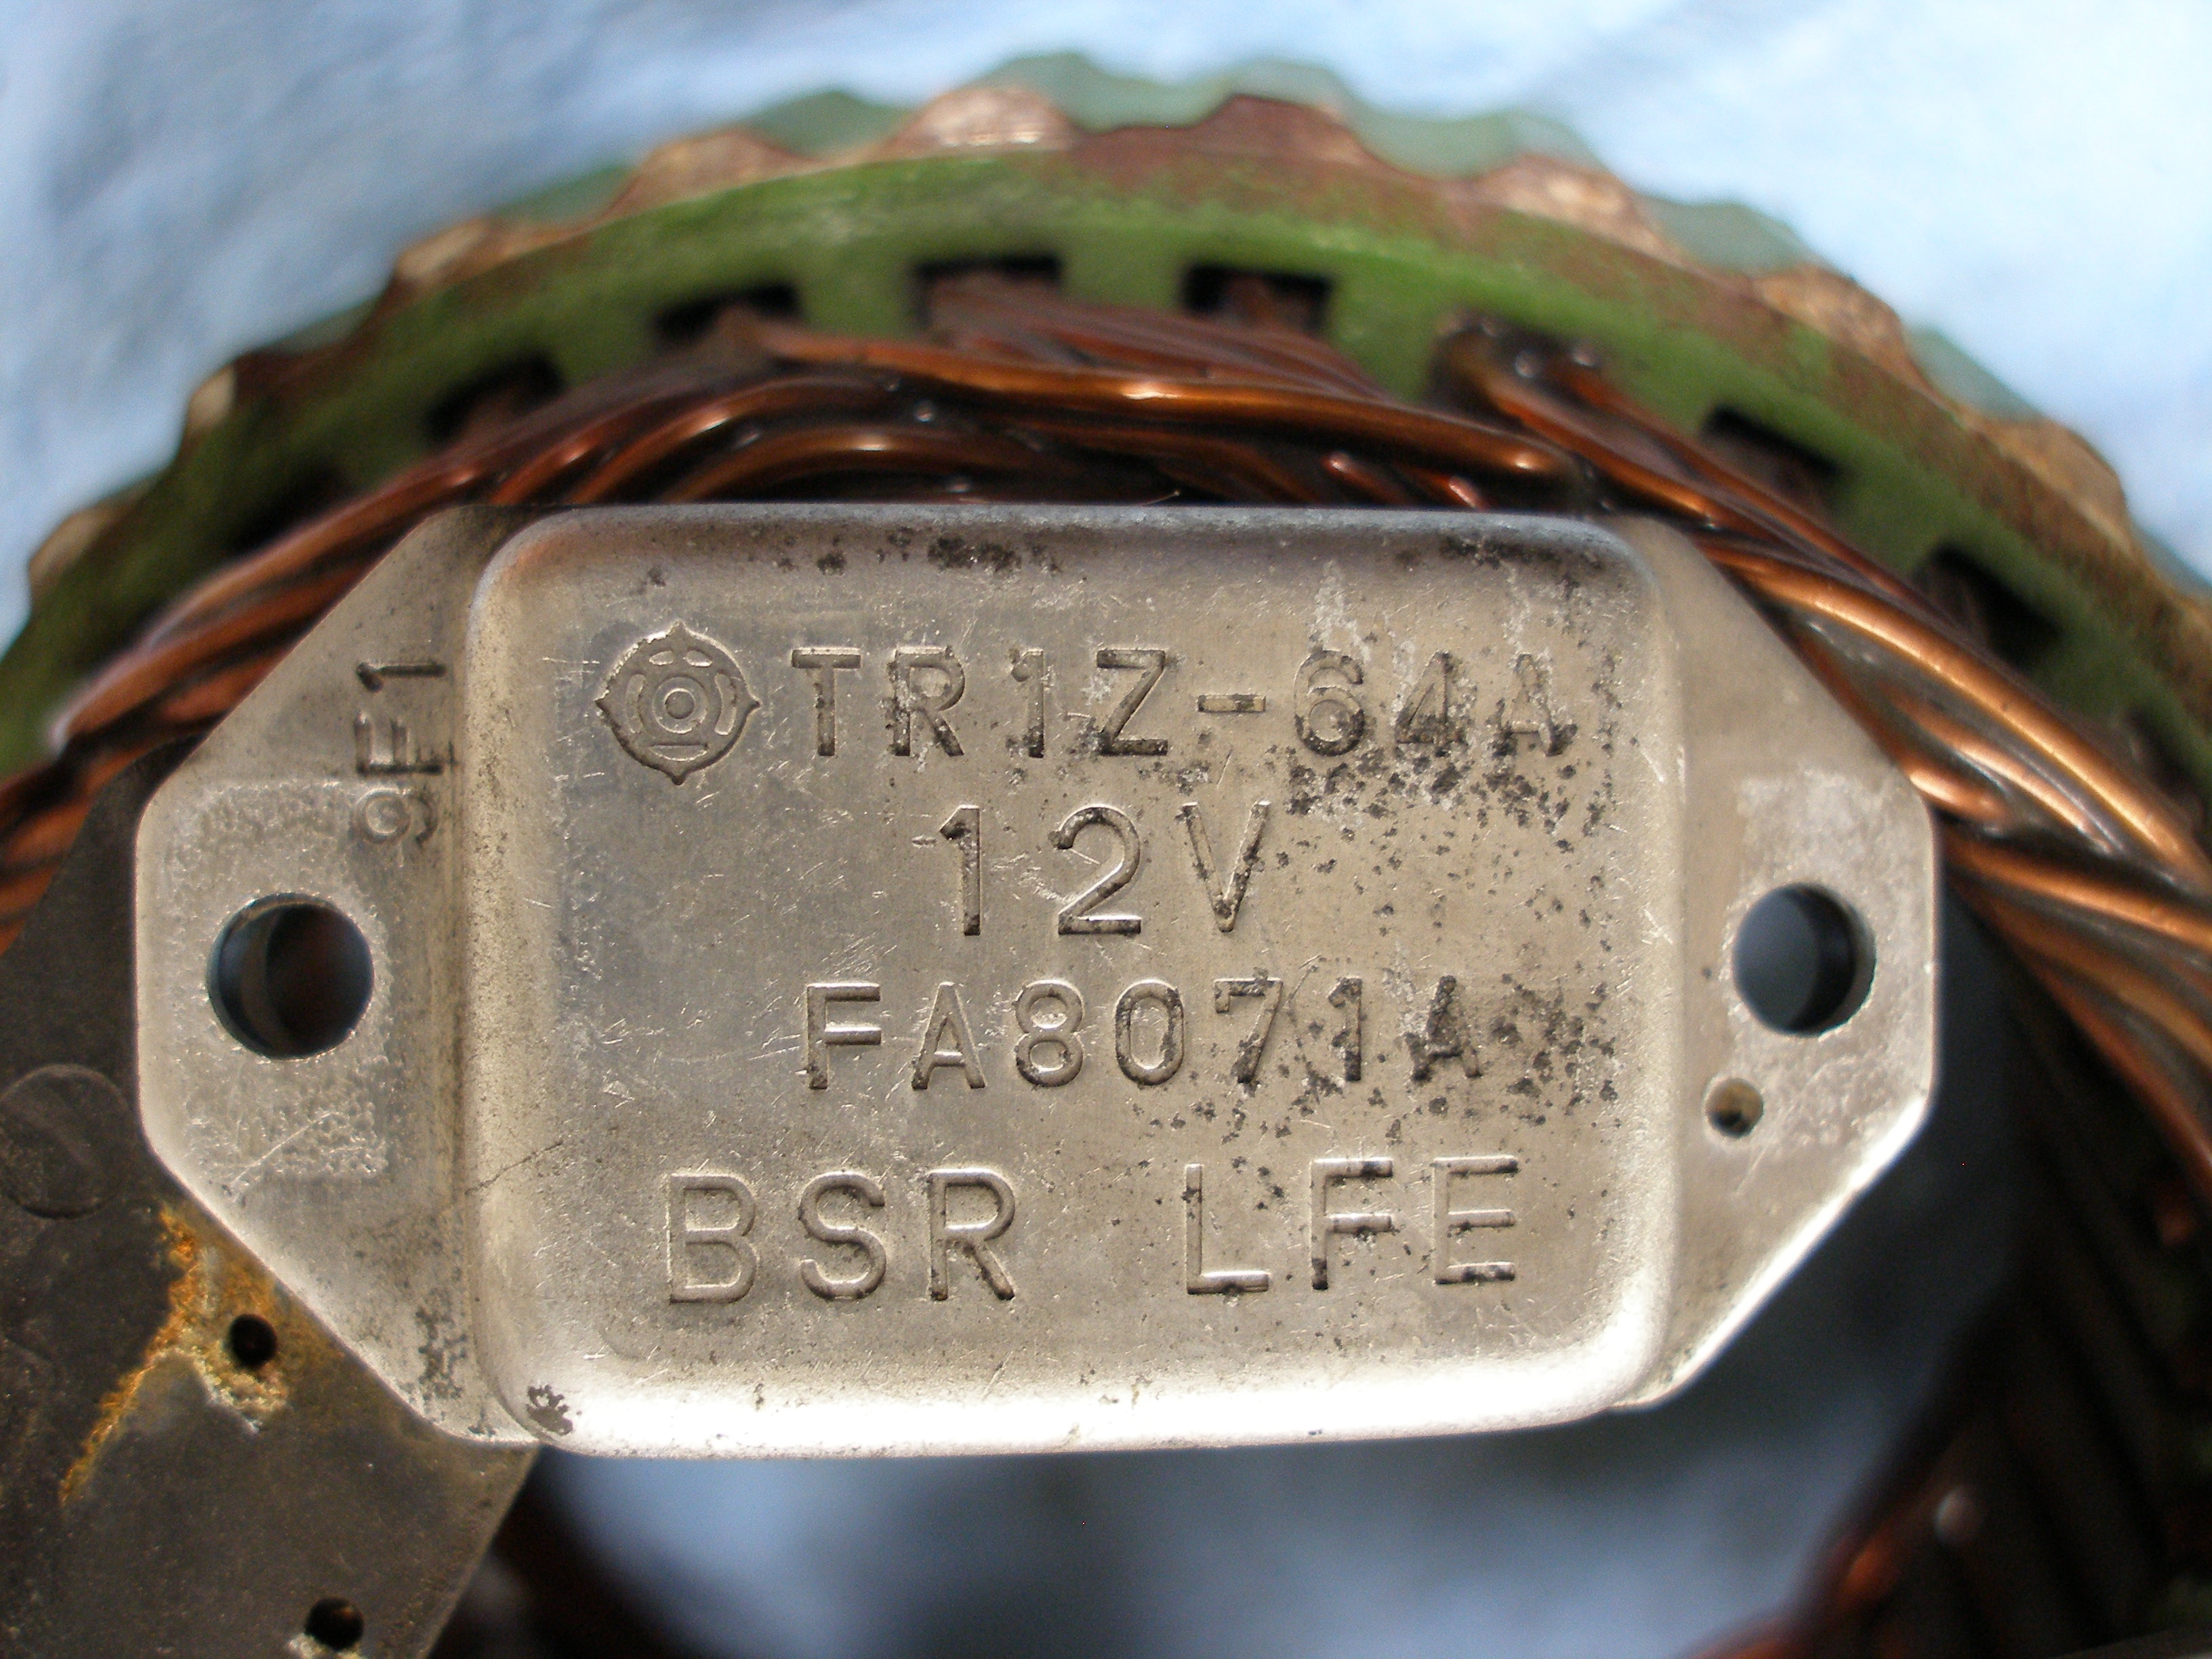
Hitachi-rebuilt alternators (ie, an alternator you'd get from Nissan, like the one I have below) have the same, weak diodes as the originals
(click on any image for larger)
Remanufactured for Nissan
(Nissan Part No.) 23100-W2502-R
(Hitachi No.) LR160-97C-R

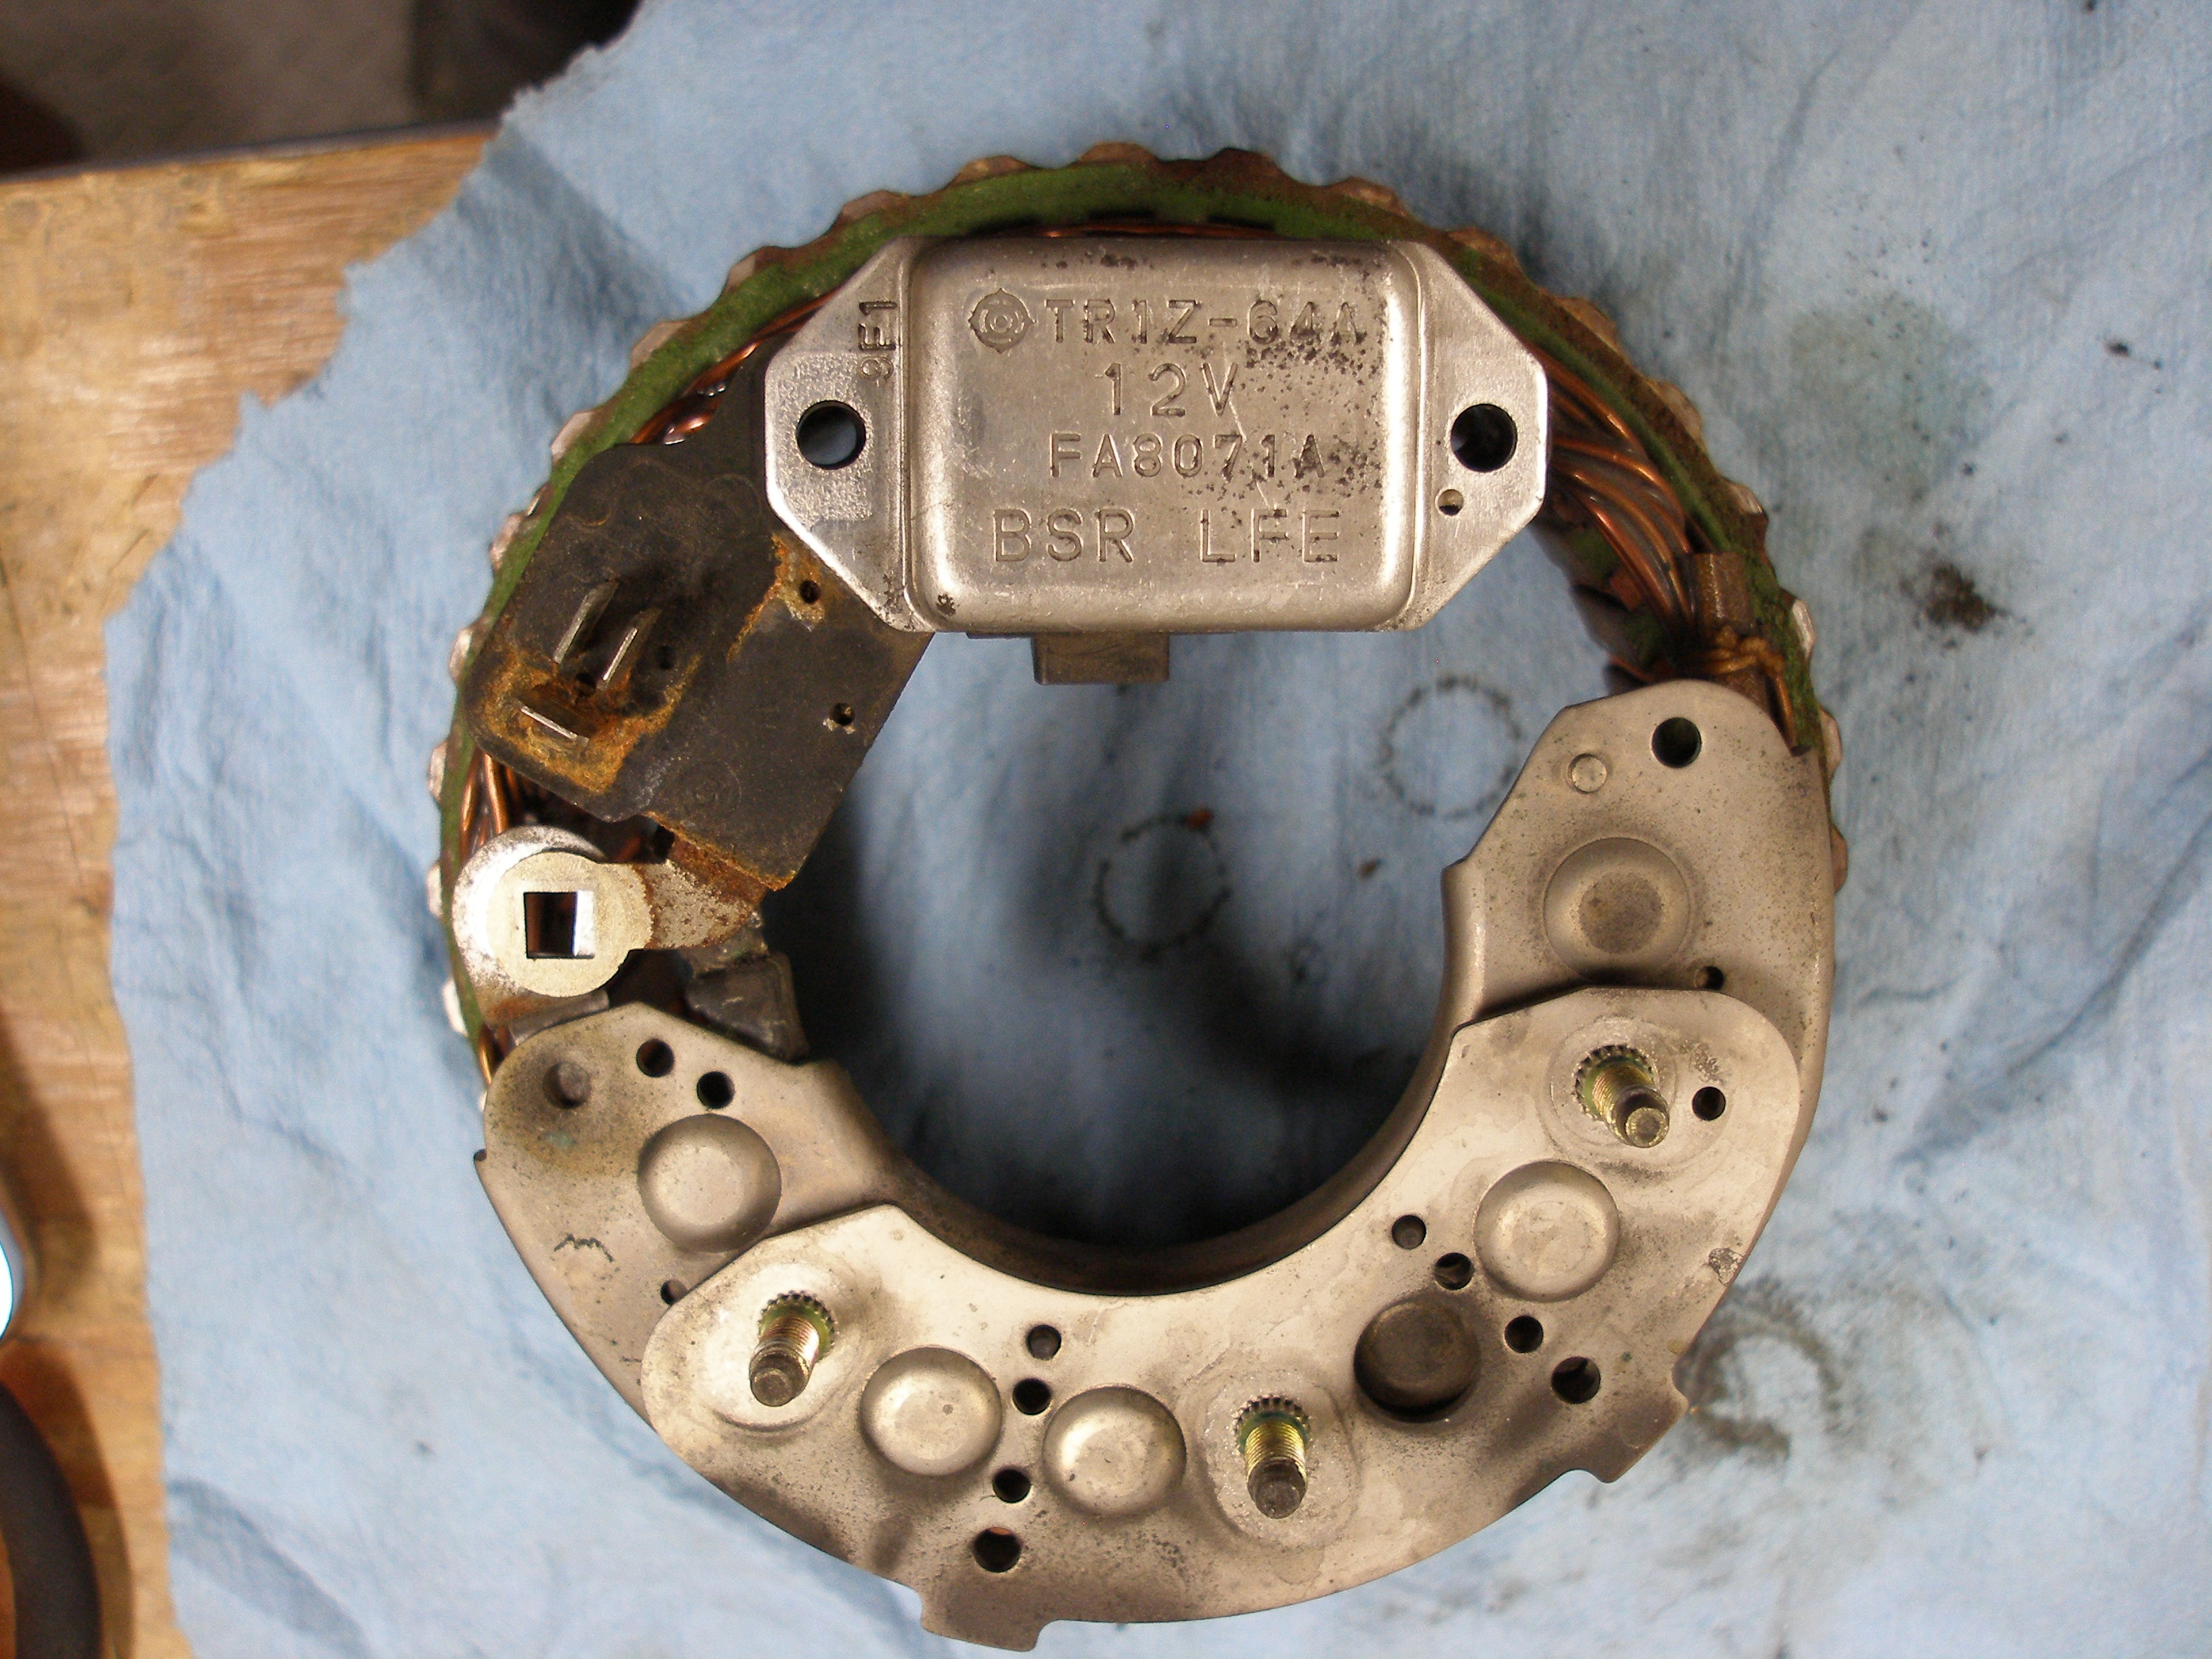
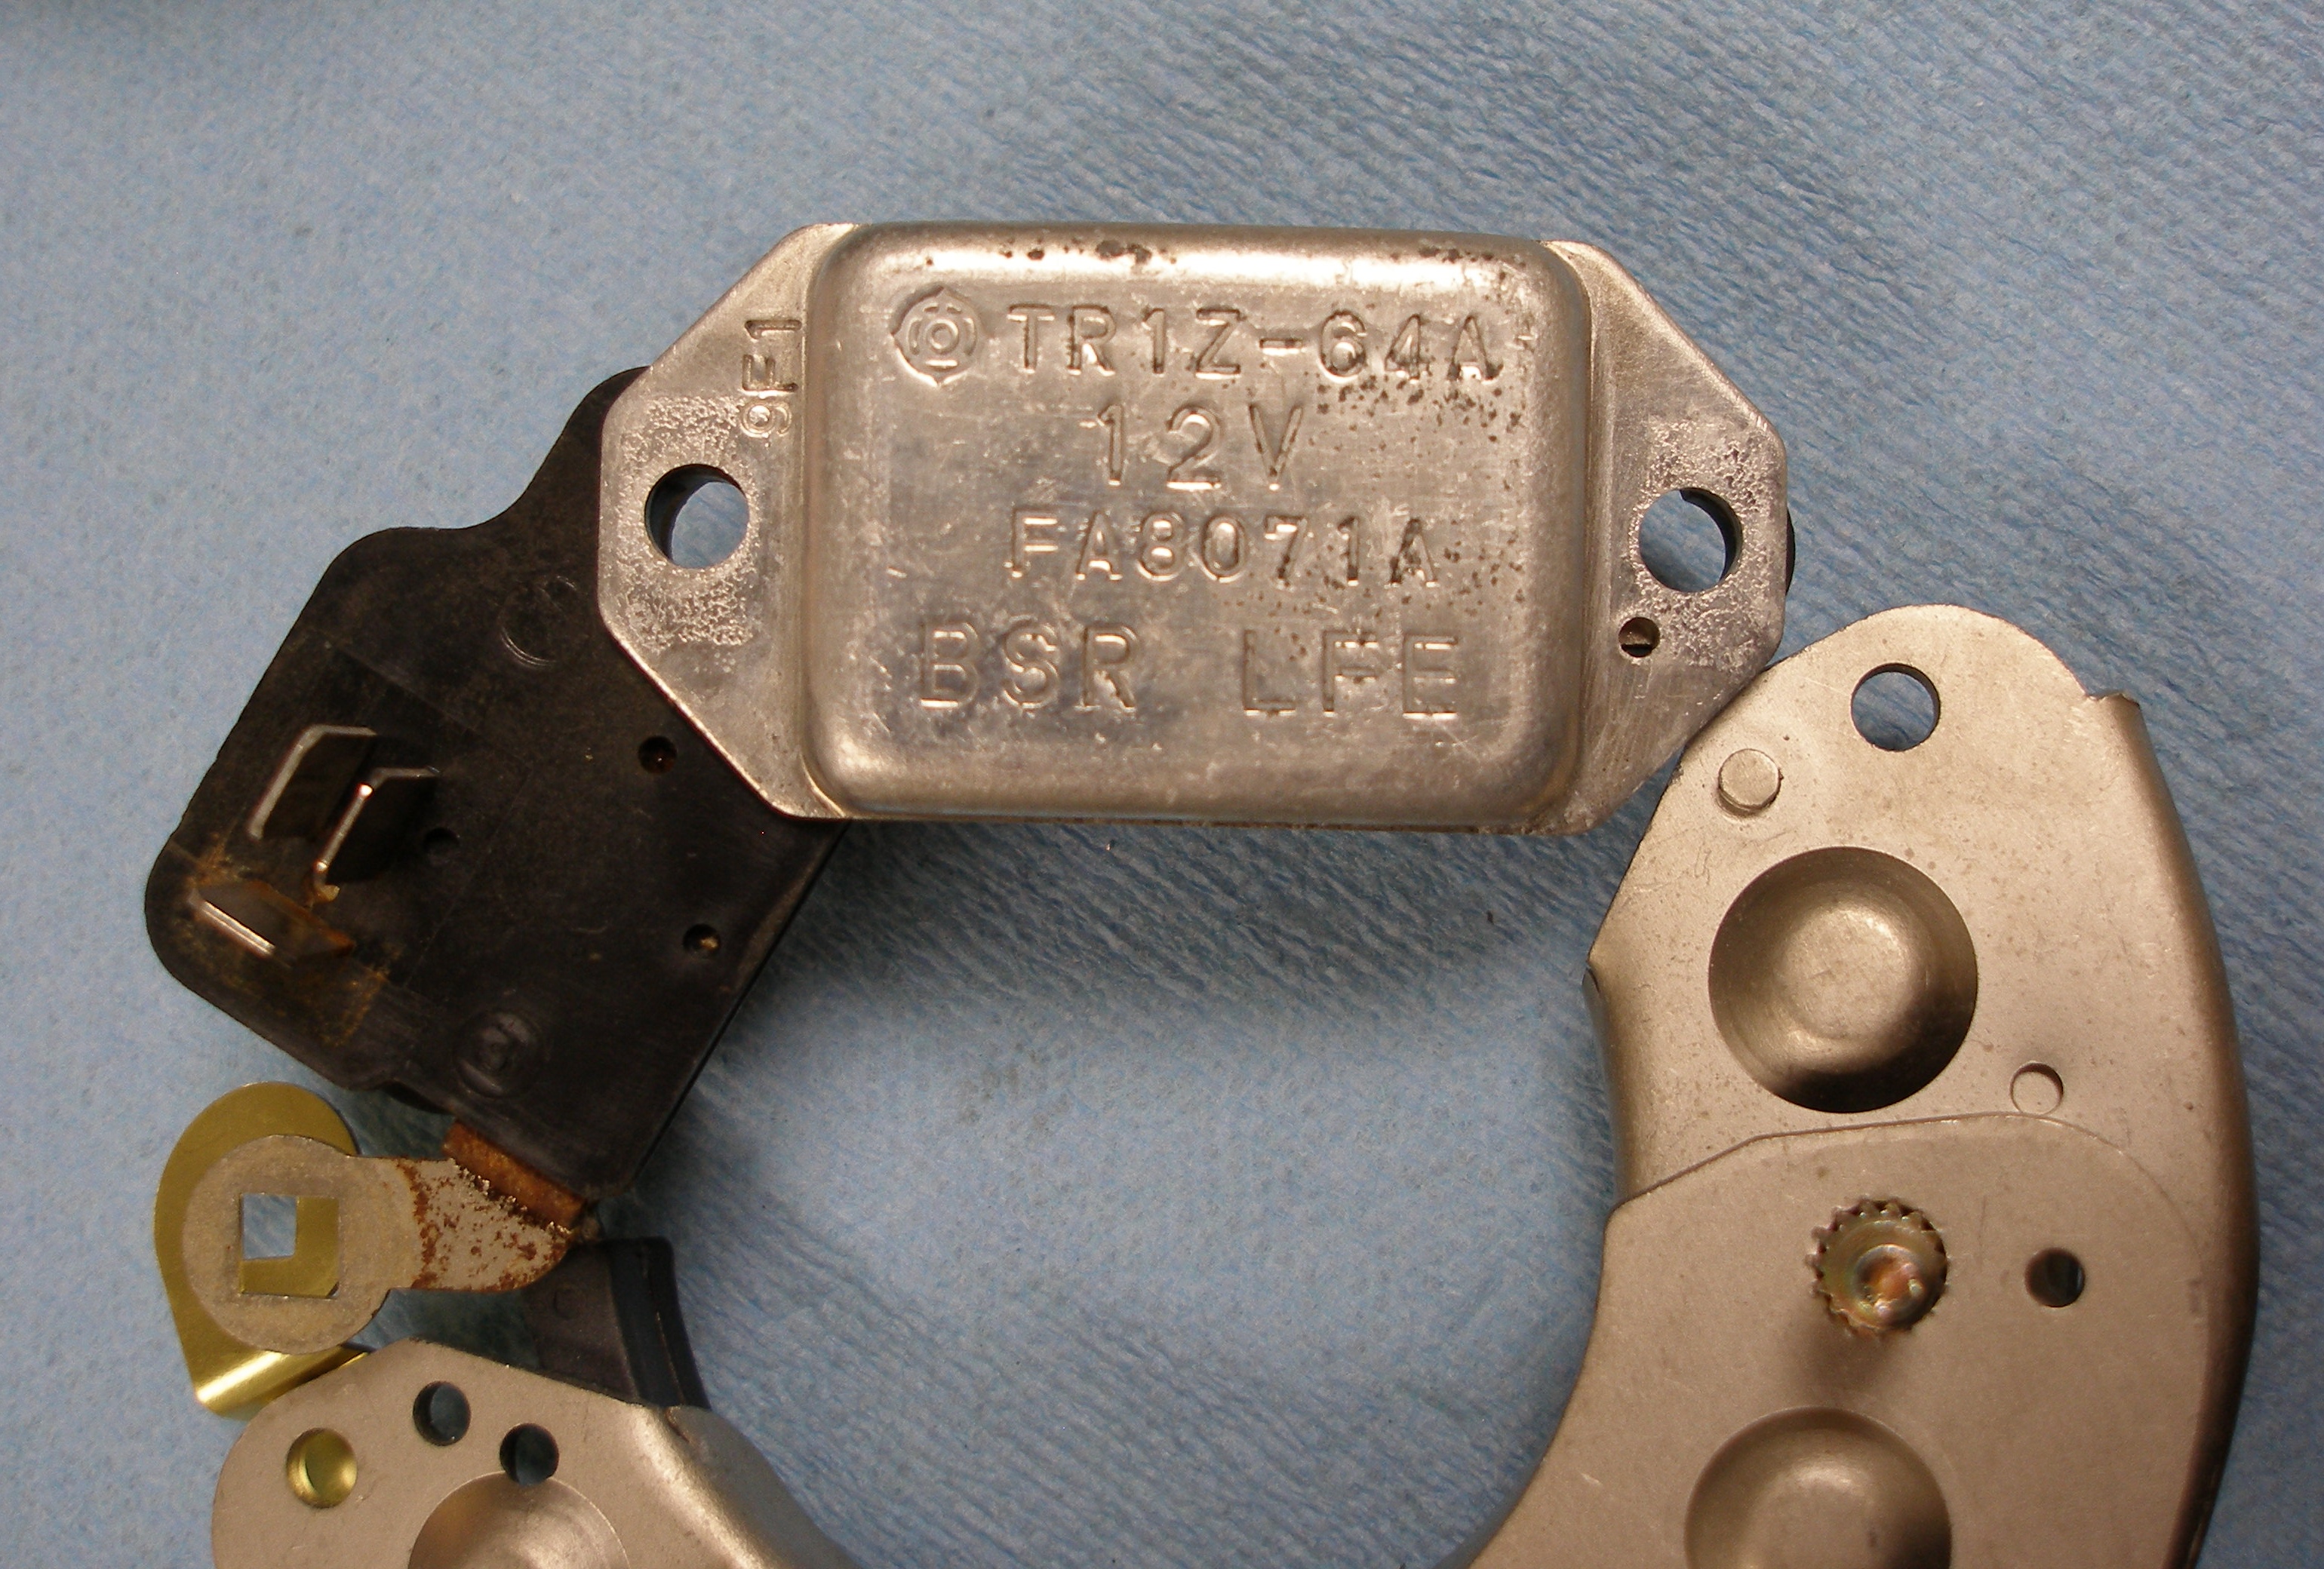
The voltage regulator is reputed to go bad on these. So far, I've found only one bad one. My rebuilder replaces them automatically, but he has a warranty to honor. I generally roll the dice and reinstall the old one. They are not particulary cheap.
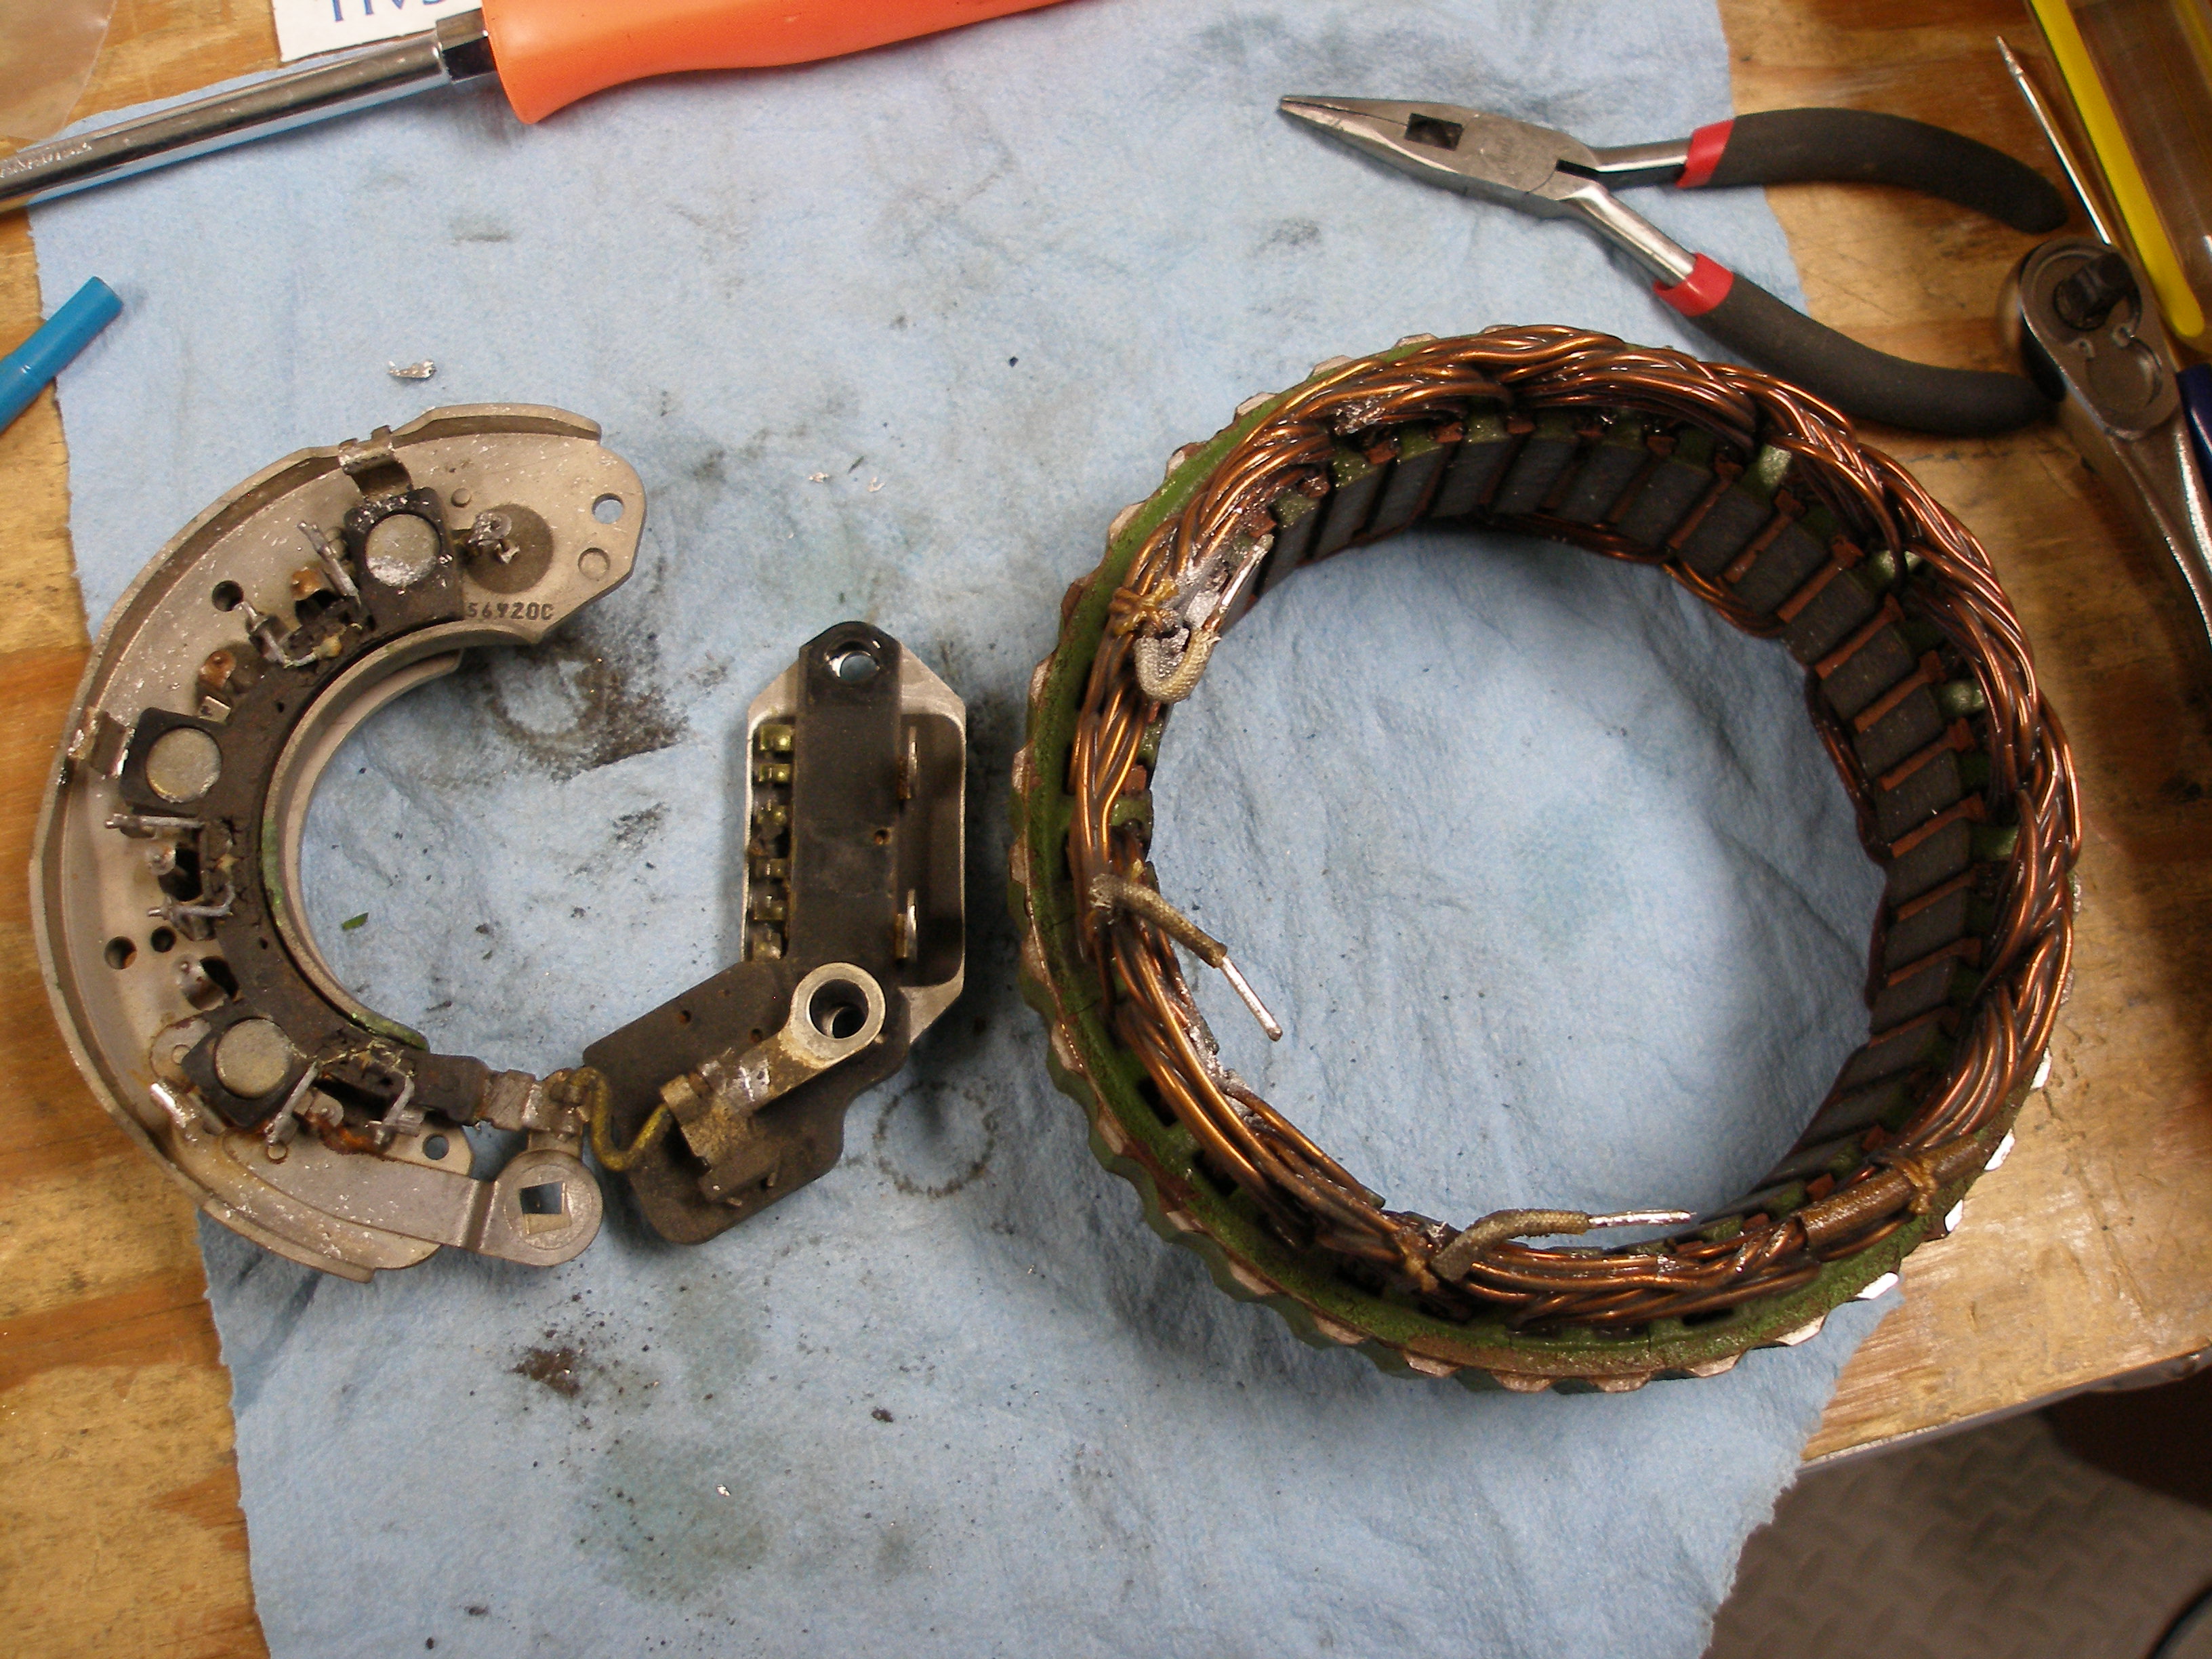
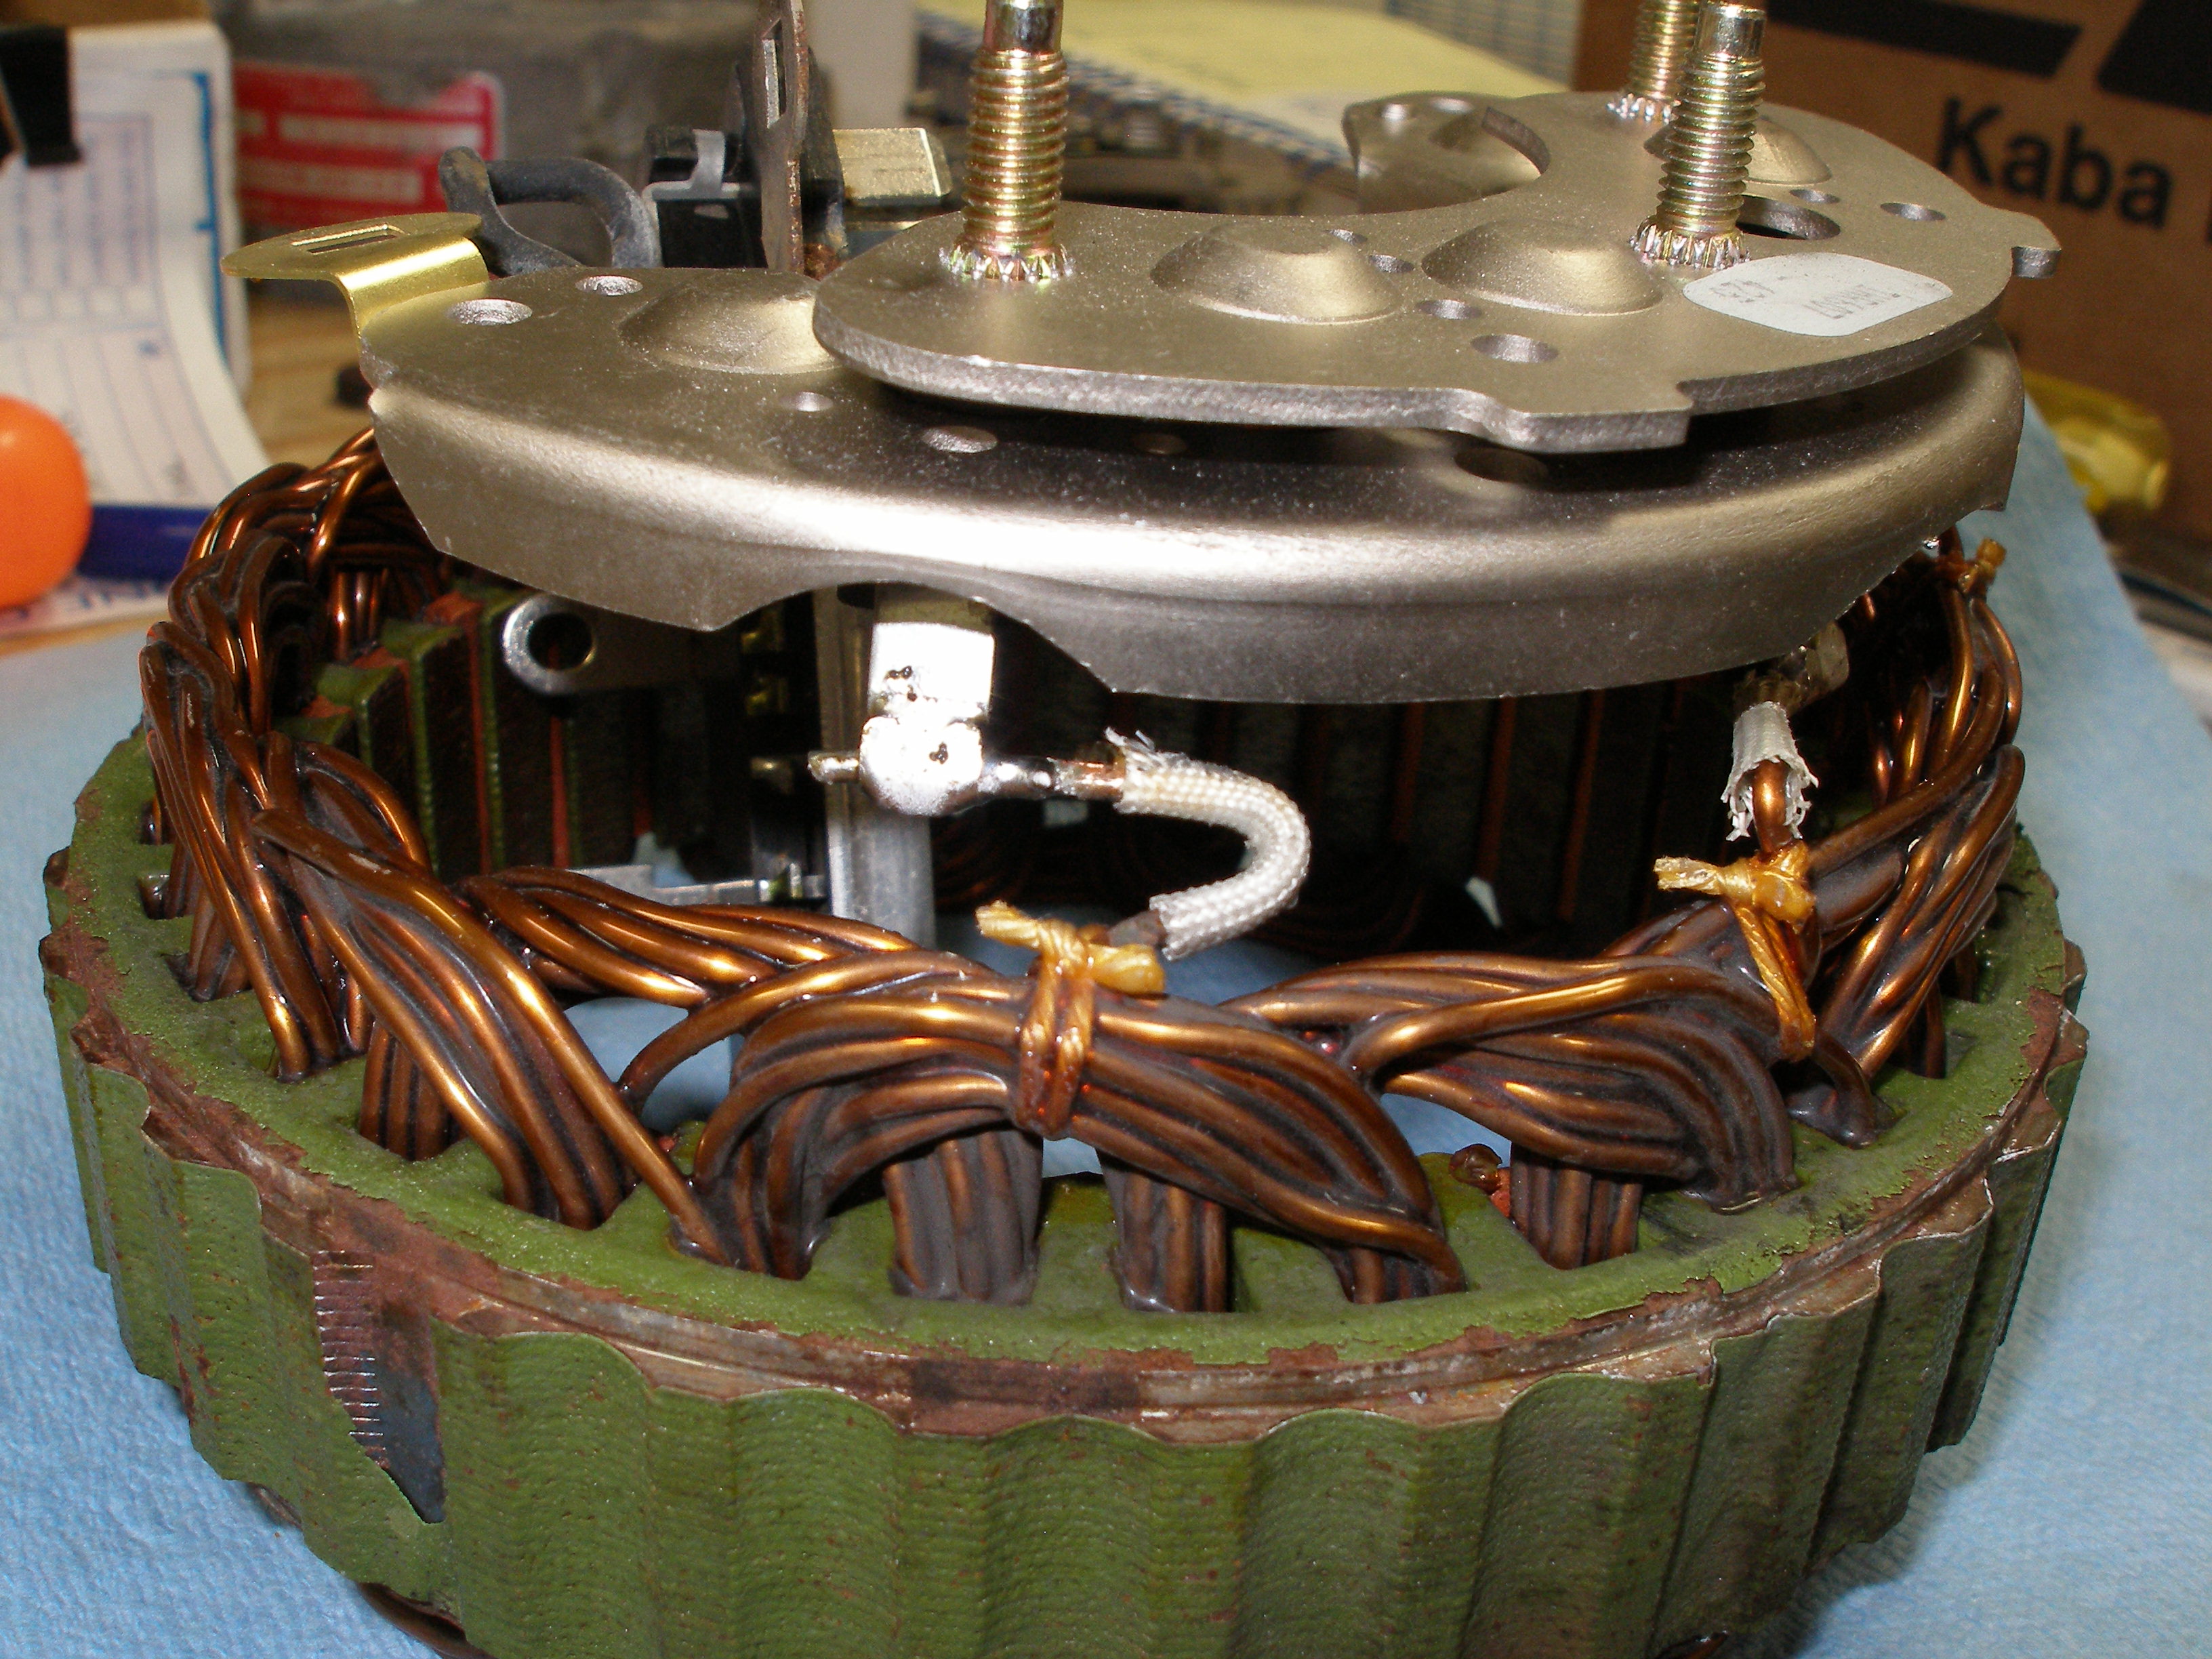
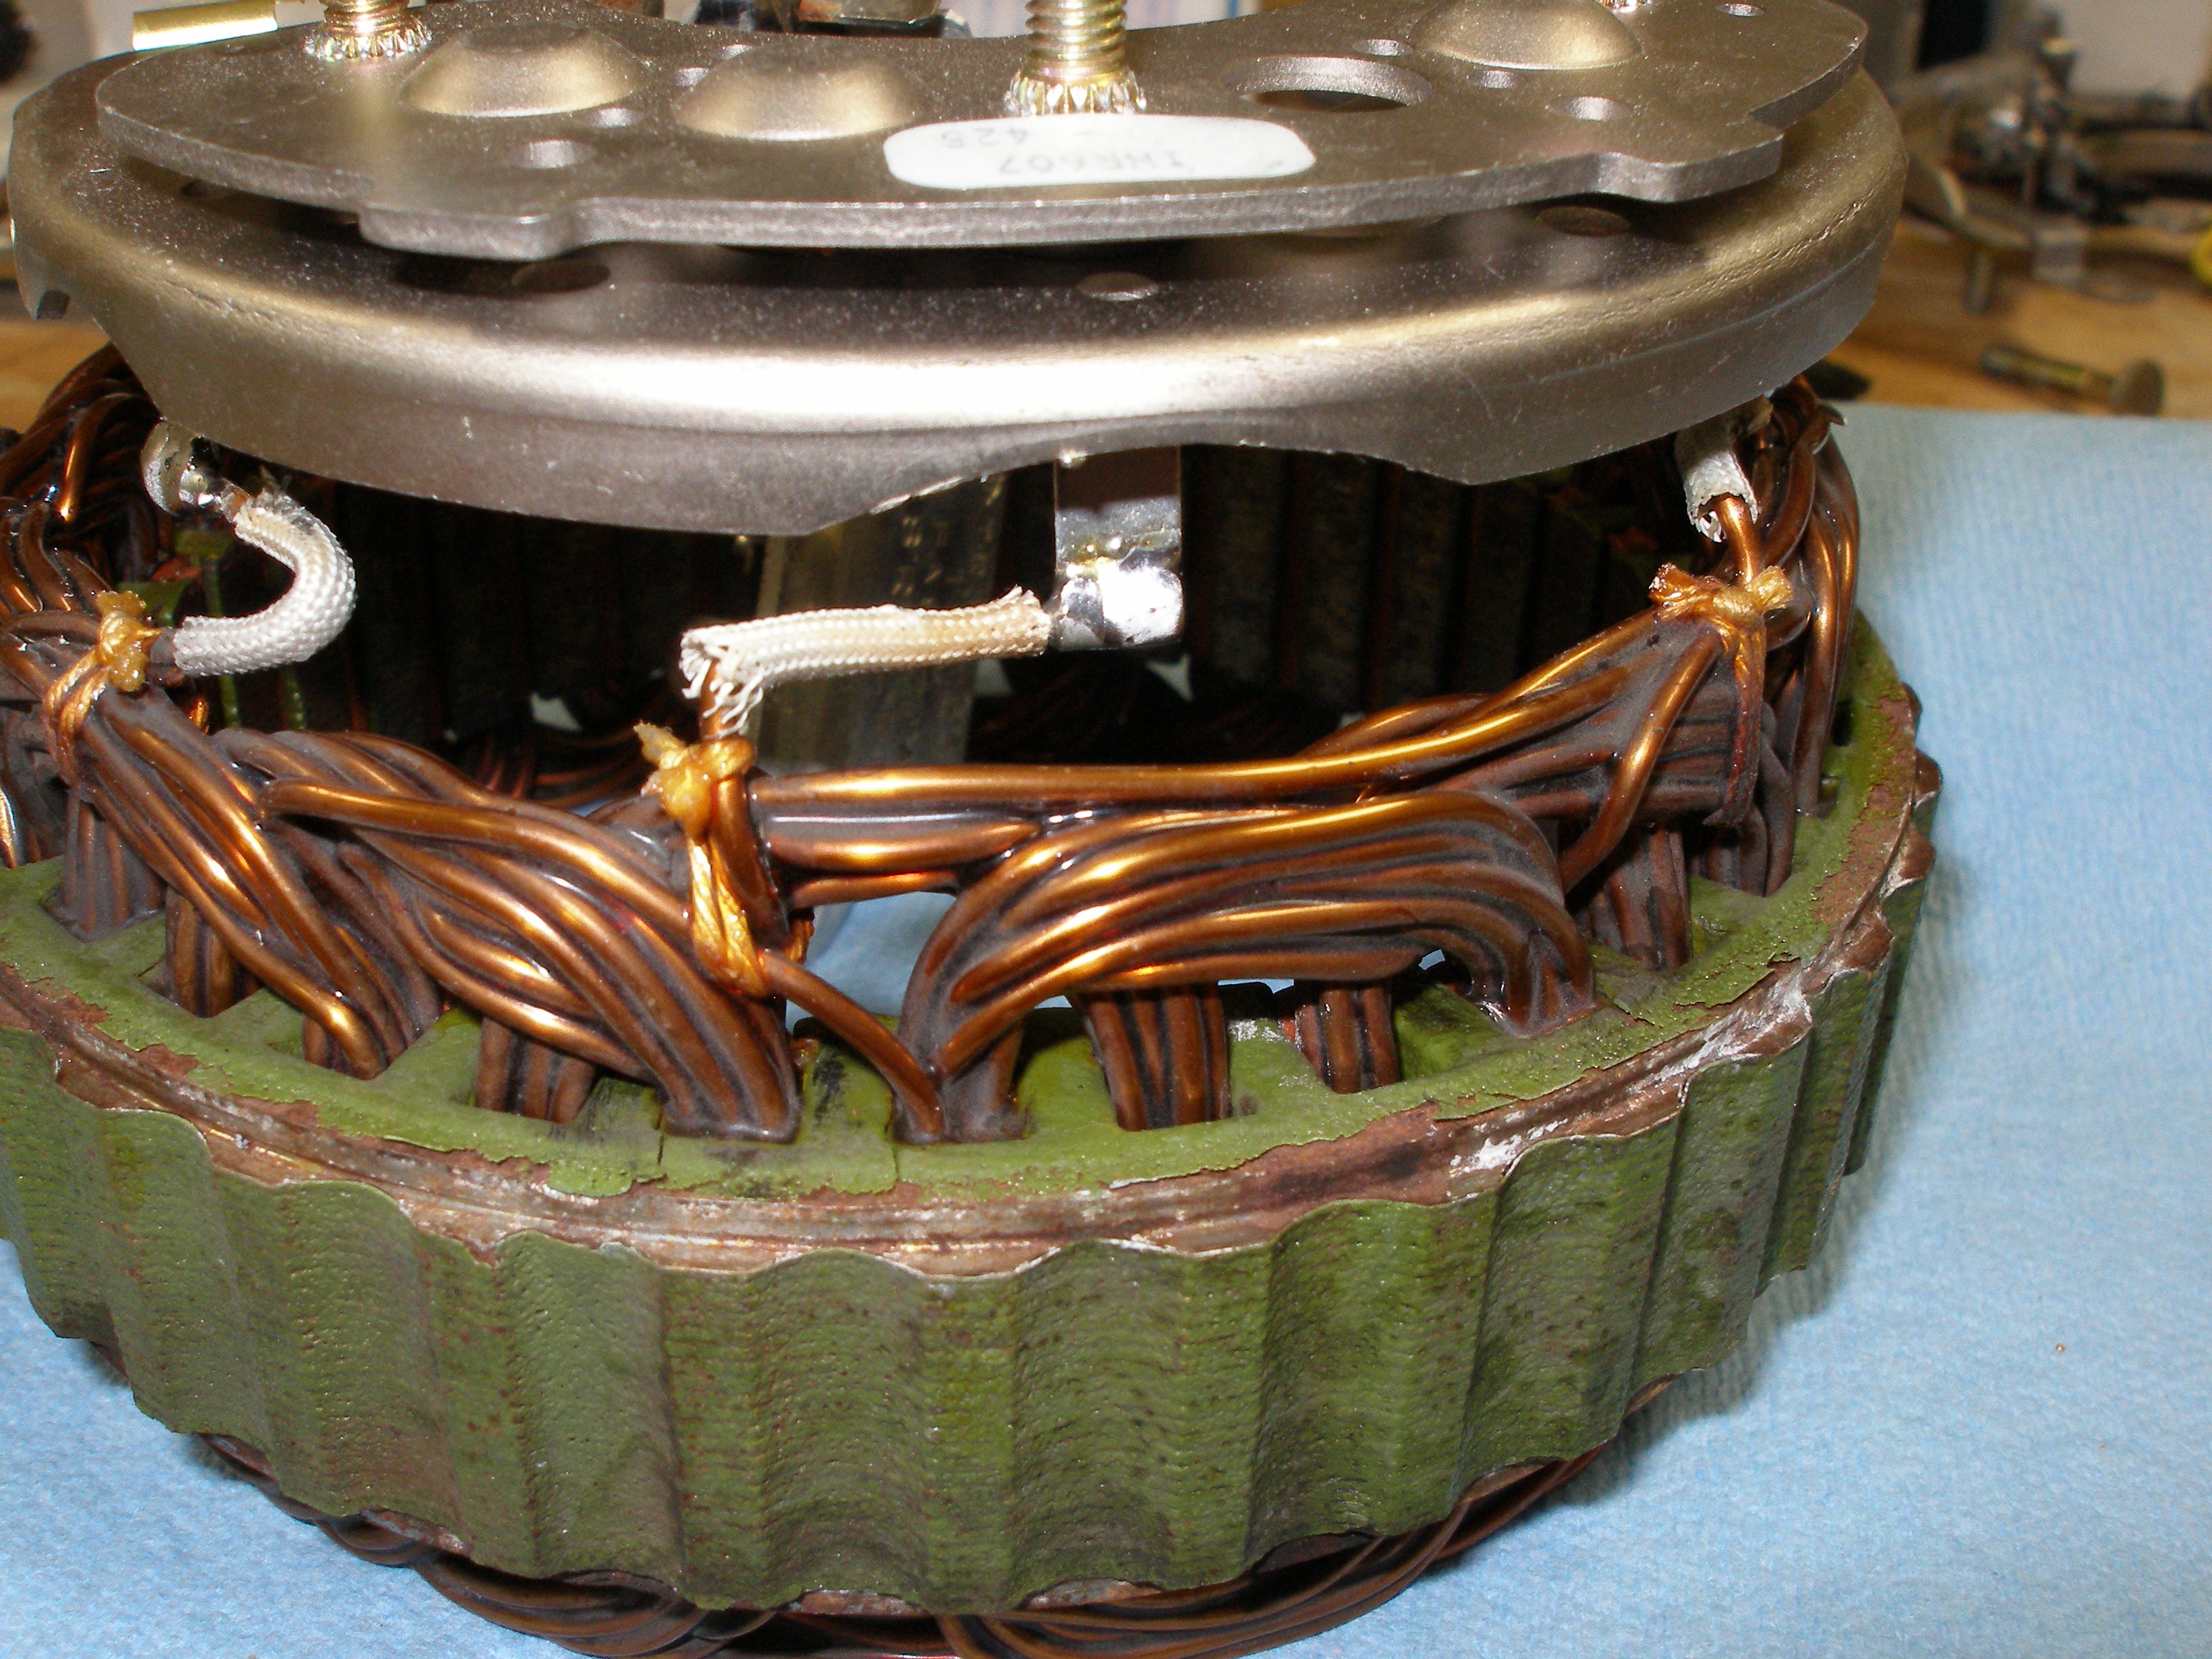
Once you unbolt everything, you have to desolder the three stator leads from the diode assy. A std. soldering gun of moderate wattage (eg 100w or more) will do fine. While I have a desoldering station, I find that using compressed air on the heated joint will blow out the solder OK, though a bit messily -- you will have to wipe/brush off the solder particles, and you definitely don't want to be breathing hot lead fumes so do this outside, if you use this method. Canned air works fine, no need for an air compressor.
Old (bad) diode assy. on left, new better-design assy. on right. The voltage regulator (yellow lead on left) has to be soldered to the black lead on the new assy.

VR soldered to new diode assy. Note that this diode's part No. may result in a cheaper Transpo branded unit. This one is the correct heavy-duty part, but another one I bought later has this same Rexco number but over a Transpo box -- it's going back to my distributor tomorrow.
Three pics of the same heavier-duty diode in the new diode assy.
VR soldered to new diode assy. (reverse side pic).
Solder the three stator leads to the new diode assy.
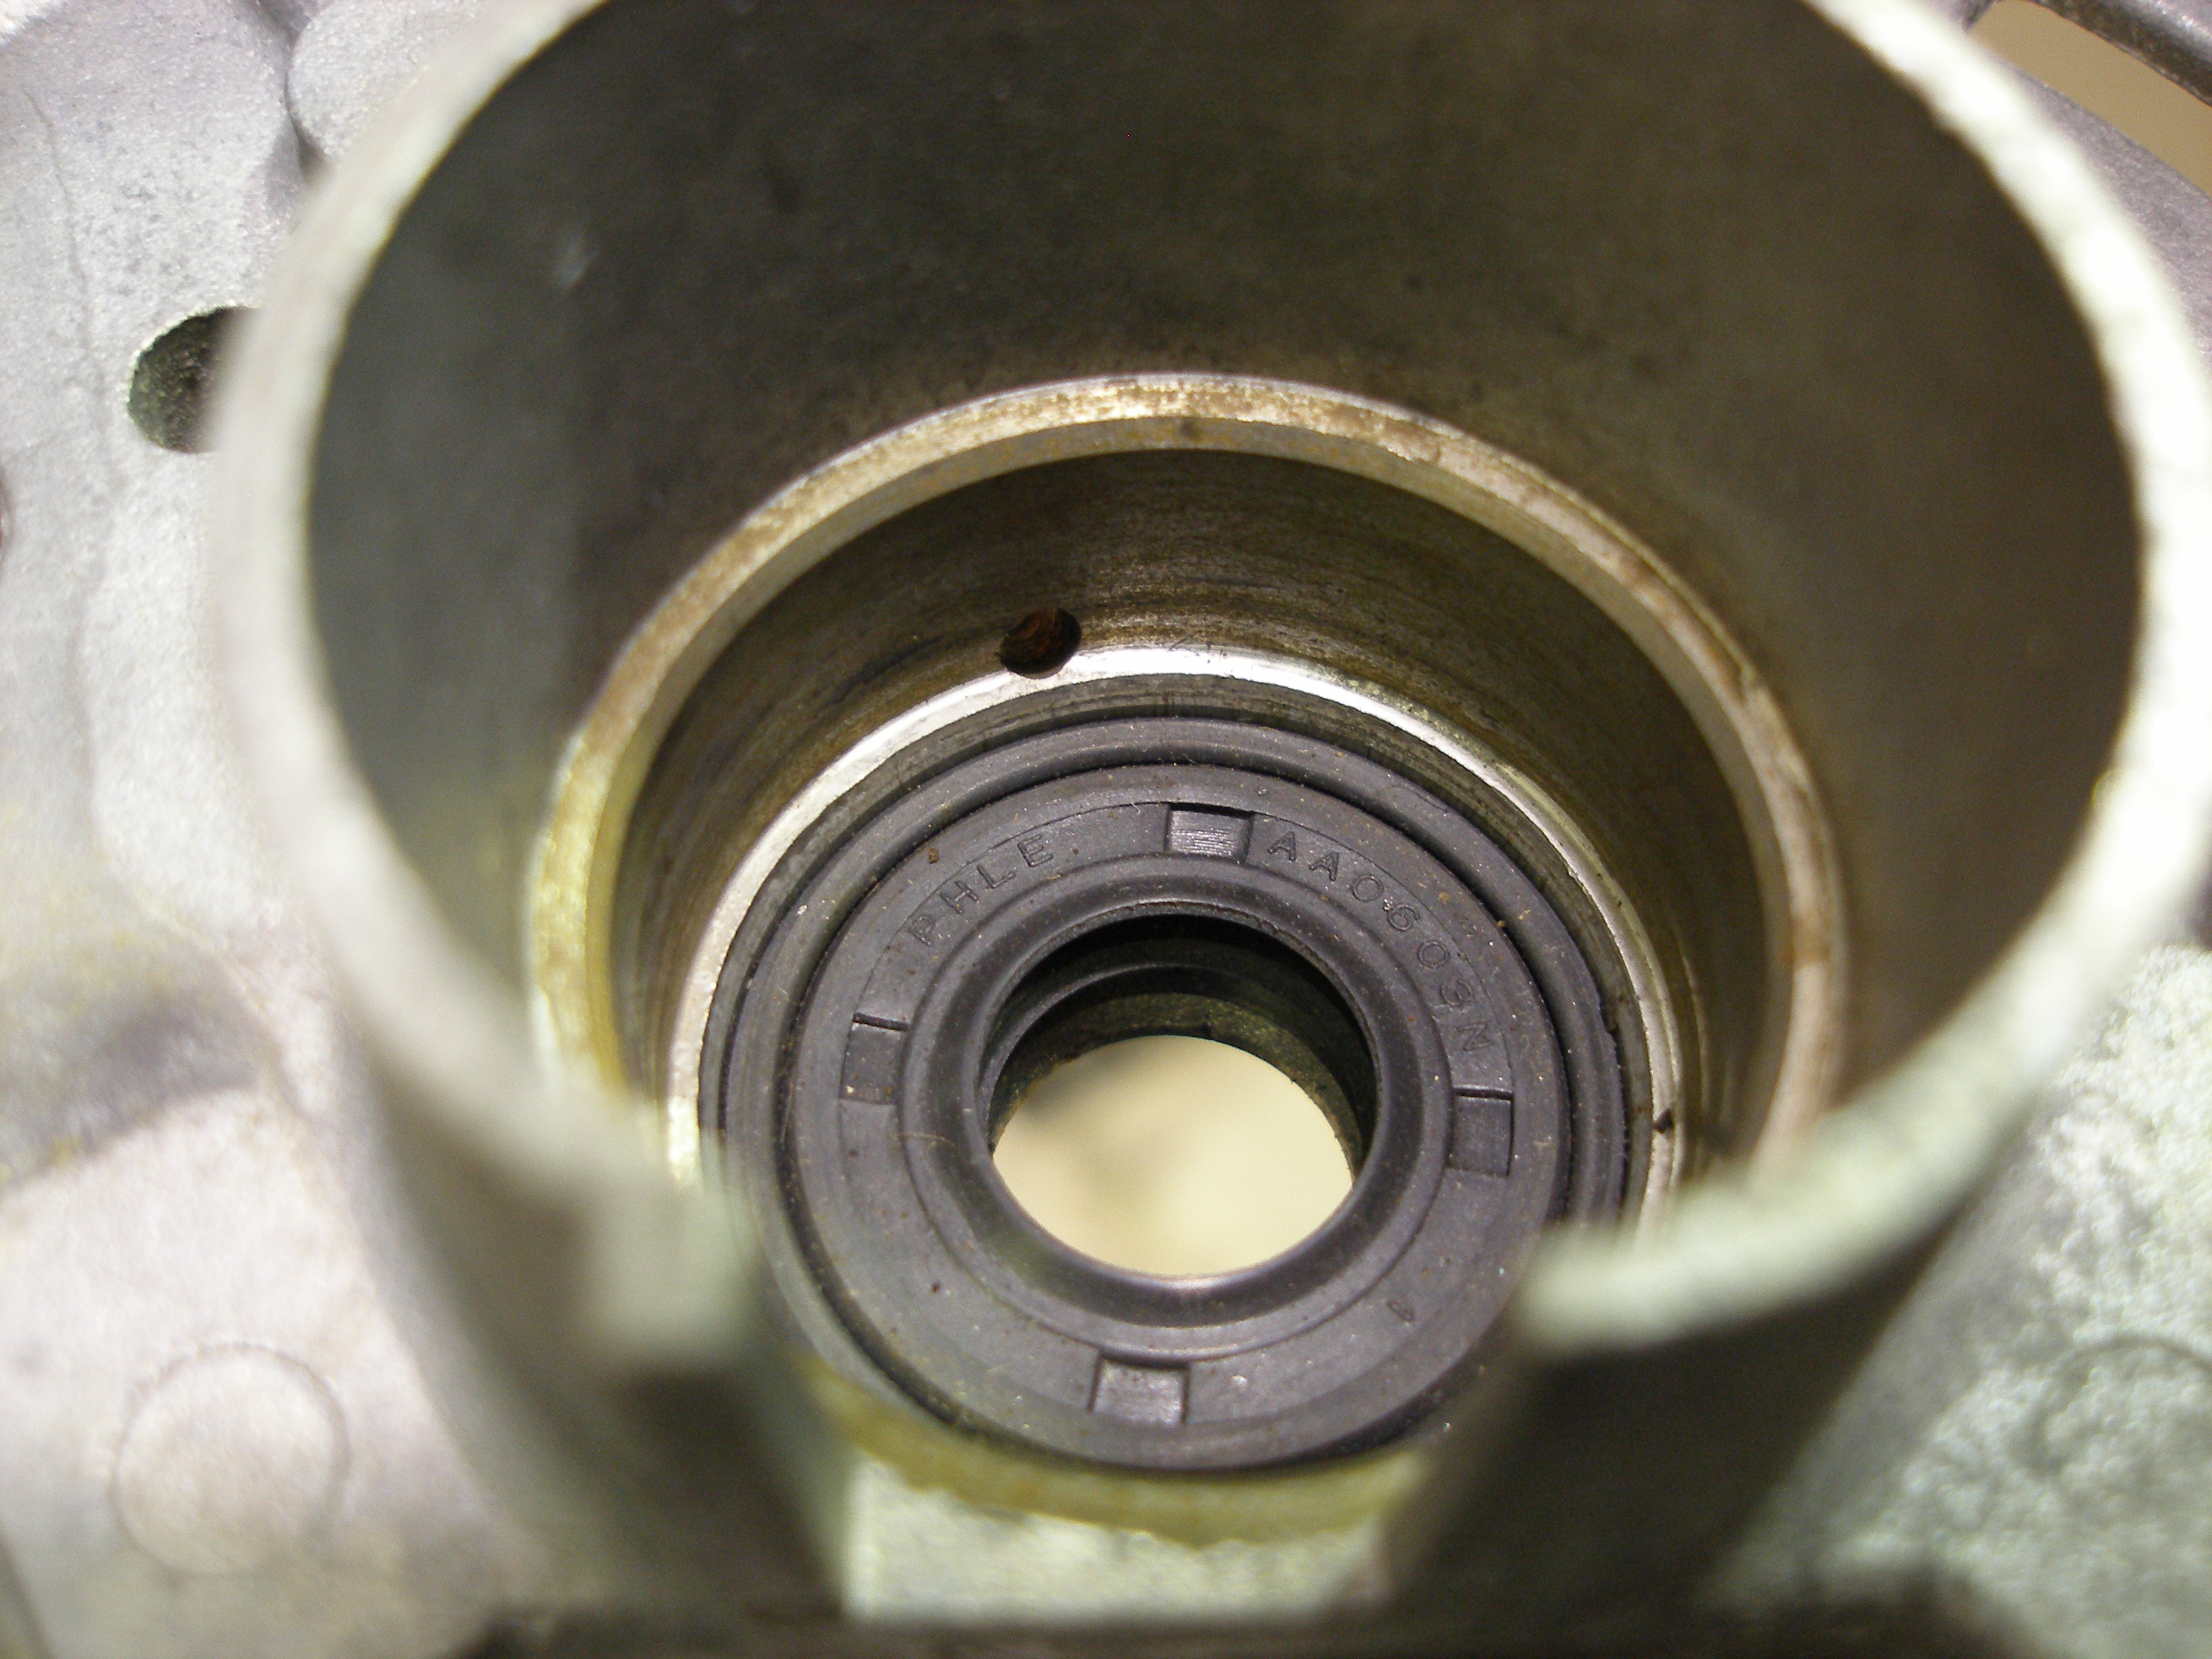
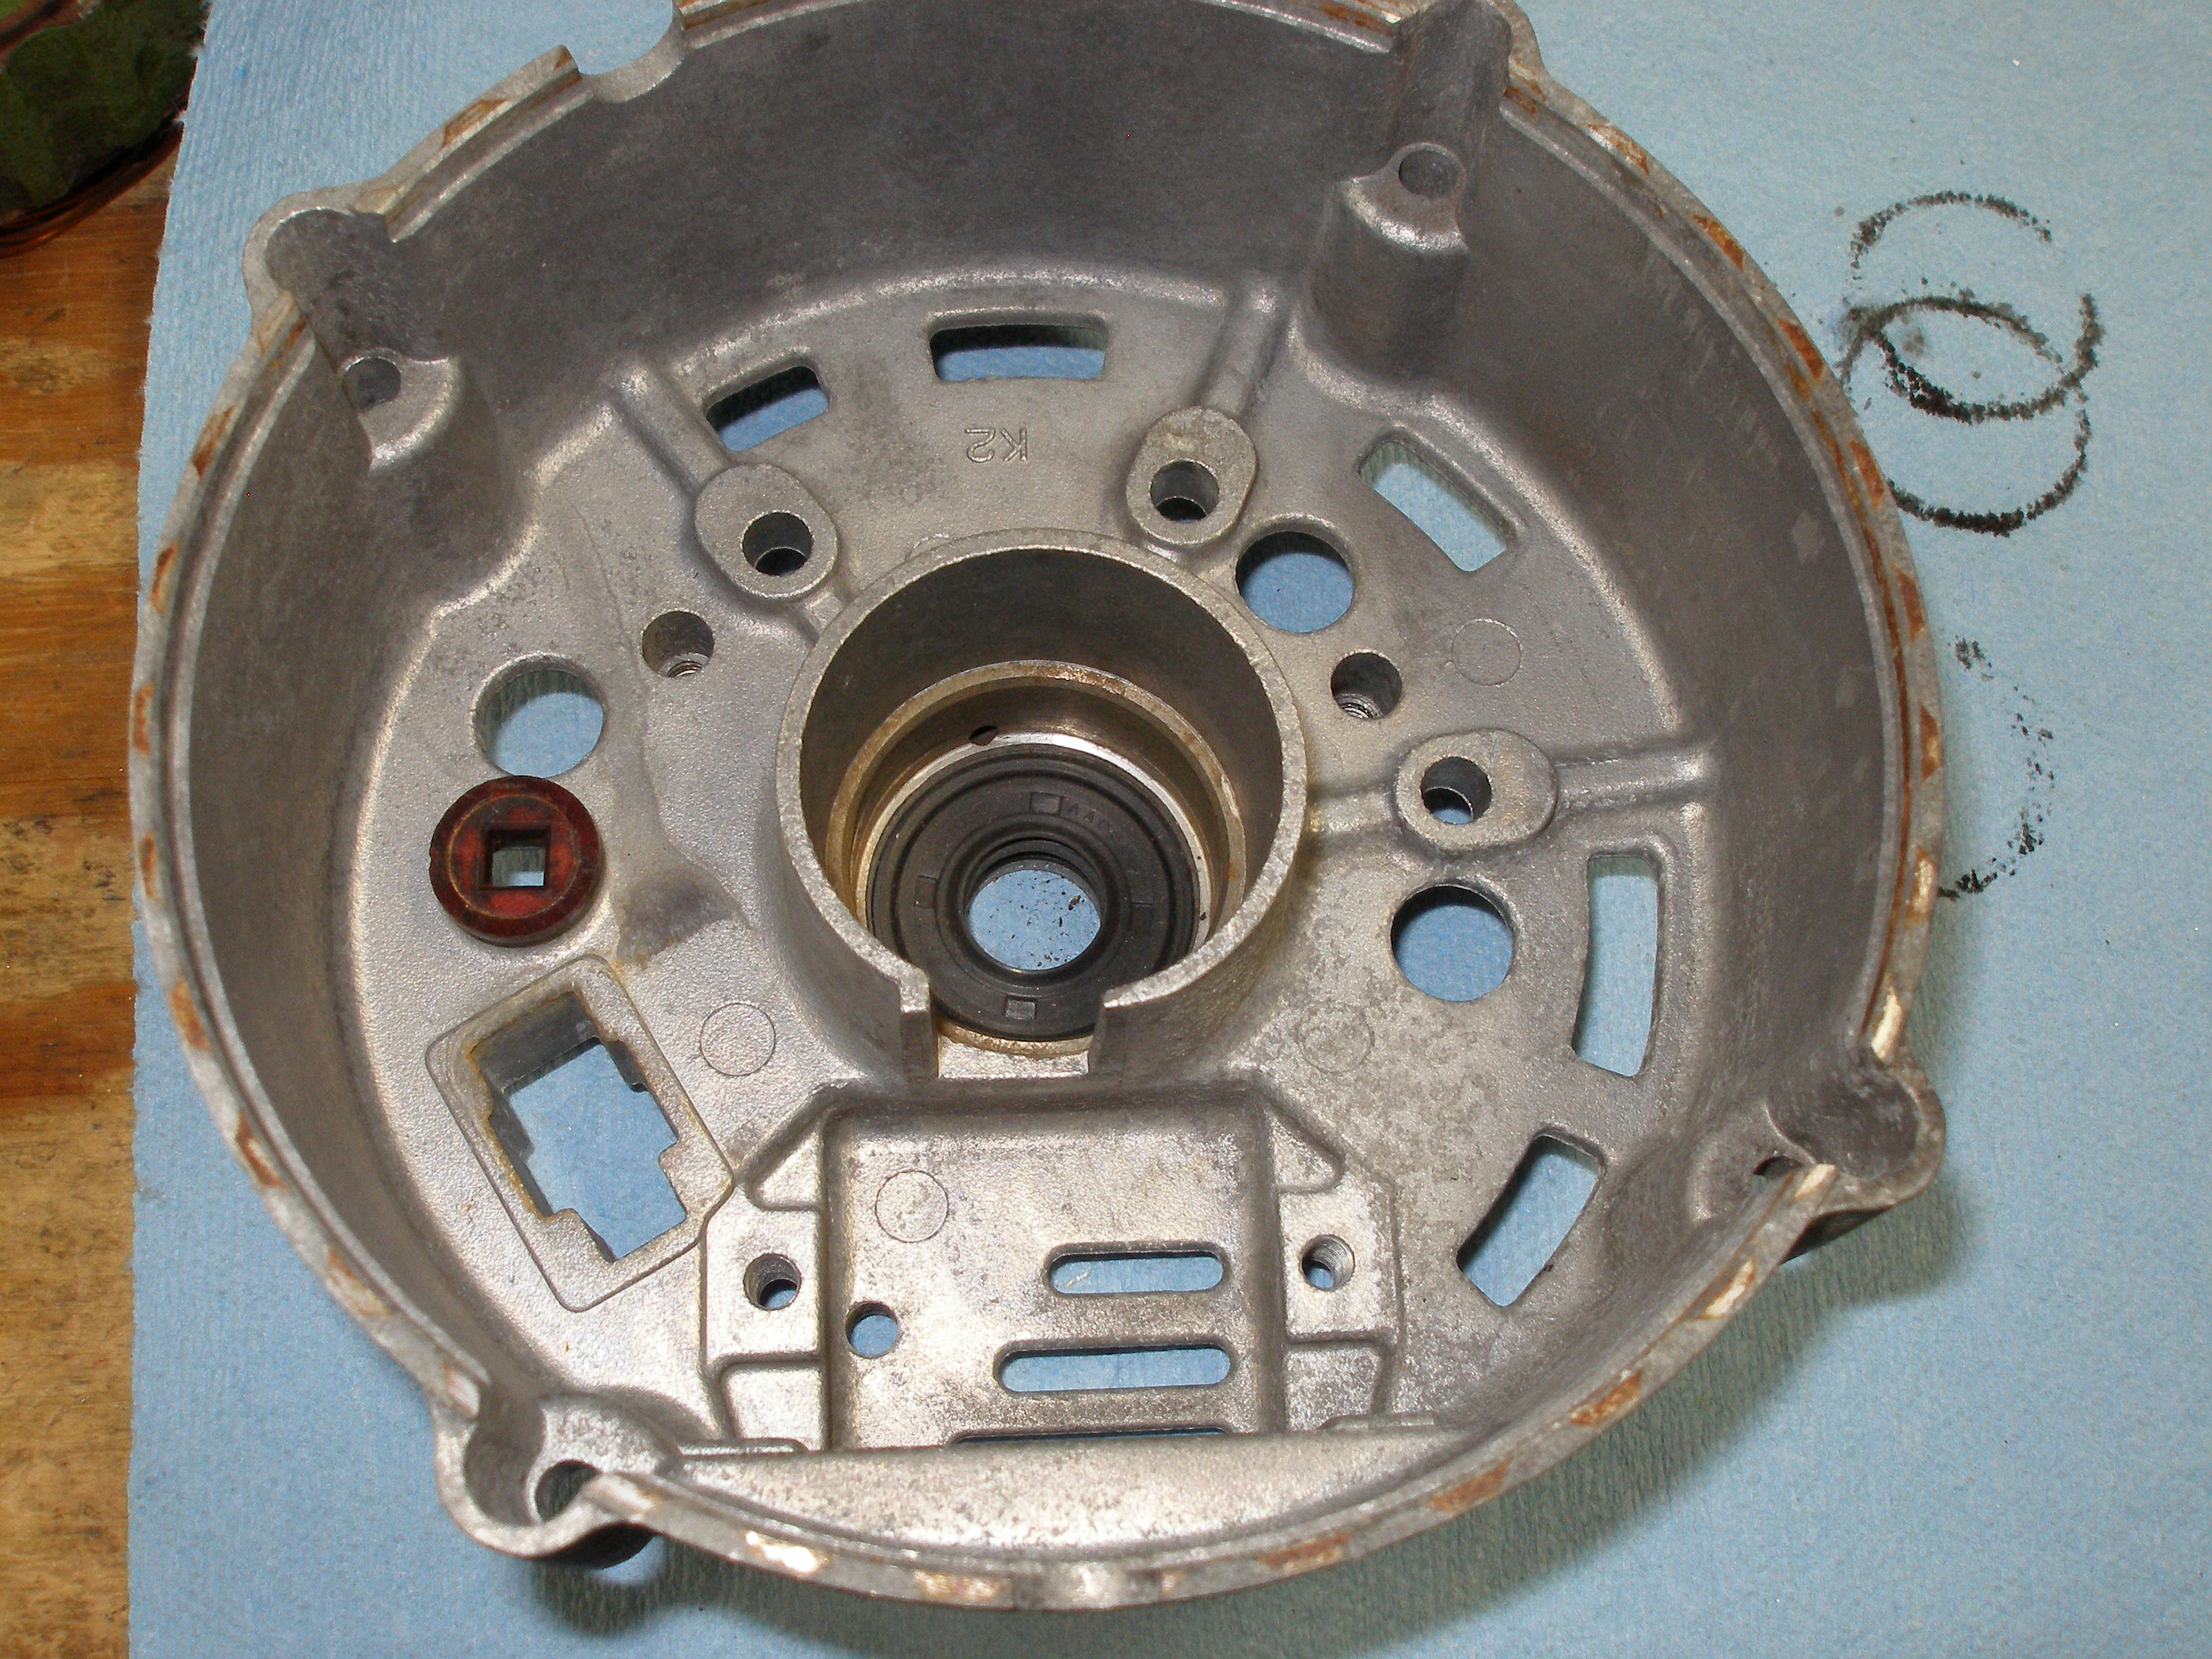
Rear housing, showing oil drain hole. If the rotor seal fails, oil may drain out the back of the case via this hole -- if you're lucky.


Drop the stator/VR/diode assy. in place, after installing the B+ insulator bushing. It all fits, really it does

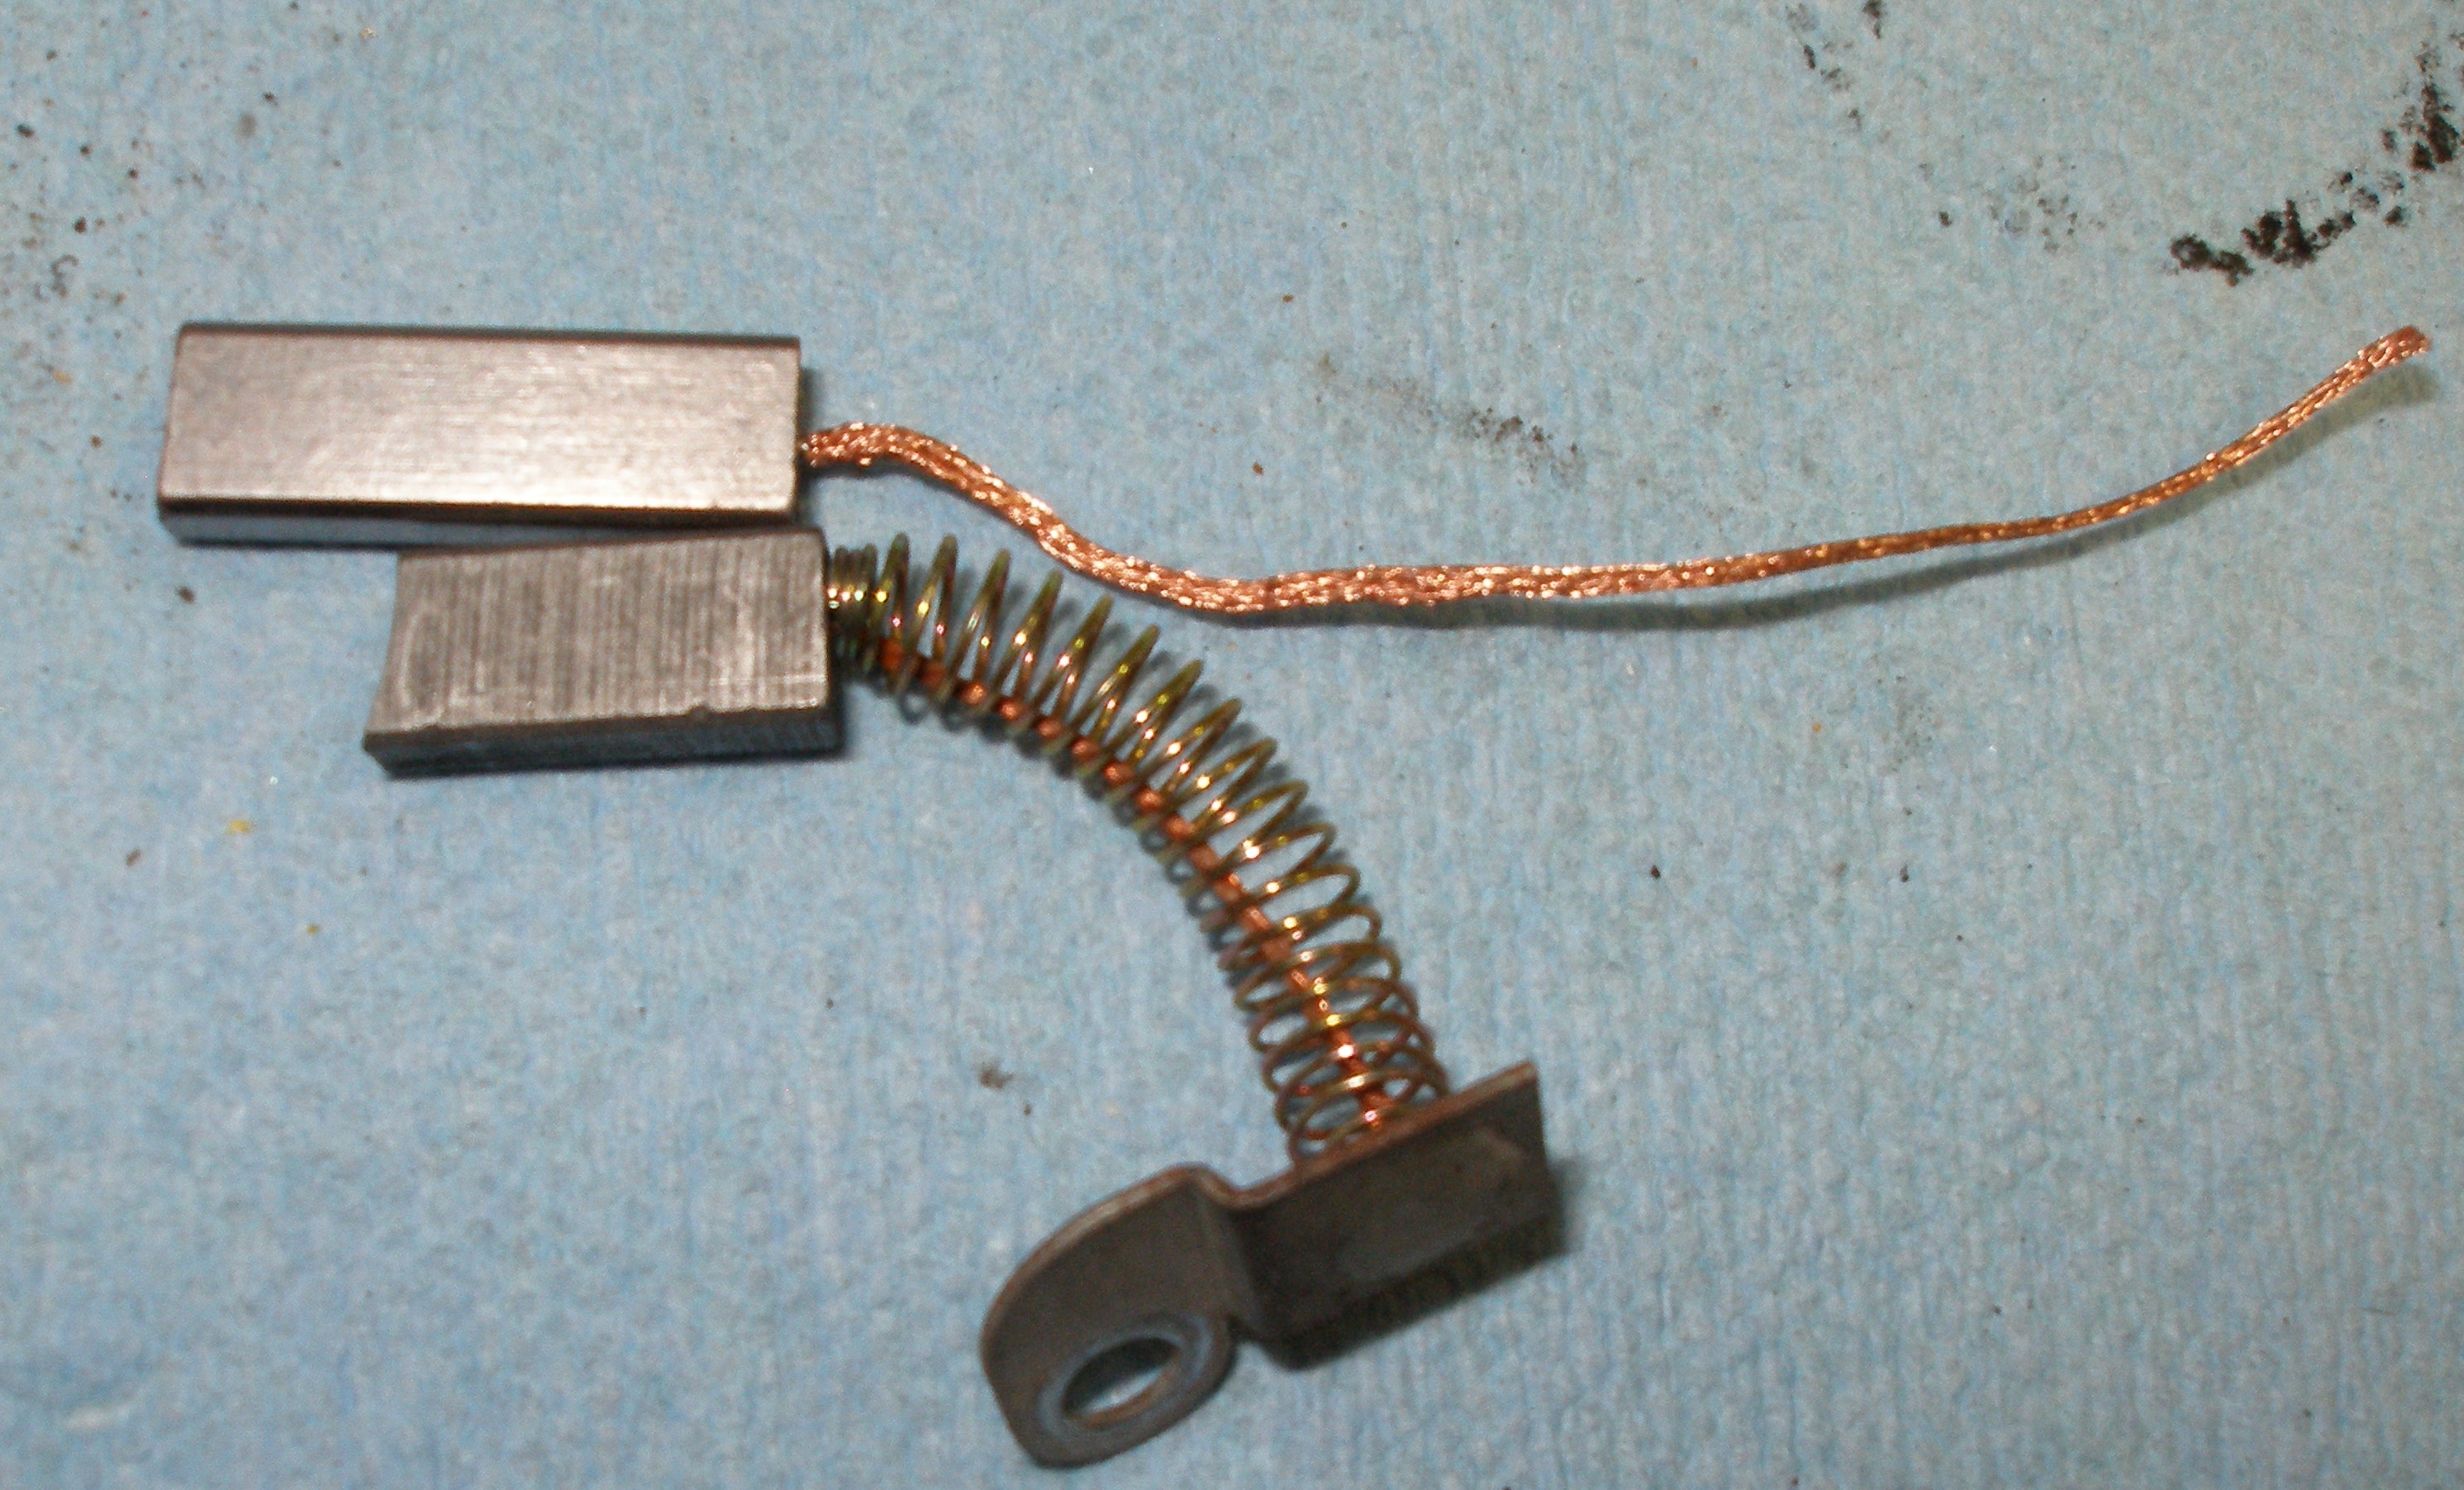
OEM spring setup, about 1" of compressed spring length. It's much easier to buy the brushes loose and solder their pigtail to the old brush terminal. You may be able to special-order them already assembled, but I tried twice and kept getting the wrong part. Since then, I just buy the brush and solder them up myself. Getting the old lead desoldered is easy, but clearing the old hole of solder (so you can insert the new lead) can be troublesome. Use the canned air/compressed air trick again, works a charm.

The OEM-style rear bearing has integral silicone seals to the housing. They might help keep oil from a leaking rotor seal from getting to the winding side of the brg, but I doubt it. I buy a standard off-the-shelf bearing to replace it.