List of Smart-UPS models that have been confirmed to be able to have their float voltage adjusted using these instructions, and the number of reports:
- SUA750XLI (1) (2003 vintage) (Reported by Wim, 07Dec2017)
- SUA750I (1) (2009 vintage) (Reported by Wim, 07Dec2017)
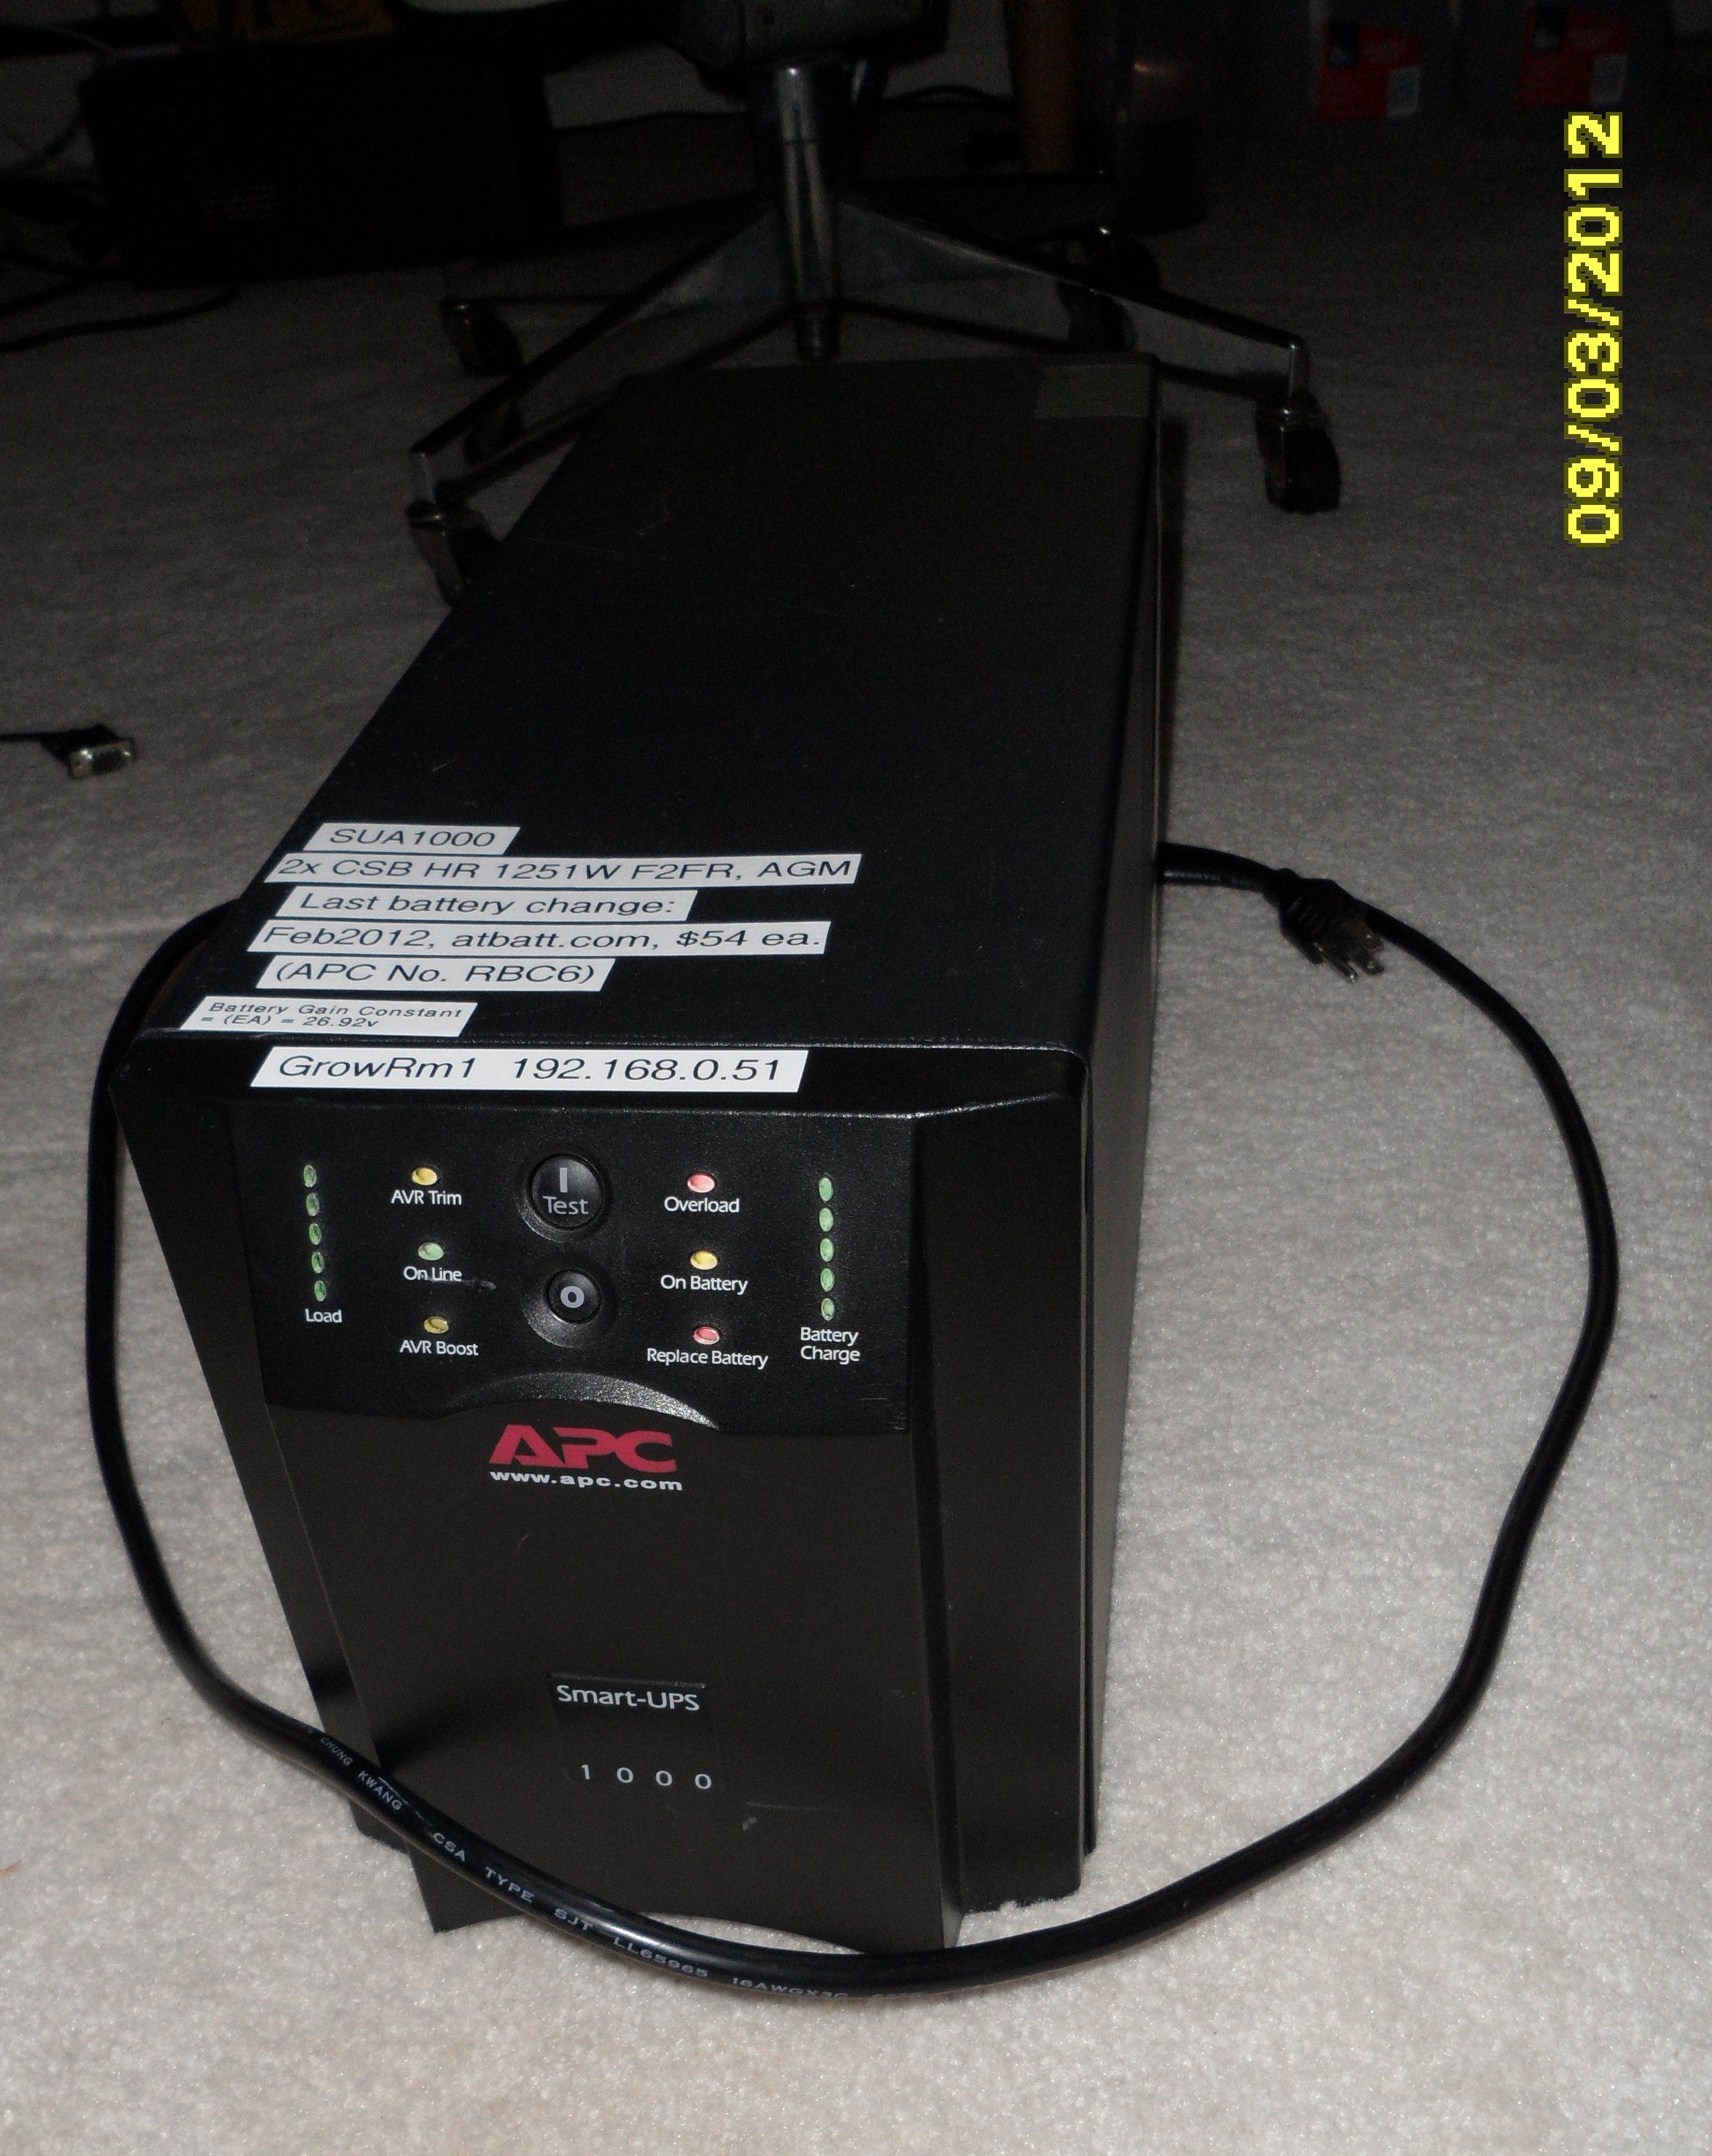
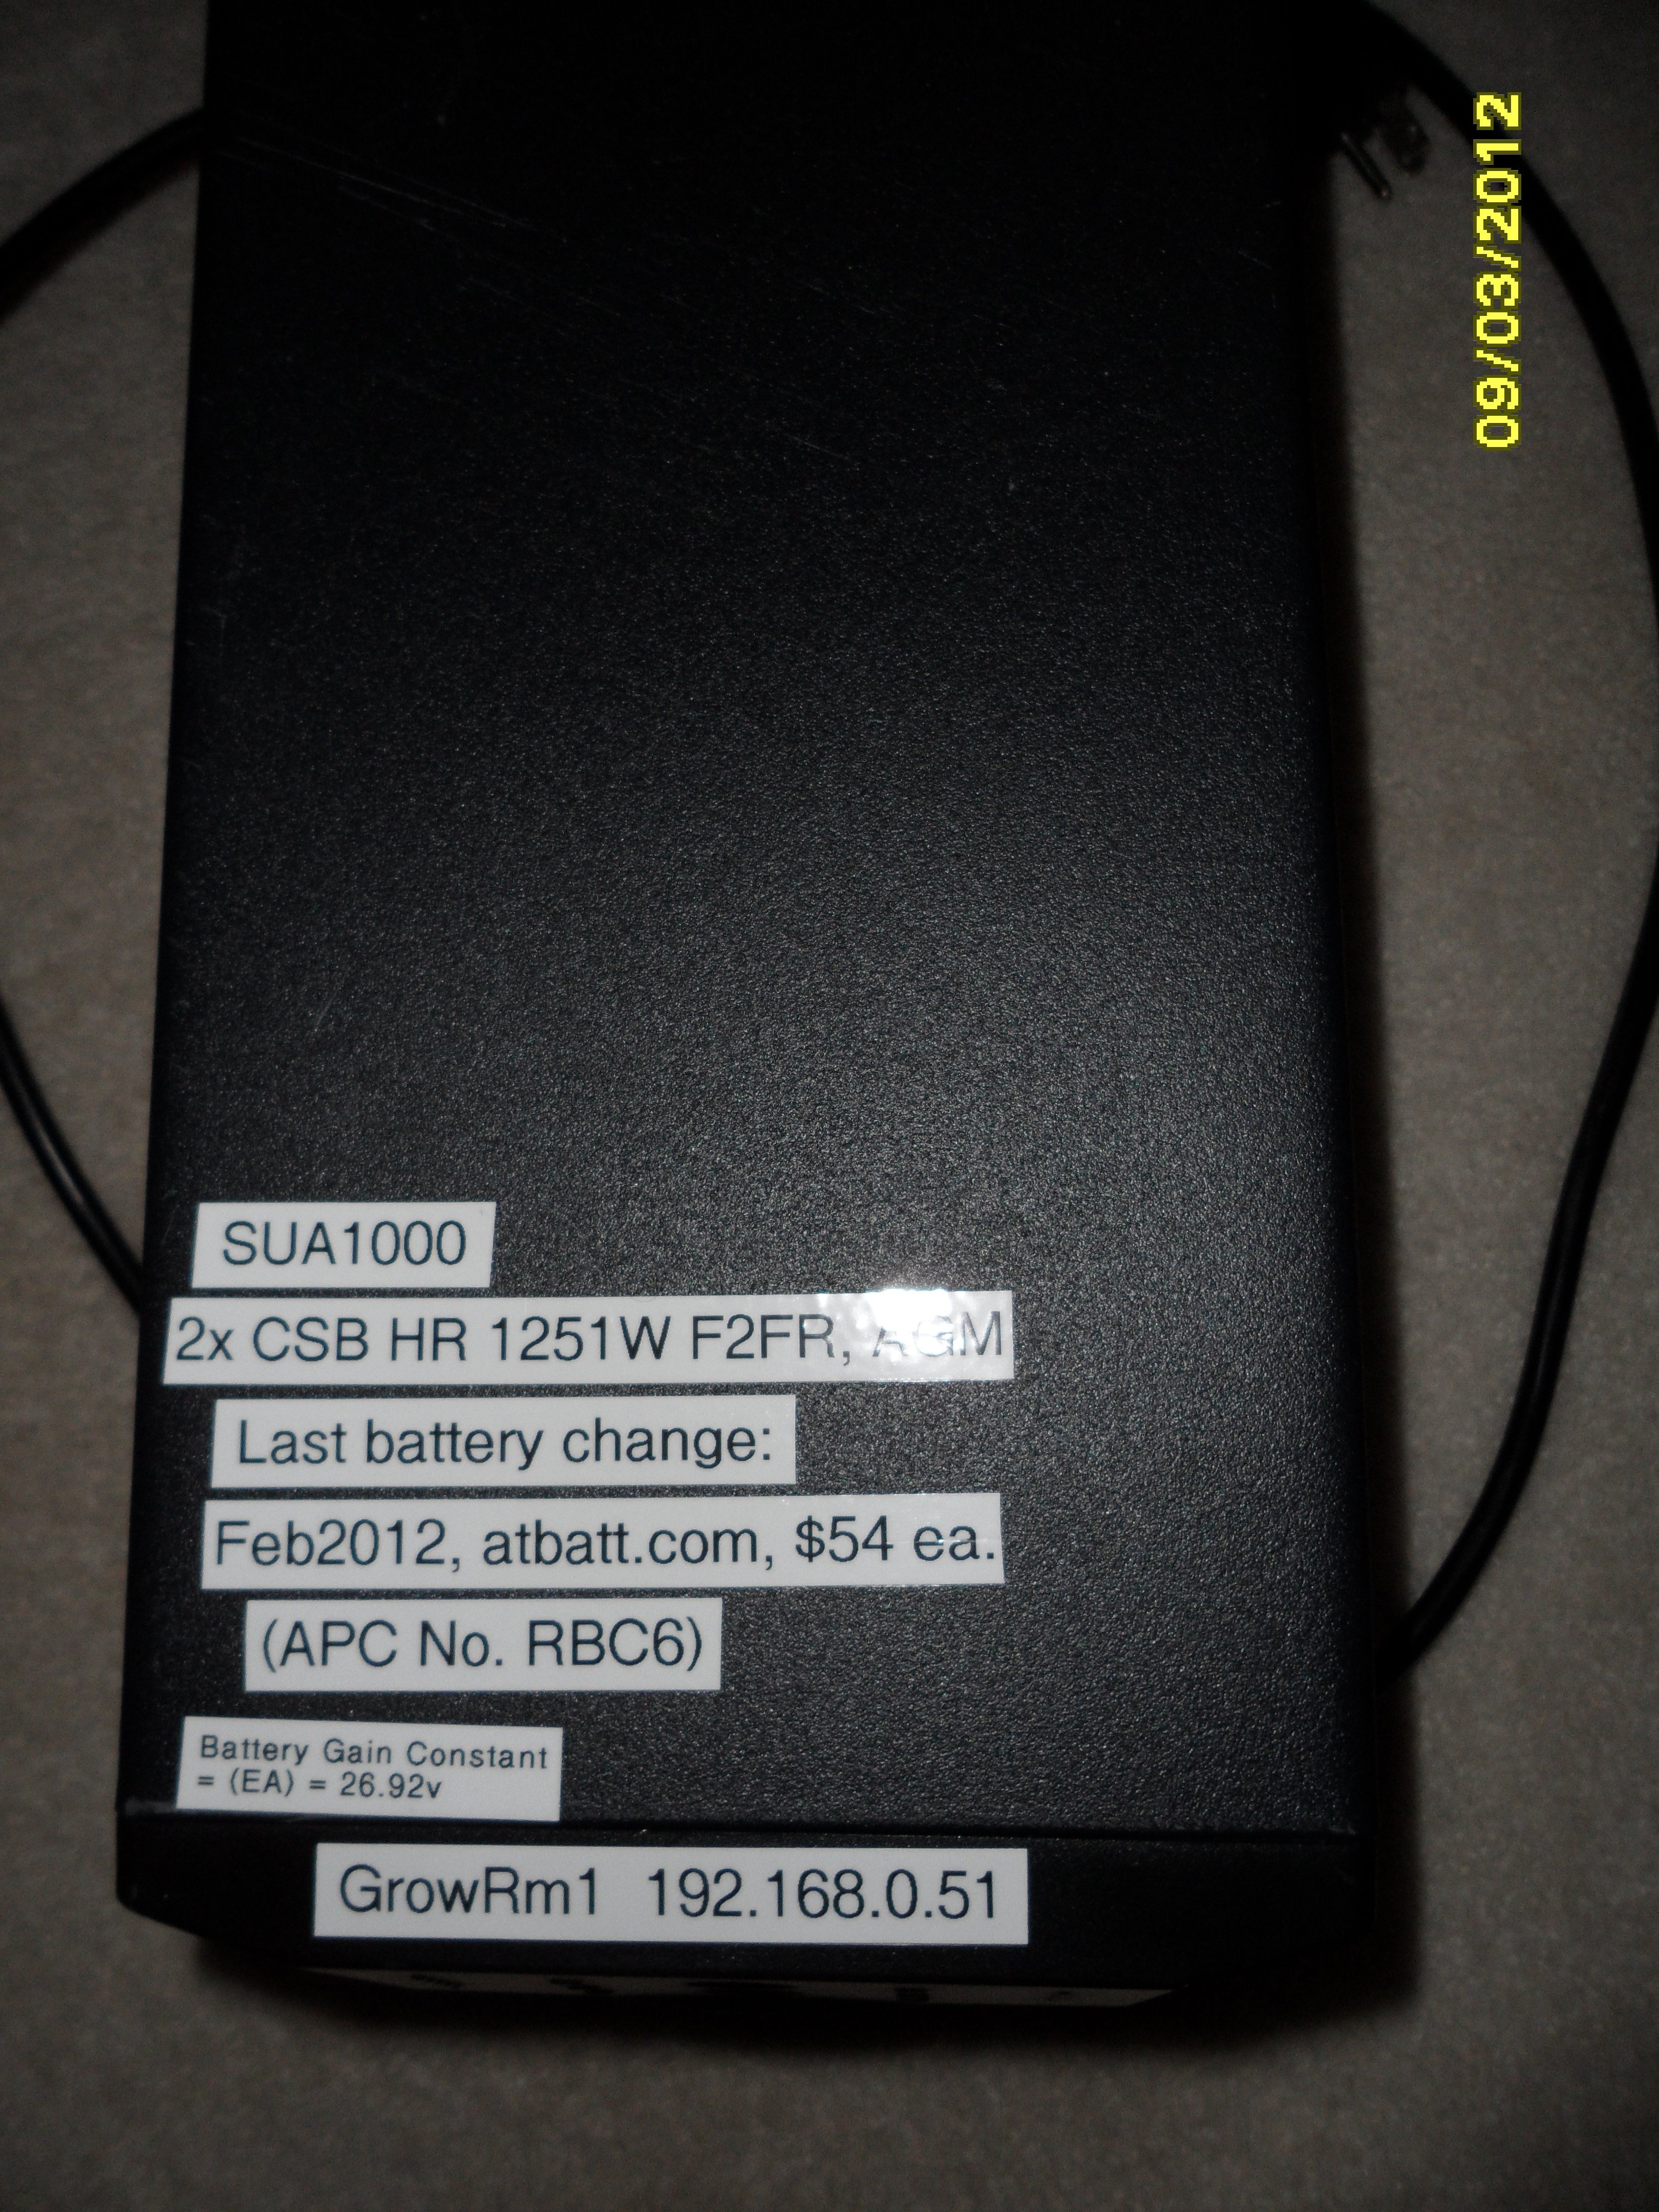
- SUA1000 (1)
- SUA1000XL (firmware 631.3.D) (1)
- SUA1500 (1)
- SU2200 (1)
- BP650S (1)
- SU700 (1)
- SU700NET (1)
- SU1000XLNET (firmware 61.9.D, PCB 640-0732H, reported 18Feb2021 ALS)
- SU1400 with firmware 70.9.I (reported by Marc van Dongen, 29Jun2012)
Because I'm certain to forget this info, I write myself notes like this.
Problem: APC UPSs sometimes have a float charge voltage that is too high and tends to cook batteries. Here's a pair of gel/AGM batteries from a SUA1000 (not an XL) that have swollen so badly that I had to disassemble the case and pry the batteries out of the metal cage:
(click on any image for larger)


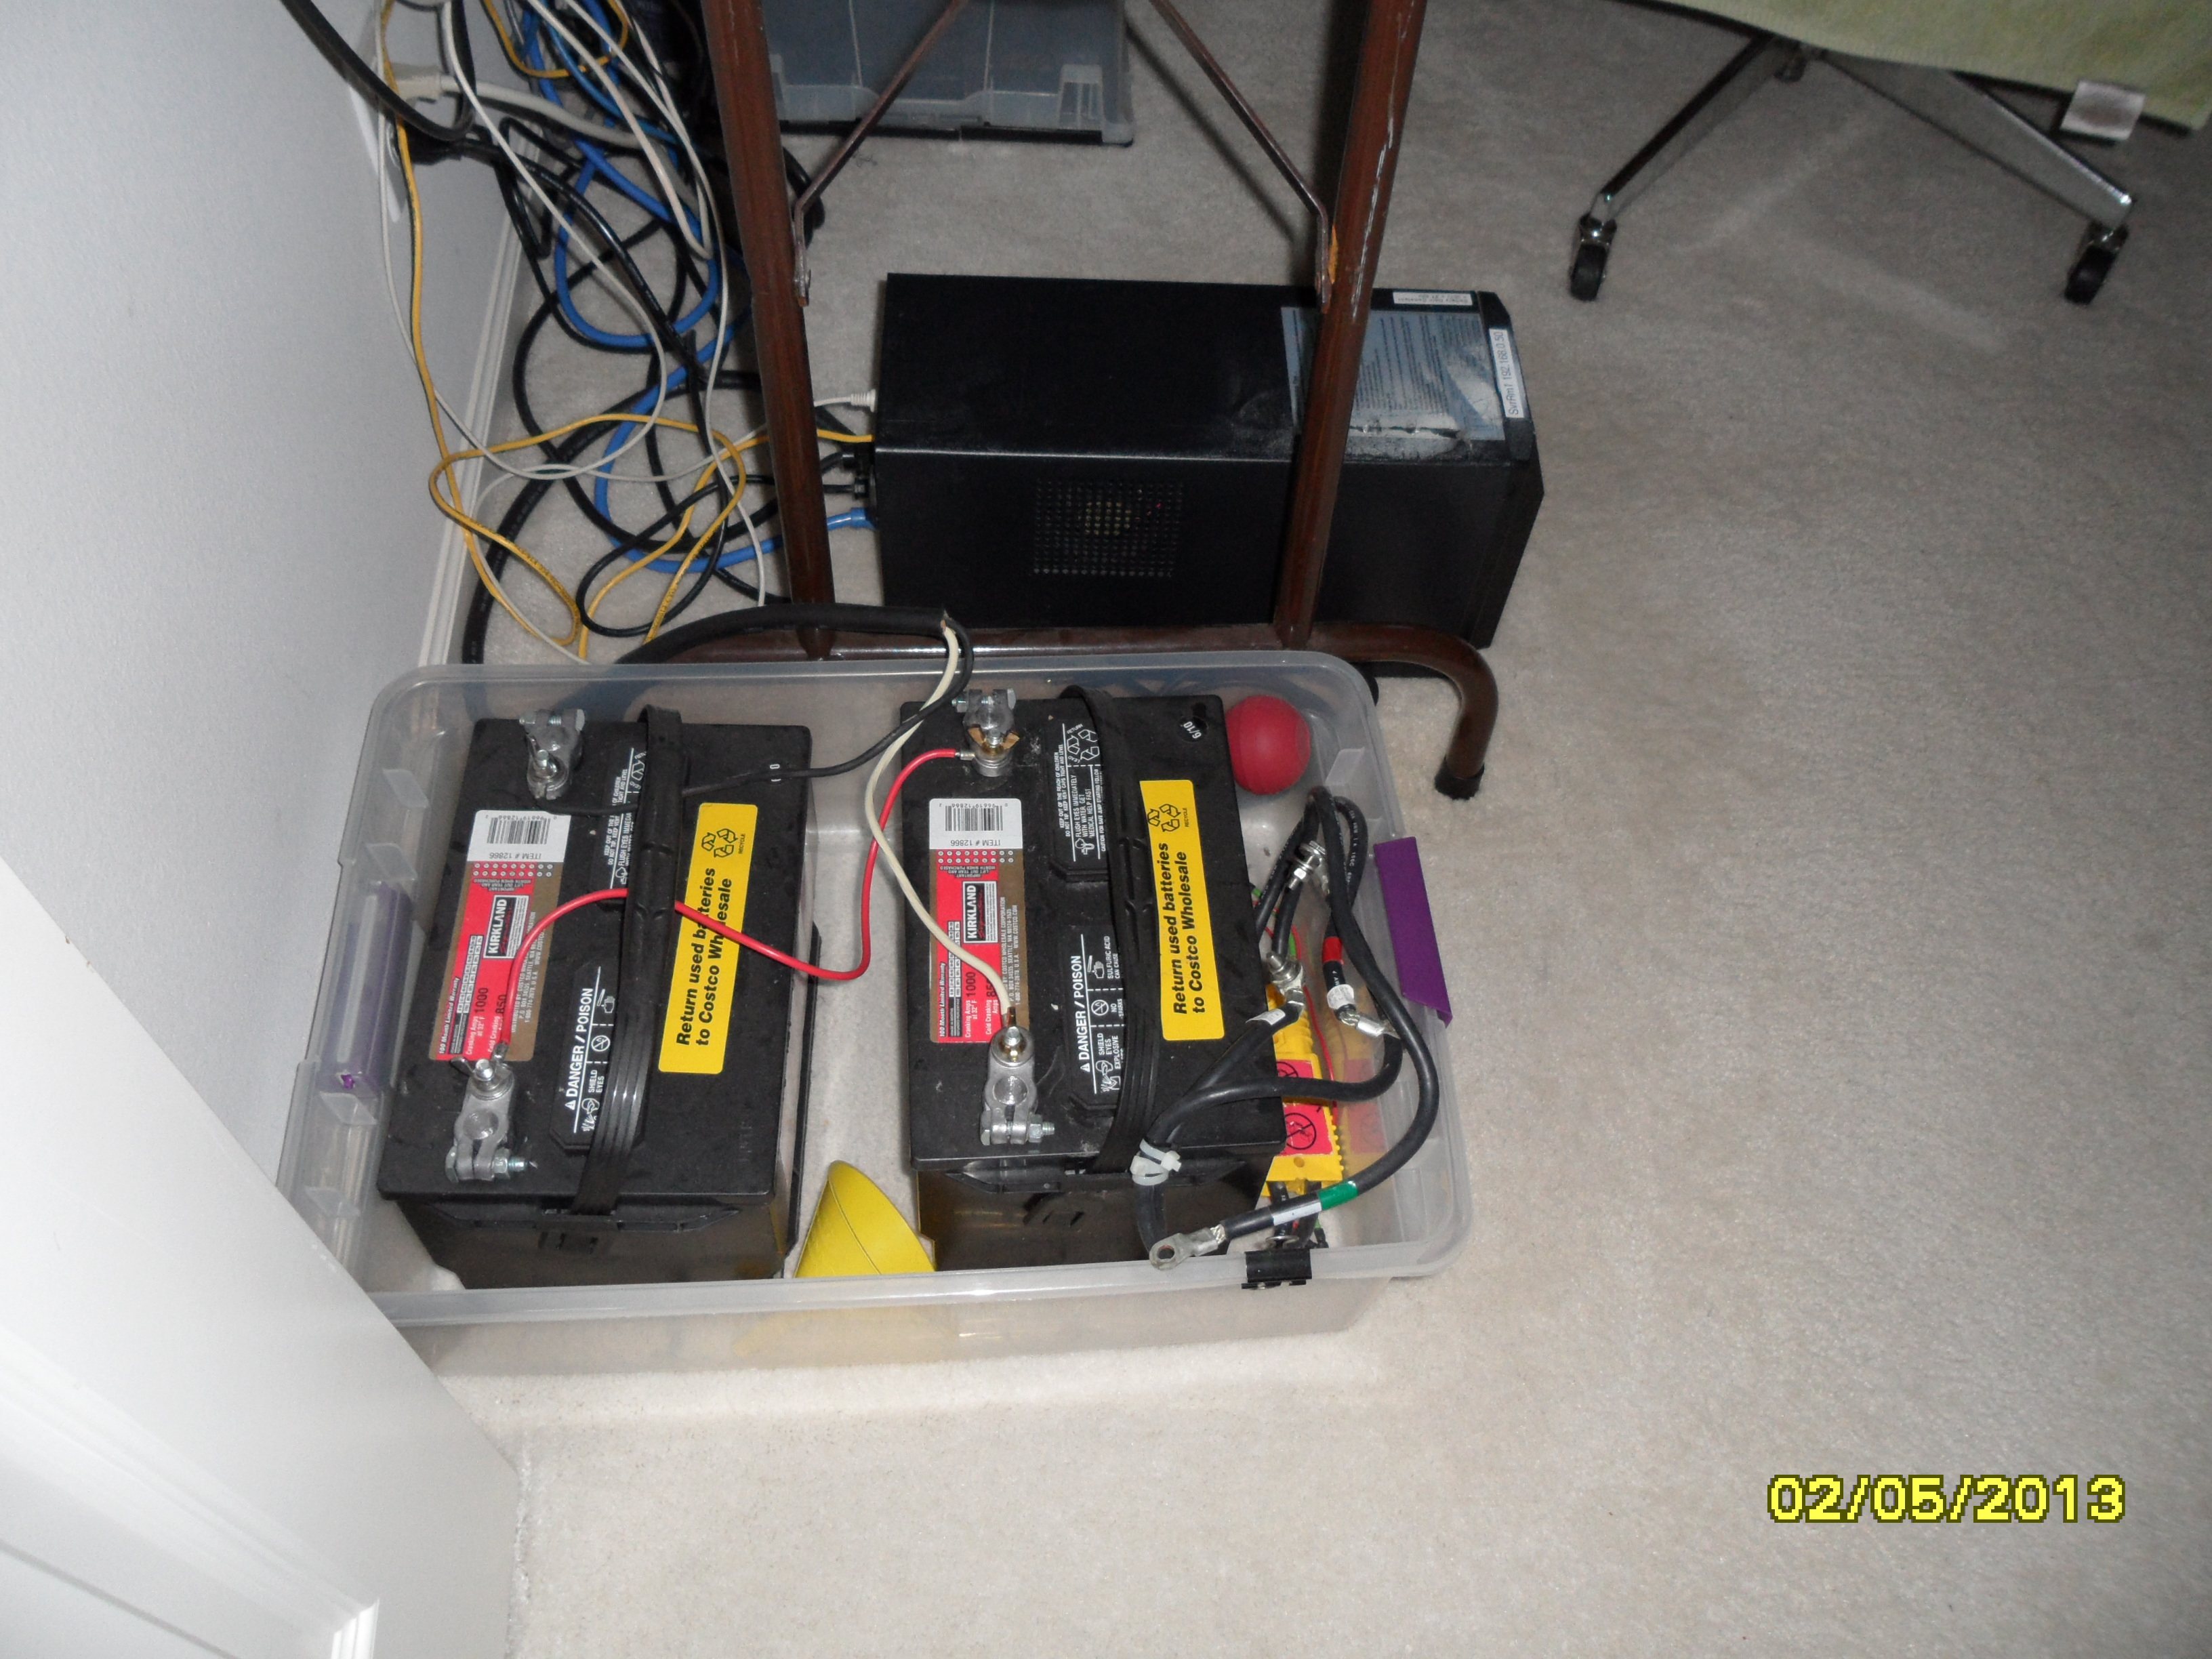
In the past, I've used multiple Costco FLA (Flooded Lead Acid) batteries to power my UPSs, and over the years I've learned to carefully monitor the water levels, because various UPS' charging circuits overcharge and keep the electrolyte gassing.
I stumbled across one post by Jacob Joseph that gave some clues to programatically changing the float charge voltage on some APC Smart-UPS models. Jacob indicated that he could change software parameters to change the float charge voltage on his SUA1500RM2, but not his SUA700, and he gives specifics. He goes on to relate how to modify the circuit physically on a Smart-UPS 1000, when a programmatic solution doesn't work.
At first, I was not able to make Jacob's software recipe work: I could not achieve SM (Smart Mode) mode, due to a missing step in his instructions. Later, in the APC Support Forums, I came across a reference to using <Shift+Y> as a trigger to put the UPS into Smart Mode, and then found this post that agreed. My missing first step: start with Capital Y.
But, while I could get my SUA1000XL into Smart Mode, I couldn't get it into PROG mode.
Then I found a reference in a third place that any & all SmartSlot cards must be removed before beginning, and Voila!
Note that APC has many different firmware revisions for their Smart-UPSs (as opposed to the firmware in the SmartSlot devices!), and the features available in Smart Mode vary. My SUA1000XL has firmware Rev. 631.3.D
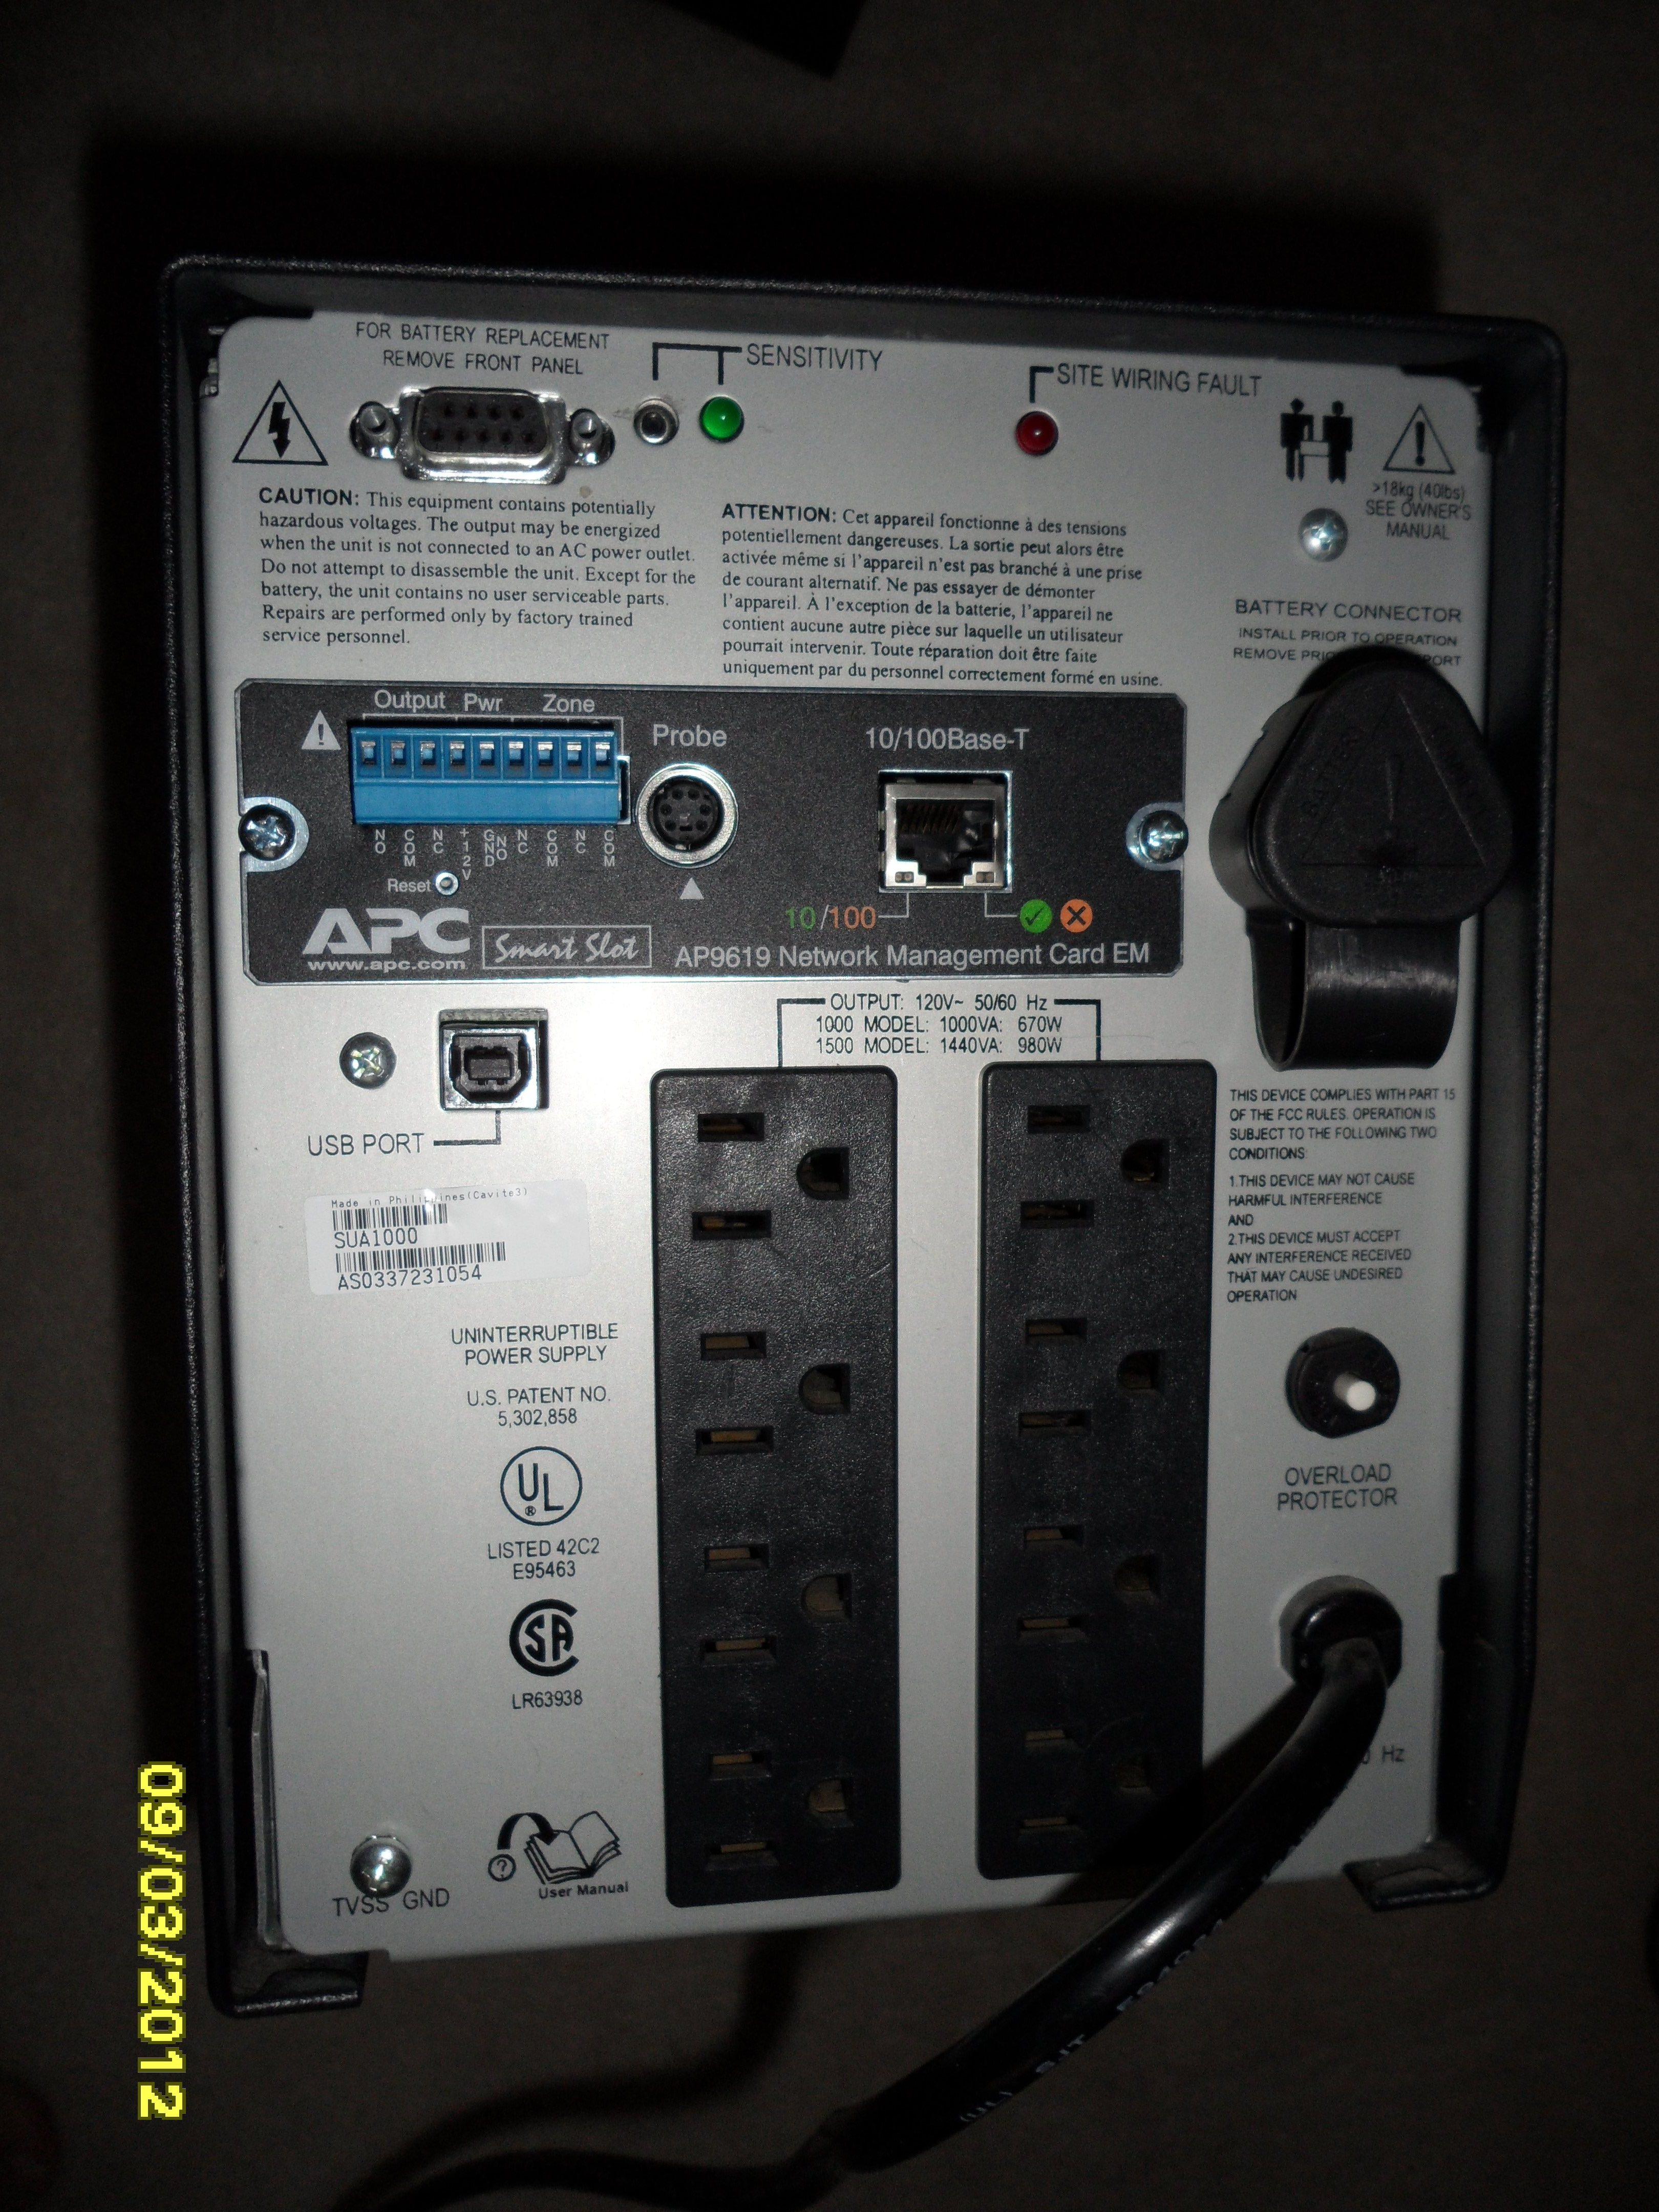
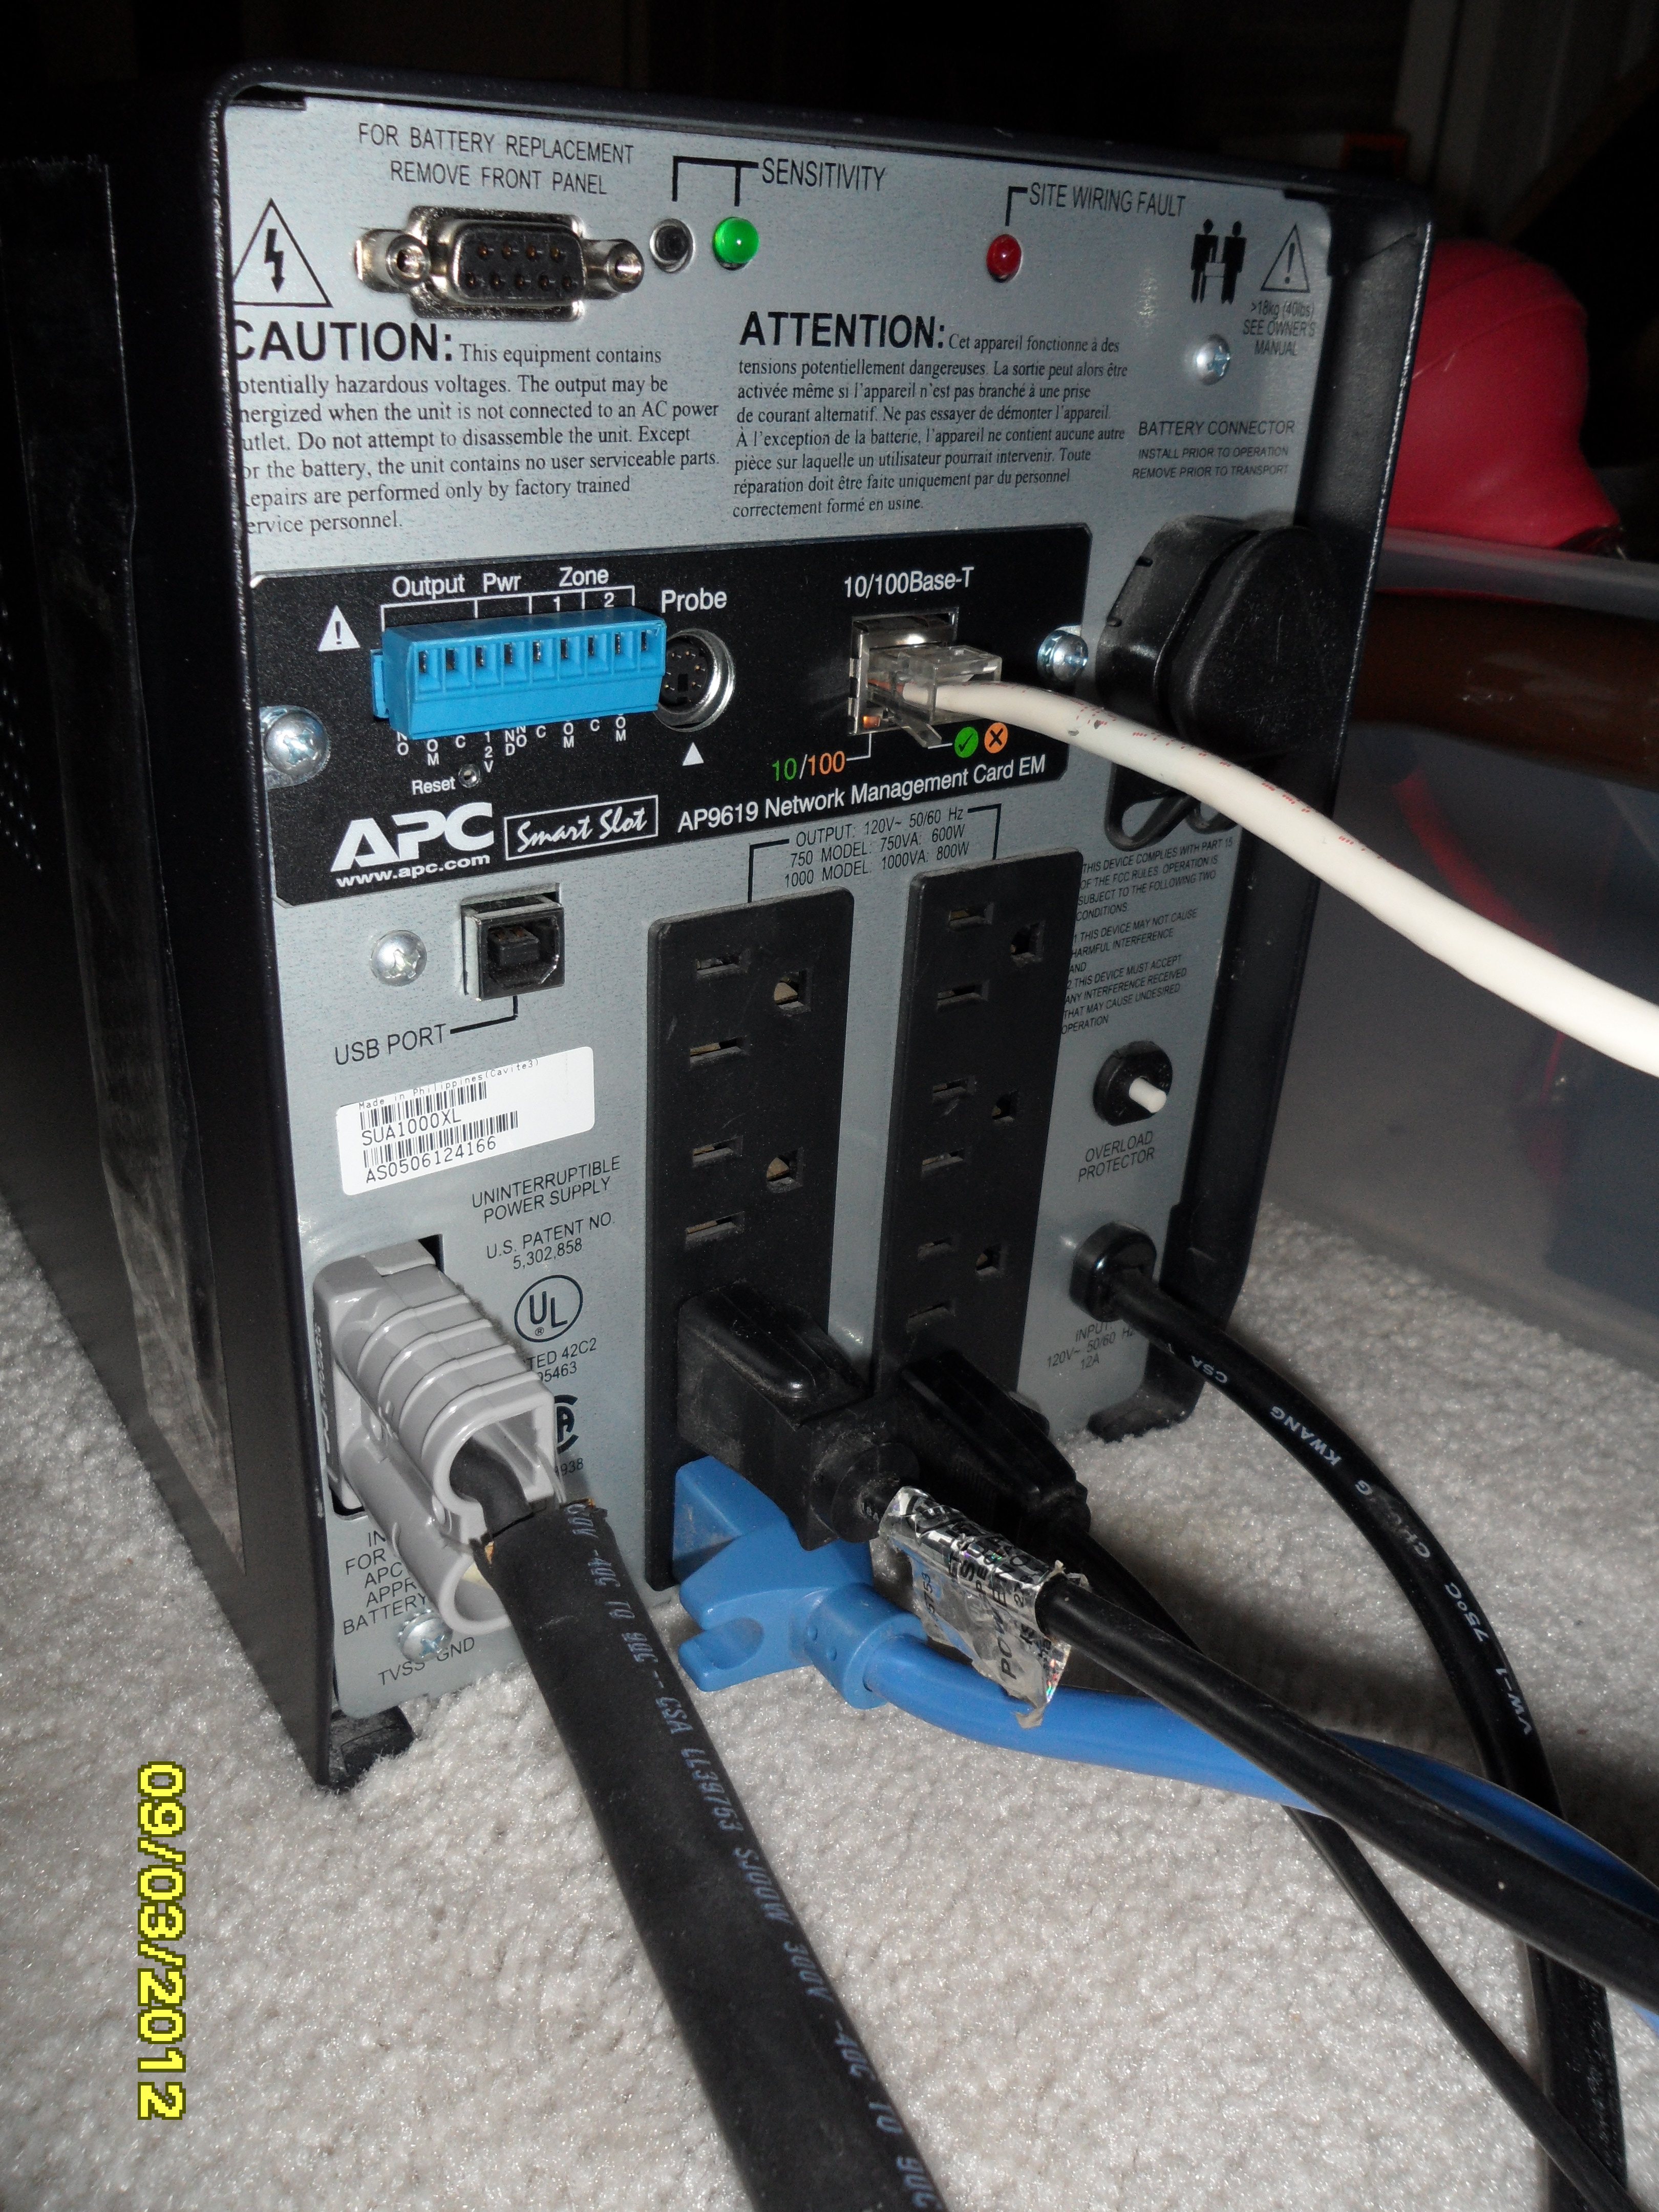
- Remove any SmartSlot card from the UPS. This might be a Network Management Card such as a AP9606, AP9617, AP9618, AP9619, or an Environmental Monitoring (EM) card. Just removing the two retaining screws and pulling it out of the chassis 1" is sufficient to disconnect it. While the official APC recommendation is to "Brain Dead" the unit before removing or installing SmartSlot cards, many people routinely change them hot (with the UPS ON), and that's what I do.
- Use the Serial port. Because the SmartSlot cards must be removed, no networking is available, so you have to use the serial connection (or, perhaps, the USB connection if your Smart-UPS has one, but I haven't tried that).
Connect the Smart-UPS serial cable to the UPS & PC (or terminal emulator, or, I suppose, a real terminal if you have one ). In my case, the Smart Signalling 940-0024C (black) DB9xDB9 serial cable. No, you can't use a straight-through or null-modem cable. Other cables reported to be electrically compatible include:
- 940-0024A
- 940-0024B
- 940-0024C
- 940-0024D
- 940-1524 (15')
- Disable COM-port apps. If using PowerChute, or another UPS Service, disable it. The terminal program must have exclusive control of the COM port. Figure out which port you're using, if there's more than one. I've read at least one report that a USB<->Serial converter does not work for this procedure, but then a lot of USB<->RS-232 devices are buggy.
- Use a terminal program, such as HyperTerminal that's bundled with versions of Windows. Setup parameters are 8-N-1 (Google what that means, if you haven't used a terminal program before. HyperTerminal is not a very good terminal program, but it will suffice.). Flow control is variously recommended to be "None" or "Xon/Xoff". I was successful with "None", so I didn't try "Xon/Xoff". Baud: 2400.
- Test the setup. If everything is correct, you should be able to type a capital 'Y' (that's <Shift+Y>) and the terminal should display "SM": the UPS is now in Smart Mode. Occasionally, I've had to type 'Y' twice to get a response.
As a double-check, type a capital 'A'. Otherwise known as <Shift+A>. The UPS should beep and light up all front-panel LEDs for a couple of seconds. The terminal may display "OK".
- Enter PROG mode by typing "1" followed by "1" again after two seconds. IF you pulled the SmartSlot card(s) out, and IF you got the timing of the "1"s right, the terminal will display "PROG". If not, try "Y" + "1" + "1" again, using different pauses. The "1" (pause) "1" is the sensitive part.
If you made it this far, the hard part is over.
- Enter "Battery Gain Adjust" mode. Now that the UPS is in PROG mode, capital "B" (<Shift+B>) will display a voltage (for the SUA1000XL; apparently, it shows you the Battery Gain Constant for Jacob's UPS). I consider it a reference only and near-useless. I ignore it and use the voltmeter exclusively.
I agree that the battery pack must be fully-charged and a good voltmeter attached to perform any changes. Otherwise, you're going to spend a lot of time wondering why the voltage isn't changing the way you think it should.Jacob Joseph wrote:B: Battery voltage gain.
0=maximum gain, FF=minimum gain.
Adjust with the batteries fully charged, and an accurate voltmeter connected.
Factory setting was "E9" on my SUA1500, and "E6" gives me the desired 27.30V battery voltage. . . .
Keep these Adjust Battery Gain points in mind as you change this:
- Pressing 'B' (<Shift+B>) will display a voltage. It also puts the unit in "Battery Gain Adjust" mode (my terminology). It's very easy to have it drop out of this mode!
- In this mode, only the upper row '+' and '-' keys apply. If you press any other key, it will drop out of Battery Gain Adjust mode.
- Pressing '+' will raise the Battery Gain constant one notch, and lower the float voltage.
- Pressing '-' will lower the Battery Gain constant one notch, and raise the float voltage.
- Each keypress changes the float voltage ~0.10v.
- Adjust Battery Gain.
With the terminal displaying your supposed battery voltage (Adjust Battery Gain mode), take note of your voltmeter's reading, then press a '+' (to lower voltage) or '-' (to raise it). All changes are immediate. The terminal should now display a two-character Gain Constant, in the range of 00 to FF, your new Battery Gain Constant. You won't know your old constant, it never showed it to you (for this model, anyway; apparently, it does show you the constant for Jacob's UPS). To determine (and record, if you wish) the old constant that you just changed, press the complementary adjust key ('+' or '-') and your old (previous) constant value will be displayed. You just moved one step away, then one step back.
Watch the voltmeter. Wait for the new voltage to stabilize. This can be anywhere from a few seconds (for my FLAs, <10) to a couple of minutes. The battery voltage will change about one-tenth of a volt. As long as you only press '+' or '-', you can adjust up & down forever. The UPS will remain in Adjust Battery Gain mode.
Chances are, though, that you'll eventually forget to hold down <Shift> to get the '+' key, and it will display "NO" and drop out of Adjust Battery Gain mode. To continue adjusting, re-enter the mode by pressing 'B' again. You'll be picking up where you left off.
- End the session using 'R' (<Shift+R>). The terminal will show "BYE". You can close the terminal, disconnect the cable, etc.: you're finished. All changes are persistent.
Information on float voltage
According to Wikipedia:
My SUA1000XL has been charging to 27.66v for a 24v nominal system. This is consistent with 2.30v per cell (2.3v * 12 cells = 27.6v) for my Costco Flooded Lead Acid type batteries, and the batteries would probably be just fine if I left this charge float voltage alone. As long as the float voltage remains under the gassing voltage, the FLA batteries are fine (setting aside periodic equalization). For a 25°C/77°F temperature, that works out toContinuous-preservation (float) charging:
- 13.4 V for gelled electrolyte
- 13.5 V for AGM (absorbed glass mat)
- 13.9 V for flooded cells
- All voltages are at 20 °C (68 °F), and must be adjusted −0.0235V/°C for temperature changes.
- Precise float voltage (±0.05 V) is critical to longevity; insufficient voltage (causes sulfation) which is almost as detrimental as excess
- Float voltage recommendations vary, according to the manufacturer's recommendation.
2.25 to 2.30 per cell =
13.5 to 13.8 per battery (27-27.6v for the pack)
2.39 is the gassing voltage at that temperature: 28.7v for the pack, the voltage to stay under.
However, this unit originally ships with AGM VRLA batteries, mounted inside the unit and running about 85°F+. AGM & esp. gel batteries prefer cooler temperatures, and while AGM can handle slightly higher charge voltage, gel batteries absolutely can't.
Which helps to explain why so many UPS batteries don't even make it to 3 years.
I was able to change my SUA1000XL (with external Costco FLA batteries) float voltage from a Battery Gain Constant of (unknown) and 27.67v, to constant E7 and 27.45v .
I was able to change my SUA1000 (with internal AGM VRLA batteries) float voltage from a Battery Gain Constant of (E2) and 27.77v, to constant EA and 26.92v .
(click on any image for larger)
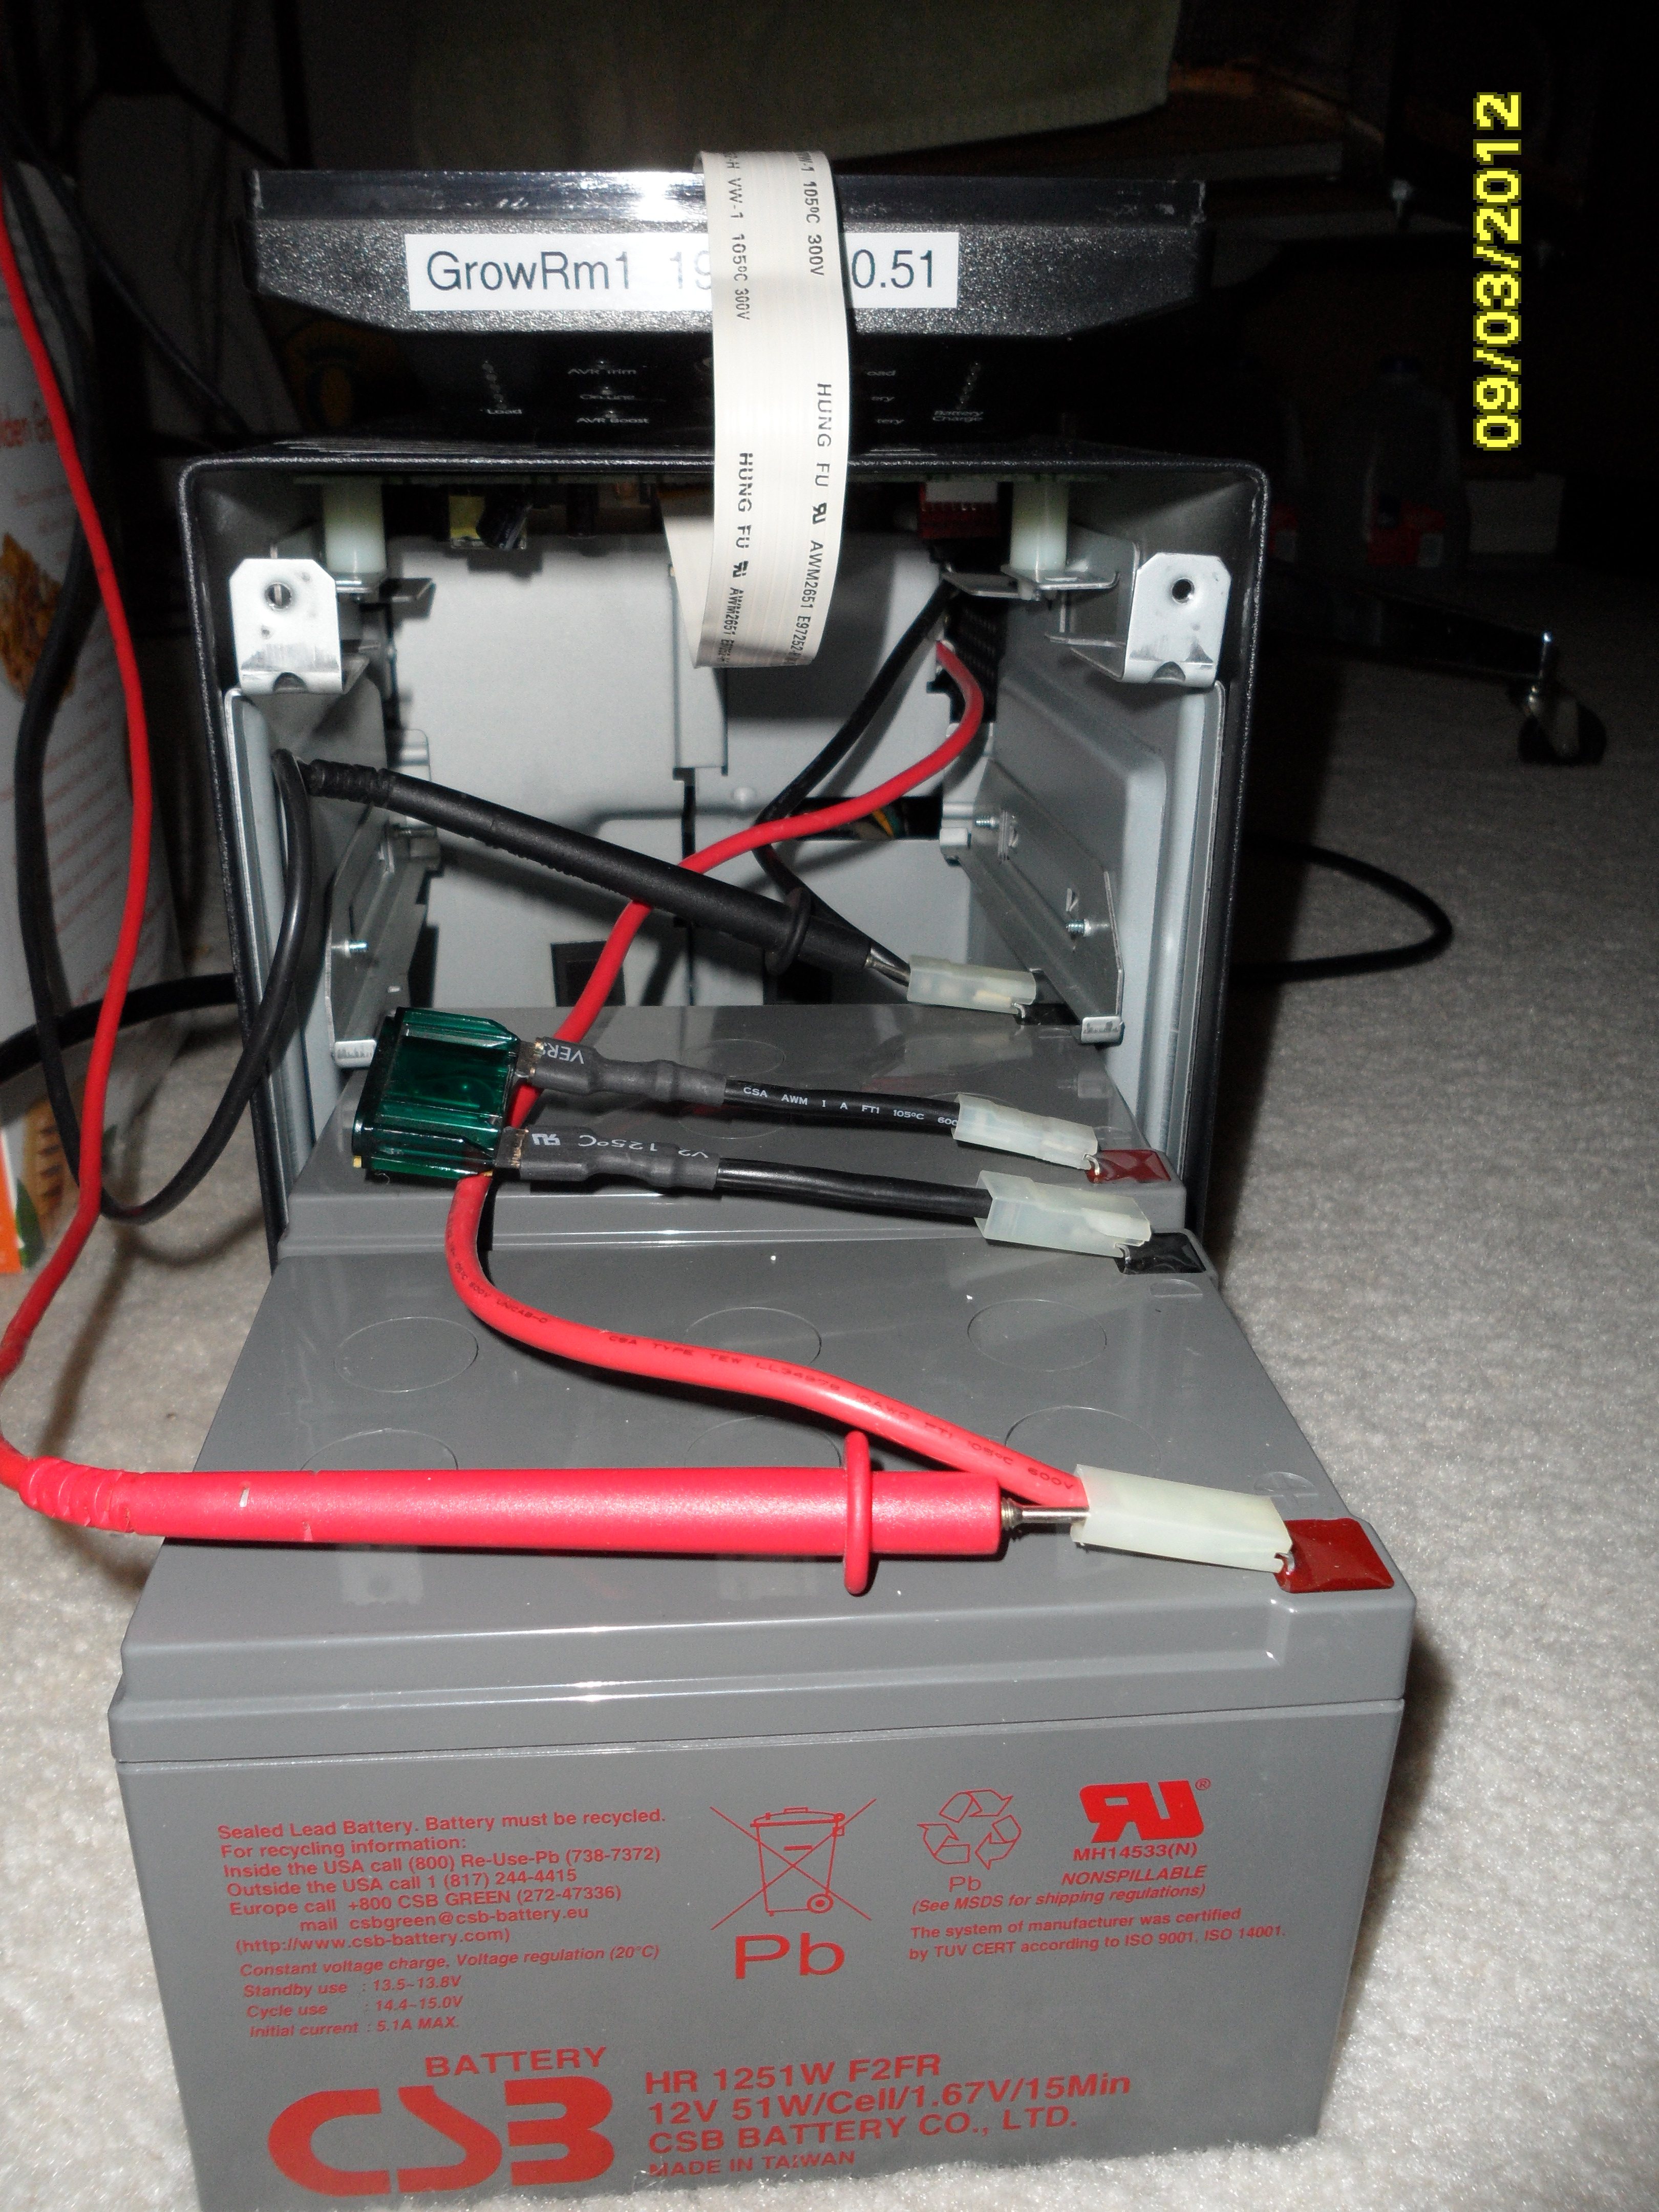
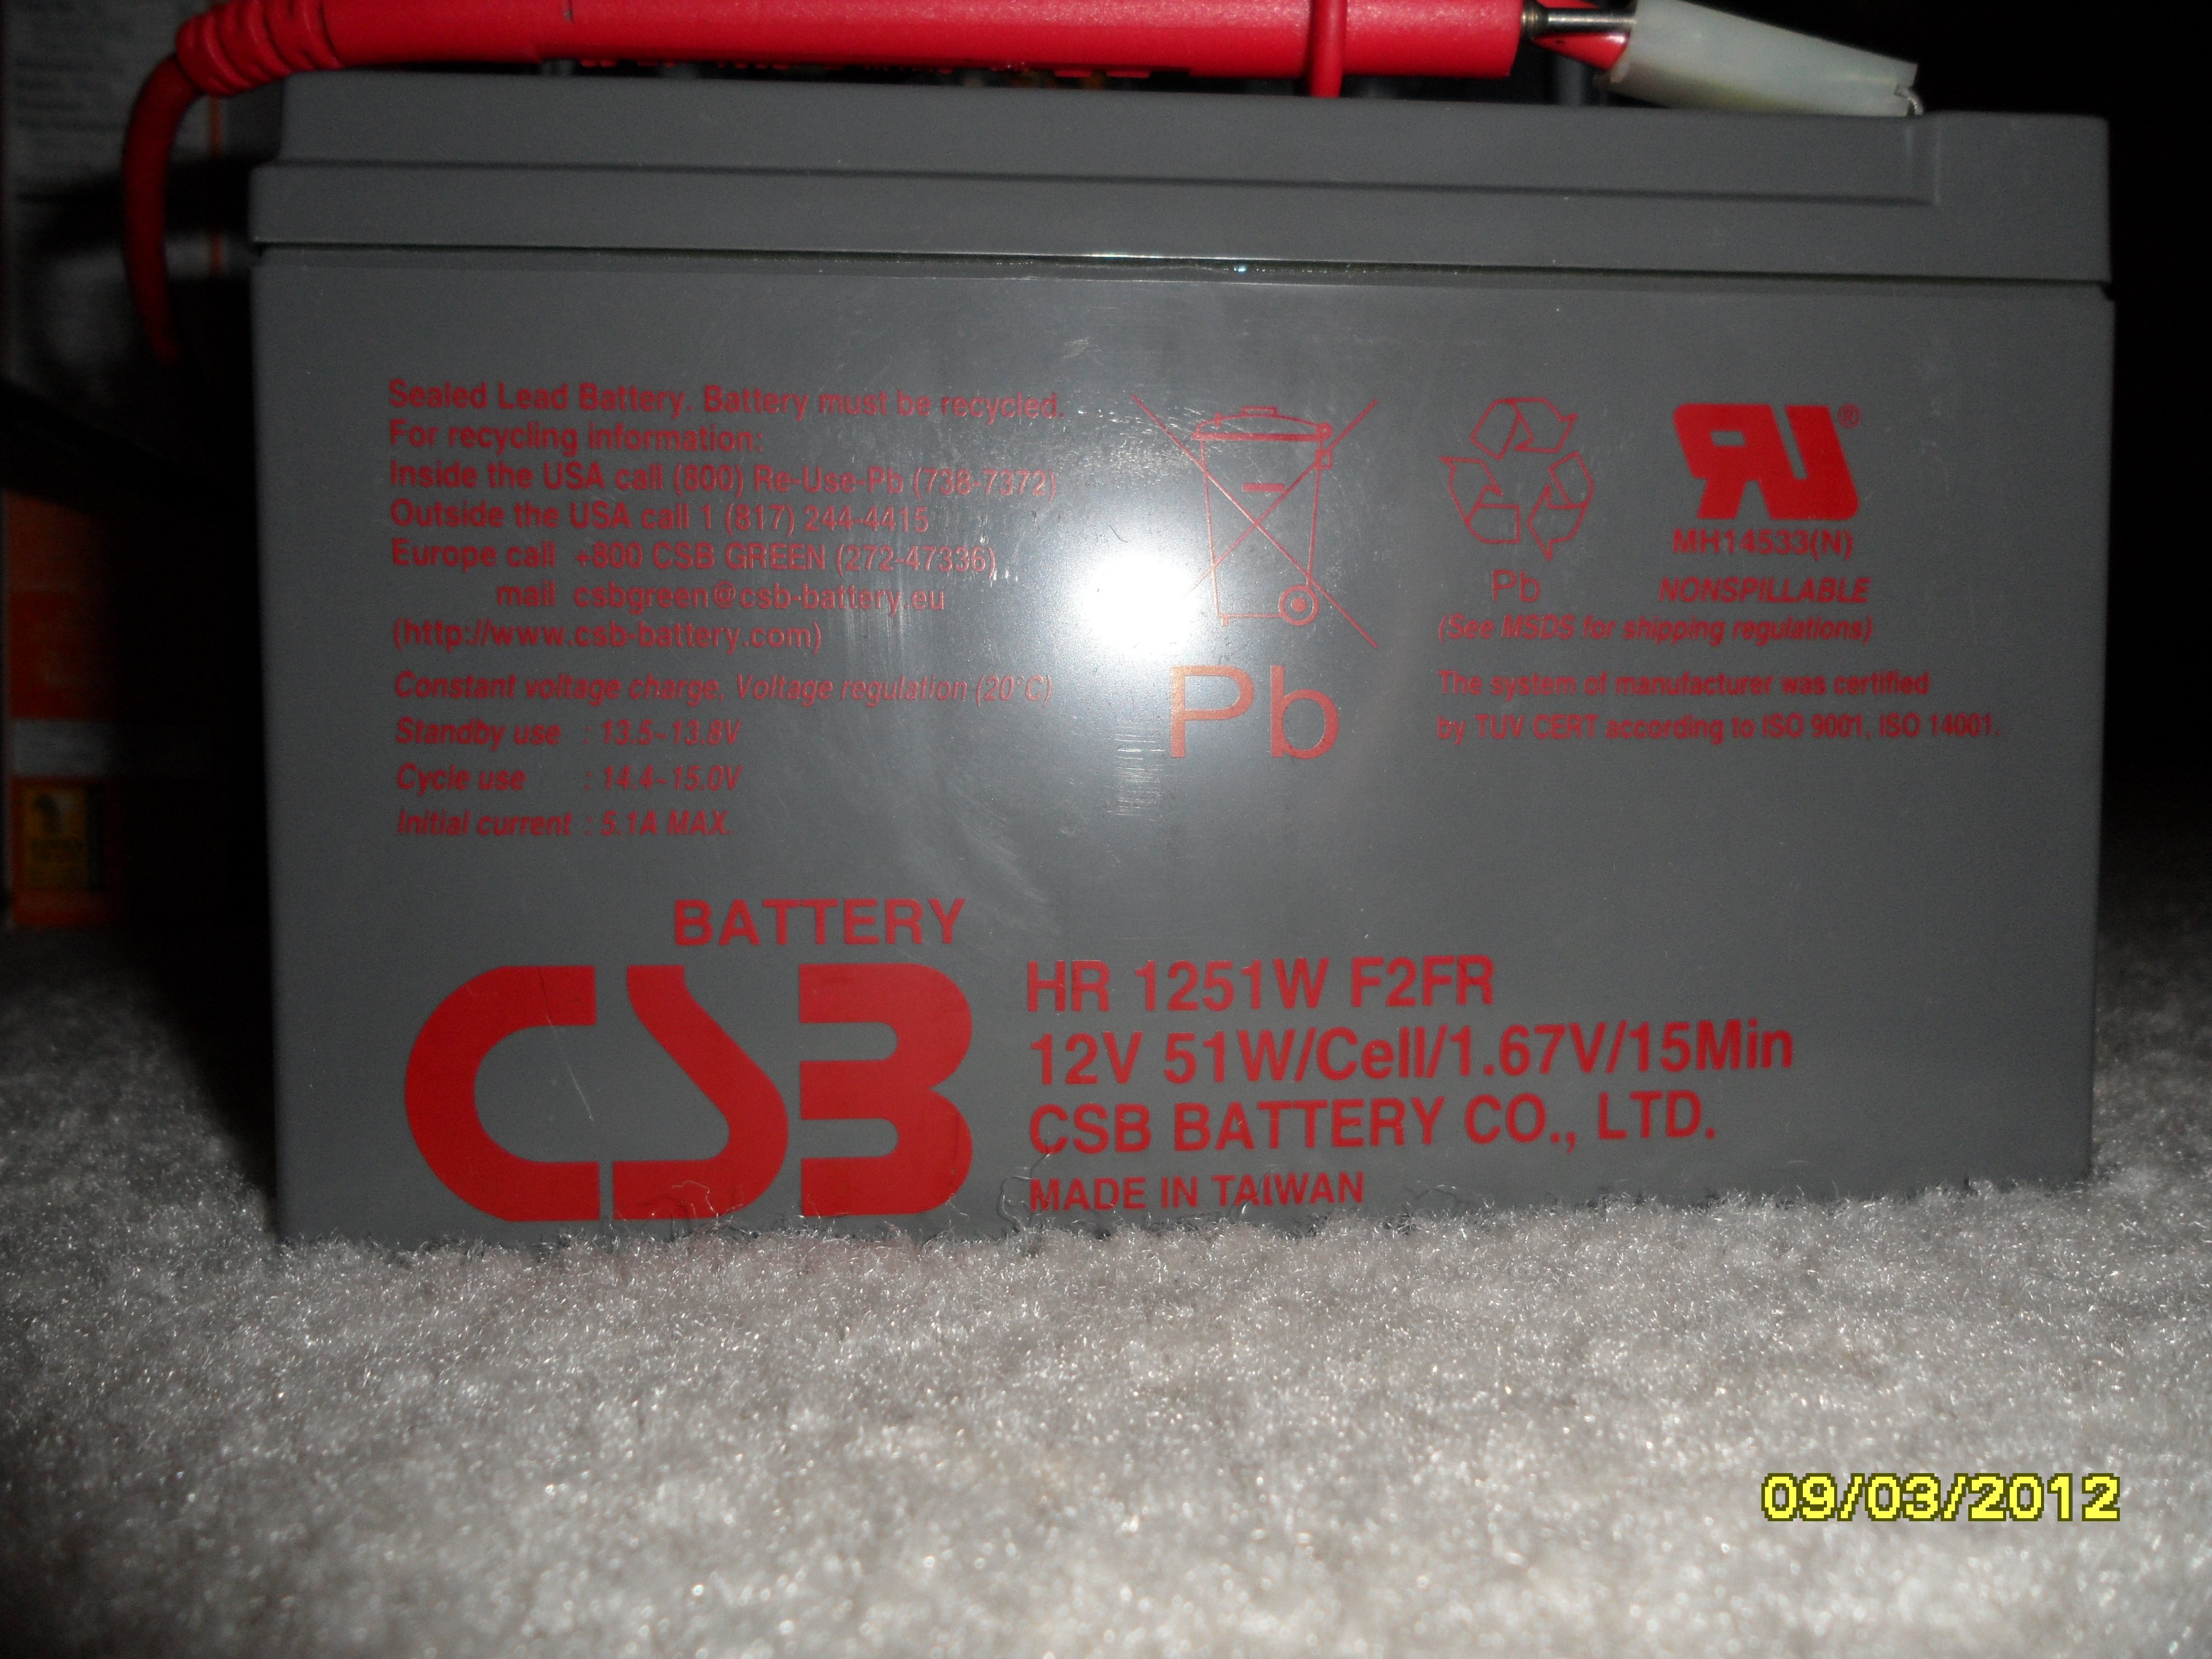
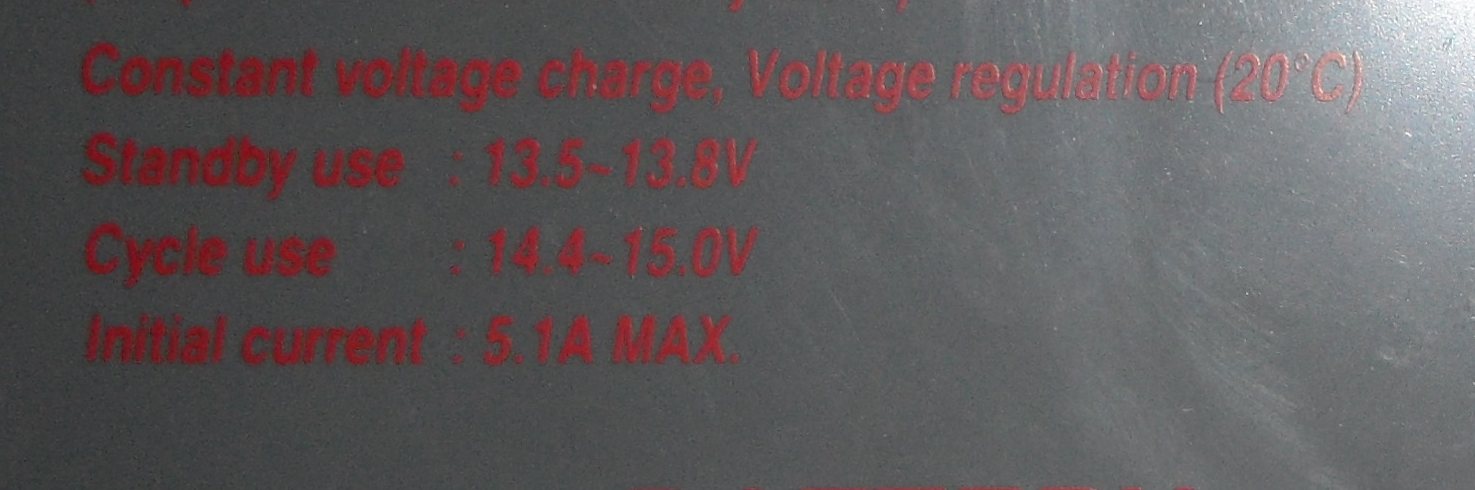
CSB HR 1251W F2FR wrote:Constant voltage charge, voltage regulation (20°C)
Standby use: 13.5 - 13.8v
Cycle use: 14.4 - 15.0v
Initial current: 5.1a MAX.